4 Pilates Studio Interiors in the 20-Pyeong Range with Equipment Delivery Routes
A Pilates studio can have enough room for equipment on the floor and still offer too little room to turn through its doors. Look at doorways, furniture and circulation in Gwanggyo, Anyang, Nakseongdae and a 24-pyeong design before deciding what to build.

Before you begin
- Confirm how the equipment ships and trace the route of the longest component through every doorway and turn.
- Check the width with the door open, the floor space needed to turn, and any furniture near the opening.
- Review the first delivery and later replacement separately, and price doors, built-in furniture and handling as separate items.
Gwanggyo 20 Pyeong, Past Reception to an Arched Opening
When planning a Pilates studio in the 20-pyeong range, draw both the final equipment positions and the delivery route. Even after the front of a long frame turns through a doorway, its other end can still strike a wall or a fixture. These cases show layouts and passage shapes. Confirm the dimensions and handling method separately for the actual equipment and building.
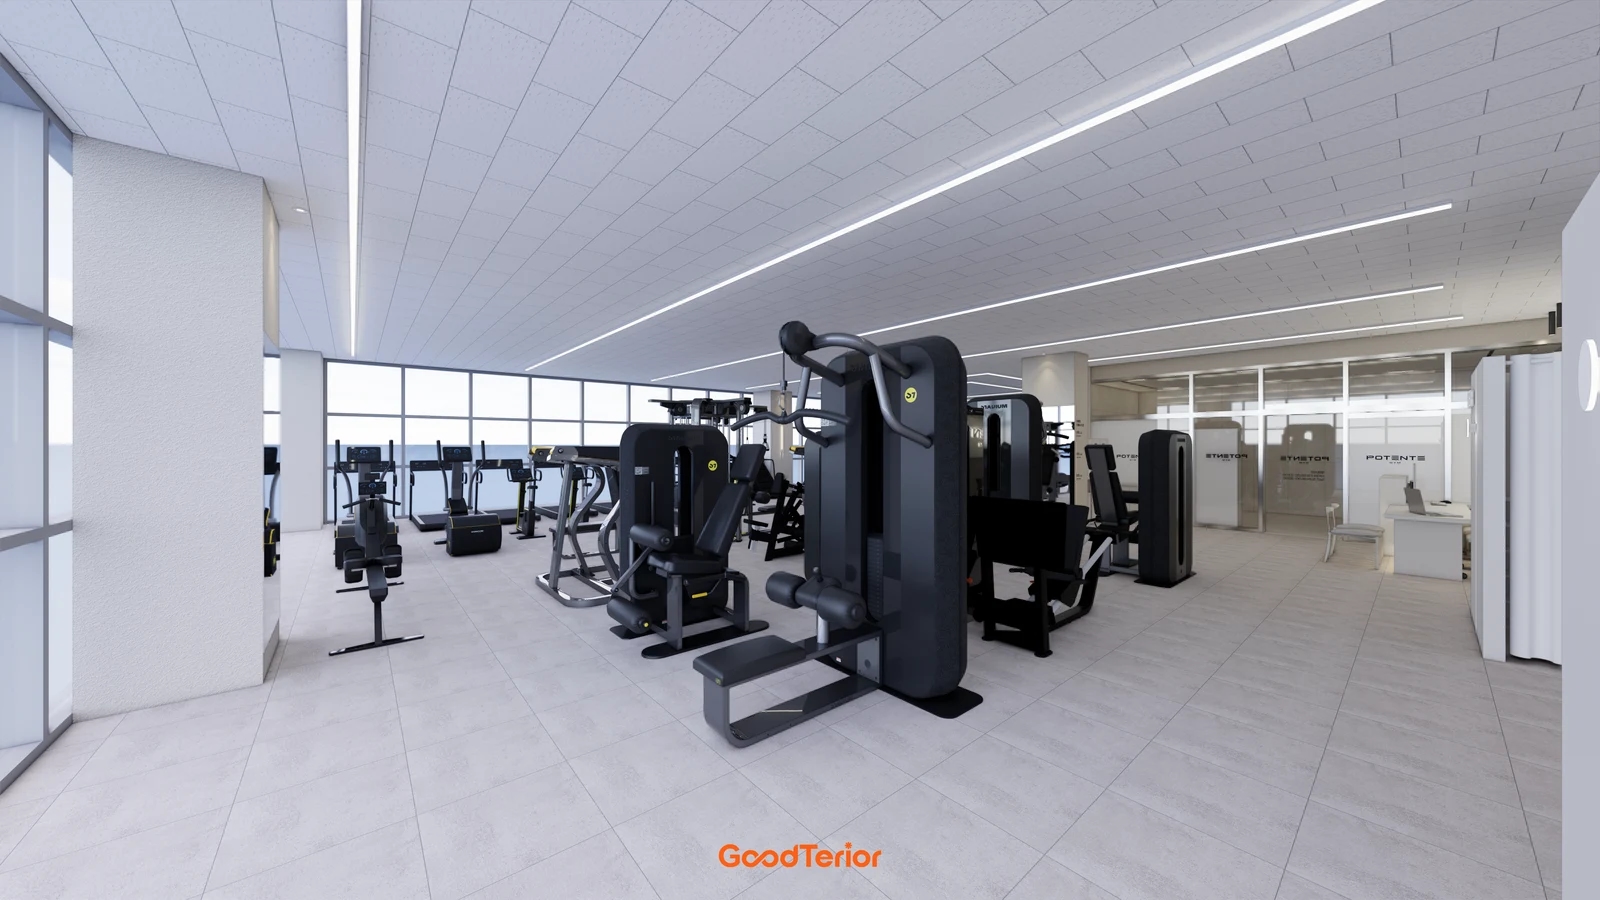
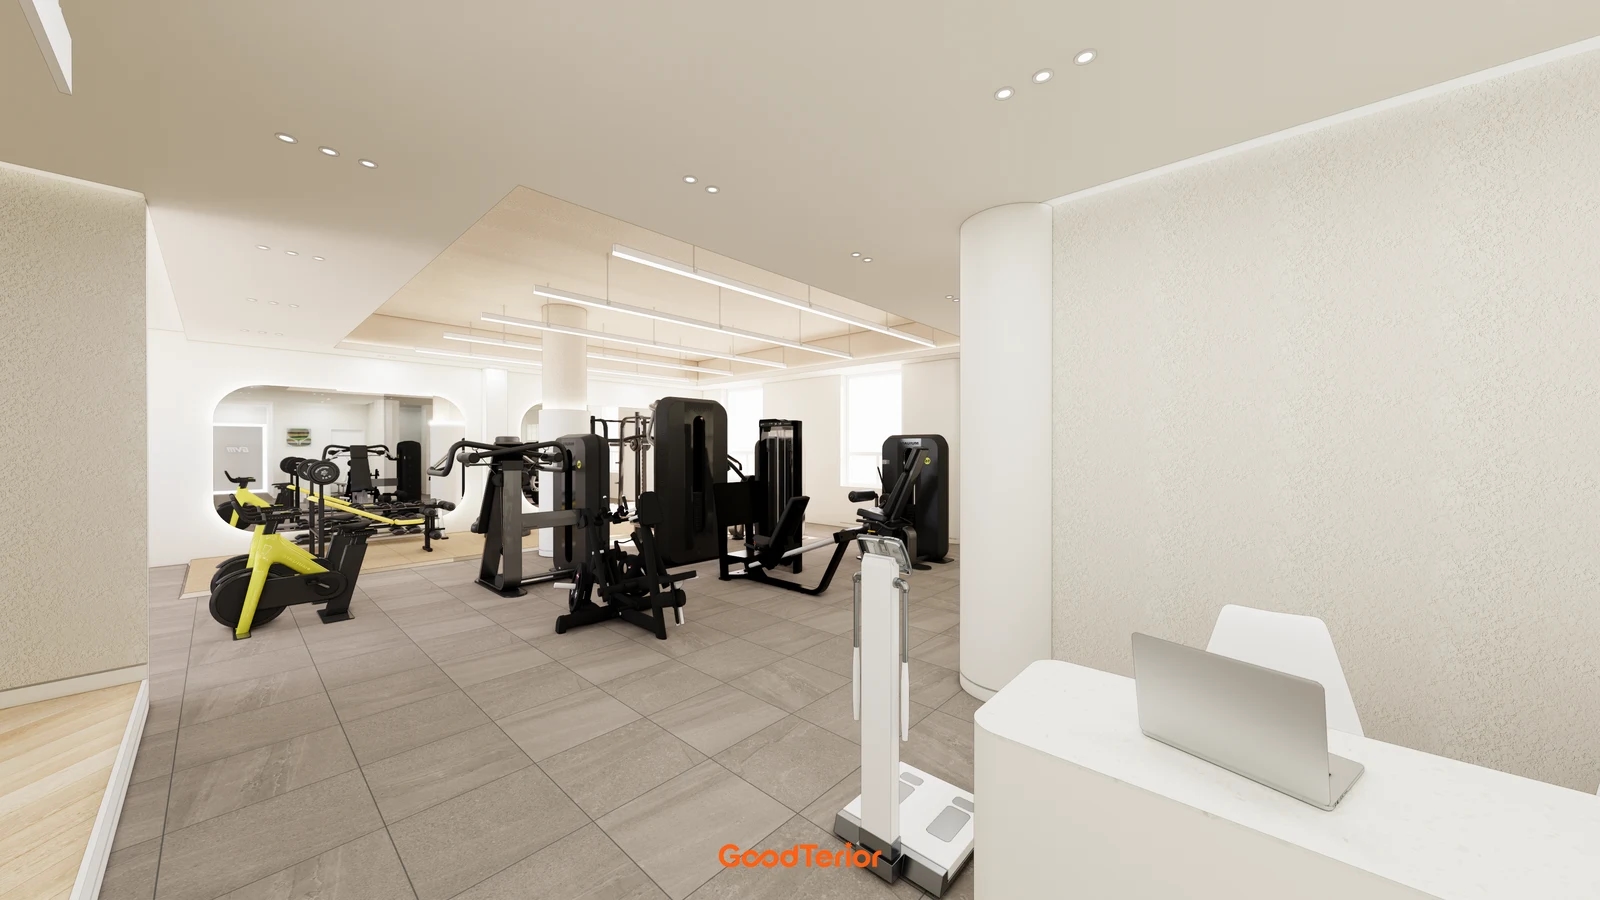
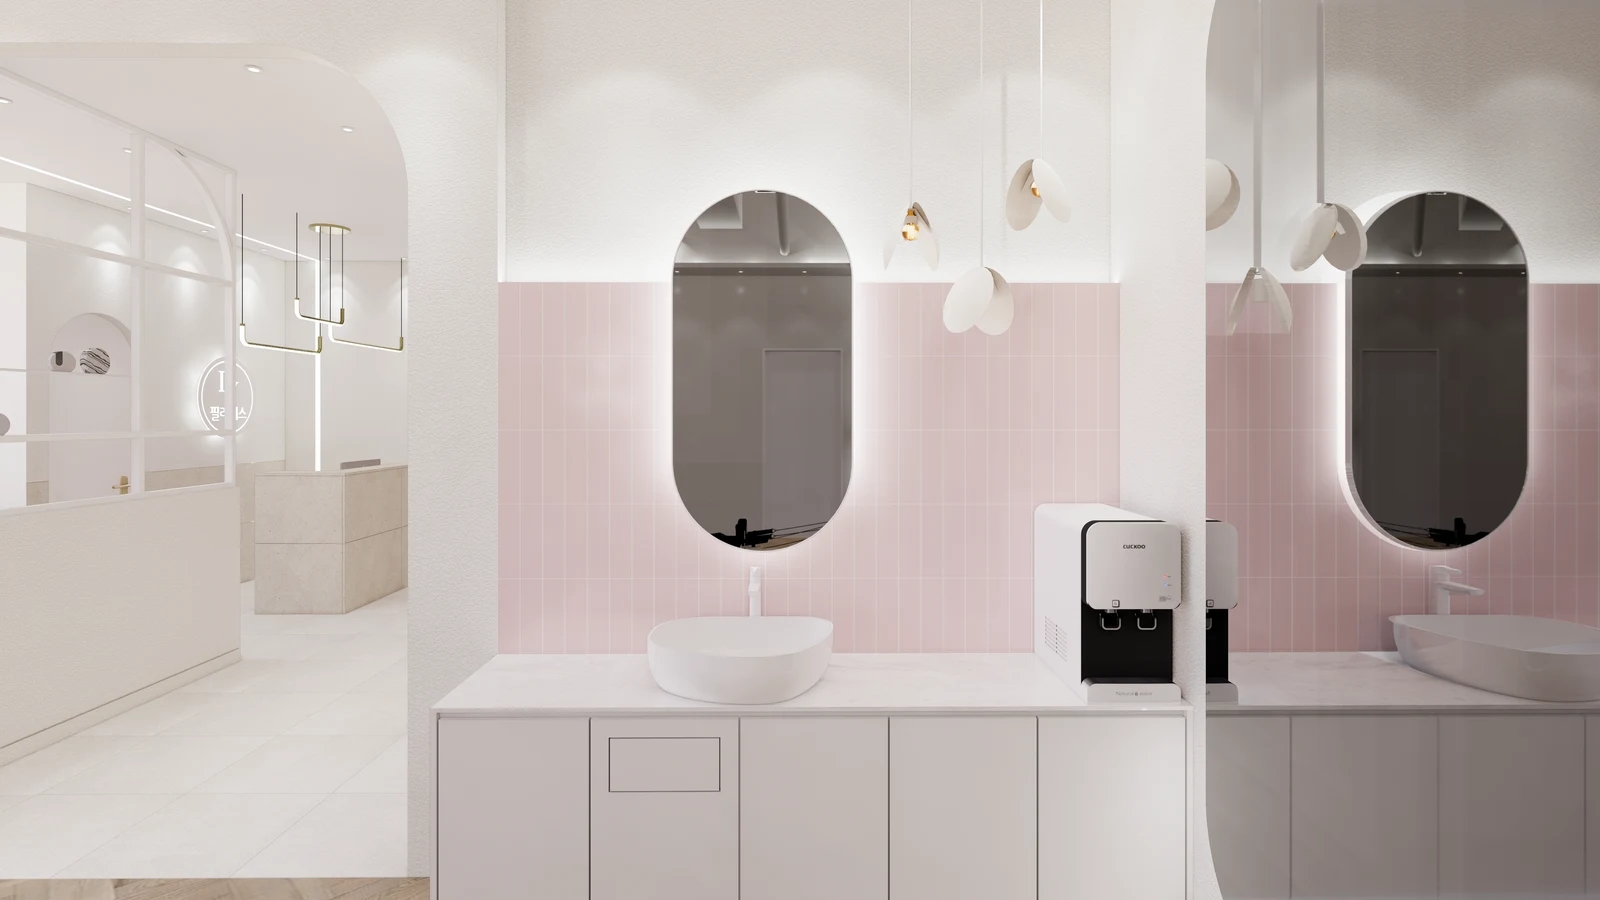
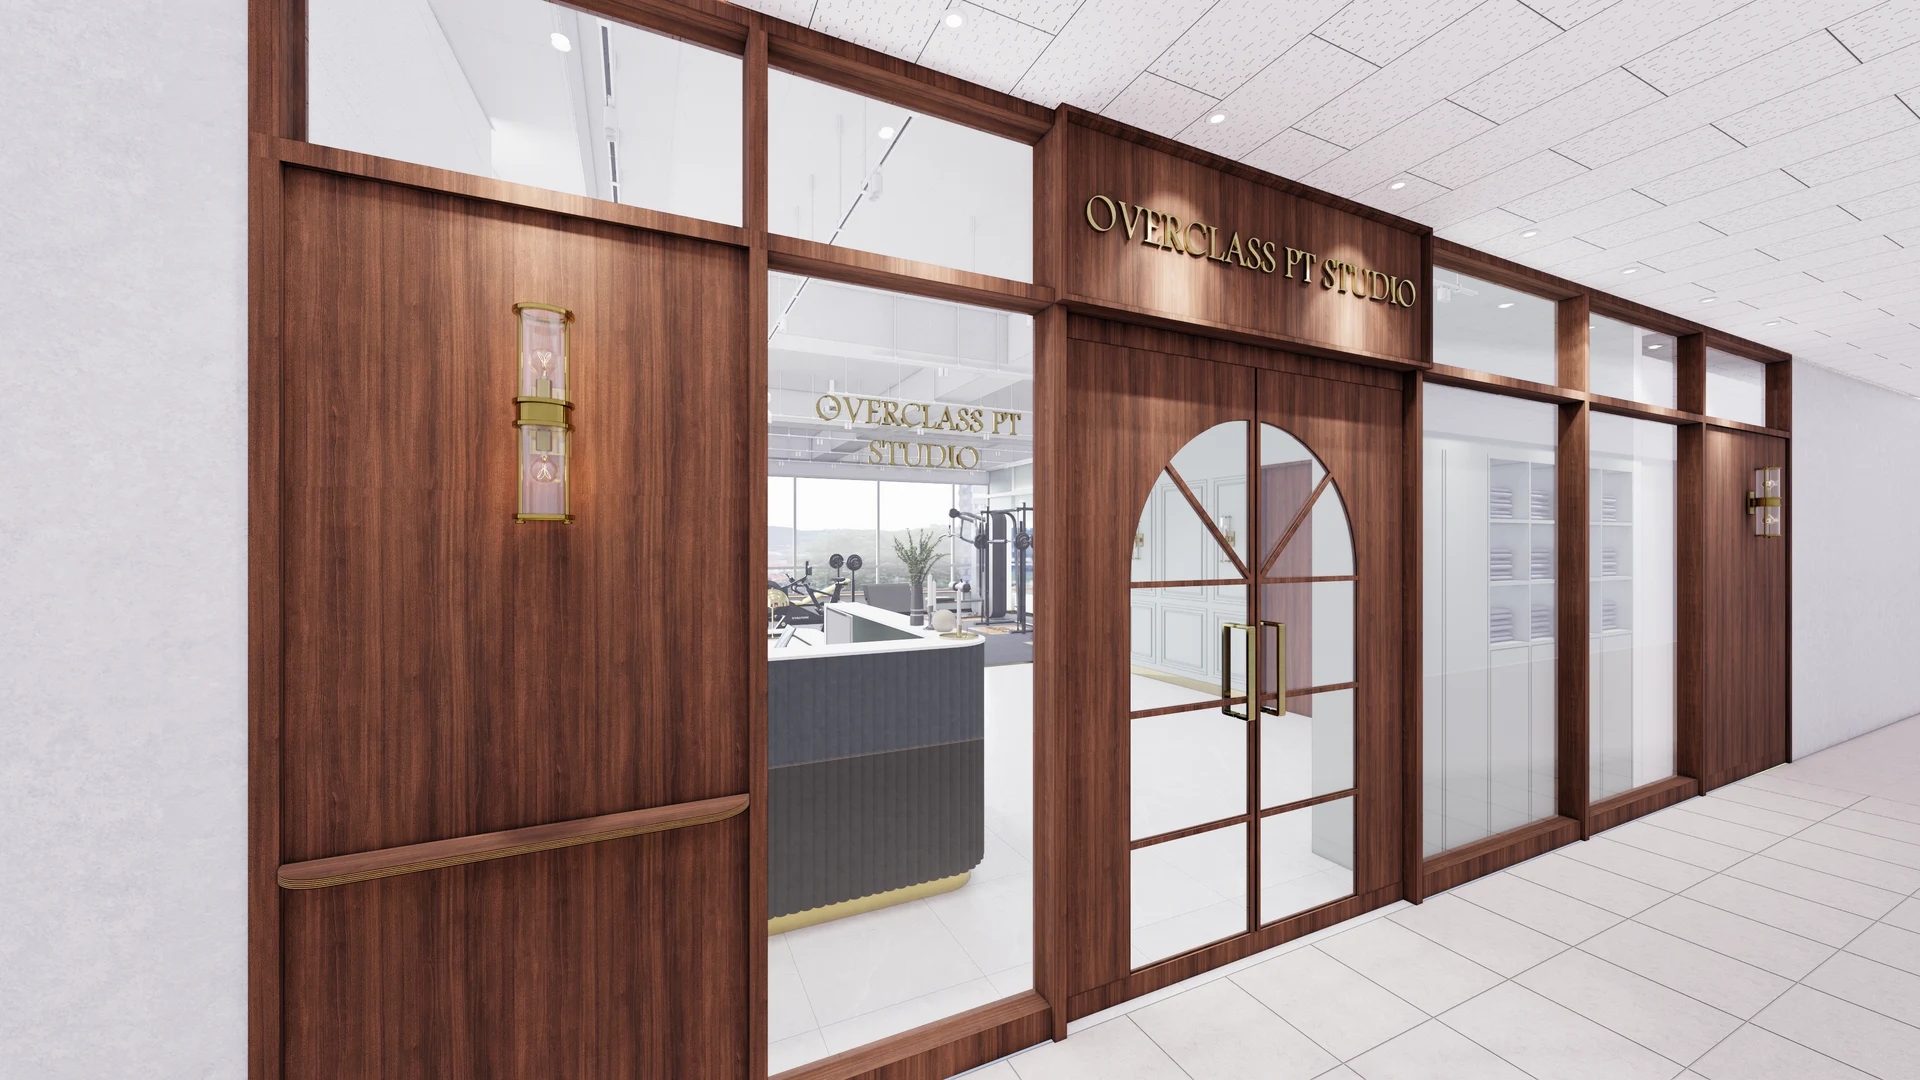
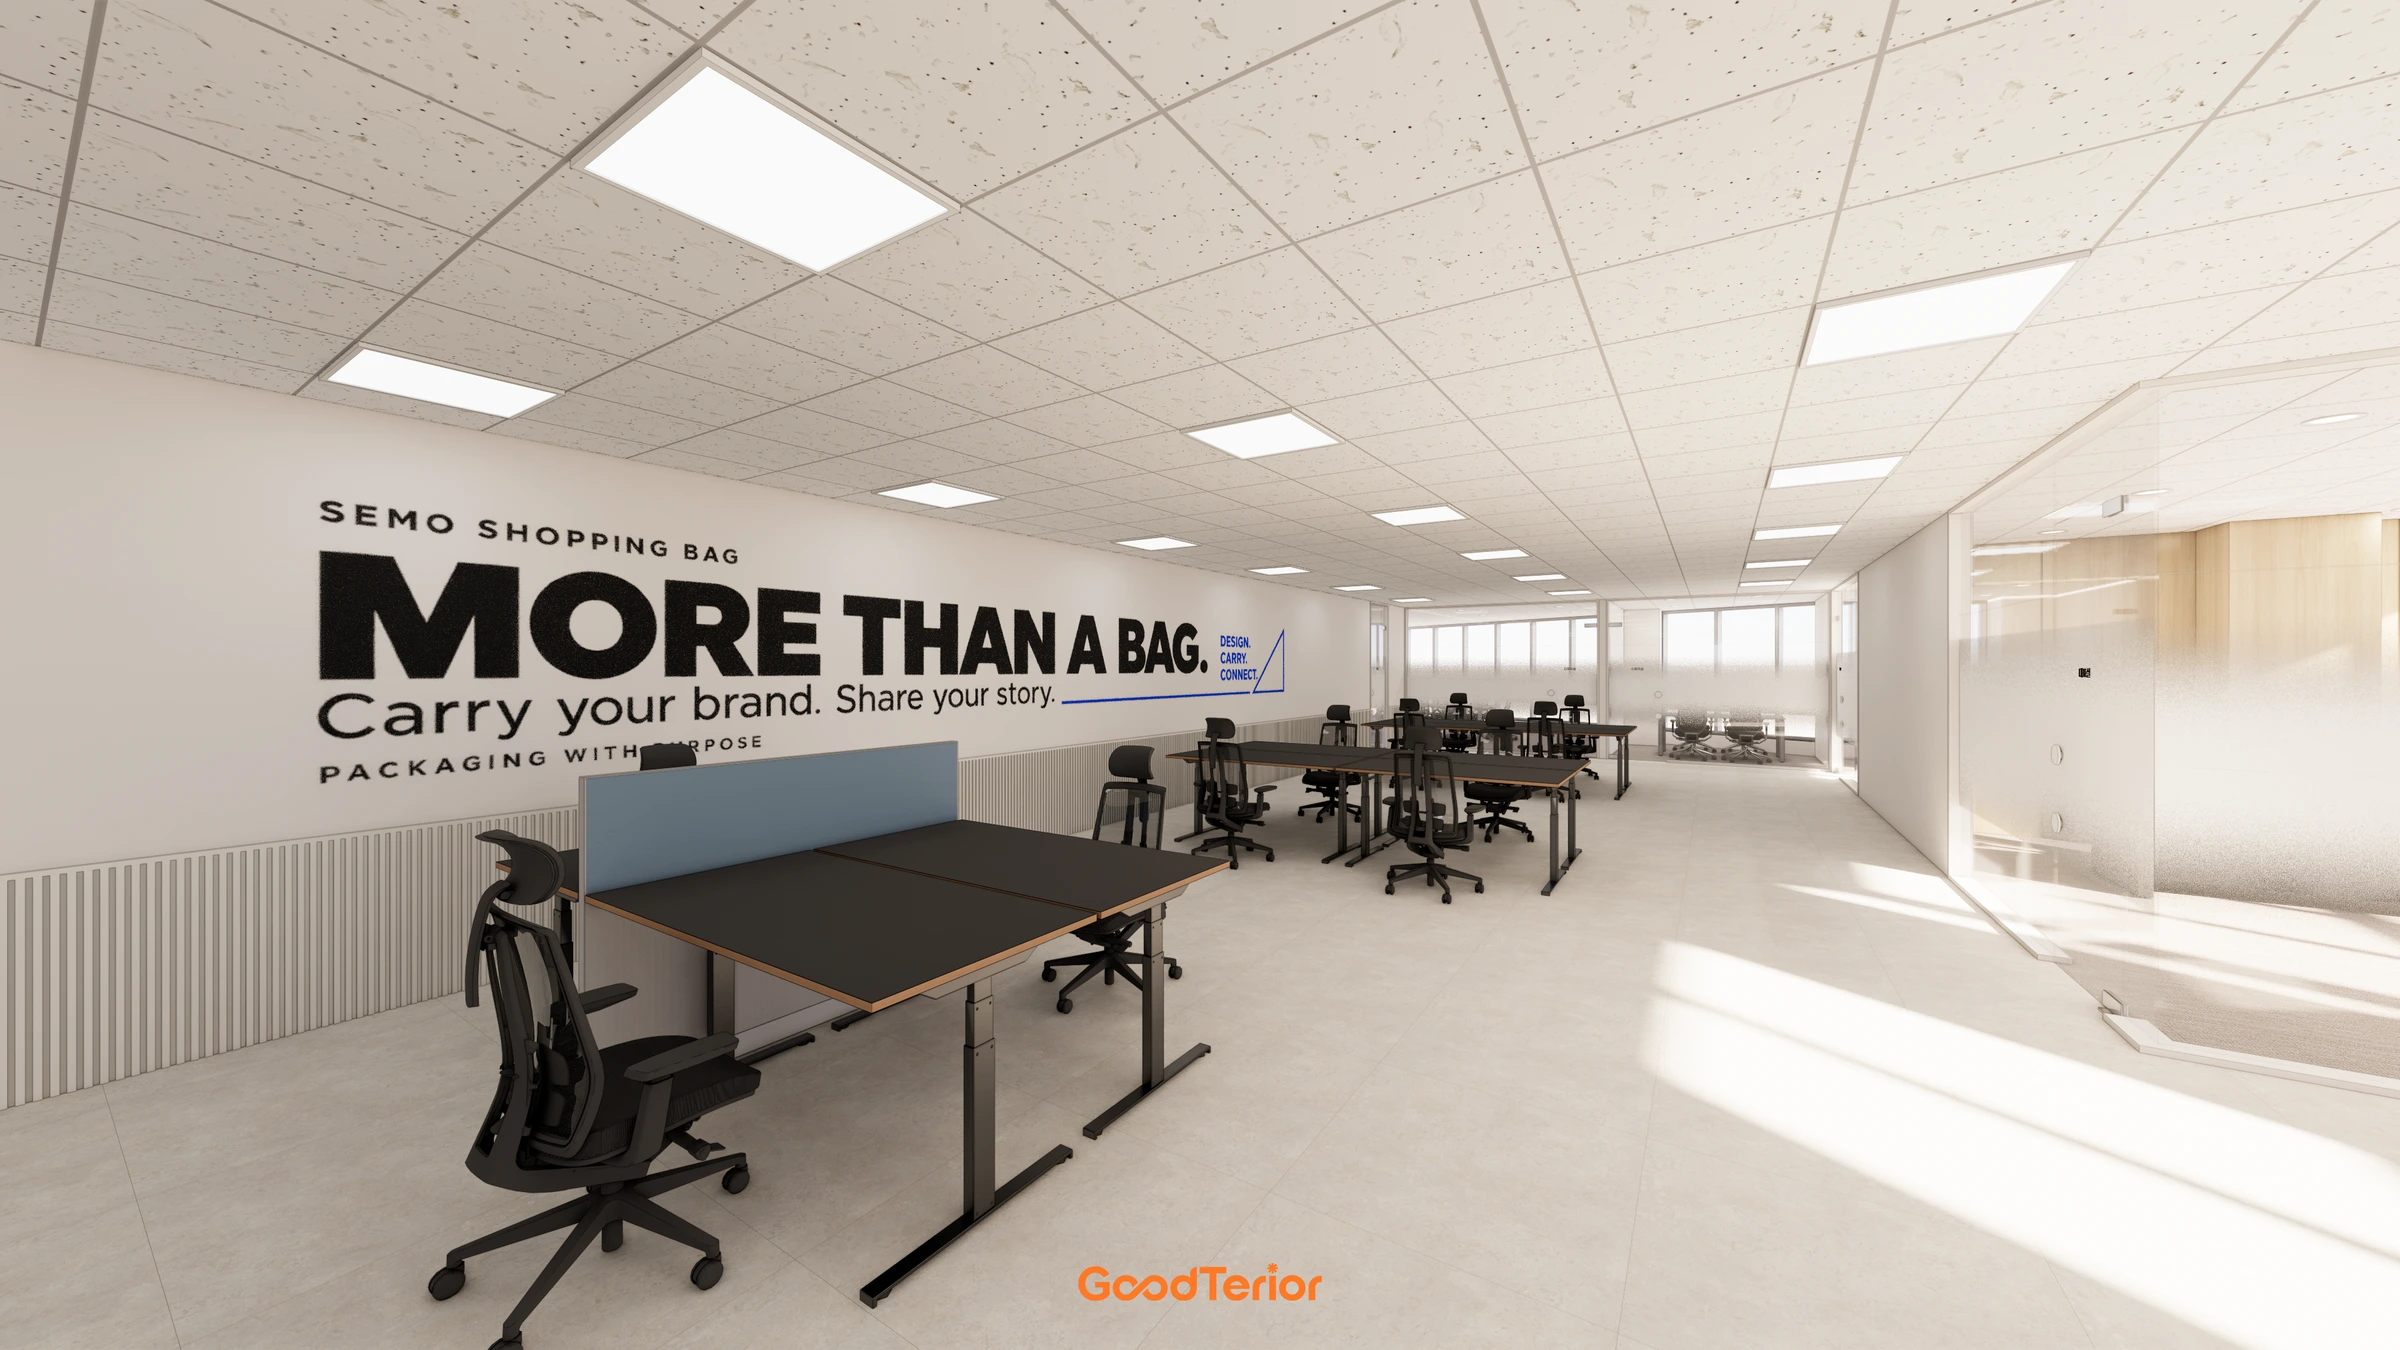
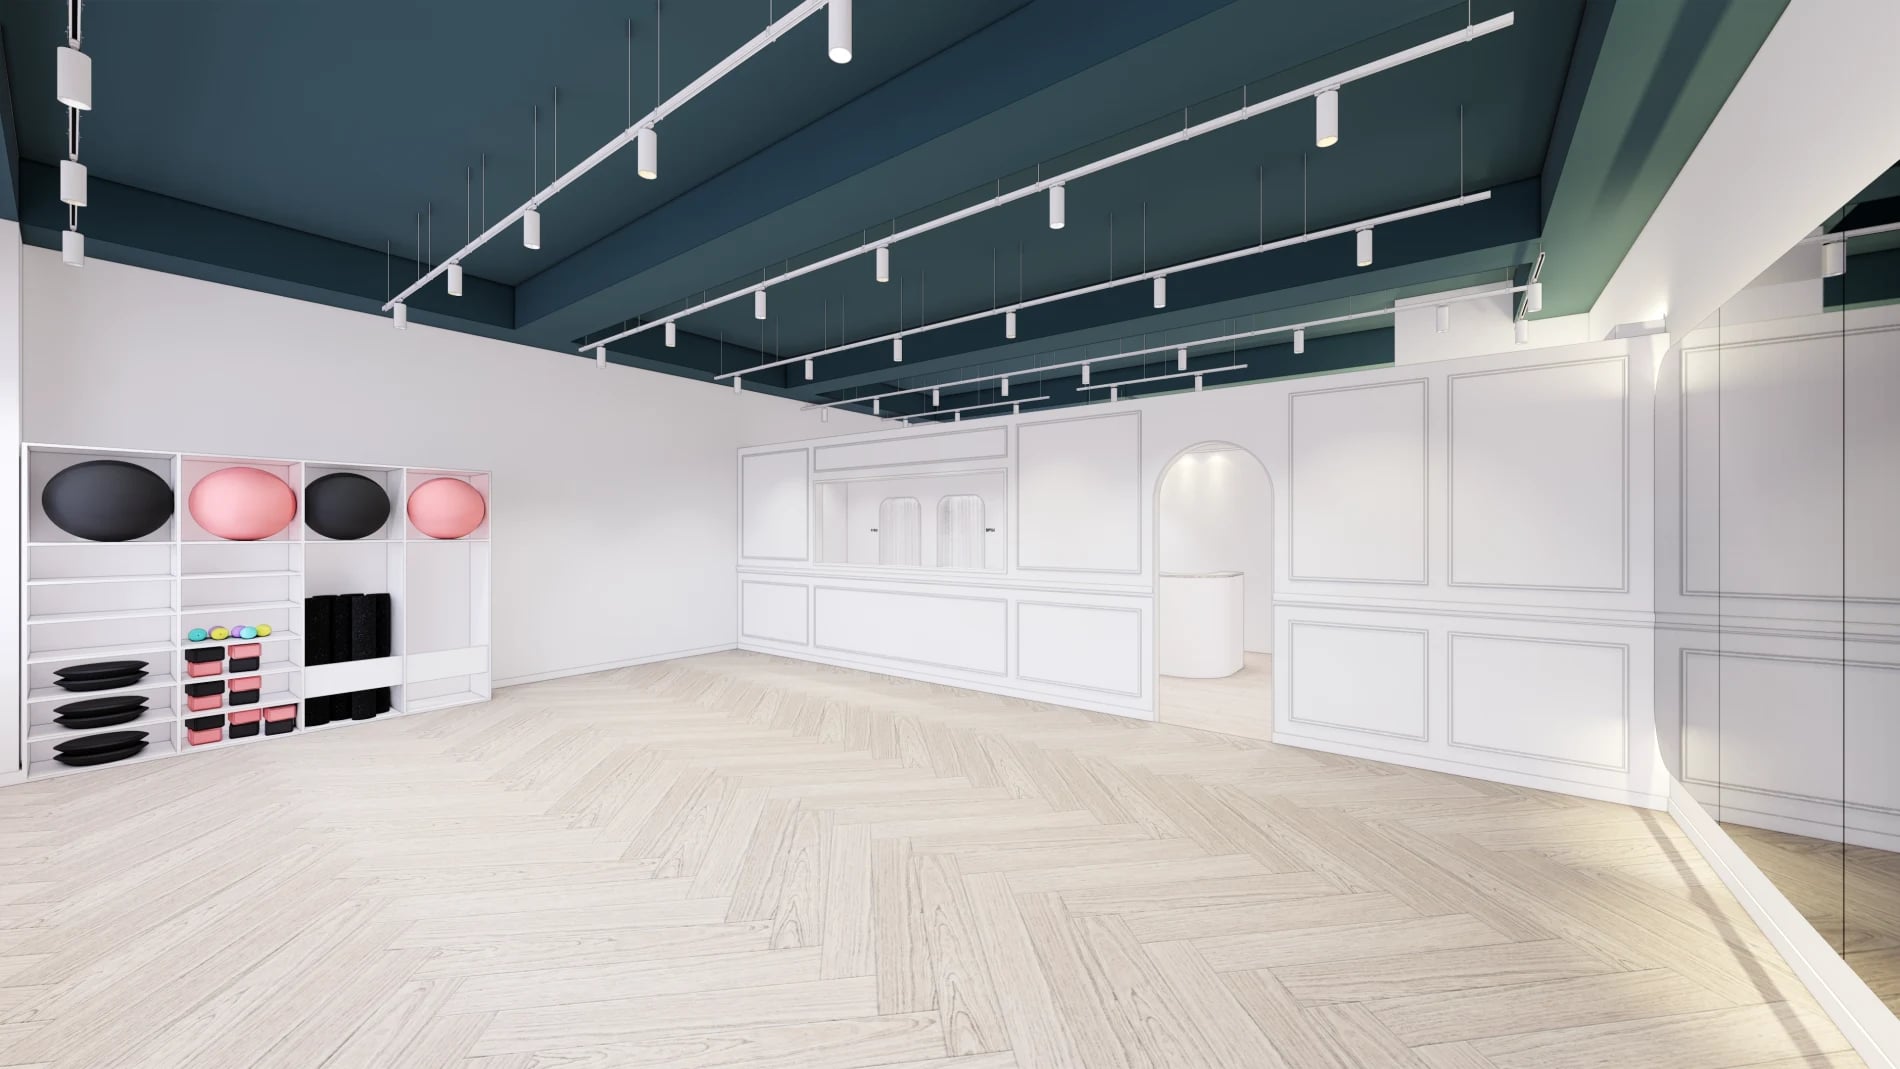
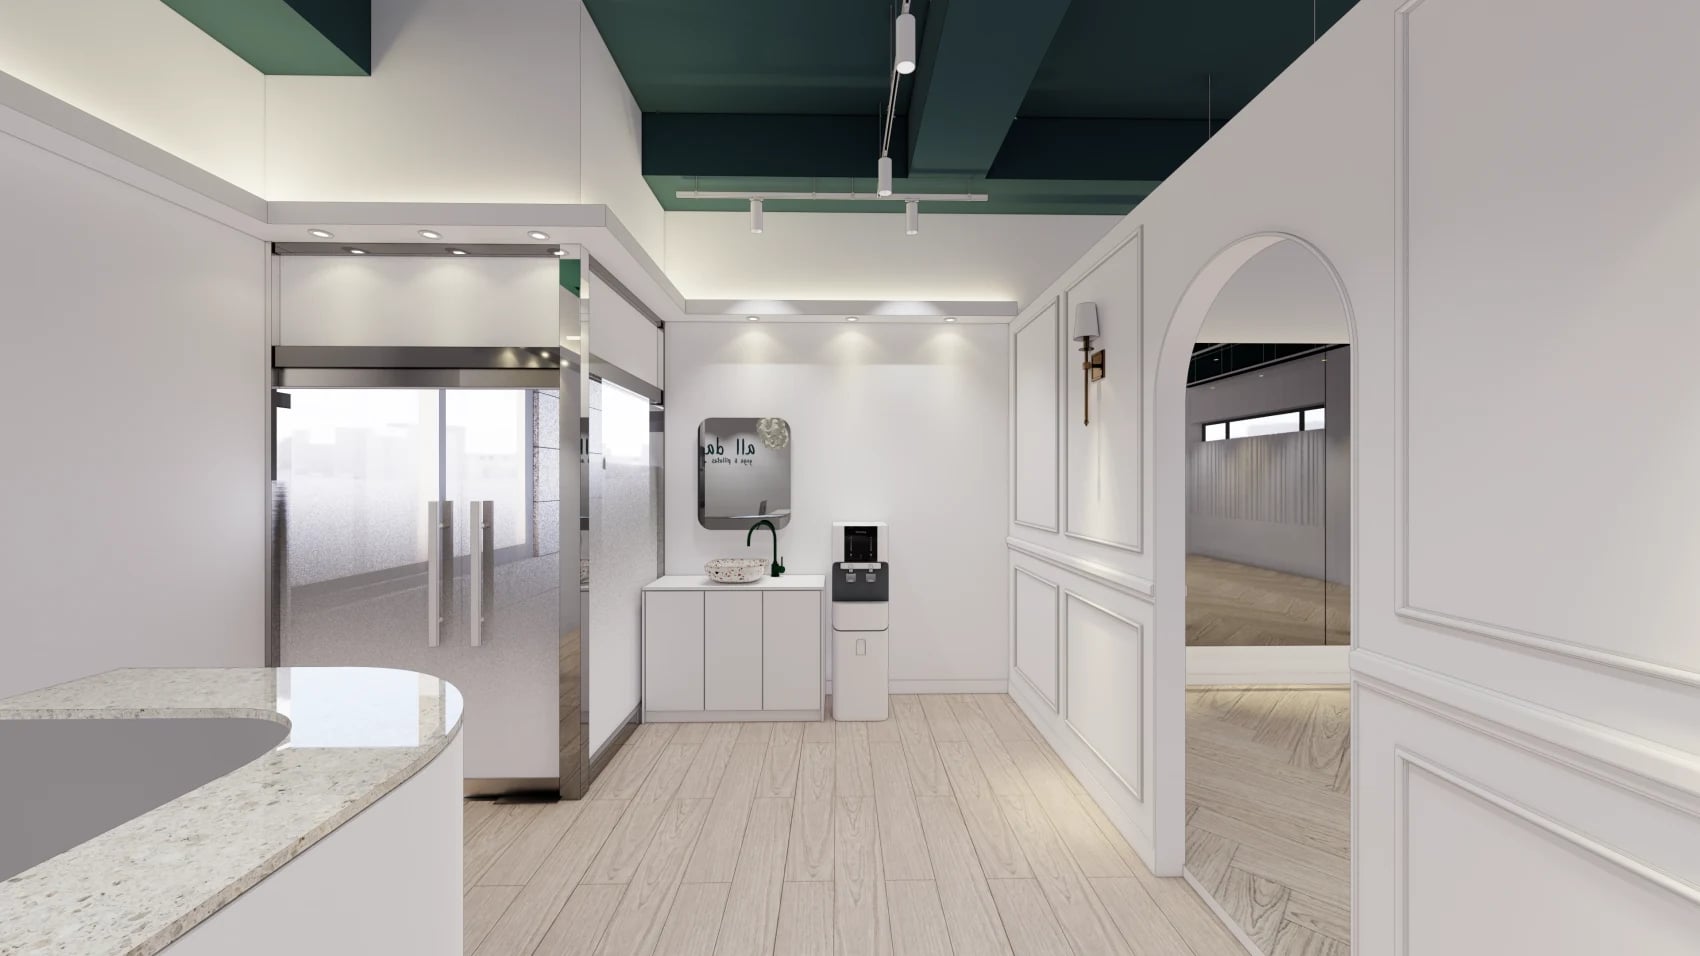
In the Goodterior Gwanggyo 20-pyeong Pilates interior plan, the route turns after the entrance and then passes through an arch in a partition. The rendering puts reception to one side and shows an open exercise floor beyond the arch. This plan makes the route easy to study. The equipment selected for the hall determines how much turning room is needed by the opening.
Draw the actual counter outline and any projecting worktop along the route from the entrance to the arch. The arch narrows toward the top even if its width at floor level looks sufficient. If the delivery team proposes tilting the equipment, check the height and any parts that project sideways in that position. Deciding whether the counter goes in before or after delivery helps align the joinery quote with the installation schedule.
Anyang 21 Pyeong, Different Routes to the Group and Private Rooms
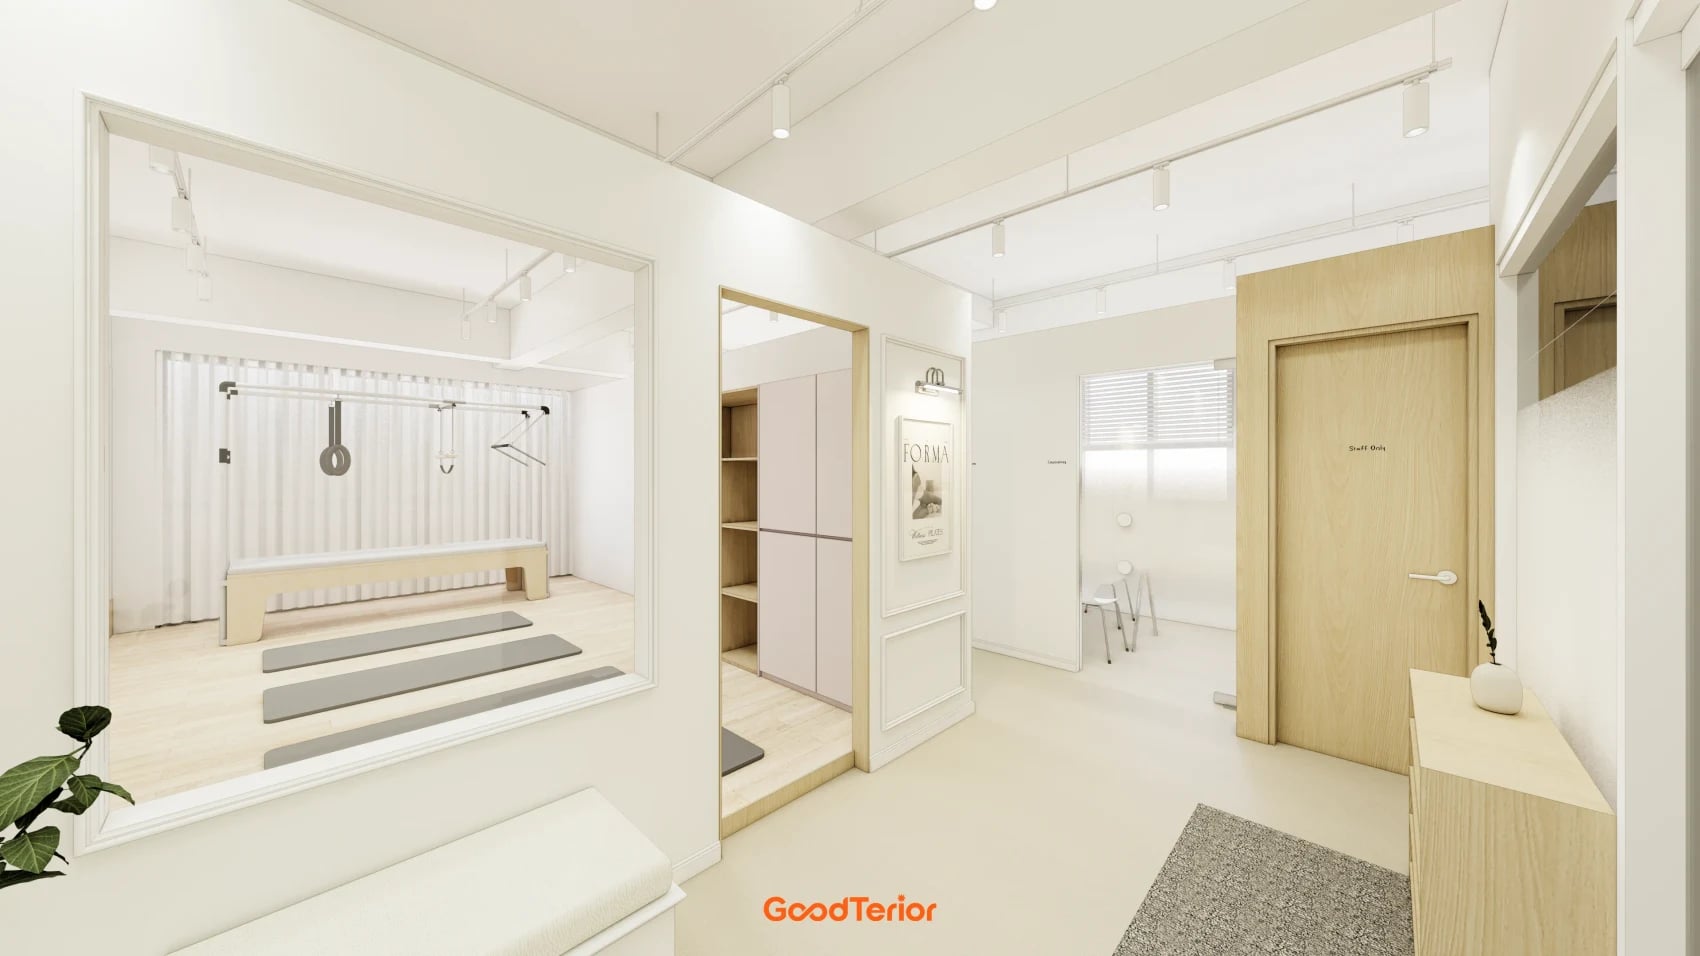
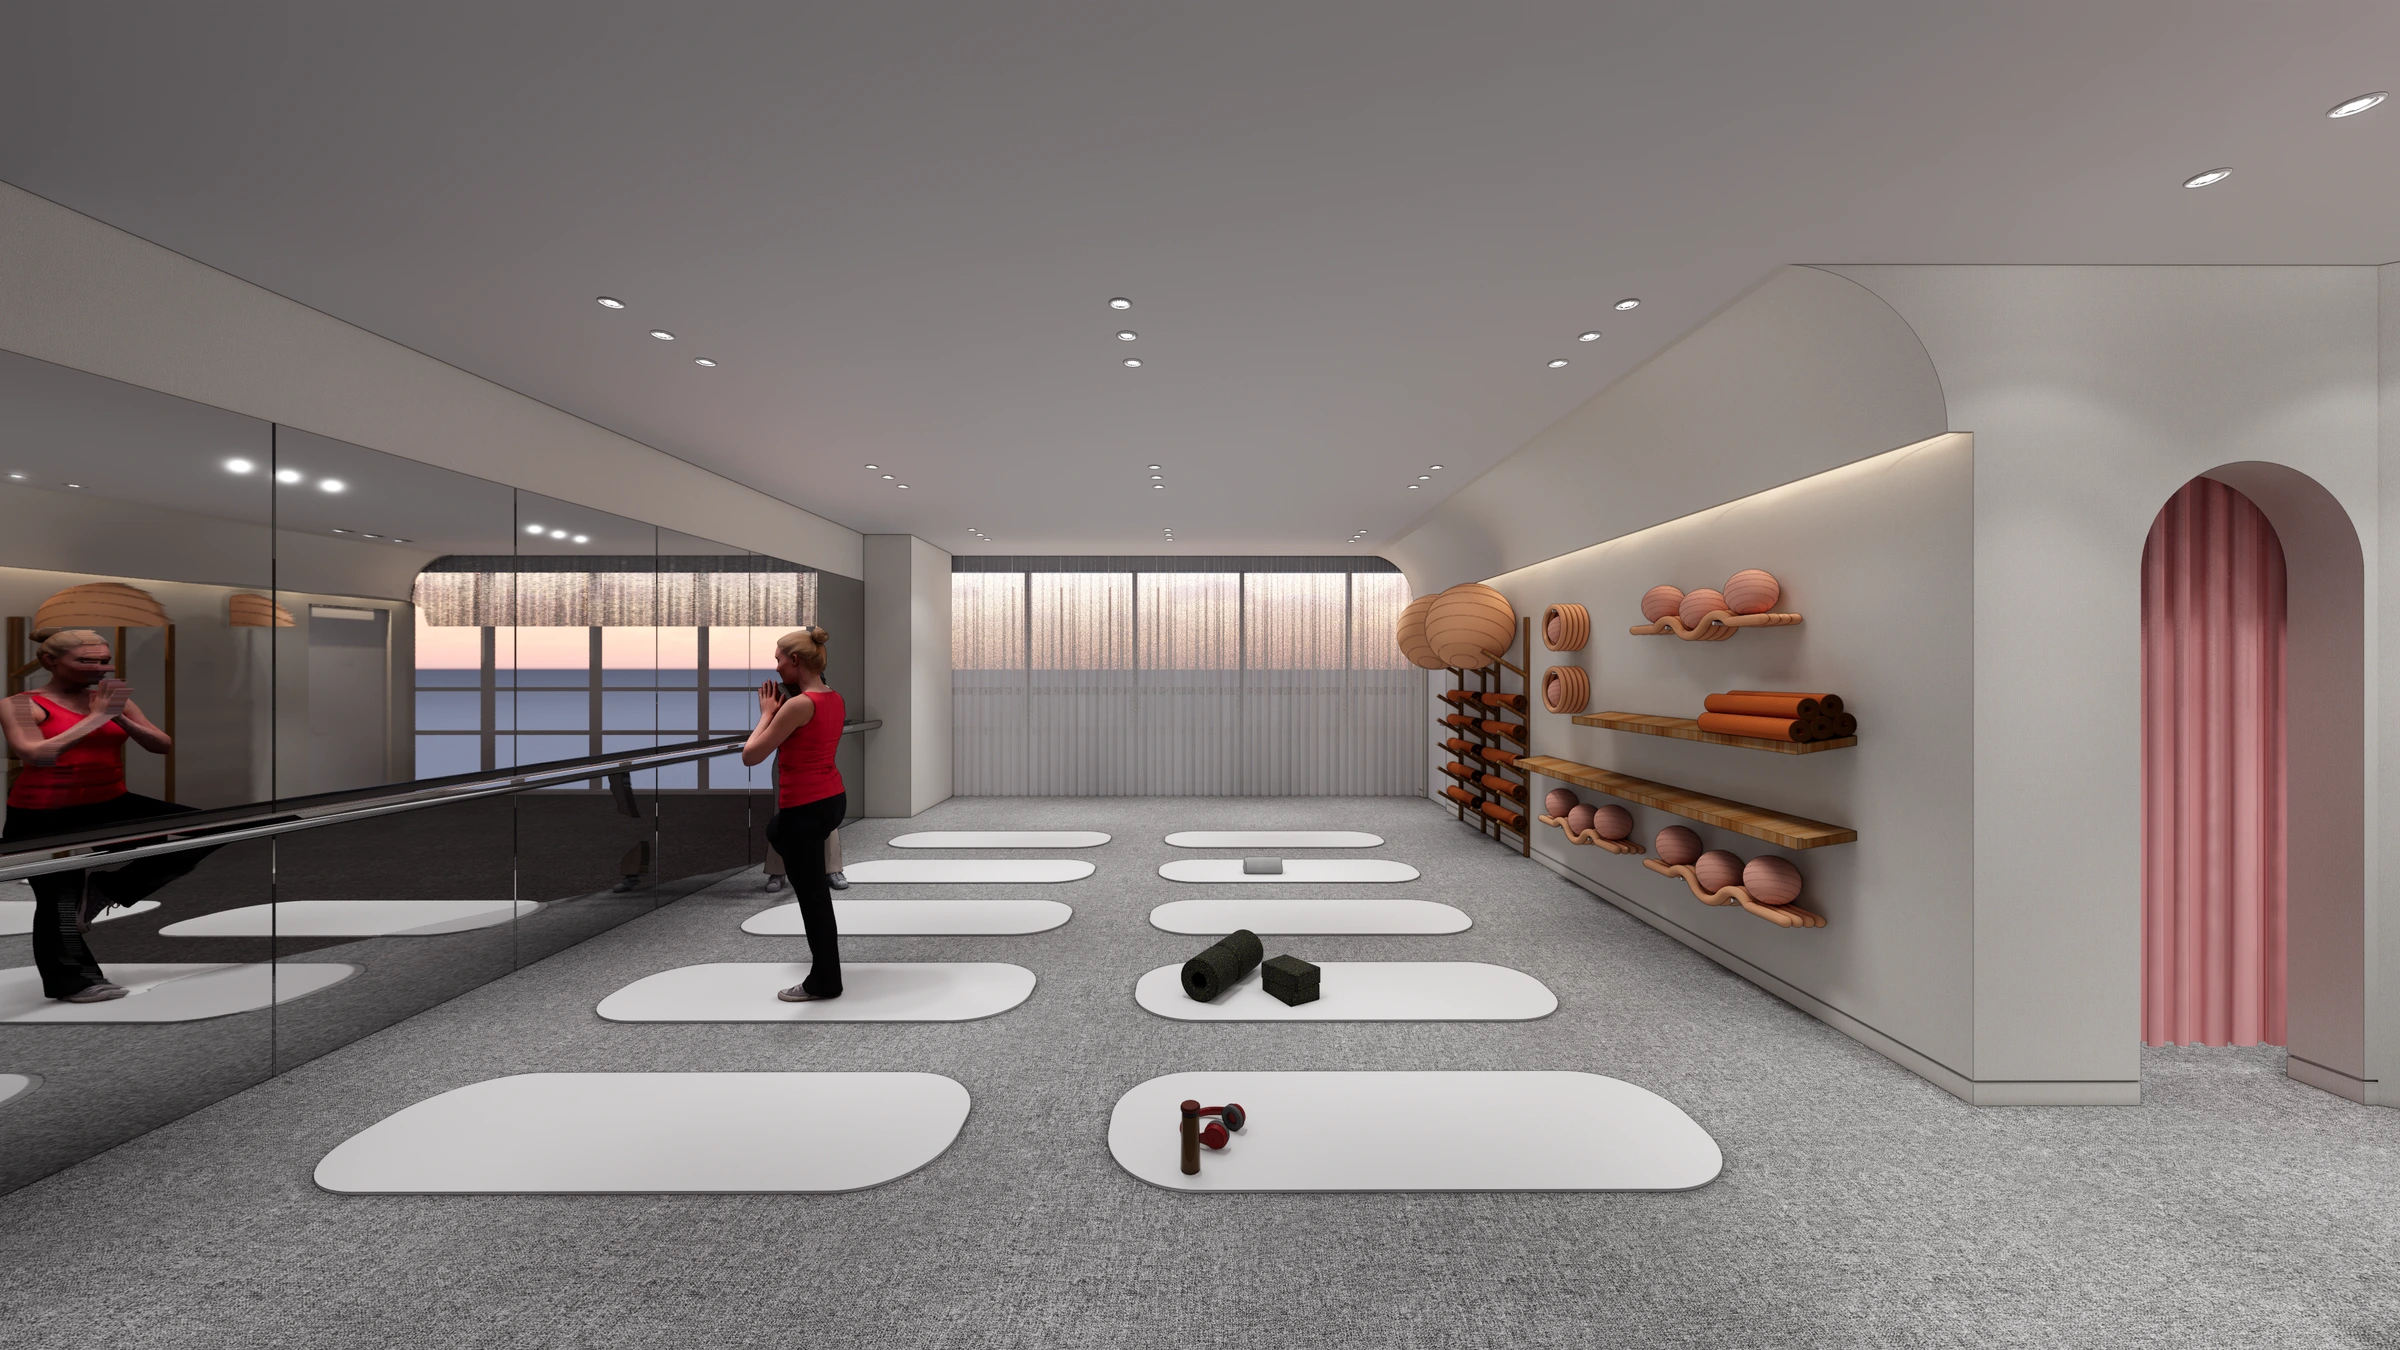
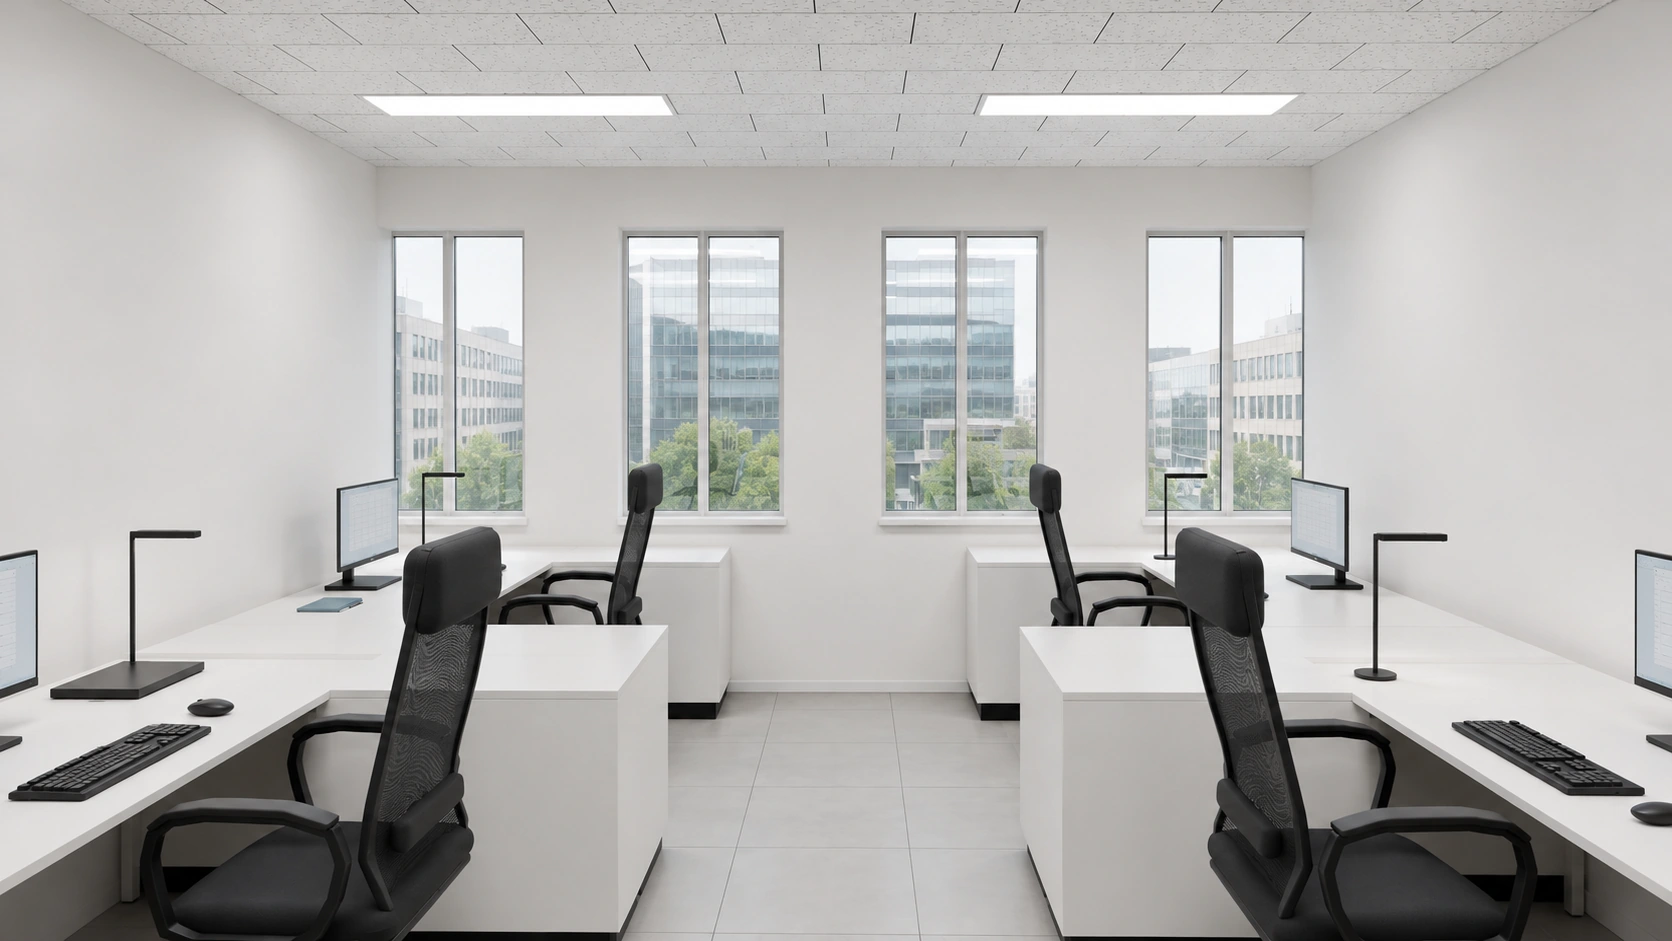
The Goodterior Anyang 21-pyeong yoga and Pilates interior design gives the group room a direct entrance from the lobby. The private room is farther along the passage beside it. The rendering shows the group room opening facing the lobby and the route deeper inside. In the same studio, the destination determines which openings the equipment has to pass and where it must turn.
Make a separate equipment list for each room. Room on the plan for the installed equipment does not tell you how much space is available to rotate a long component outside the door. Check where the sliding door leaf and handle sit with the door open. Ask the supplier how the frame, legs and tower are shipped so you can check the dimensions for delivery and choose a place for assembly.
If only one room is difficult to reach, check whether the equipment can face a different way or be brought in as smaller assemblies. If the route still does not work, compare moving the opening within the same wall with changing the extent of the partition. If the turn passes a consultation room or a changing room, add those doors and their normal operation to the plan.
Nakseongdae 23 Pyeong, Two Exercise Areas off One Entry
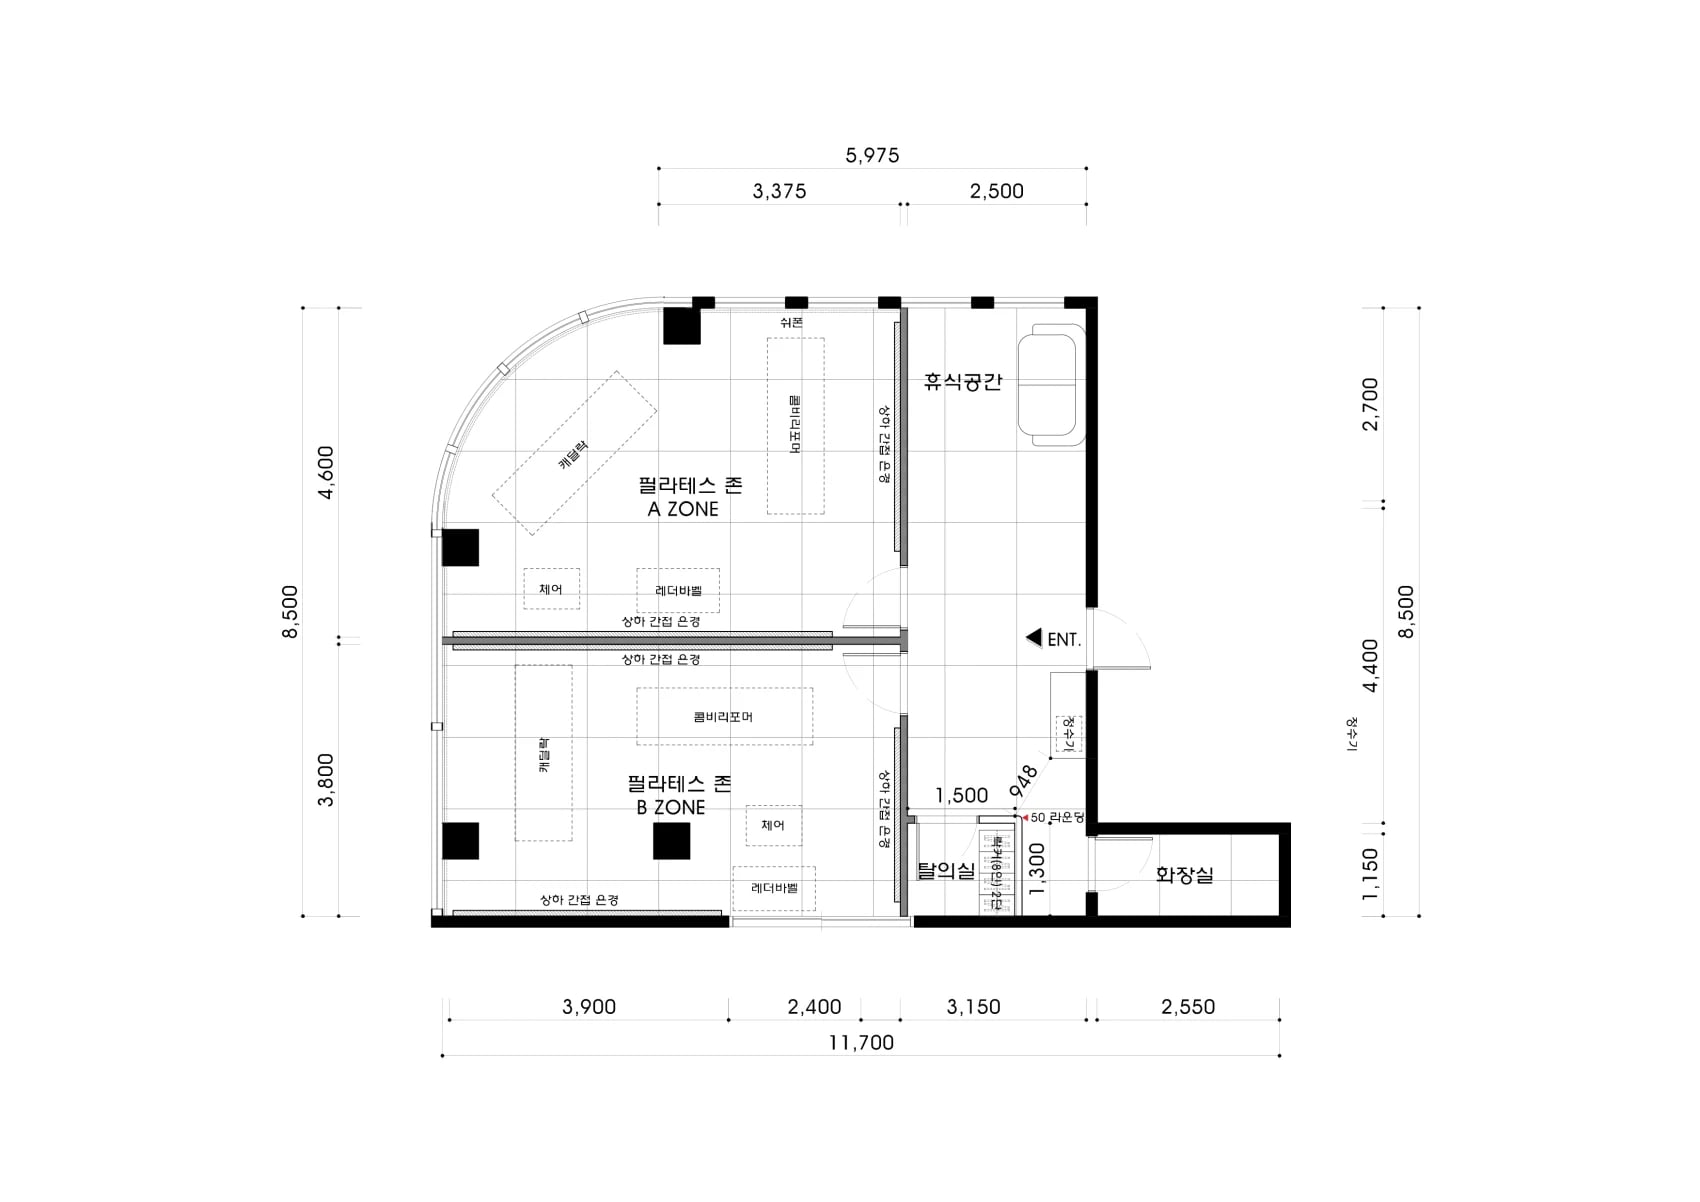
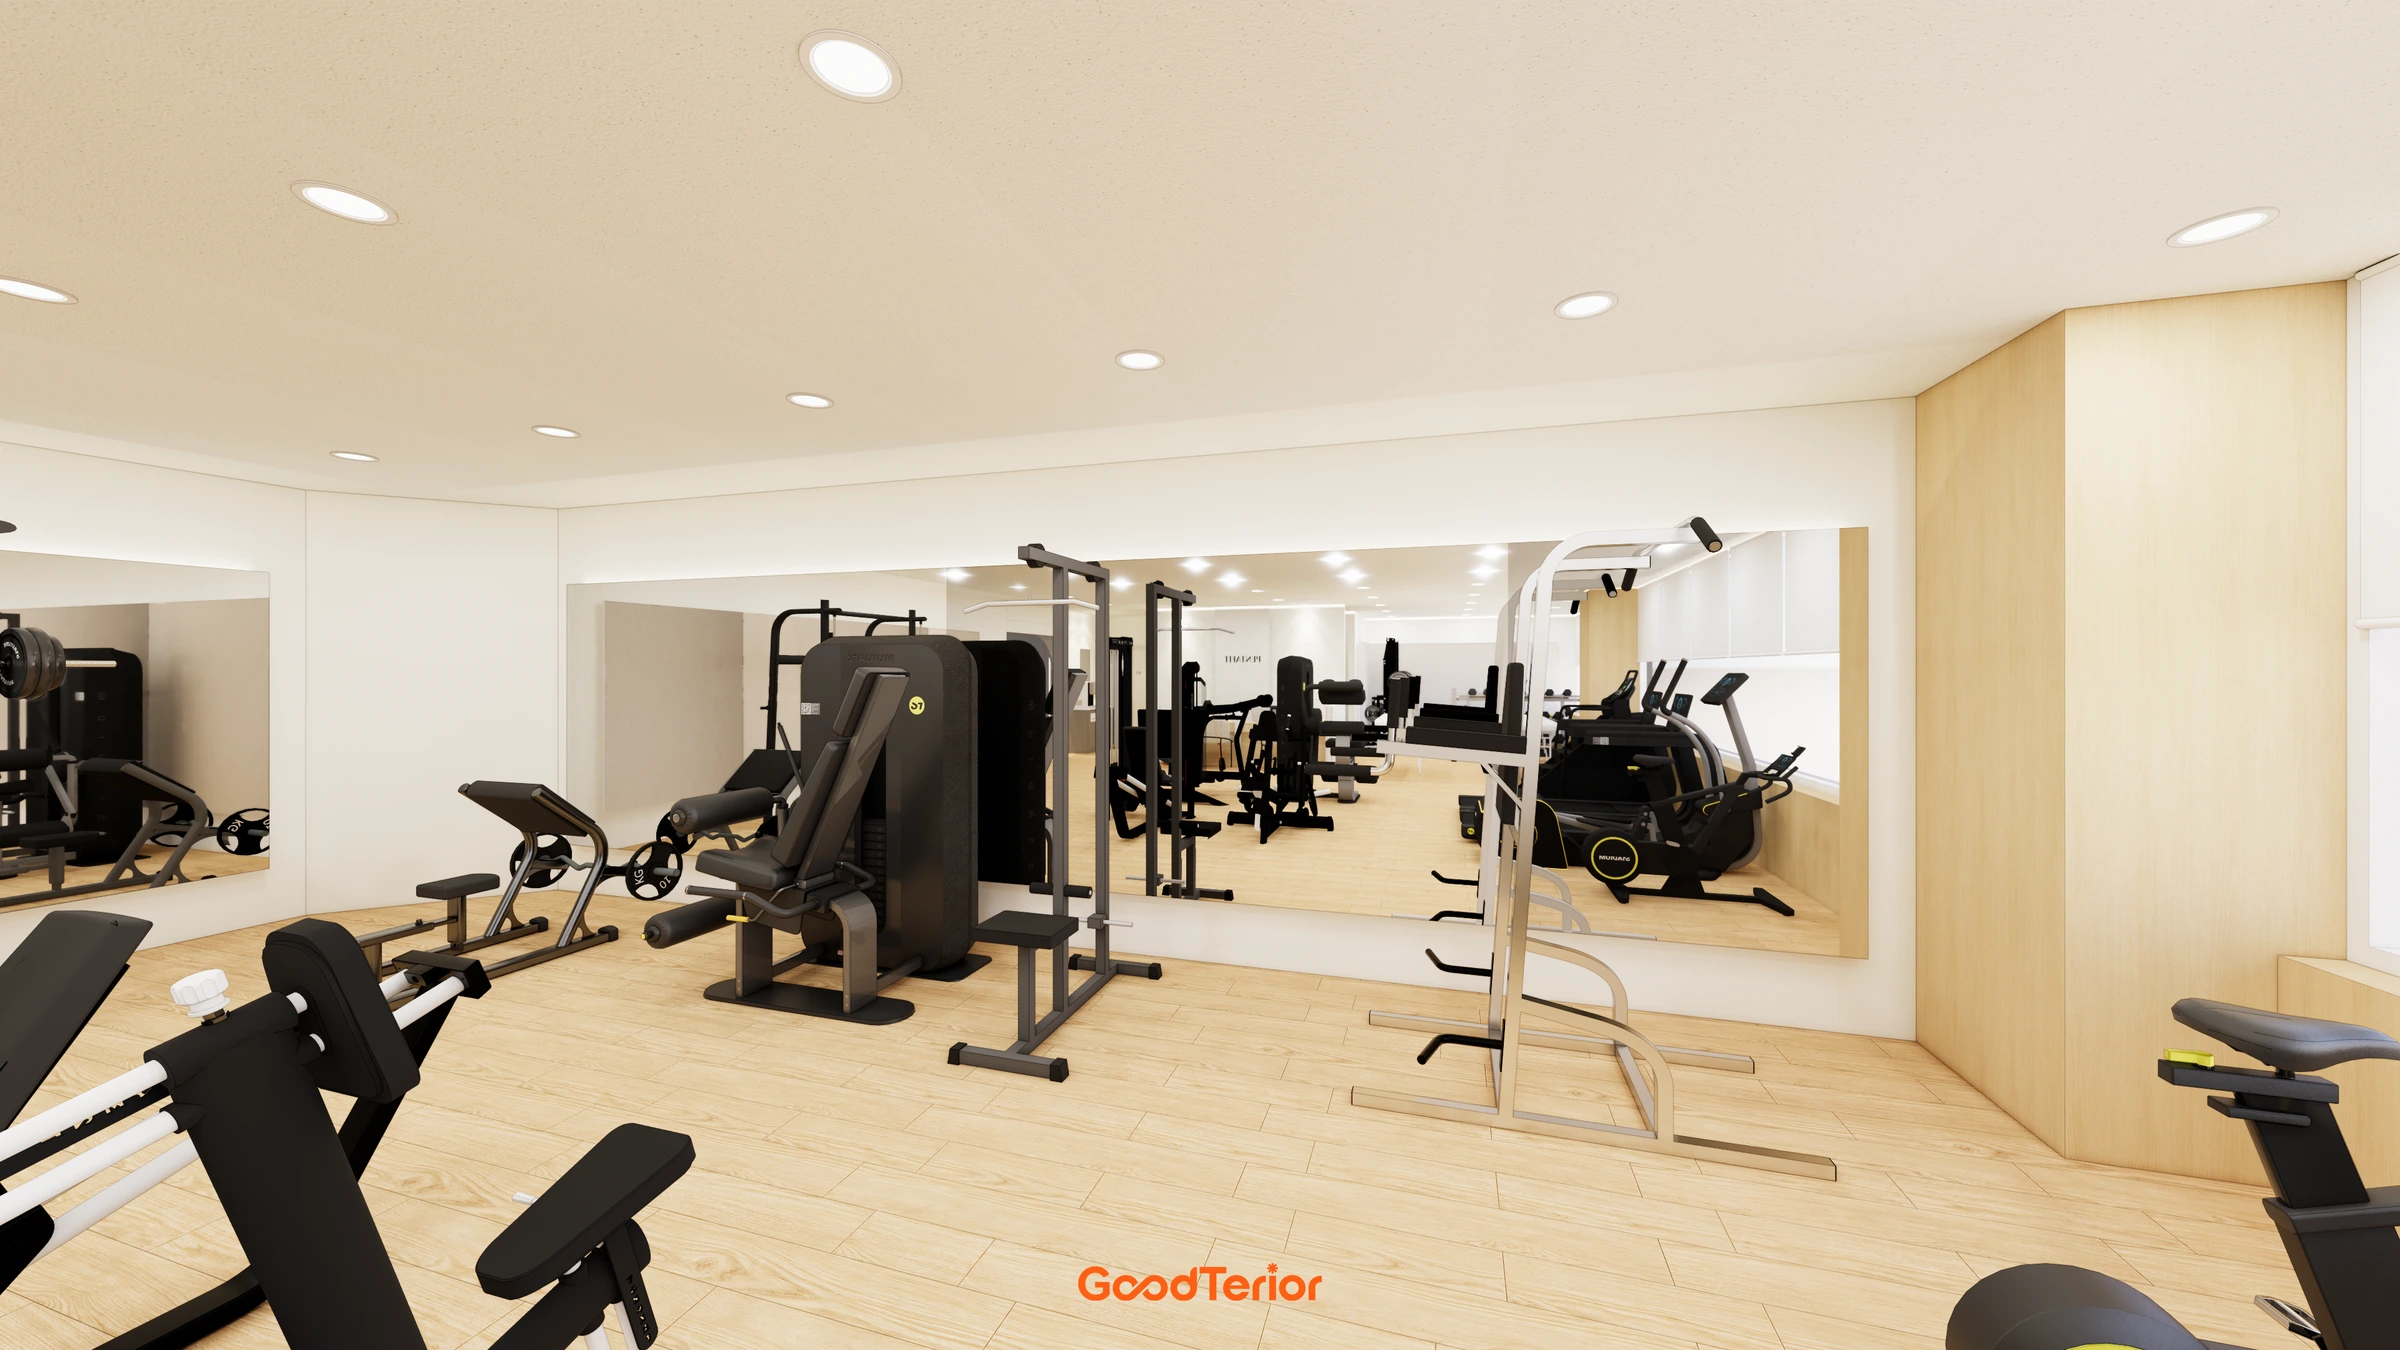
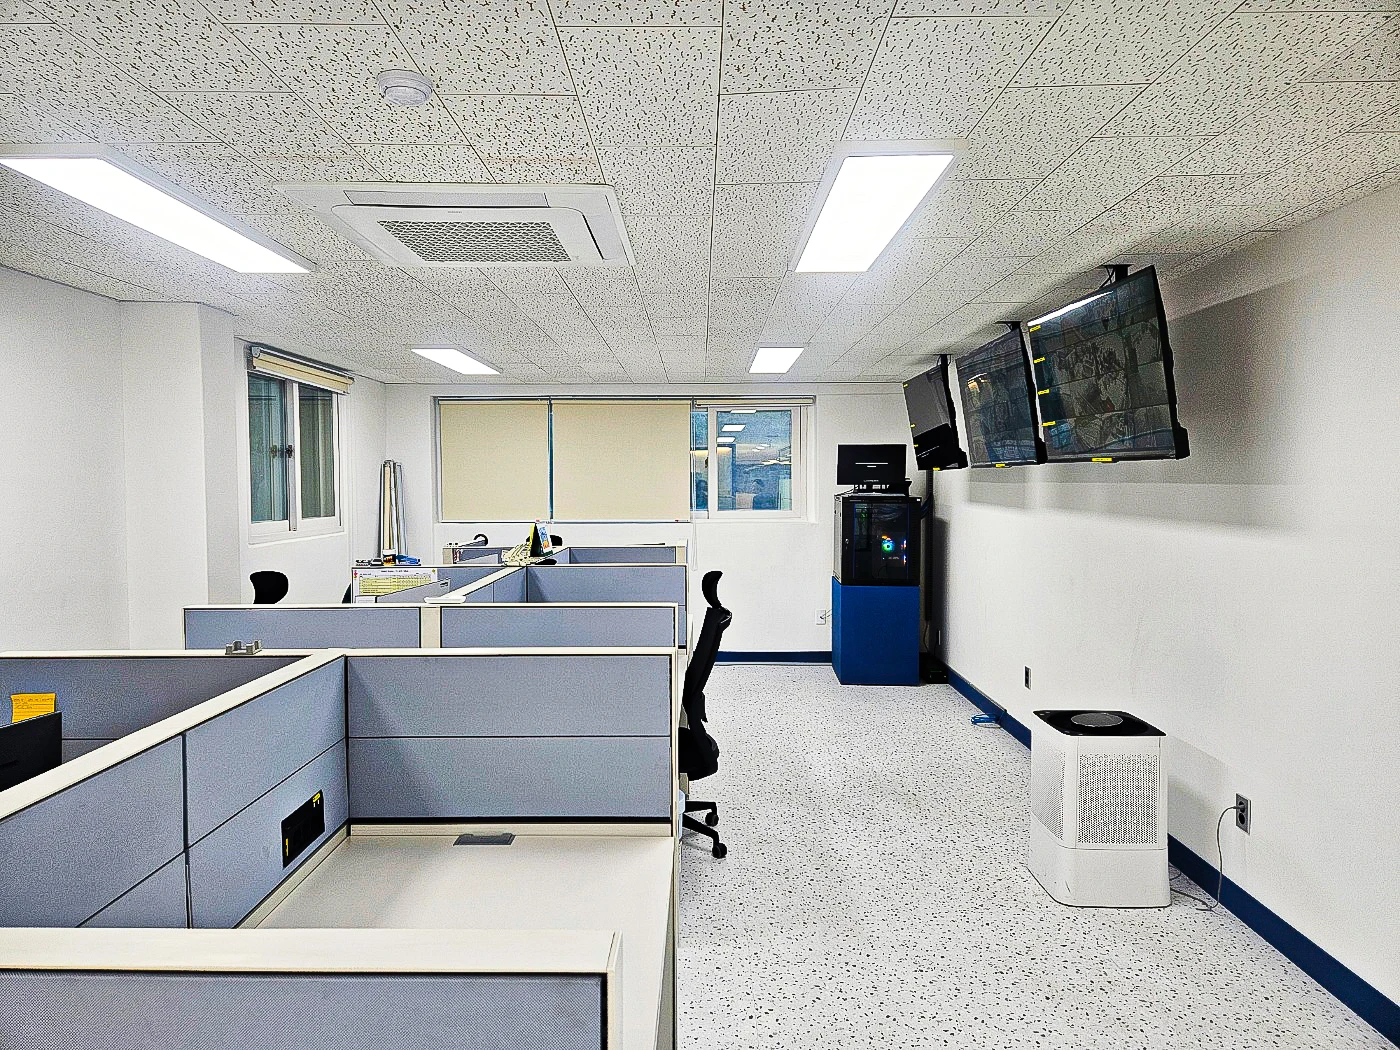
The Goodterior Nakseongdae 23-pyeong Pilates construction case plan shows routes from a shared entry area into two exercise zones. Equipment points in different directions in the two zones, and one has a curved window wall and columns. The layout is a useful example for checking whether the equipment needs another turn between the opening and its final position.
Even when everything uses the same entry, equipment delivered first may obstruct the next delivery. For a batch installation, draw where the delivery team can stand and temporarily set down parts, and see whether the units farthest inside should go in first. For a replacement during operation, check how much other equipment needs to move. If repositioning waiting or reception furniture opens the route, wall alterations may be avoidable.
24-Pyeong Design, A Pinch Point at the End of the Lobby
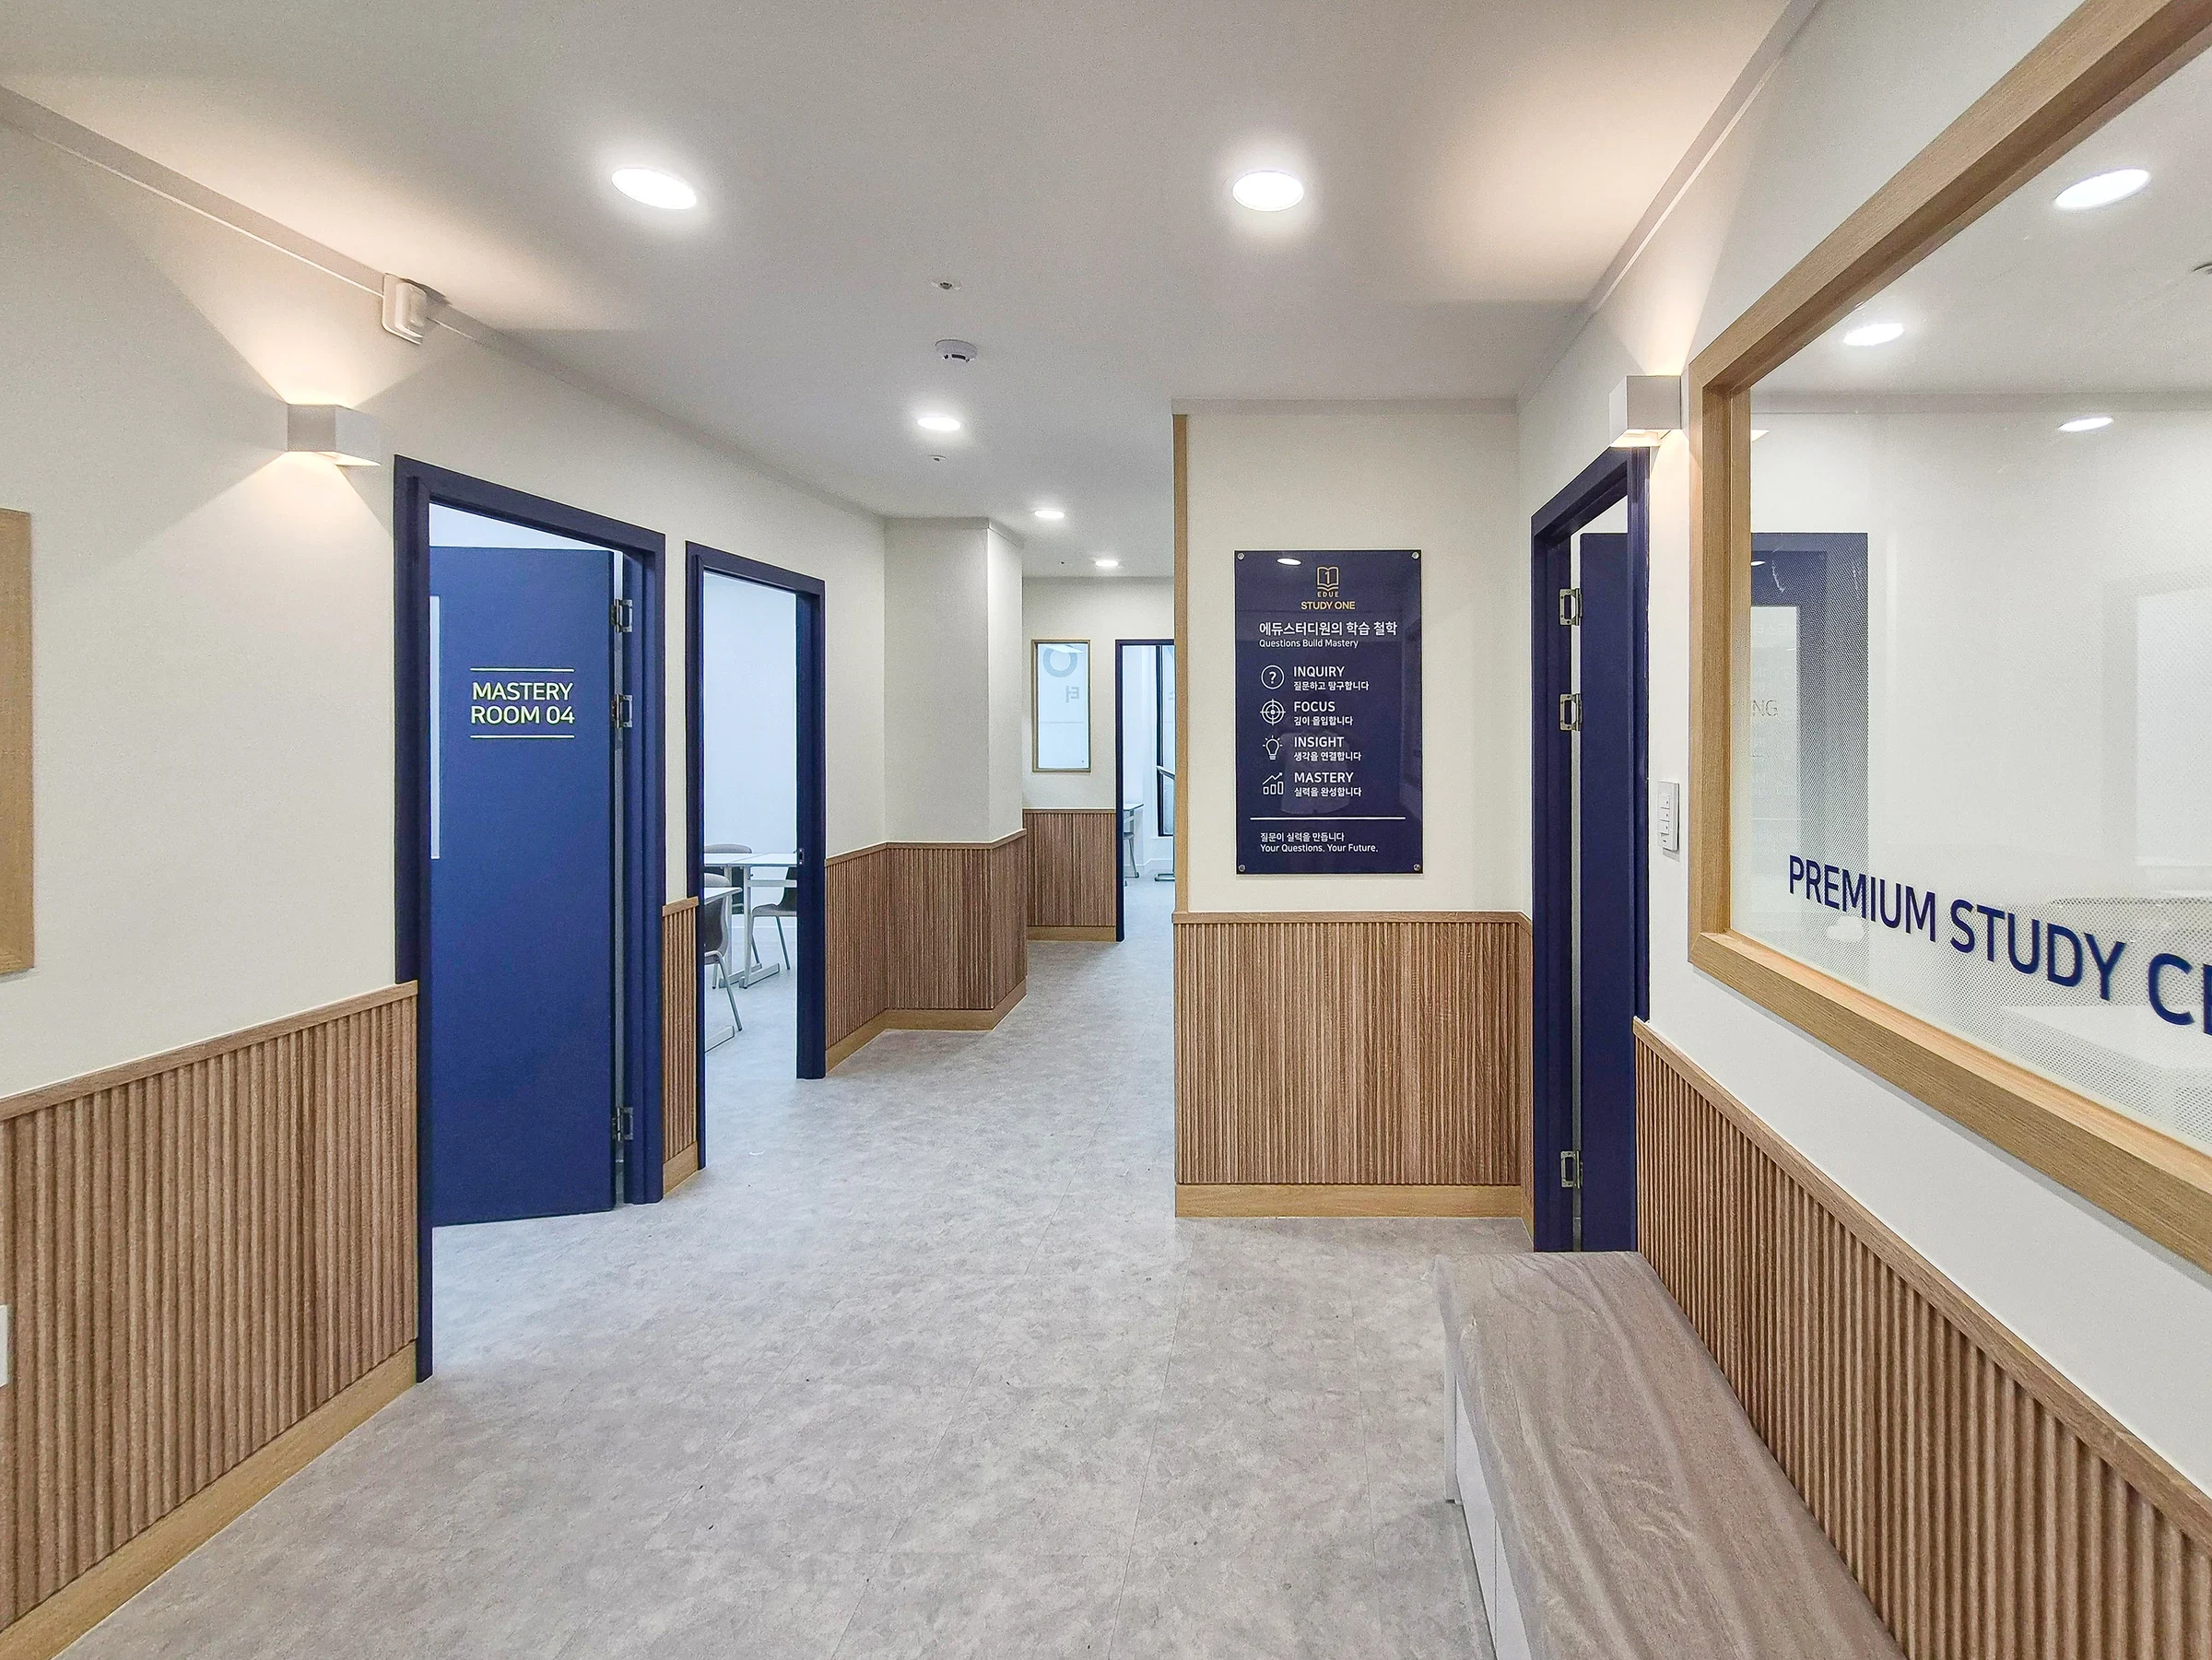
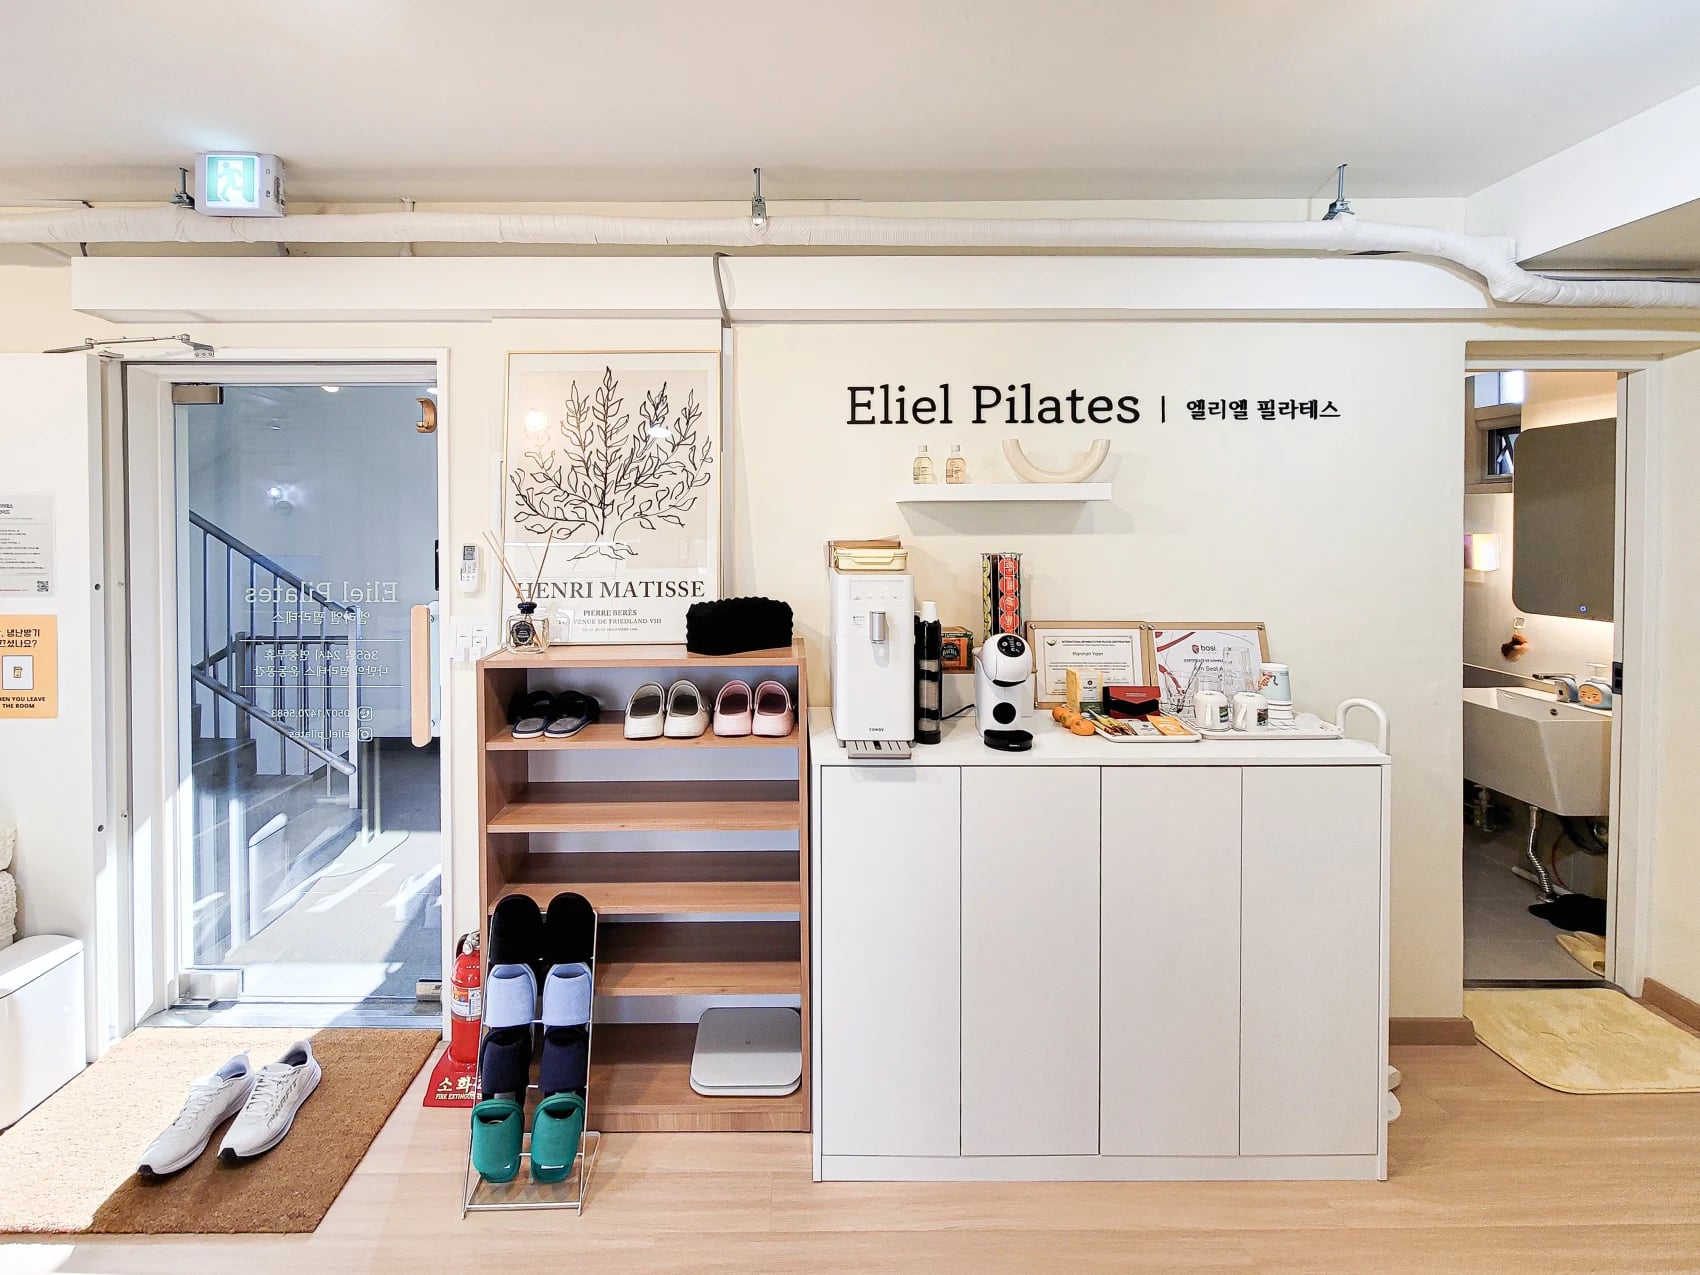
The published plan in the Goodterior 24-pyeong Pilates design puts reception beyond the front door, with the exercise hall at the far end of the lobby. A shoe cabinet and the consultation room partition flank the connection. The project description distinguishes reformers in the main exercise area from auxiliary equipment near its entry. For larger equipment, check both the narrowing in the lobby and the first row of furnishings inside the hall after the main door.
For a fixture near an entrance, such as a shoe cabinet, check its depth, handles and detachable components before moving the wall. Choosing between removable joinery and a shorter unit affects what you can do later while the studio is open. Installing the cabinet after the first delivery can help at opening, but check whether equipment could also be removed through the same route in the future.
What to Check First on the Plan and Quote
First ask the supplier for the longest component, the largest package and what will be assembled indoors. Then trace the route from the building entry through the lift and its landing, along the common corridor, and from the studio door to the installation spot. Record the clear width and height with each door open, thresholds, columns and overhead obstructions. Have building management and the delivery team look at the same route, since the building may differ from the plan.
Even if the route is wide enough, the delivery may leave the lift by the opposite door or turn between the landing and the studio. Draw the outer dimensions there with packaging and floor protection included. Once the supplier confirms what can be disassembled and how much assembly space is needed, you can compare widening the door with changing the delivery method on the same basis.
After drawing the route, use tape or a lightweight mock-up to represent the long component at the hardest turn. Before opening, coordinate the order of reception and cabinet installation. For a later replacement, identify which furniture would move and when classes can pause. Separate quotes for equipment disassembly and on-site assembly, door and joinery adjustments, and protection of common areas and finishes make the work easier to compare.
Ask us about your interior project
We can discuss a quote and design suited to the space you are planning.
Request a free consultation