Shop lighting design: plan positions before color temperature
Shop lighting begins by separating the light needed at counters, displays, and seats. Learn to review color temperature, brightness, color rendering, glare, and switching zones together.

Before you begin
- Plan general lighting separately from task and accent lighting.
- Color temperature describes light color, not brightness or color rendering.
- Check lights from actual seats as well as looking up at the ceiling.
Lighting arranged around people and furniture
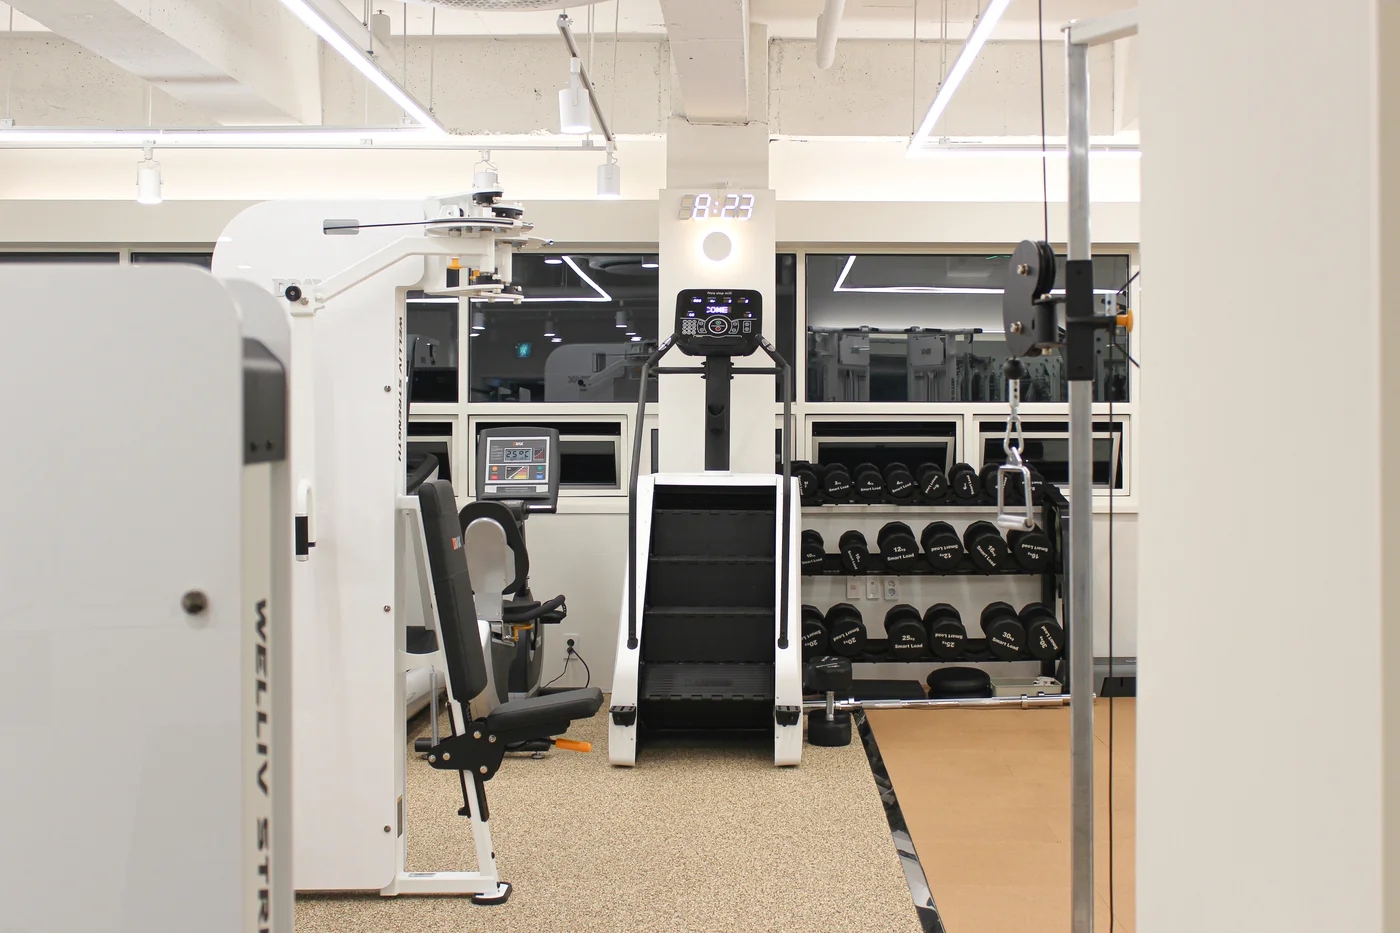
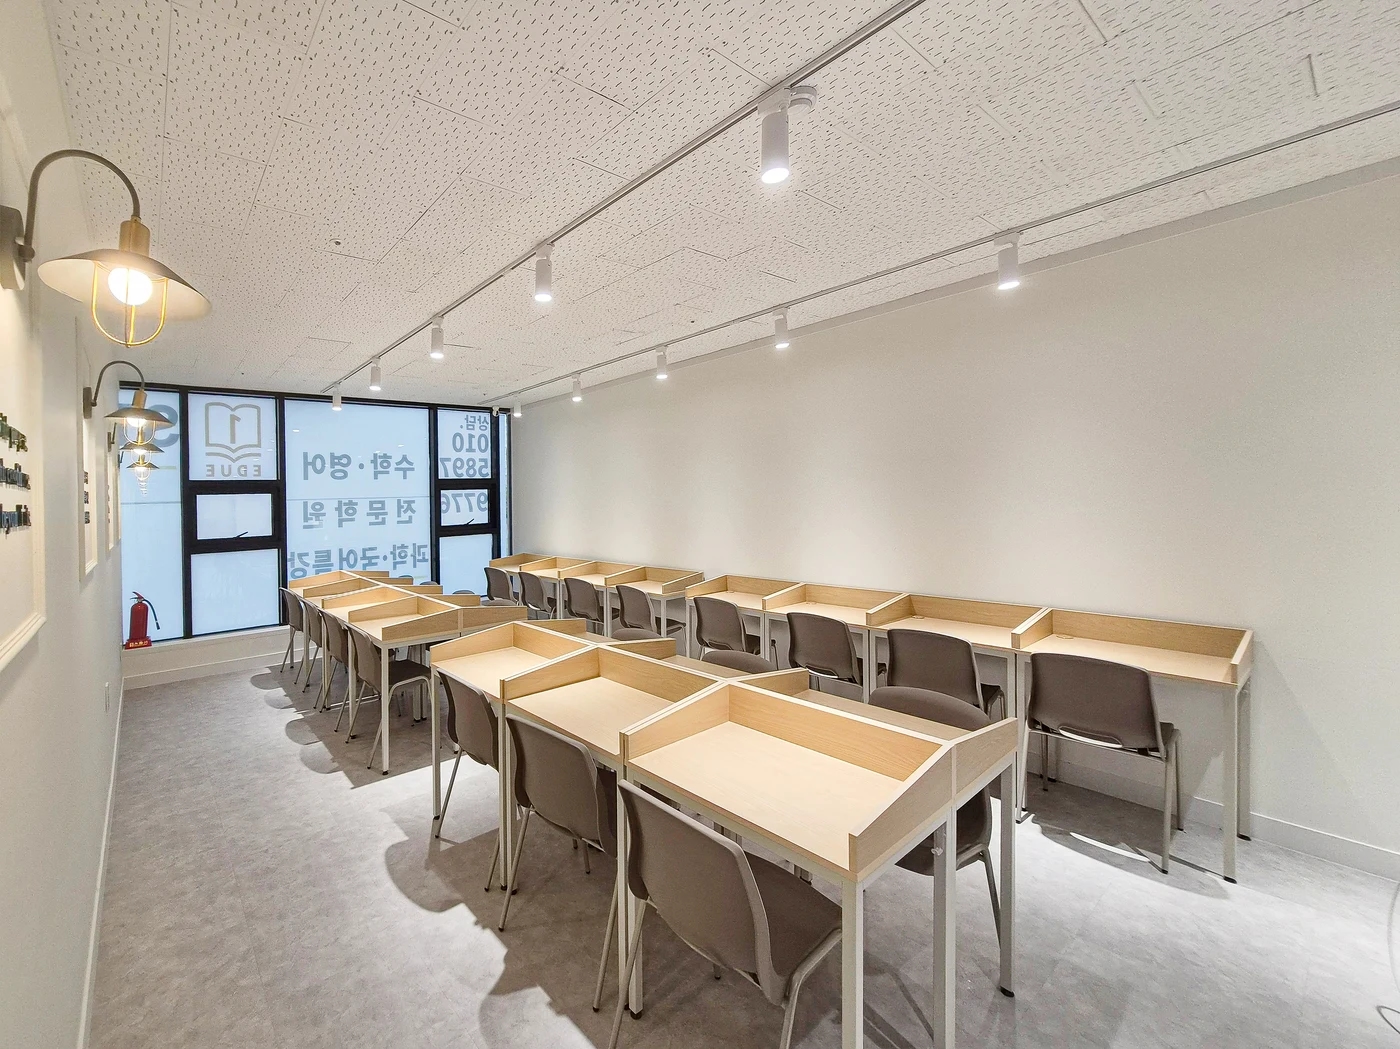
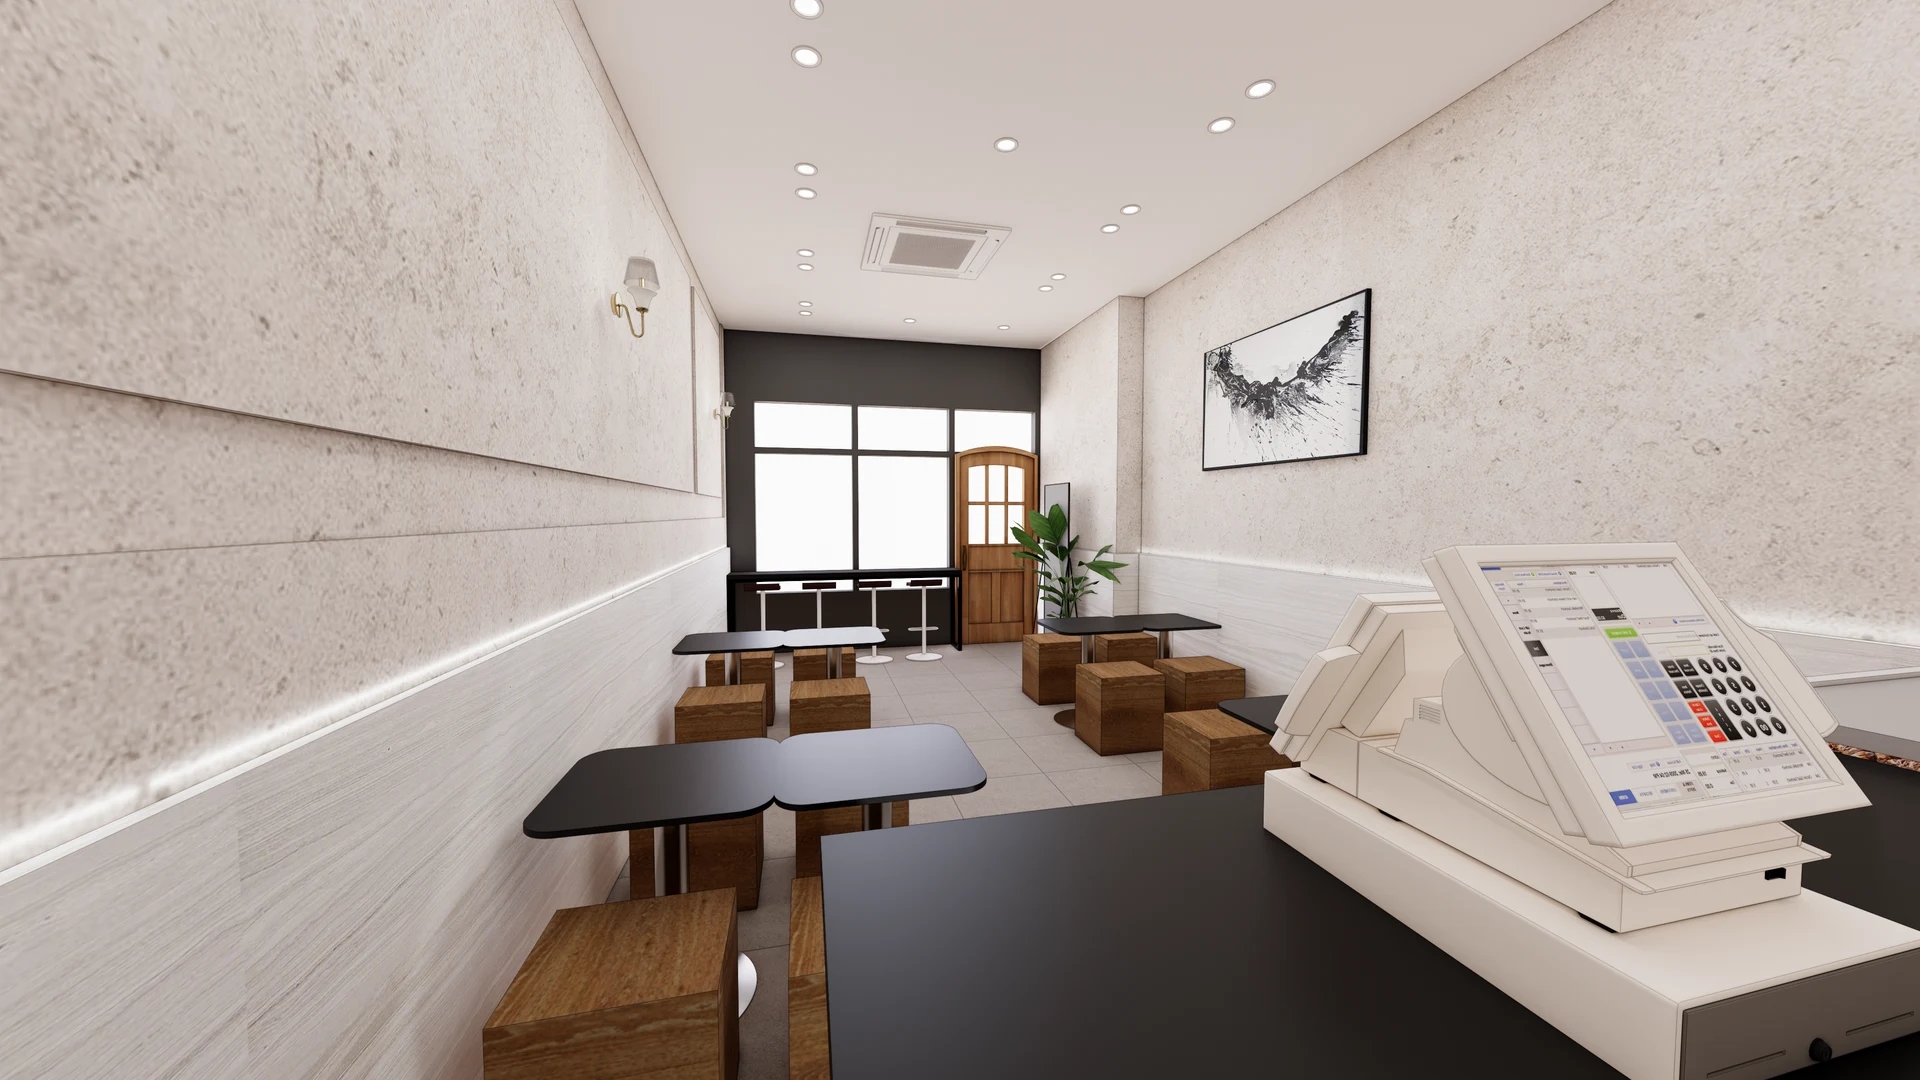
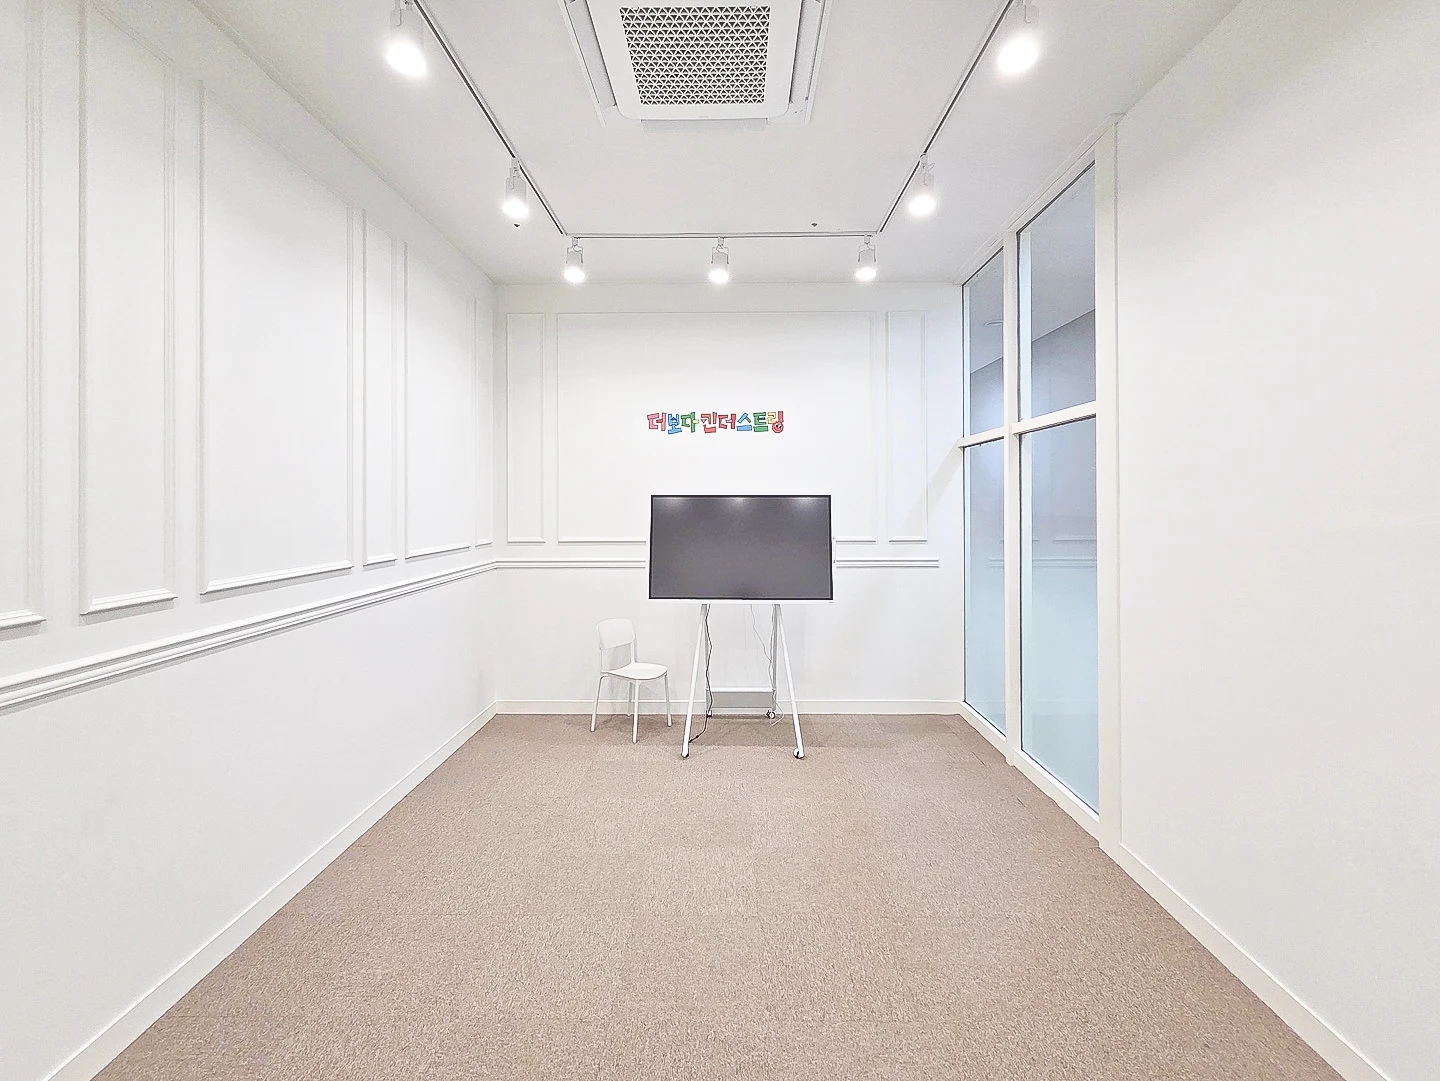
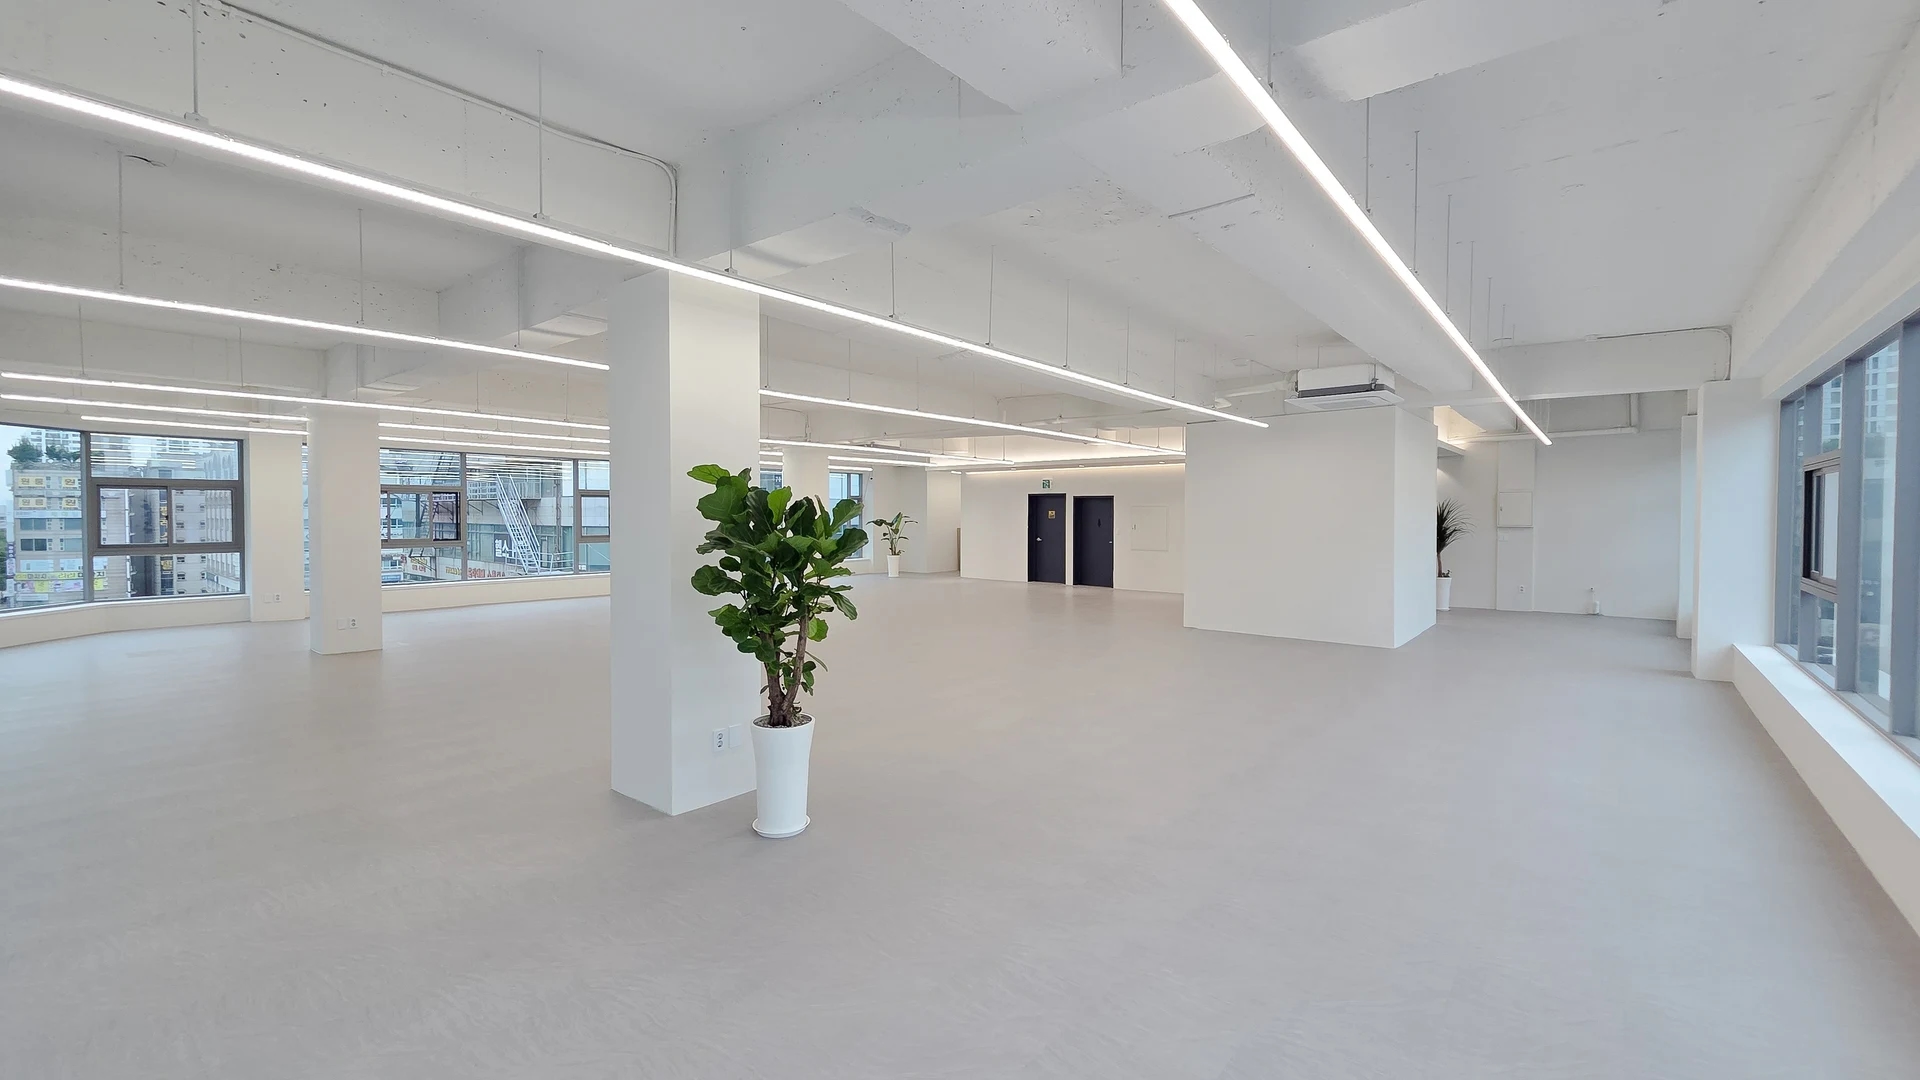
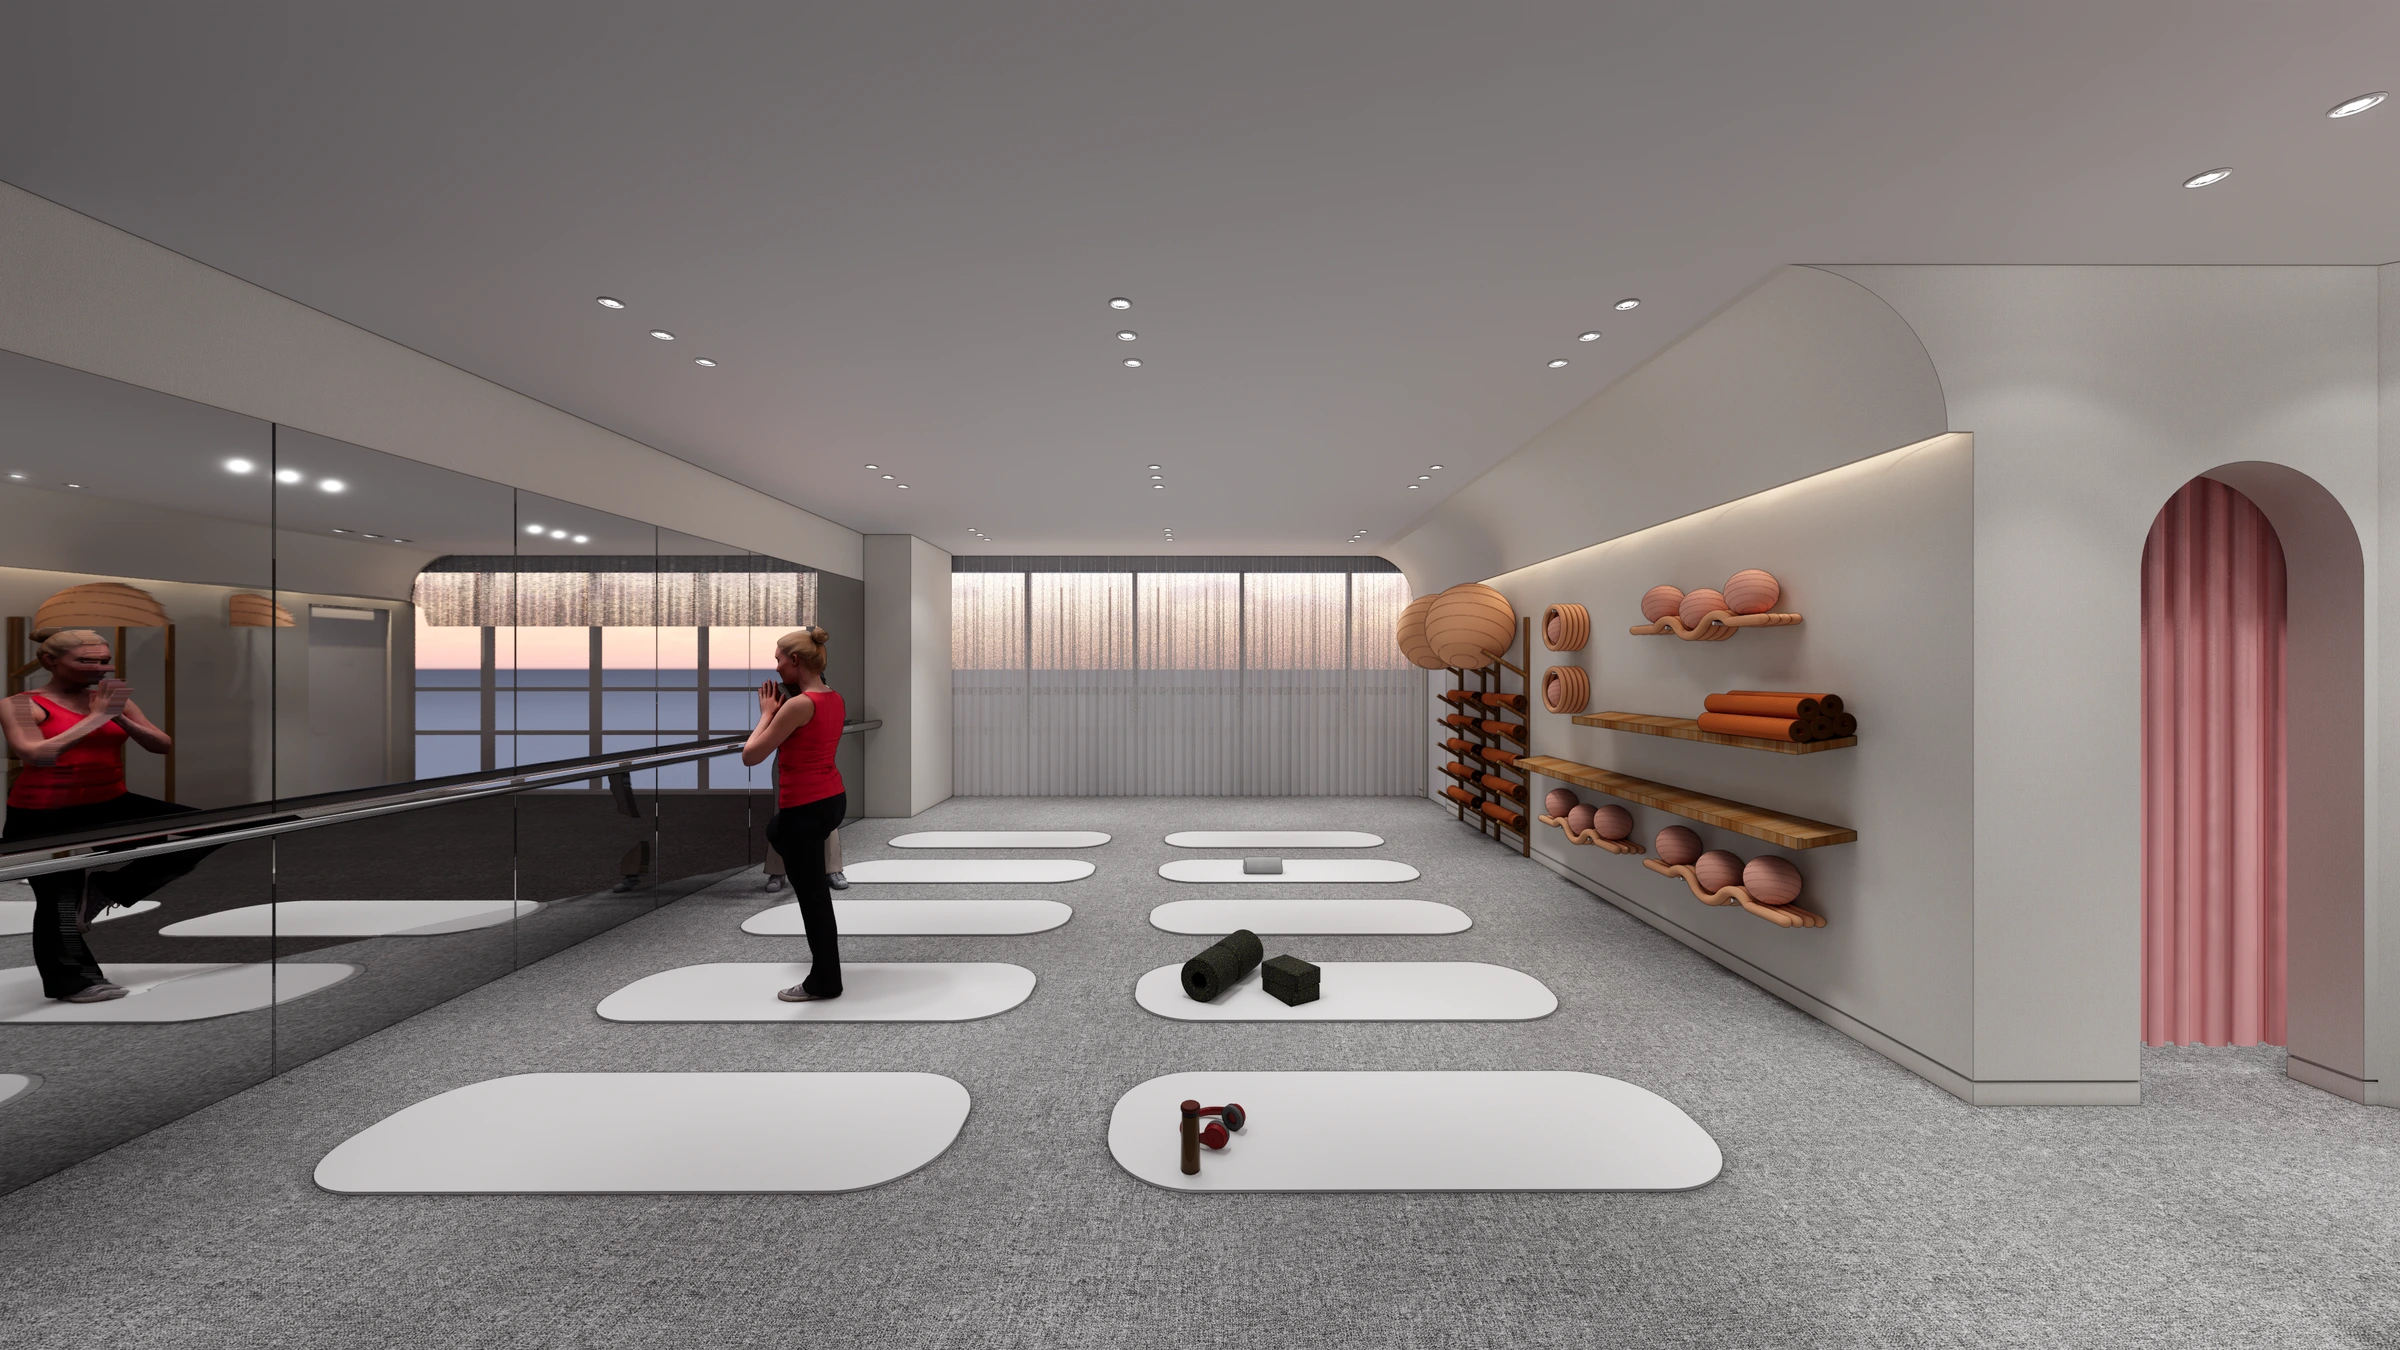
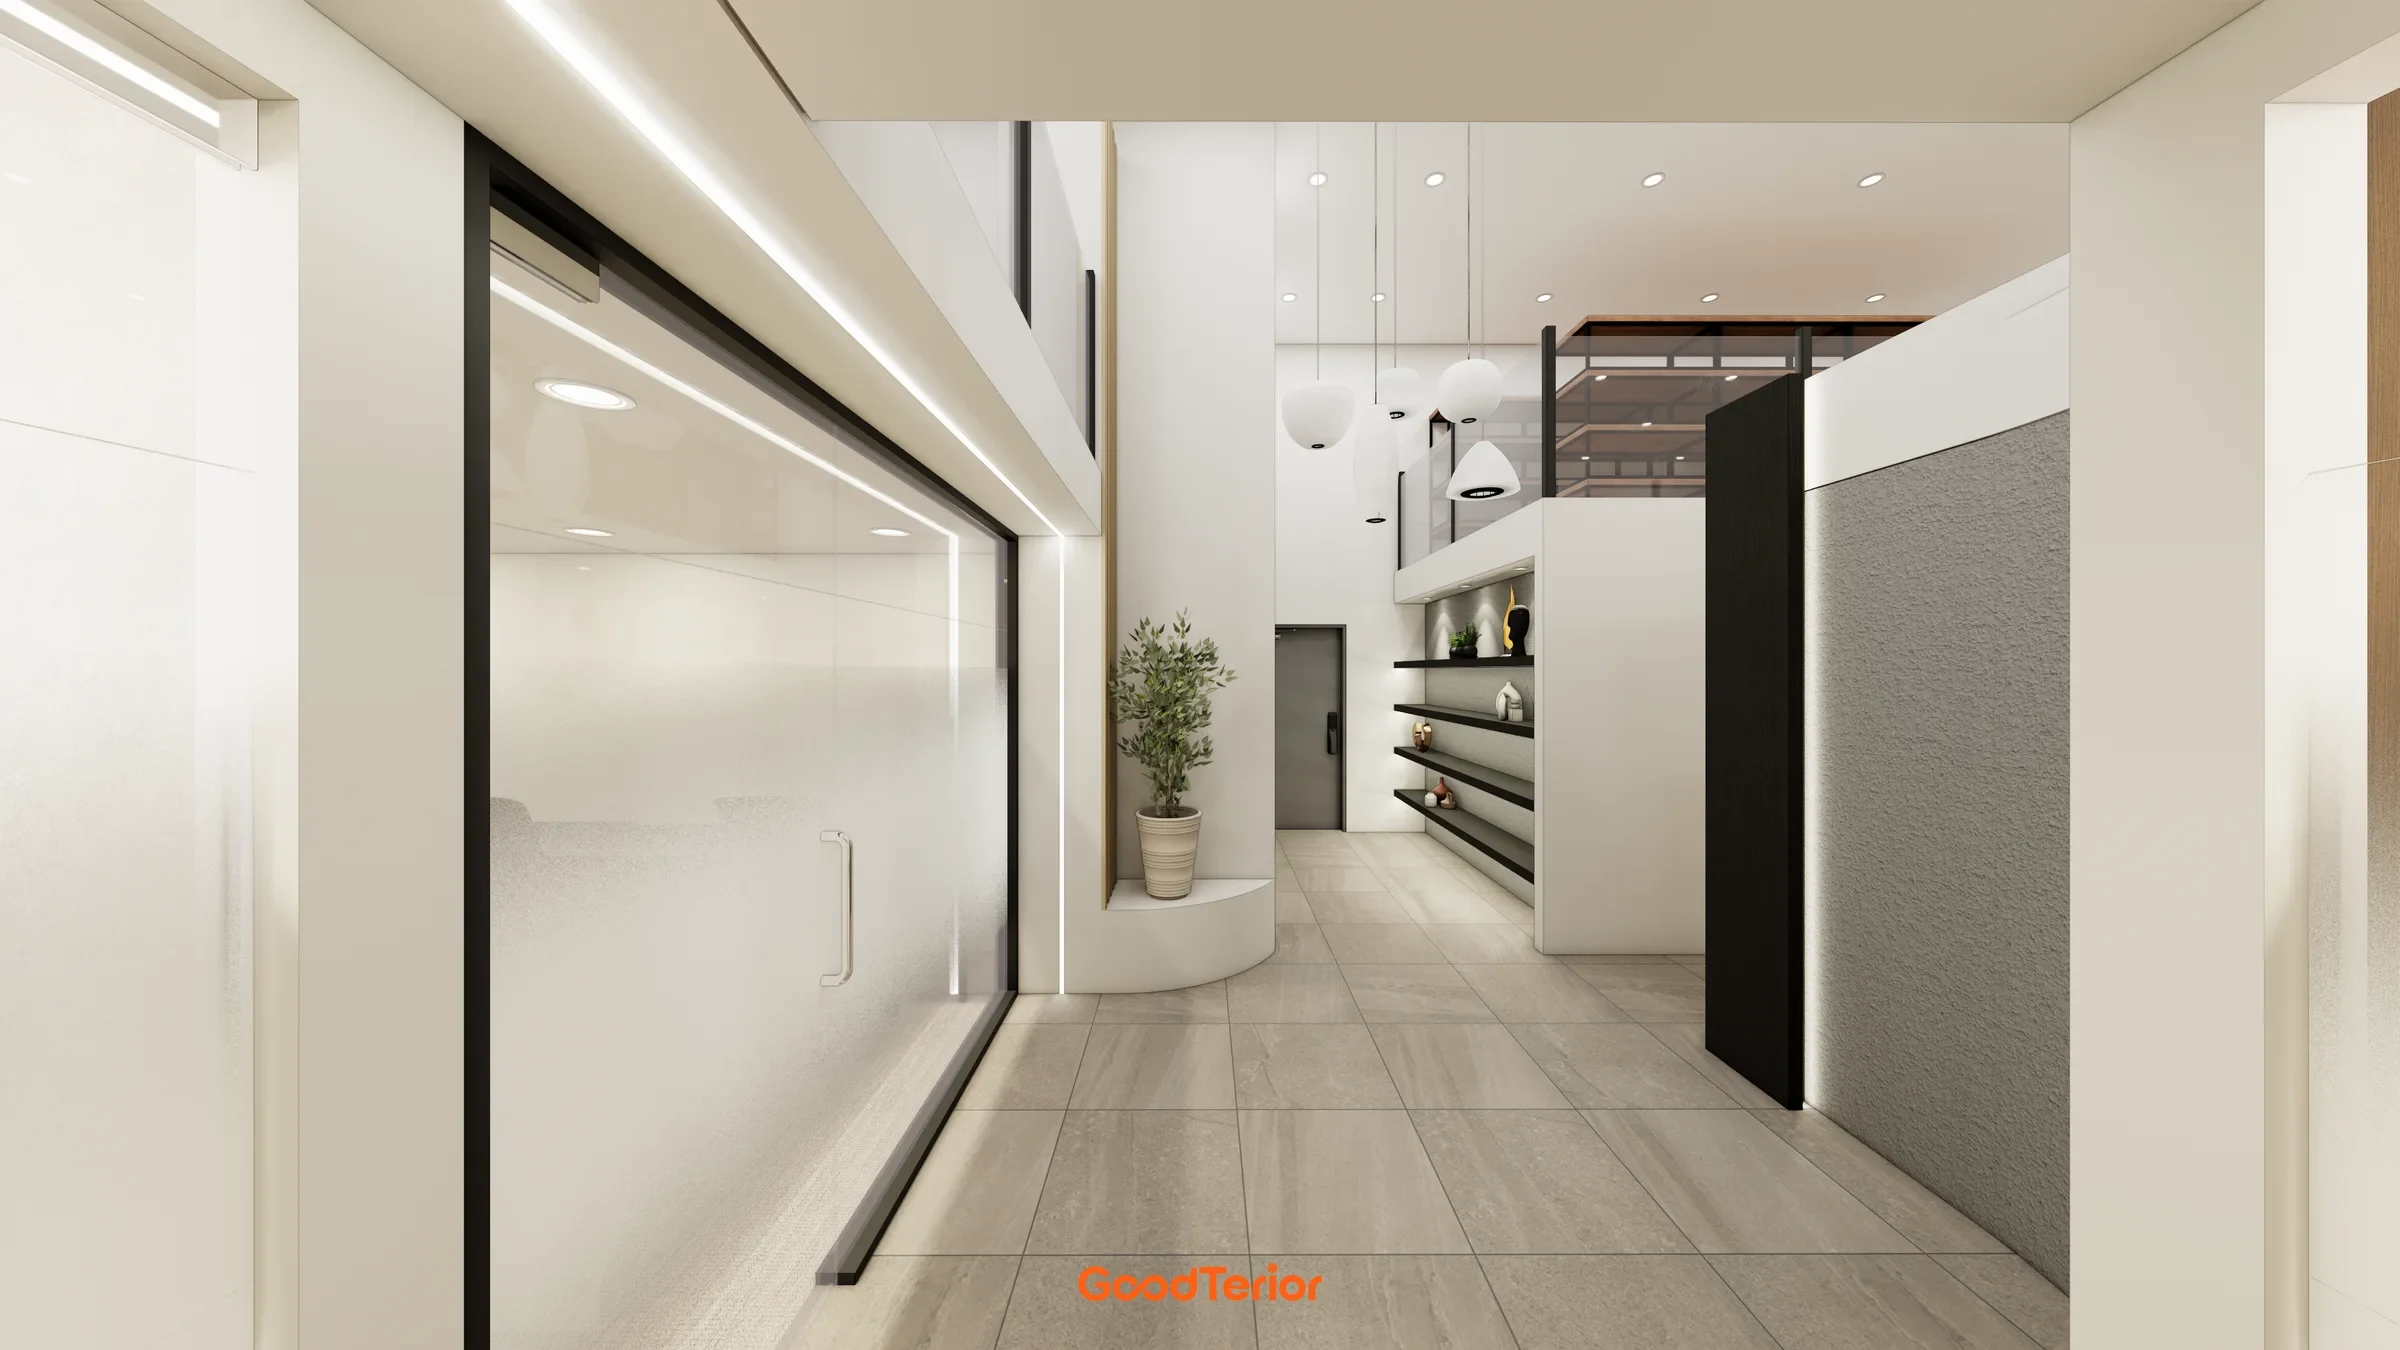
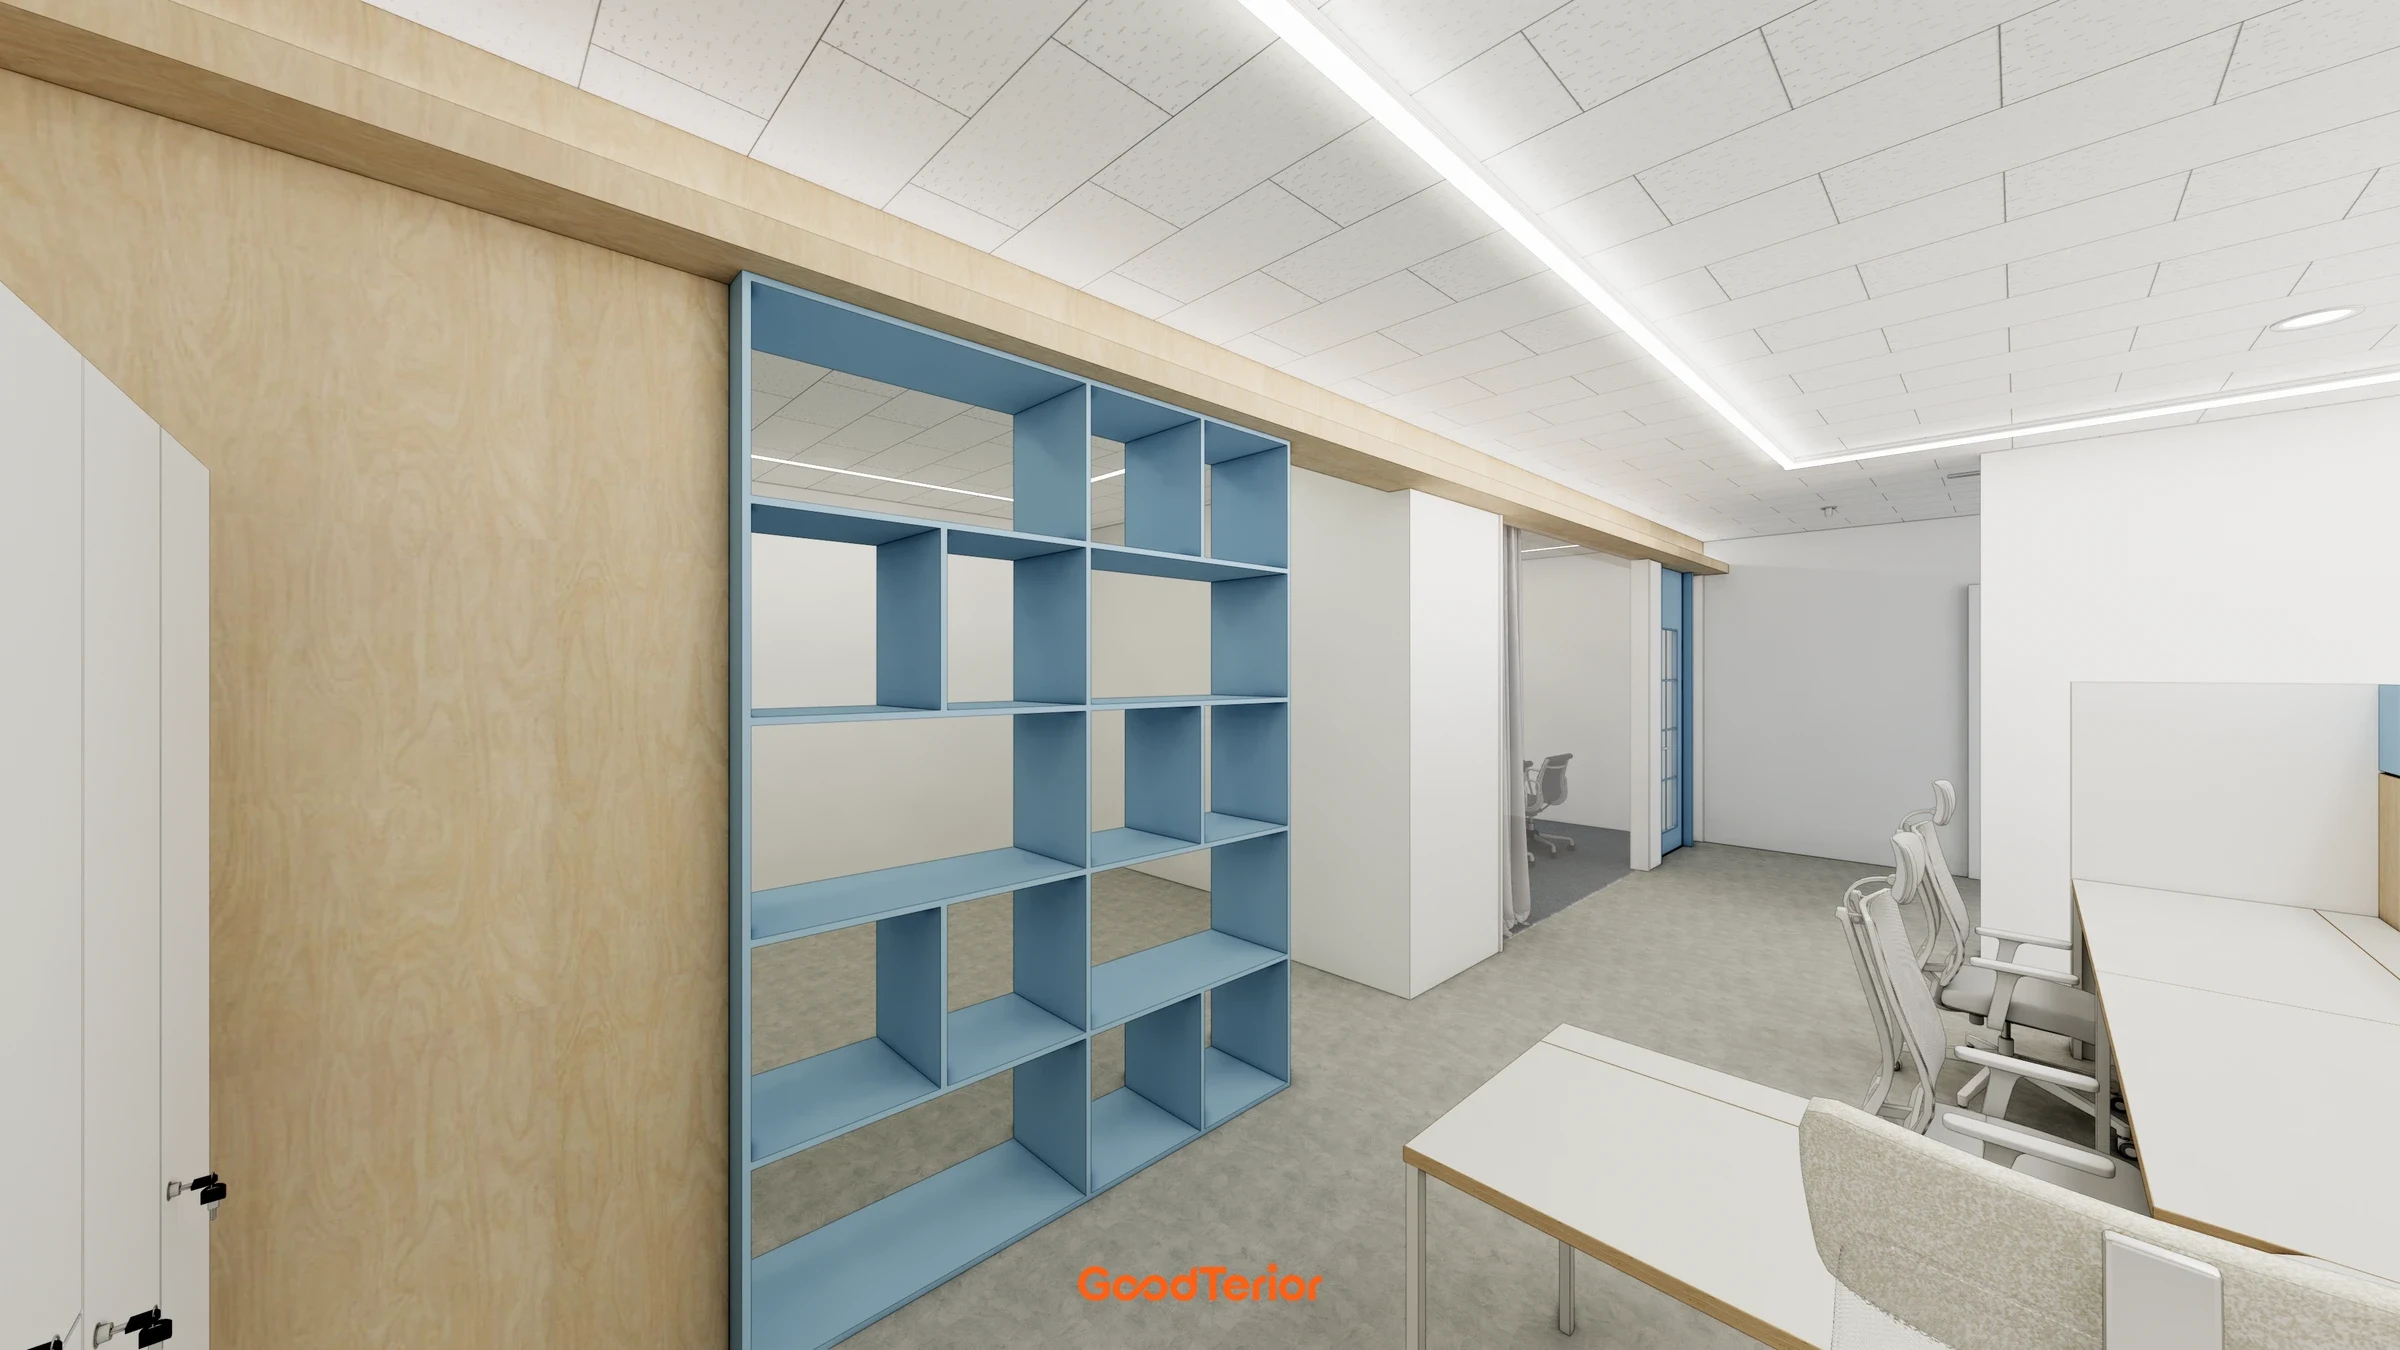
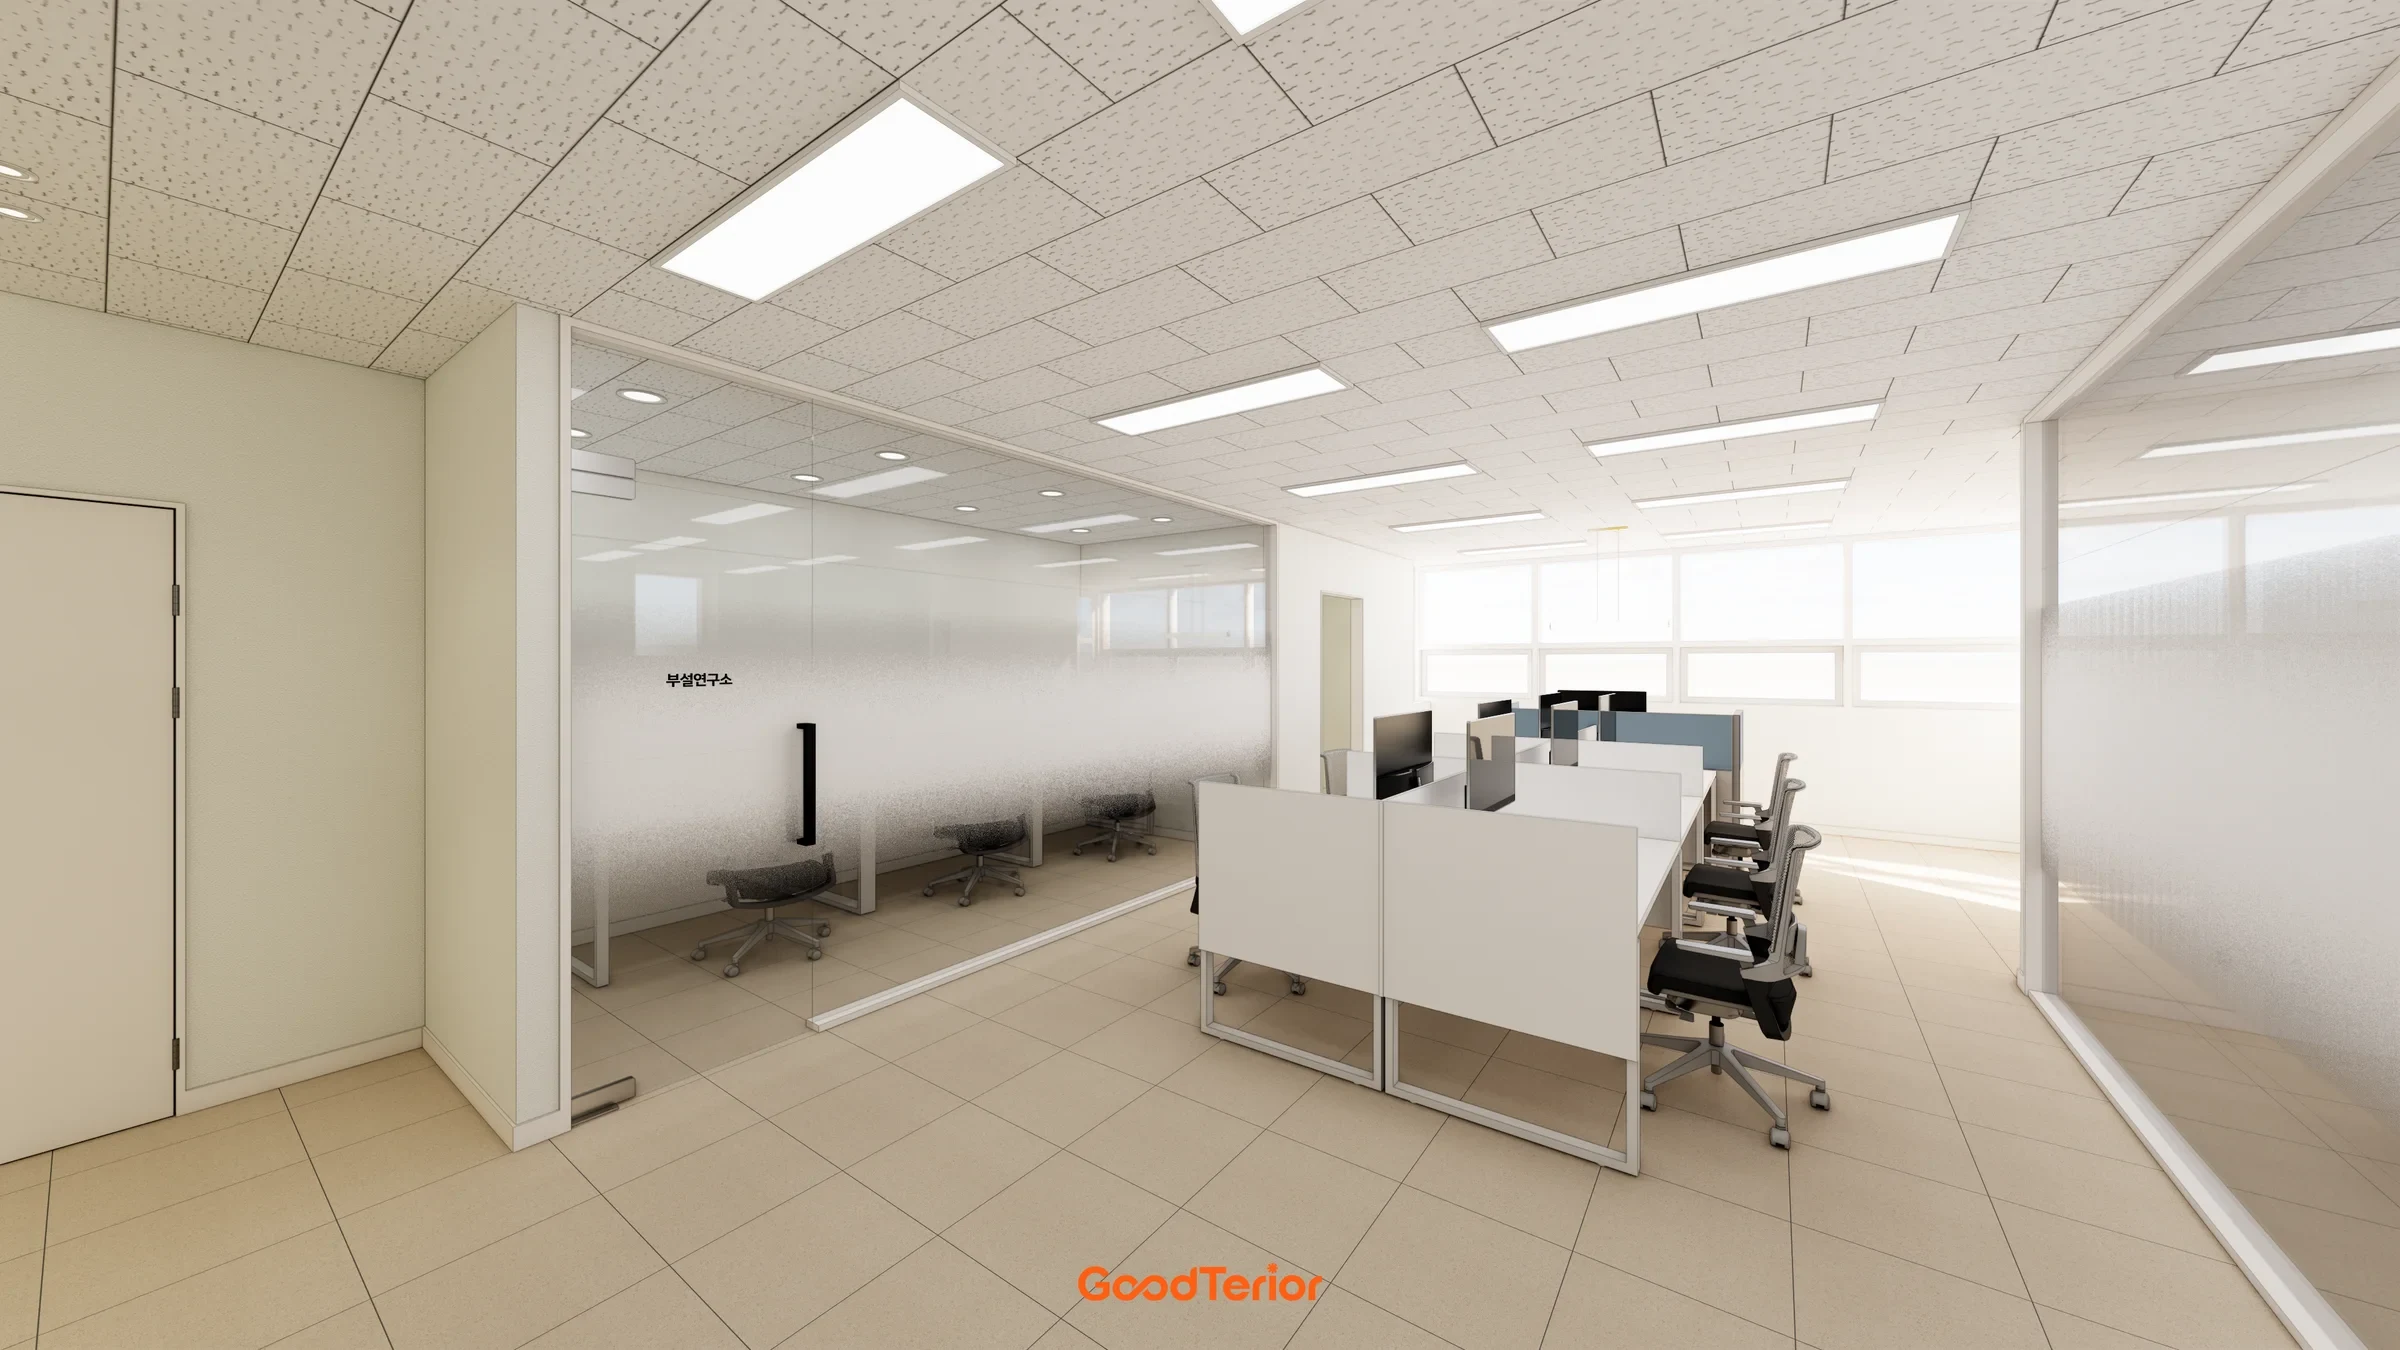
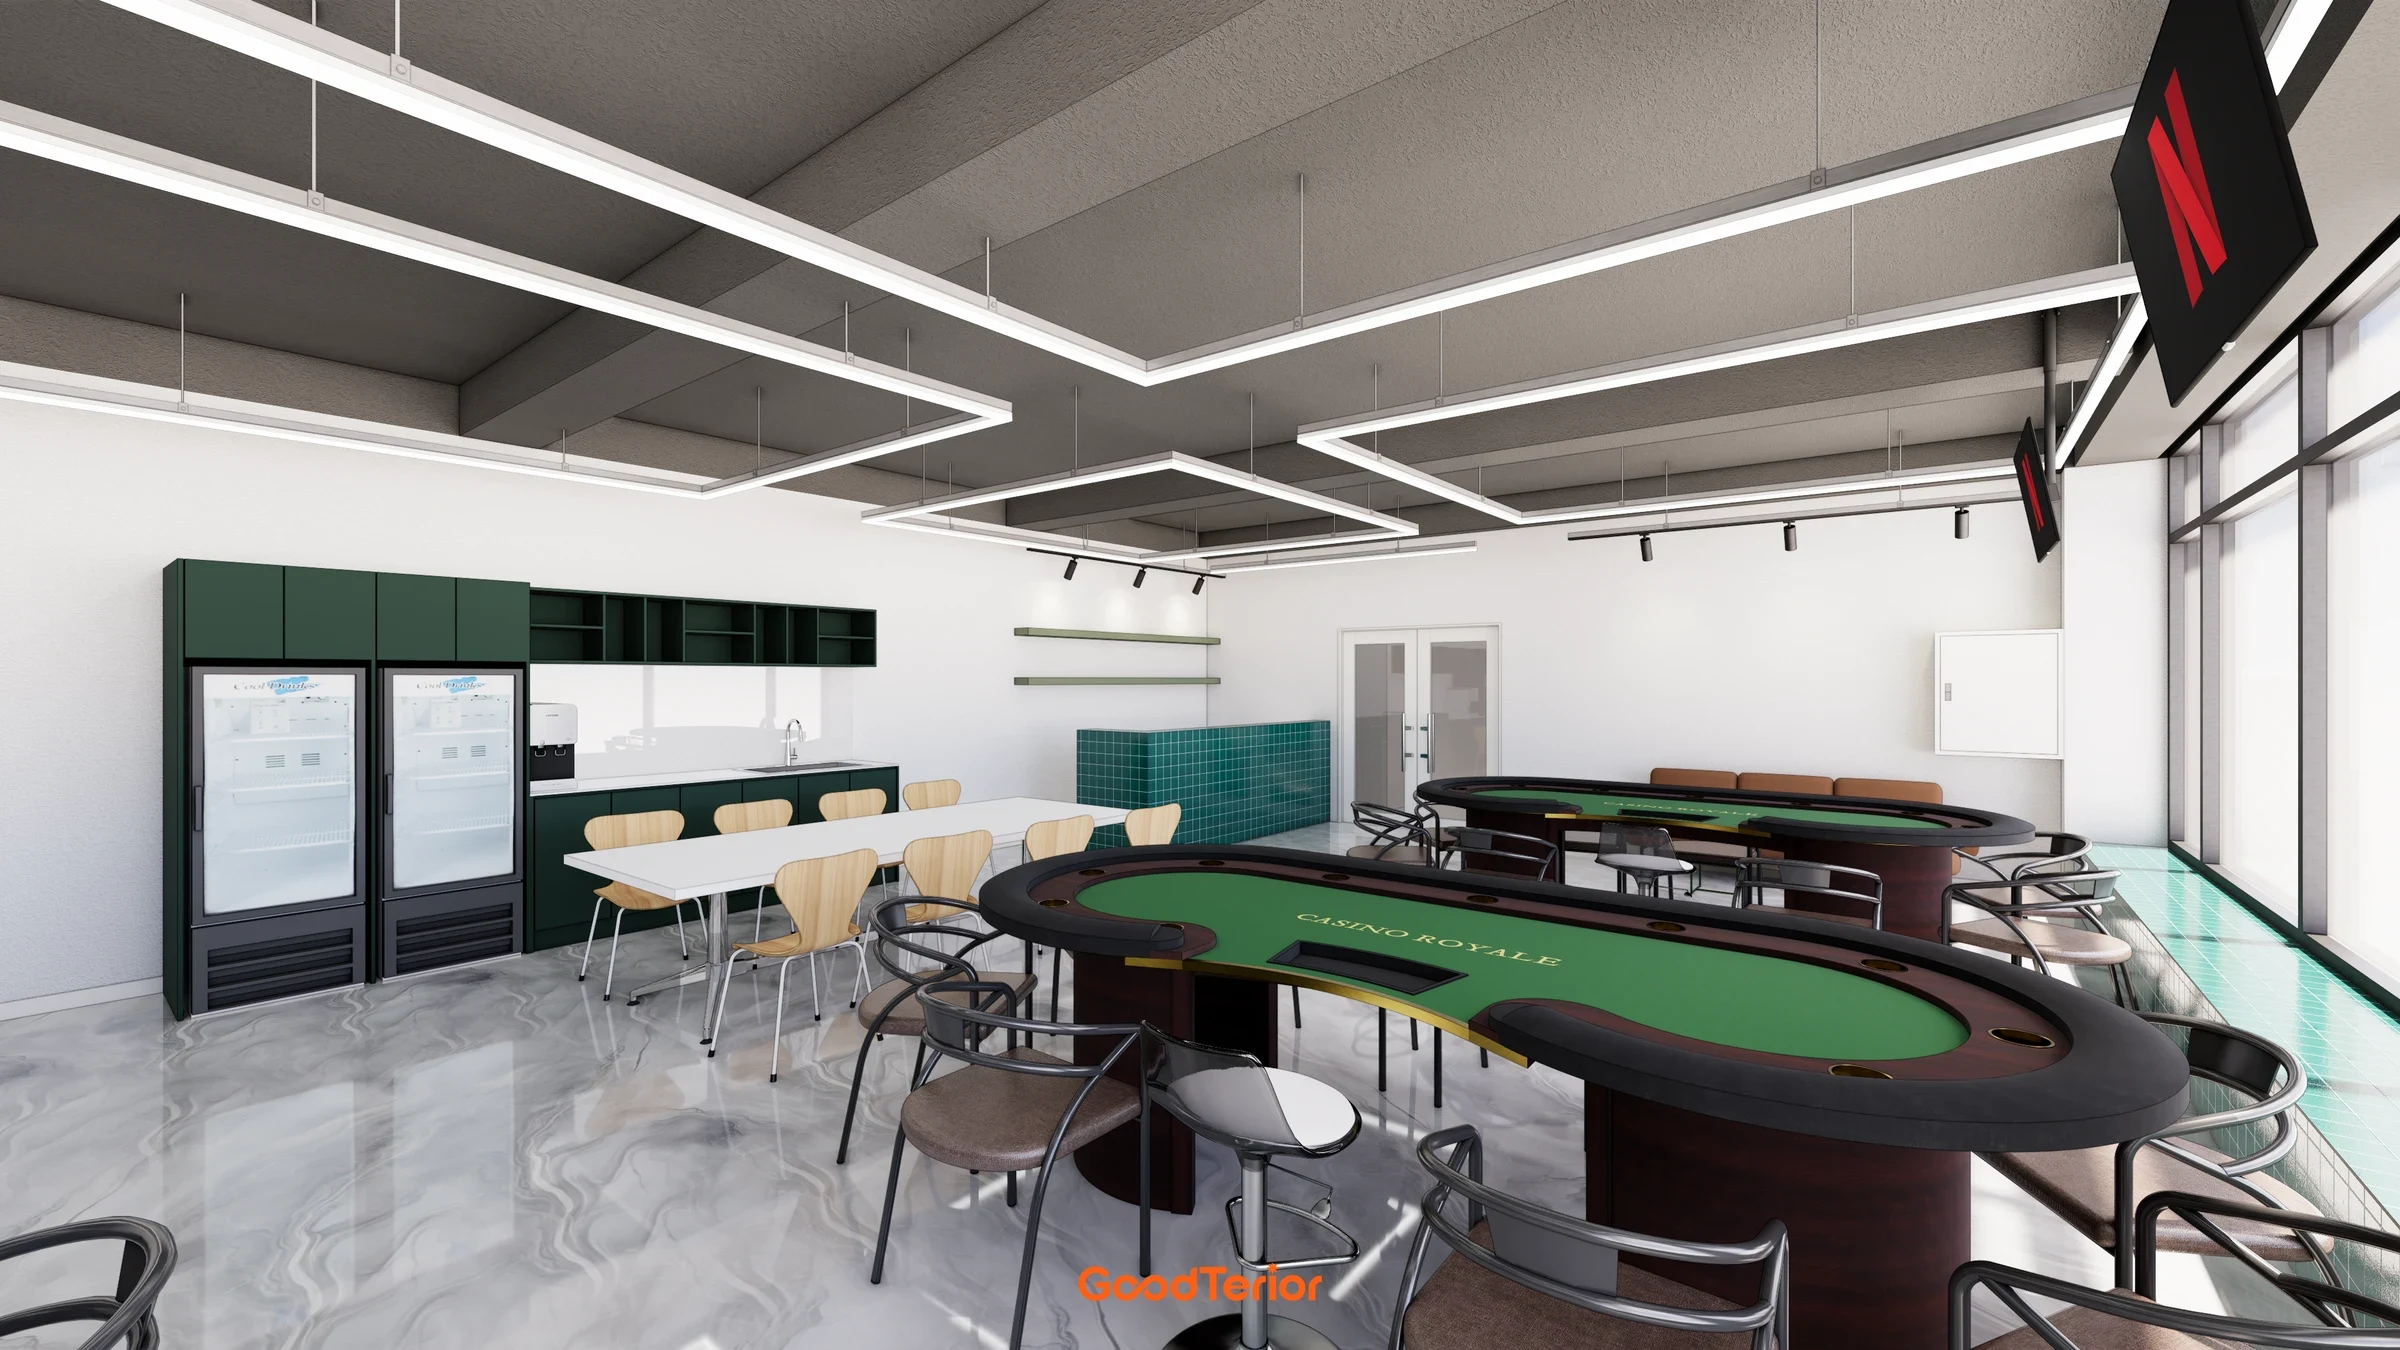
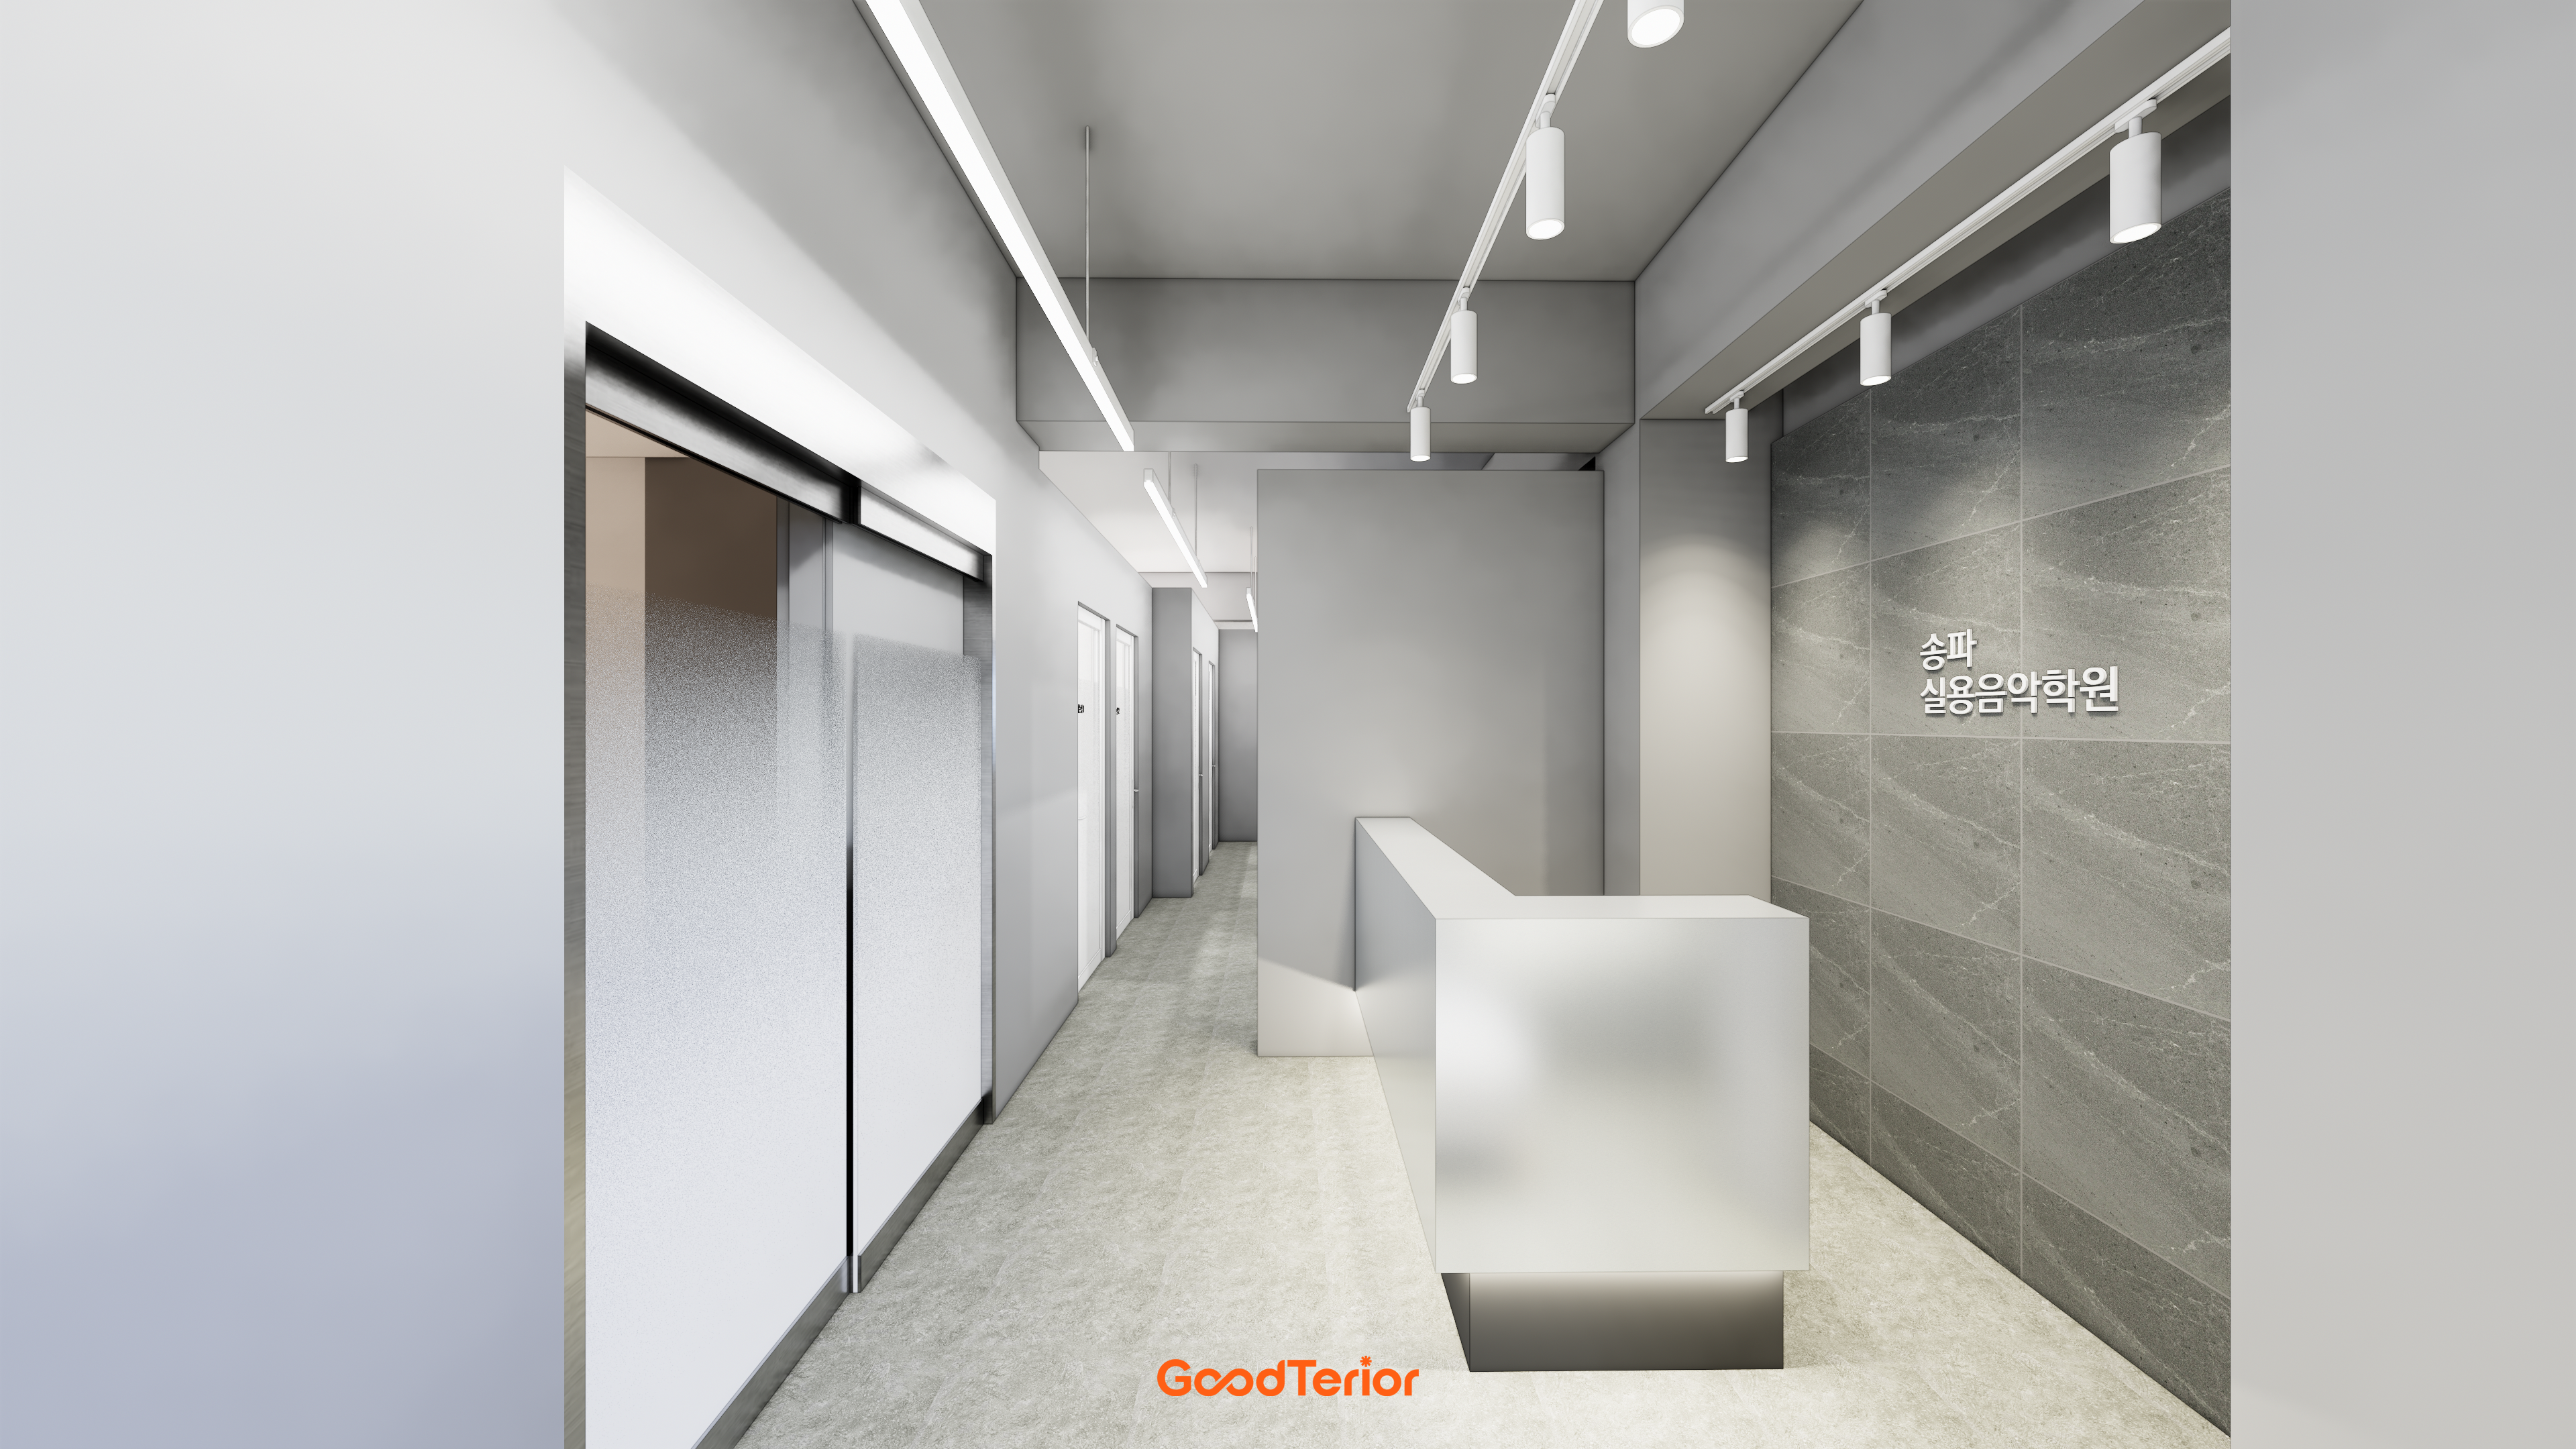
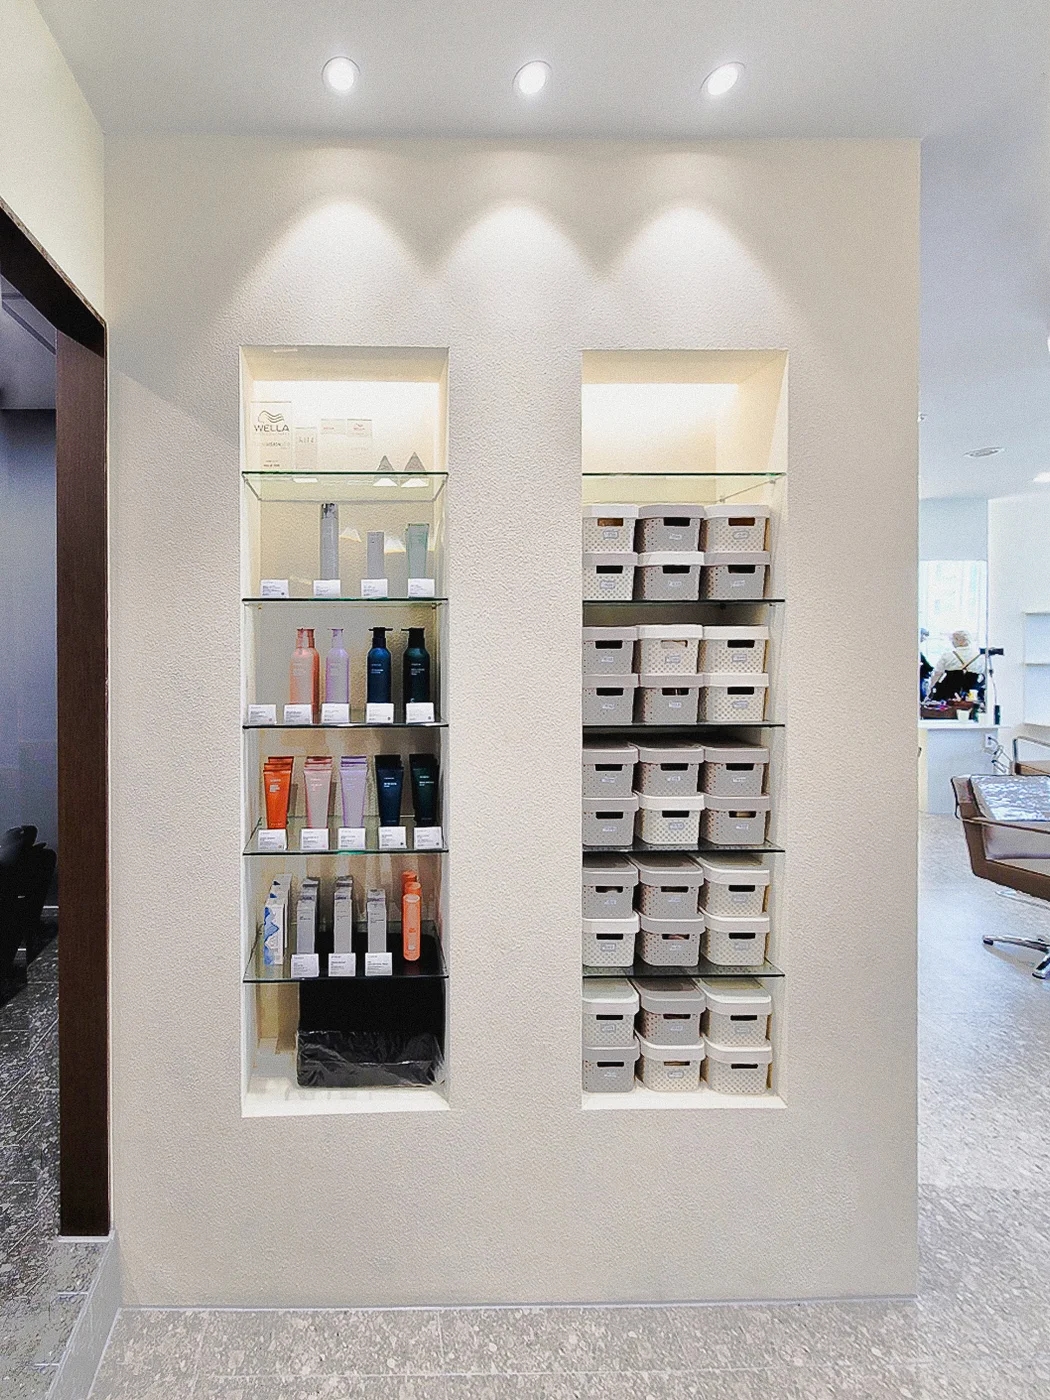
Begin shop lighting with the floor plan rather than fixture images. Mark payment positions, product displays, and long-stay seats. Distinguishing general, task, and accent lighting reveals the required functions.
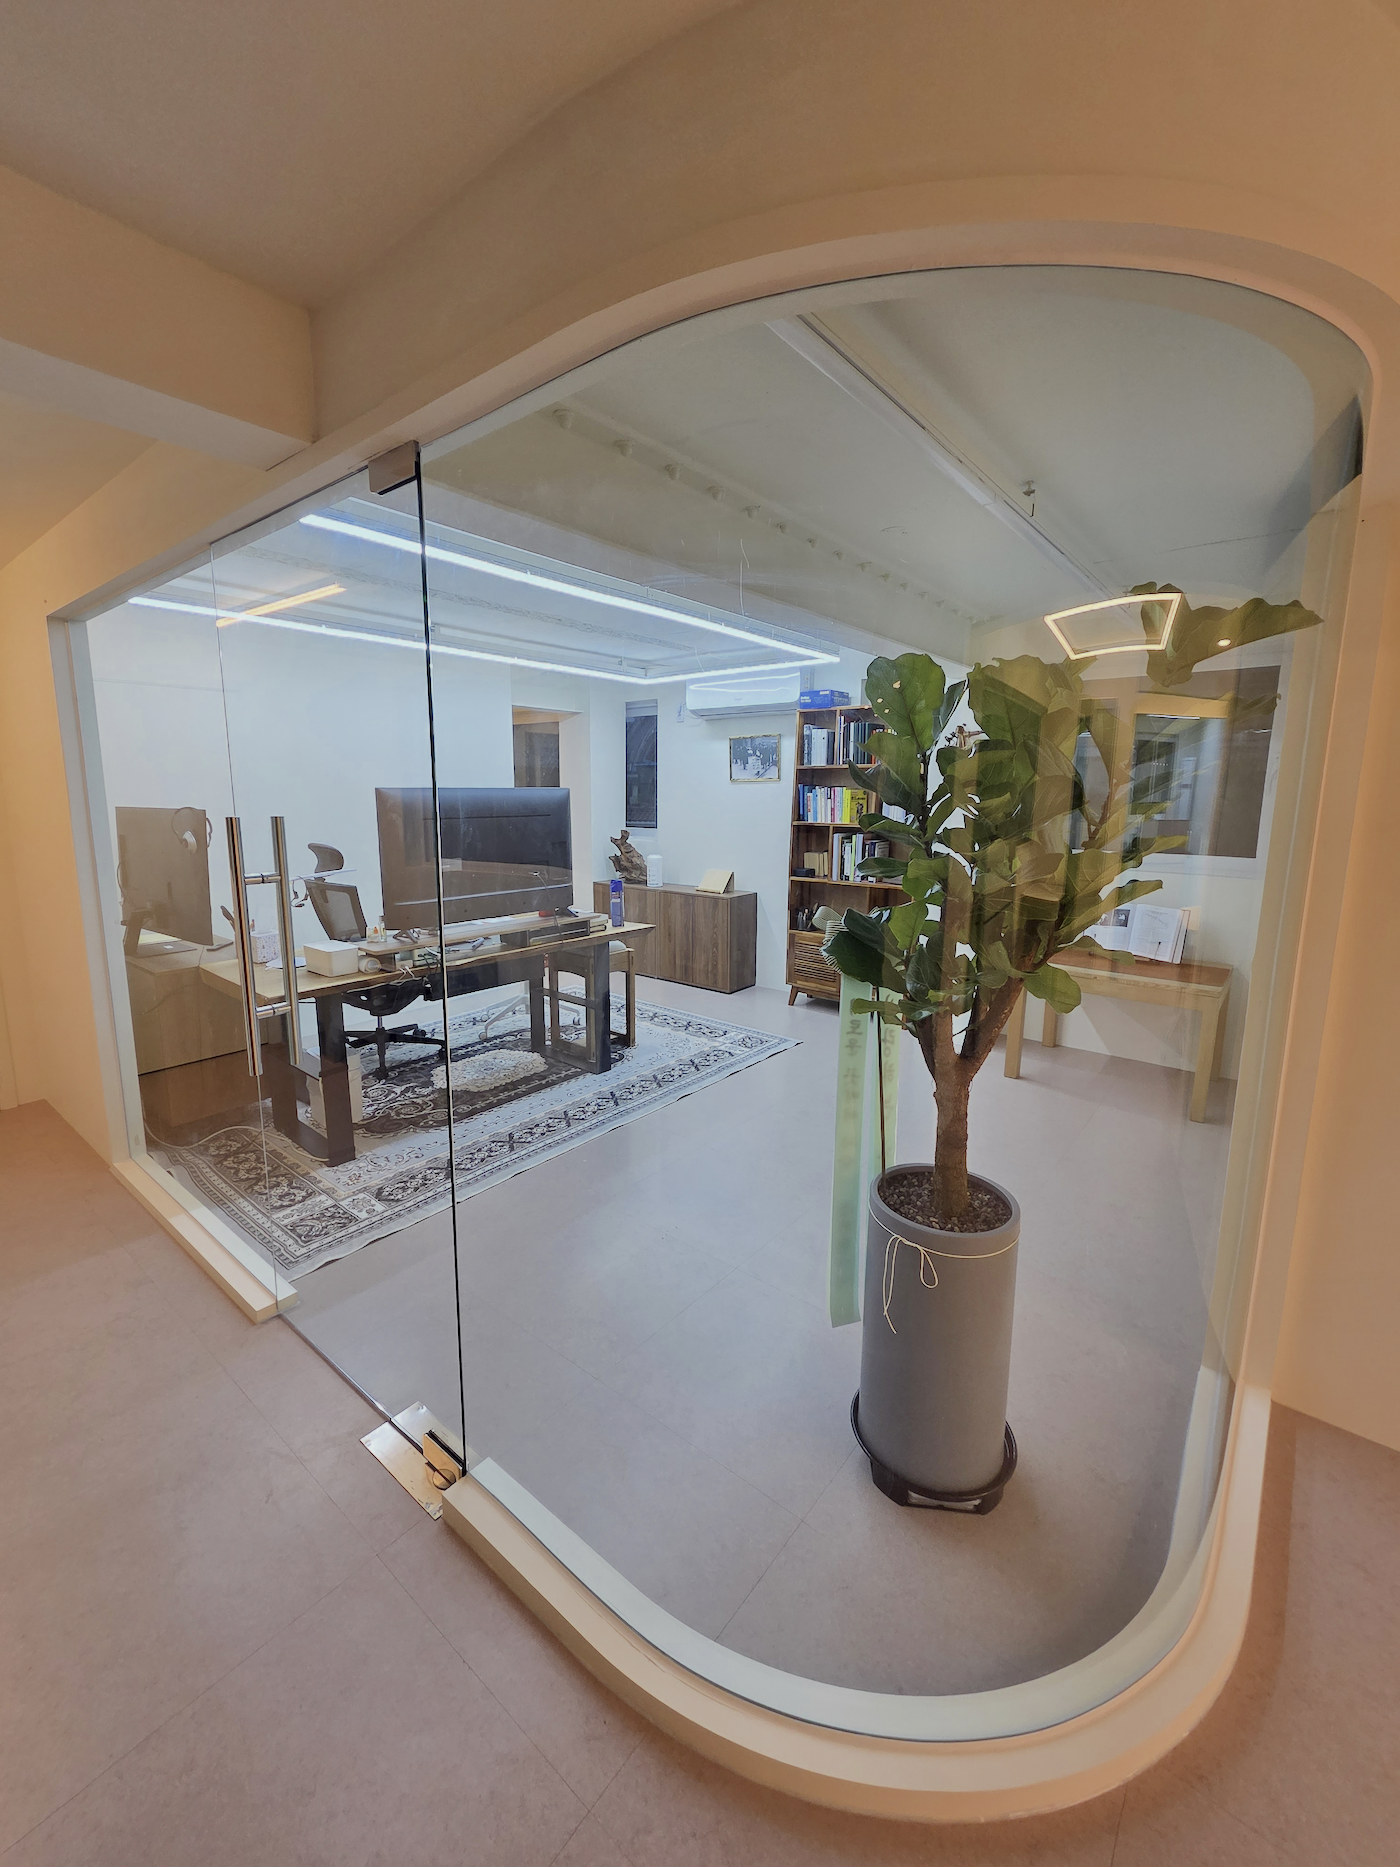
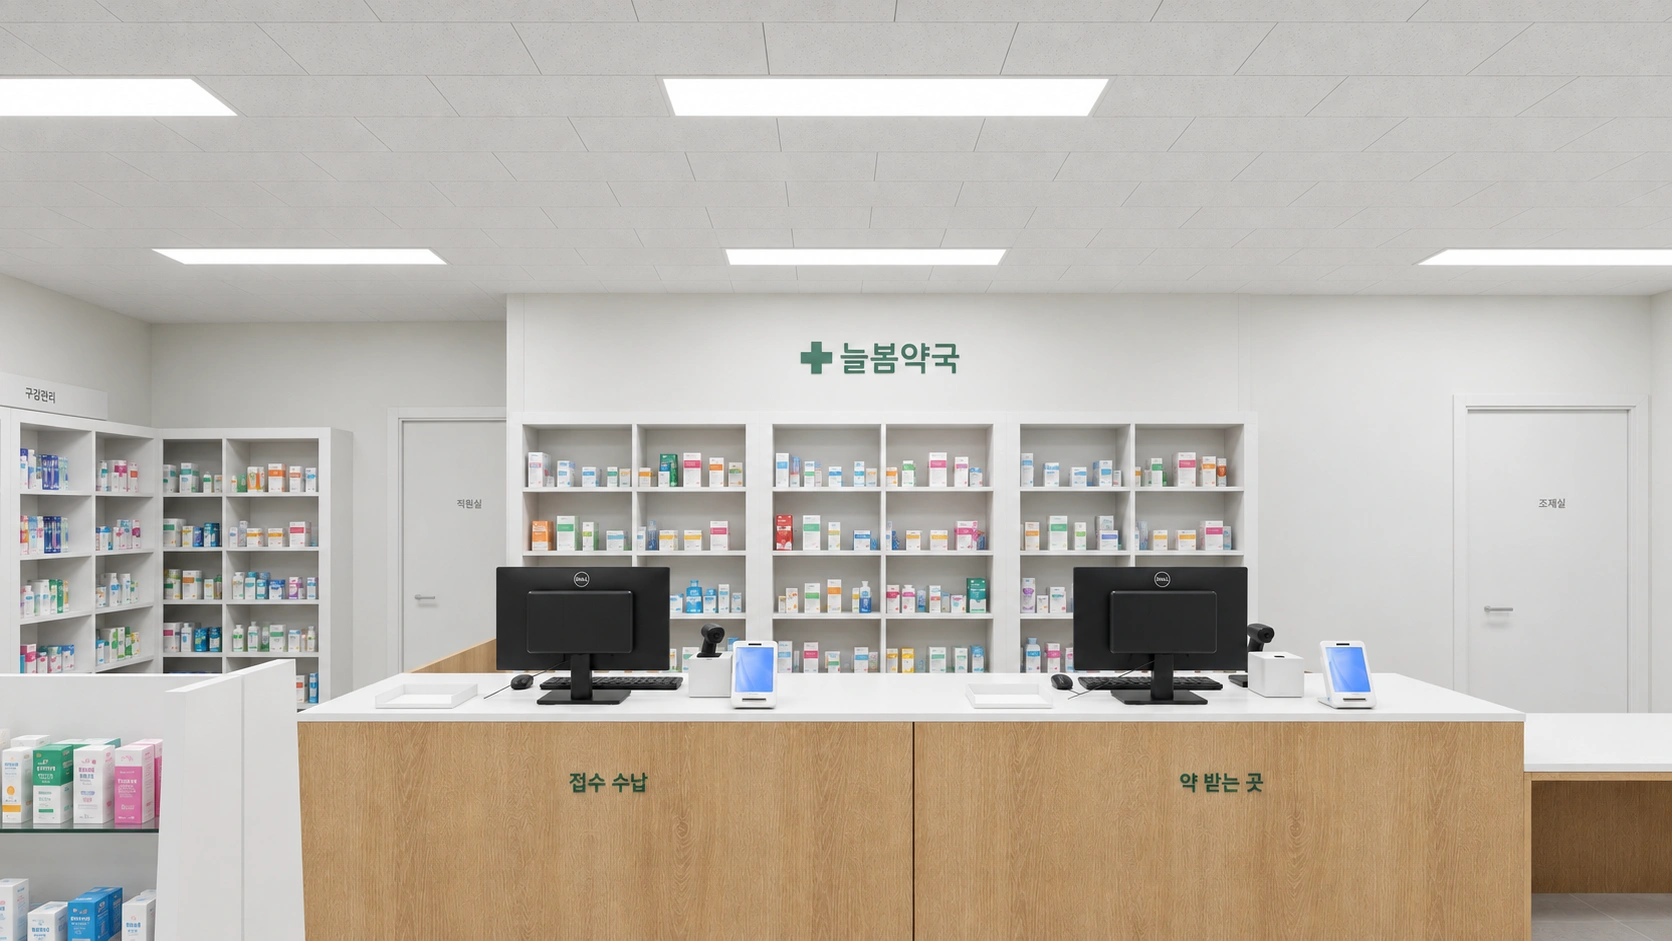
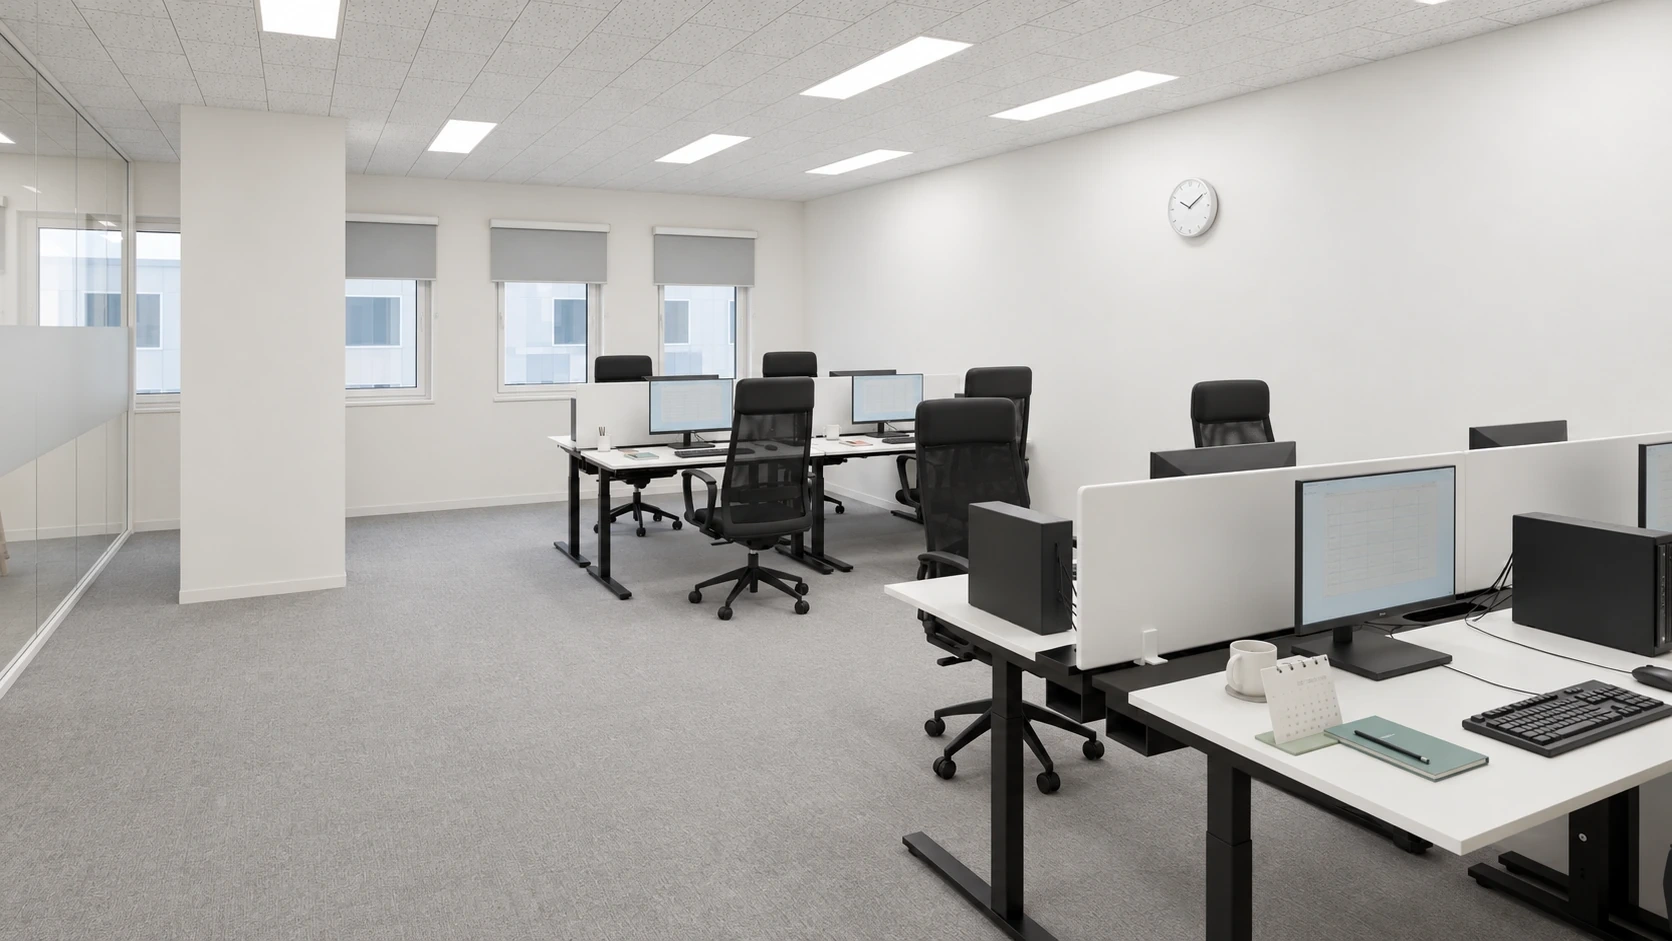
For displays, product fronts may matter more than shelf tops. Offices require views of both documents and screens. Compare uniform ceiling spacing with positions adjusted around actual uses.
Color temperature, brightness, and color rendering differ
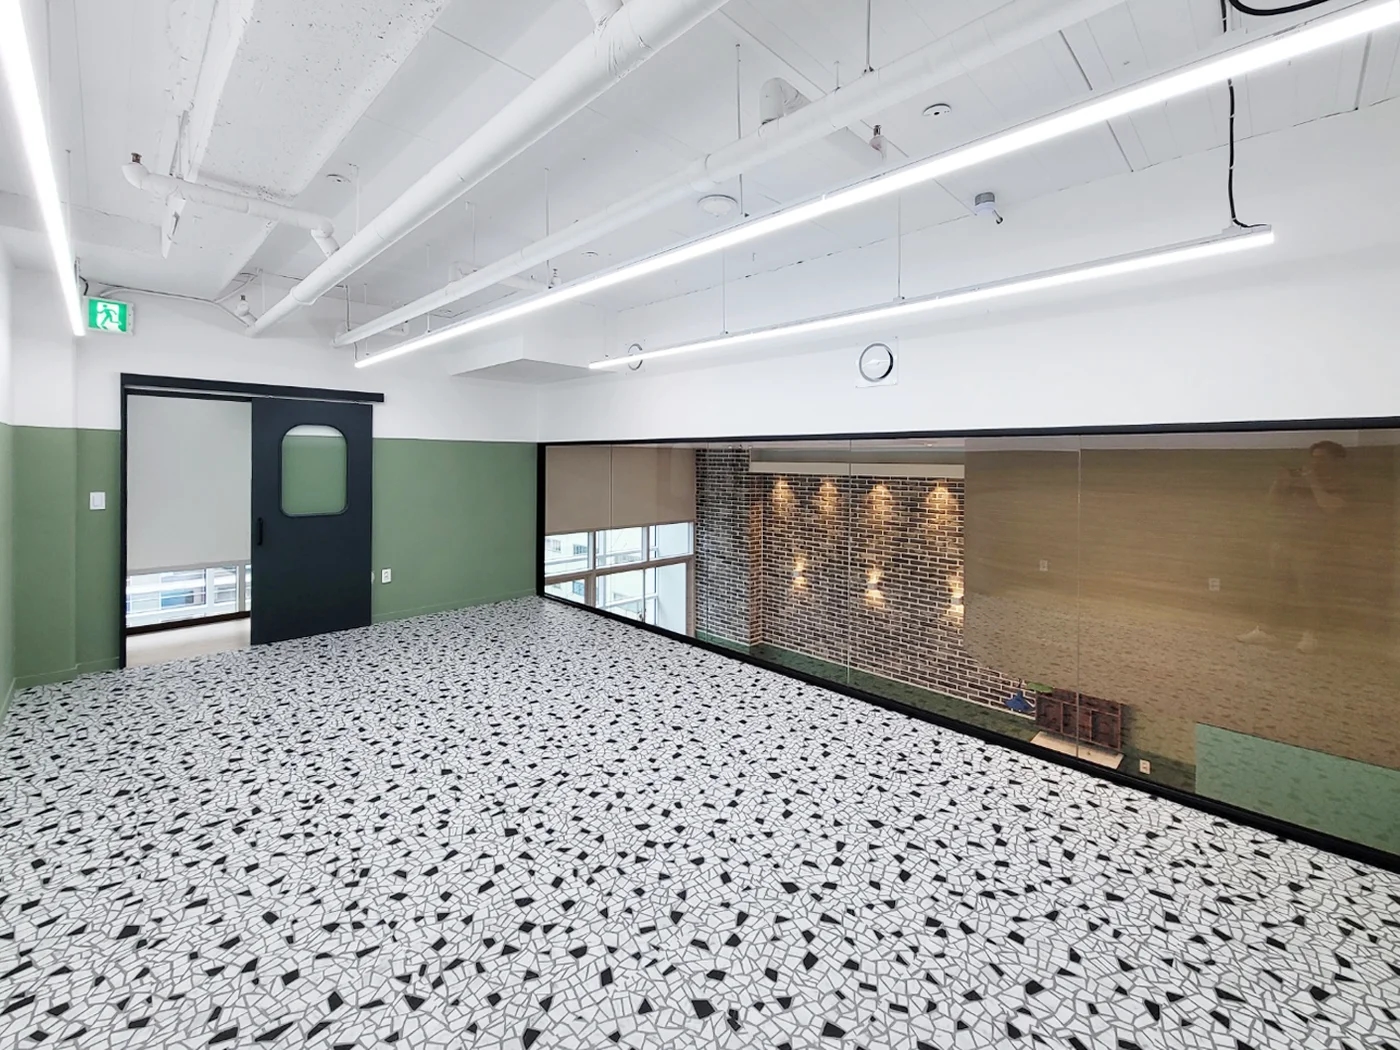
Color temperature is expressed in kelvin (K) and describes light color. Lower values generally feel warmer and more yellow, higher values cooler. A higher value does not establish a brighter working surface. Required illumination also depends on room size, mounting height, and light distribution.
Color rendering concerns the appearance of objects under light. Salons selecting colors and stores displaying goods should check it separately in product documentation. Compare actual materials and products rather than applying a single universal temperature or numerical target.
Seated glare and screen reflections
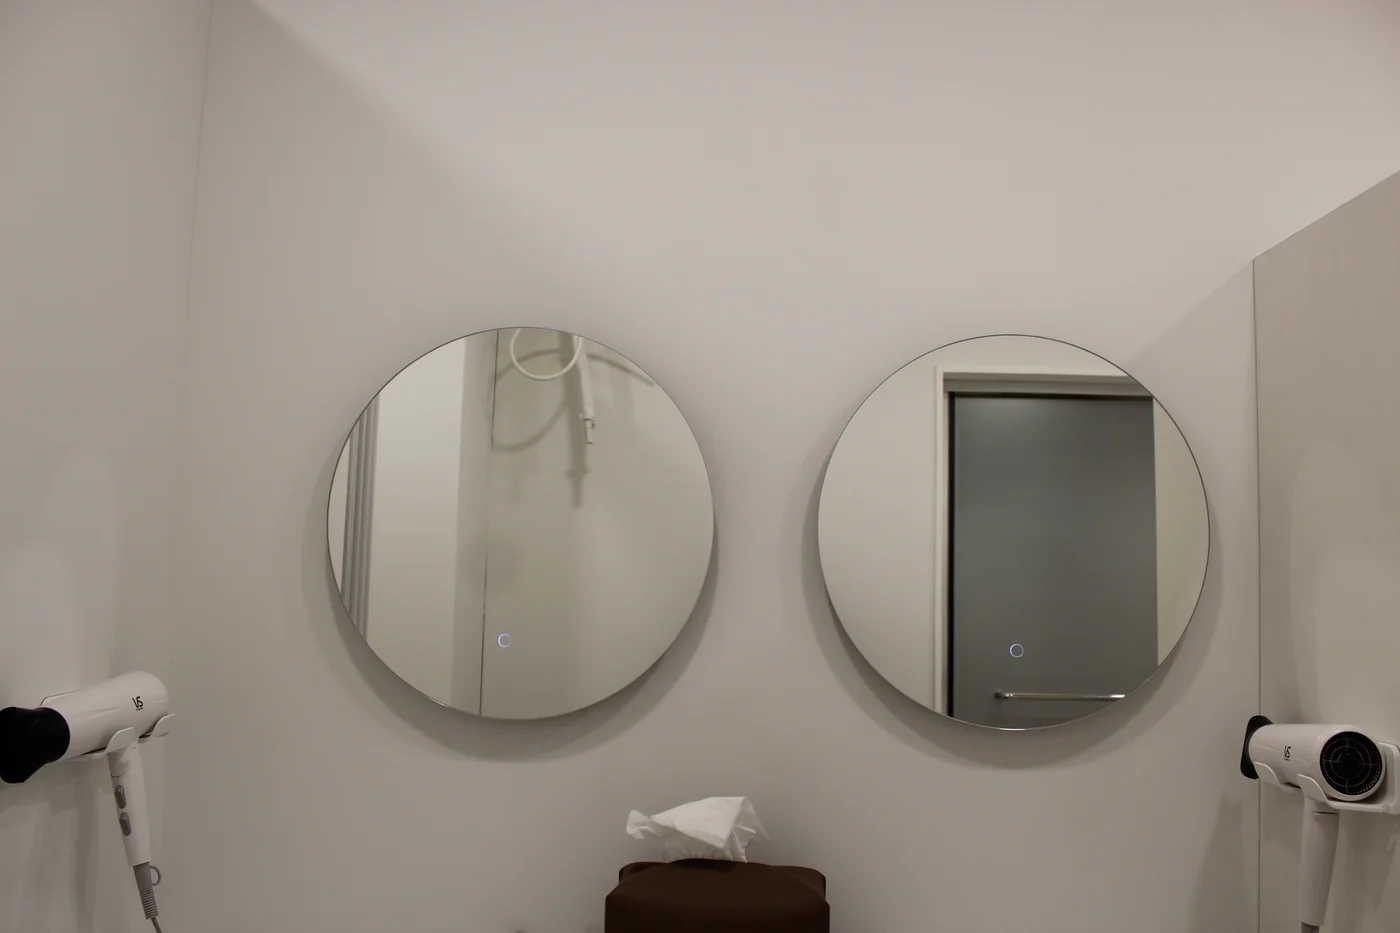
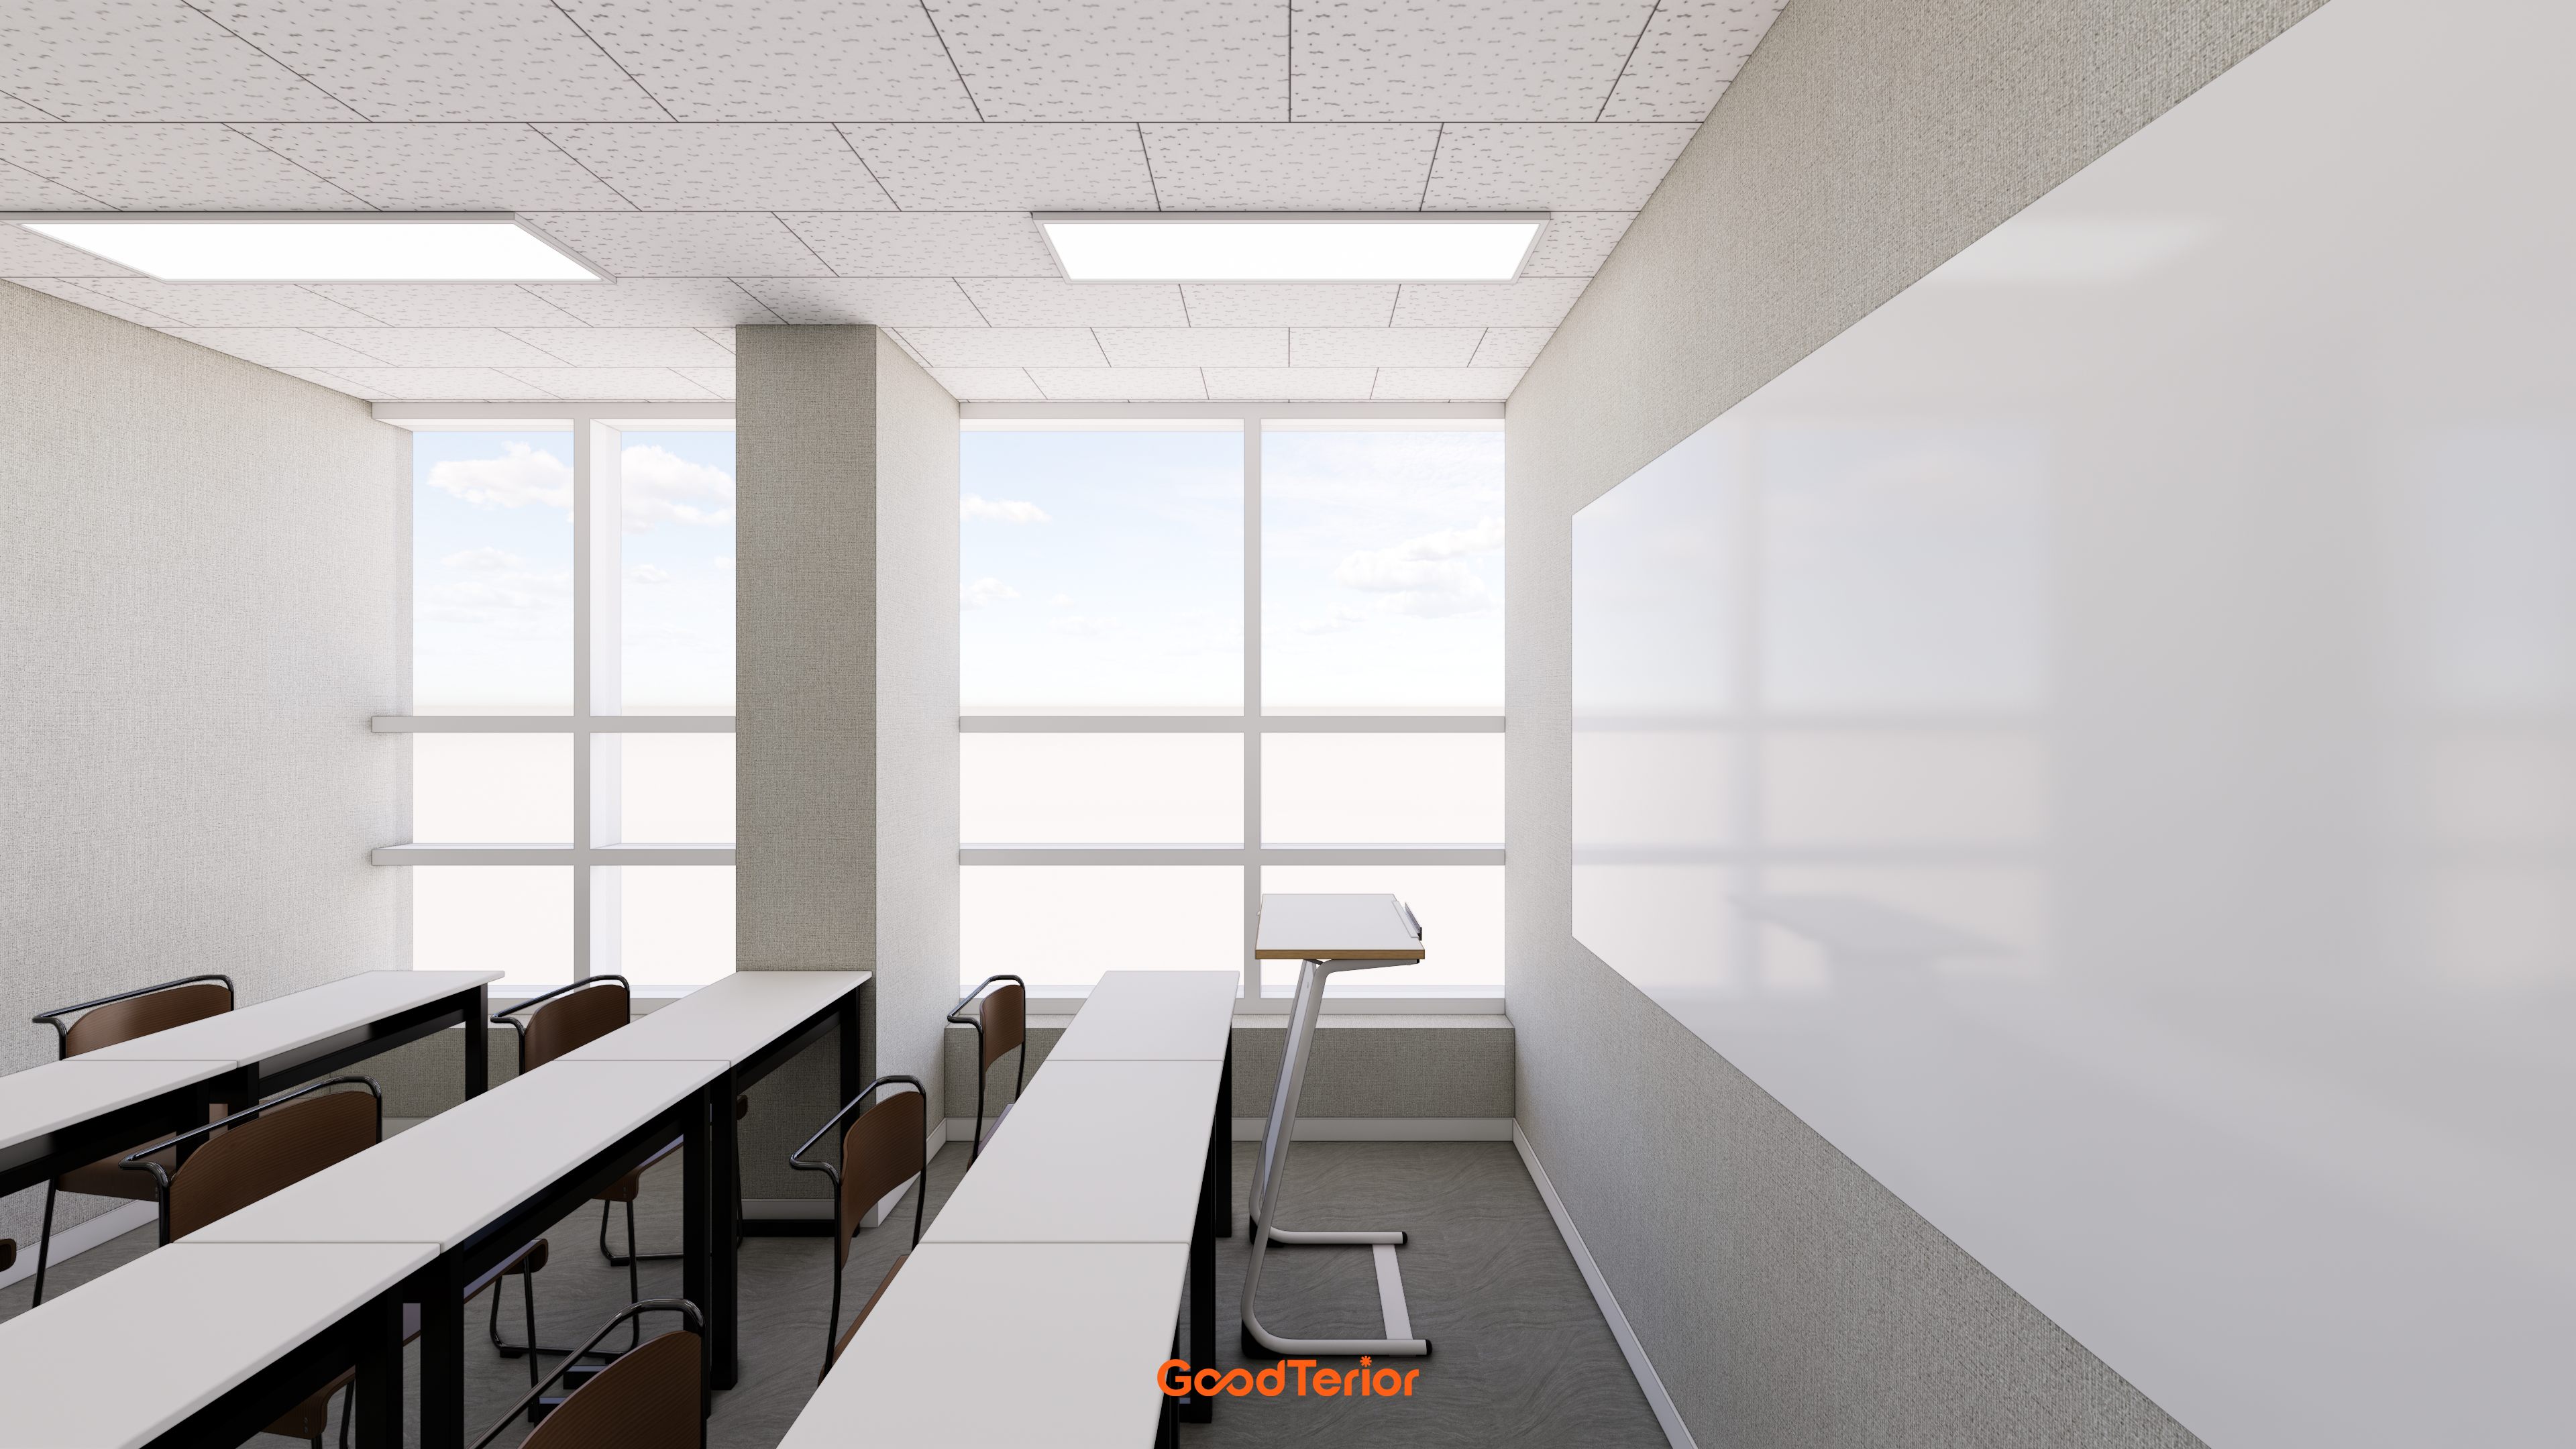
Attractive ceiling lighting can still be uncomfortable if the source enters seated eyes directly. Review customer seats and standing staff positions separately. Ask the responsible specialist whether direction or mounting location can change.
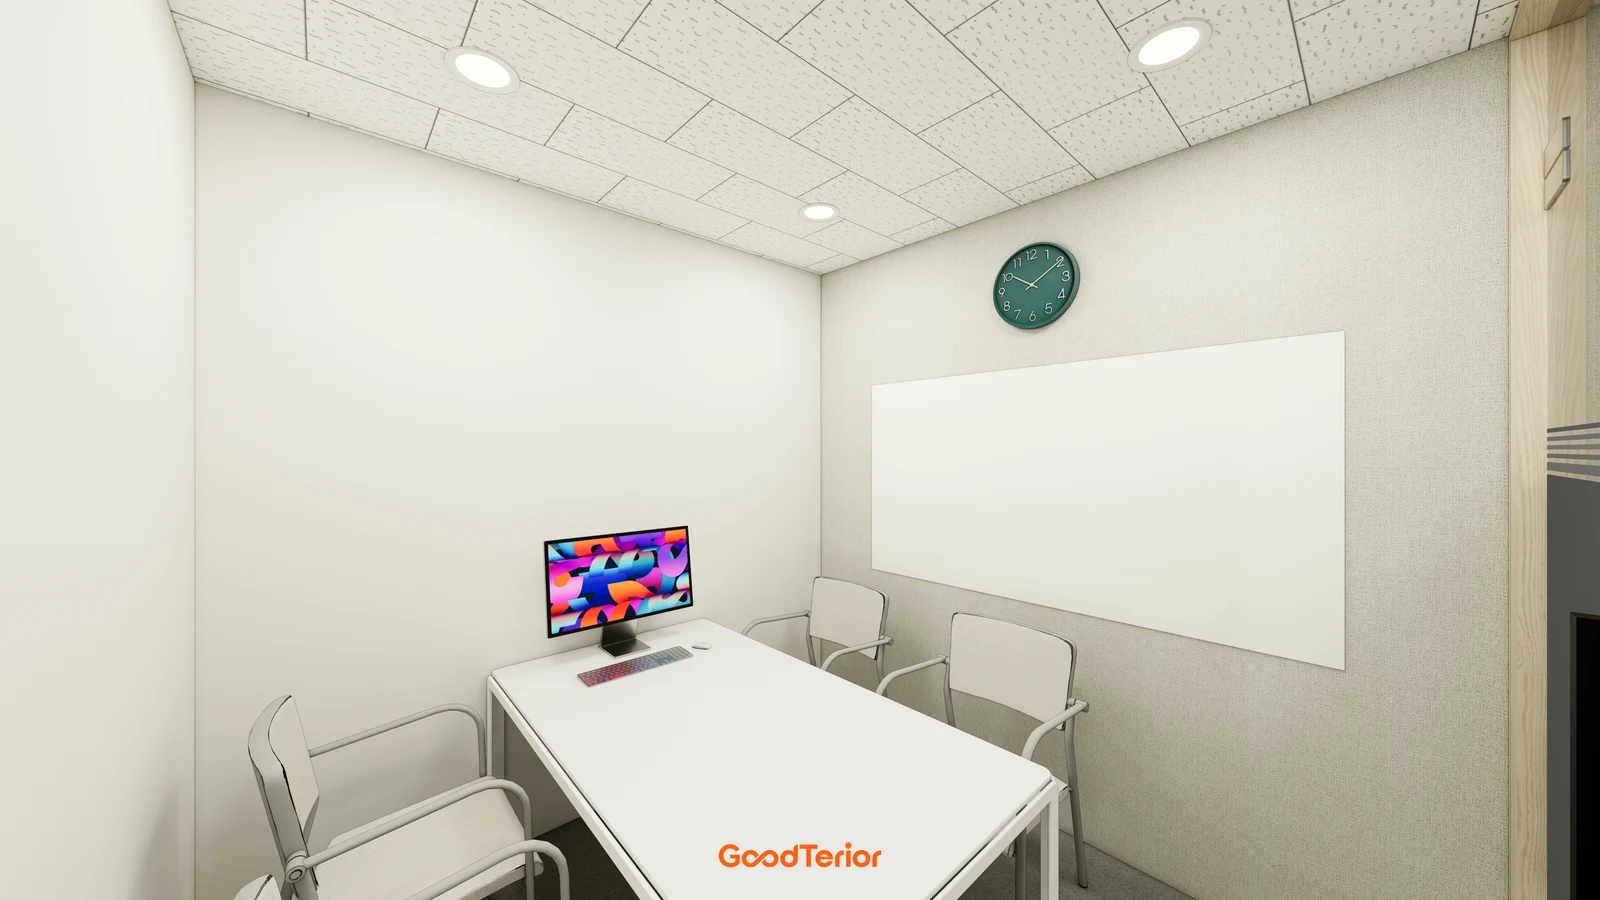
Glass, glossy tops, and monitors can reflect light. Identify reflection positions before adding fixtures. Photos cannot establish illuminance or glare, so test actual tasks at their use positions.
Lighting zones for cleaning and business
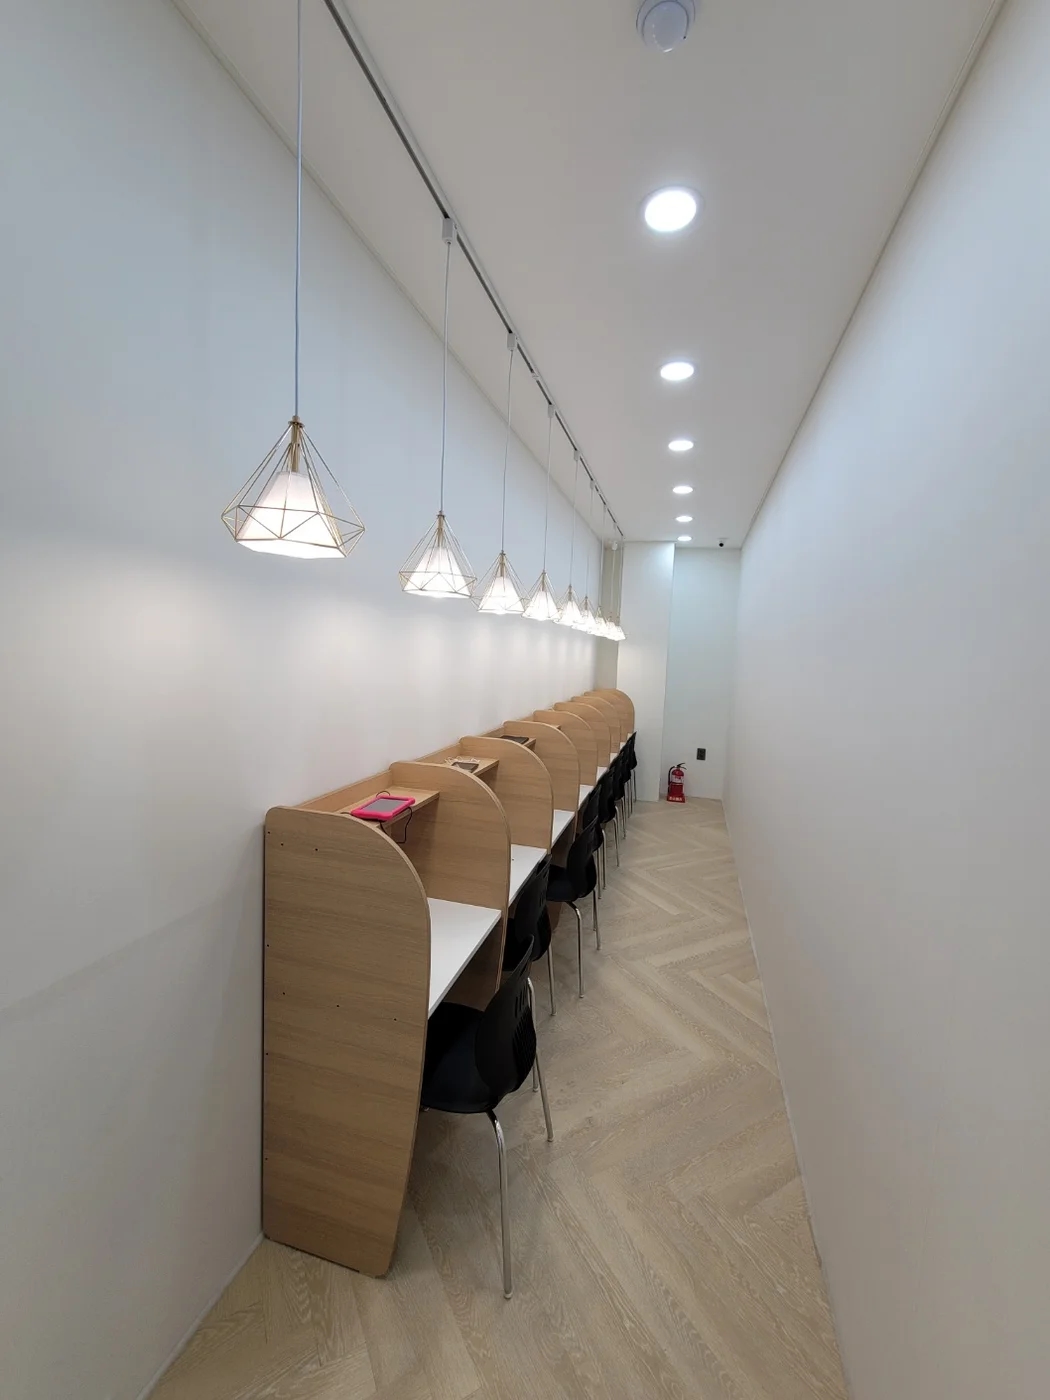
Compare light needed during opening preparation, customer service, and cleaning. If only consultation rooms are used at times or selected displays need emphasis, ask about separate control. Decide operating patterns before grouping every fixture on one switch.
Switches should be easy to find along entry and exit routes. For dimming, have the specialist confirm compatibility between fixtures and controls. A product feature does not mean it works unchanged with any wiring or switch.
Adjust lighting after furniture arrives
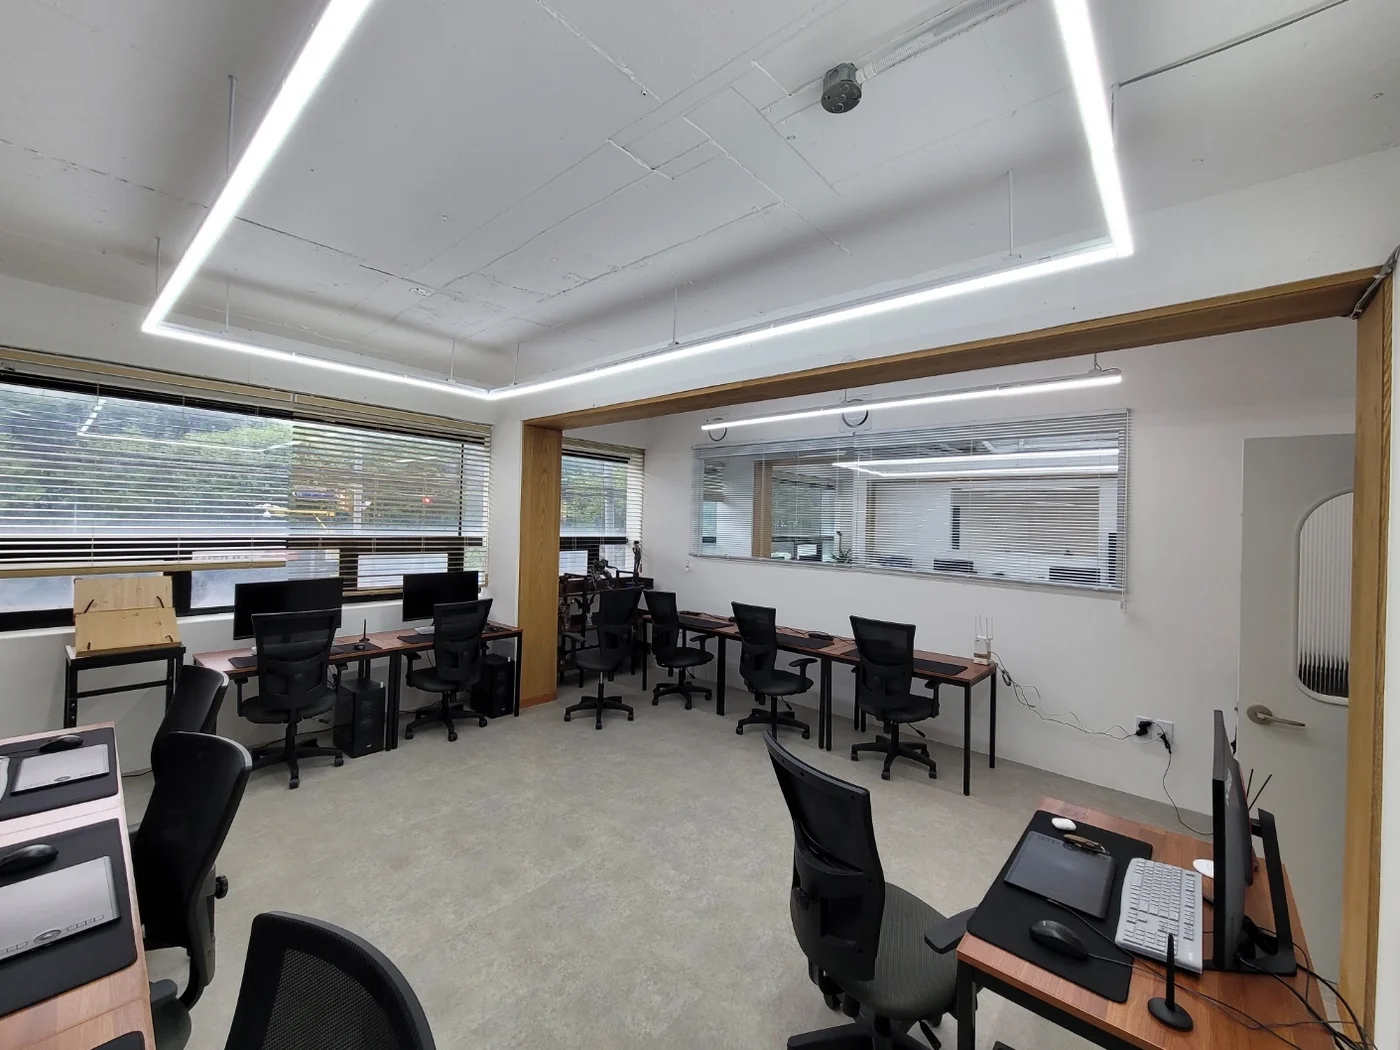
Light walls, dark walls, and glossy floors respond differently to light. Revisit lighting if materials or furniture positions change. Tall storage may block light, or an intended focal product may move.
At final review, display real goods and spread out working material. Record which colors or forms are difficult to see from each position to identify adjustments. Check fixture appearance together with actual use to complete the selection.
Ask us about your interior project
We can discuss a quote and design suited to the space you are planning.
Request a free consultation