Planning curved glass partitions in an office
For rounded office glass partition corners, decide the curve and door position separately. Photos of a Songpa office illustrate space for straight furniture, turning routes, and the scope to compare in estimates.

Before you begin
- Distinguish curved corners from surfaces that stay straight, and compare the usable interior with actual furniture.
- Mark the straight section carrying the door and its swing, then check approaches from both sides.
- Link curved glass, framing, and surrounding wall finishes to drawings to obtain estimates on the same basis.
Surfaces to curve and surfaces for furniture
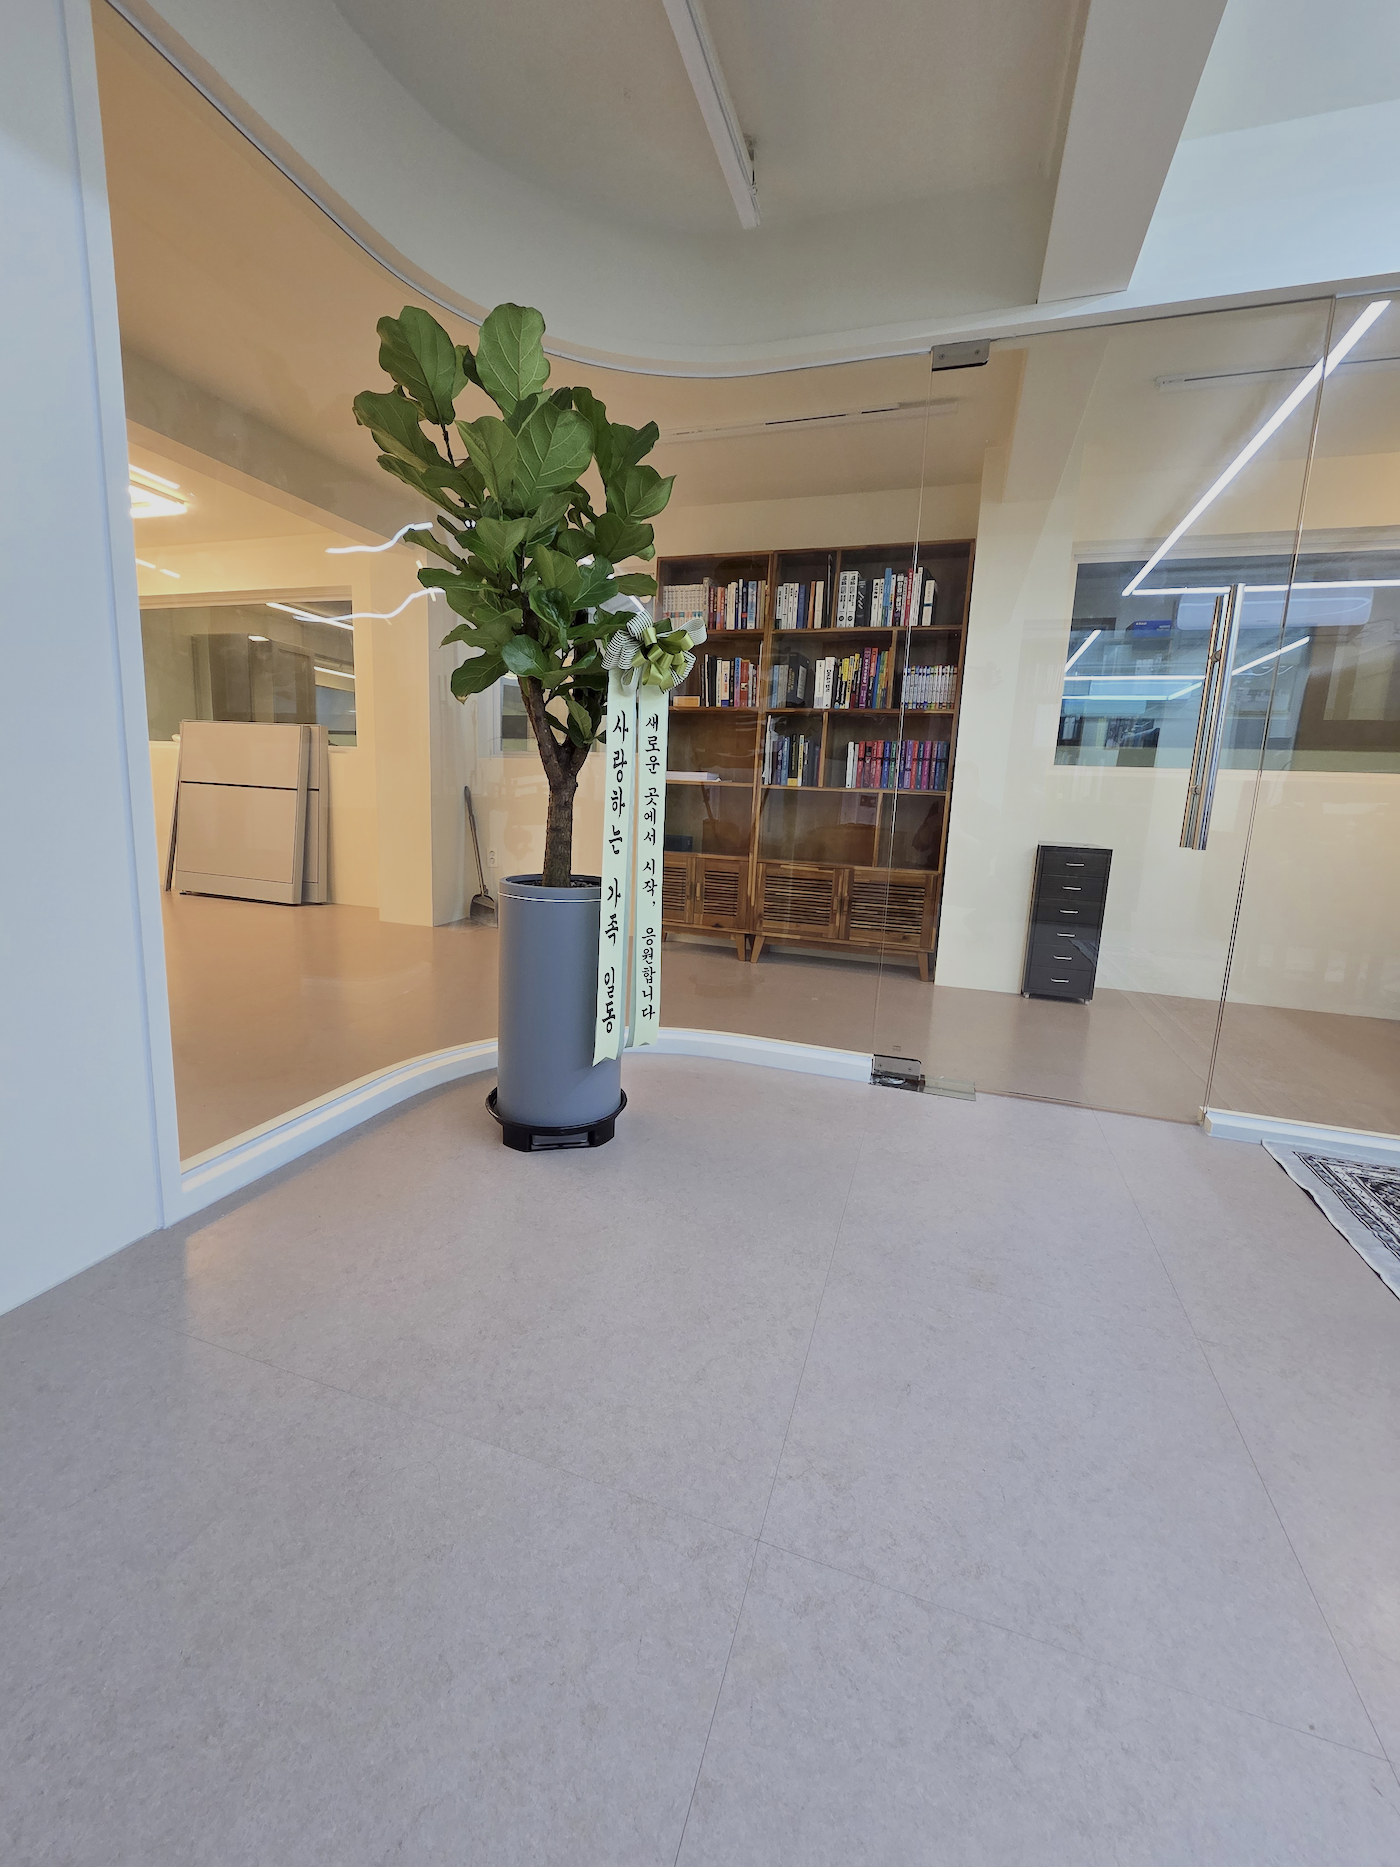
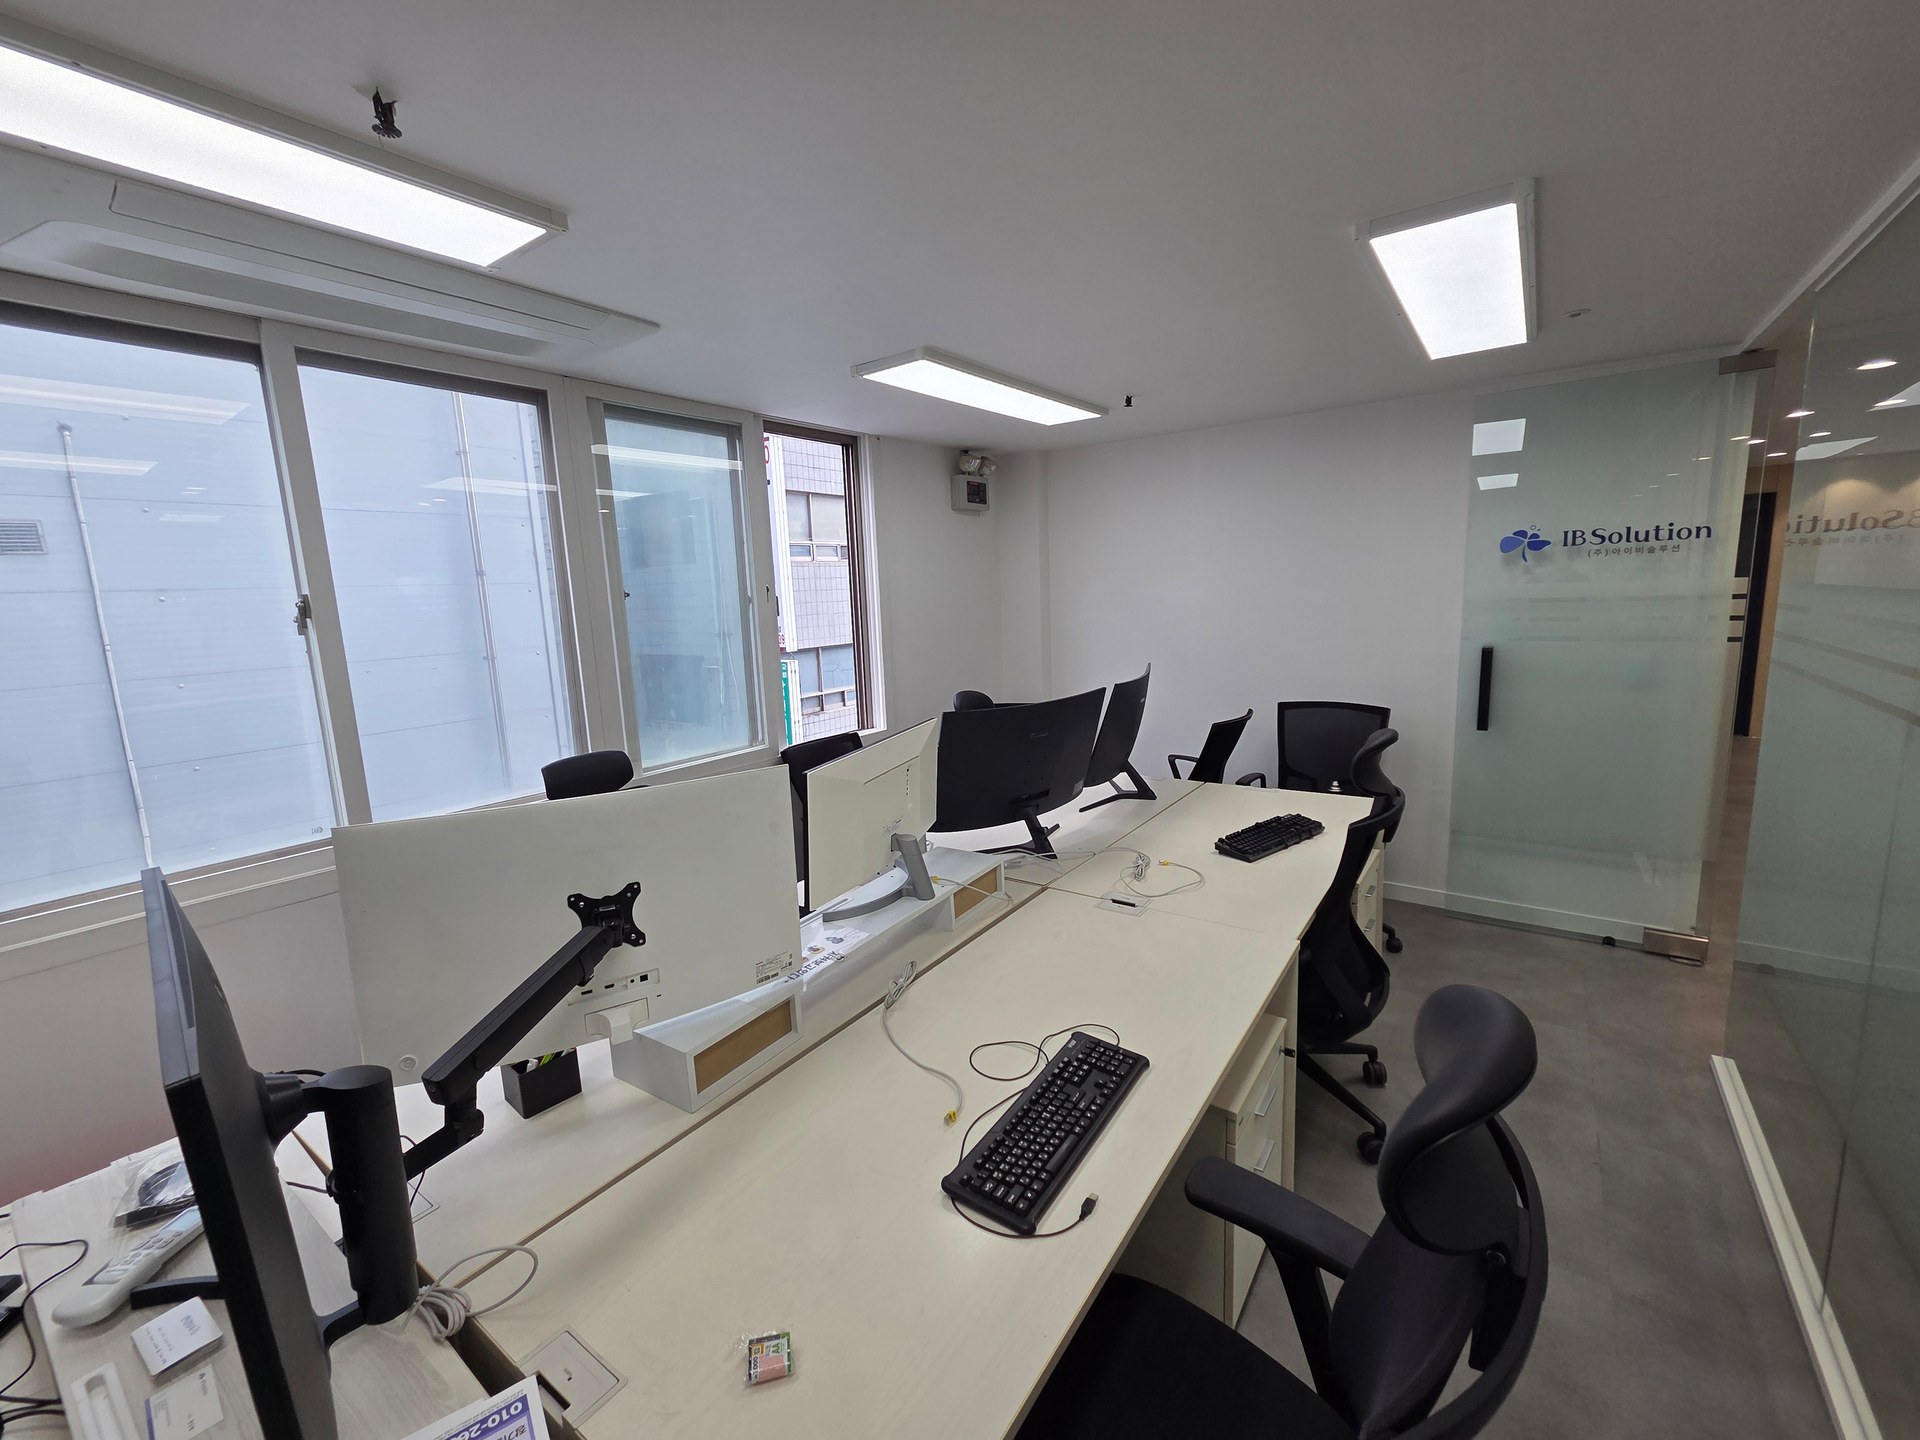
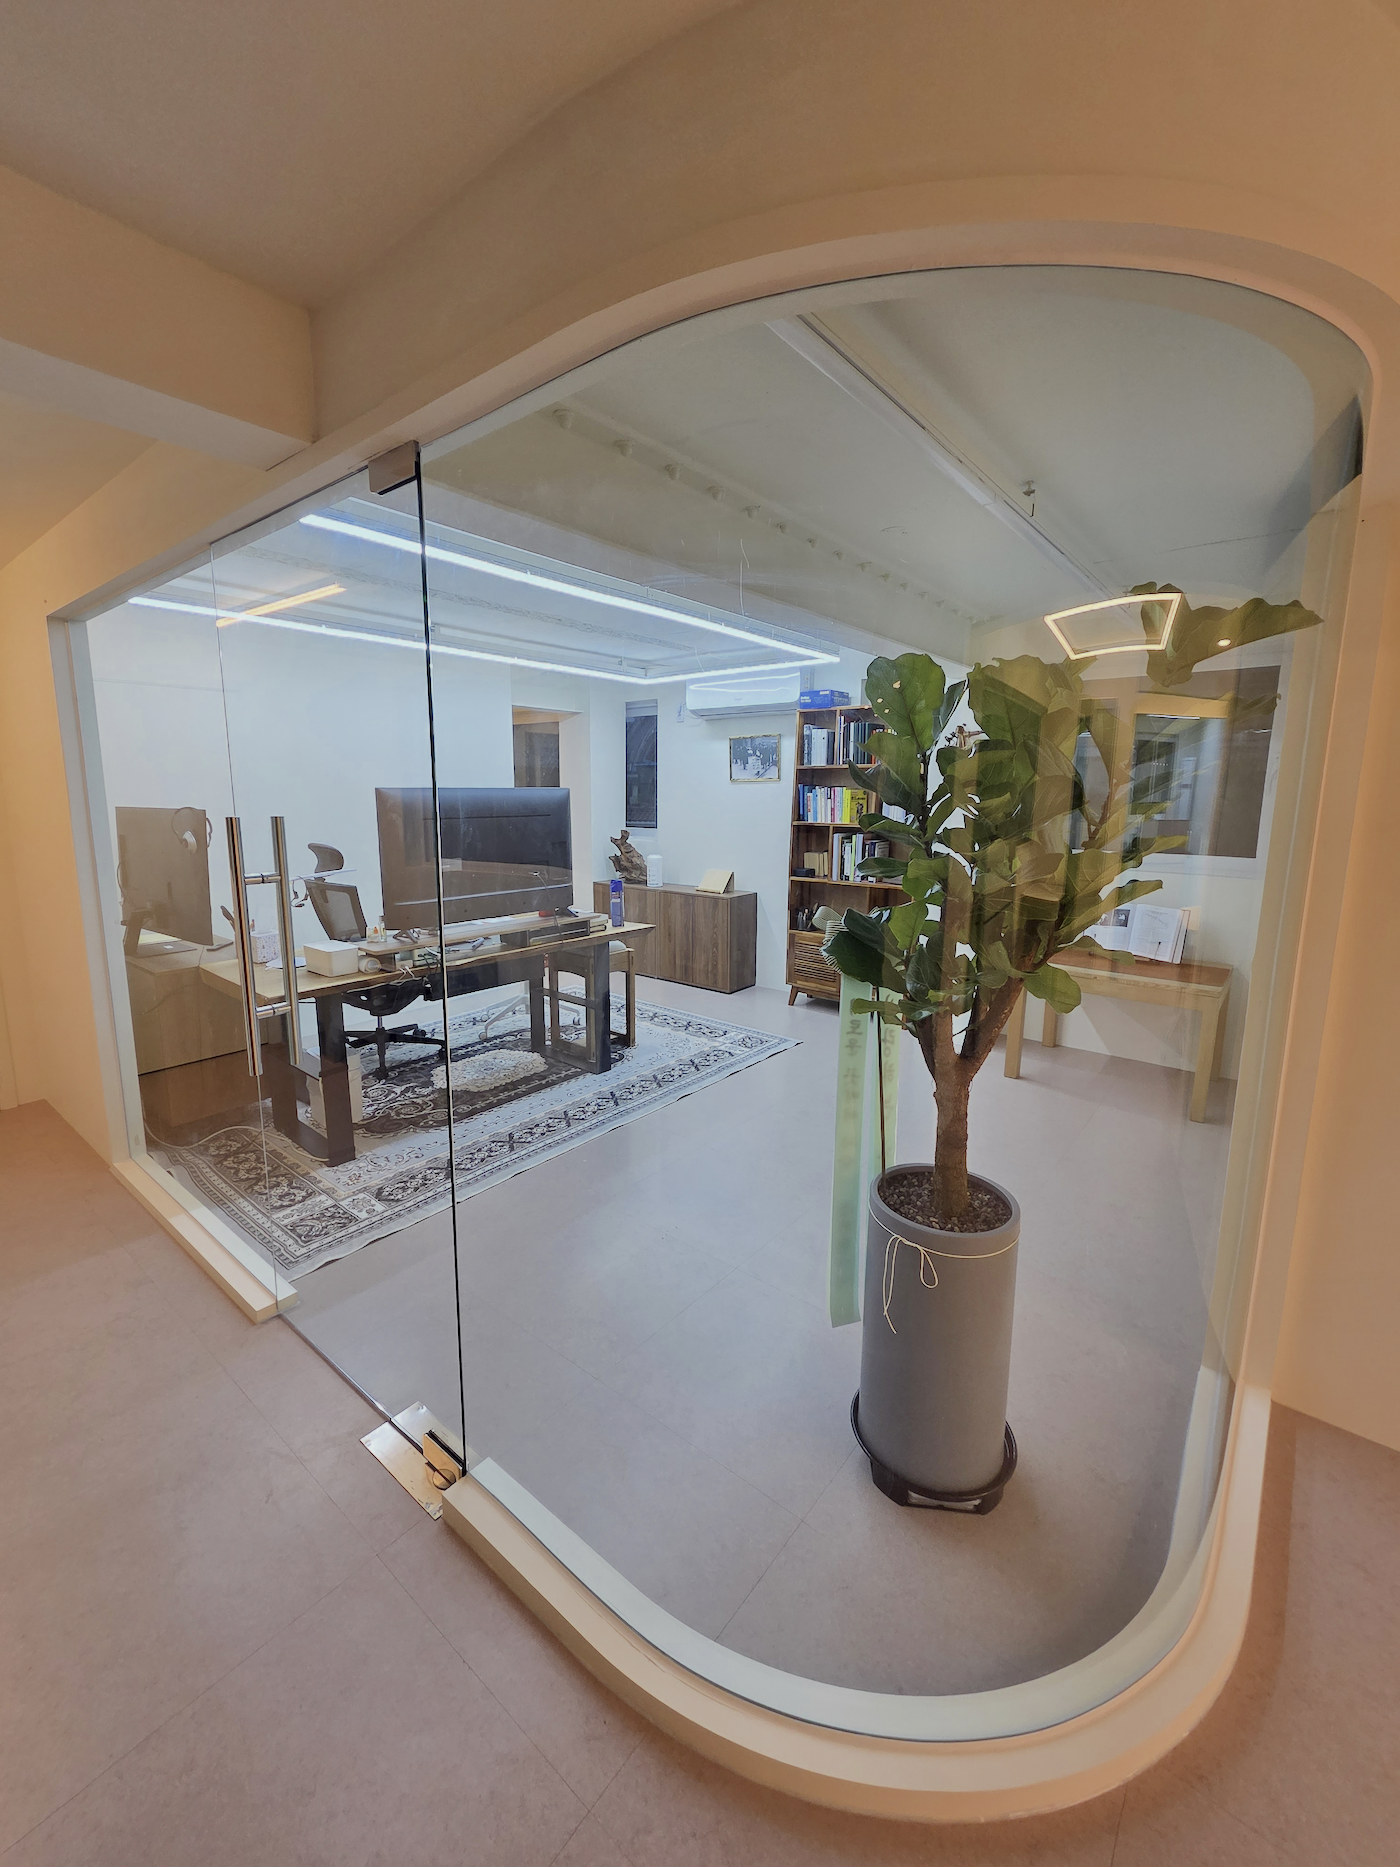
The Songpa office photos show a rounded glass enclosure corner beside a straight glass door. From inside, the points where ceiling and floor framing curve are also visible. Rather than imagining the entire room as round, begin by marking which corner changes and by how much on the plan.
First compare a straight corner with an enclosure rounding only one corner. Place the same desks and cabinets in both options. Changing where the curve begins also changes the straight surface available for furniture and the space inside the corner. Draw drawer opening and chair pull-out ranges as well as furniture outlines.
If an existing bookcase is coming with you, first decide where its back will align. Compare placing it against a wall with freestanding placement away from the glass. In the photo, the straight bookcase does not follow the entire curved surface. Choosing a rounded enclosure does not require remaking existing furniture to the same curve.
Review objects near the glass from both inside and outside. Check whether monitors and wiring show behind desks or cabinet backs face the aisle. Even if plants or decoration will partly screen them, verify that their positions do not overlap entrance space. Extensive transparent surfaces do not remove the need for organized storage.
Leaving the curved area empty is also an option. Instead of filling the corner to add desks, it can provide turning space at the entrance or room for organizing the interior. The appropriate choice depends on whether the room serves an individual or visitors and how often furniture moves. Apply your furniture list and occupancy to the new plan rather than copying the photographed arrangement.
Check the glass wall line overhead as well as on the floor. Overlay retained ceiling beams, columns, and existing lighting, marking where they meet the curved frame. If you want the upper and lower framing to correspond as photographed, request elevations and corner views. Approve both the smooth plan line and the framing that will actually be visible in the room.
Once the form is selected, confirm feasible glass configurations and dimensions with the installer. Do not infer glass type, thickness, fixing method, or performance from photos. If the proposed construction requires changes to the curve or furniture positions, revise both drawings together before finalizing.
Coordinate the straight door and surrounding walls
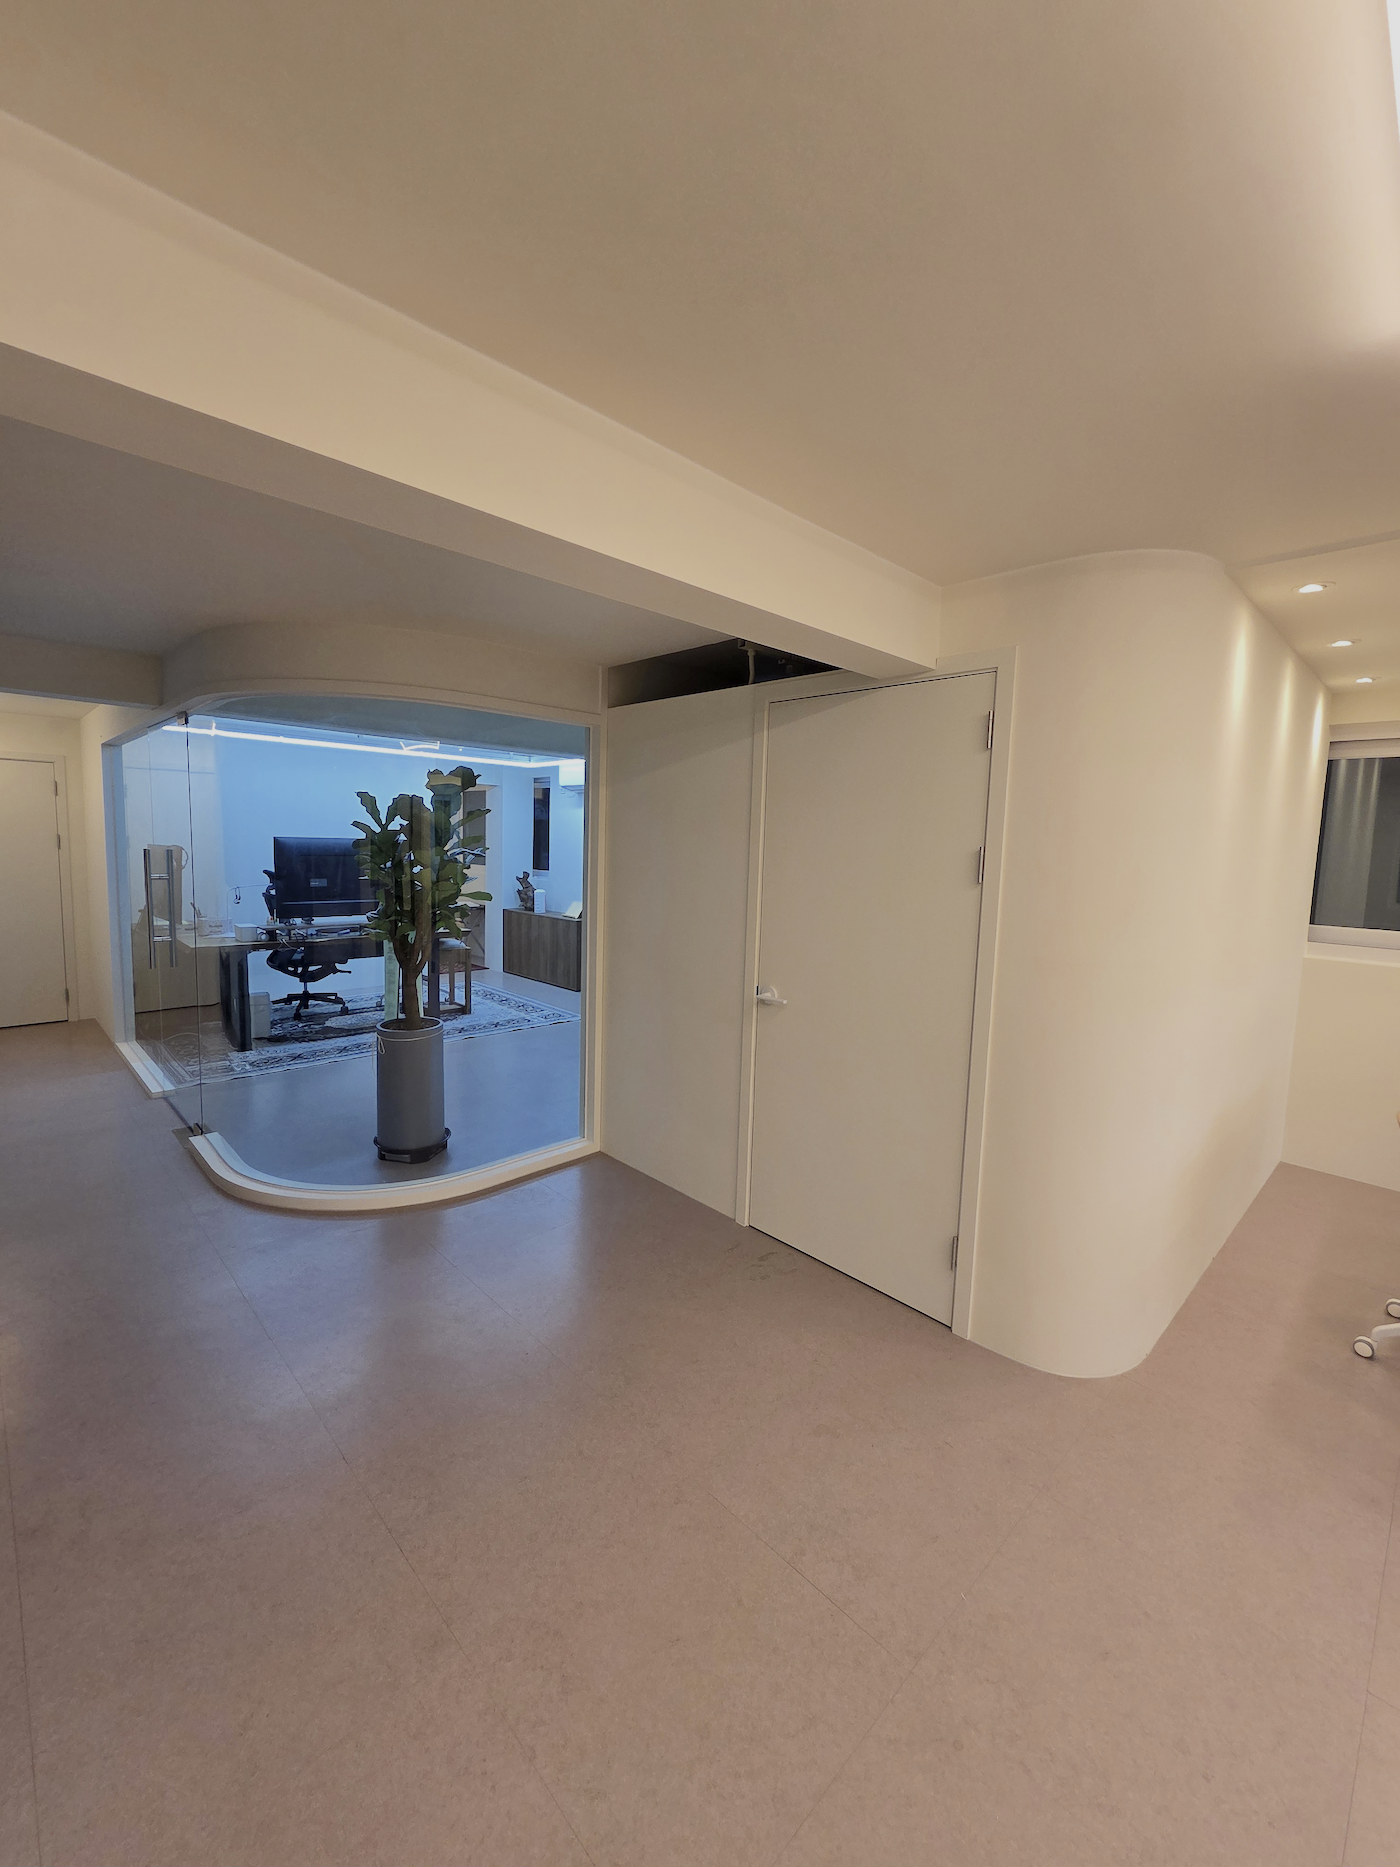
The exterior view shows a white interior door and rounded wall corner beside the glass enclosure. These surrounding conditions are easy to overlook when considering only the glass curve. Draw separate routes to the glass door and adjacent room door, then check where people stand or step aside when both open.
Decide separately which straight side of the glass enclosure will carry the door. Mark room to approach its handle from outside and to exit from inside. Compare closed and open door drawings side by side so using the door never requires moving a table or bookcase. Confirm door size and swing against the final furniture plan.
Do not automatically approve moving the door to the end to emphasize the curve. Check whether the adjacent wall or furniture interferes with reaching the handle and whether entry requires turning back inside. For a central door, obtain drawings of how the curved and fixed glazing are divided. Compare the appearance with the actual sequence of entering and leaving.
If the adjacent door and glass partition are built together, record their finish boundaries. Mark where the glass frame ends against the white wall and any painting or repair beside the door frame. When retaining existing ceilings and floors, separately request the finish scope where the new enclosure meets them. Photos alone cannot establish substrate condition or additional repair requirements.
For budget comparisons, obtain estimates for retained curves and a straighter alternative using the same furniture layout. Distinguish a change only to curve length from changes to glass configuration, doors, frames, or wall finishes. If work is omitted to lower the total, record who will handle it. Judge the actual proposed scope rather than assuming a fixed price difference or fabrication period.
Before construction, retain the final plan, open door views, glass and frame configurations, and surrounding finish list. Recheck furniture positions if desk or cabinet models change. Keep them linked on a drawing so furniture and doors are not ordered separately after approving only the impression of the curved enclosure.
After installation, walk from the entrance to the inner desk to check the relationship between doors and furniture. Review door operation and finishes with the installer, and identify the relevant door and position on photos when requesting adjustments. Related articles explore frame colors and division lines in more detail.
Ask us about your interior project
We can discuss a quote and design suited to the space you are planning.
Request a free consultation