Glass partition frames and division lines
Choosing transparent glass alone does not complete a partition. Real office photographs help examine frame color and width, divisions between doors and fixed panes, and ceiling and floor terminations.

Before you begin
- Compare frame colors beside walls, floors, handles, and metal fittings.
- Mark doors and glass joints before deciding divisions across the whole wall.
- Review corners and open doors as well as the front, recording finish scope at wall, ceiling, and floor junctions.
Frame colors and visible widths

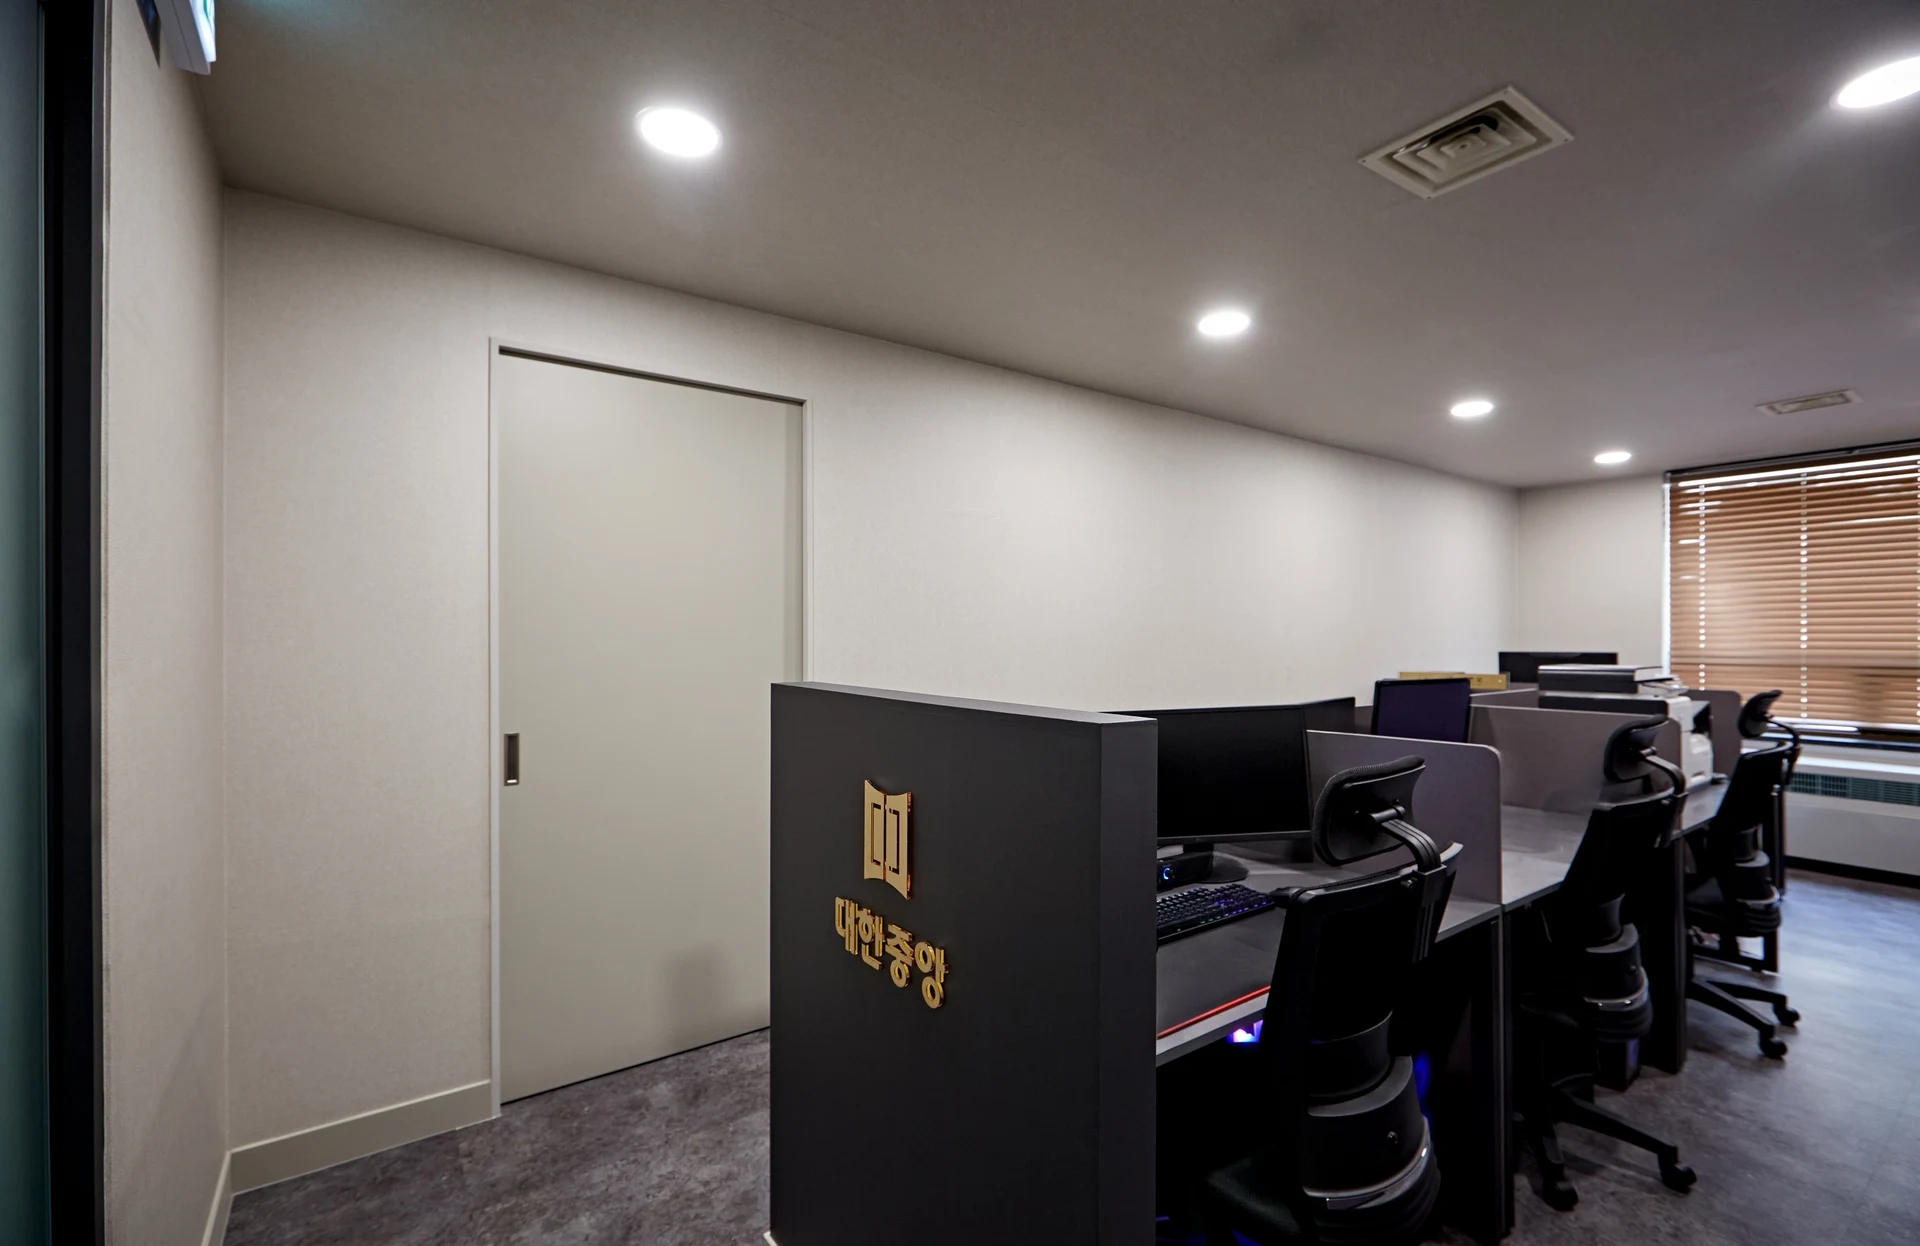
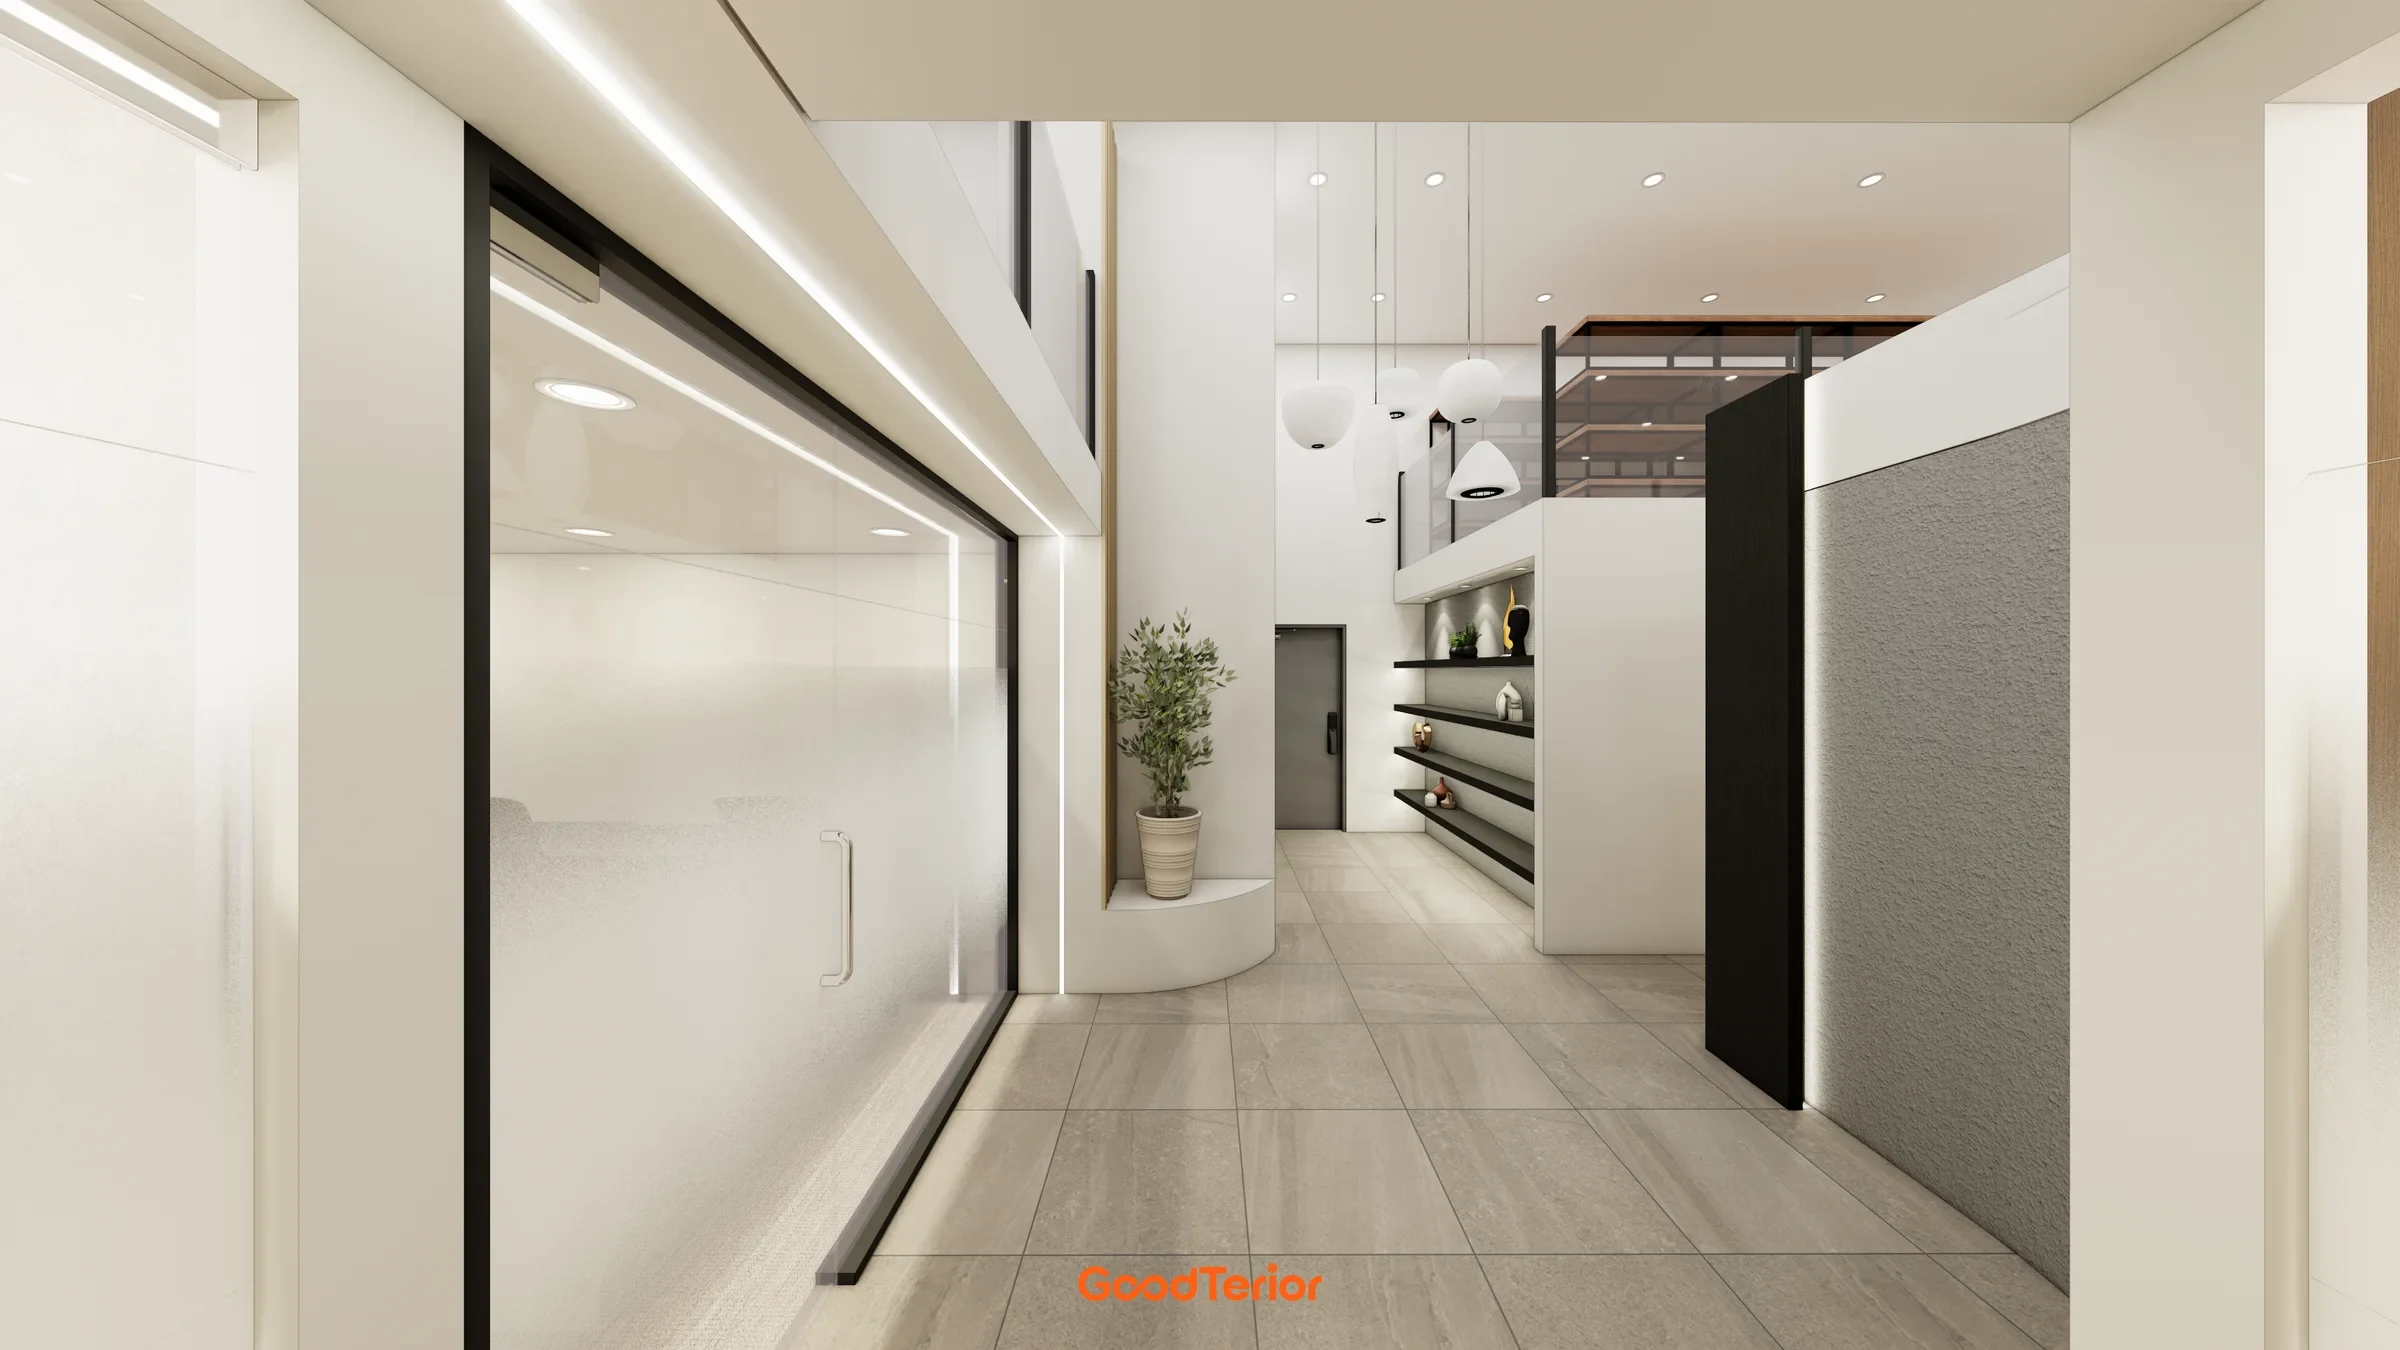
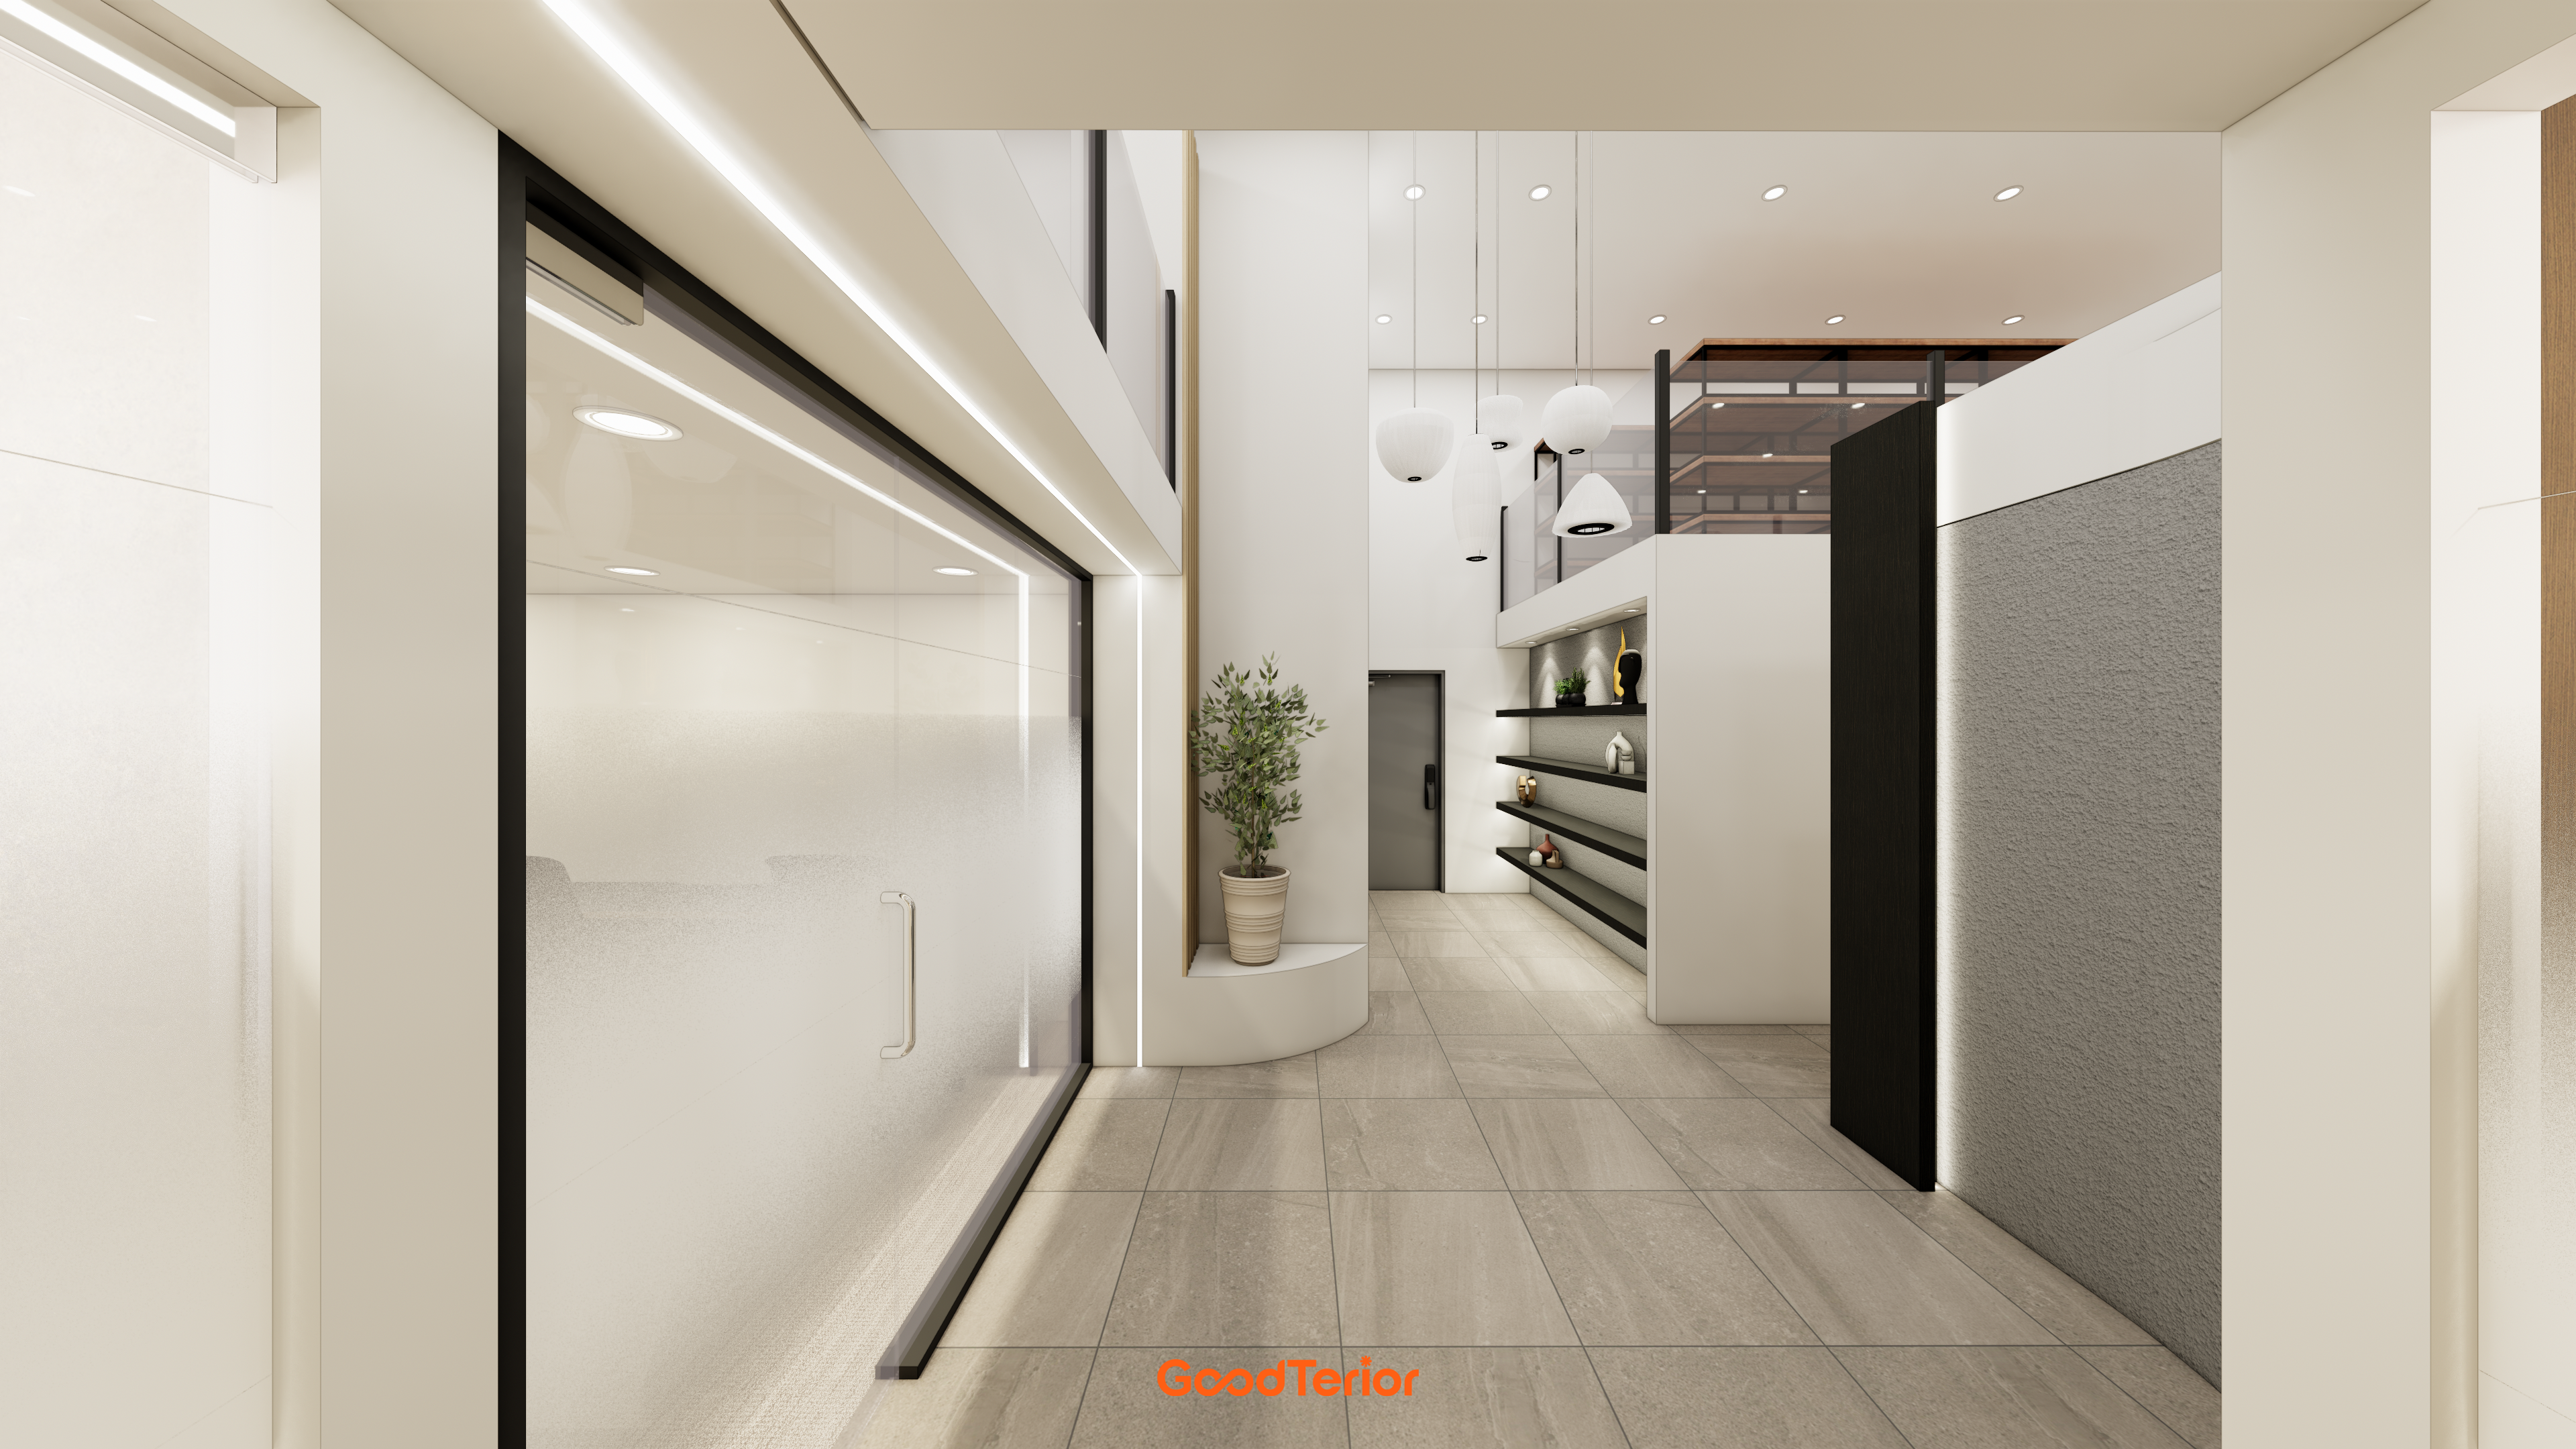
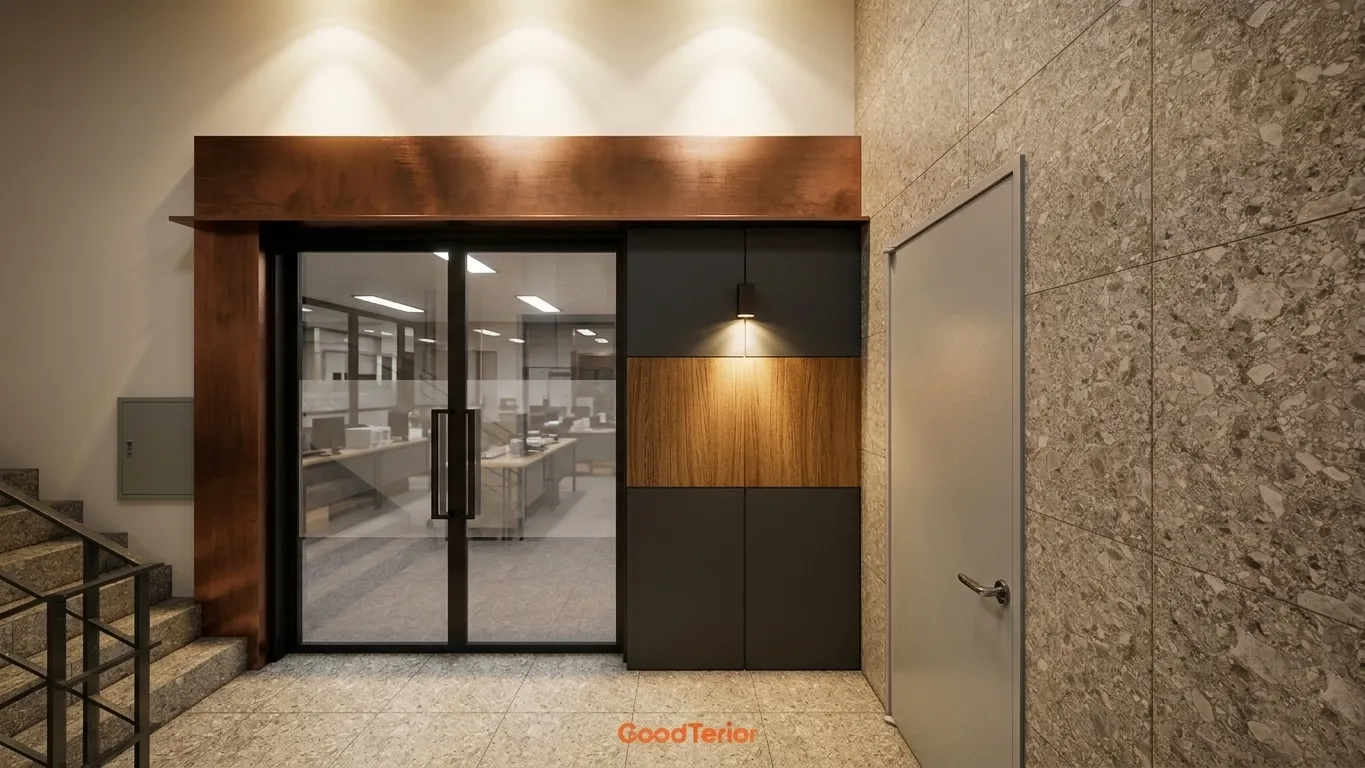
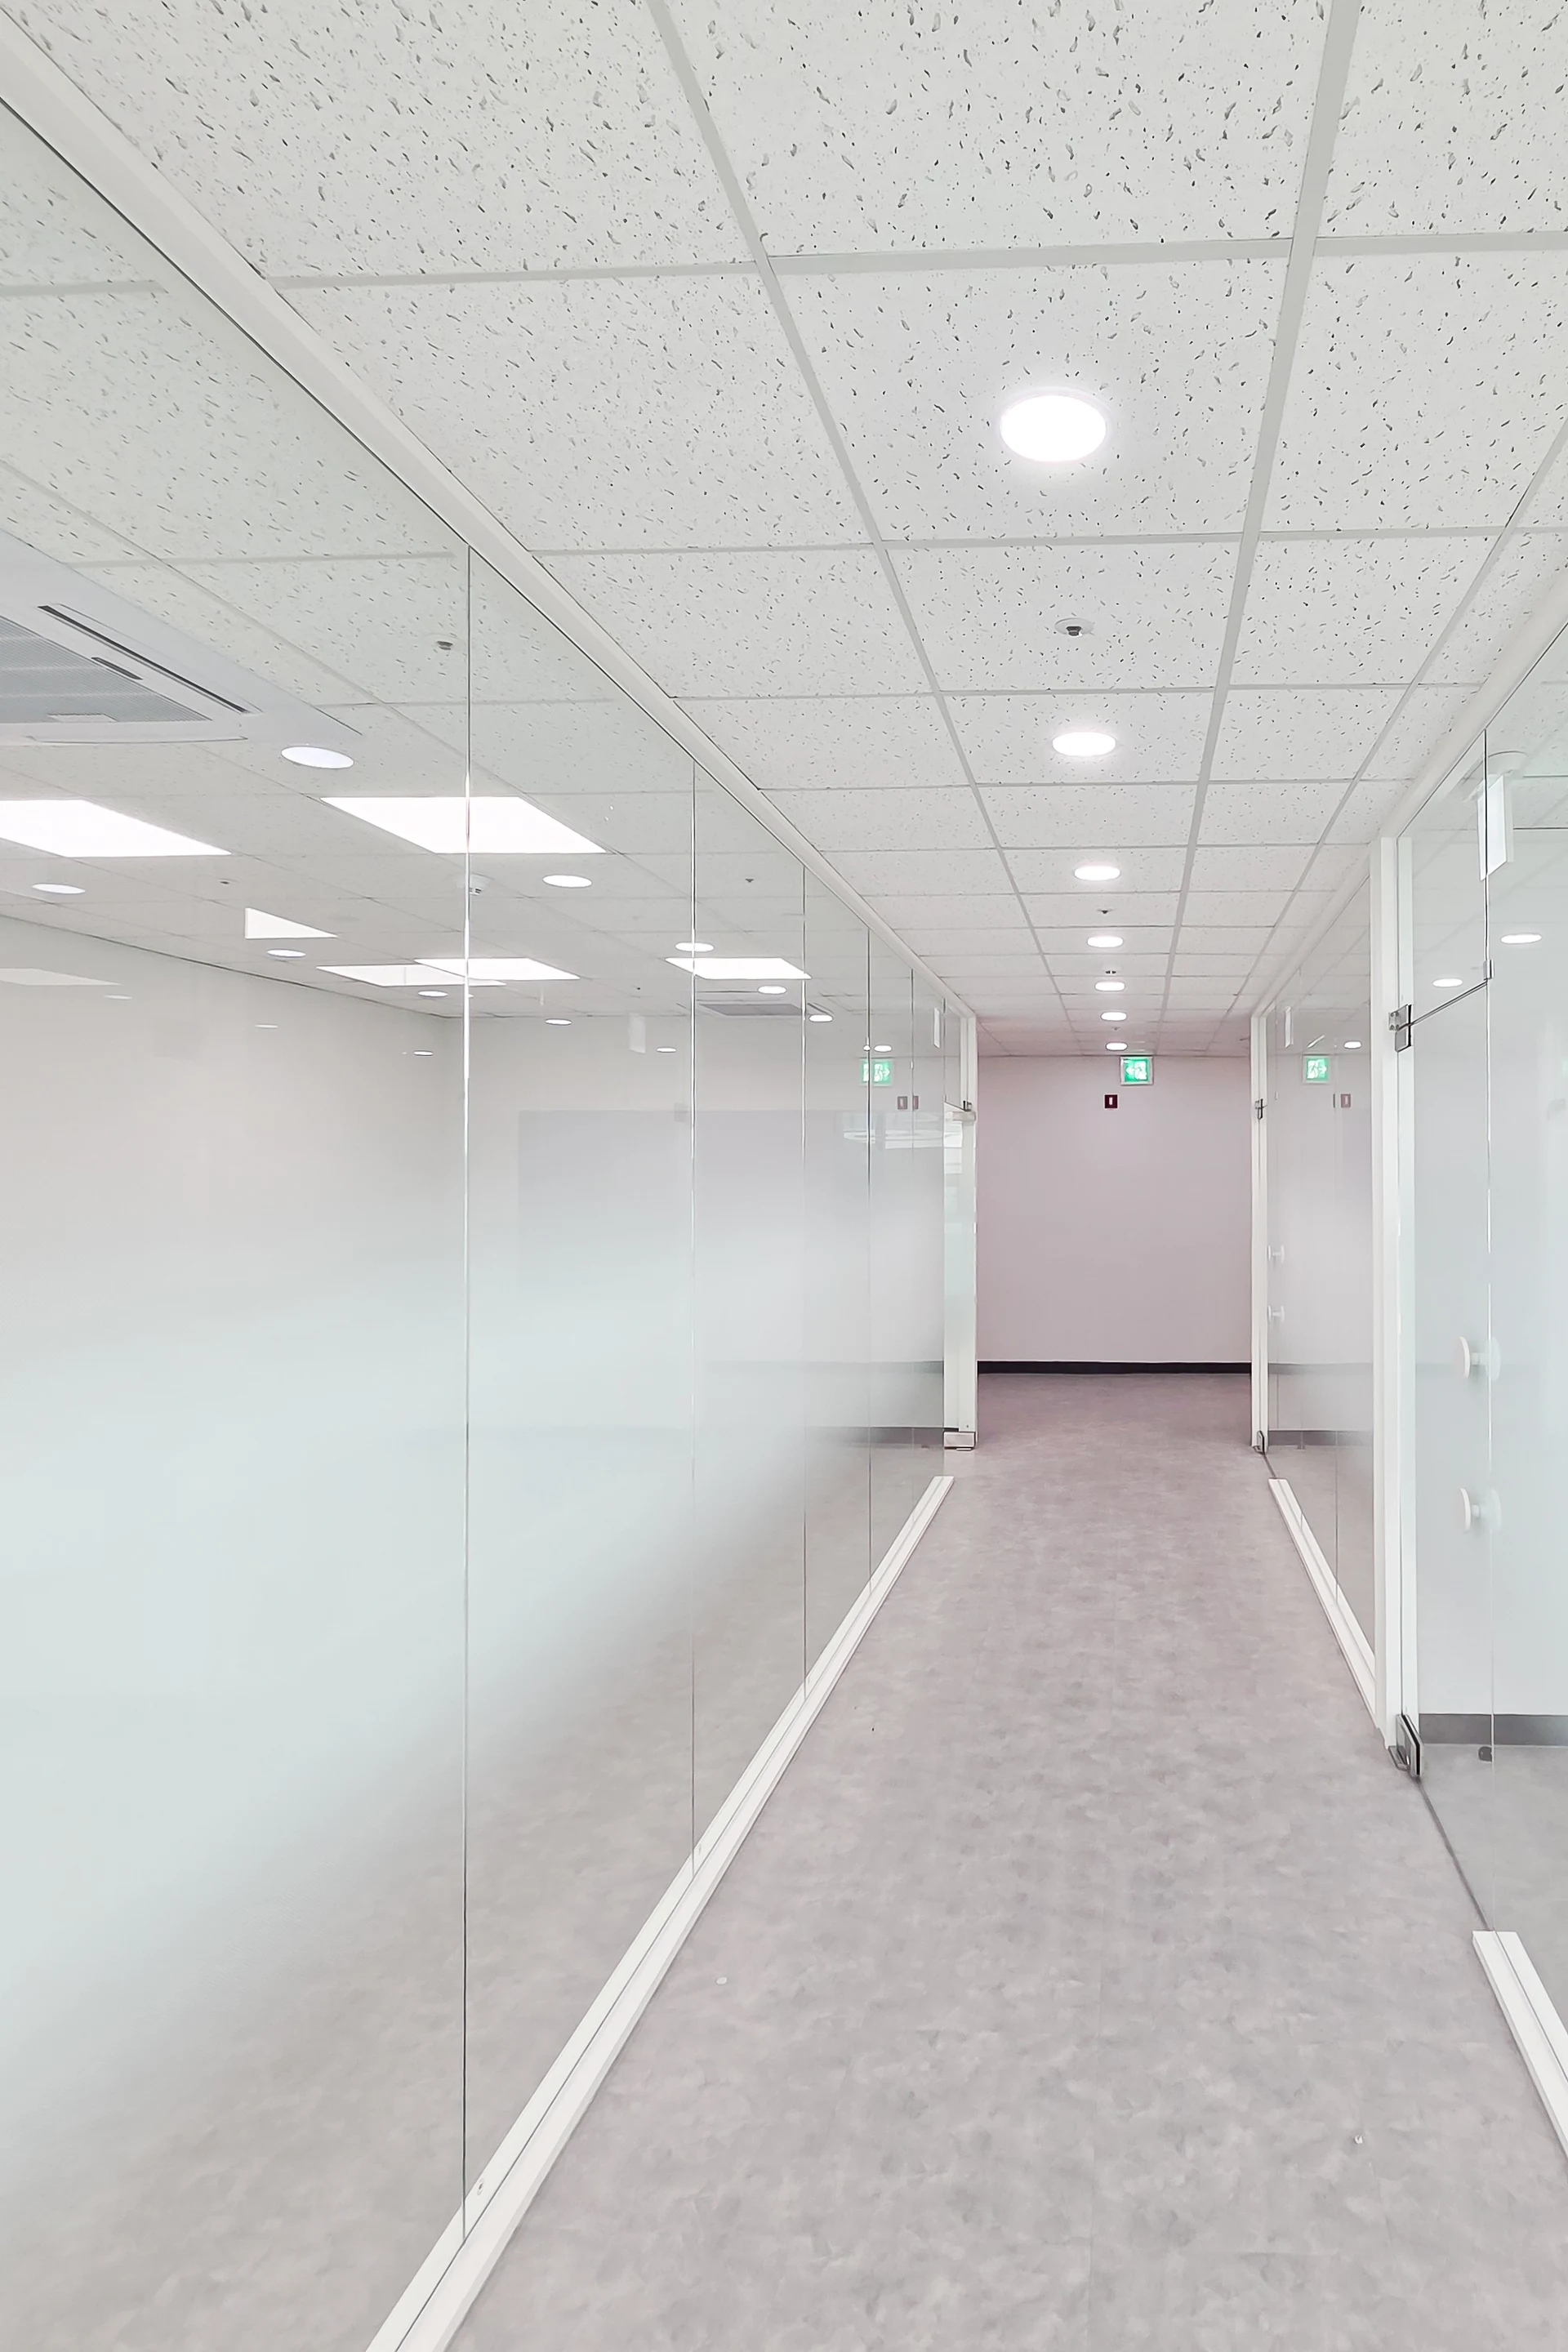
The entrance combines a bright surround within gray walls, pale handles, and metal fittings. Even with identical clear glass, surrounding color and line widths change how boundaries appear. Compare the complete frame-and-handle arrangement rather than glass samples alone.
Decide whether frames blend with walls or contrast. White frames against white walls differ from white against gray. Matching color names can still look different across paint, film, and metal, so compare actual samples. Do not infer materials or product codes from photograph colors.
For slim frames, distinguish overall depth from front-visible width. Corners expose different surfaces from front and side. Sketch approaching along the corridor, standing at the door, and looking back from inside to communicate which lines should be reduced.
Include handles, hinges, and upper and lower door fittings. Approving imagery showing only thin outlines can create surprises when hardware arrives. Request feasible products and fittings in drawings or samples, recording coordinated finishes separately from functionally different ones. Design images must not justify arbitrarily omitting necessary fixings.
Lines dividing doors and fixed panes
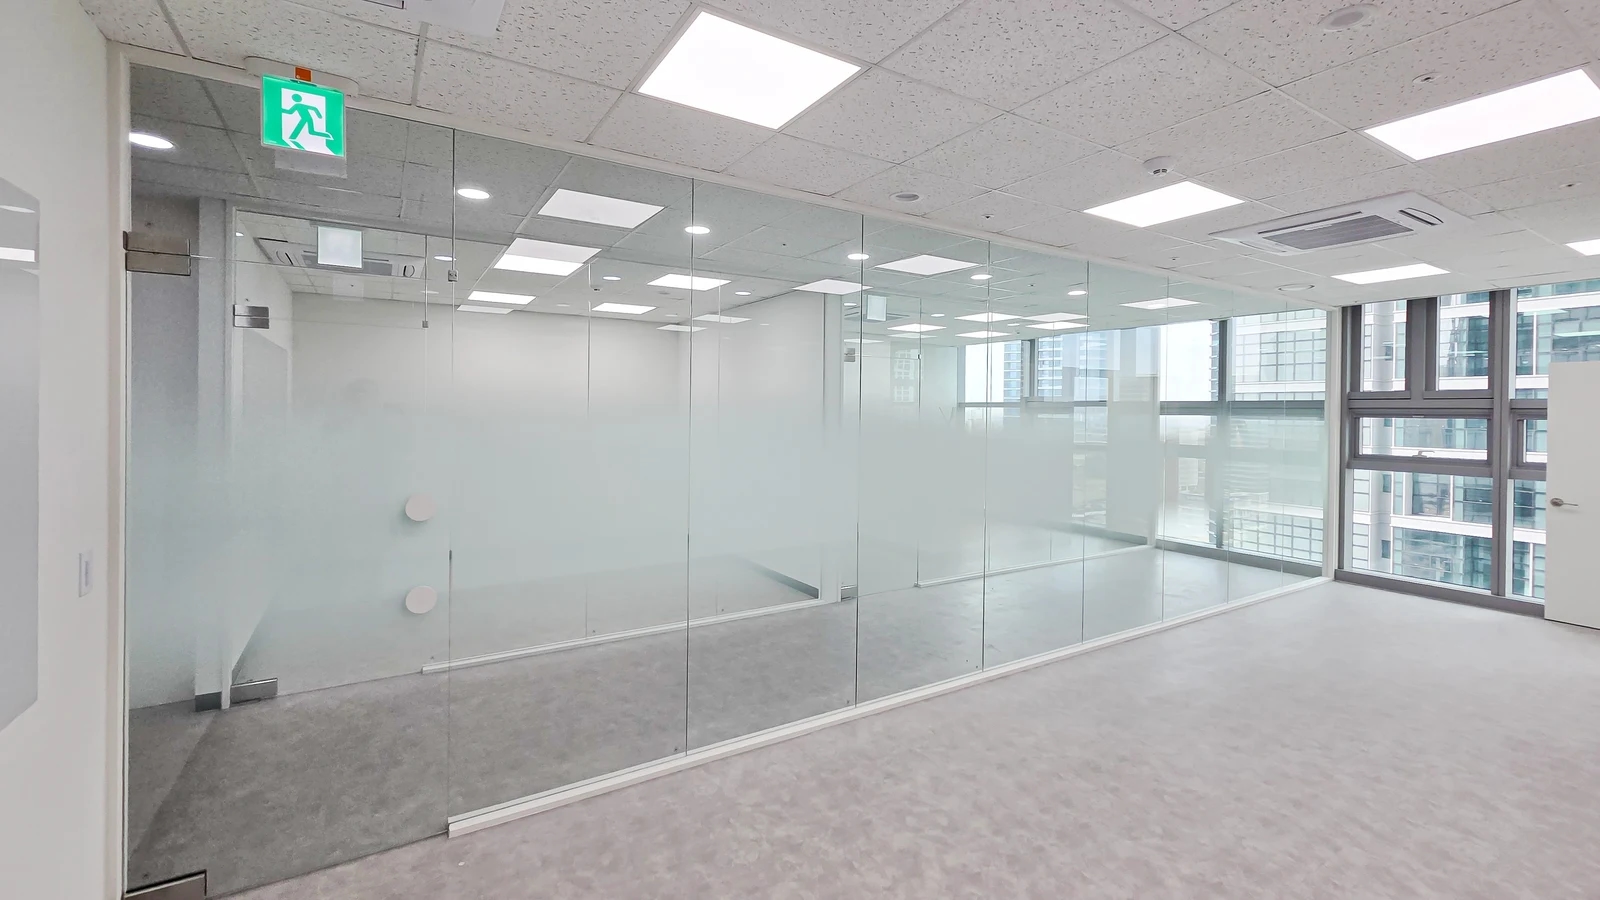
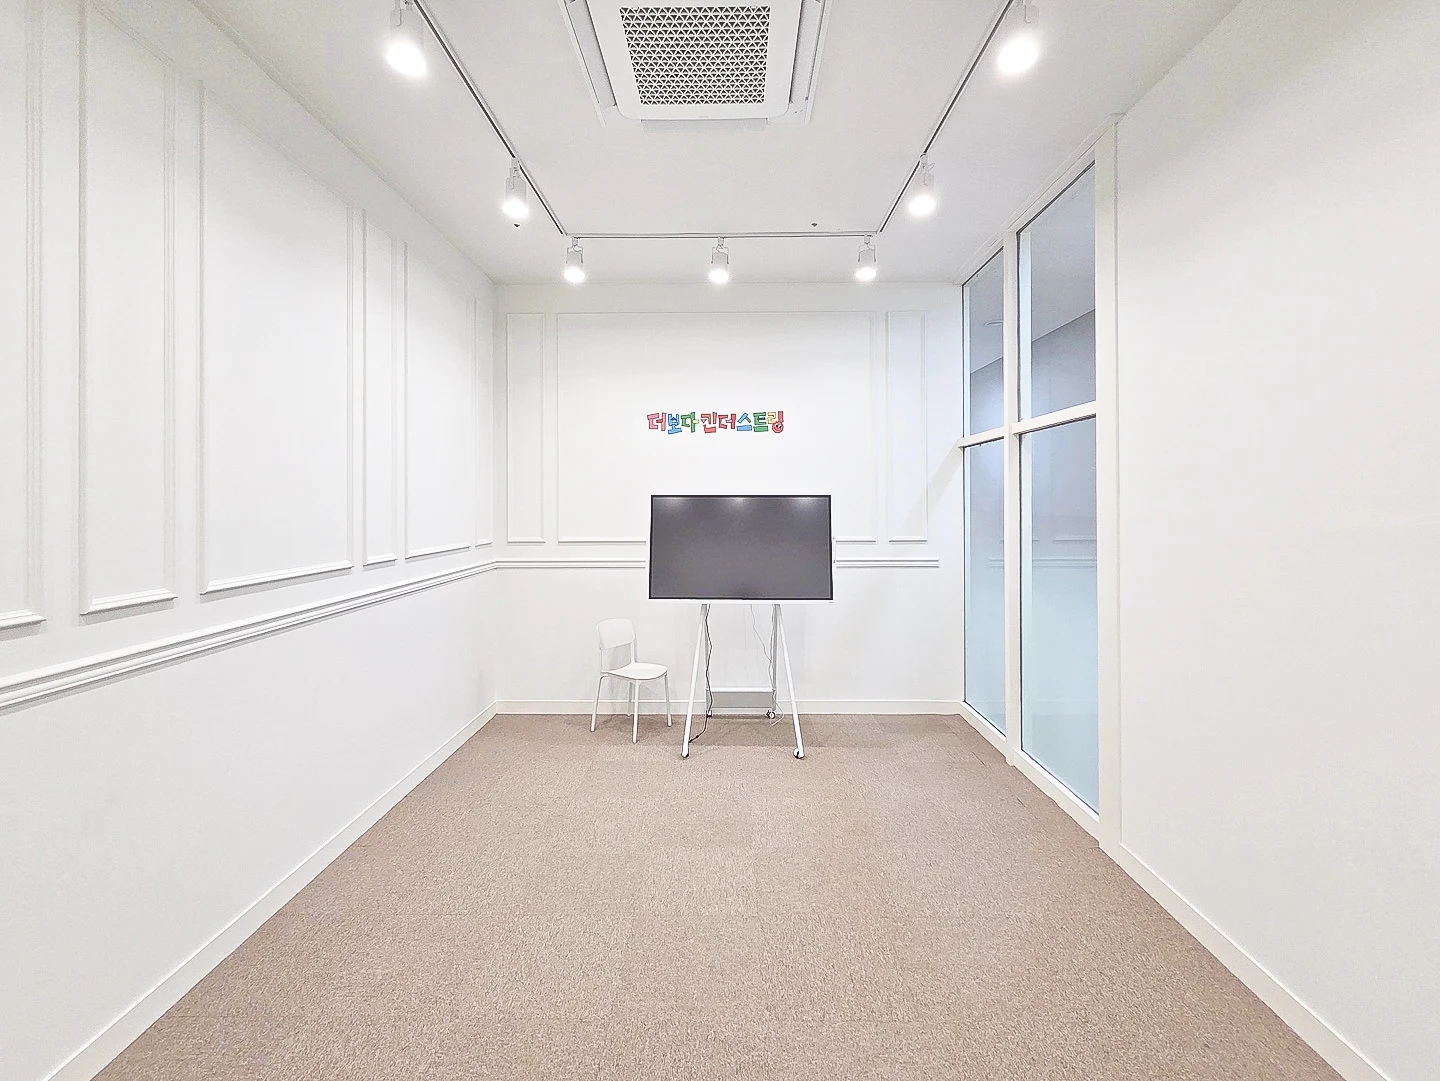
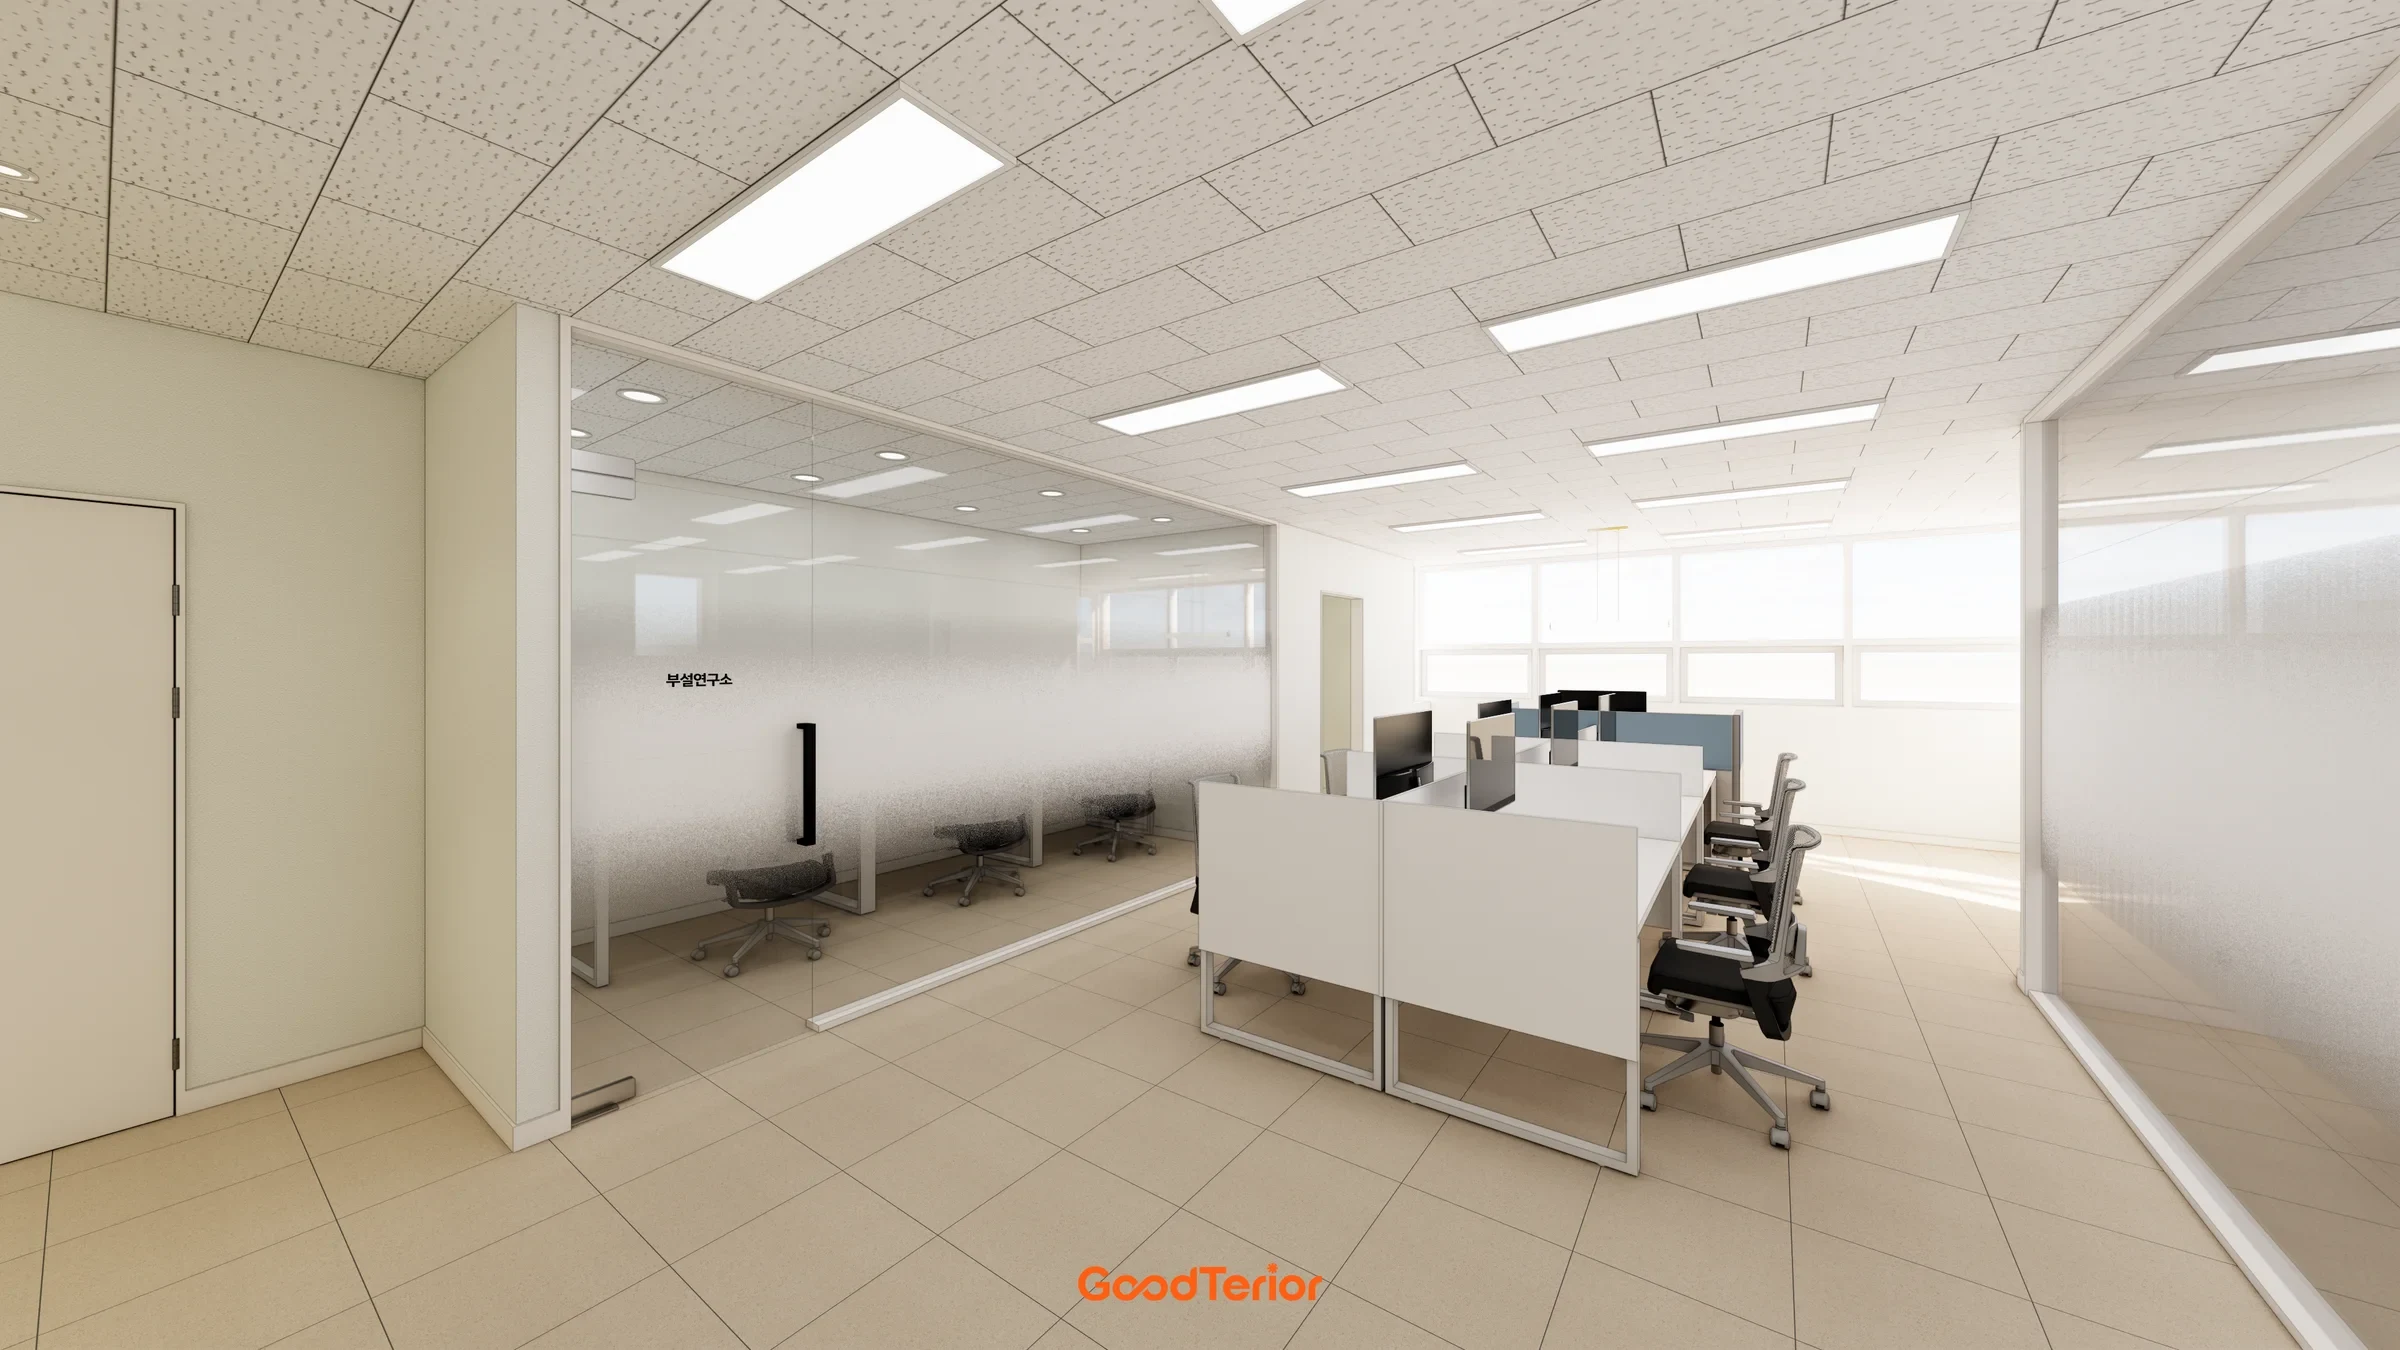
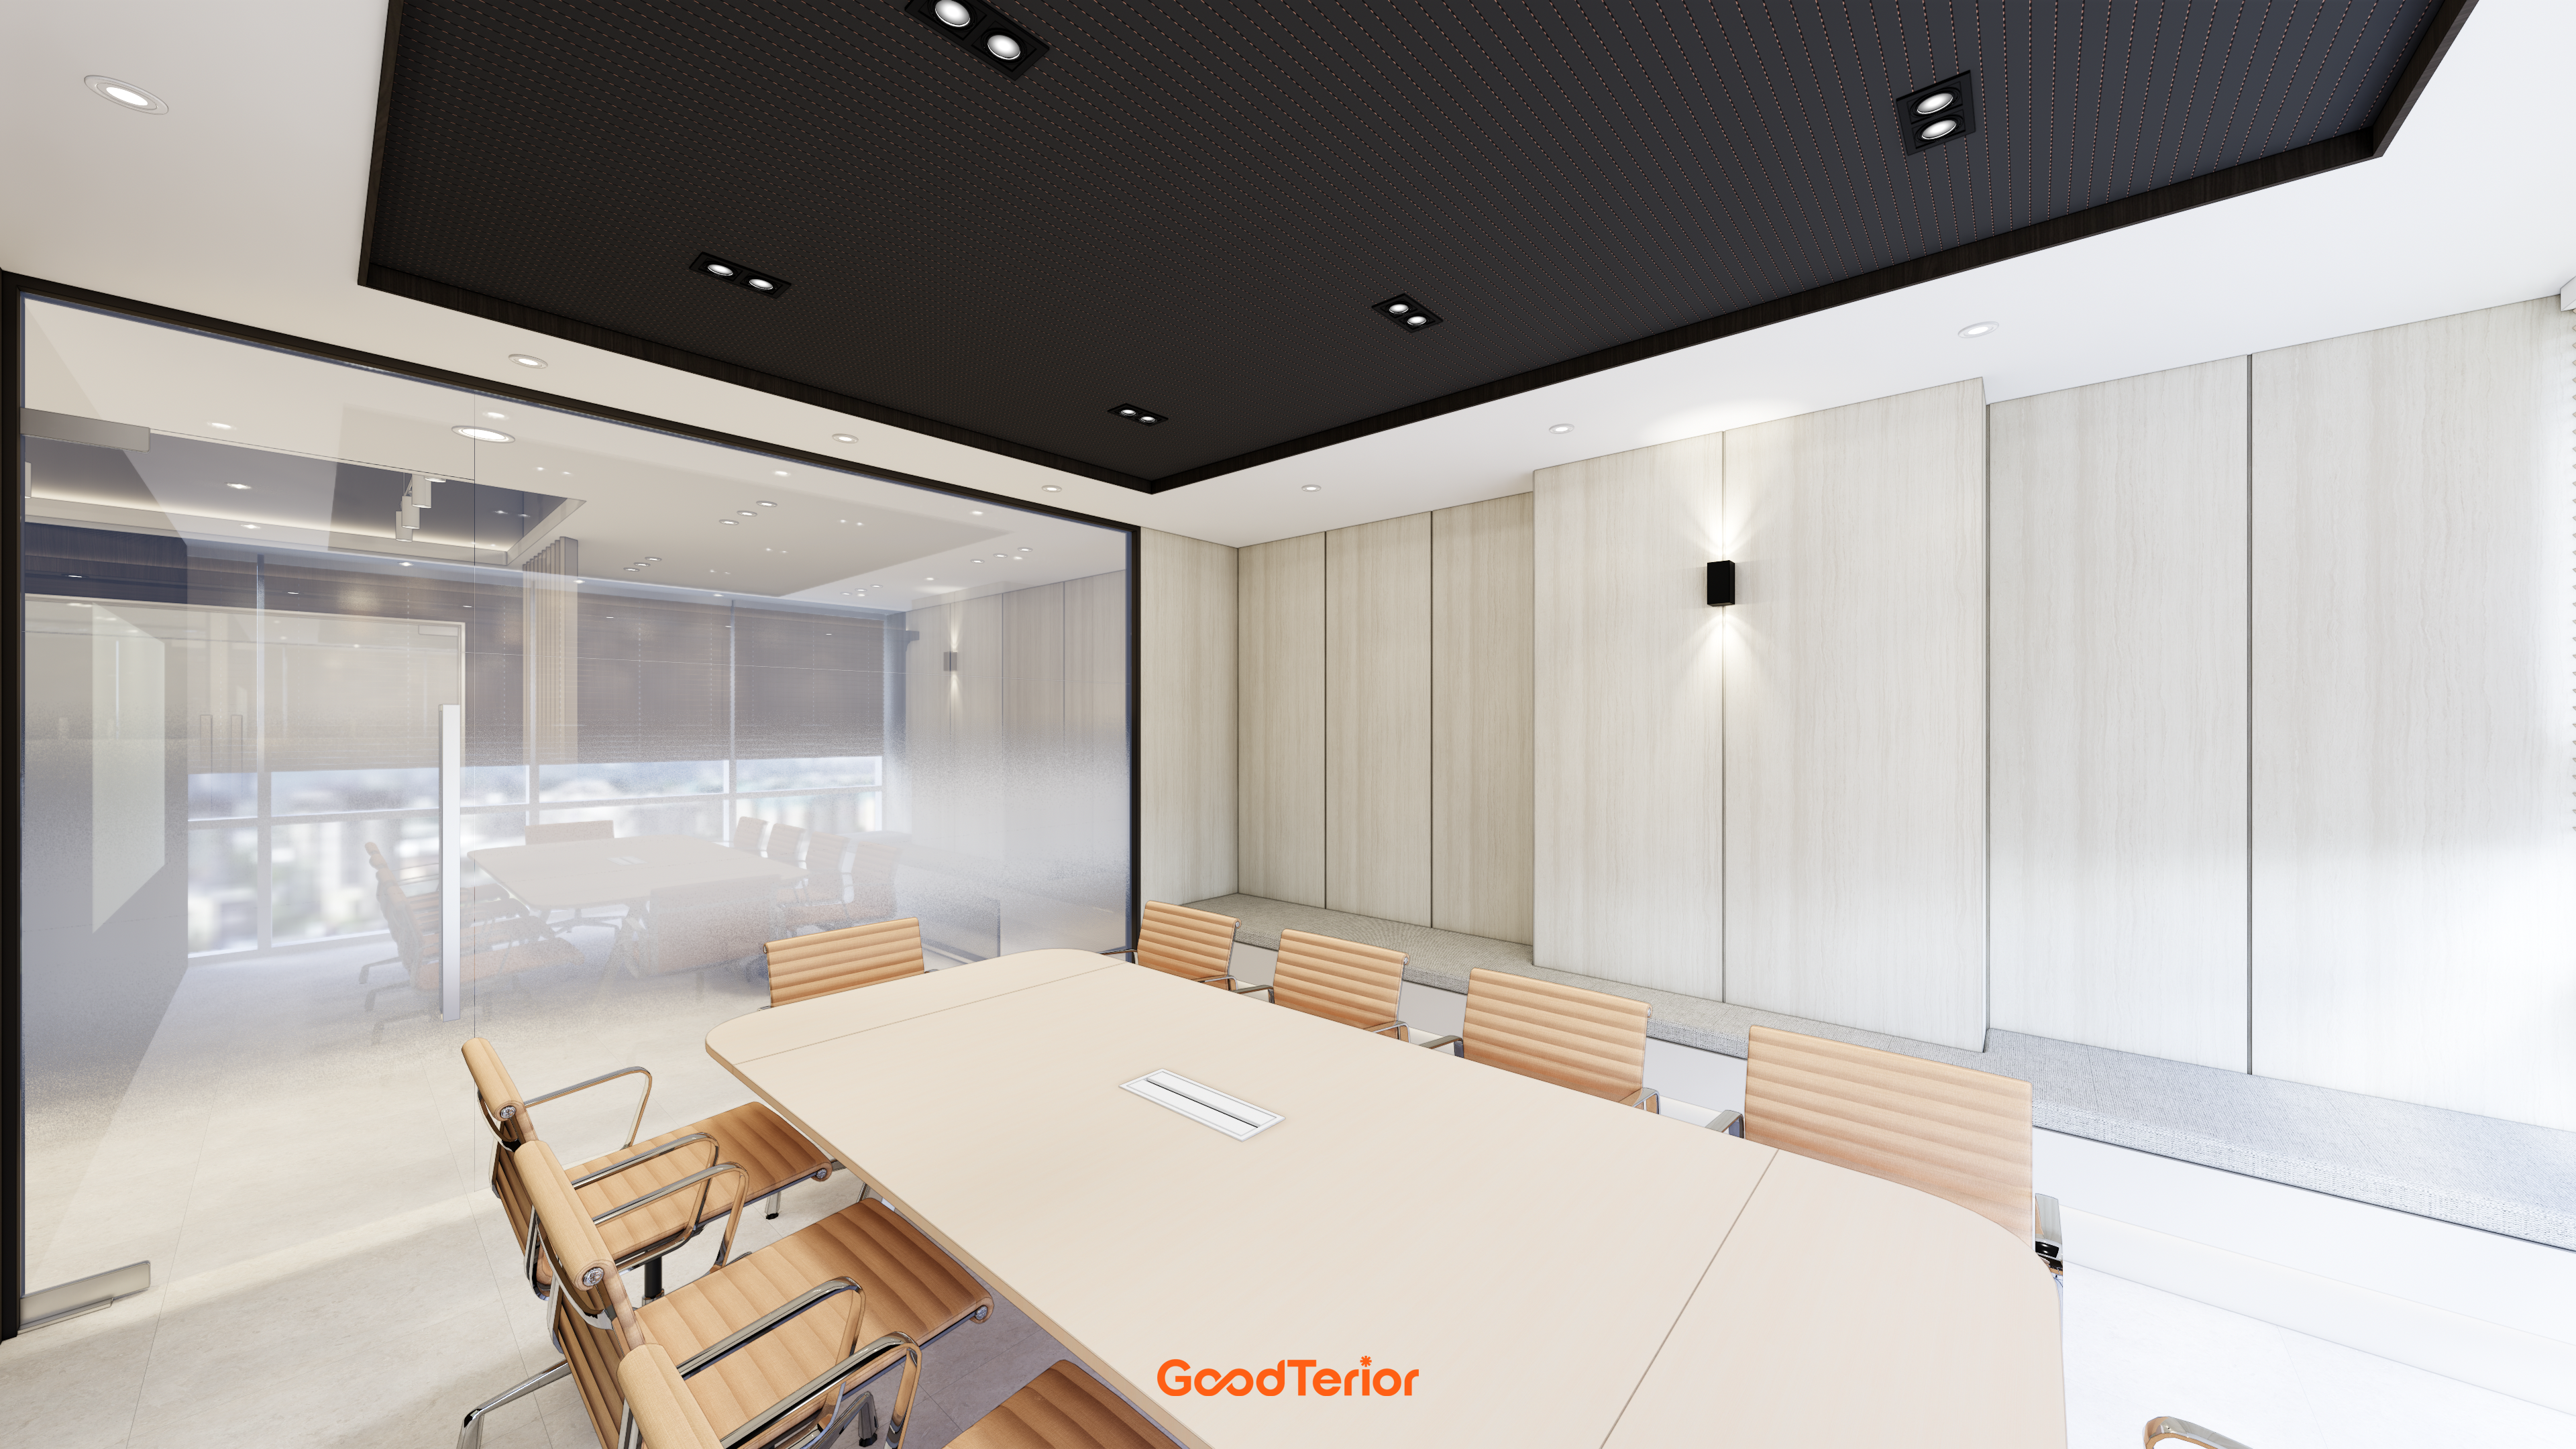
The long glass wall shows vertical joints, door edges, and a translucent horizontal band. They may all divide the view but serve different functions. Distinguish opening boundaries, fixed-pane joints, and surface screening on drawings to convey the desired appearance accurately.
Start with door positions and passage directions, then compare remaining glass divisions in elevation. Fixing door width first differs from creating apparently equal spacing throughout. Agree allowable adjustments with the responsible person while preserving operational requirements, rather than prioritizing aligned lines alone.
Check narrow panes at wall ends and dense joints beside columns. Small panes are not automatically wrong; determine whether overall length and door positions require them or alternatives exist. Confirm fabrication sizes and transport and installation conditions separately for the chosen glass system.
Draw where screening bands meet glass joints. A long band across several panes needs review with doors closed and open. For logos and room names, check split lettering or partial words when opening. Set band height from actual screening needs rather than pattern alone.
For comparable quotes, match door counts, fixed-pane layouts, and applied patterns or lettering as well as glass area. Mark desired divisions and doors instead of supplying only a reference photograph with fewer vertical lines, preventing different constructions from being mistaken for the same specification.
Terminations at walls, ceilings, and floors
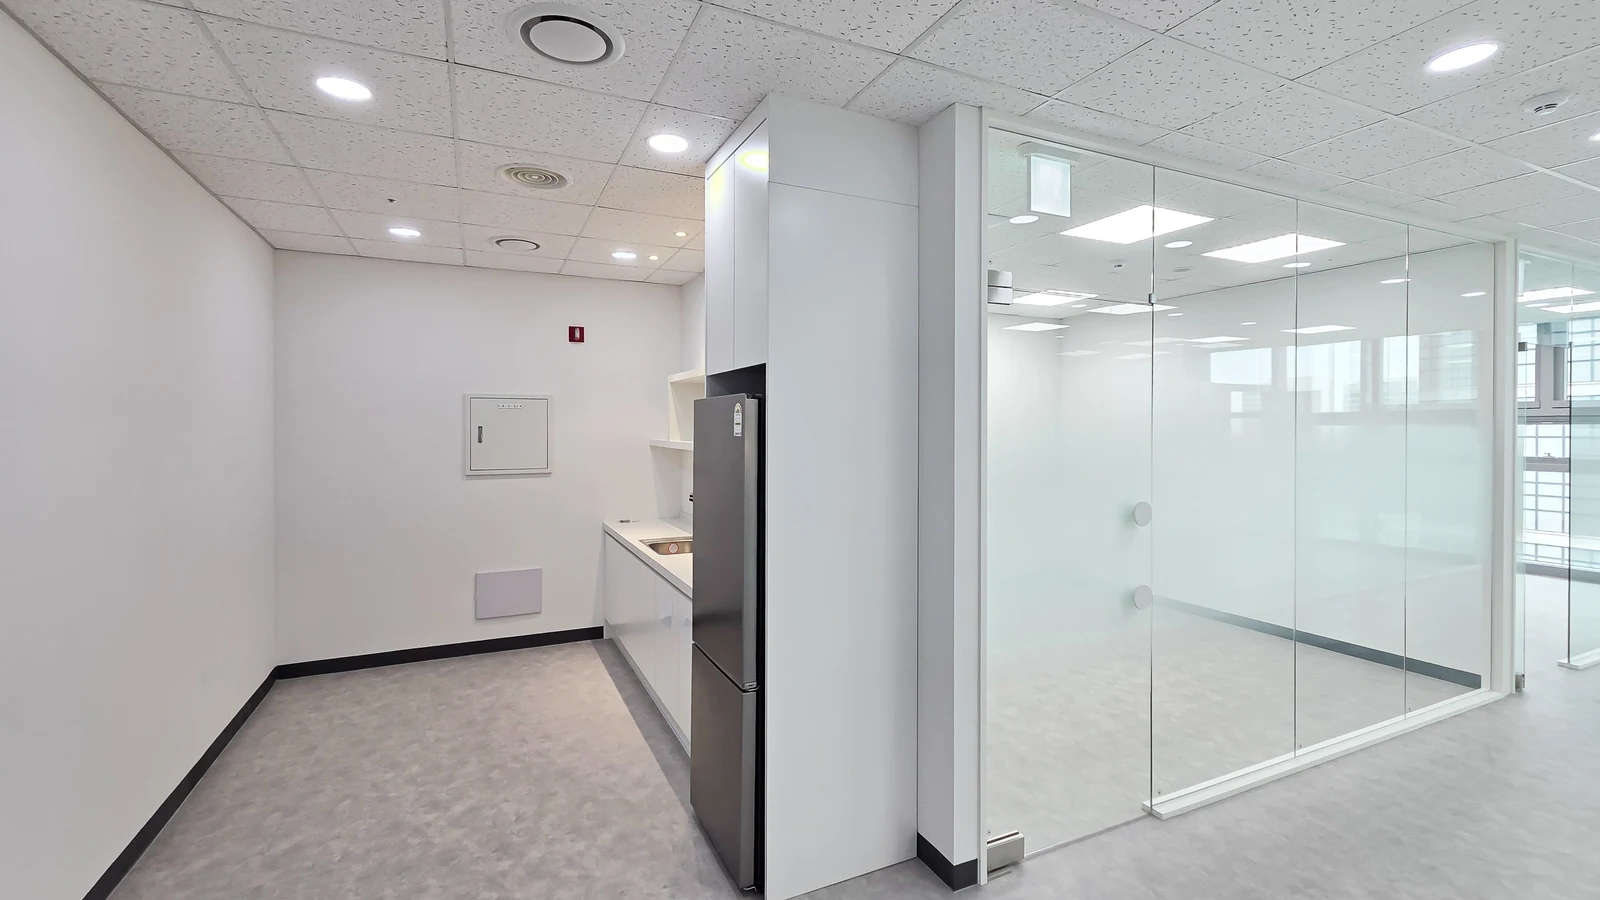
The photograph shows a pantry-side wall meeting the glass door, with white frames and black skirting forming different lower lines. Front elevations can miss these details. Enlarge corners to define how far frames continue and where skirting stops beside doors, making work scope specific.
At the ceiling, ask for drawings explaining whether glazing aligns with existing panels and grids or receives a separate junction finish. Decorative alignment differs from structural fixing requirements. Hidden anchors and wall construction need installer site checks and product requirements rather than photographic assumptions.
At the floor, check door hardware and lower fixed-pane frames. For retained floors, confirm fixing work and reinstatement after removal. Open and closed door views and corridor approaches reveal junctions missed in front elevations.
Read product documentation by separate categories. HomeCC's entrance-door and partition item book presents frame colors, glass, and door designs separately for its products. It does not identify the photographed installation's specifications. Obtain separate records of actual frame finishes, glazing, and door construction for this site too.
For final approval, retain overall divisions, corner-visible widths, open-door views, and surrounding finish samples together. For budget reductions, identify changes such as simpler decoration or adjusted color choices and requote rather than omitting hardware. These records make differences from reference images traceable after completion.
Ask us about your interior project
We can discuss a quote and design suited to the space you are planning.
Request a free consultation