Planning divisions for cafe wall moldings and panels
When adding rectangular moldings and vertical panels, review the whole wall rather than a small sample. Our cafe designs illustrate panel proportions, overlaps with benches and lights, and finishes beside doors.

Before you begin
- Draw a full wall elevation and compare compartment widths, heights, and margins at both ends.
- Overlay bench backs, tables, and wall lights to determine which decorative lines will remain visible.
- Distinguish corners, door-side ends, and surfaces hidden behind furniture when recording finish scope and quotes.
Wall divisions viewed with furniture
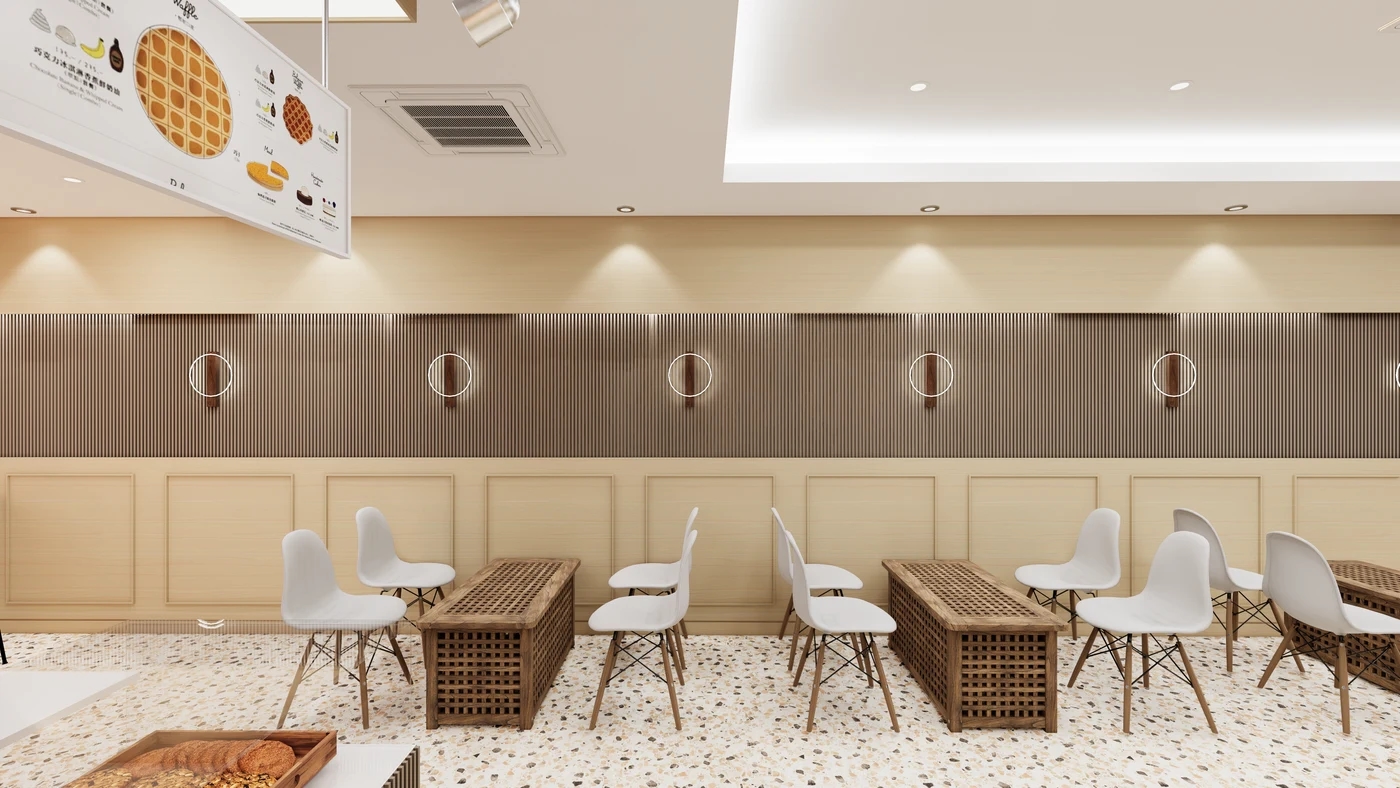
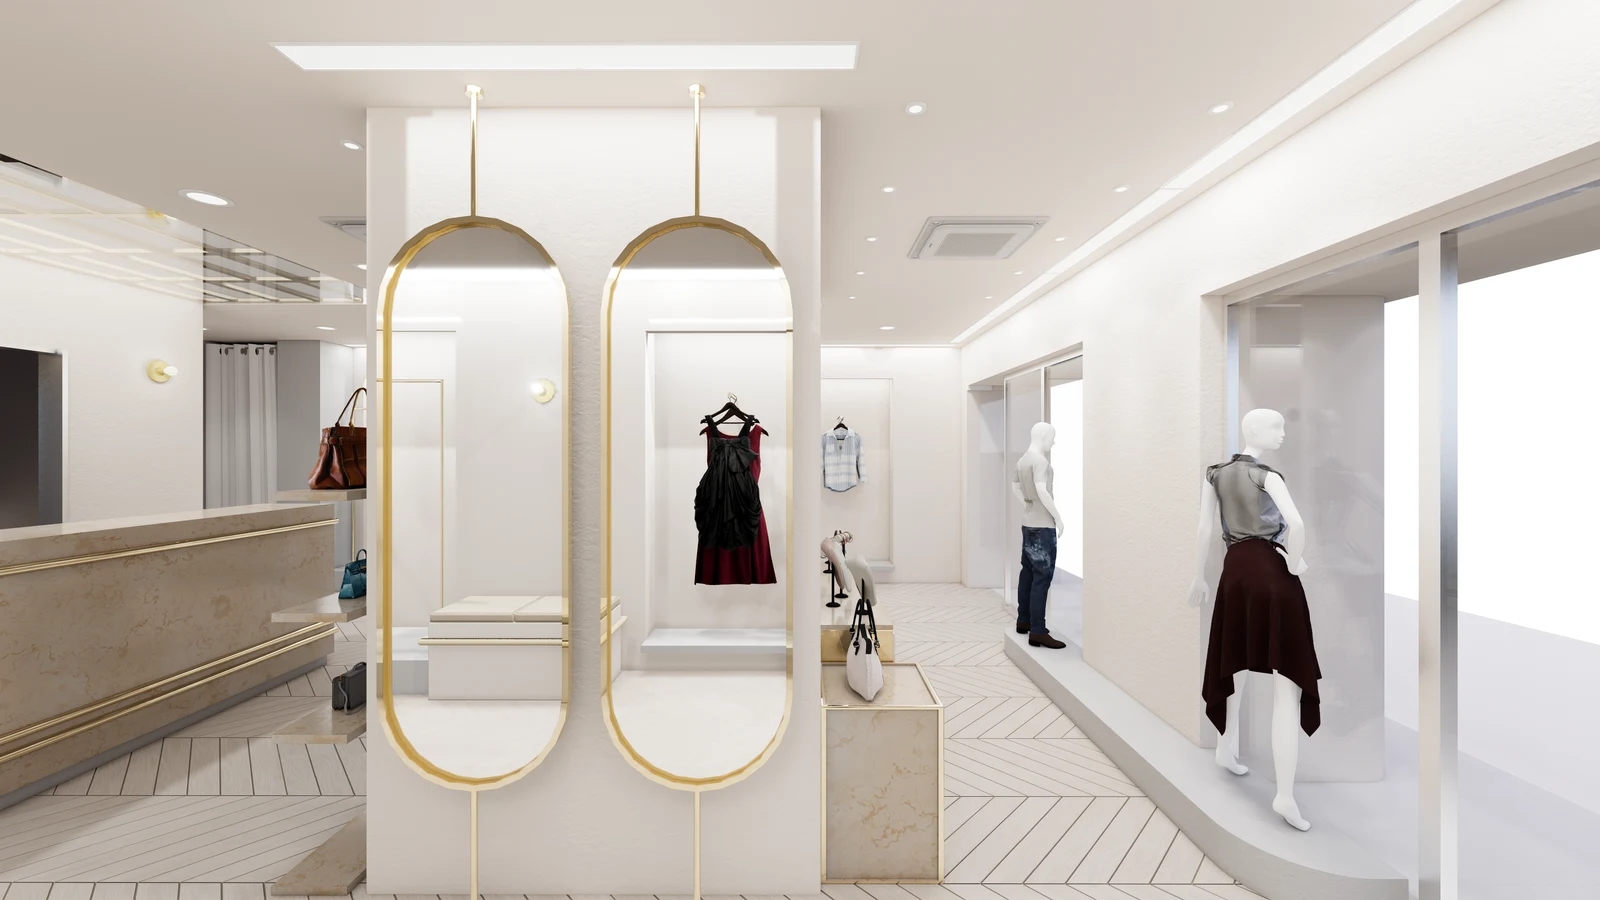
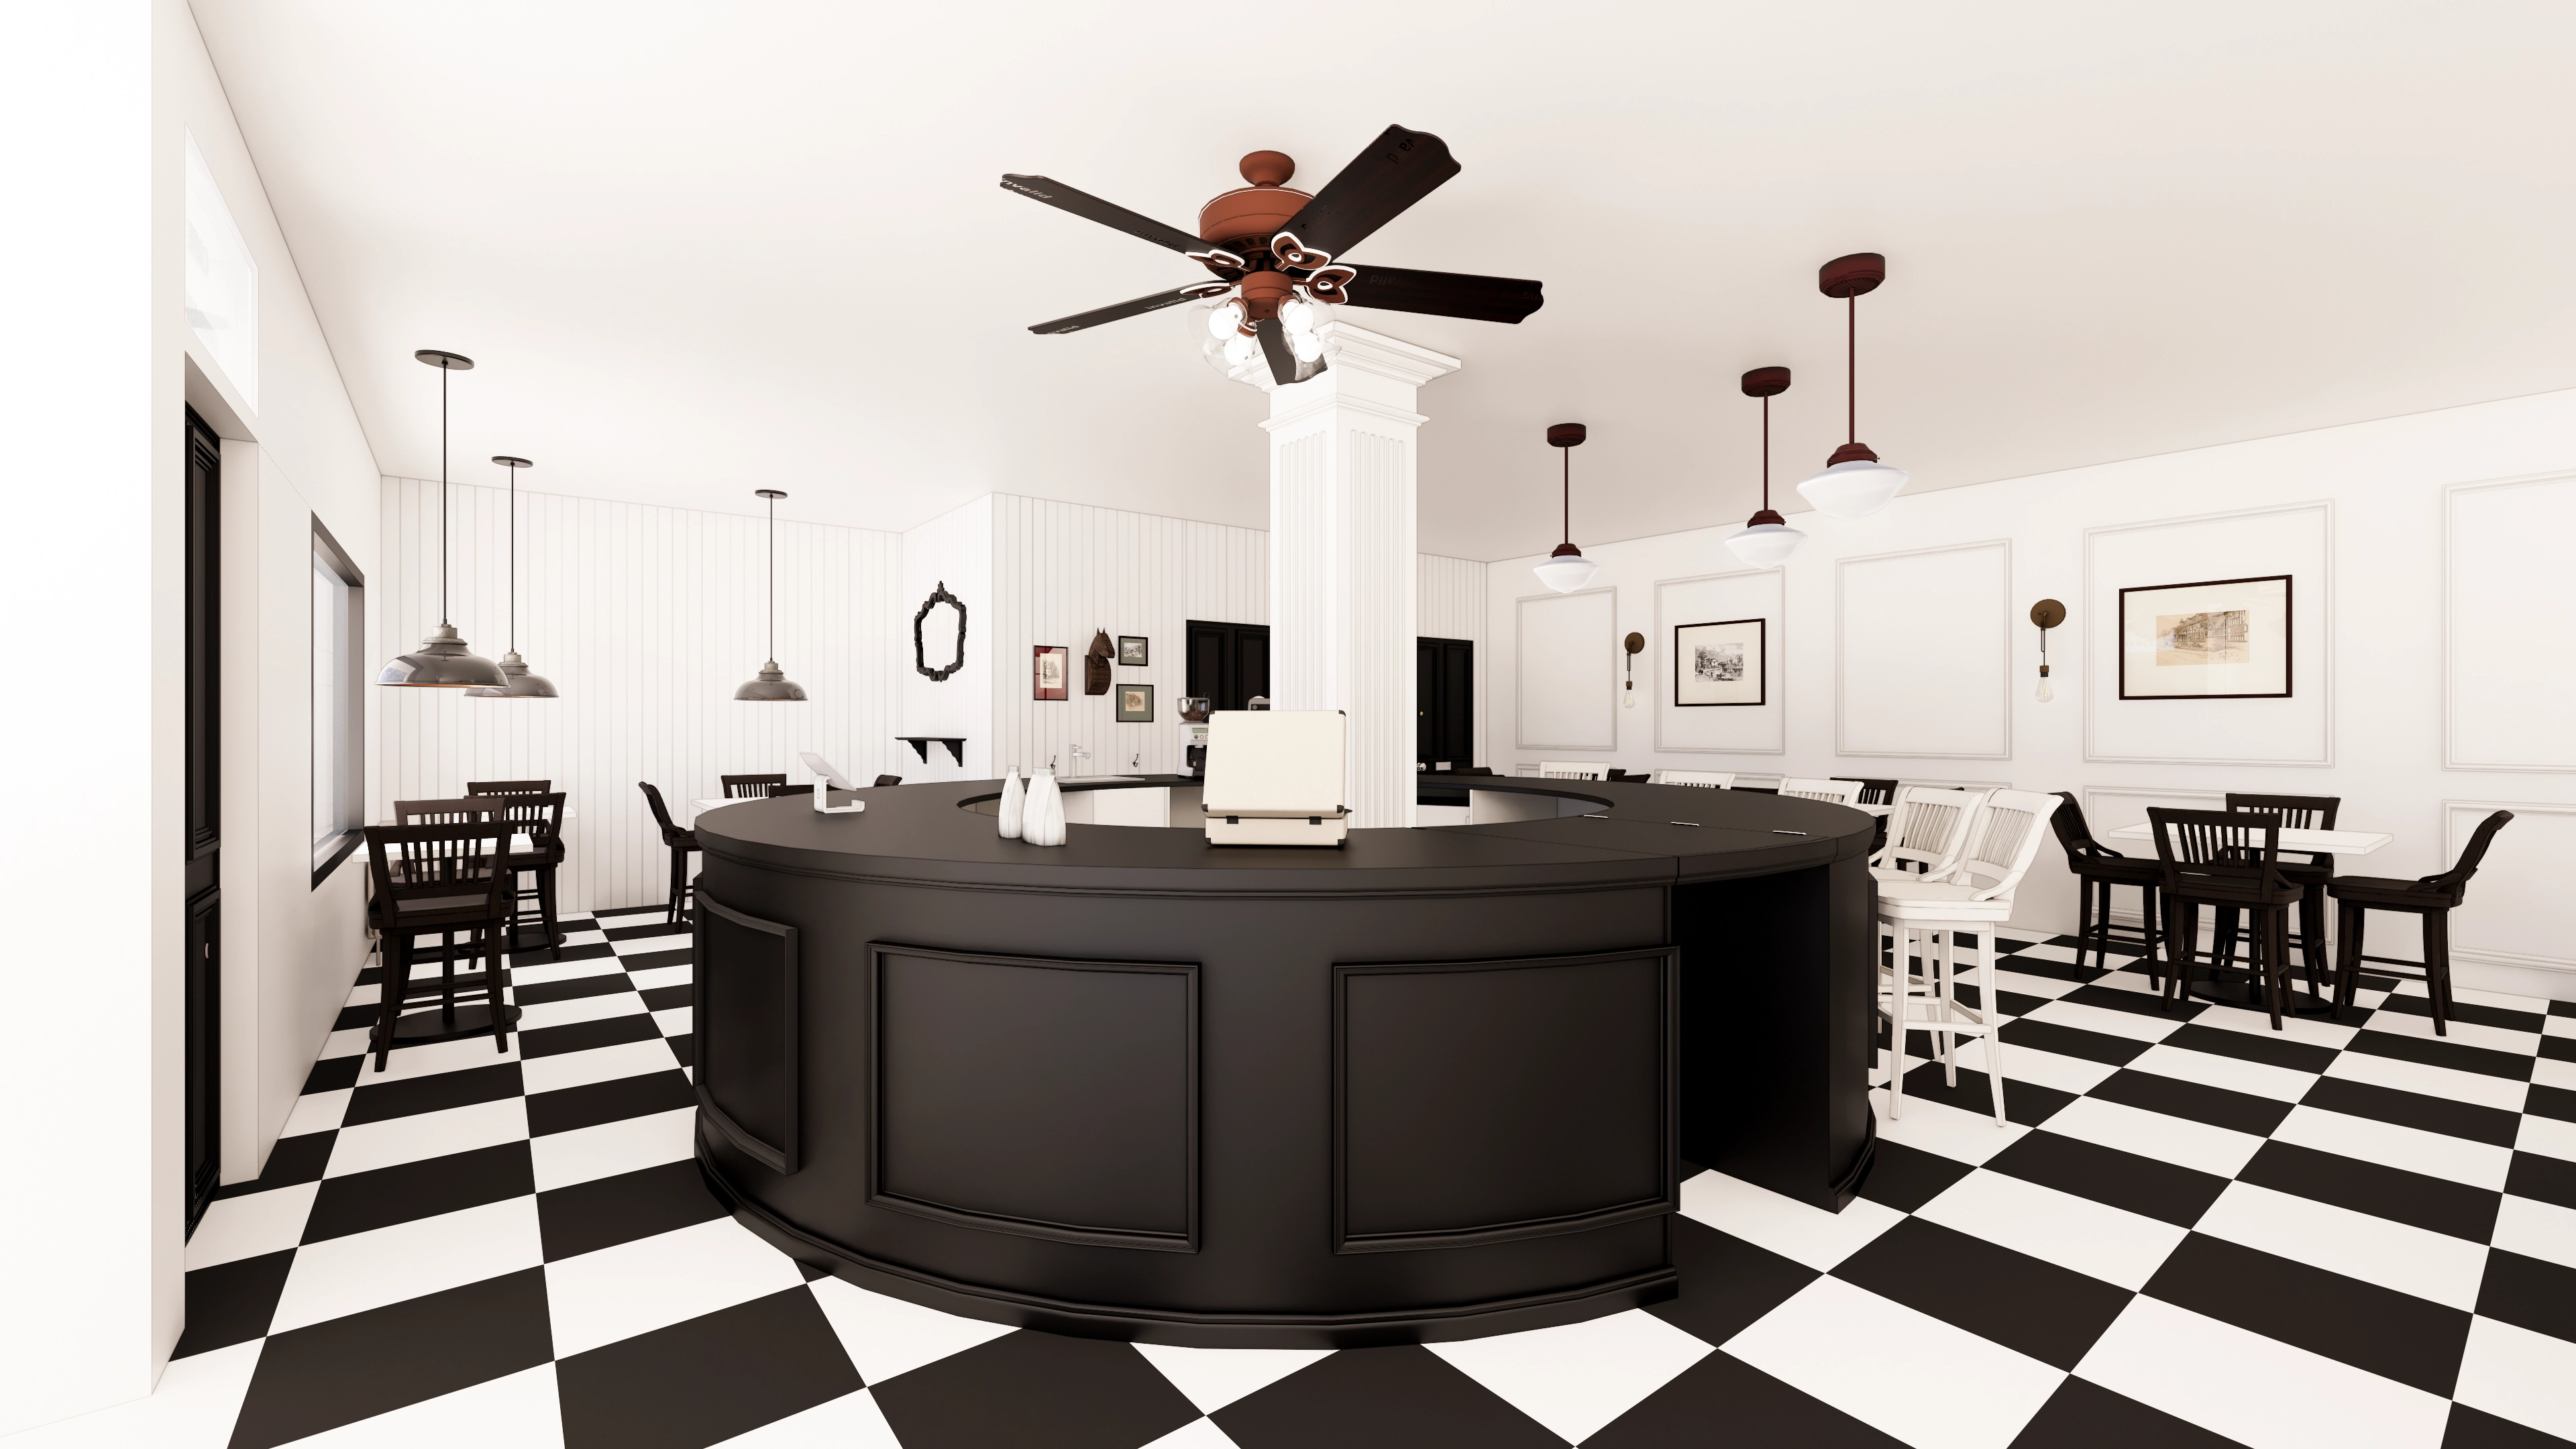
Choosing an attractive small molding frame can obscure the whole-wall arrangement. These images are our Happiness Cafe design renderings. The front view combines broad lower rectangles, closely spaced upper vertical lines, and round lights. It helps explore reference lines when different repeat scales share a wall.
Draw an elevation with actual wall length and endpoints, then add horizontal divisions and rectangular frames. Compare equal-width panels with a wider center, including where narrow remaining sections fall. Approving only central panels can leave unexpected fragments beside doors or columns.
Molding centers and wall-light centers need not always align. Compare differing numbers of lower frames and upper lights, as in the elevation. Decide which lines repeat and which elements remain independent so later changes for outlets or furniture retain a reference. Avoid forcing decoration around electrical positions decided in isolation.
Standing at the entrance and sitting at a table give different views. Chairs and tables may hide lower frames, leaving only upper bands visible. Overlay tabletops and chair backs on the elevation as well as placing furniture on the plan. Choose lines visible between actual furniture rather than only equal divisions on an empty wall.
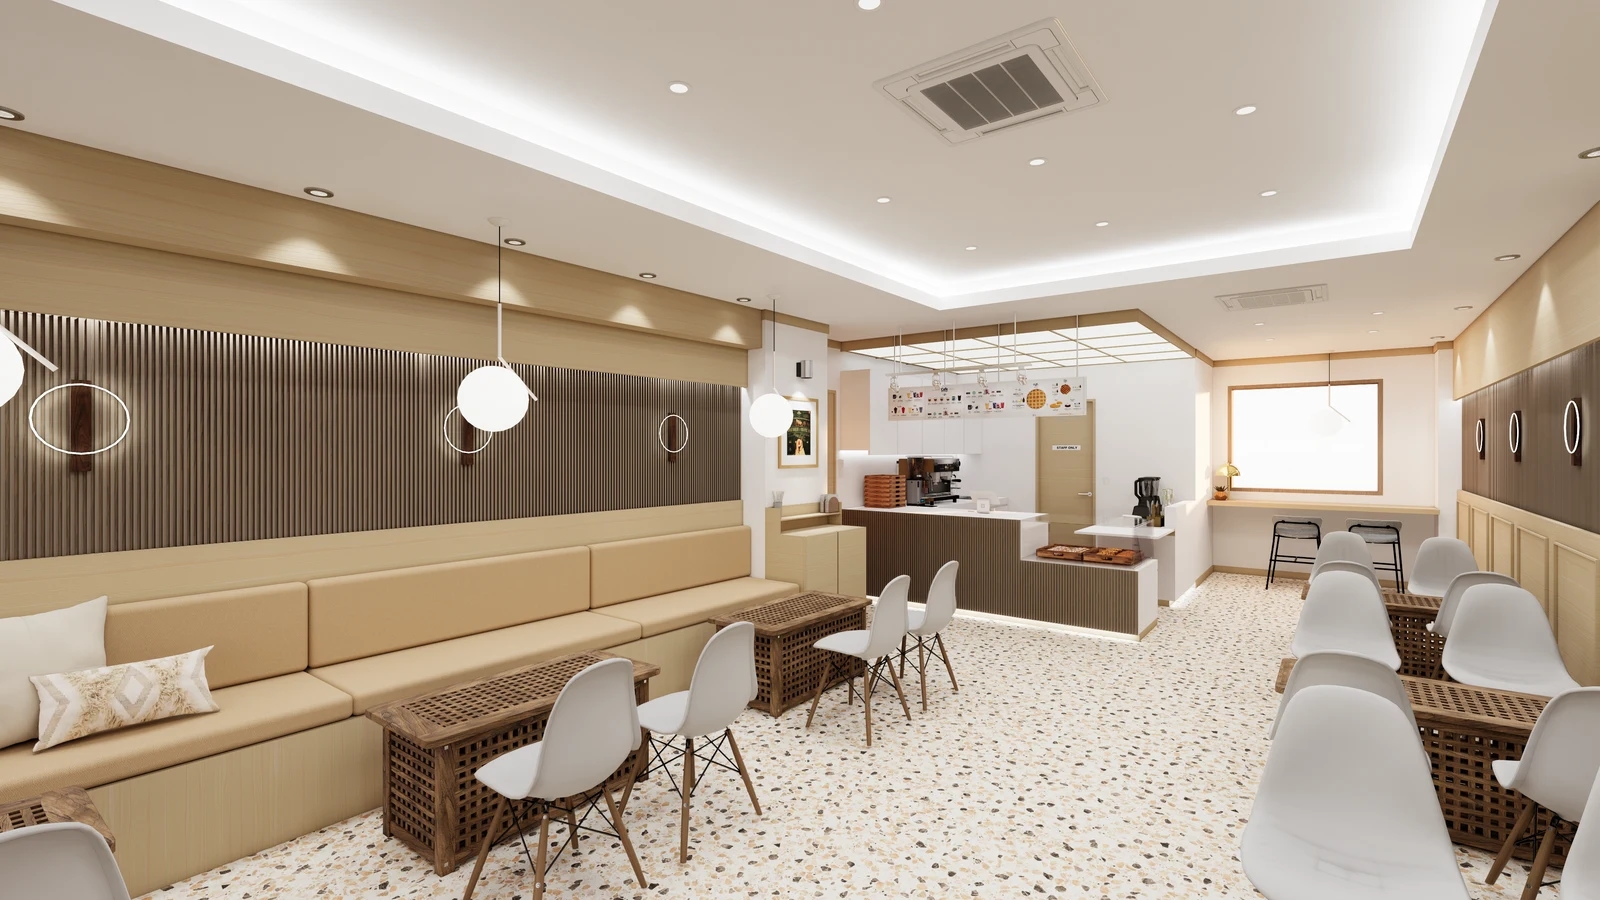
The cover's left wall has a continuous bench back, while the right exposes rectangular moldings. Opposing walls need not copy identical lines when furniture hides different heights. Compare the band above the bench separately from floor-up frame proportions beside chairs. Shared references such as an upper horizontal line can still connect them.
Broad rectangular frames and dense vertical panels add many lines. Compare floor patterns and table construction alongside them, including an option leaving a wall section plain. Decide whether to reduce lines or concentrate them on selected walls before copying rendered colors and materials. Timber grain in a rendering does not establish actual materials or installation methods.
After choosing divisions, test molding face width, projection, and margins at full size. Paper strips or removable marks on the wall can help. This communicates line thickness and height better than small color chips alone. Confirm final dimensions against finished floors and walls with the responsible person and record them on approved elevations.
Door-side ends and surfaces hidden behind benches
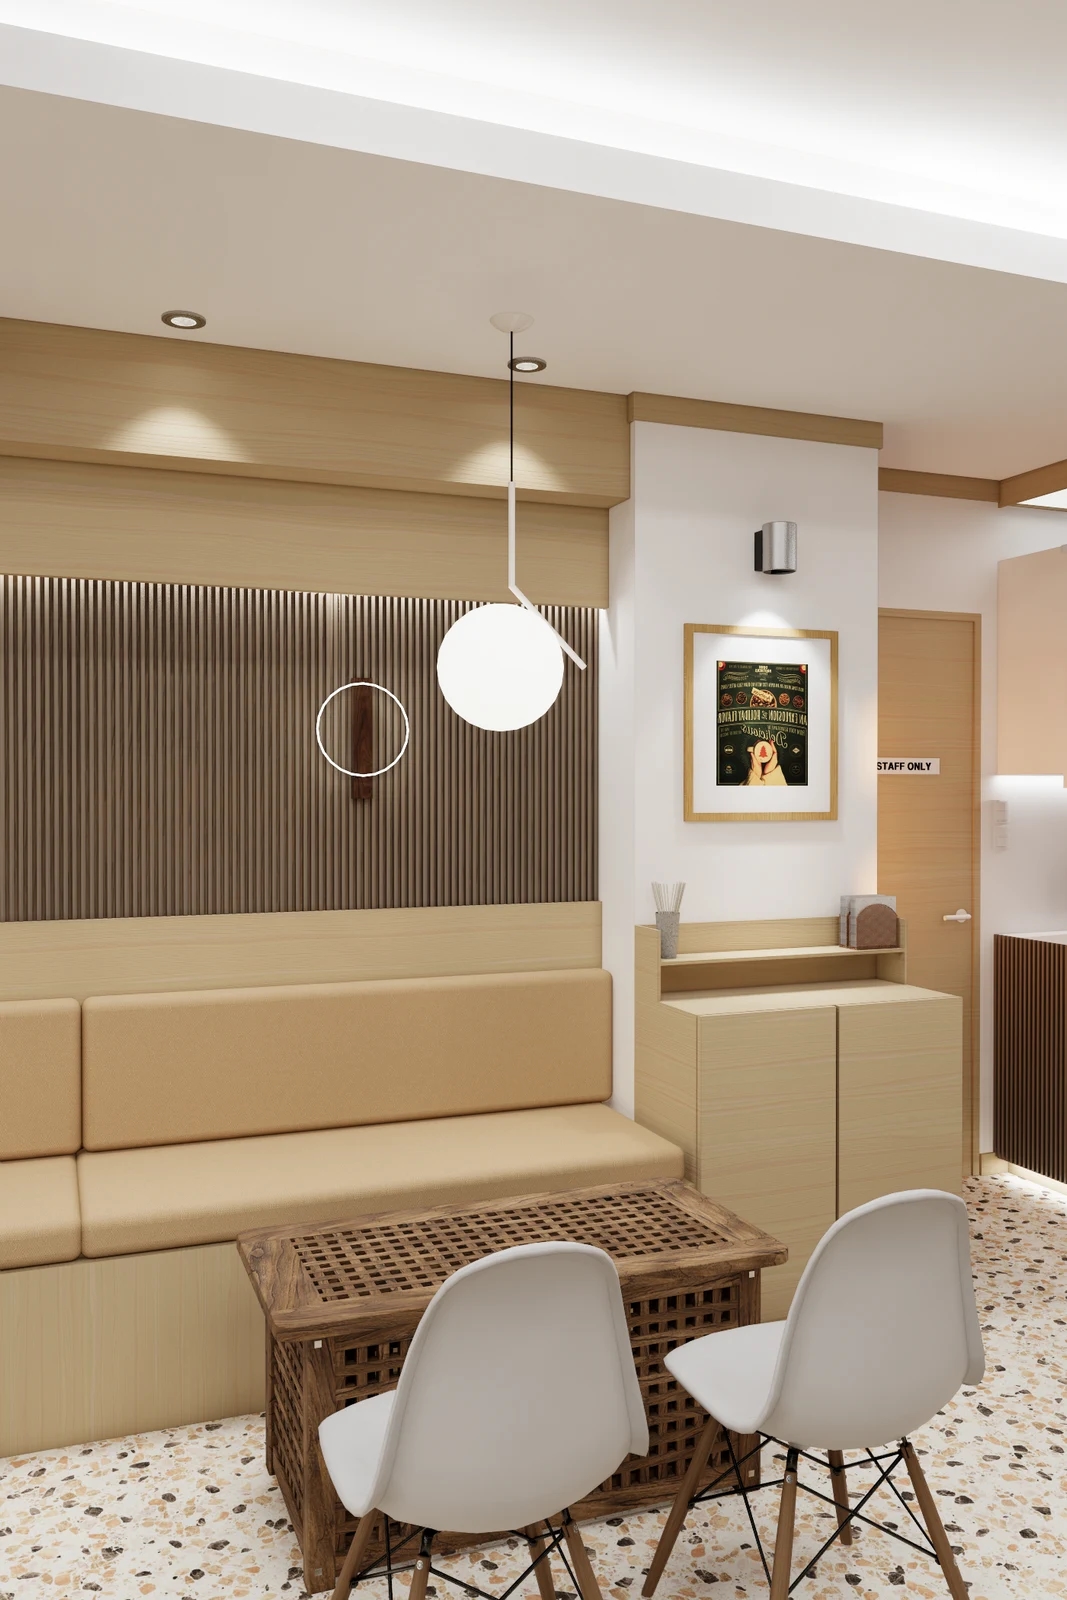
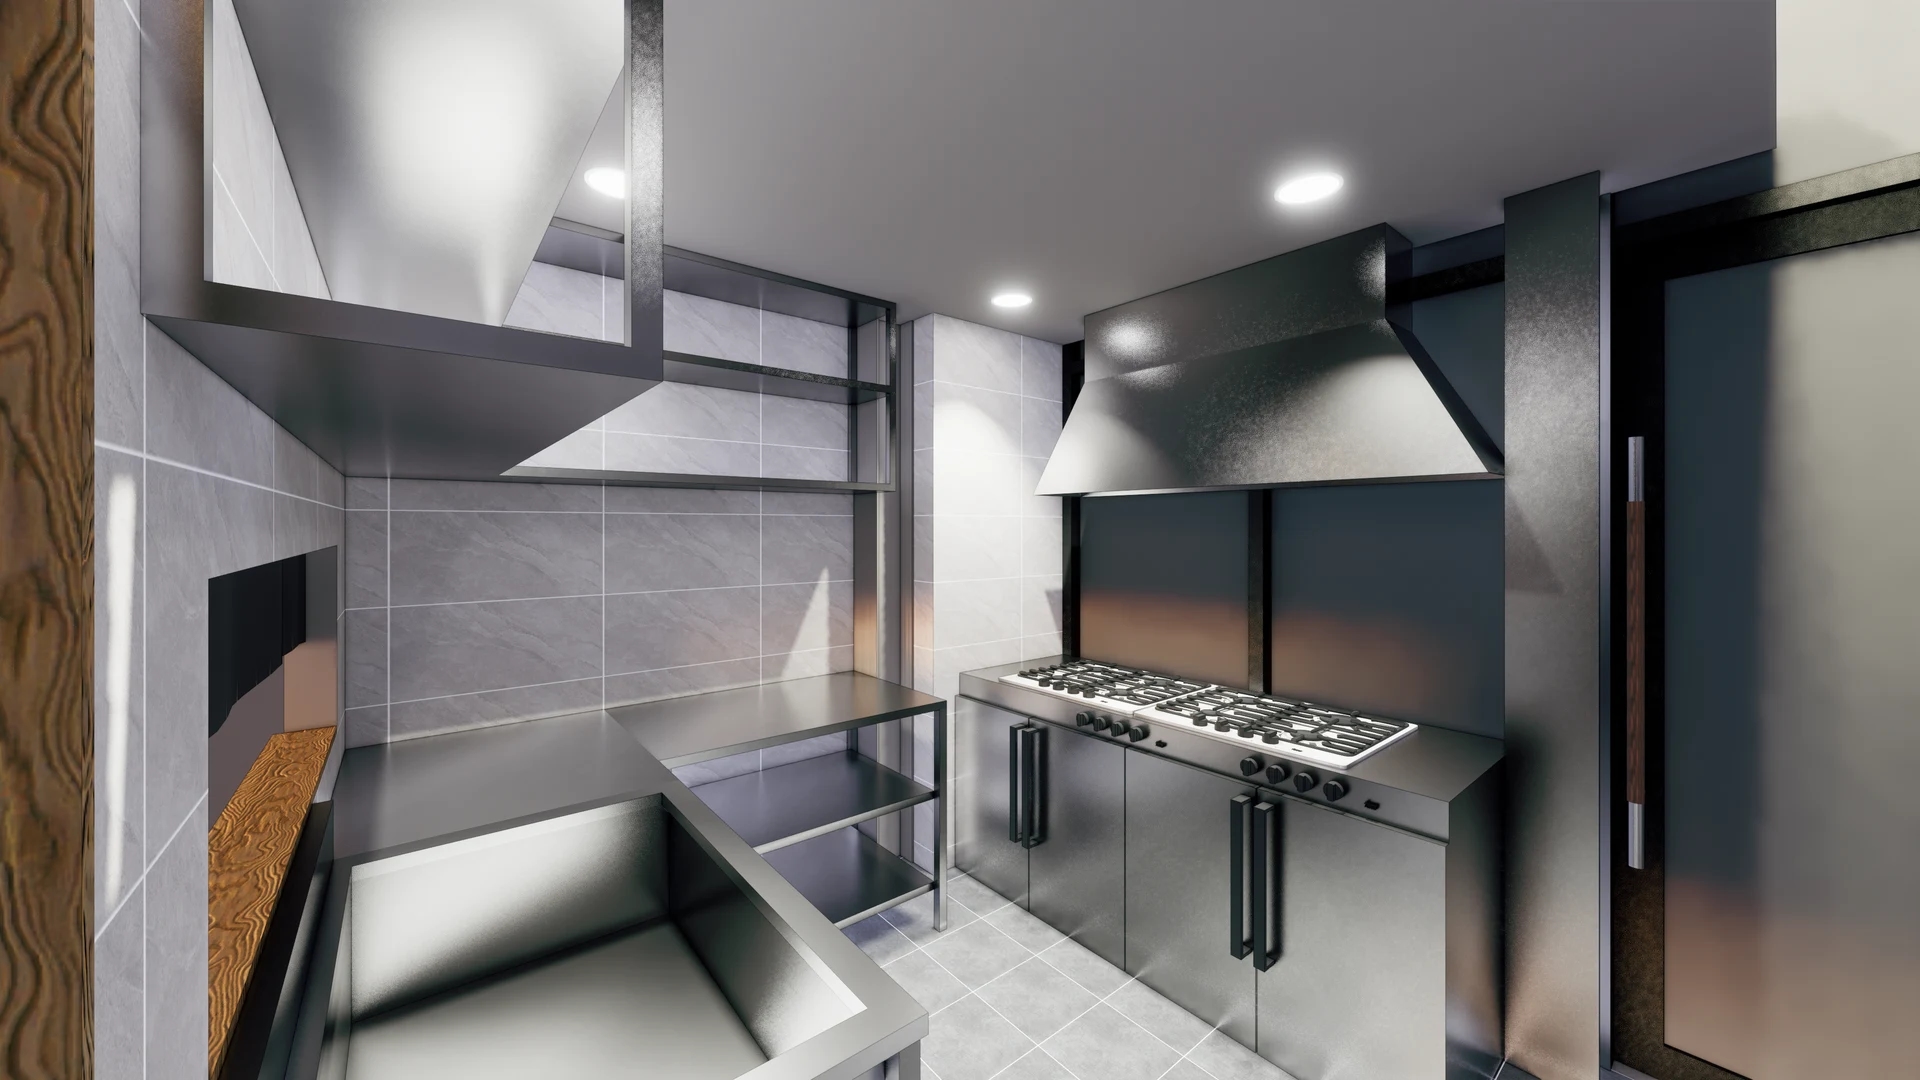
The second design shows a white wall, low cabinet, and door beside the end of panels and a bench. Draw these junctions separately from central repetitions. Stopping panels before the wall or wrapping the side, and extending horizontal bands behind cabinets, change front and side views. Use visible shapes as references without inferring hidden fixings.
At corners, draw both walls separately and combine their junction. Check whether matching a full-width frame on a side leaves a small fragment on the other. Options include a narrow plain margin beside the door or stopping decoration before the corner. Wrapping every wall in identical decoration is not the only complete solution.
For fixed benches, mark visible panels separately from hidden surfaces. Decide with furniture fabricators and installers whether decoration continues behind or becomes a flat finish. If the bench may move later, compare the wall exposed afterward. Distinguish omitting hidden decoration from omitting the substrate finish too.
Mark wall lights and outlets over decorative lines using actual fixture outlines. Check covers straddling frames or awkwardly interrupting vertical lines. Confirm wiring changes and existing-hole repairs before moving fixtures. Separate panel-only work from work relocating electrical points in quotes.
Record applied surfaces, molding lengths and shapes, corners, and end treatments alongside wall area in quotes. Separate existing-wall repairs, new panels, and final color finishes. Even equal-size walls are difficult to compare without defined decorative extent. Photographs alone cannot establish cheaper materials or easier maintenance.
When adjusting budgets, compare selecting prominent surfaces before simply reducing line counts. Quote options concentrating frames on entrance-visible walls with plain bench backs, or retaining horizontal divisions while shortening vertical-panel runs. Mark omitted areas on drawings for comparison with full-wall treatment.
Do not finish review with an empty-wall photograph. Keep furniture-and-light elevations, corner and door-end details, and real material samples together. Before construction, confirm divisions and reference heights; afterward, verify agreed margins and hidden-surface finishes. Wall decoration is a decision about the whole wall's relationships, not only a single frame.
Ask us about your interior project
We can discuss a quote and design suited to the space you are planning.
Request a free consultation