Defining restaurant kitchen wall tiling scope
Tile color and unit price alone cannot define kitchen wall work. A Bongdam restaurant design illustrates how to record walls behind worktops, serving hatches, shelf surrounds, and finish junctions on drawings and estimates.

Before you begin
- Mark tile widths and finishing heights for each wall, distinguishing areas hidden behind equipment.
- Overlay hatch reveals, door frames, and shelf fixings on tiling drawings and assign edge finishing responsibilities.
- Compare inclusion of substrate repairs, corner finishes, and work around services alongside products and tiled areas.
Walls behind worktops and the height where tiles end
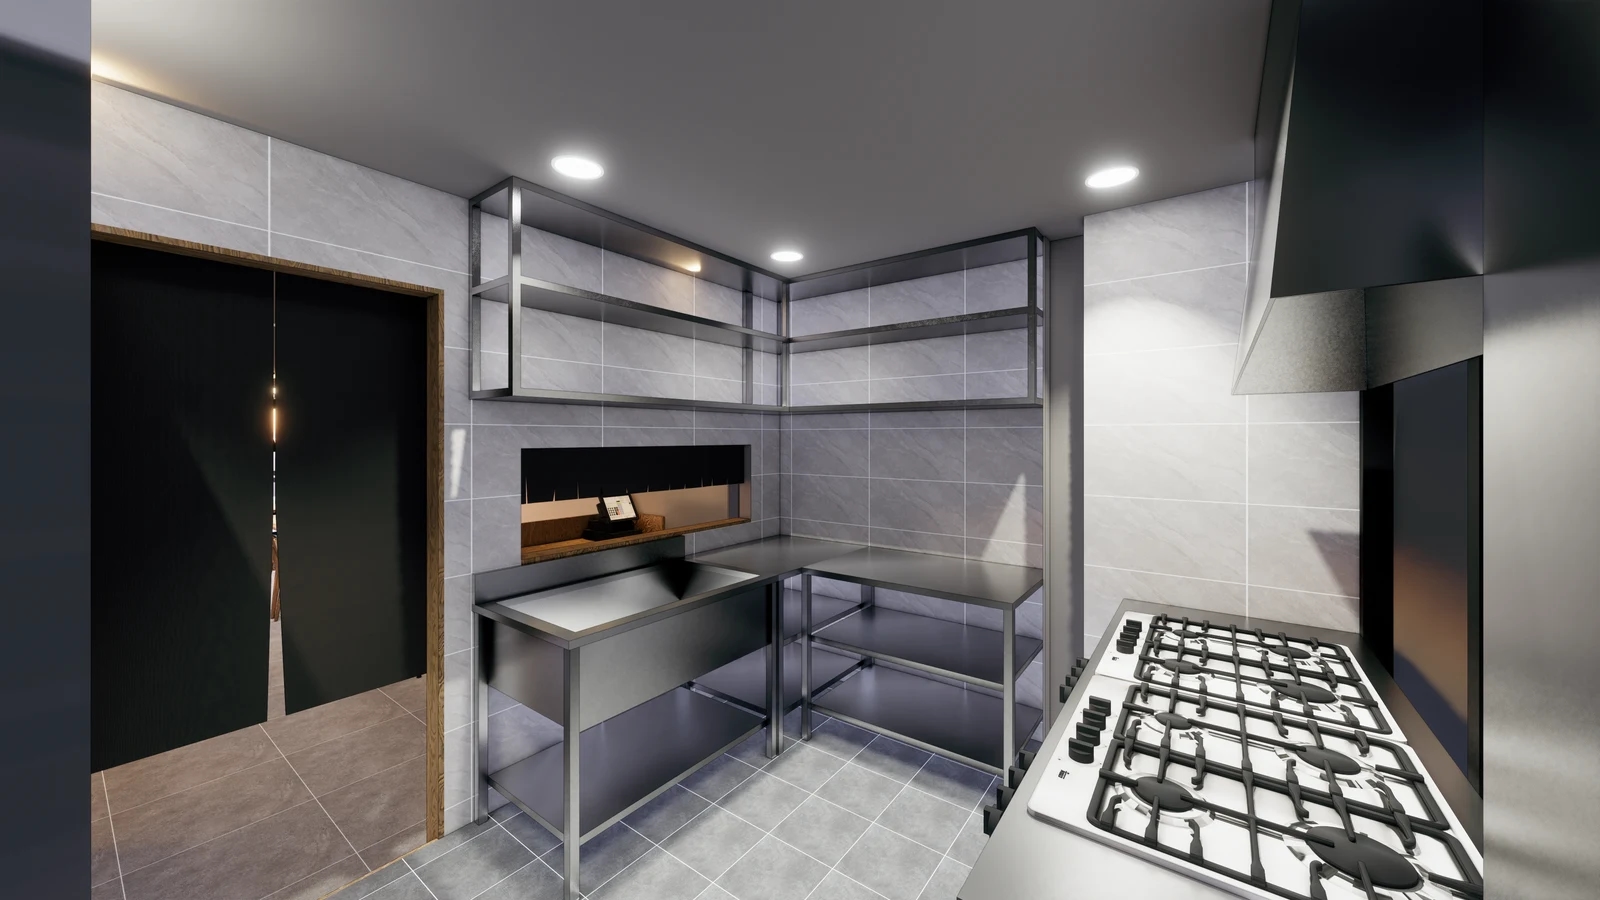
Start kitchen wall tile selection by dividing the surfaces: walls with worktops and sinks, behind cooking equipment, and beside refrigerators. Overlay actual equipment dimensions. Even the same gray tile produces different quantities and requests to other trades depending on where it begins and ends.
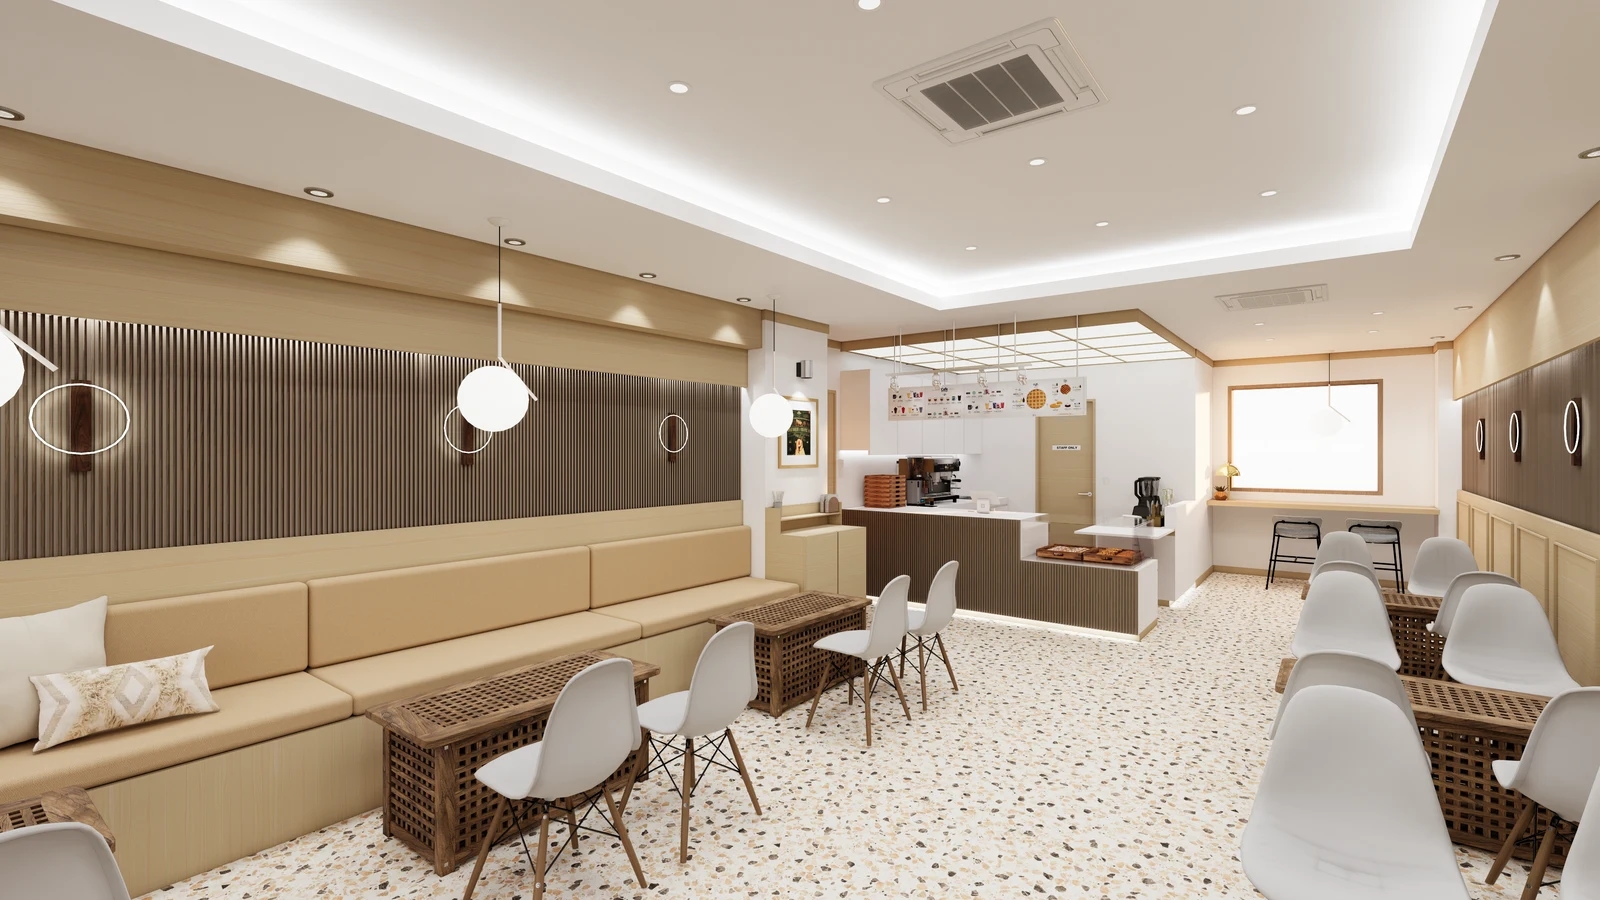
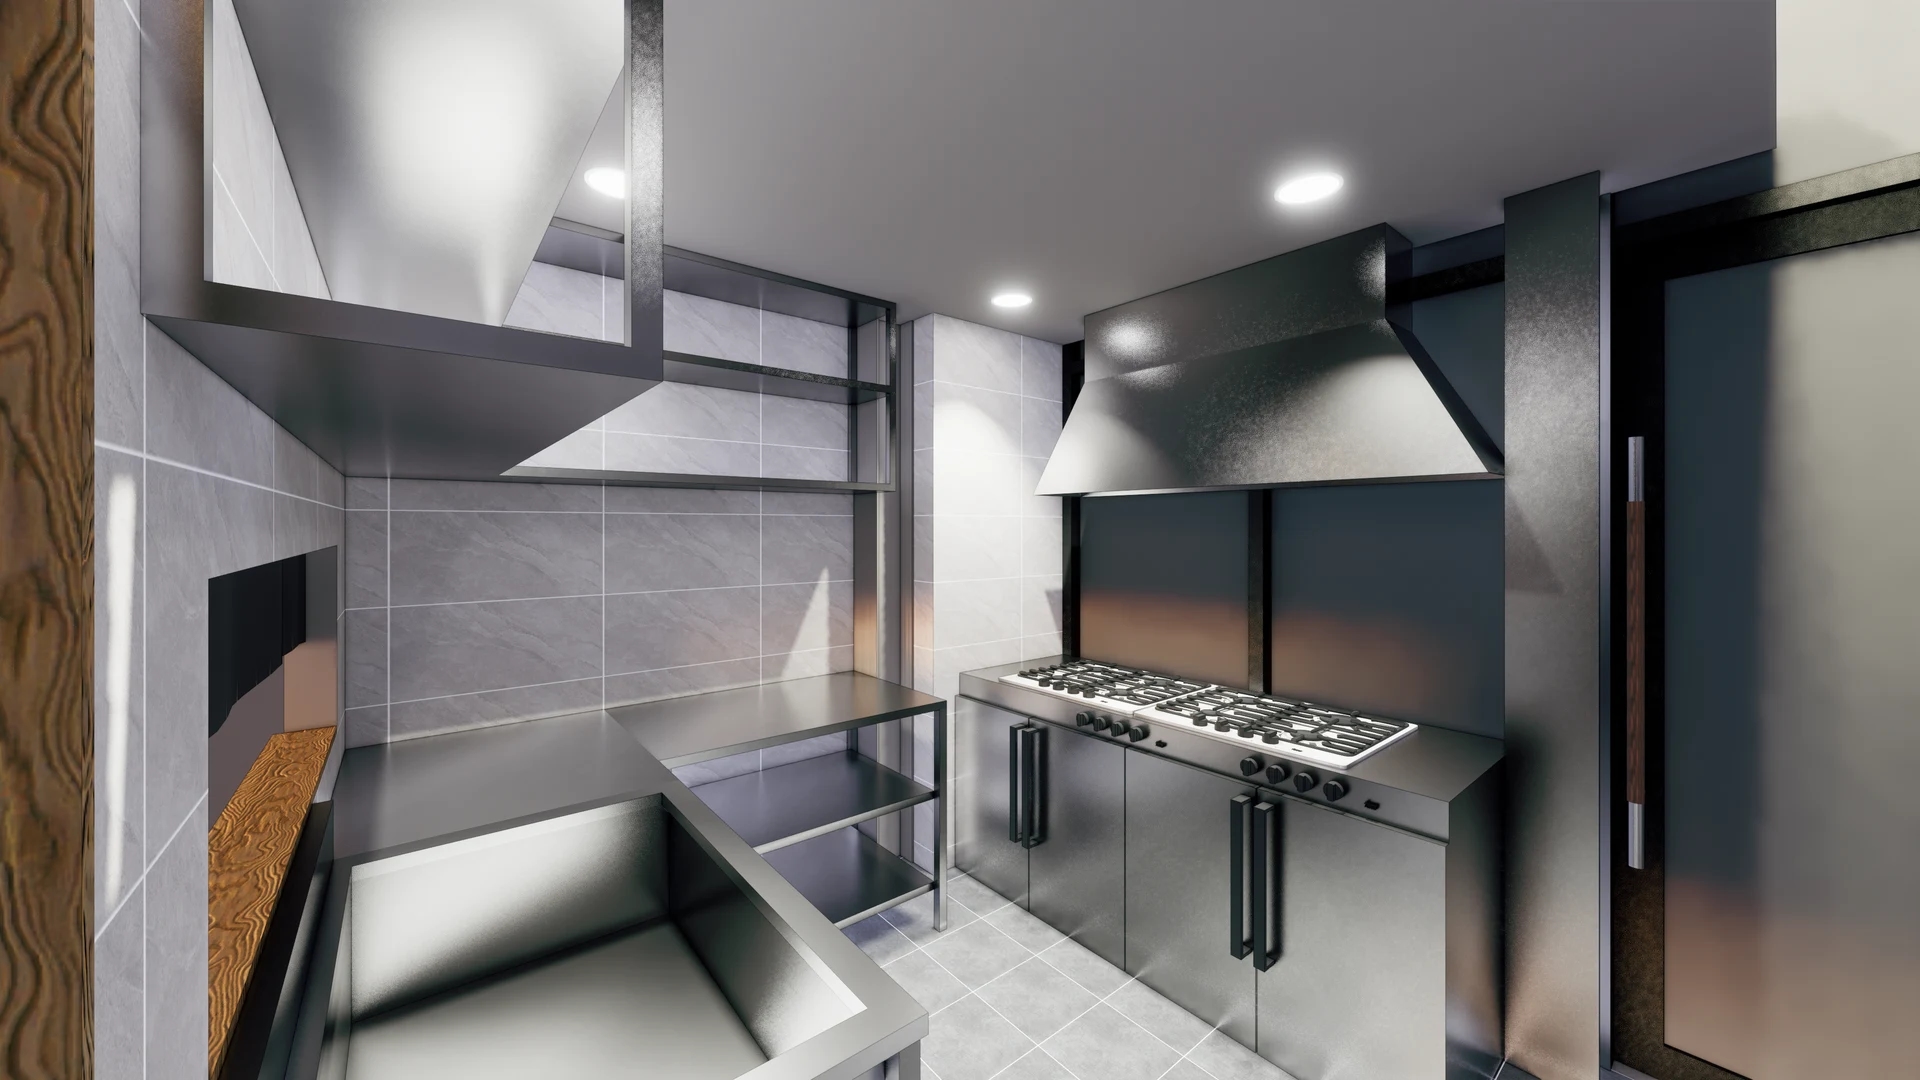
The Bongdam design continues tiles above the worktop with wall shelving. A dark area behind cooking equipment appears distinct from adjacent gray tiles. This design material explains layout and finish relationships; it does not establish selected products or completed conditions. Do not use rendered colors directly as ordering specifications.
Record tile heights from the floor for each wall. Distinguish covering only visible areas above worktops from continuing behind equipment. Verbal instructions about visible height can leave hidden areas below worktops or behind refrigerators unresolved.
To reduce scope, compare how walls above lowered tiles will be finished. An estimate reducing tile area alone differs from one including repairs and painting of the remaining wall. For full-height tiling, show how it ends above shelves and at the ceiling. No single height suits every restaurant.
Operators should describe use and cleaning around sinks and cooking equipment. Verify suitability and maintenance for candidate tiles and grout using their specific supplier documentation. Gray appearing to hide dirt or gloss appearing easy to wipe is an impression, not a verified product property.
If equipment may change, review currently concealed walls separately. Identify what a lower worktop or narrower refrigerator would expose. Hidden walls need not all receive identical finishes, but decisions should account for retained conditions and future repairs to make estimates comparable.
A wall elevation showing equipment outlines, worktop heights, and tile extents communicates the scope clearly. Keep undecided appliances pending with decision dates instead of assigning arbitrary final dimensions. When service positions change, recheck tiling extents and share the final approved drawing with both tile installers and kitchen equipment suppliers.
Finish information around hatches and shelves
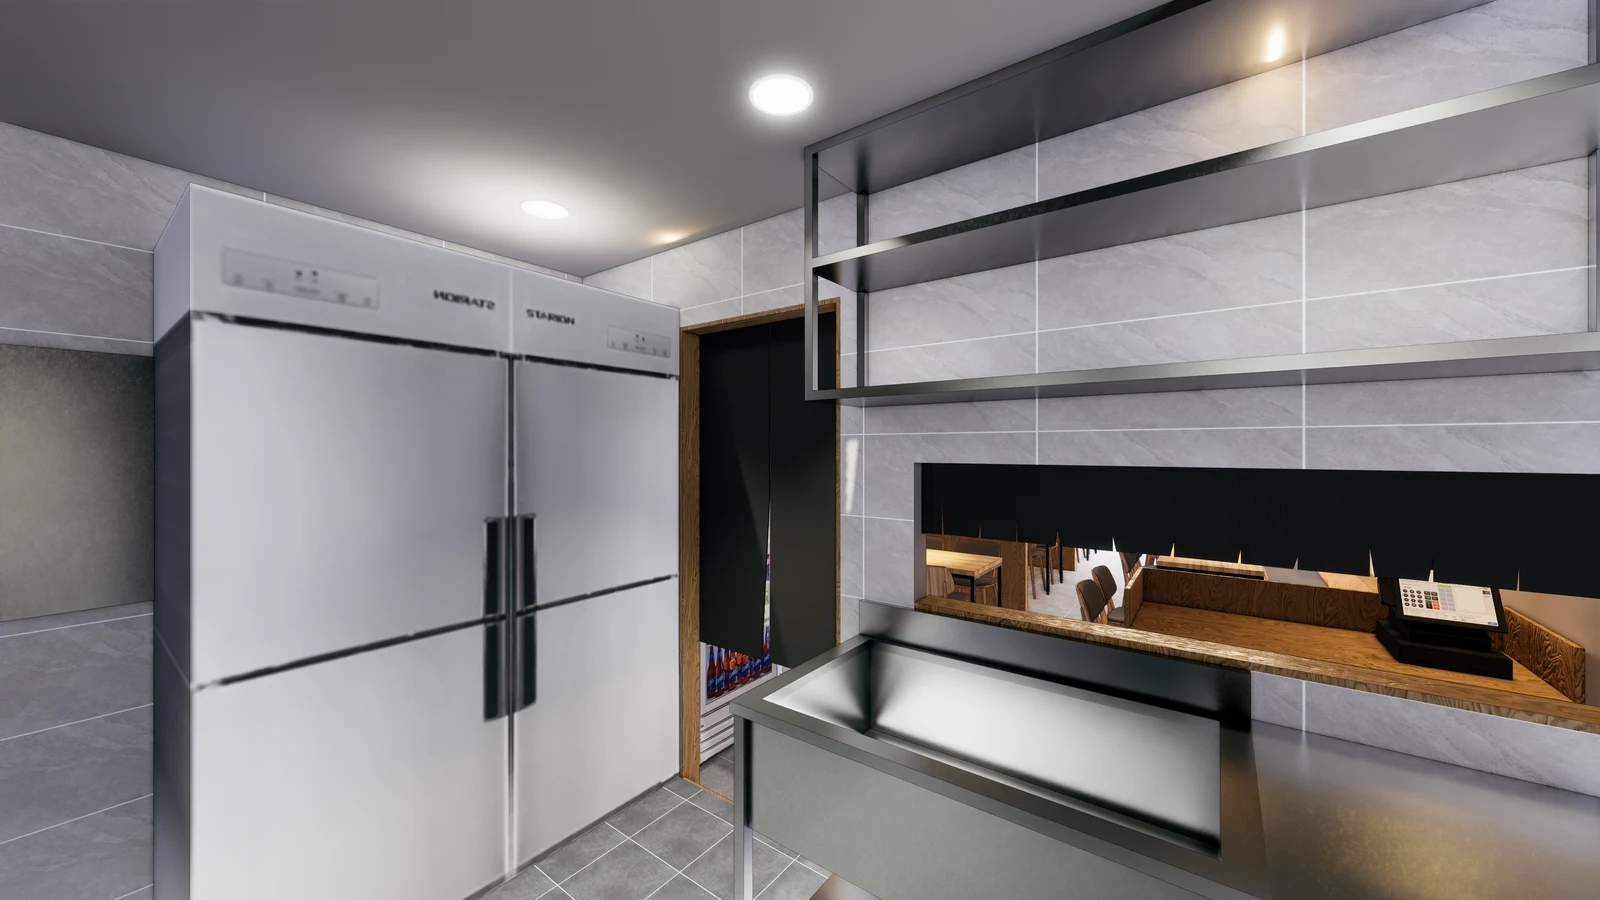
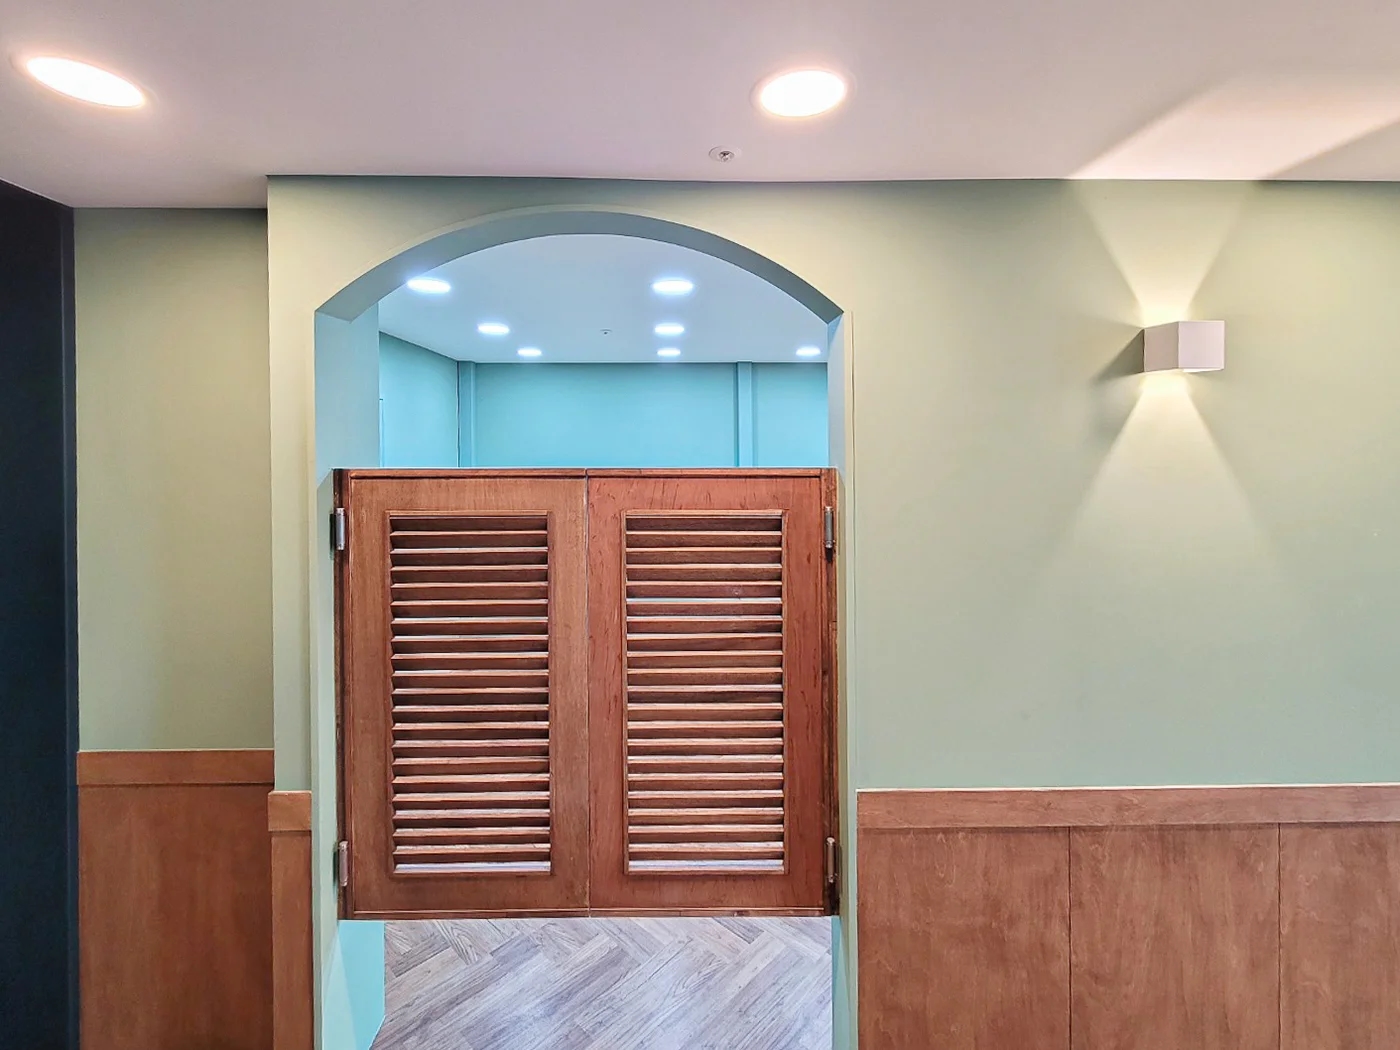
Another view groups a serving hatch to the dining area, an upper shelf, and a refrigerator on one wall. Tiling is not simply a uniform treatment across a broad surface. Every opening and furniture junction creates edges, requiring distinction between visible faces and surfaces turning inward.
Define hatch width and height together with the finish continuing into its reveals. Adopting the pictured wood-colored trim or changing material is a separate approval. Merely including the hatch surround in tiling can omit responsibility for trim fabrication, installation, or repairs inside the wall.
Review enlarged end details beside door frames too. Ask how exposed tile edges are finished, with trims or other materials, and whether tiles end before the frame or continue around the return. Even a smooth rendered corner needs confirmed substrates and material thicknesses before becoming a construction detail.
Overlay shelf fixing points on the tile arrangement. Distinguish shelf walls from plumbing and electrical connection walls, assigning who performs each fixing and connection and when. Choosing all locations after tiling requires different preparation from coordinating equipment details beforehand. The responsible installer should confirm fixings against actual wall and shelf conditions.
Include worktop-to-wall joints and junctions between finishes in the order scope. Decide materials and methods after checking products and site conditions. Do not build solely from rendered lines or assume tiling includes every junction treatment.
Link product names, tile dimensions, and installed areas by wall to the same drawing. For retained walls, separate removal and substrate repairs, keeping unresolved items pending until site checks. Compare corner trims, hatch reveals, holes, and finishing around services to expose differences beyond unit prices.
For budget adjustments, separately consider product substitutions, reduced wall coverage, and retained existing areas. The same tile name with different areas and accessories makes totals difficult to interpret. Update drawings with reductions, identify alternative finishes required there, and obtain revised estimates.
Final records should gather tile and grout products, wall extents, corner and hatch finishes, and responsibilities for shelves and services. After installation, compare concealed walls and hatch reveals against approvals, marking corrections on photos. Retain the same information for future equipment changes or wall repairs.
Ask us about your interior project
We can discuss a quote and design suited to the space you are planning.
Request a free consultation