White ceilings: coordinating walls and fixture colors
Choosing a white commercial ceiling does not automatically match upper walls, lighting tracks, or equipment housings. Real photographs help distinguish coordinated and contrasting surfaces and define finish scope separately in quotes.

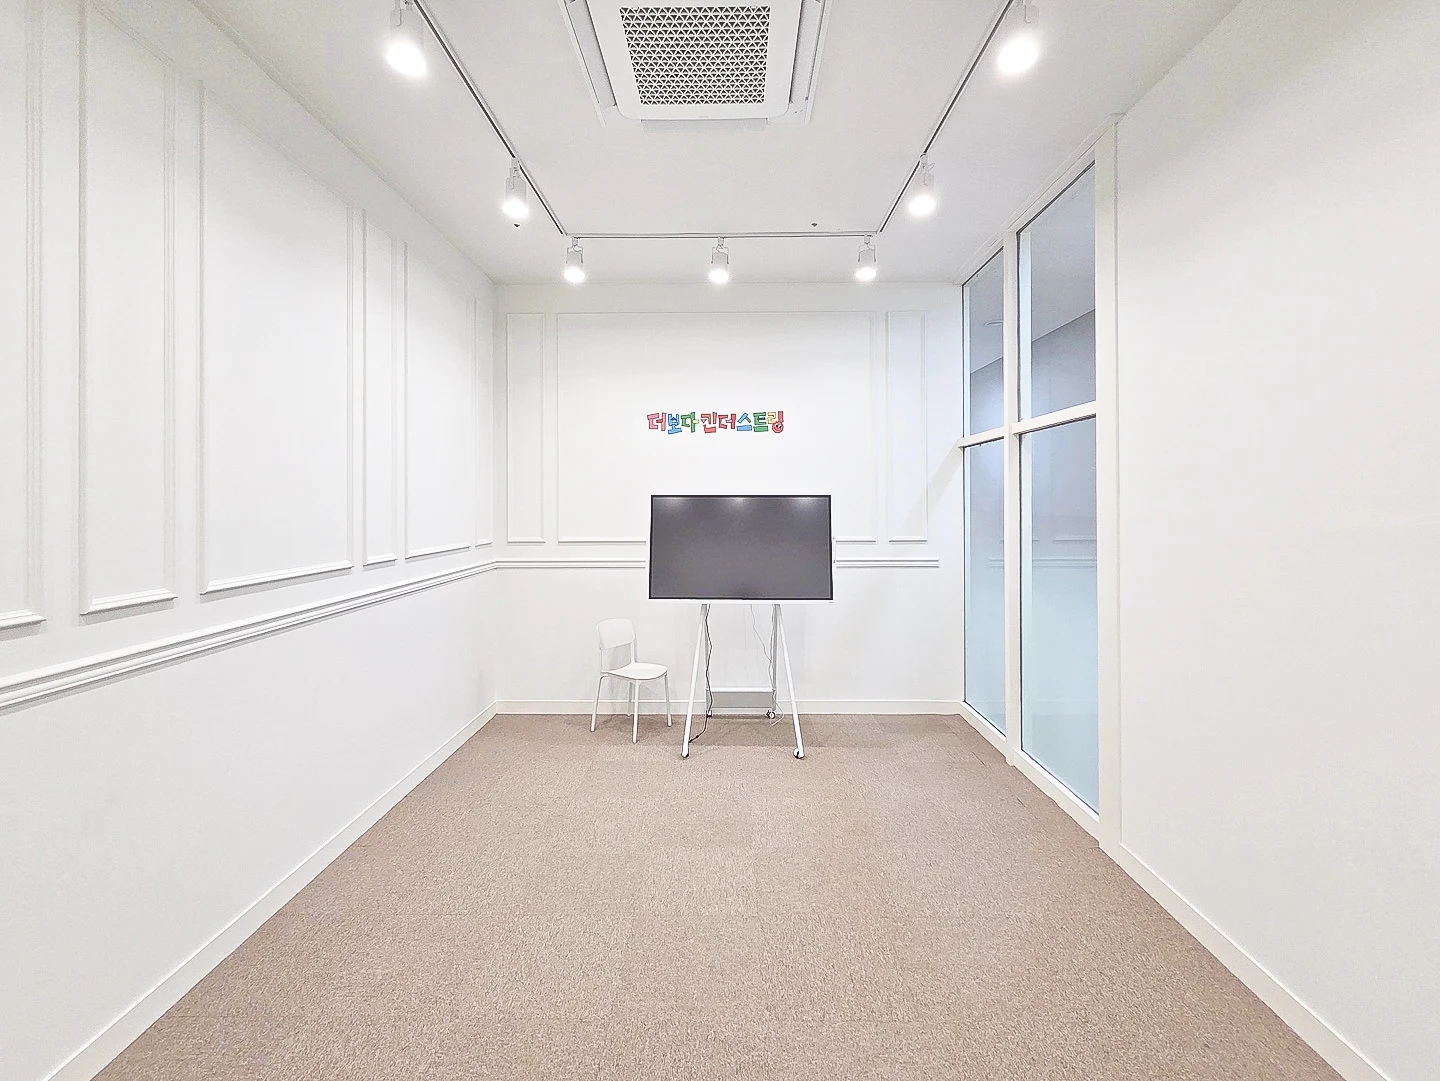
Before you begin
- Compare matching ceiling and wall tones with an upper-wall color boundary from entrance and seated views.
- Record track, fixture, and equipment housing colors separately from ceiling finishes, marking retained products too.
- Quote ceiling painting separately from fixture replacement, defining painted and excluded surfaces.
Defining the upper-wall color boundary
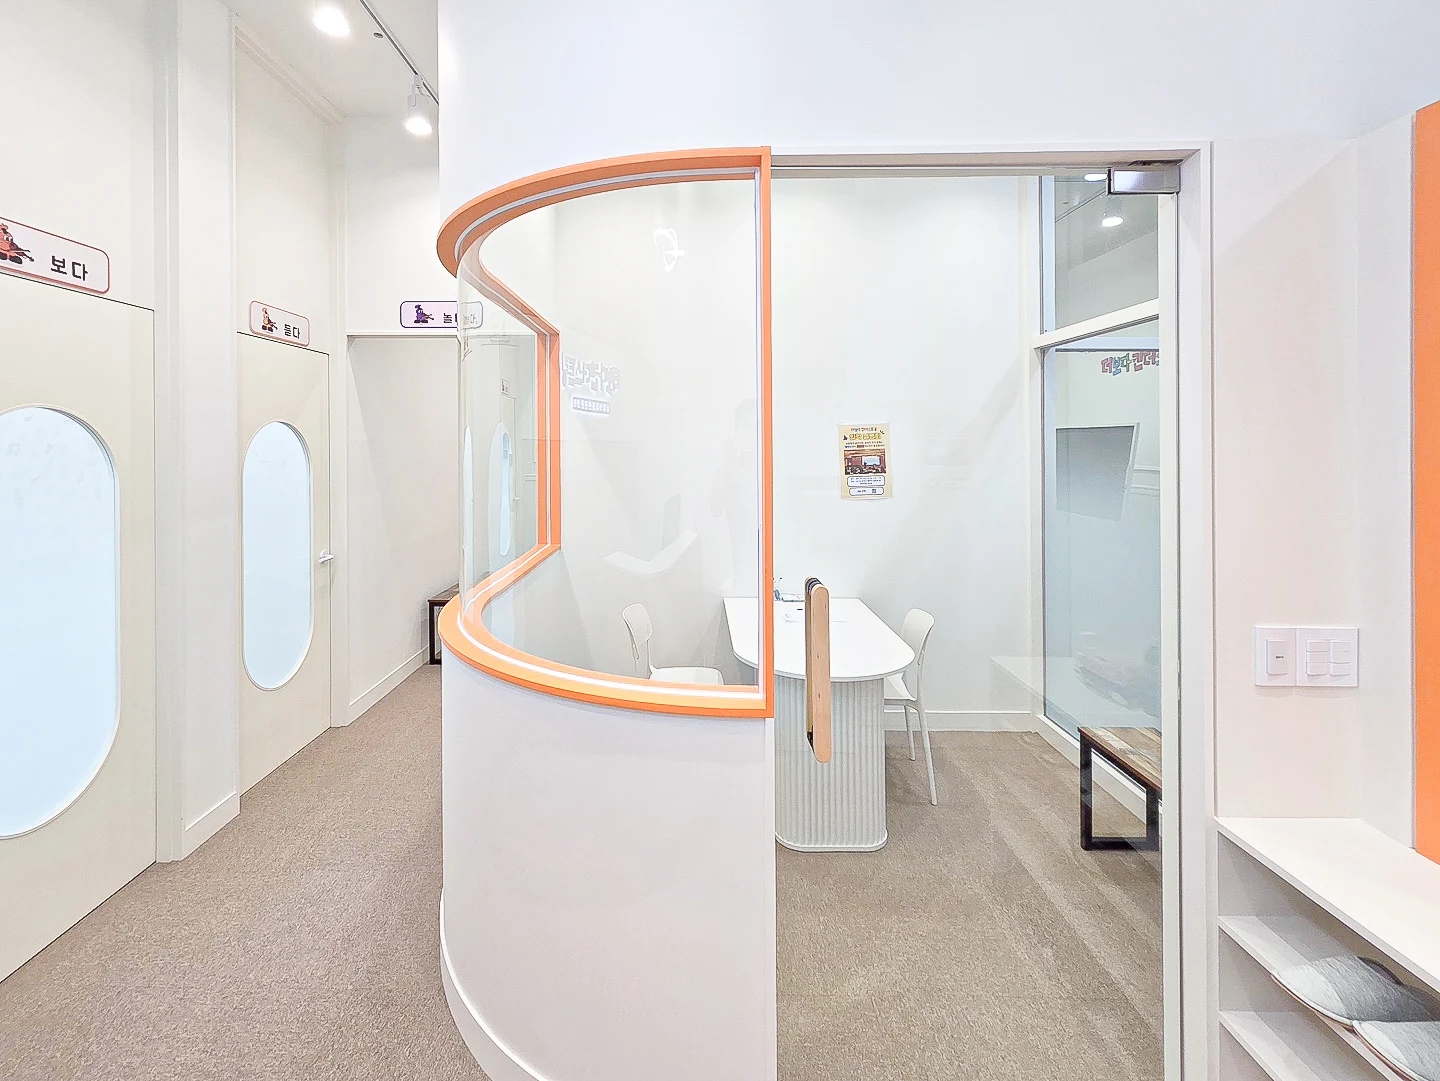
Does a white ceiling require entirely matching walls? The photograph shows orange partition trim between bright walls and ceiling, continuing broad light surfaces while accenting smaller elements. Choose where color should appear across the room alongside the ceiling palette.
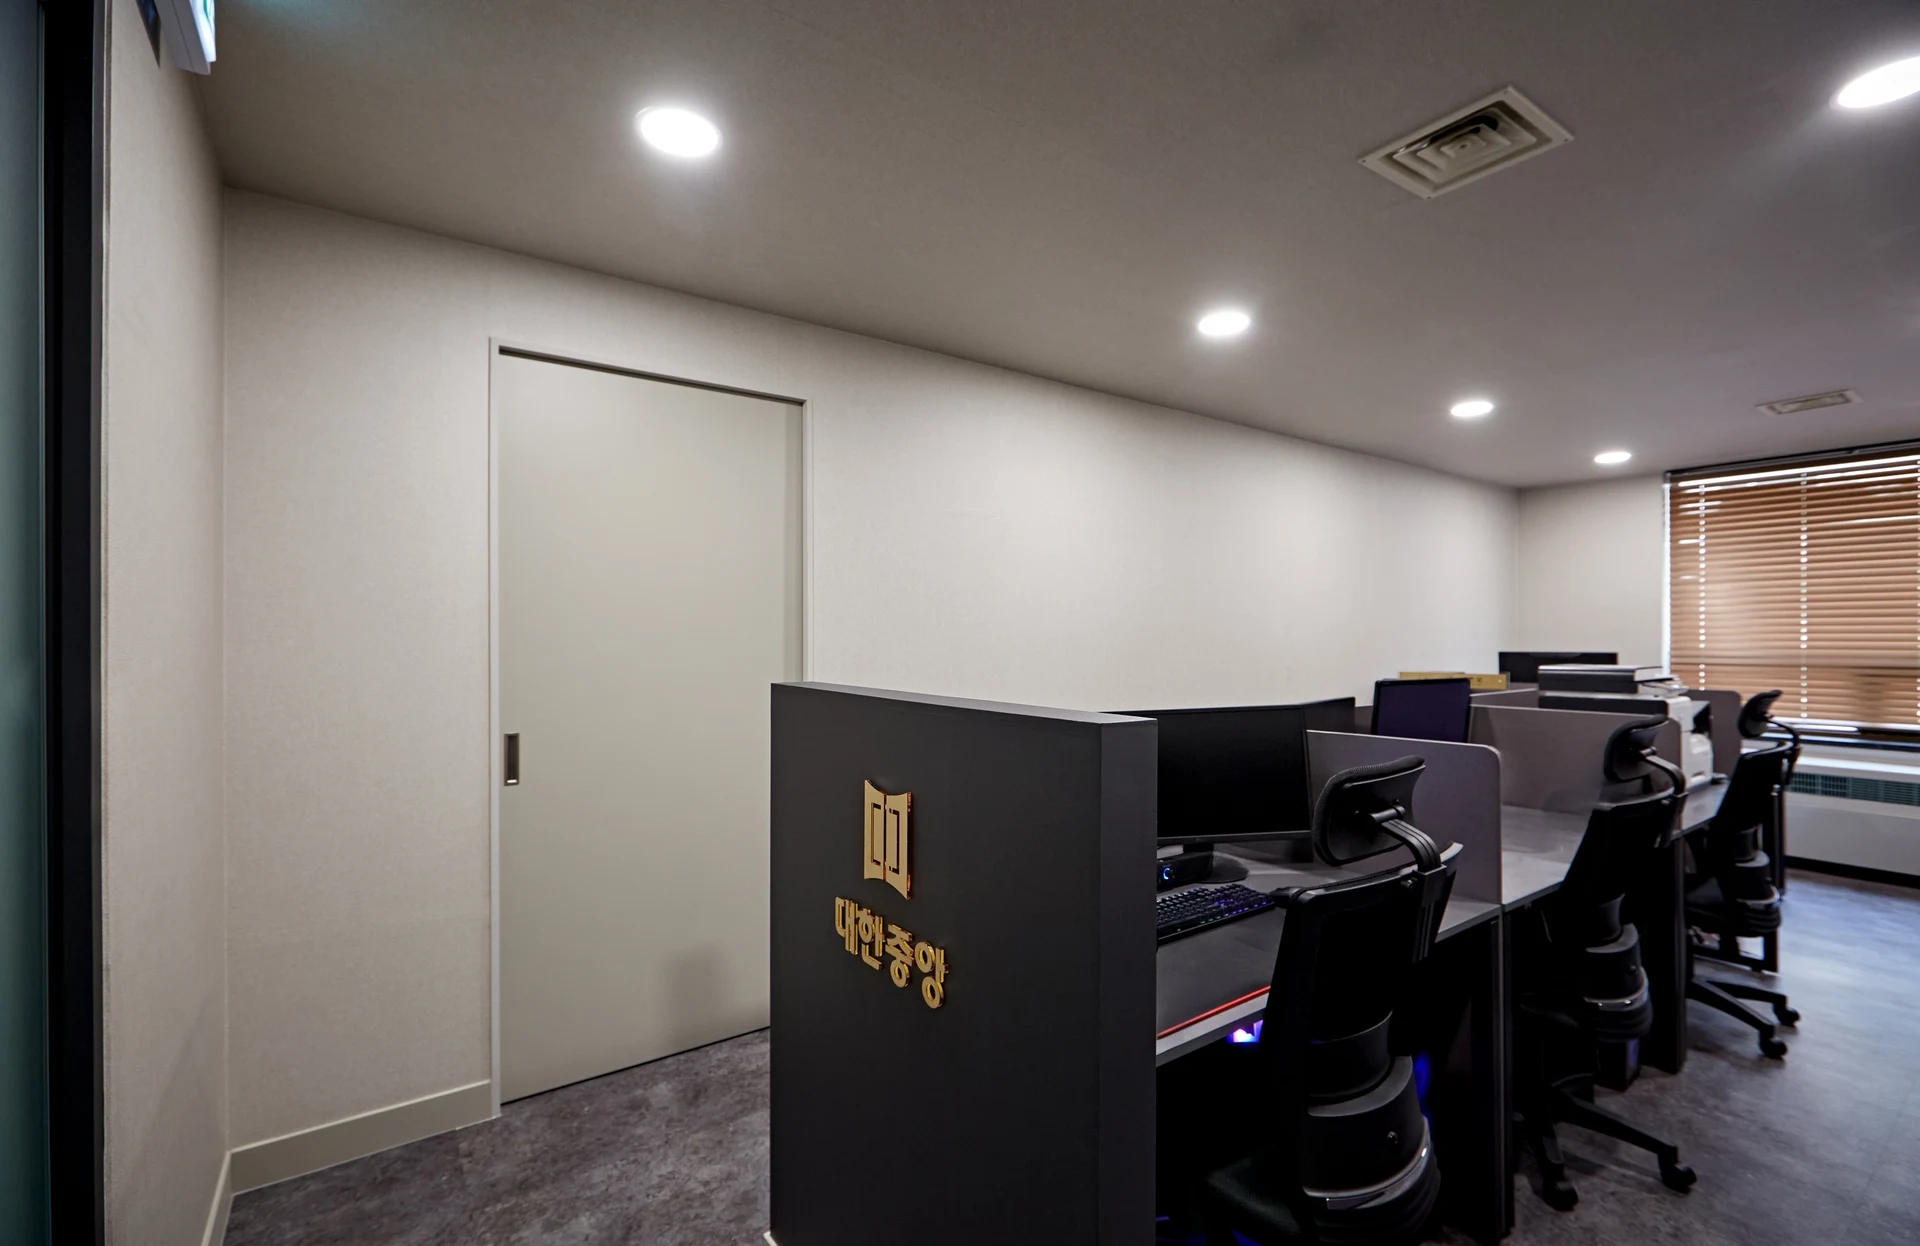
Similar wall and ceiling tones are an option when avoiding a strong upper boundary. If dark paint or timber walls meet a bright ceiling, the finish's stopping height becomes part of the choice. Draw the ceiling junction rather than comparing wall samples alone.
For an entrance accent wall, color coverage changes depending on whether it reaches the ceiling, stops near door height, or wraps onto a side wall. Establish heights alongside frames, furniture, and existing finishes. Do not copy photographic boundary lines without verifying actual dimensions.
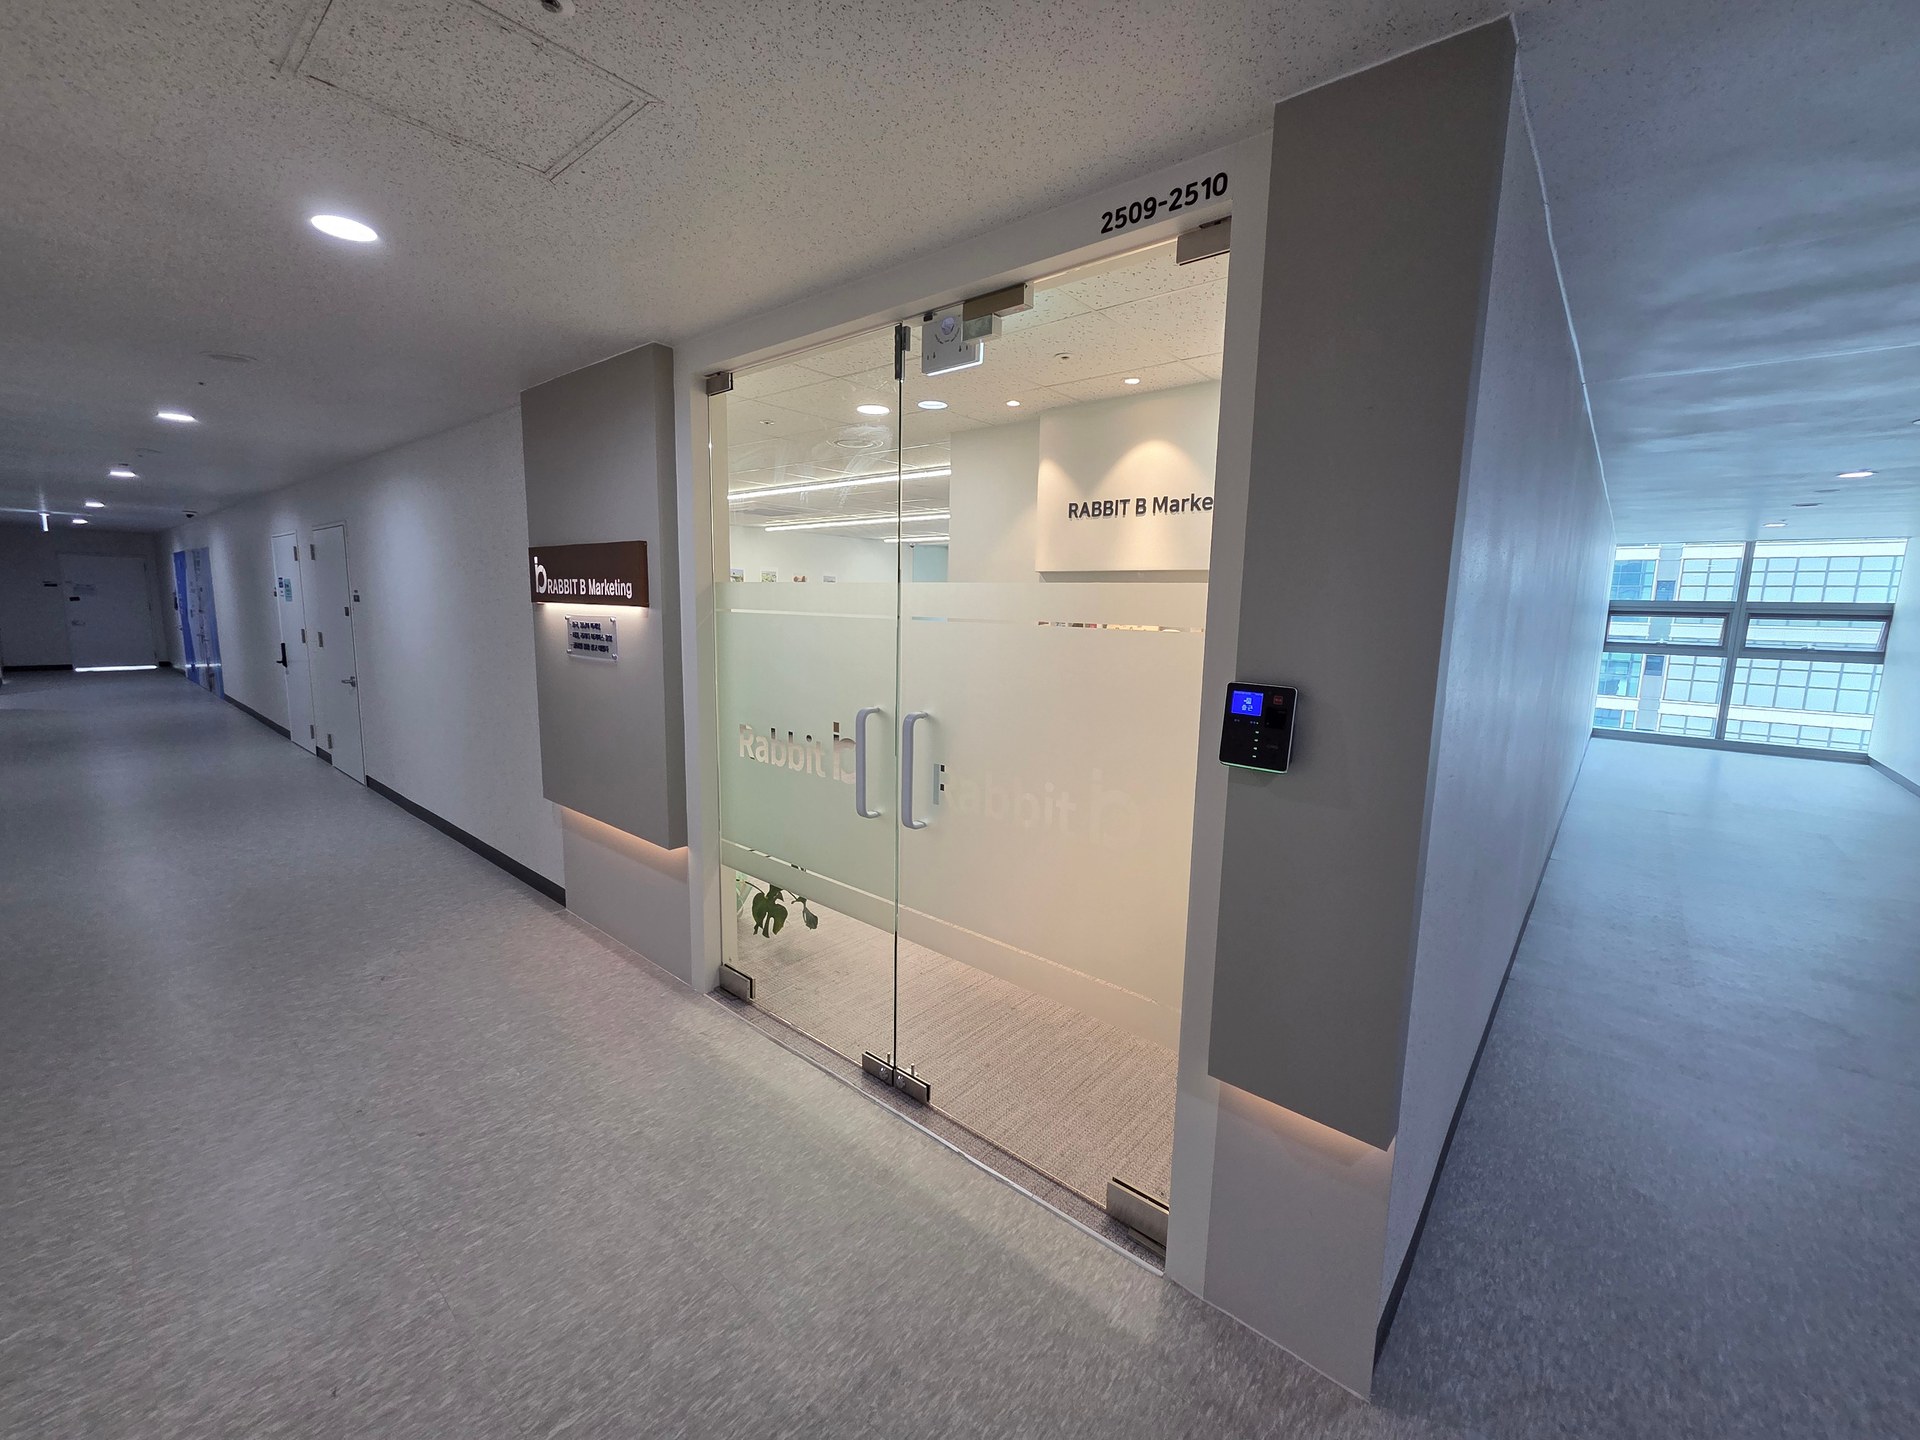
In the rounded-partition photograph, light surfaces continue across the ceiling, partition top, and door surround. A wall contains separate front, side, and above-door surfaces. If changing only its front, show how color ends at corners. Surface-by-surface notes make omissions easier to find.
Include retained ceilings and frames when comparing samples beside new finishes. Choosing a new white does not change existing product housings to match. Compare retaining those differences with extending the work scope, then decide which contrast to keep.
View upper walls from the entrance and actual seated positions. A small nearby boundary may read as a long line across the room. Use photographs to understand relationships, selecting ordered products and colors from on-site samples rather than inferring paint types or codes from this image.
Track and fixture housings are separate choices
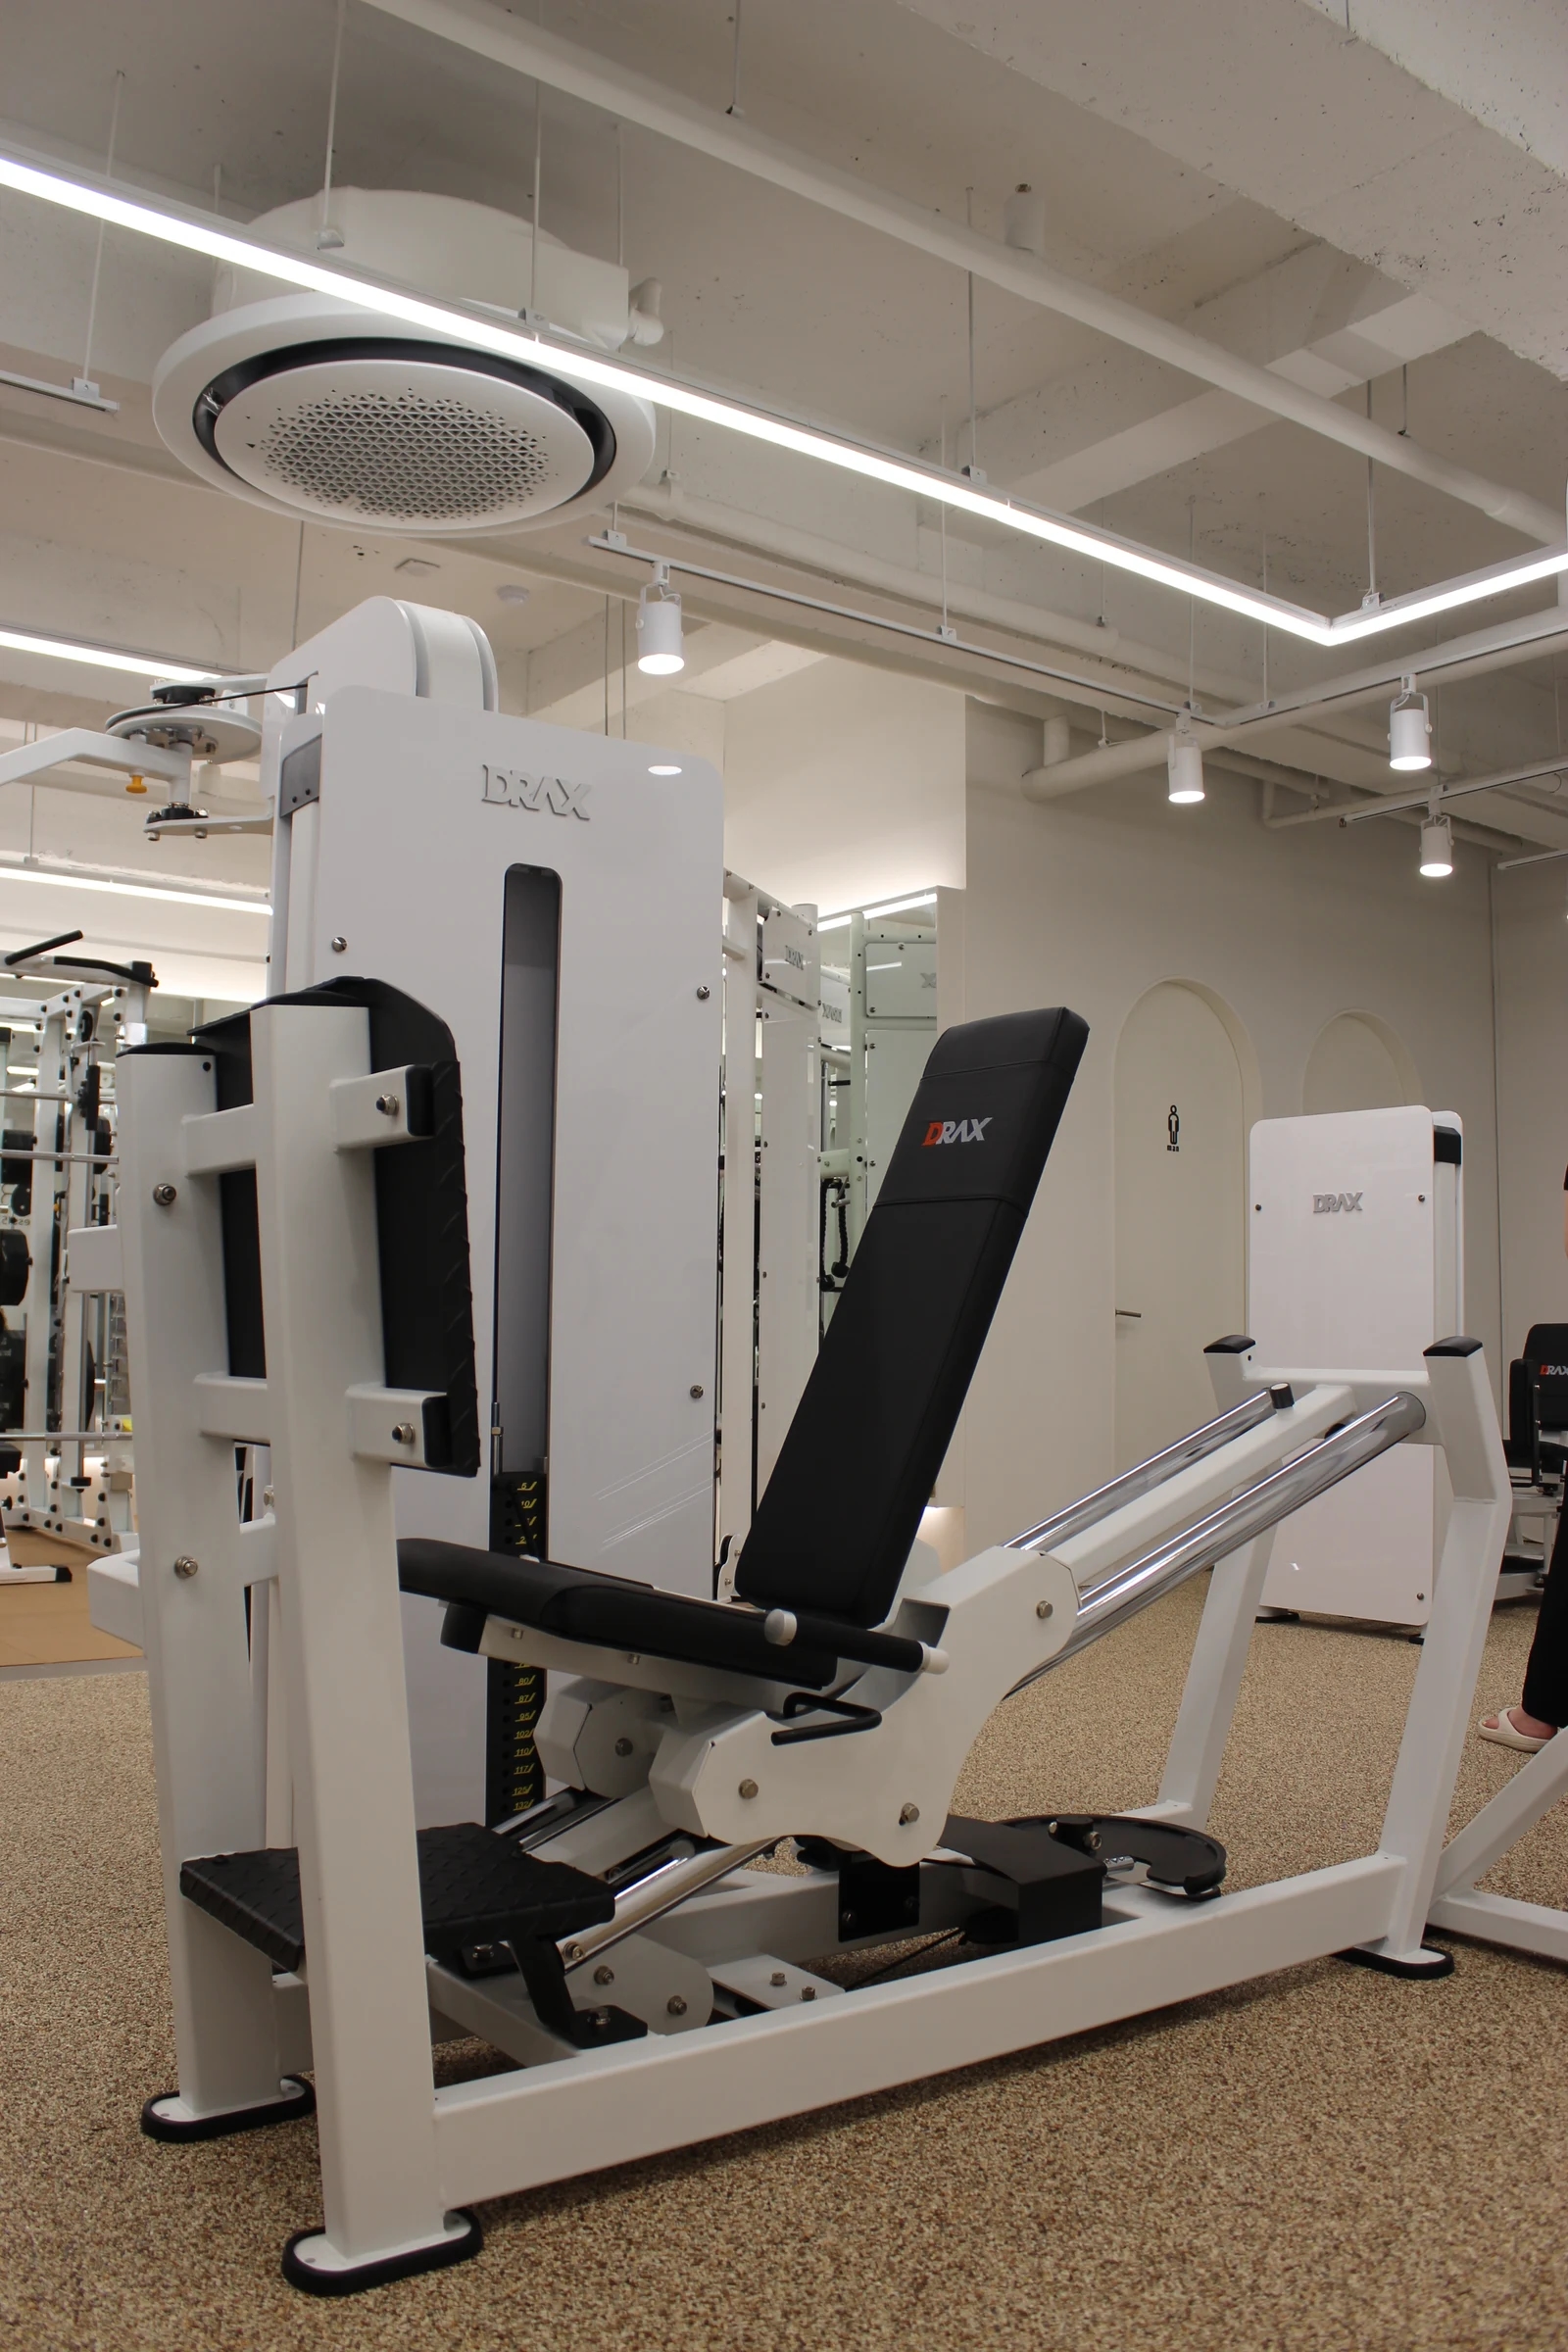
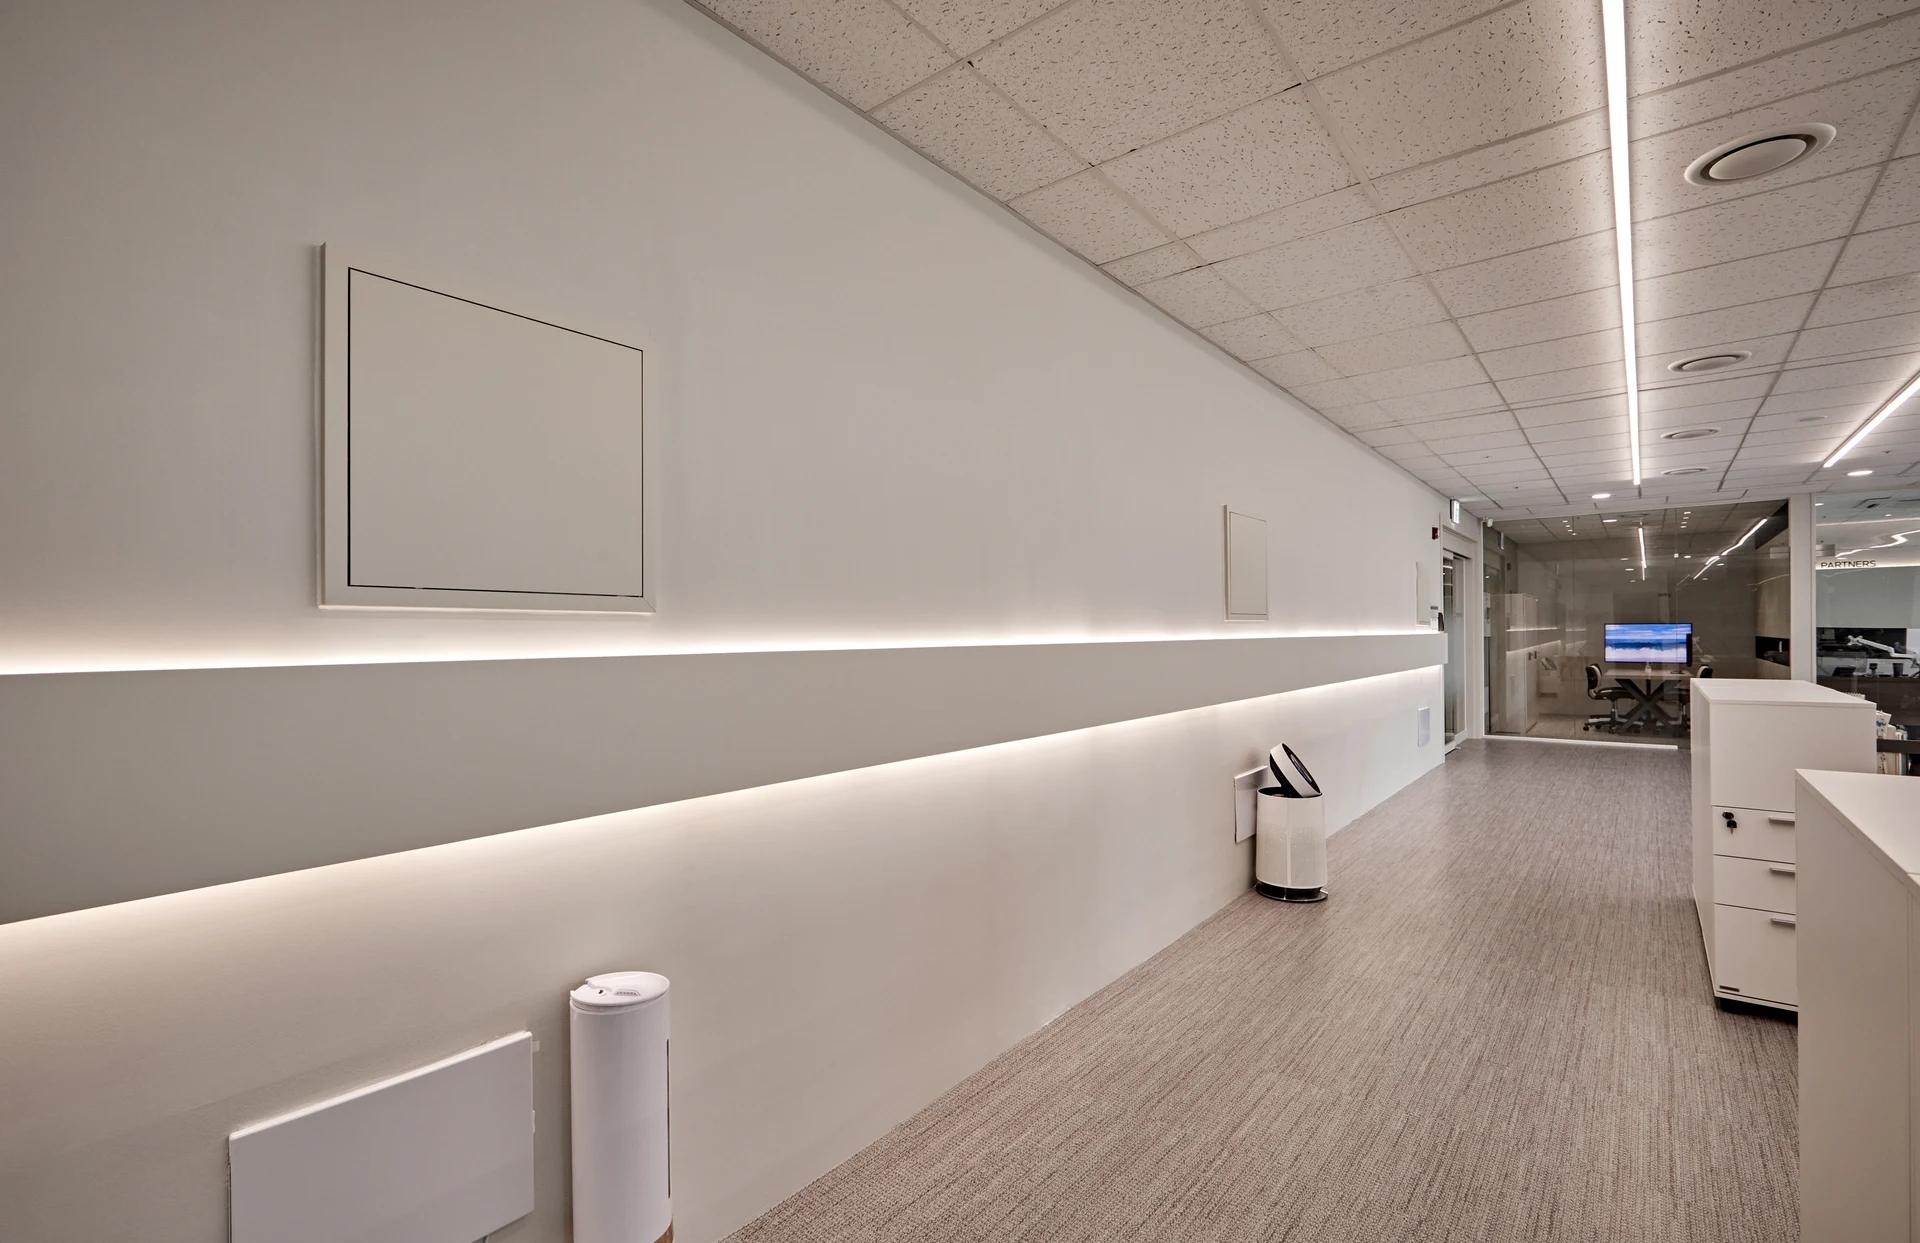
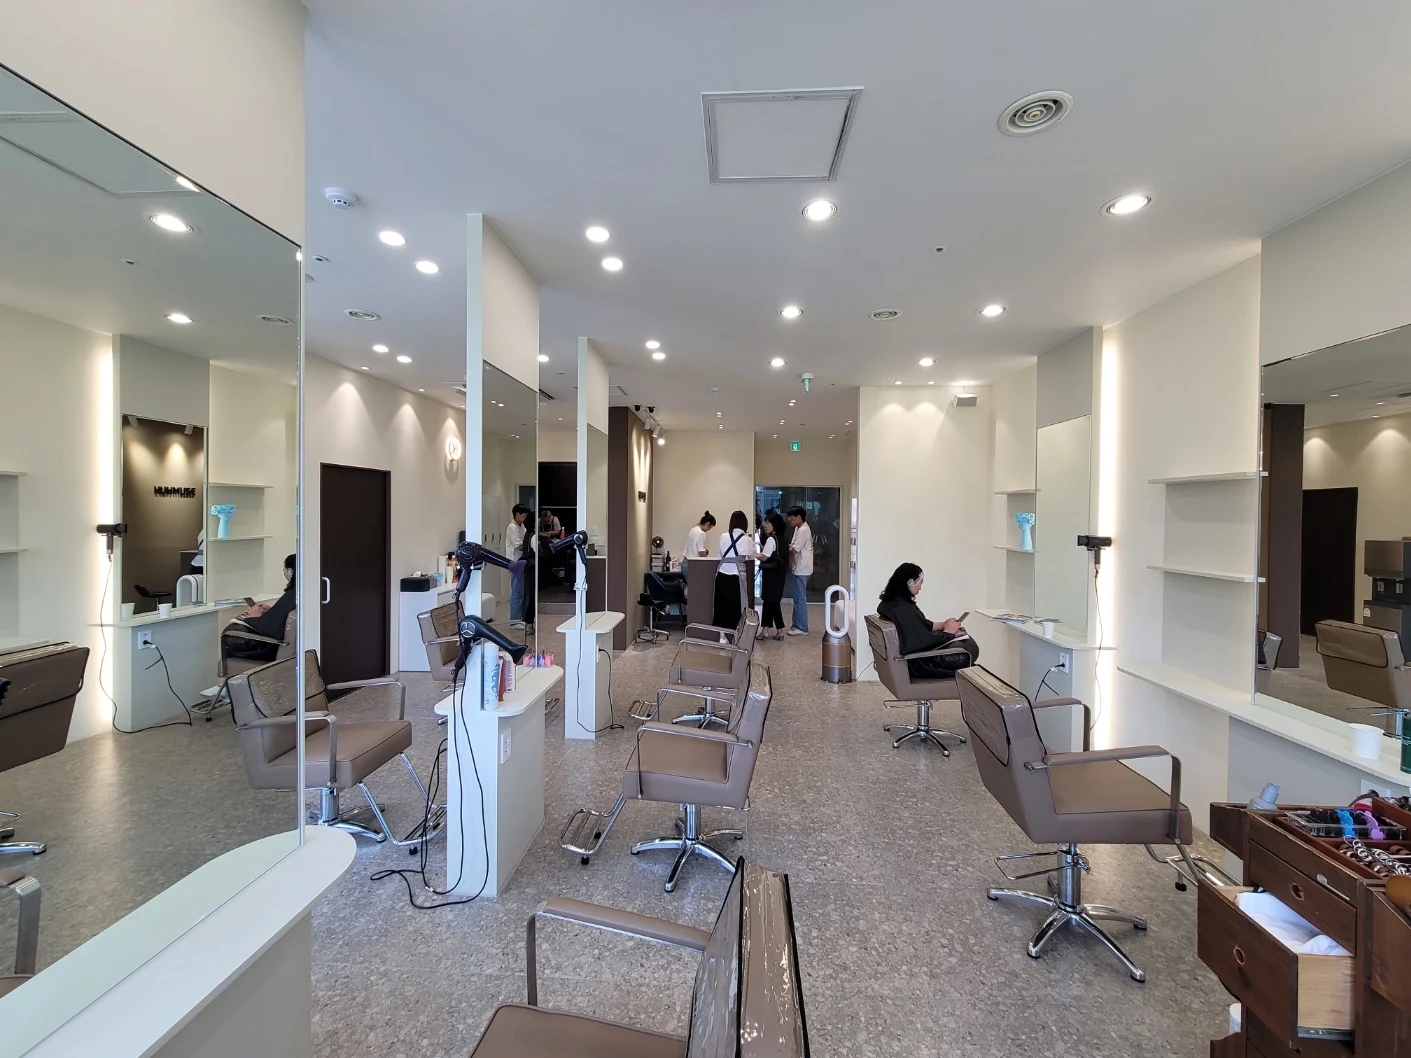
The Gwangmyeong photograph shows round equipment, long lights, and small fixtures beneath a bright ceiling. What appears as a single broad surface is actually several overlapping objects. Review the finish schedule and fixture list together to see everything remaining overhead.
Compare tracks and housings close to ceiling tones with darker fixtures that reveal the lighting layout. Neither is always preferable. Choose according to existing wall and furniture colors and whether overhead lines should contribute to the design. Record housing color separately from light color.
If reusing lights, compare with actual existing fixtures rather than only new-product imagery. Distinguish connecting old black fixtures to white tracks from replacing both as a coordinated system. Have the responsible person check product documentation for compatibility rather than judging by appearance.
Not every visible ceiling item should be painted. Separate product housings, such as air-conditioner exteriors, from site-finished ceiling surfaces. If a product color should change, confirm permitted modifications with the responsible person rather than assuming paint application. Mark retained, replaced, and unconfirmed items separately.
If a quote only says ceiling painting, ask which surfaces it includes. Point out exposed beam sides, wall junctions, and suspended decorative faces on drawings. Confirm whether track removal and reinstallation or fixture replacement are separate from painting costs. Distinguishing recolored surfaces from replaced products makes alternatives comparable.
For budget reductions, compare more than replacing every ceiling item. Options include retaining verified fixtures and adjusting wall-color extent, or coordinating only new tracks and fixtures. Establish reuse after inspection and keep unverified items separate from confirmed costs.
Finally, collect the ceiling color, wall boundaries, fixture models, and housing colors in the same record. Mark exclusions and sample application locations. After completion, verify actual finish boundaries and retained fixtures against the documentation rather than checking color names alone.
Ask us about your interior project
We can discuss a quote and design suited to the space you are planning.
Request a free consultation