Planning indirect lighting in an office
When adding office indirect lighting, first decide which walls and ceilings to illuminate rather than the length of the bright line. Actual space photos illustrate how to review finishes, furniture, seated views, and separately switched zones together.

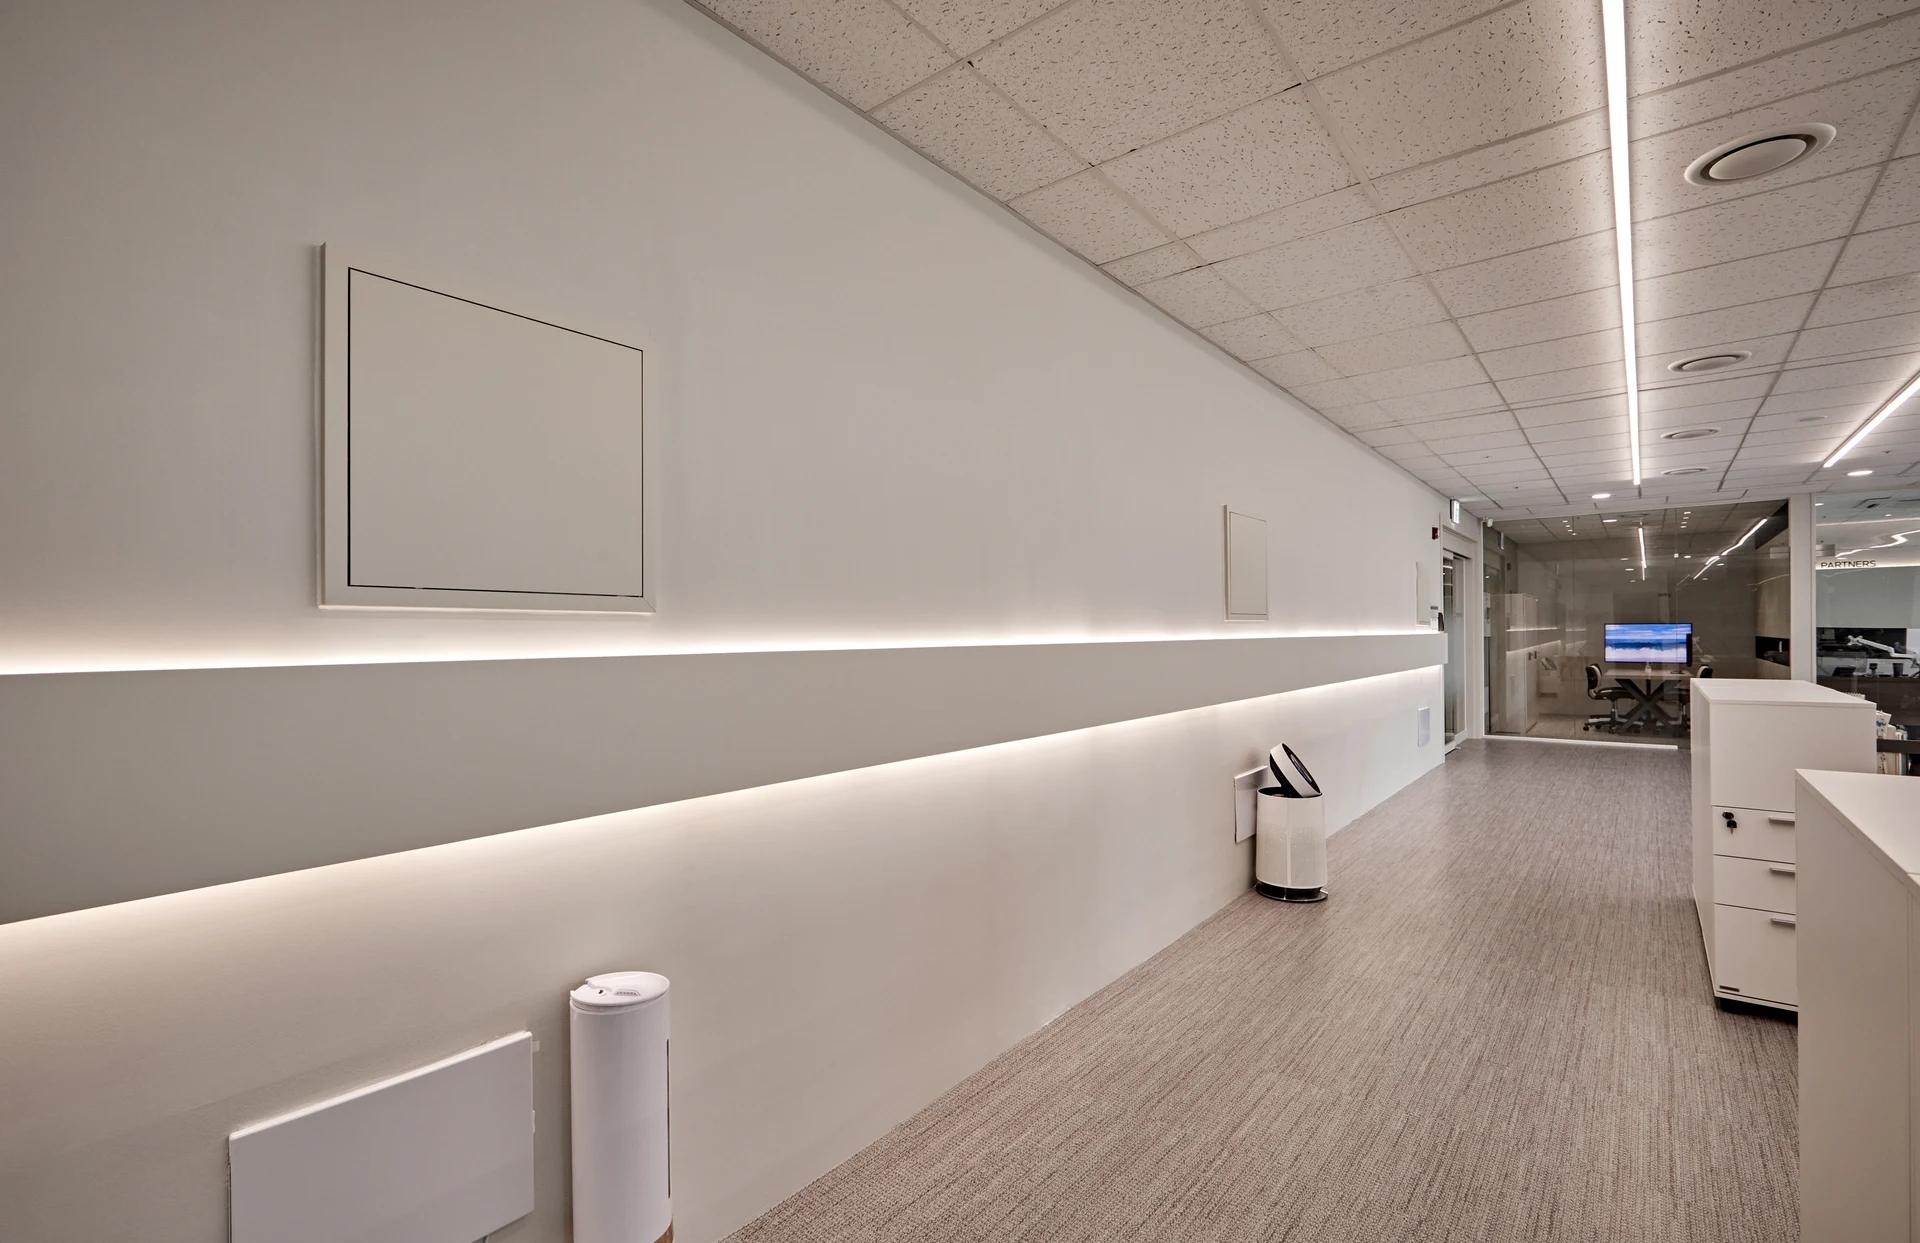
Before you begin
- Choose the walls and ceilings to illuminate and surfaces to leave dark, then compare lighting with finish samples.
- Check the visible light source and screen reflections from seated positions as well as standing.
- Record separately switched zones and access for lighting replacement on drawings.
Choose the illuminated wall and where the light ends
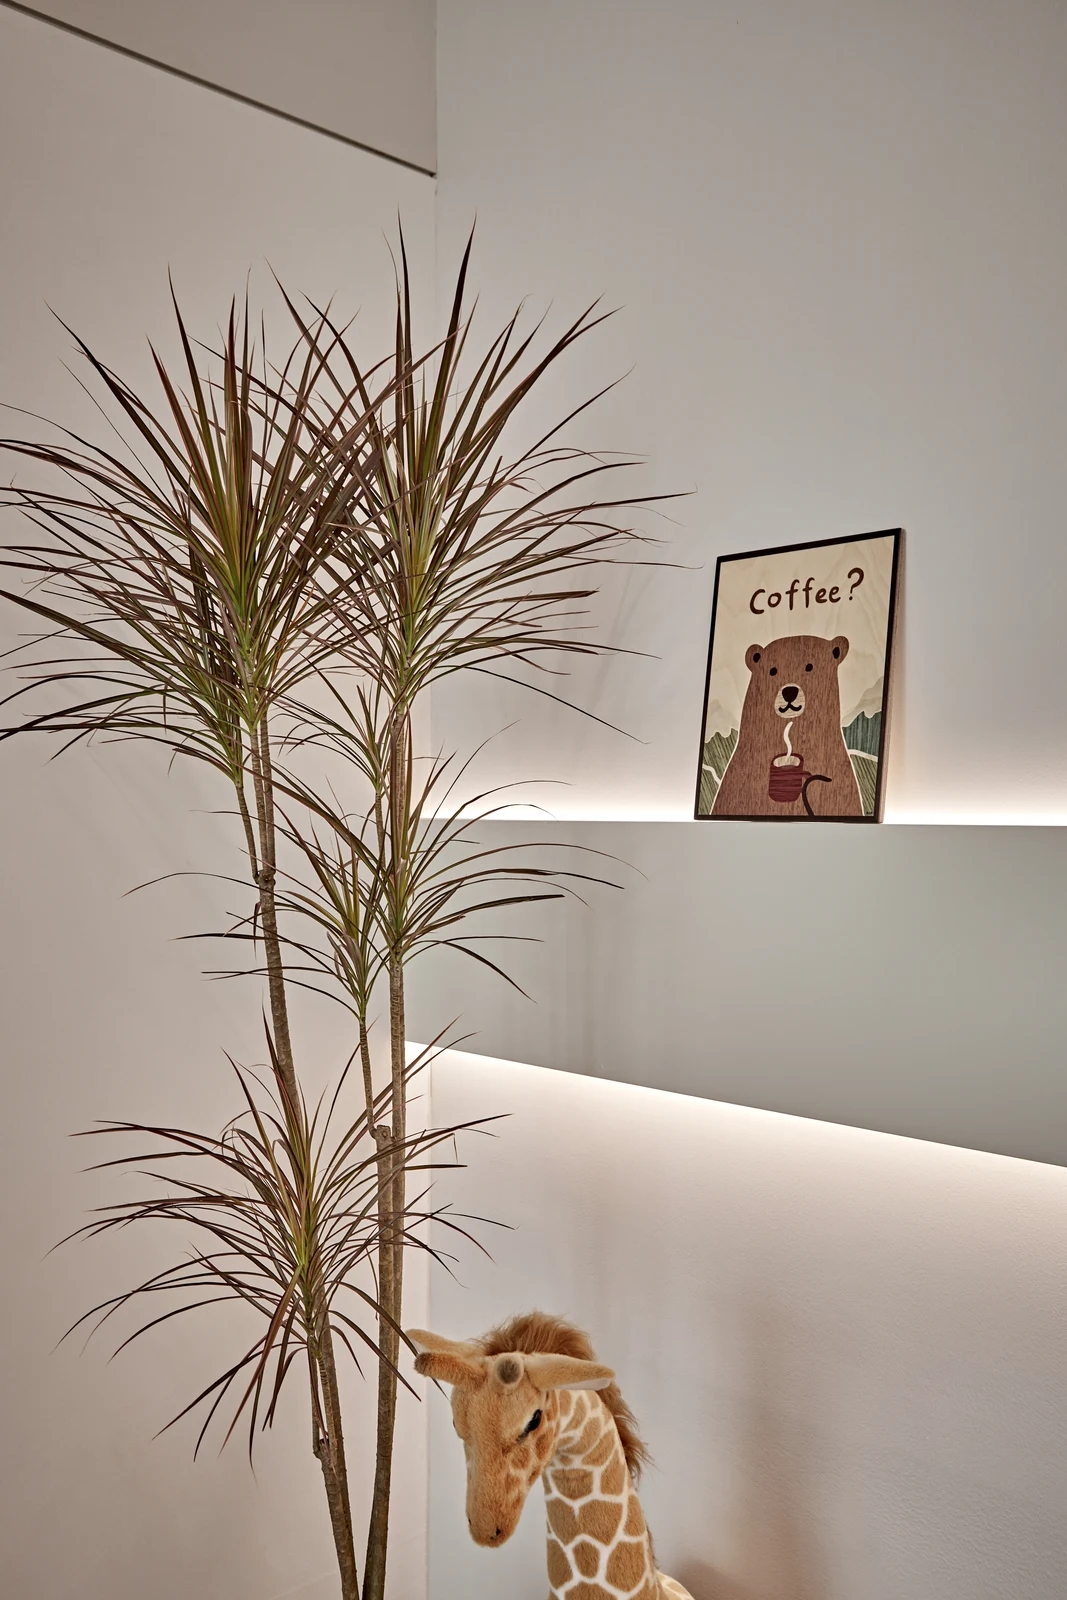
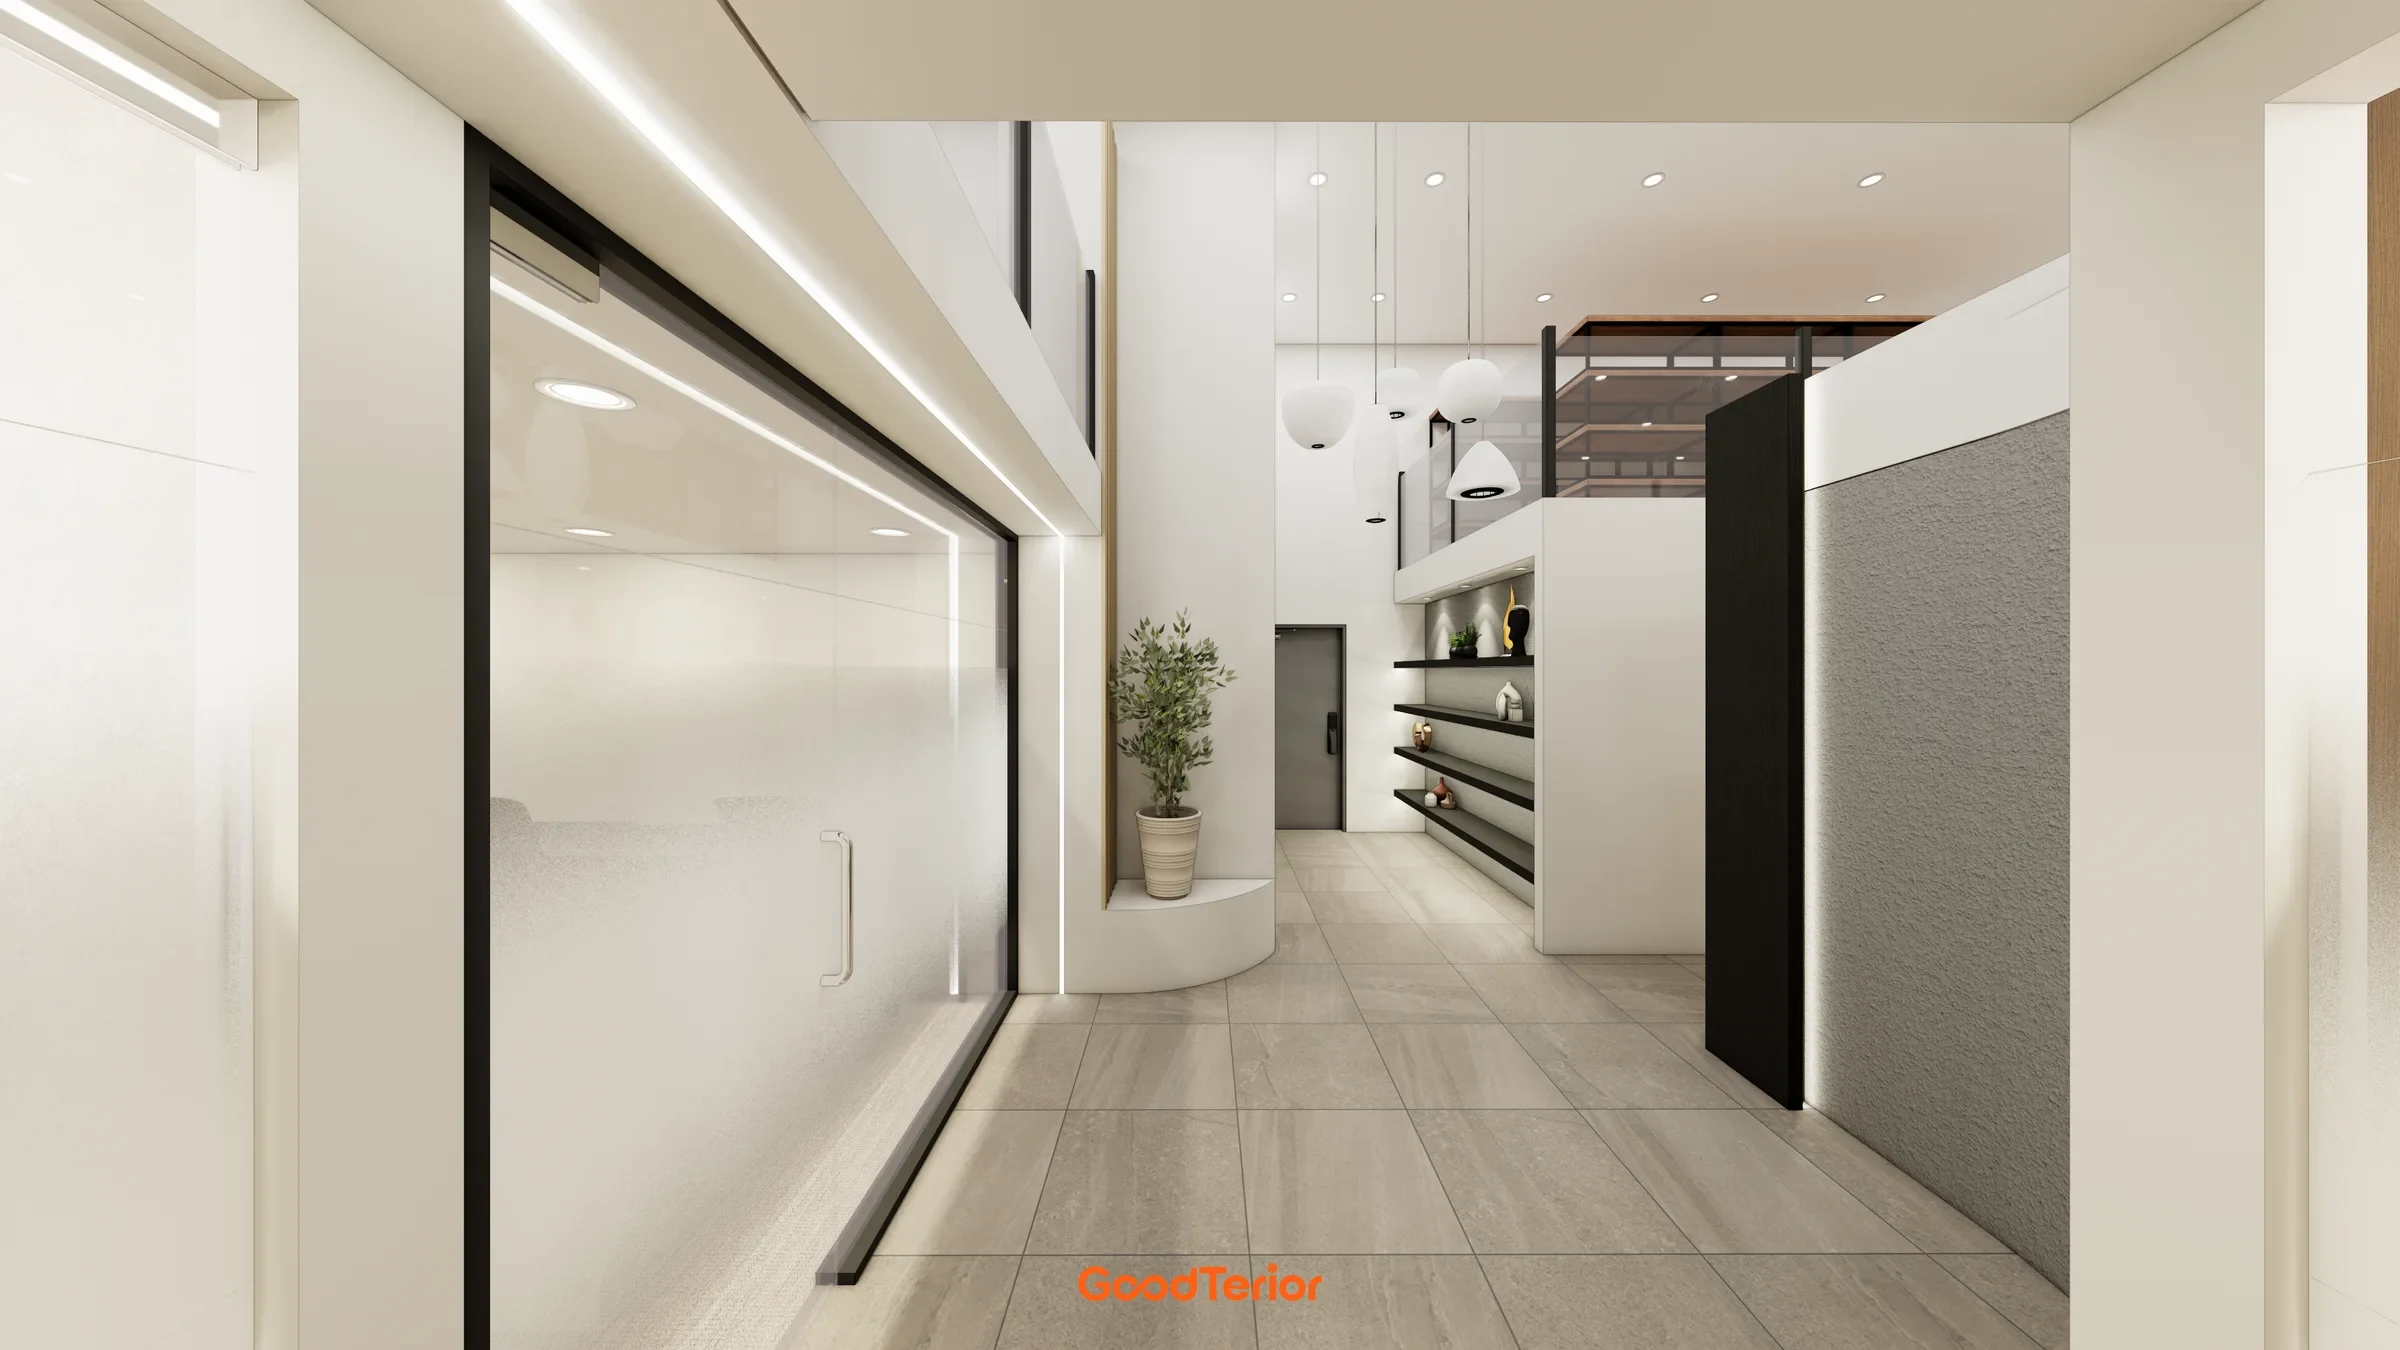
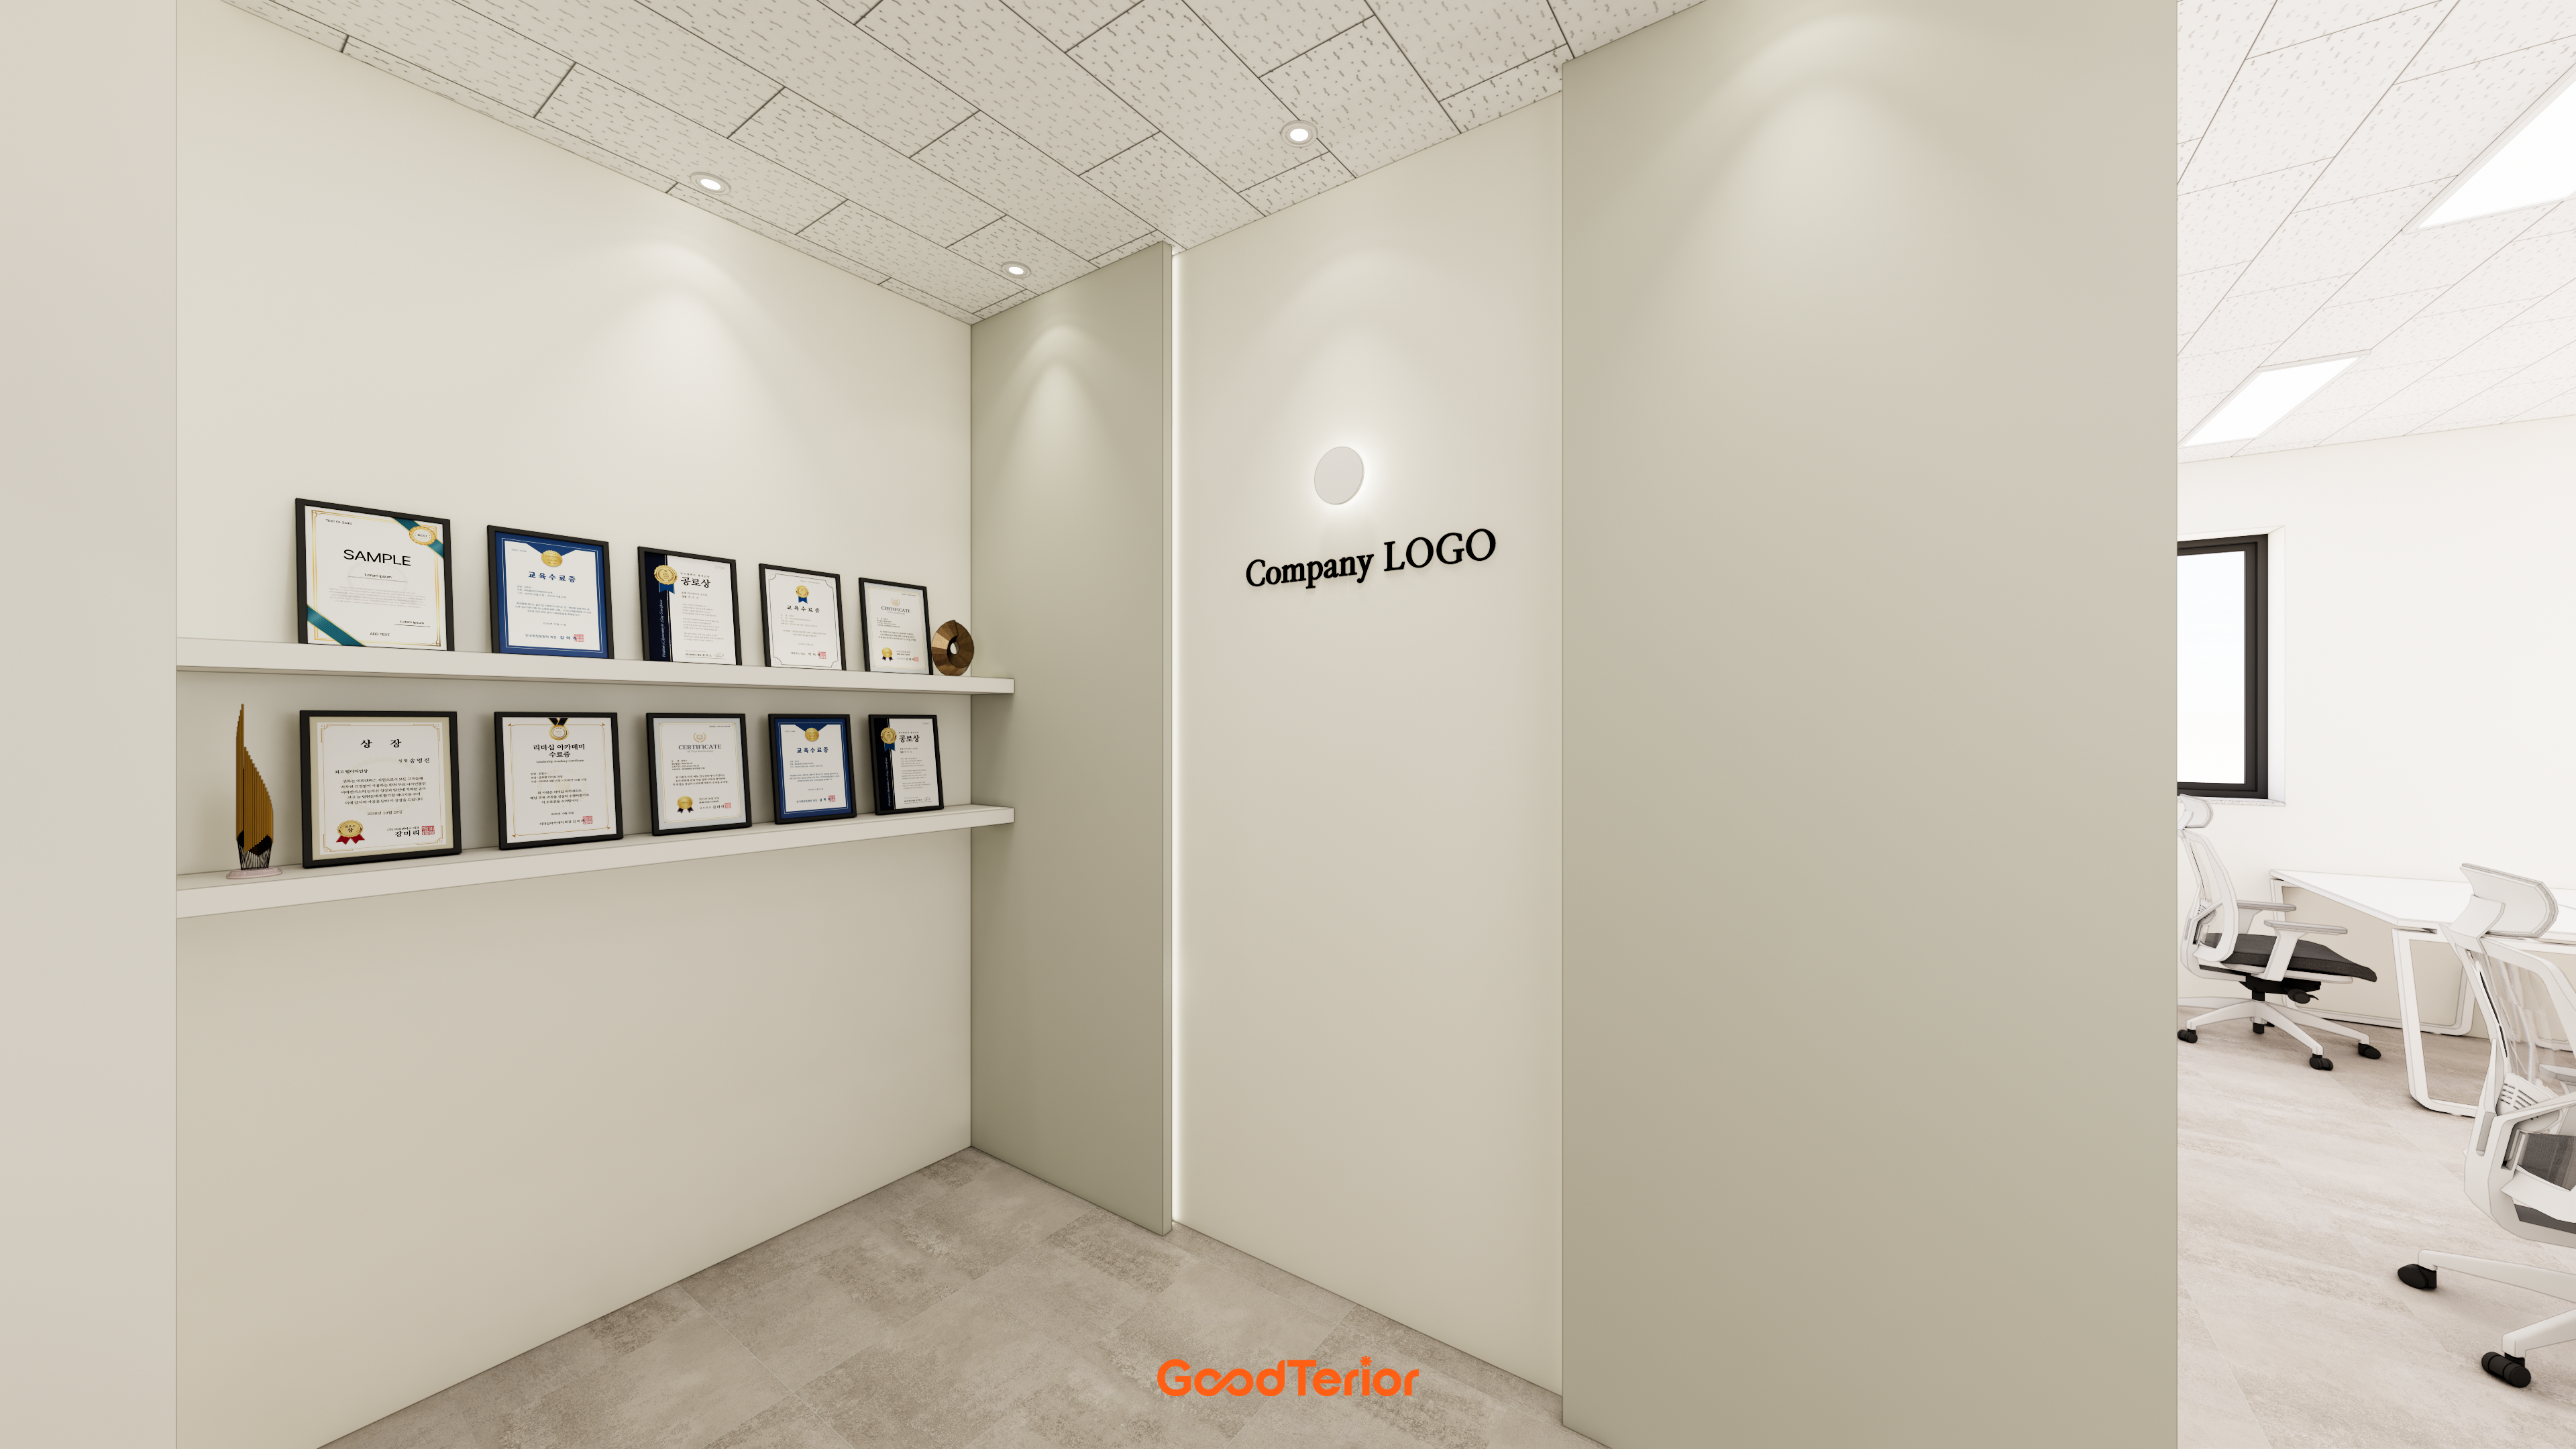
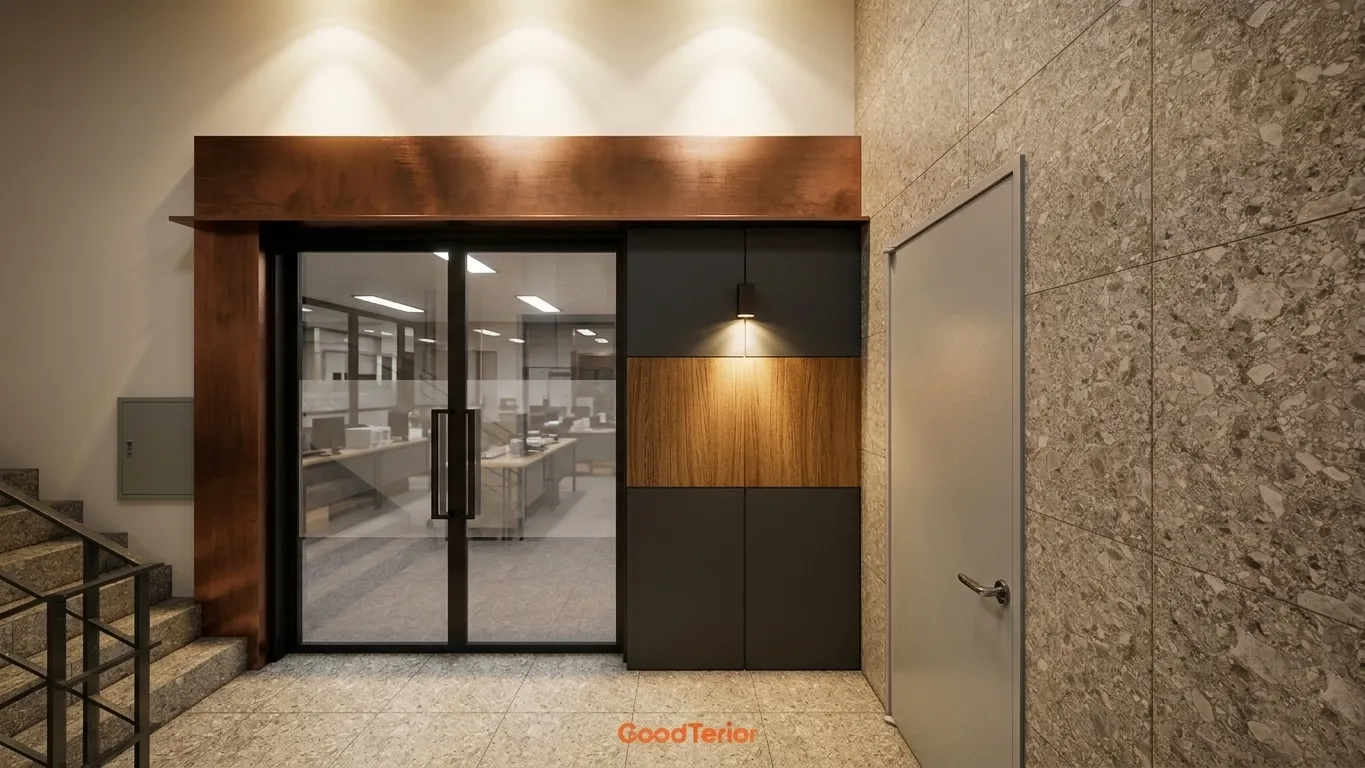
The photo shows a band running across a wall with light spreading above and below it. Pictures and plants stand against the same wall. When planning this lighting, first decide whether to illuminate the entire wall or reveal selected parts. Planning the place that conceals the fixture alongside the surface receiving its light makes the intended appearance easier to explain.
Mark illuminated surfaces on drawings as well as fixture lines. Draw options for continuing along an entrance wall, ending at the logo surface, or turning a corner. At doors, columns, and access covers, check where the bright band stops. Compare selected focal surfaces rather than automatically treating every wall identically.
Avoid finalizing wall finishes independently of lighting. Switch on the light beside actual paint colors and surface samples and examine the illuminated finish. Check whether texture and joints appear as intended or become unexpectedly prominent. An appealing bright wall in a photo cannot be reproduced simply by choosing the same color name and fixture.
Along continuous runs, examine starts, ends, and inner corners as well as the middle. Connections hard to assess from a short sample may become apparent on a long wall. Request a partial mockup with the actual finish, noting changes needed at interruptions and in the apparent illuminated width. The responsible installer should set spacing and fixture layout according to the selected product's installation conditions.
When adjusting the budget, separate associated work rather than only shortening fixtures. Check inclusion of the concealing ledge, illuminated wall finish, wiring, and switches. If retaining an existing ceiling, mark boundaries between new and retained work. Compare spreading lighting across several walls with concentrating it on a key wall using estimates with equivalent scope, making reductions and priorities clear.
Check the light source and screen while seated
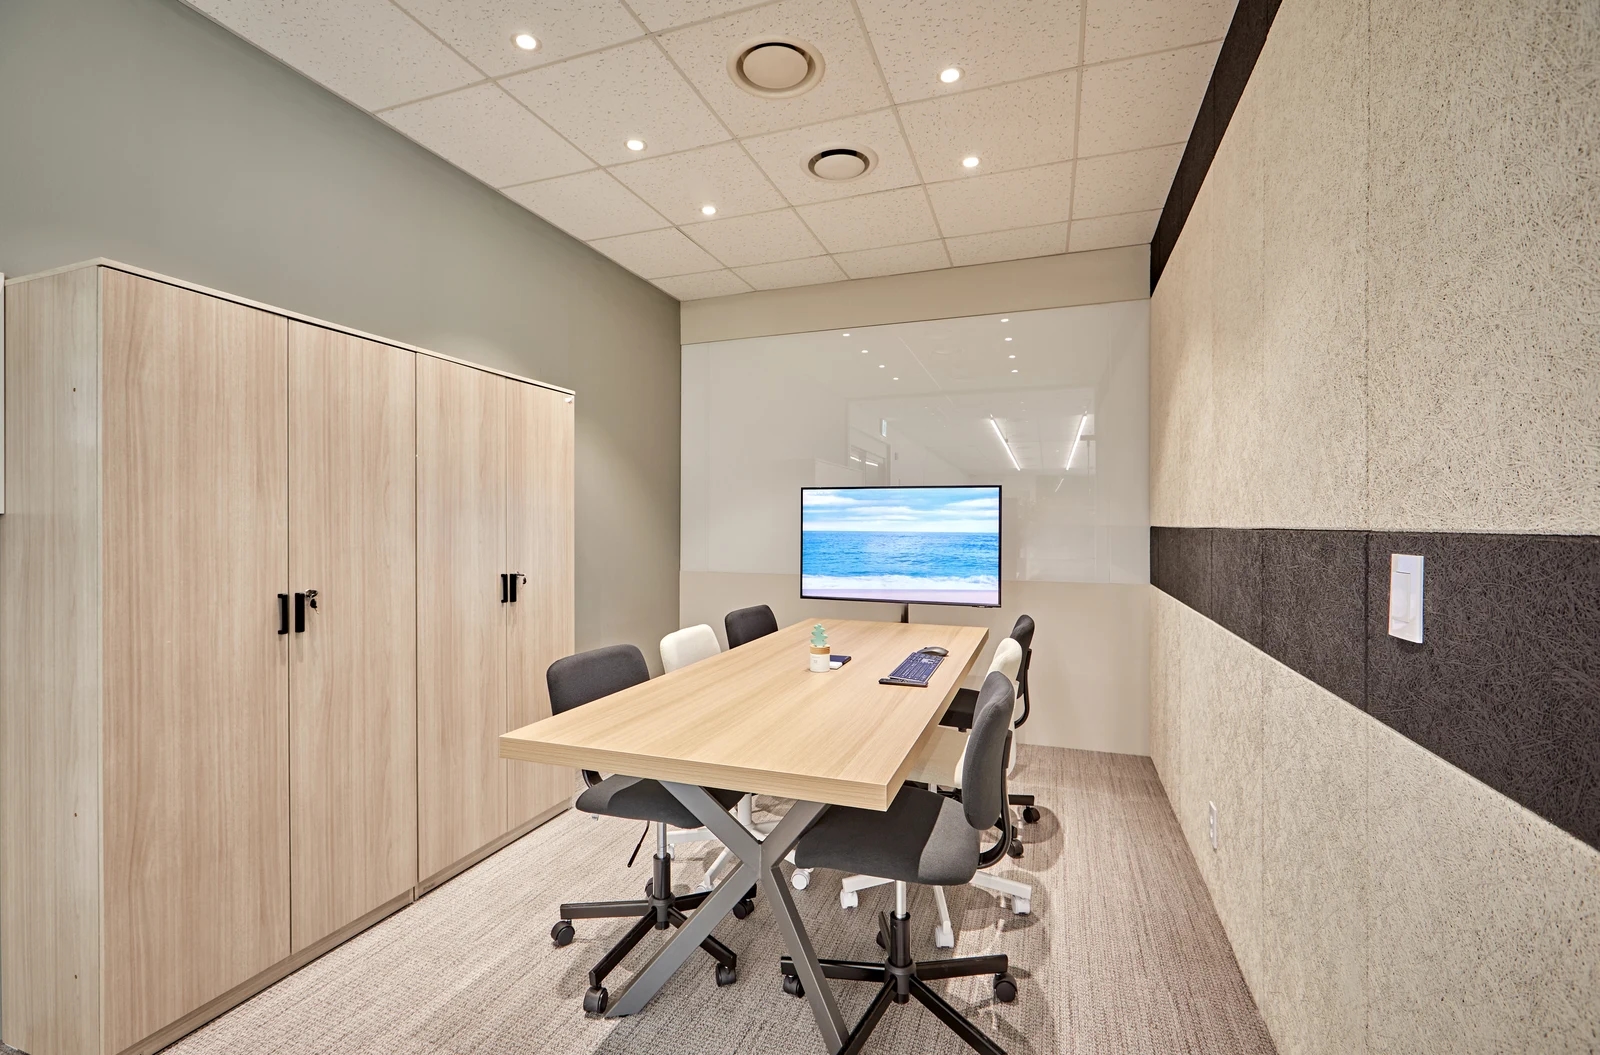
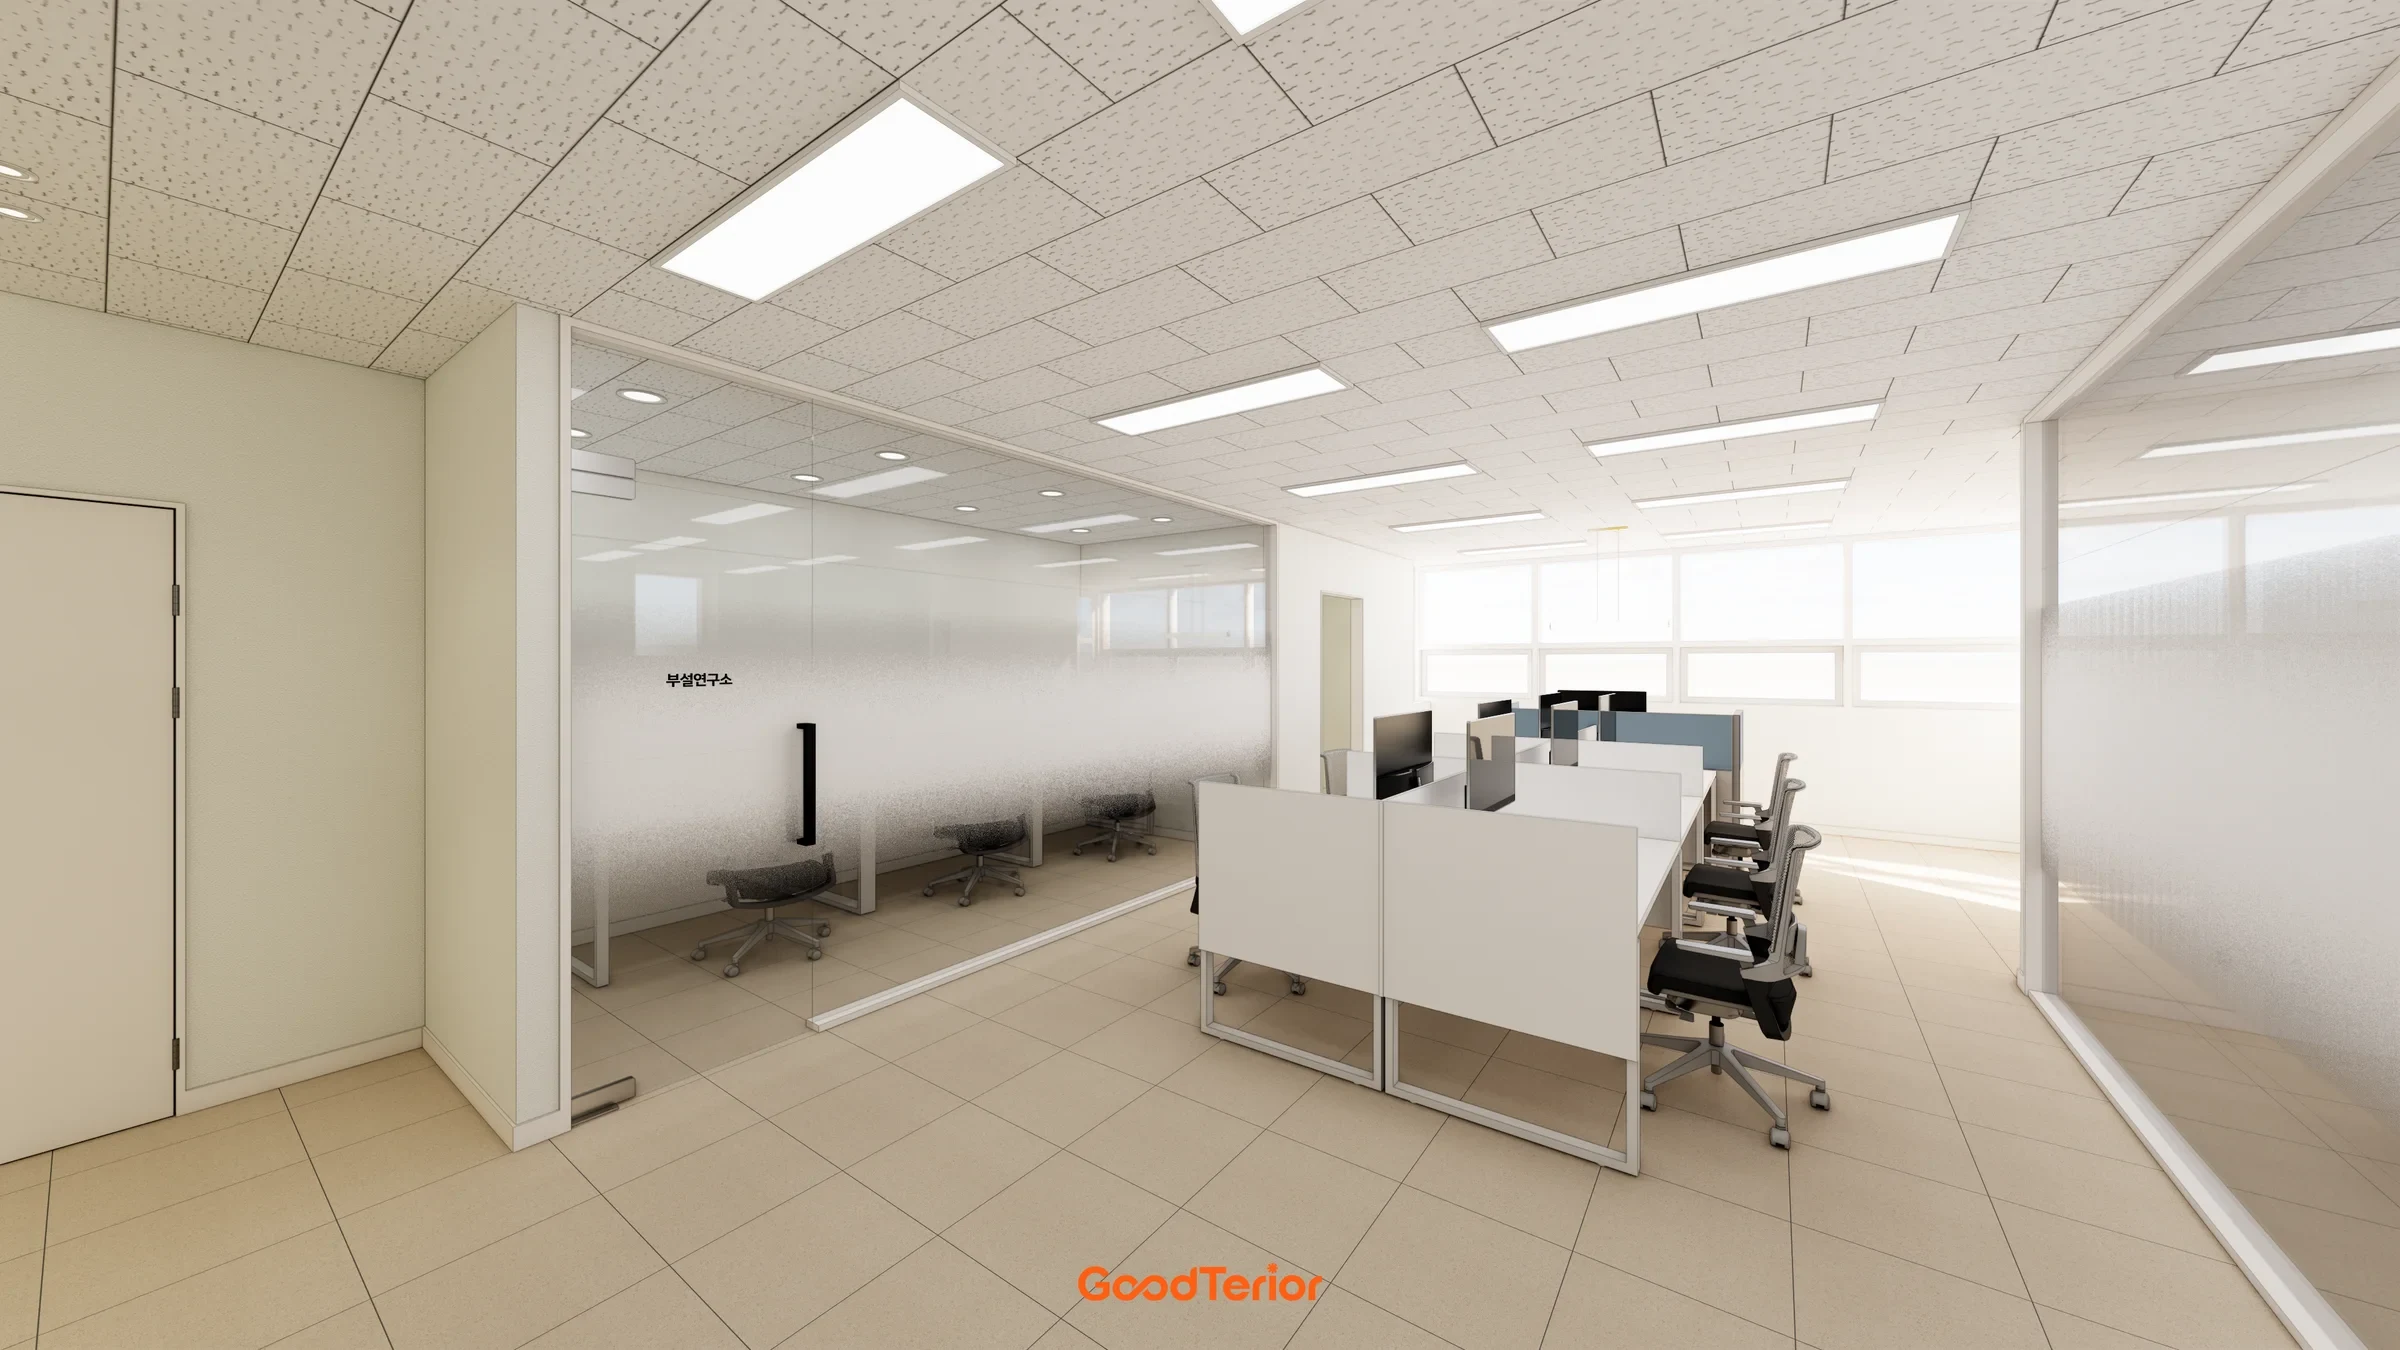
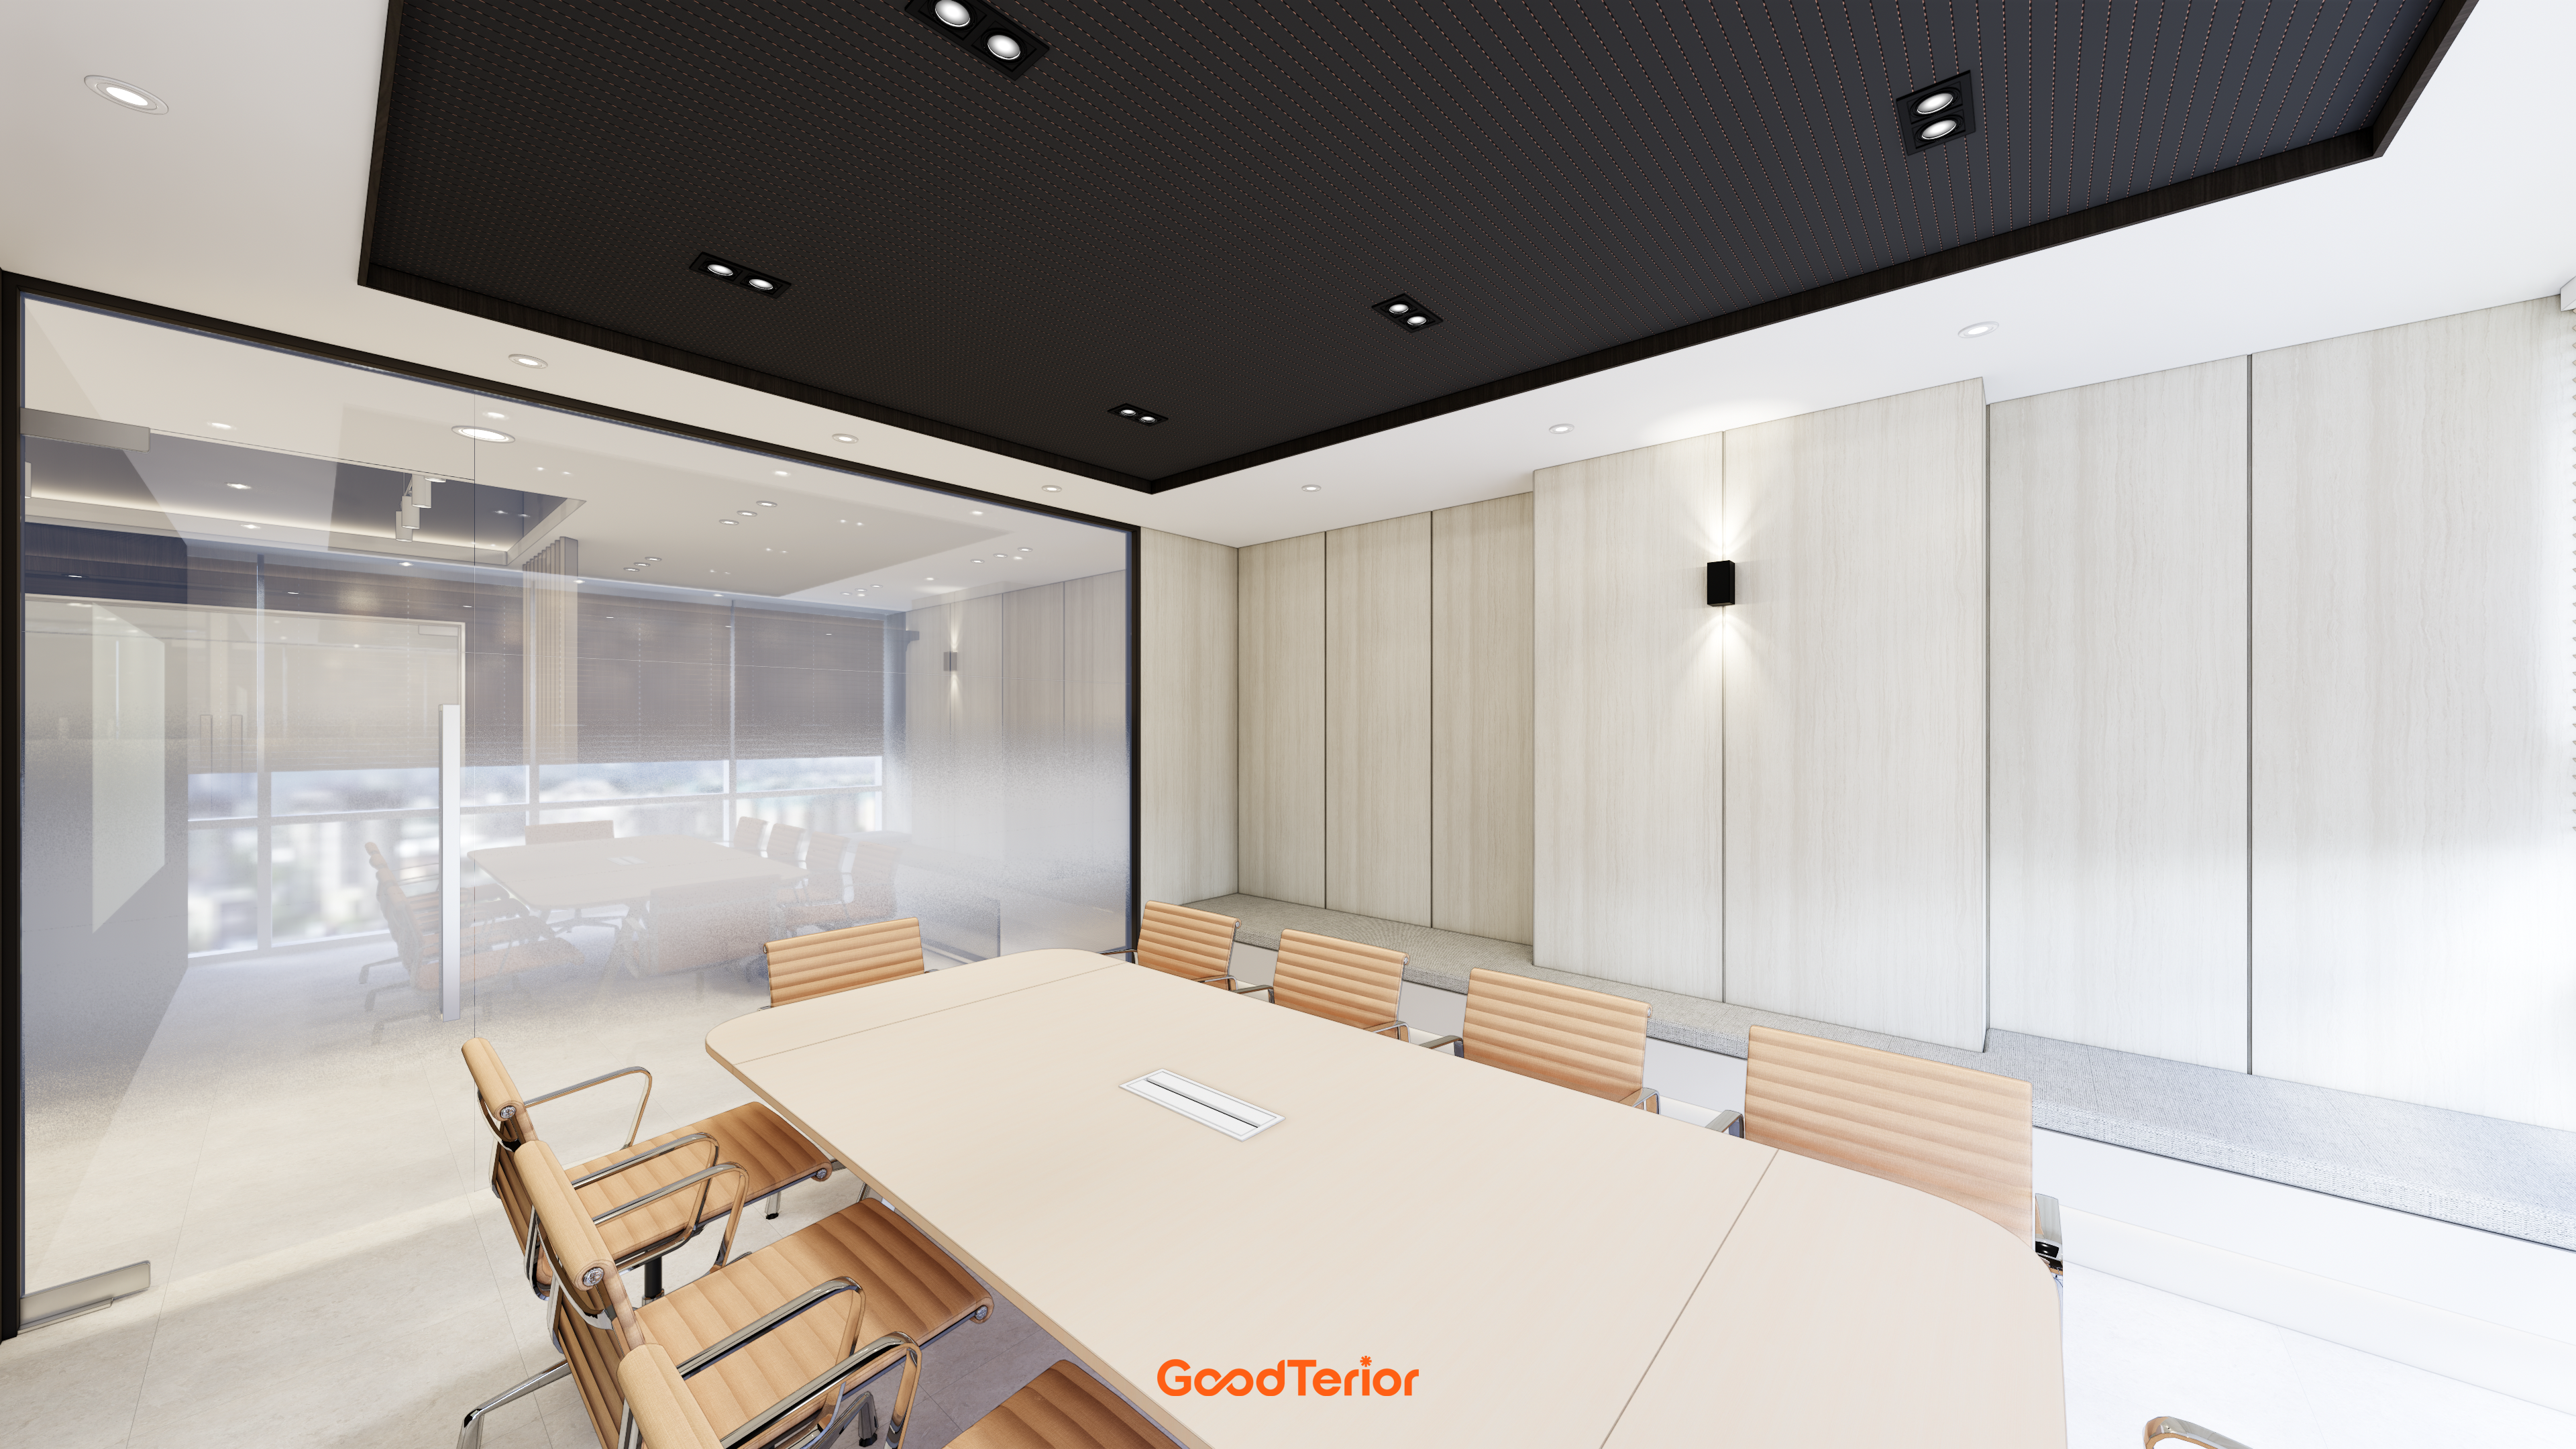
The meeting room has a long table, chairs, a wall-side display, and ceiling lighting, with a bright line reflected in the glass behind the display. When adding or changing indirect lighting, review actual seating in relation to the screen. From end seats and wall-side seats, look up and turn sideways to check whether a supposedly concealed source becomes directly visible.
A concealing ledge or band cannot be designed from its front appearance alone. What is visible may change when looking upward from a low position or obliquely from the entrance. Review actual chair heights and locations instead of only standing. If the visible source is uncomfortable, consider adjusting the shielding form or installation position before simply dimming it.
Check meeting room displays both off and showing real presentation material. At each seat, look for reflections and establish which lights should be reduced or switched off during presentations. Rooms with desk monitors also need planned monitor directions. The term indirect lighting does not guarantee freedom from reflection or glare; review actual screens from their use positions.
A room appearing brighter with indirect lighting and sufficient illumination on documents or desktops are separate checks. Do not assume wall lighting replaces task lighting. Establish desk and meeting table positions and activities, then review the necessary lighting with the responsible specialist. Compare light color both on the wall alone and with paper and furniture to document a concrete reason for the choice.
Plan switching zones and replacement access
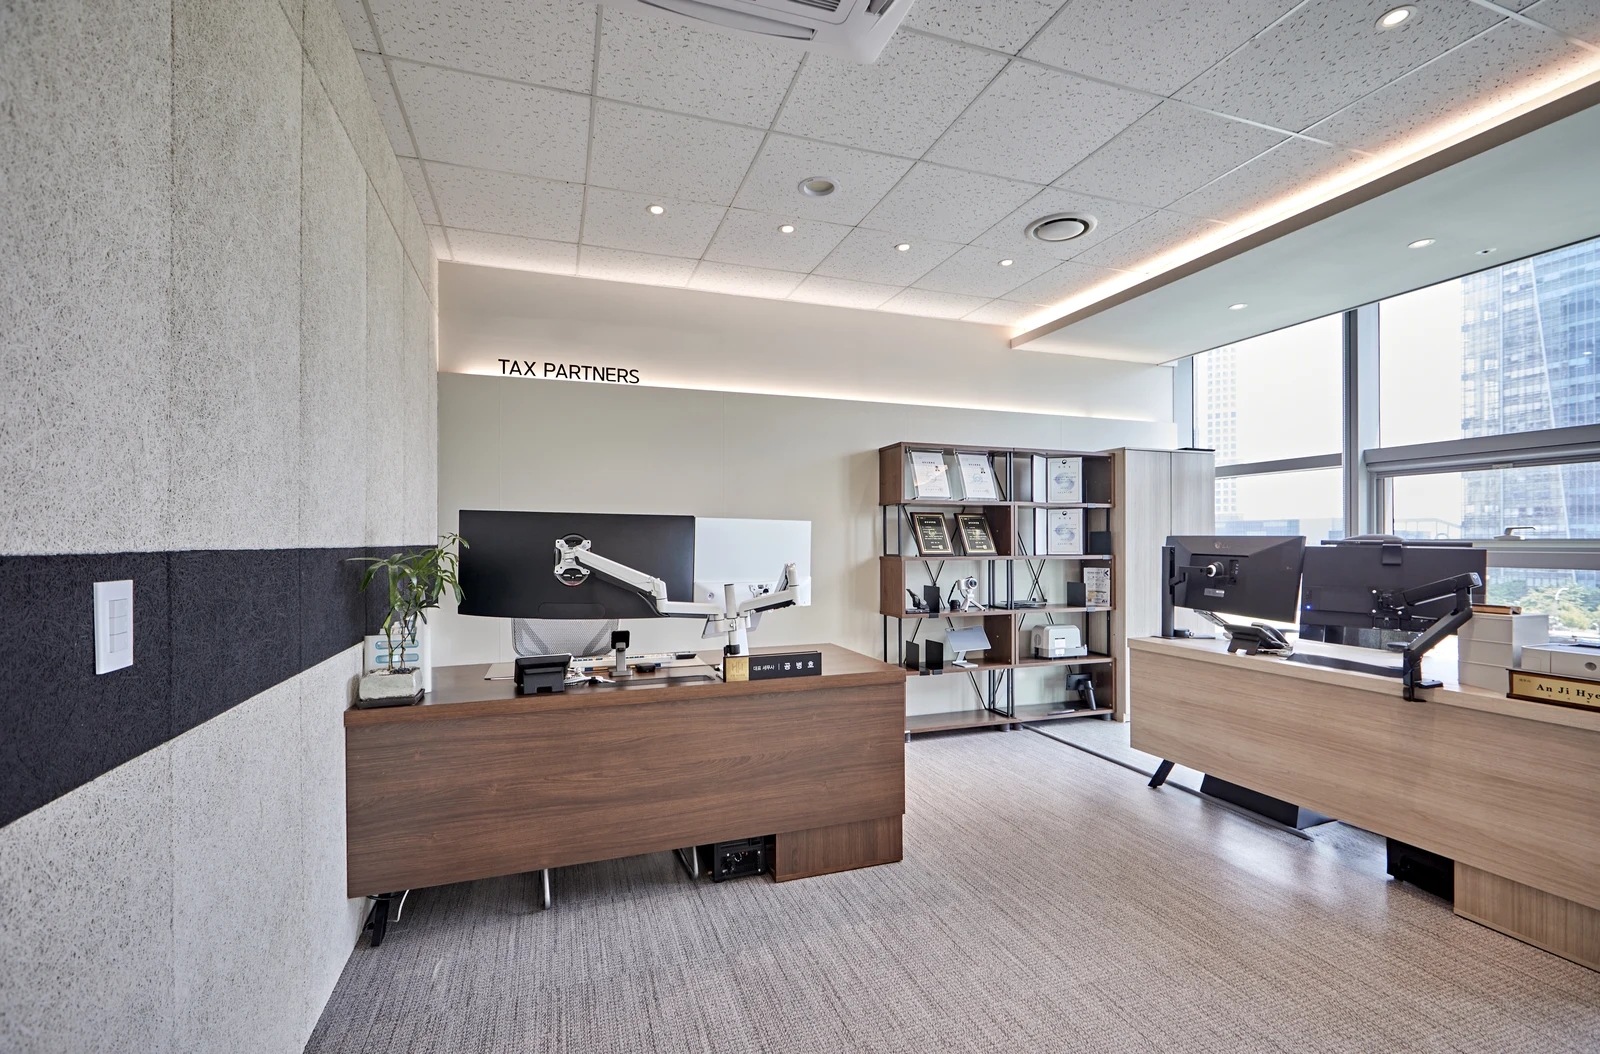
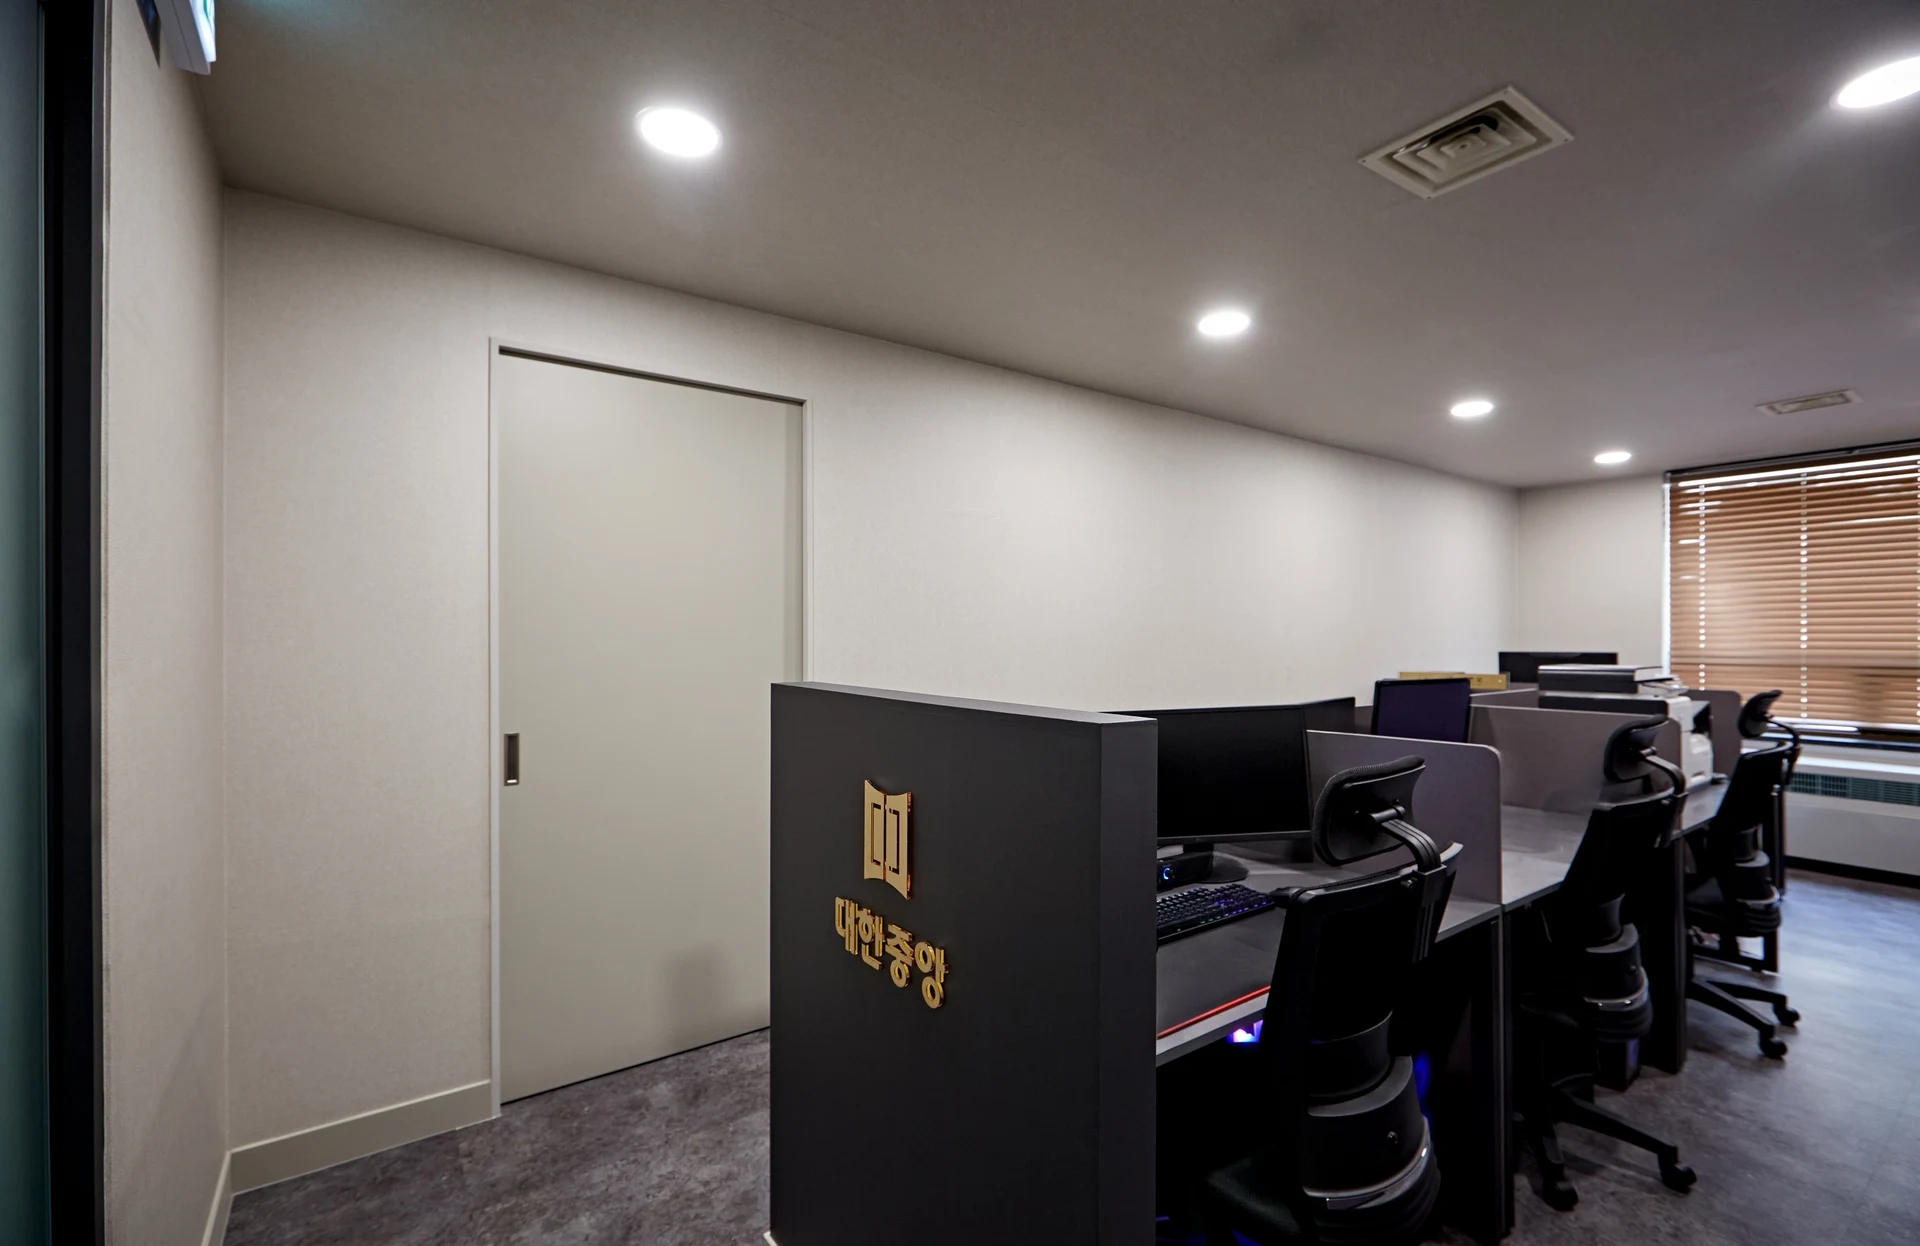
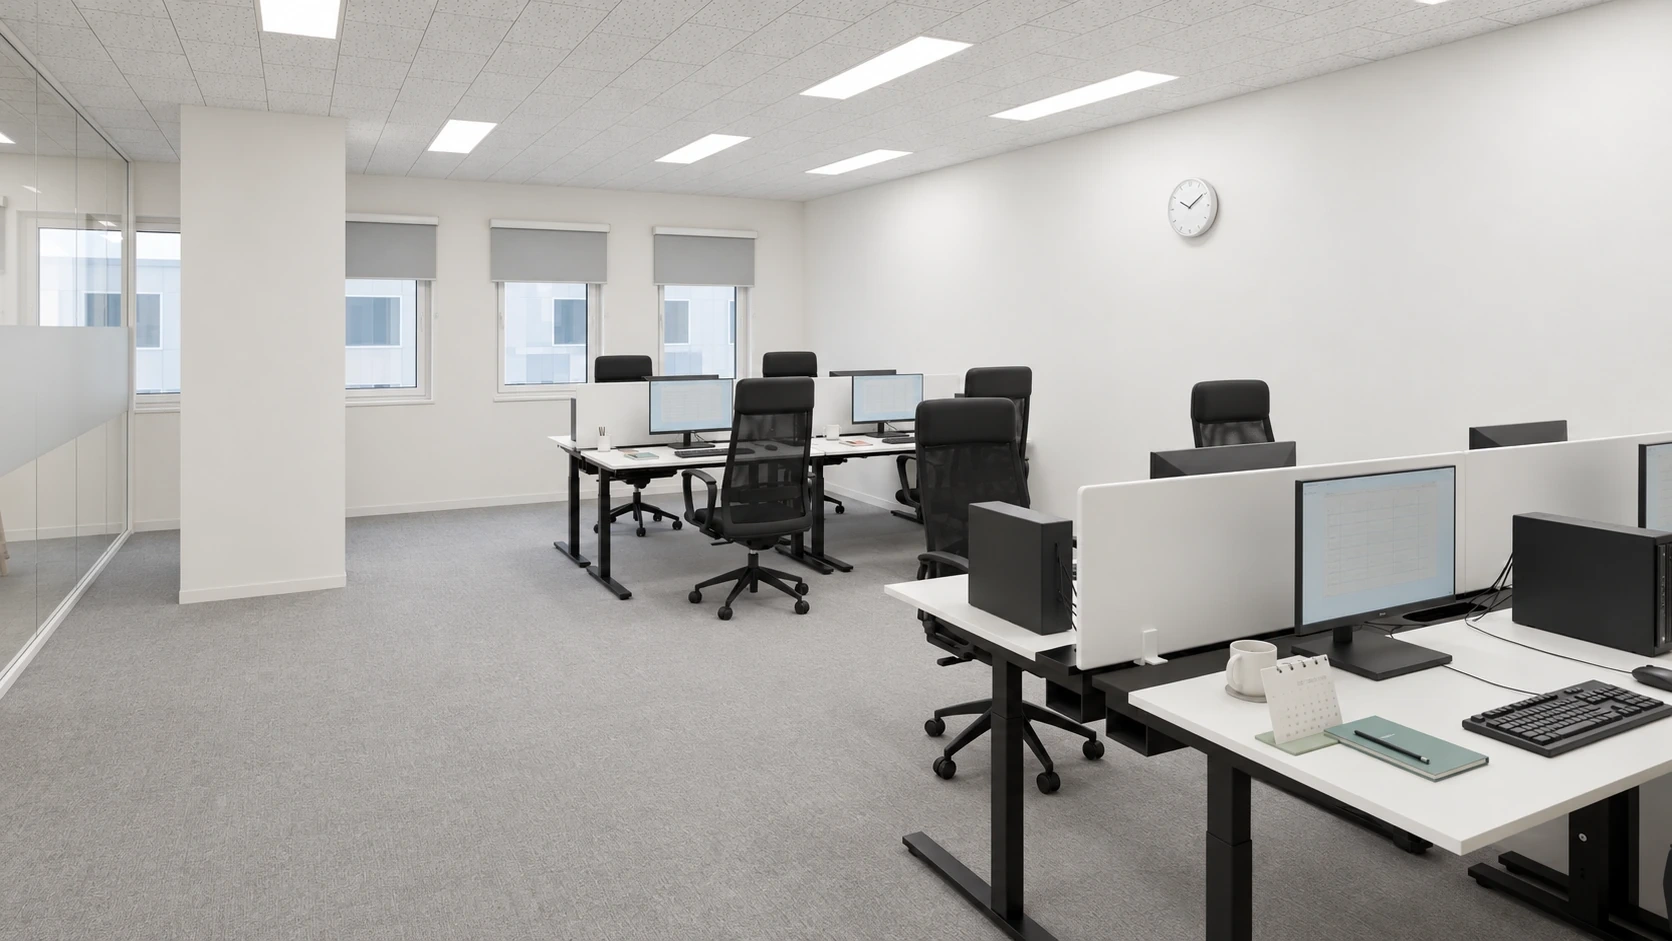
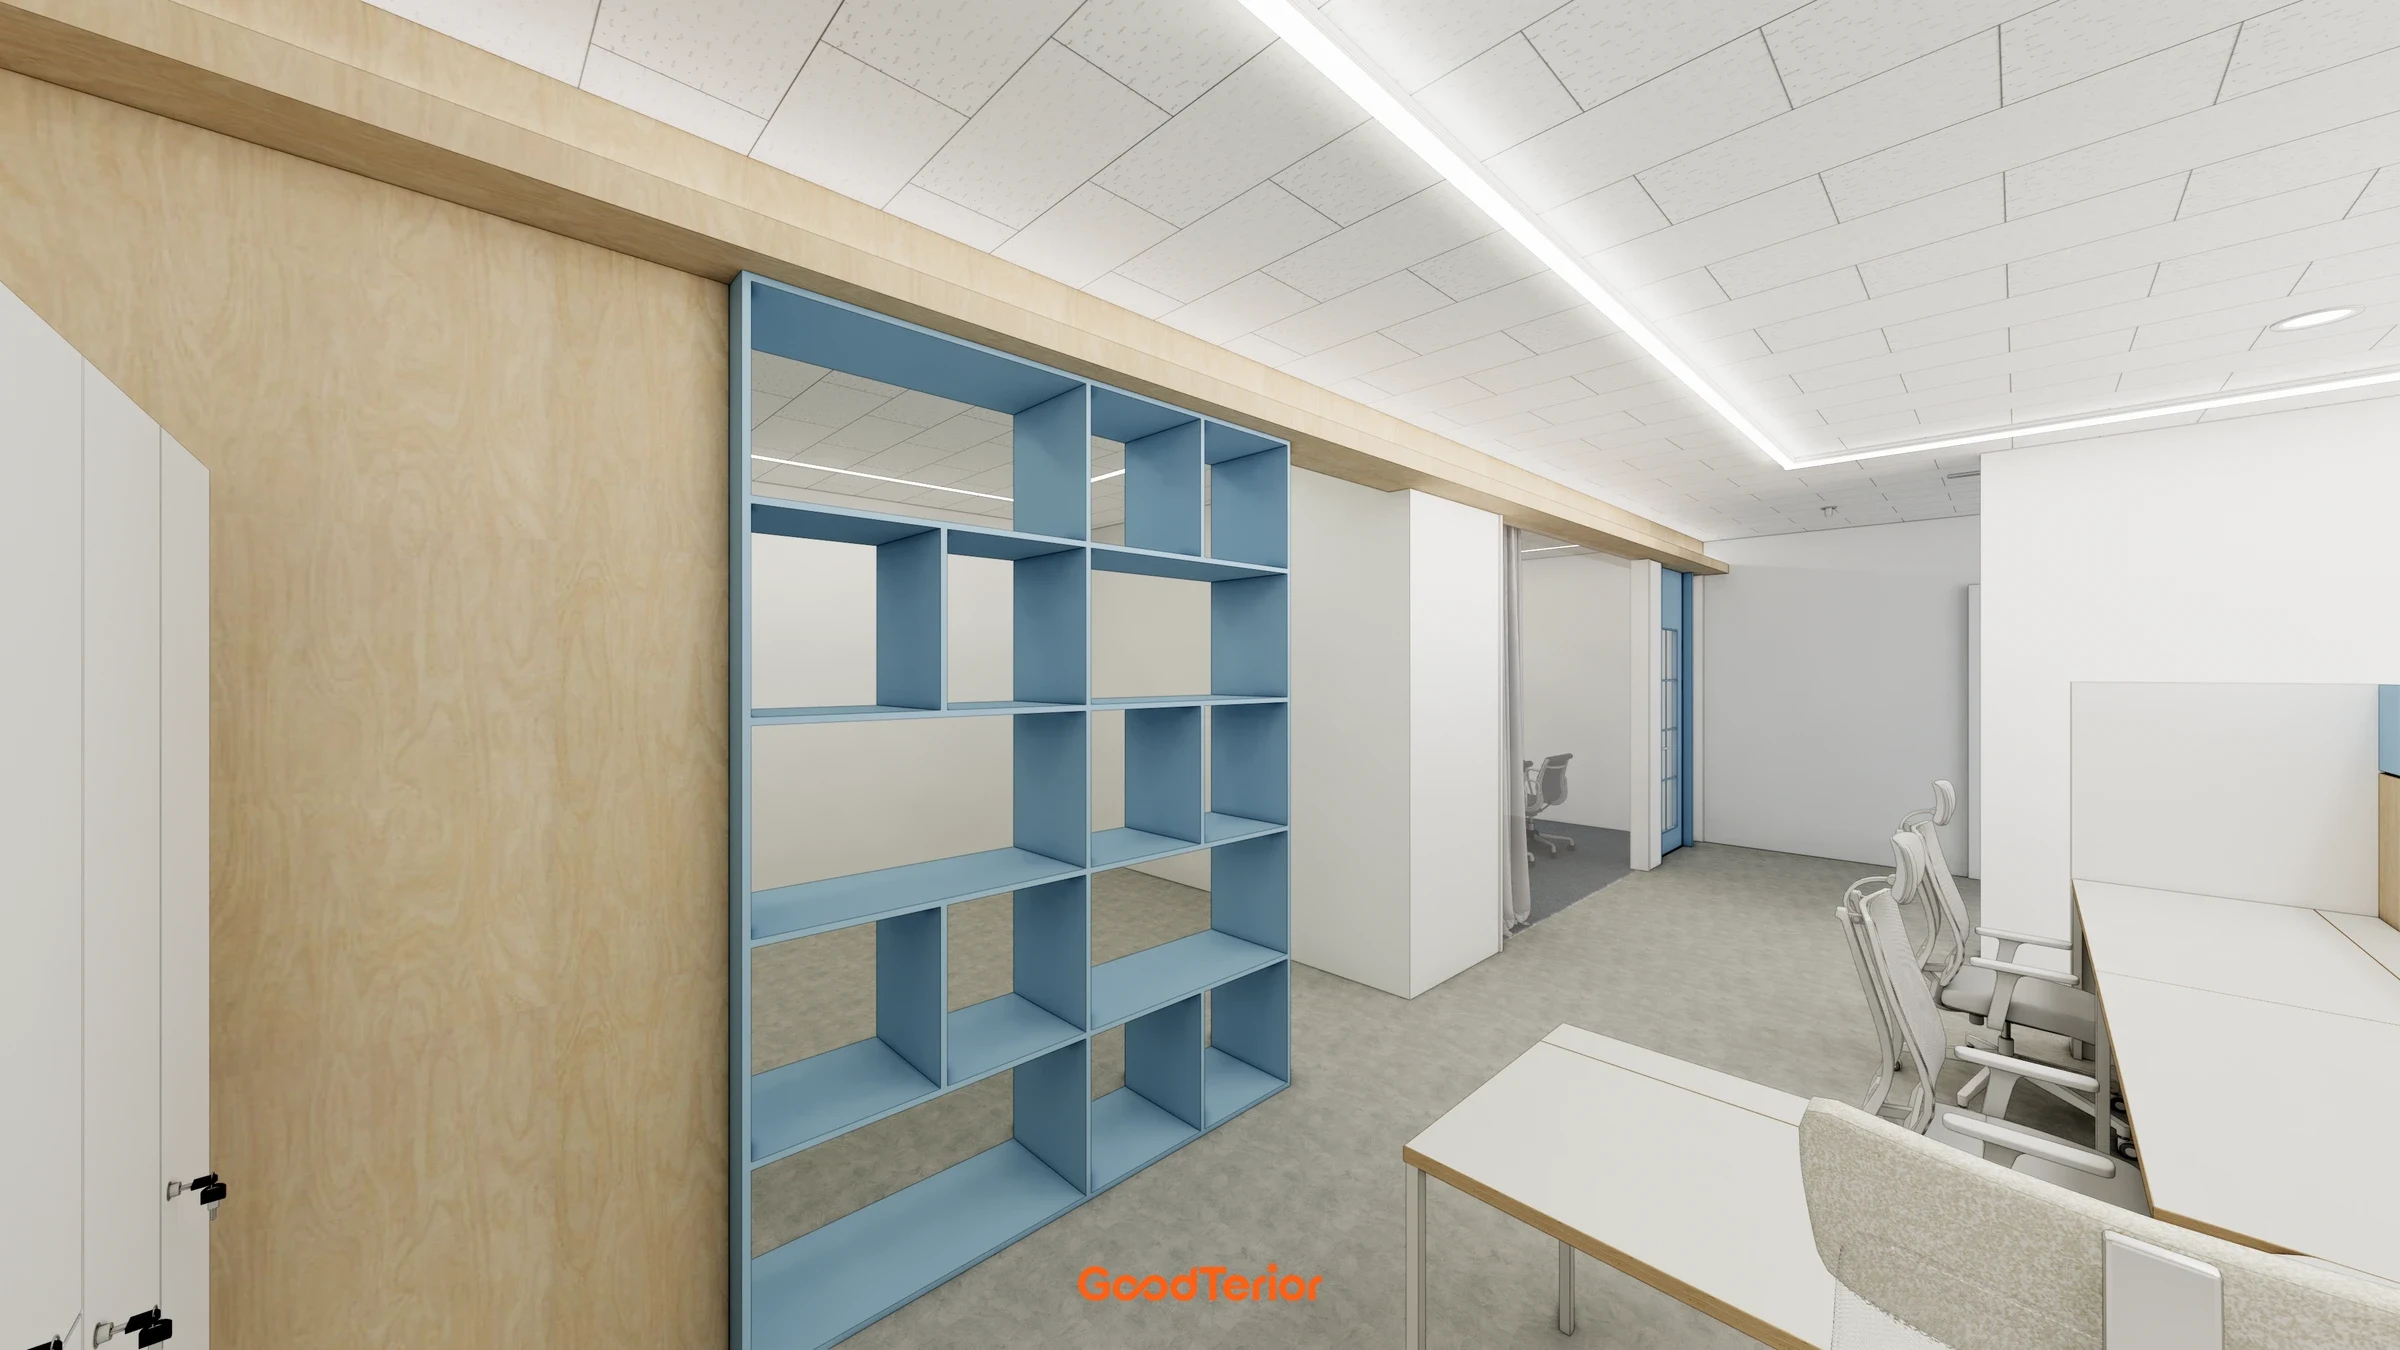
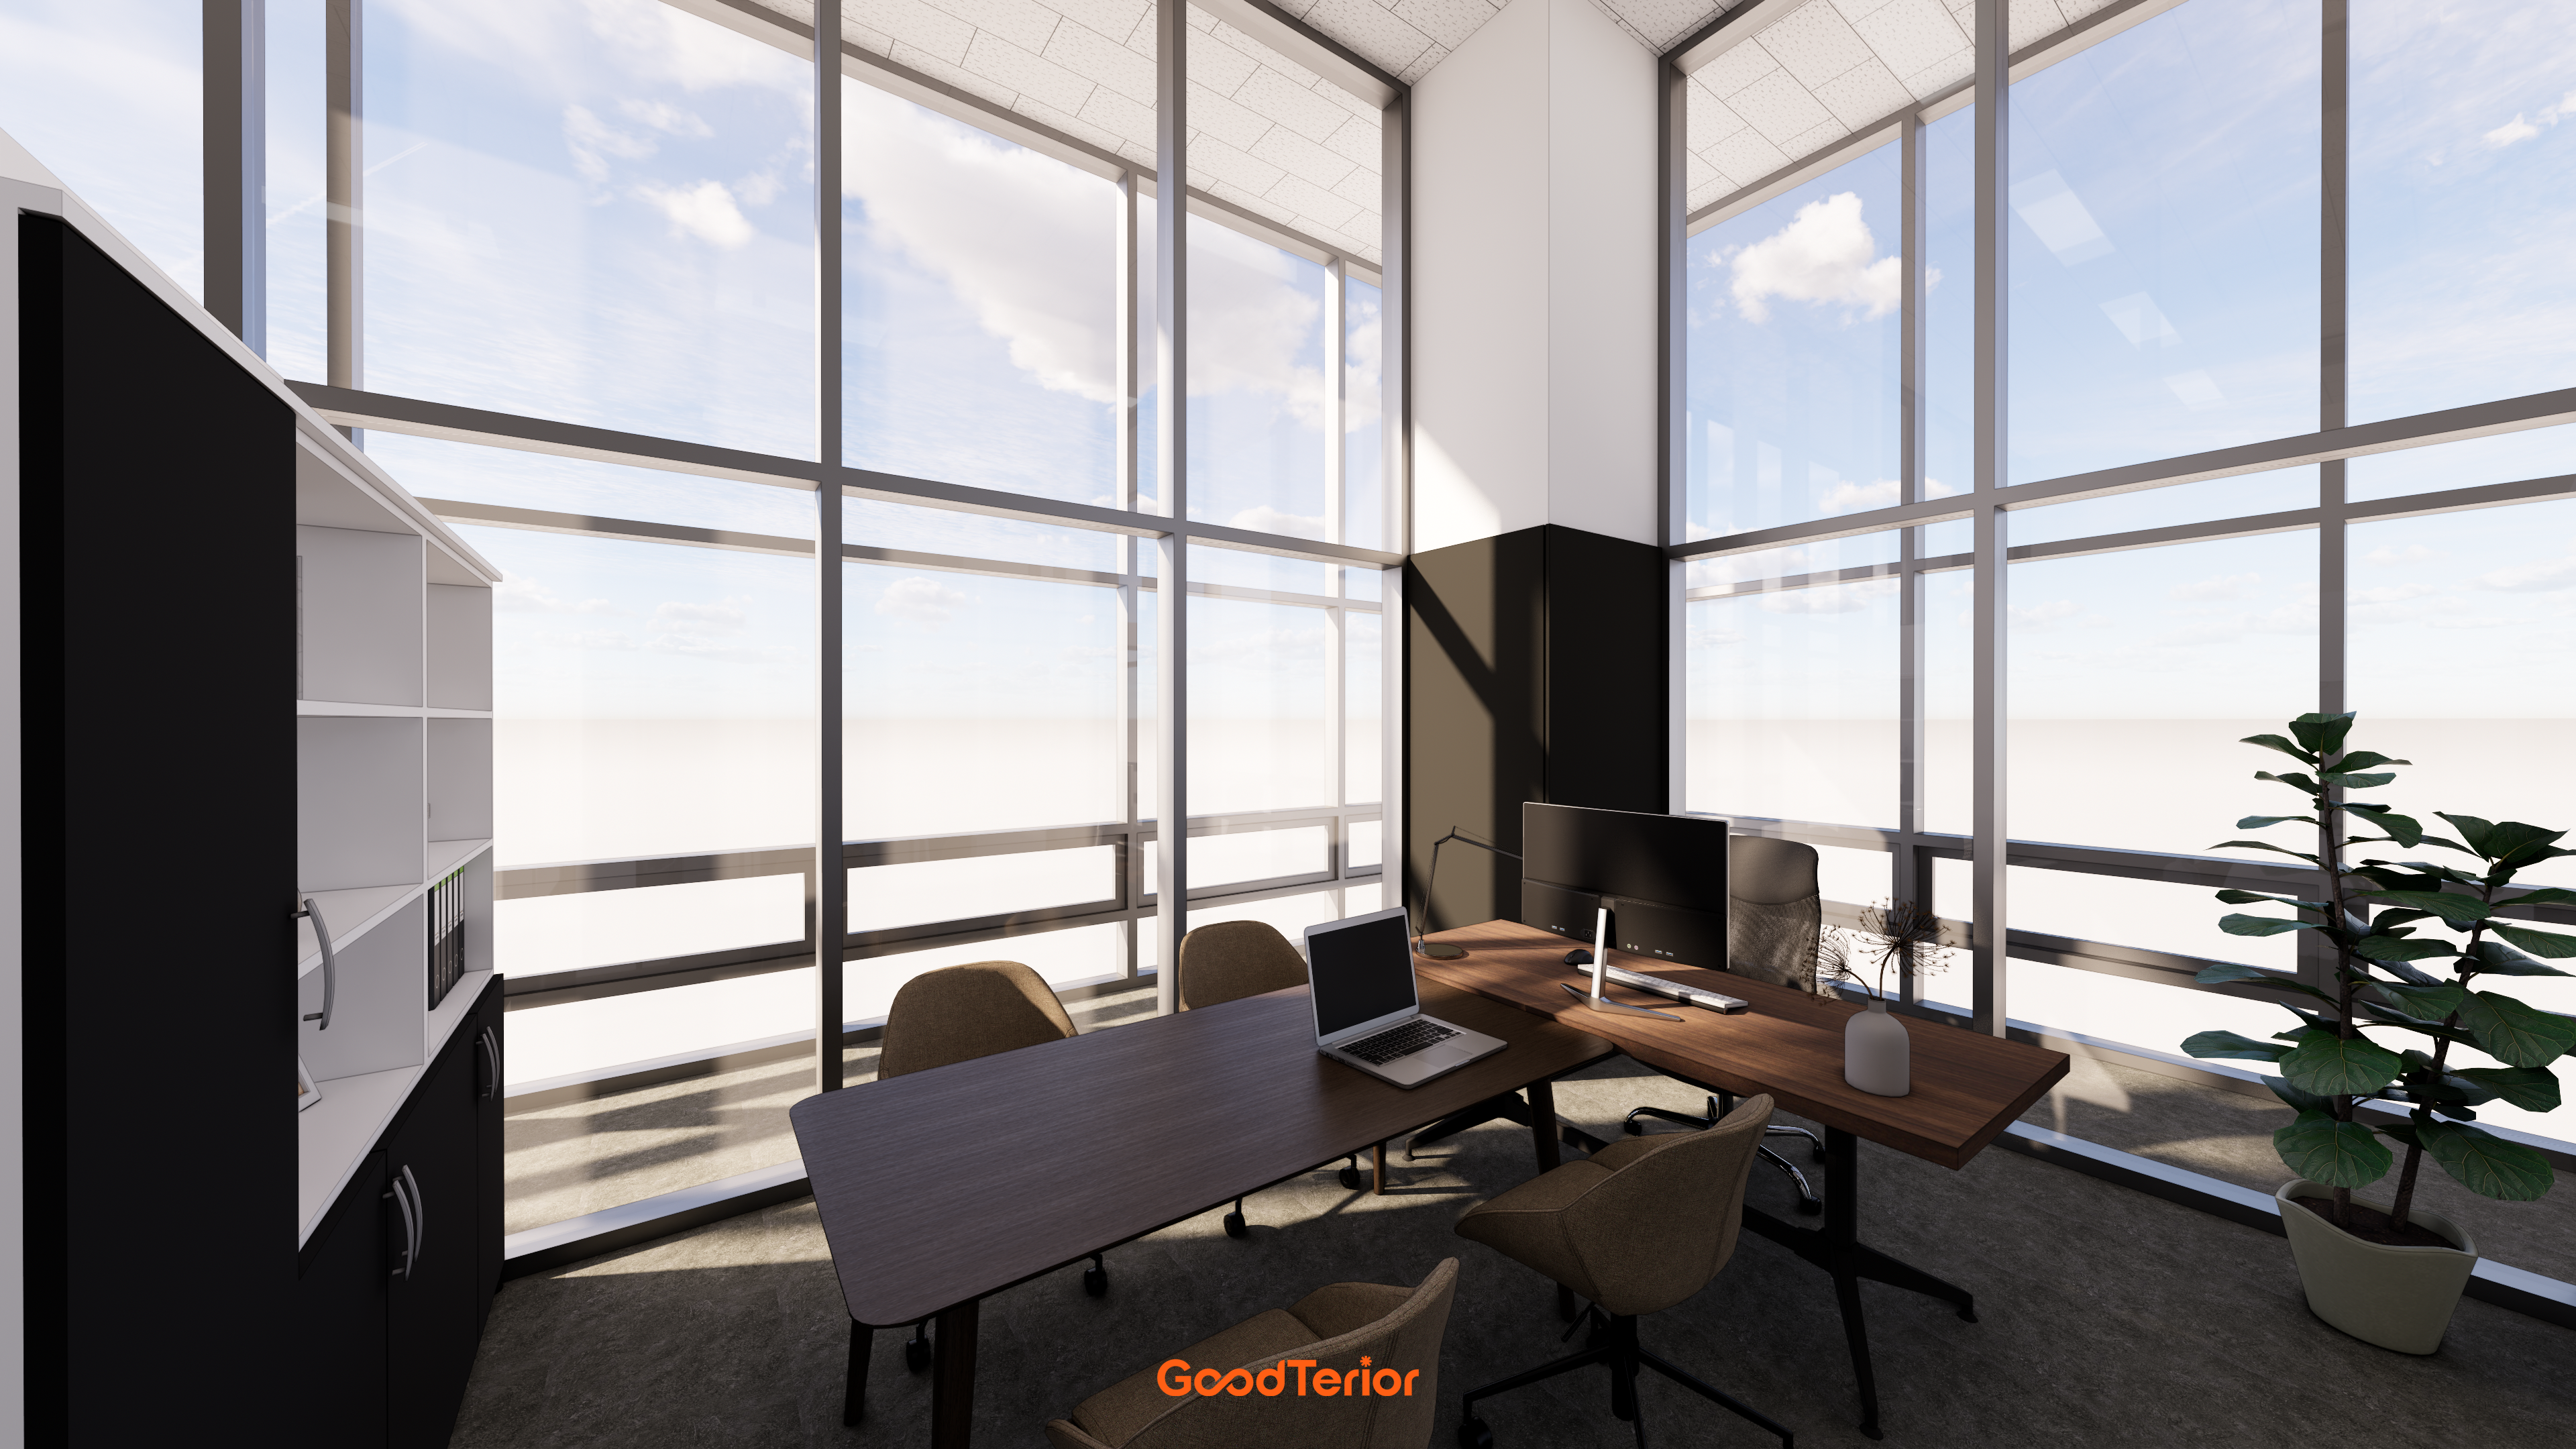
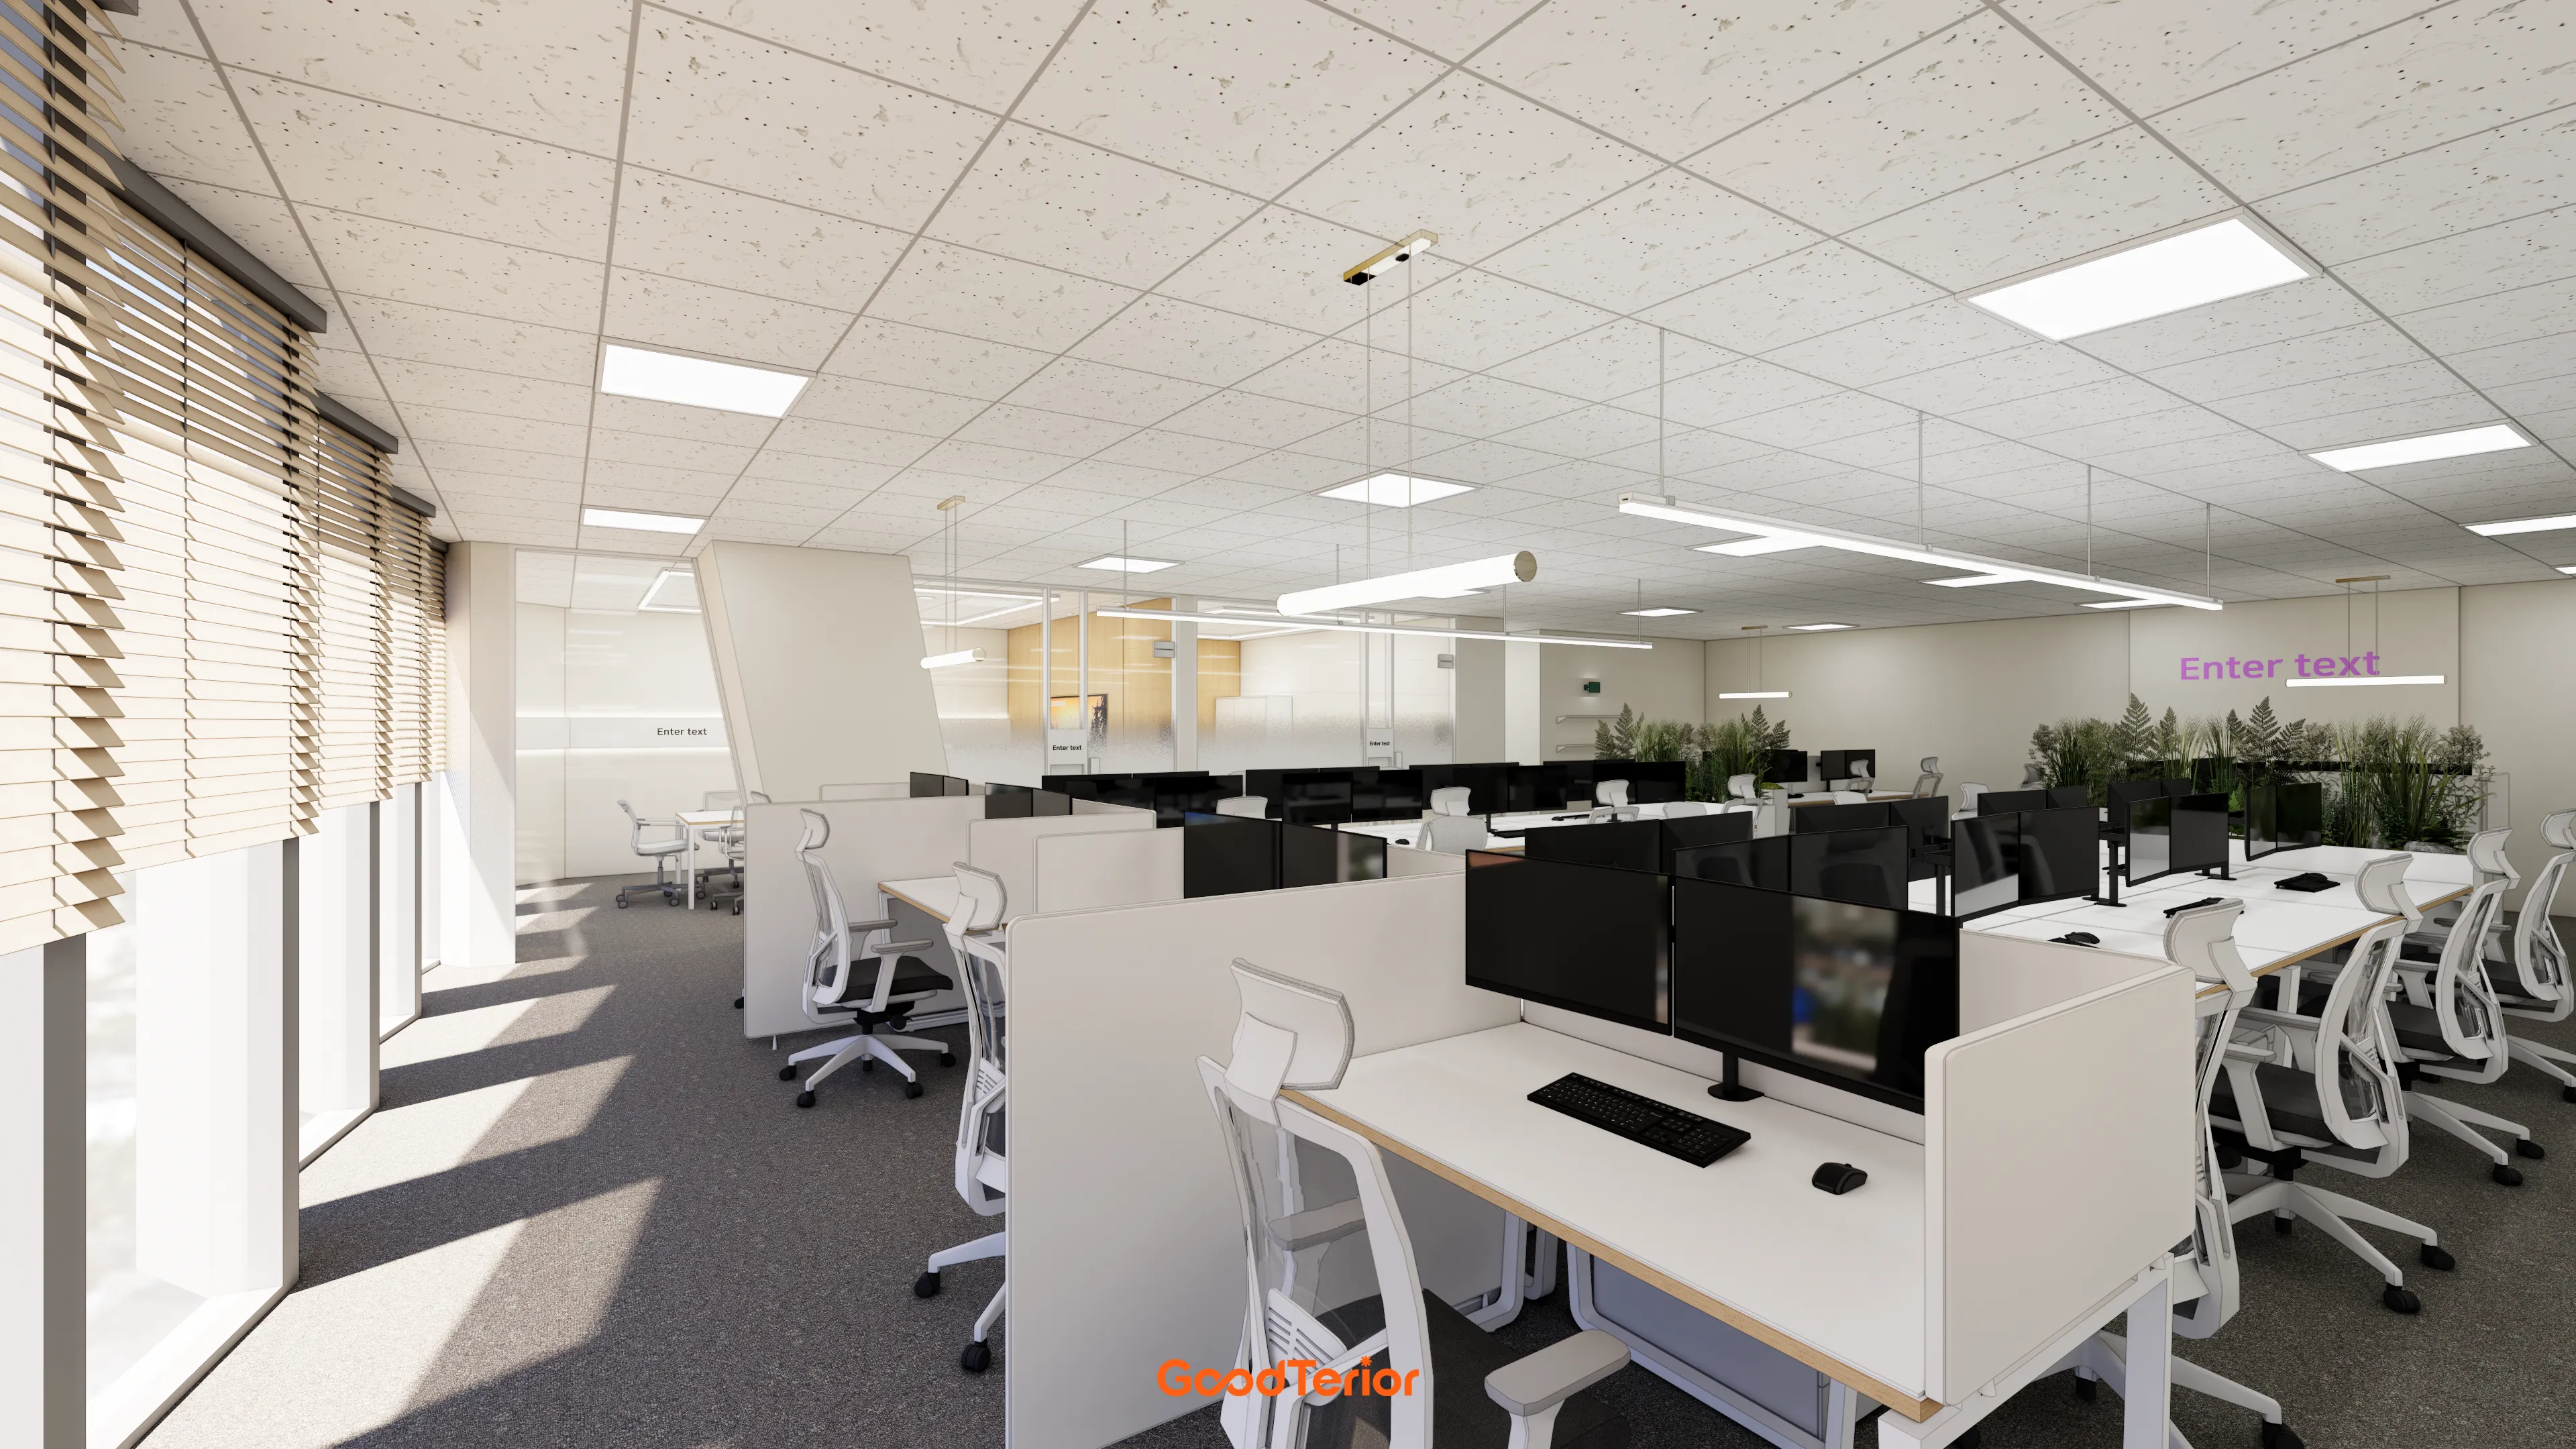
The photo shows upper-wall and ceiling-edge lighting above desks, monitors, and cabinets. Plan furniture alongside lighting instead of considering only ceiling lines in an empty room. This reveals whether tall storage blocks an illuminated surface or prevents access to lighting components.
Do not postpone switches until a spare wall position remains after fixture selection. List the zones needed on arrival, during screen-based meetings, and when only some staff remain. Compare switching entrance decorative lighting separately from work areas and operating wall and ceiling indirect lighting together. Record the circuit and switch arrangement confirmed by the electrician.
If dimming is needed, do not assume a later switch replacement will suffice. Confirm fixture, power supply, and control compatibility with the supplier and electrician. Decide power supply locations and cable routes as well as visible fixture lengths. Obtain documentation for this assembly rather than transferring another site's product installation conditions unchanged.
Before closing finishes, confirm access to fixtures and power supplies and which parts open for removal. Hidden components still need location records to avoid searching again during replacement. Include fixture and power supply information, switching zones, and access positions in completion documents. Check separately switched scenes as well as all lights together, and record adjustments needed after furniture arrives.
Ask us about your interior project
We can discuss a quote and design suited to the space you are planning.
Request a free consultation