Ceiling maintenance access: checks before furniture placement
A ceiling hatch may become difficult to reach once fixed furniture or equipment sits below. Distinguish inspection access from filter removal, planning cover-opening space together with the work area on the floor.

Before you begin
- Identify the equipment to inspect, its access point, and filter-removal position separately.
- Check cover-opening ranges and working space below with furniture in place.
- Confirm each system's required space through its documentation and responsible specialist, recording it on as-built drawings.
Access hatches and air intakes serve different roles
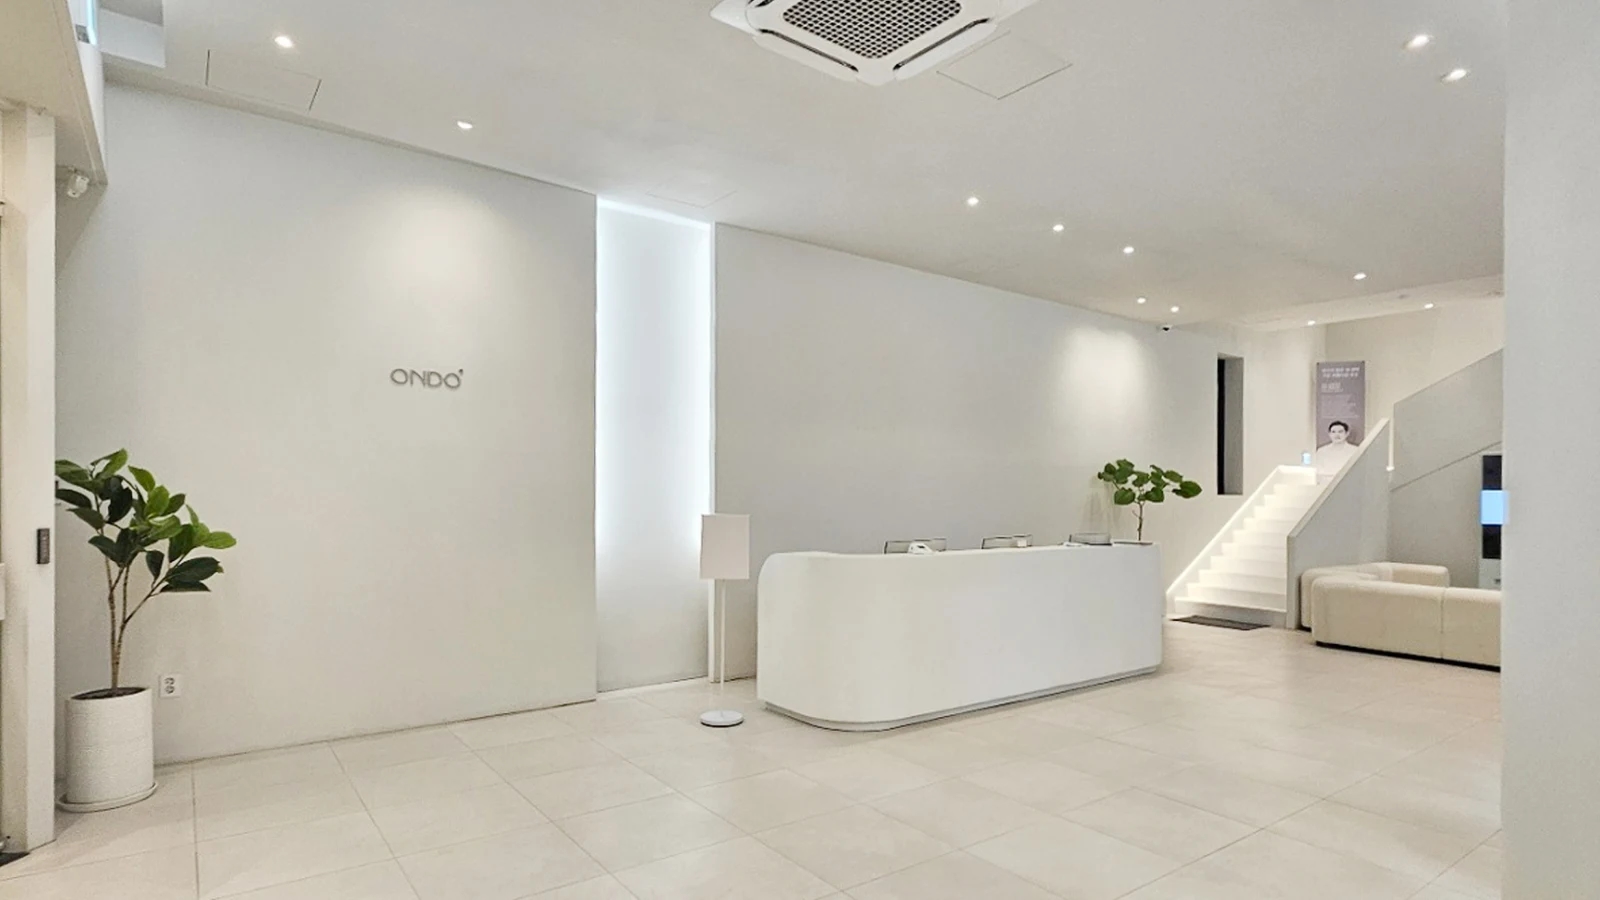
Lighting and finishes catch attention first when planning commercial ceilings, but future filter removal and inspections also need access. Inspection hatches, air intakes, and air-conditioner panels are different elements. A square on a drawing does not establish that all maintenance is possible. Agree what each opening serves with the responsible specialist.
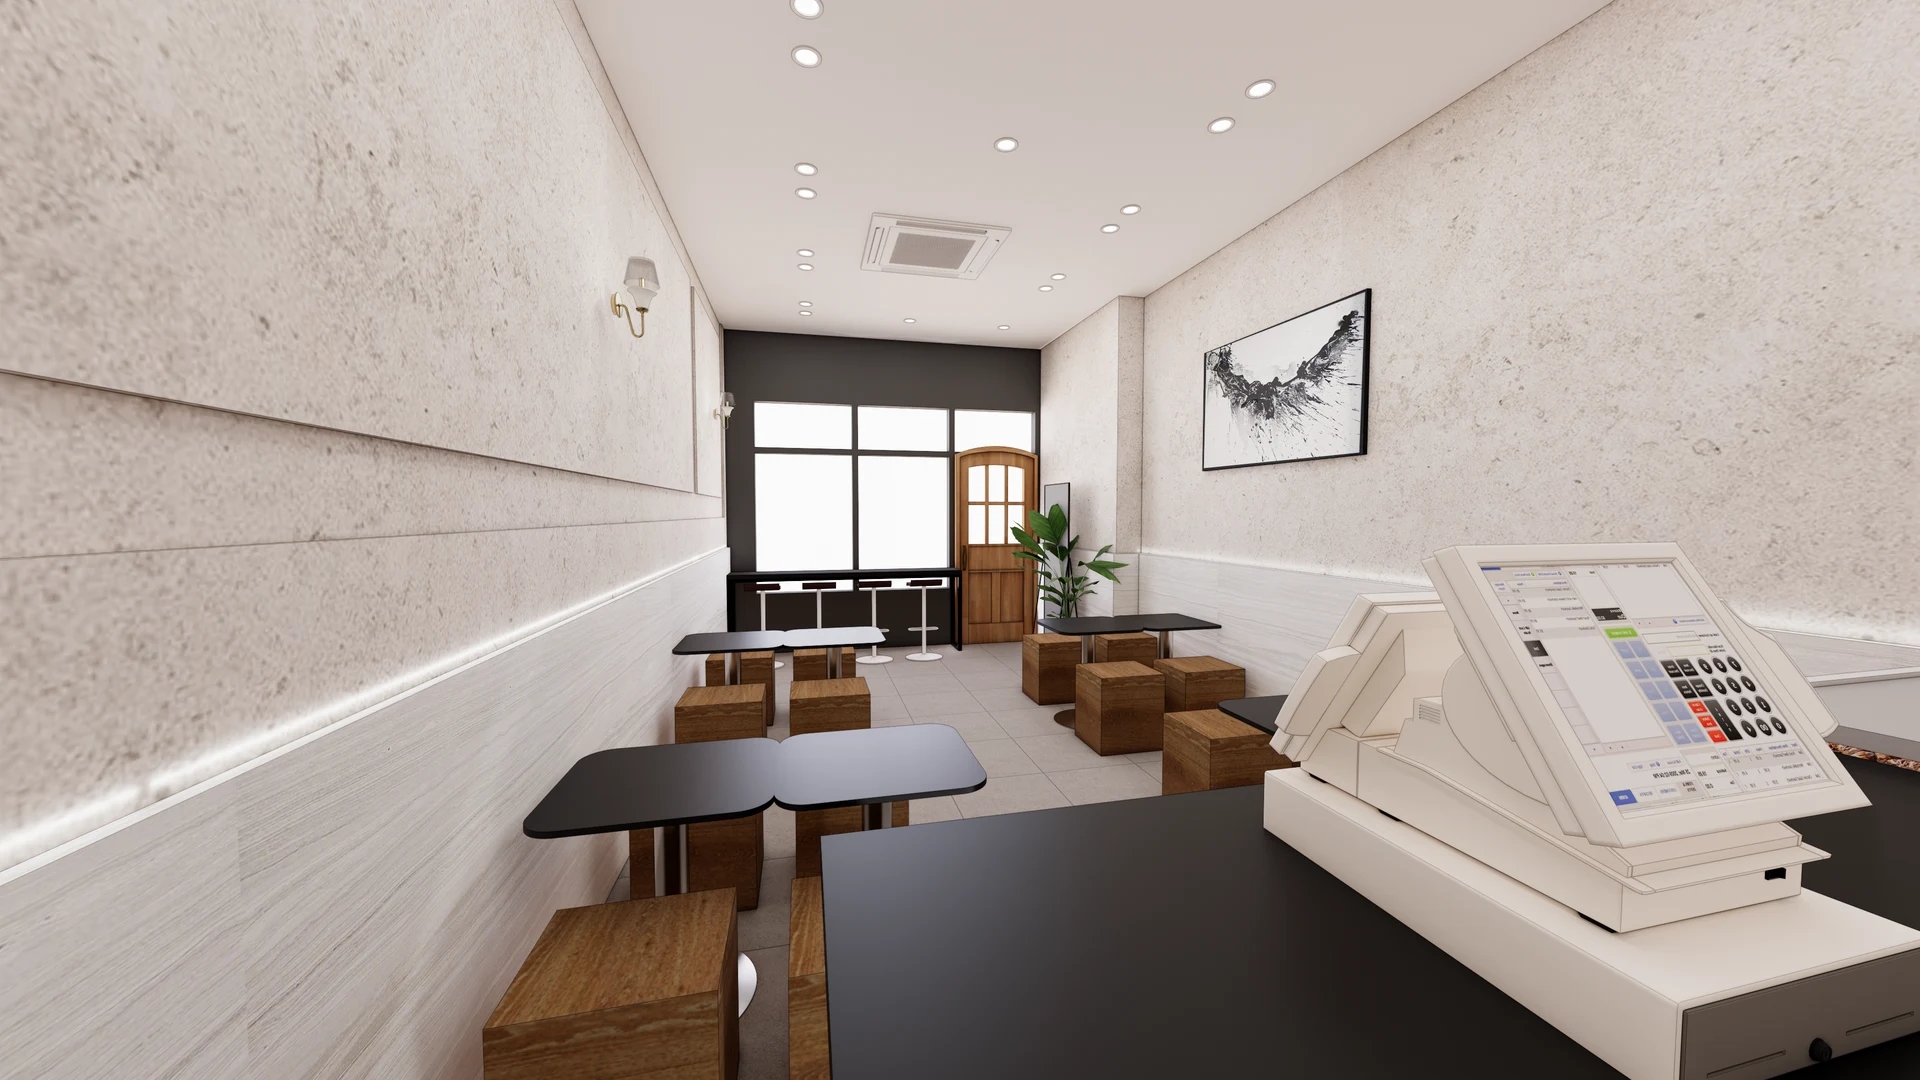
The reception photograph shows a square cover, an air-conditioning panel, and small lights. It cannot reveal equipment behind the cover or accessible components. Connect each inspection target to its entry point on the equipment list. Naming the equipment served rather than merely labeling a ceiling hatch makes future locations easier to find.
For example, LG's concealed ducted air-conditioner filter-cleaning guidance explains that this type's intake mounts separately from the main unit and that opening methods can differ by installation-material manufacturer. This does not establish a common structure for all ceiling air conditioners or identify the photographed product. Use the actual model's documentation to confirm filter-removal and separate inspection access.
Check cover-opening direction as well as concealed equipment position. Whether viewing through a small opening and removing components require the same space is for the equipment specialist to confirm. Request model-specific installation and maintenance requirements rather than borrowing dimensions from other sites or the internet. If models are undecided, distinguish provisional hatch planning from confirmed sizes.
When ceiling finishes or lights change, give the equipment specialist the final drawings. Reduced ceiling heights or nearby lighting and decoration may require access to be reviewed again. Discuss moving a hatch to a less visible corner alongside its equipment before fixing the location. The goal is discreet appearance combined with maintainability.
Maintenance also needs floor space below
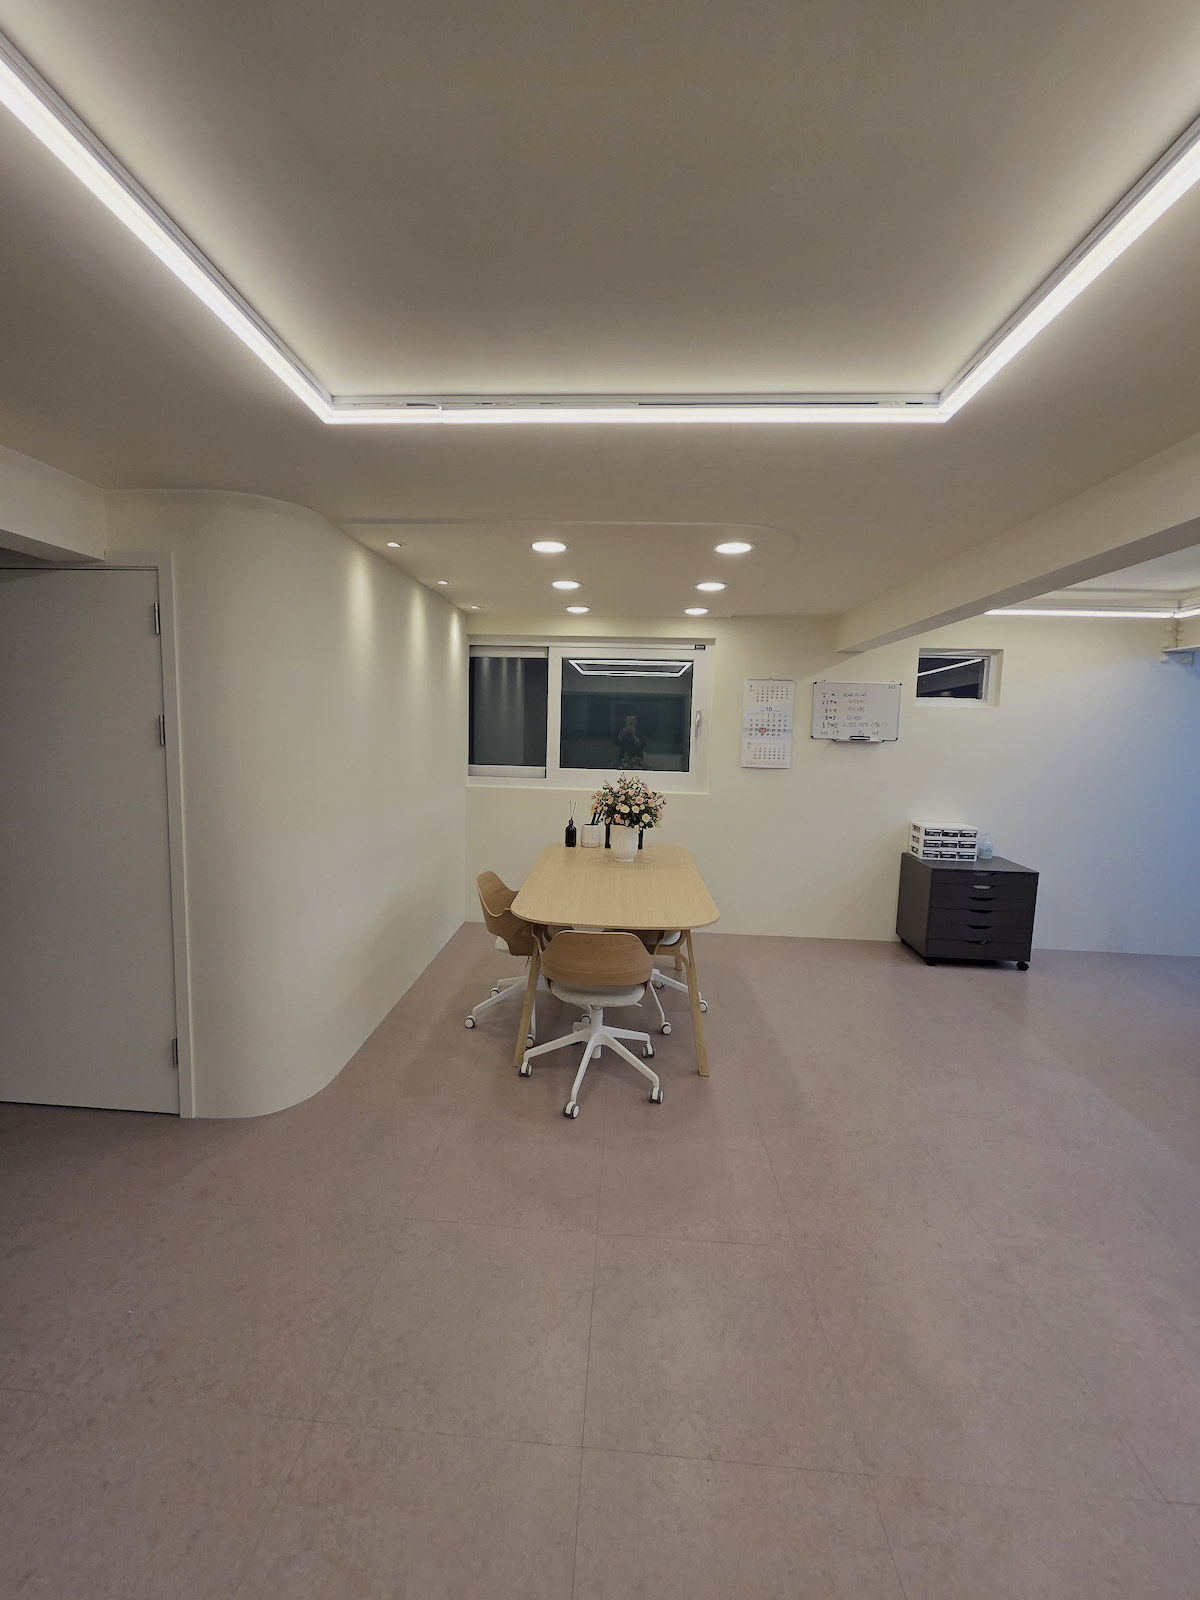
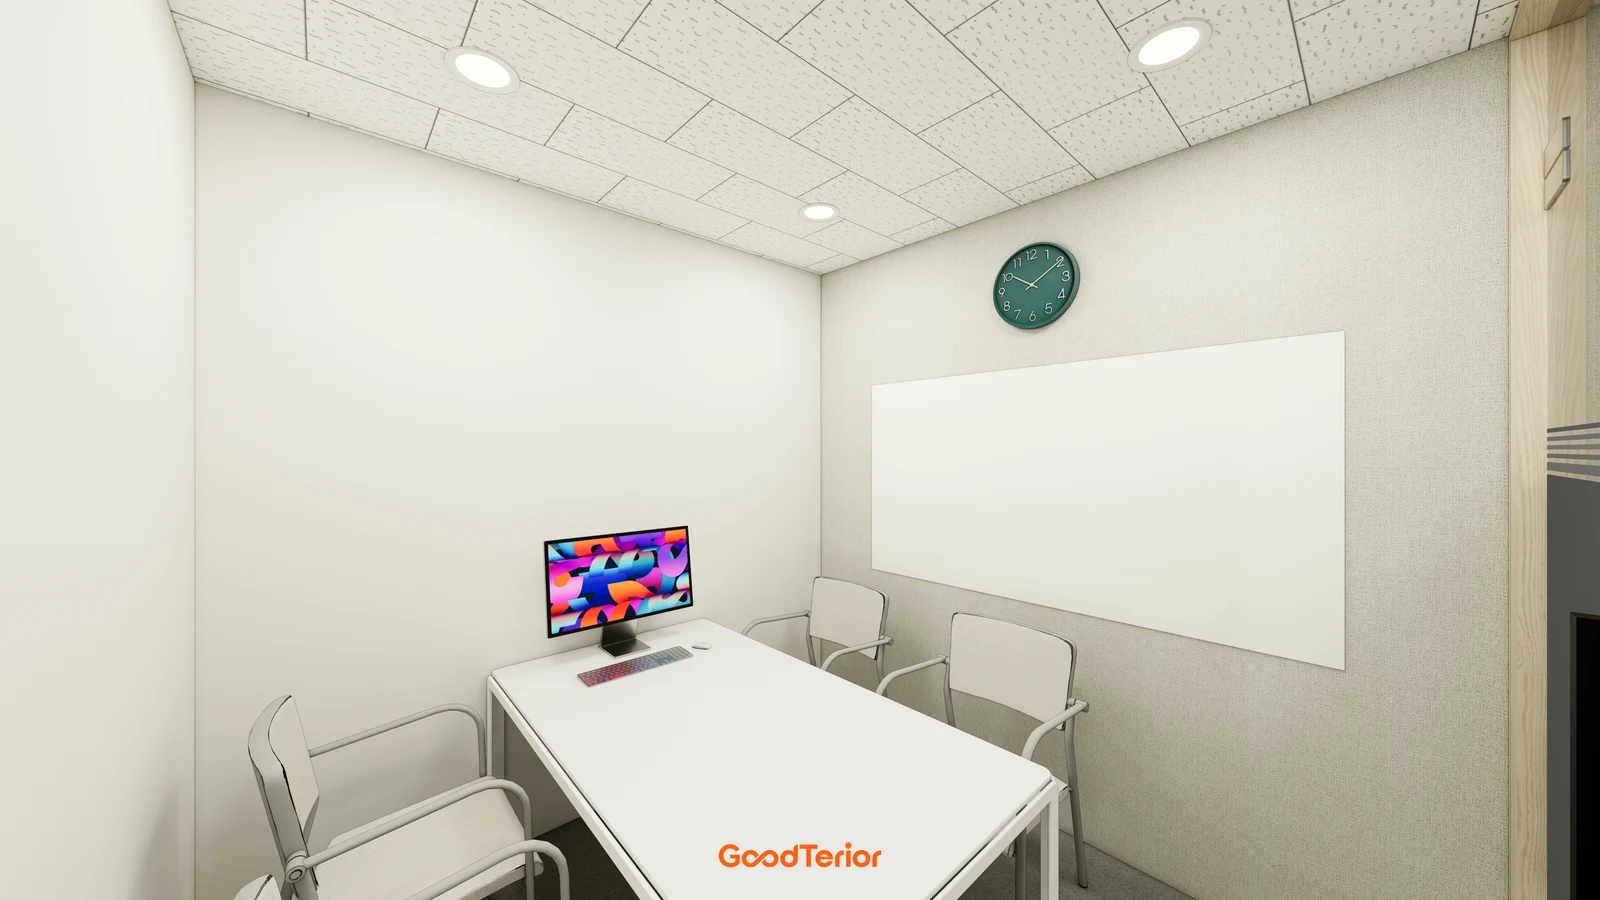
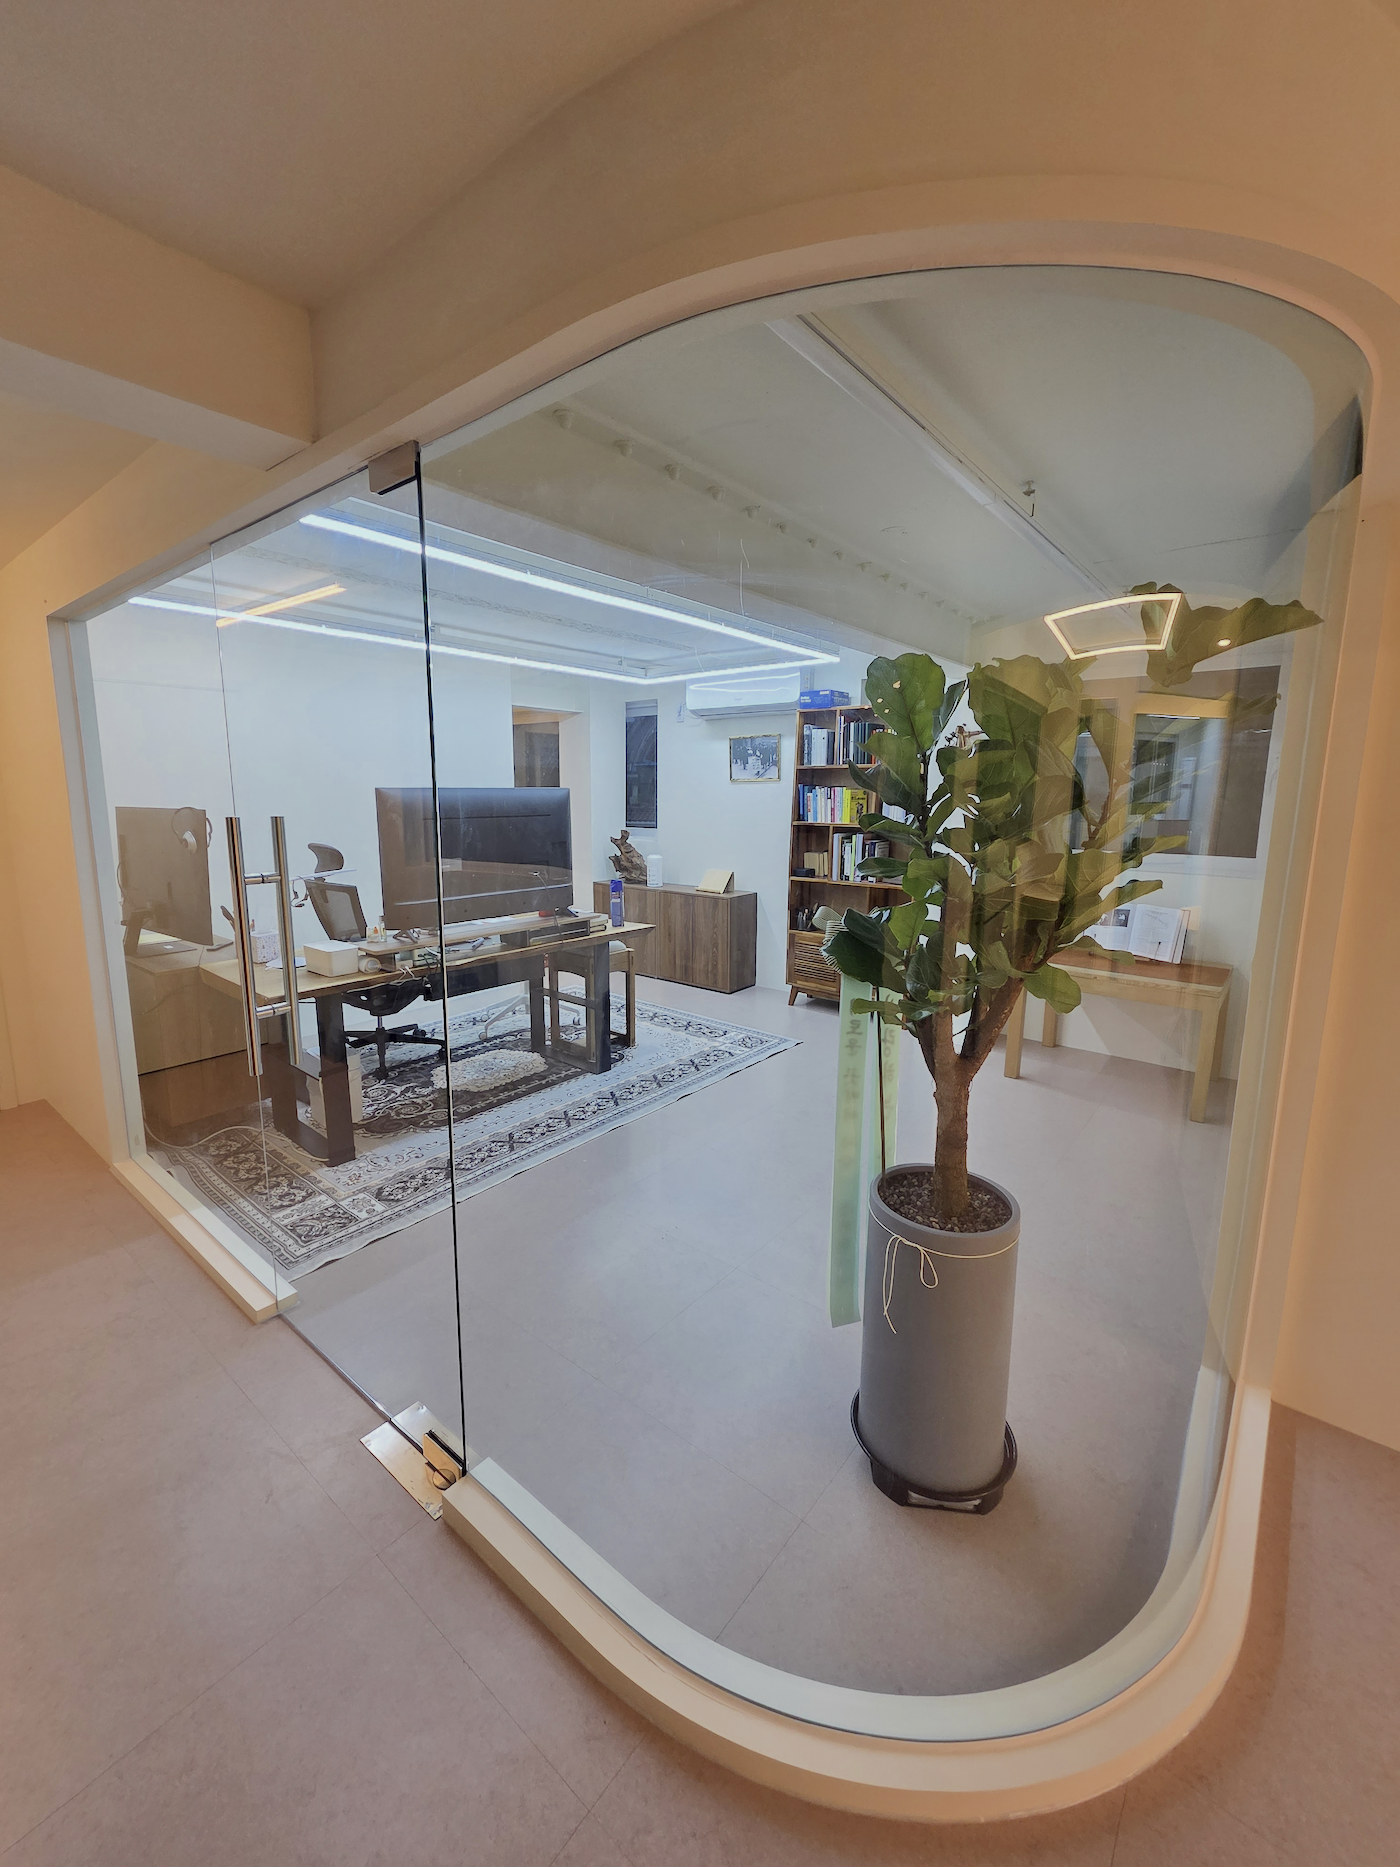
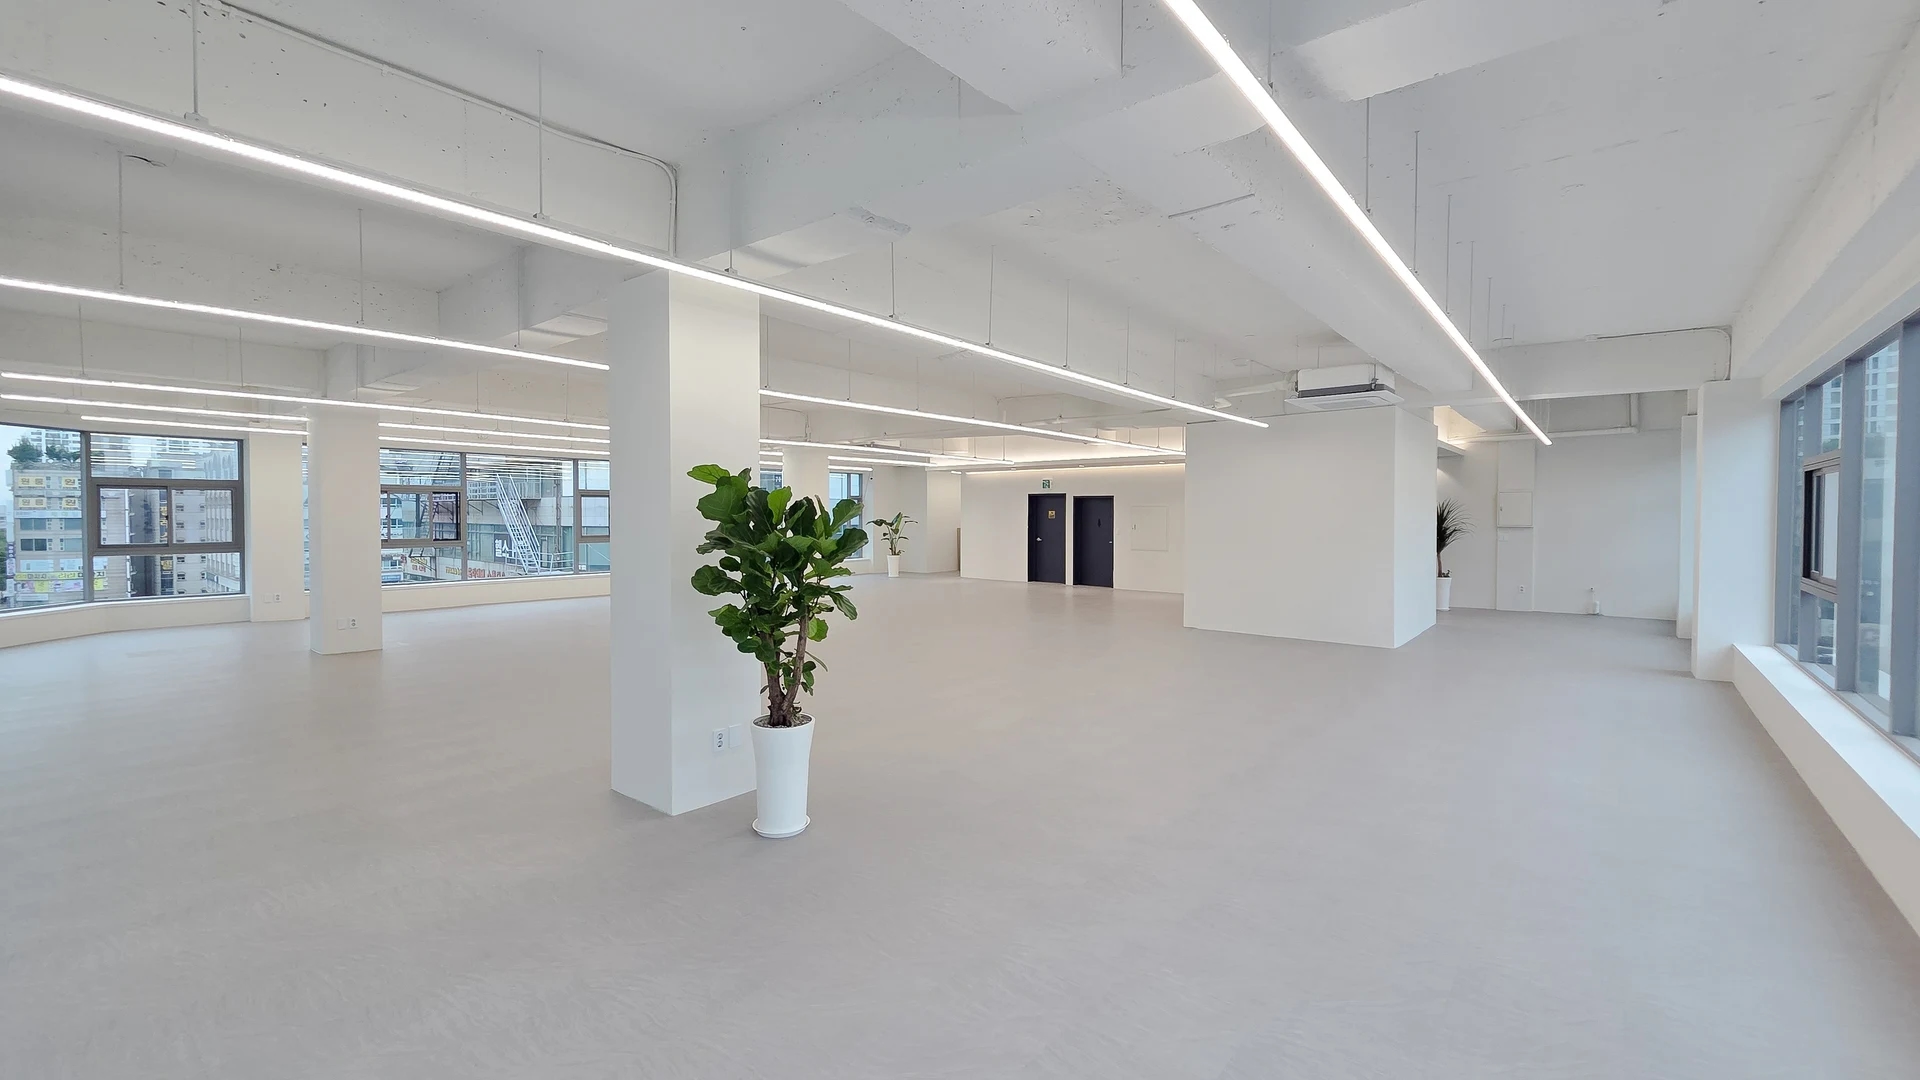
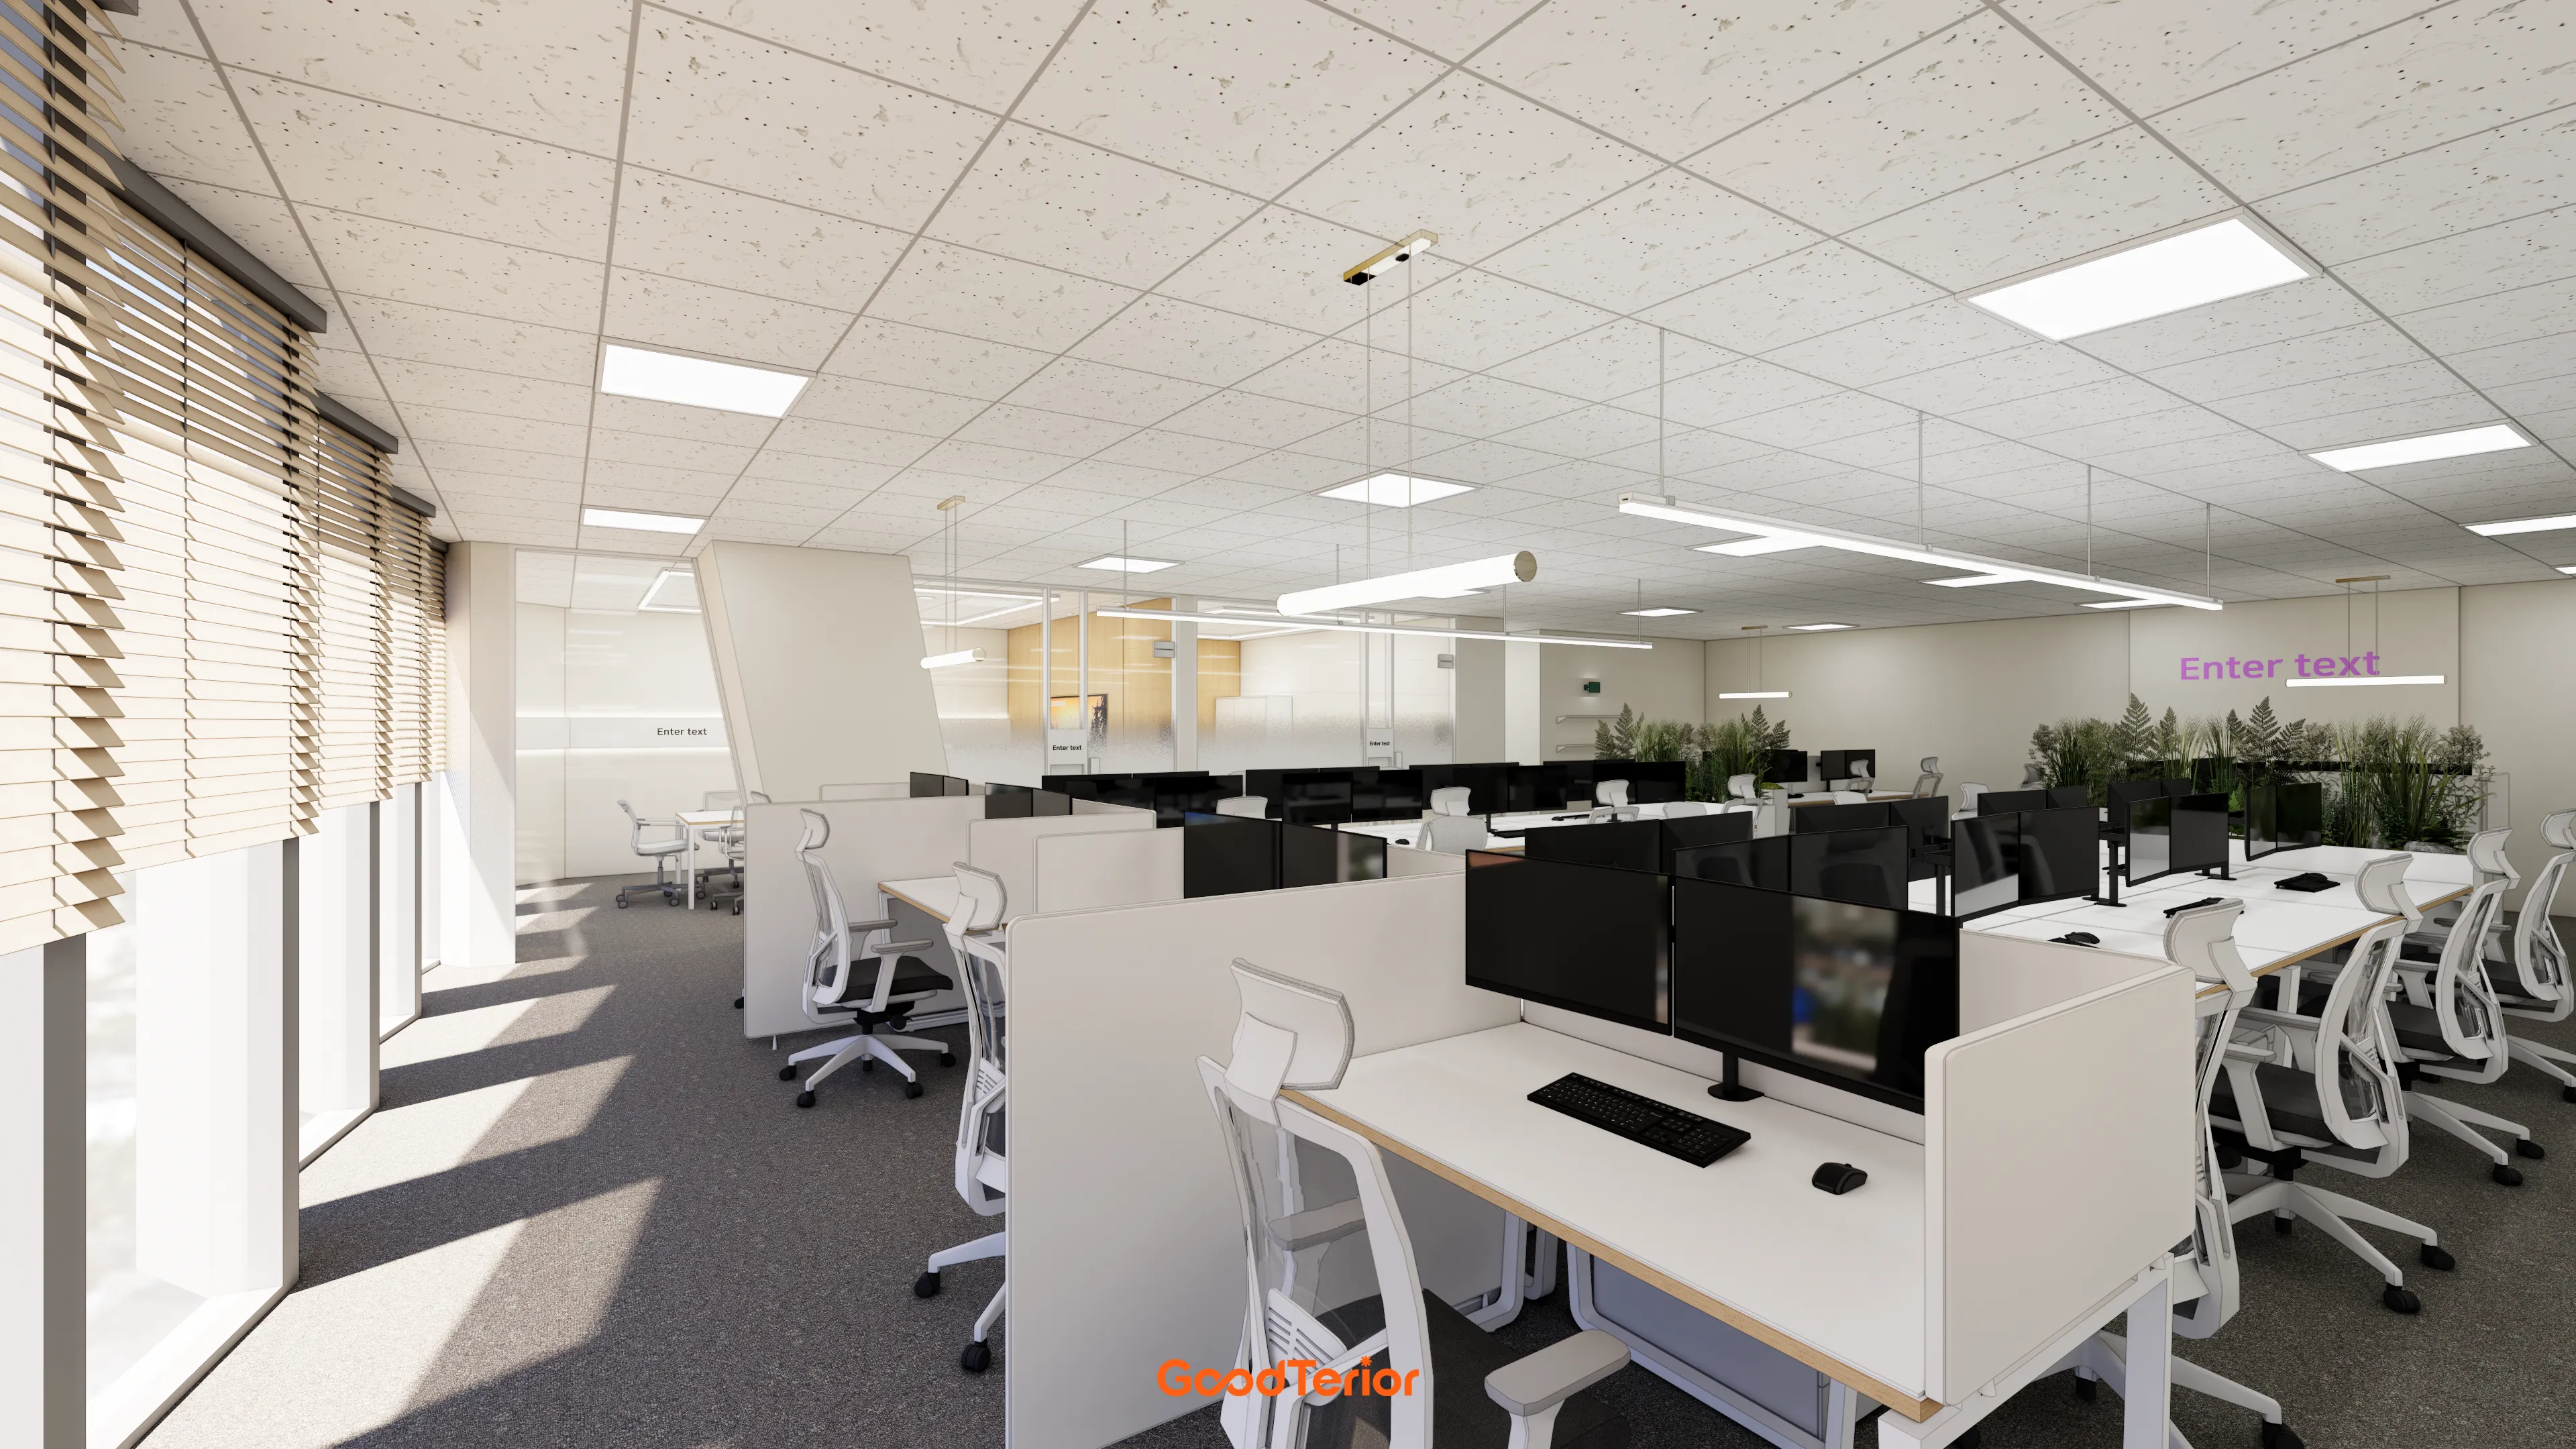
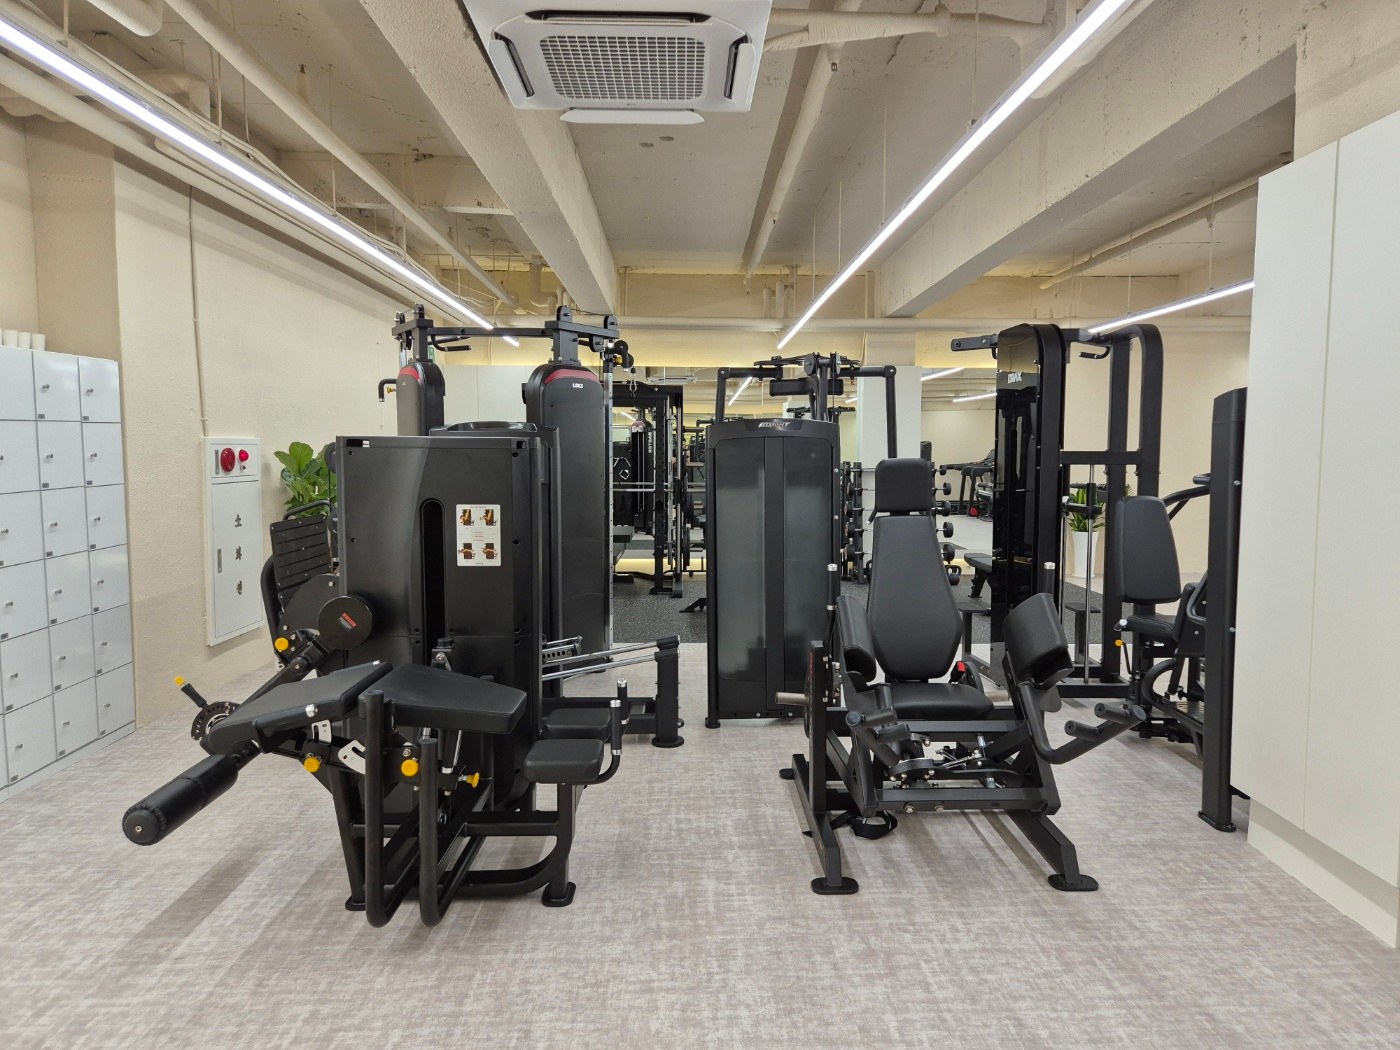
The photograph shows furniture with clear floor between it. Empty rooms before completion can suggest easy access that disappears after furnishing. Tall gym equipment, as on the cover, makes separate ceiling and floor review particularly difficult. These images illustrate combined furniture and clearance planning rather than verified maintenance operations.
Overlay furniture and ceiling drawings using the same reference, then identify objects beneath maintenance points. Distinguish movable tables, fixed cabinets, and difficult-to-move equipment. Compare moving furniture, changing its size, or checking whether equipment access can shift. Do not reduce space on the assumption that staff will climb on equipment or overreach.
Floor clearance is more than standing room. Ask whether the specialist can position suitable access equipment and handle open covers or removed components without hitting furniture. Required space and methods depend on ceiling height, products, and tasks. Do not size ladders or working heights from photographic proportions or impose identical dimensions everywhere.
Before fixing cabinetry, distinguish routine management from specialist inspection. Infrequent access does not justify hiding openings completely behind furniture. Equally, temporary movable chairs do not always require a permanently empty zone. Establish what must move, how far, and how operations continue to balance maintenance with everyday use.
At handover, collect equipment names and models, hatch and filter-access locations, product-specific cover-opening instructions, and service contacts together. Link specialist inspection photographs to marked final drawings. Where covers look similar, agree discreet identification that respects public-space appearance. This reduces guesswork during future maintenance.
Finish review with actual furniture installed rather than ceiling photographs alone. Check cover opening, temporary storage for moved objects, and the specialist's working area together. Record checks to repeat after any outstanding furniture or equipment arrives. Coordinating concealed services with floor use extends design into post-completion maintenance.
Ask us about your interior project
We can discuss a quote and design suited to the space you are planning.
Request a free consultation