Planning washbasins in commercial restrooms
Selecting a basin's size and color does not complete restroom planning. Real photographs help examine faucet operation, washing and drying hands, mirrors and supplies, and access for cleaning and repairs.

Before you begin
- Draw faucet operation, handwashing, and passing space separately from the basin outline.
- Decide soap, paper towel, and bin positions when confirming mirrors.
- Before concealing walls and floors, preserve access for plumbing checks, cleaning, and component replacement.
Treat the basin and faucet as a combination
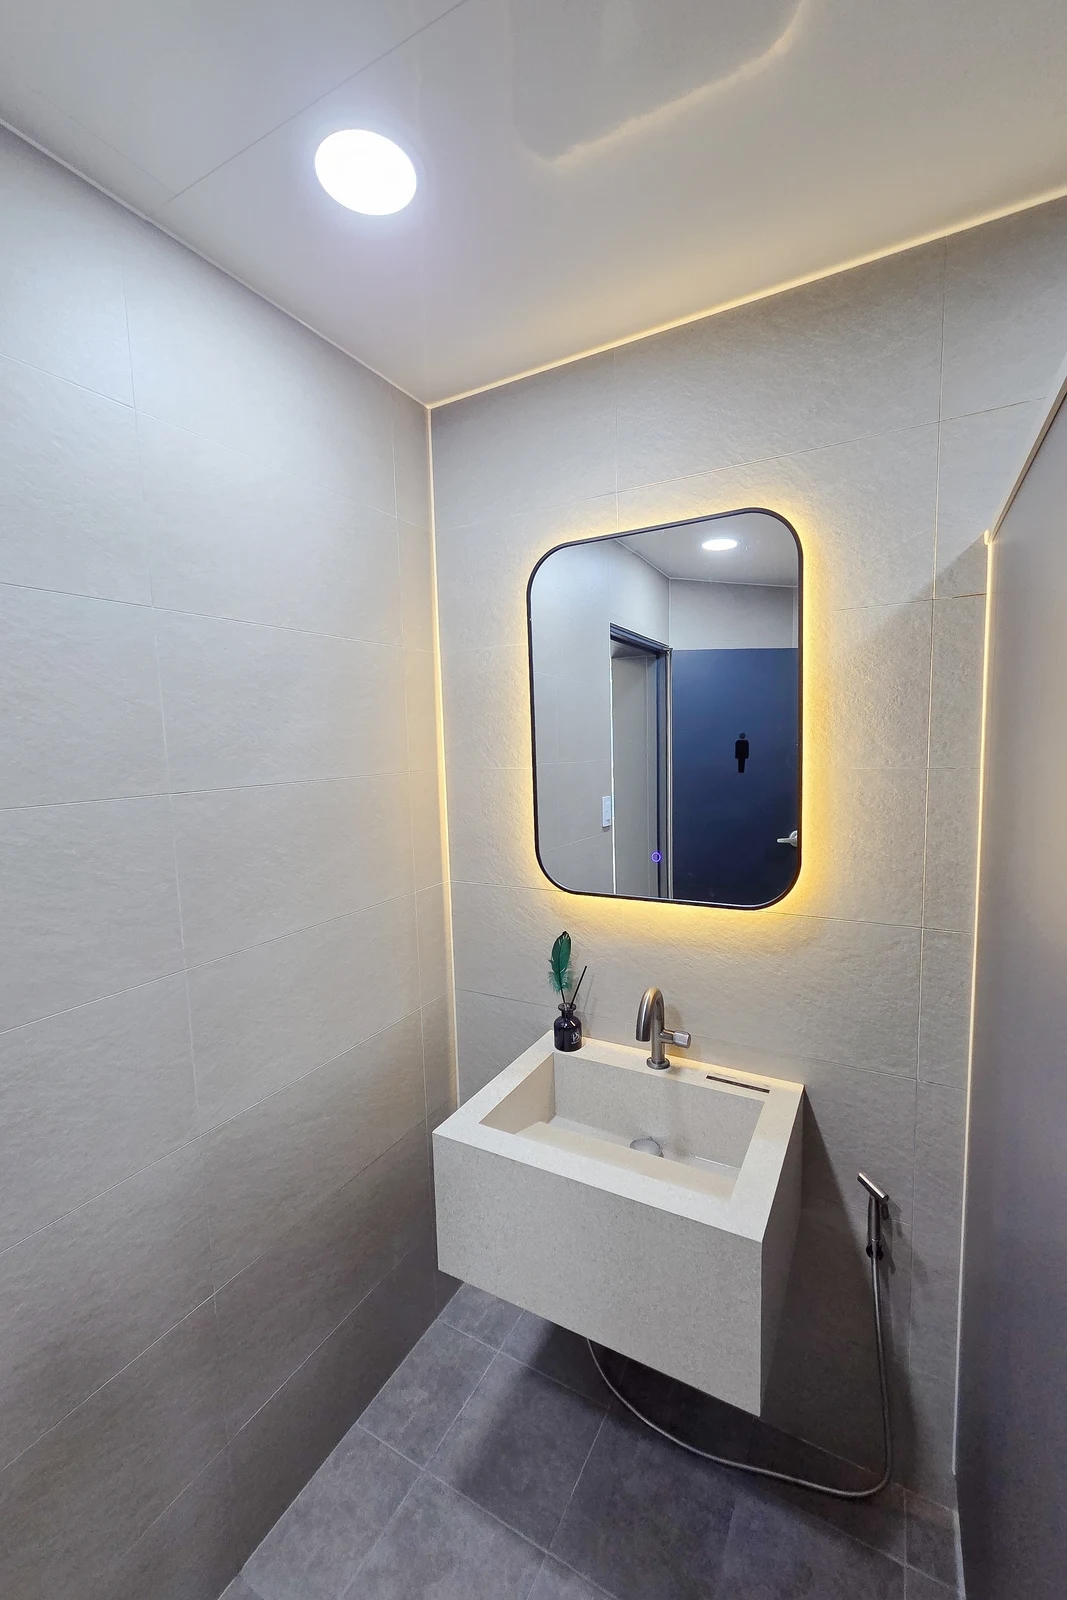
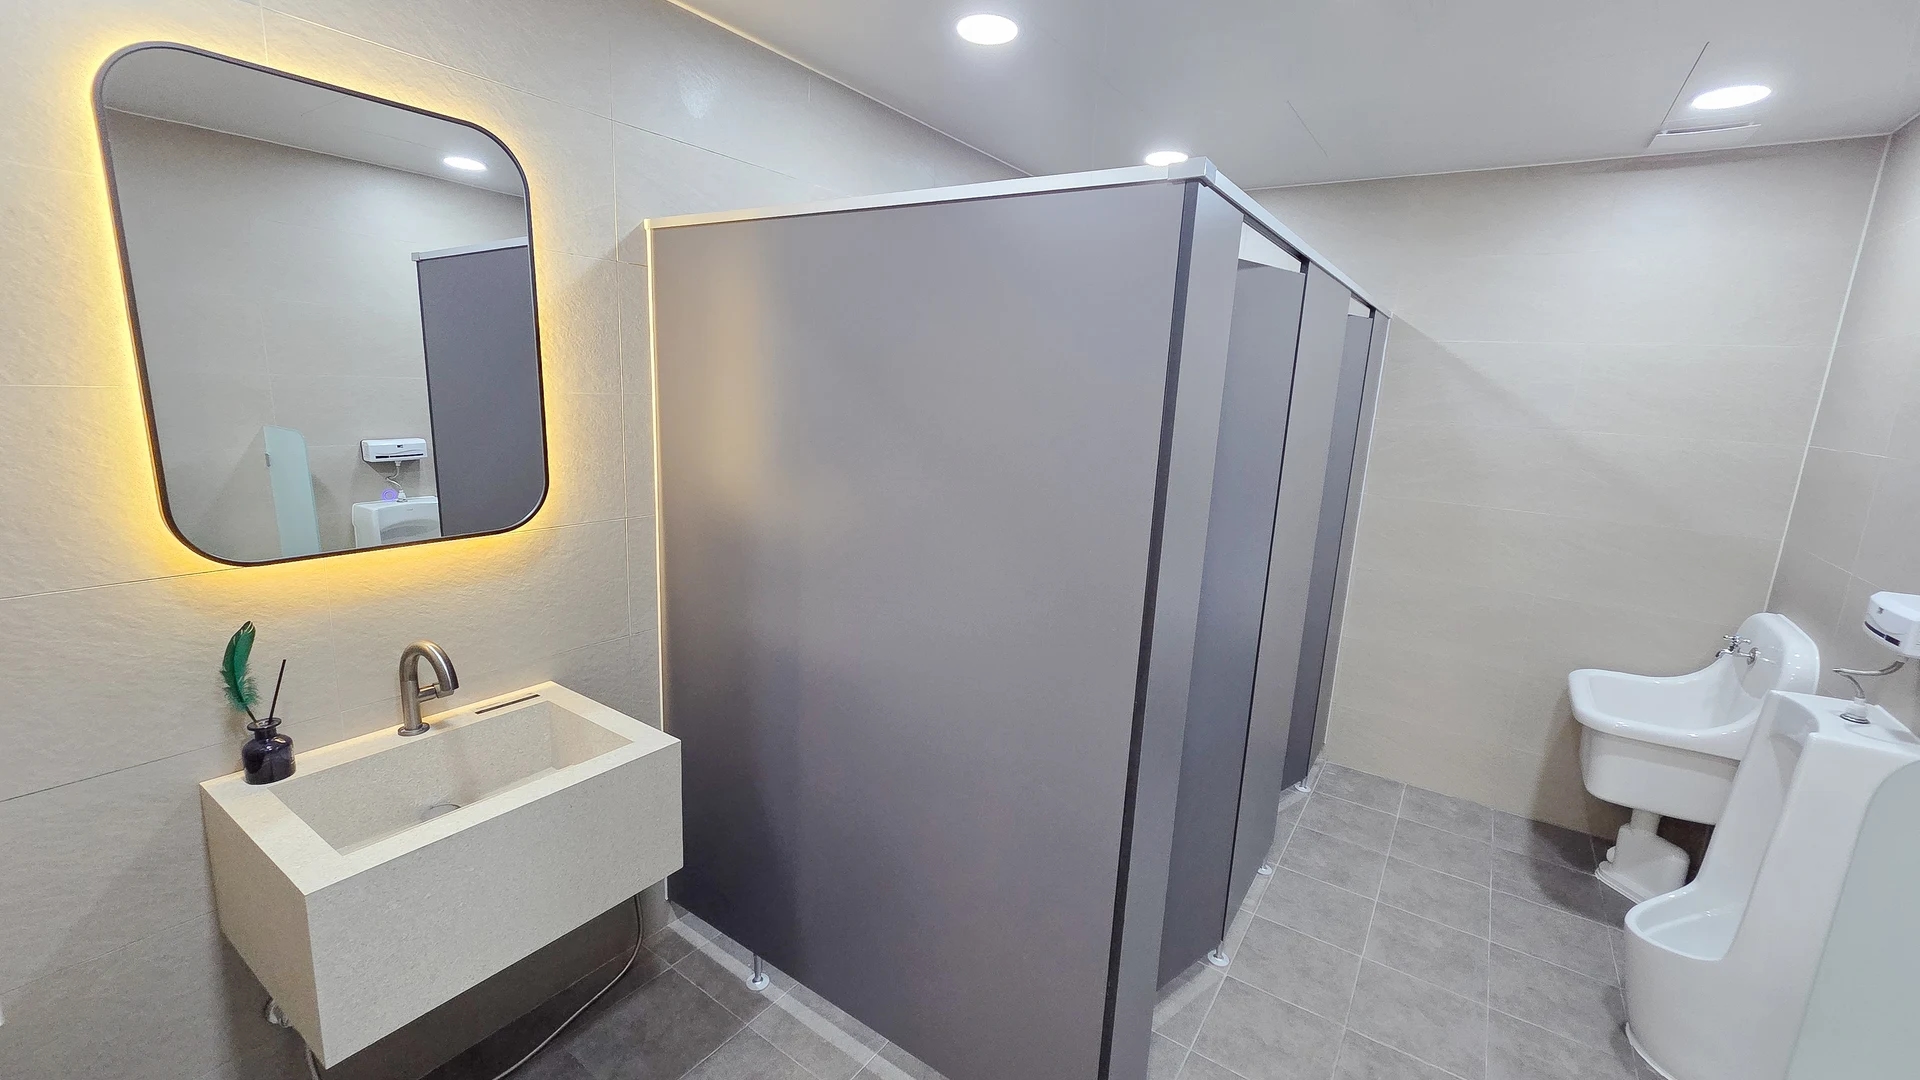
The photograph shows a square basin near a wall corner, with a faucet and mirror above. Fitting its width against the wall does not establish usable handwashing space. Check arm movements beside walls and partitions and whether stepping back blocks other users.
Distinguish overall dimensions from the bowl's internal area. Wide-rim and larger-bowl products can share external widths but offer different space for objects and hands. If soap sits on the rim, test the actual dispenser while moving the faucet handle fully. A combination requiring the dispenser to move during operation needs reconsideration.
Compare spout position and handle travel alongside faucet shape and color. If possible, test the intended basin and faucet together with running water. Confirm mounting holes and connections in product drawings before ordering. Do not infer sensors or included accessories from photographed shape alone.
Existing water and drainage positions influence renovation choices. Give the responsible person both existing service locations and new product drawings before ordering. Quote simple replacement separately from pipe relocation and wall/floor repairs. Photographs cannot establish connections or leaks, so leave these for site verification.
Soap and towels beside the mirror
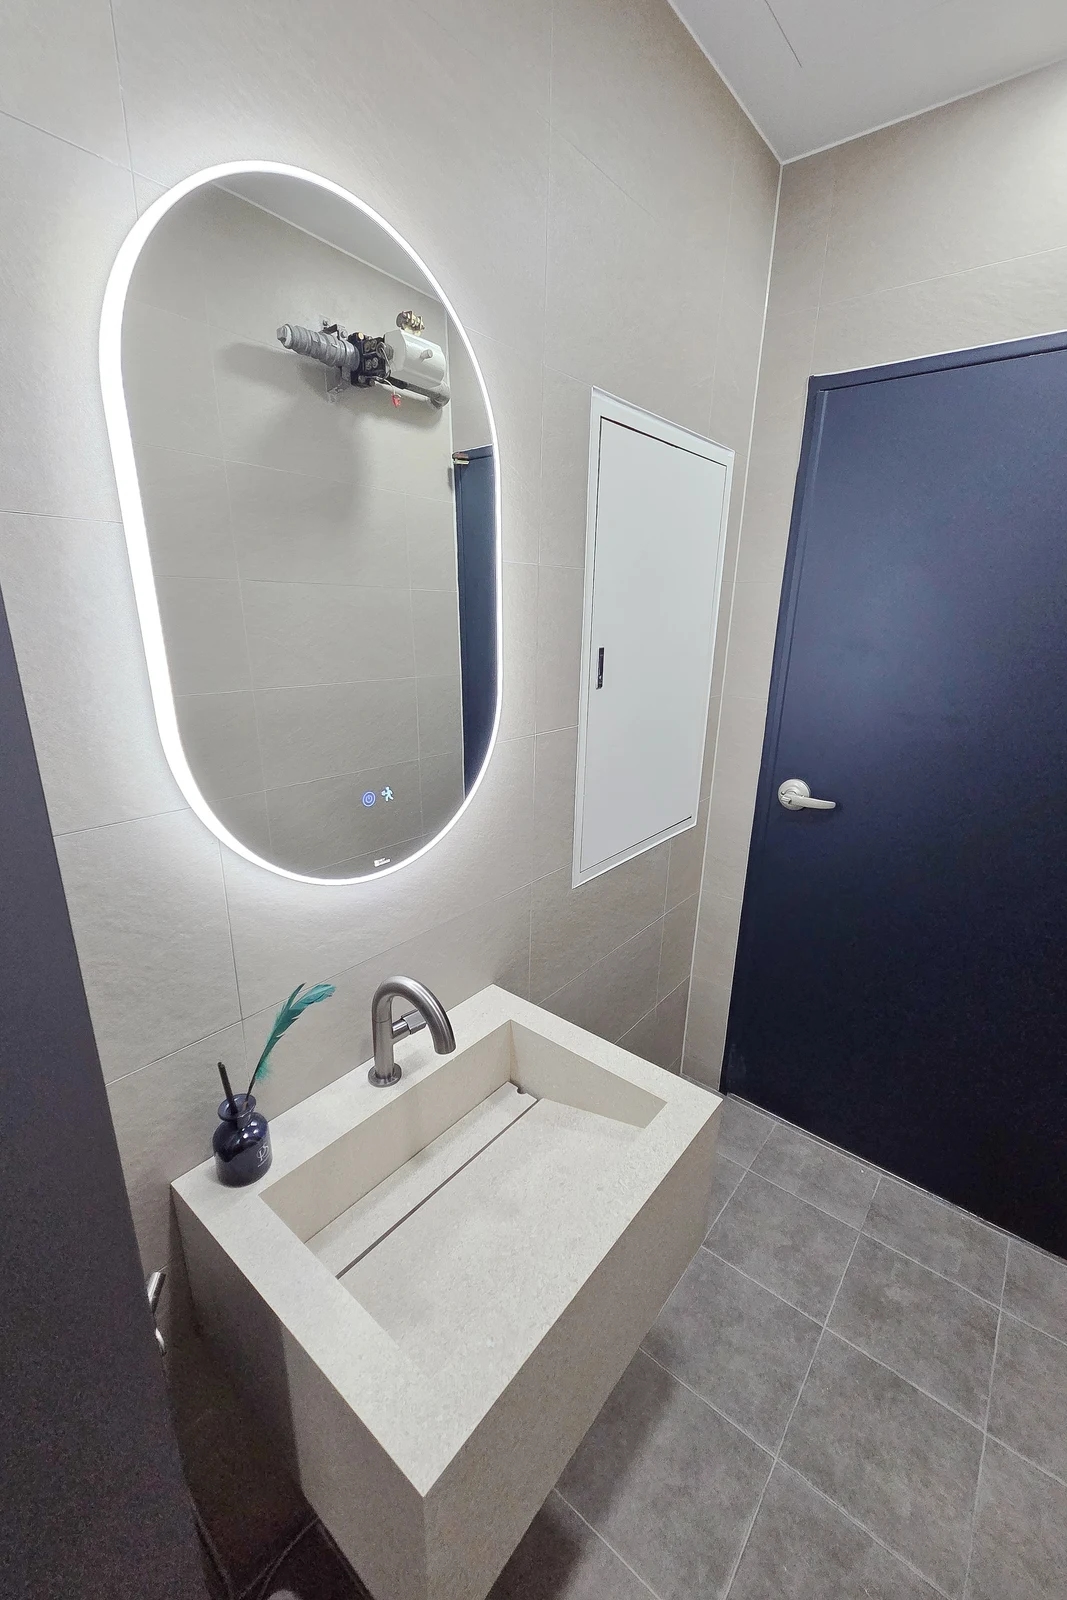
The photographed wash area has a white access door and blue entrance beside the oval mirror. Walls that look large on plan have less usable area after mirrors and doors. Decide what users reach for after washing, and in which direction, before maximizing mirror size.
Choose the soap arrangement first. Countertop containers are movable for refilling but need a surface. Wall-mounted dispensers save counter space but require operating and refill-opening positions. Test either option without excessive reaching or twisting while water runs.
Decide paper towels versus hand dryers before finishes. Towels need dispensing, disposal, and refill-stock space. Dryers require confirmed electrical and mounting conditions, with circulation checked while occupied. Compare refilling and cleaning responsibilities as well as cost.
Do not finalize mirrors only by alignment with the basin centerline. Check visible face range from actual use positions and reflections when entrance doors open. Test illuminated mirrors and ceiling lights separately. Bright surroundings alone do not establish comfortable face viewing; assess actual products and positions.
Communicate mirror-size and supply-position changes before tiling. Mark wall-fixed and powered products and provide component dimensions and drawings to the contractor. Preserve access-door swings so shelves and containers do not block them. Its concealed purpose is unconfirmed in the photograph, so do not assign it to specific equipment.
Handwashing space and cleaning space
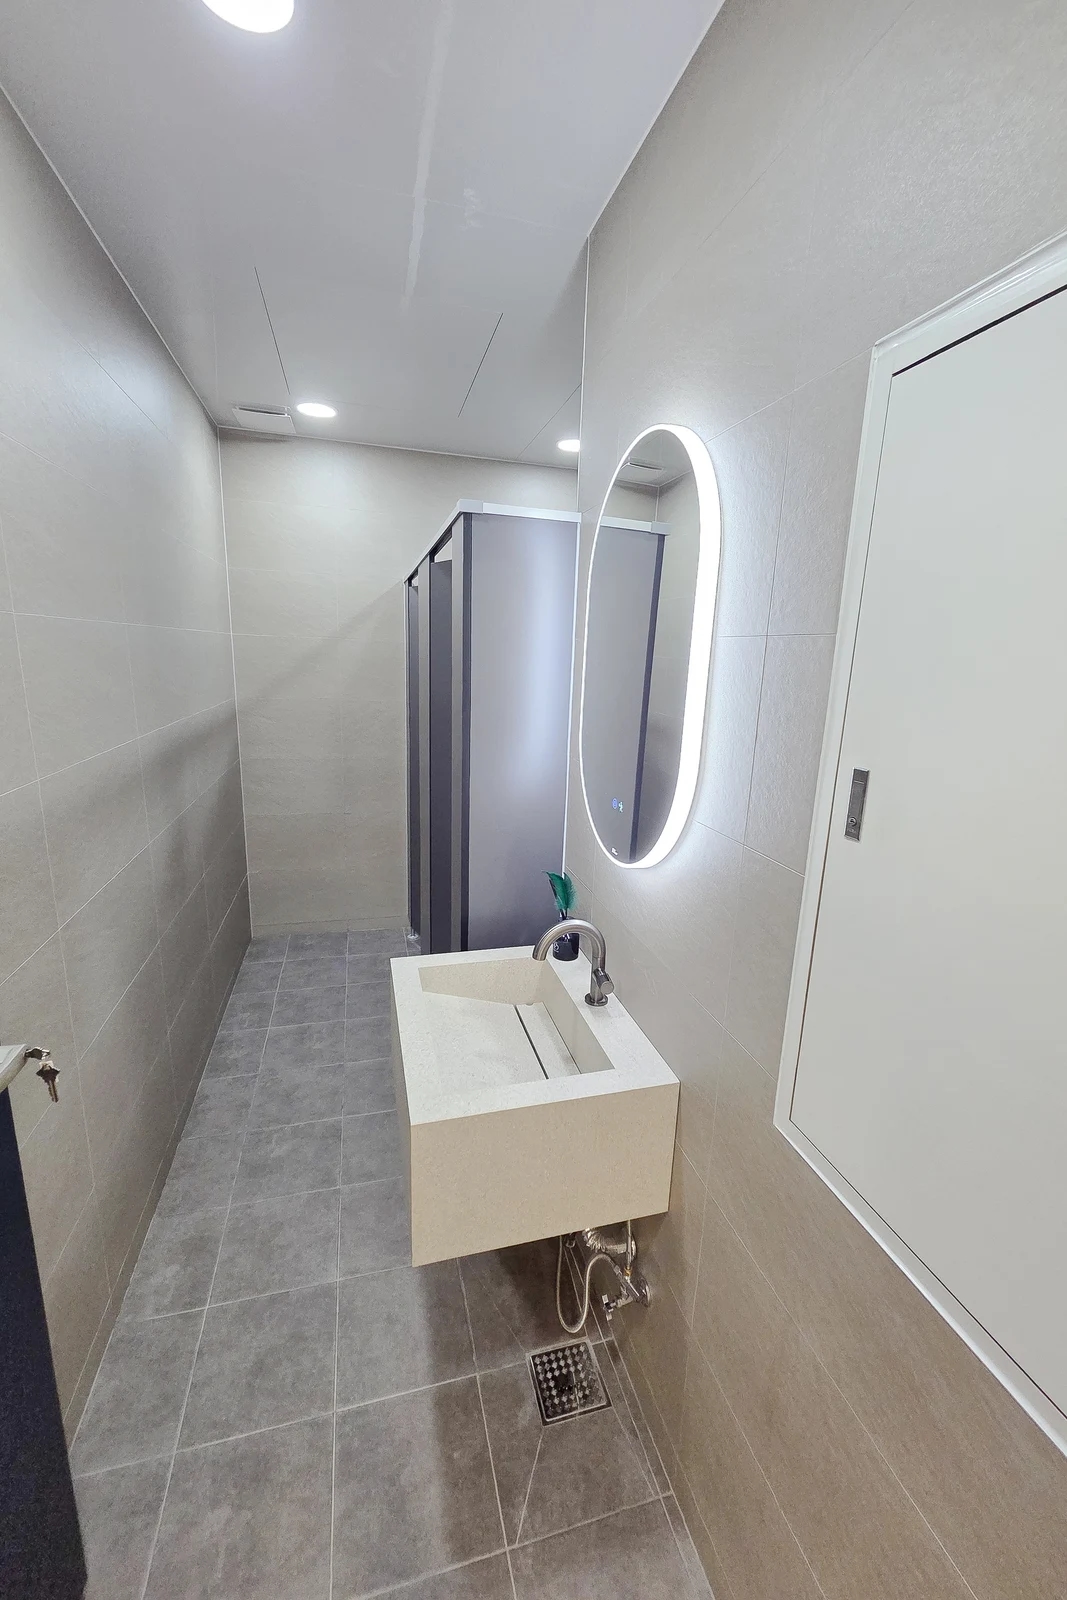
Where basins project beside aisles, check the route with someone standing there. An empty restroom photograph may appear passable, but simultaneous handwashing and cubicle exits change conditions. Mark basin outlines and standing positions on the floor and open entrance and cubicle doors to identify adjustments.
Before concealing the basin underside with cabinets or panels, decide contents. Spare paper, detergents, and cleaning tools need different compartments depending on grouping. Compare open and enclosed options for plumbing inspection and component replacement as well as appearance. Obtain instructions for opening any removable sections after completion.
Check whether cleaning tools fit beneath the basin. The photograph shows pipes and a floor drain but cannot establish drainage performance or floor falls. At completion, run water to inspect the basin and connections and record remedial locations with the responsible person. Smooth appearance and practical testing are separate checks.
List basin, faucet, mirror and lighting, dispensers, installation, and repairs separately when comparing budgets. Retaining a mirror versus adding an illuminated model may change electrical work as well as product cost. In shared commercial areas, distinguish tenant decisions from building-management approvals.
Finally, rehearse standing, washing, drying, and leaving in sequence. Set installation heights and clearances with the responsible person for actual users, products, and facility conditions. Rather than copying photographed dimensions, use awkward movements in this sequence to refine equipment, mirror, and supply positions.
Ask us about your interior project
We can discuss a quote and design suited to the space you are planning.
Request a free consultation