Choosing handles for commercial interior doors
Matching handle colors alone may leave you with products that cannot fit existing doors. Academy and office photographs help distinguish door types, locking needs, grip shapes, surrounding finishes, and new installations from replacements.


Before you begin
- List door types, opening methods, and locking needs before selecting products for each door.
- Compare handle samples beside door leaves and frames for grip, color, and projection.
- For replacements, verify door thickness and existing holes before checking product compatibility and repair scope.
Door types and the role of locks
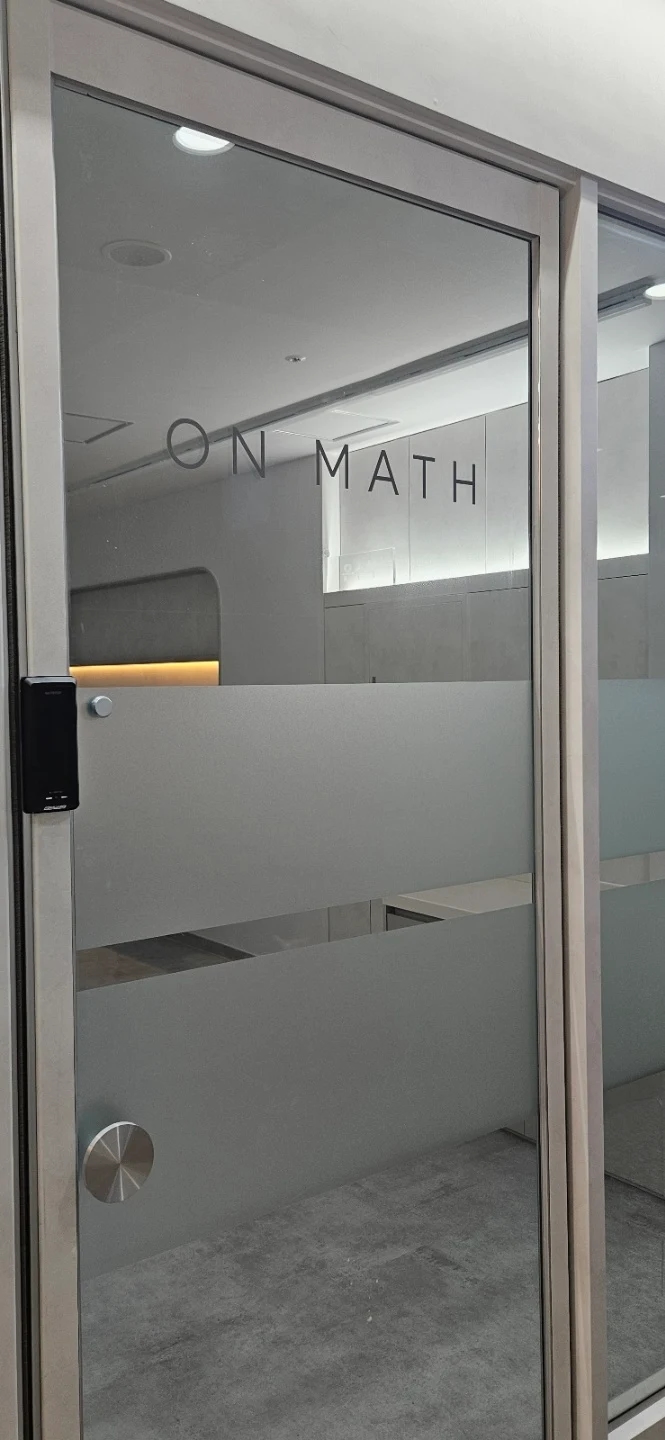
Start with a door schedule. Record glass doors versus framed interior doors and their opening methods. Avoid choosing classroom, consultation-room, and entrance hardware from the same product photograph alone.
The Asan academy photograph shows a round metal handle and separate black device on a glass entrance, whereas the classroom door has a horizontal lever. Grip shape and locking hardware are separate checks. Photographs cannot establish models or lock functions, so obtain a component list for each ordered door from the supplier.
Record when each room needs locking: frequent lesson access, staff locking after closing, or occupants locking from inside require different functions. Beyond choosing visible keys or buttons, agree who operates which side and how locked status is checked with the installer.
Combining lock function and handle design in a single decision can omit components. Request separate lists for handles, locks, and door-closing hardware by door. If retaining devices, confirm compatibility with new handles. Have the responsible person review opening requirements against site design and operations.
Grip shape and surrounding colors
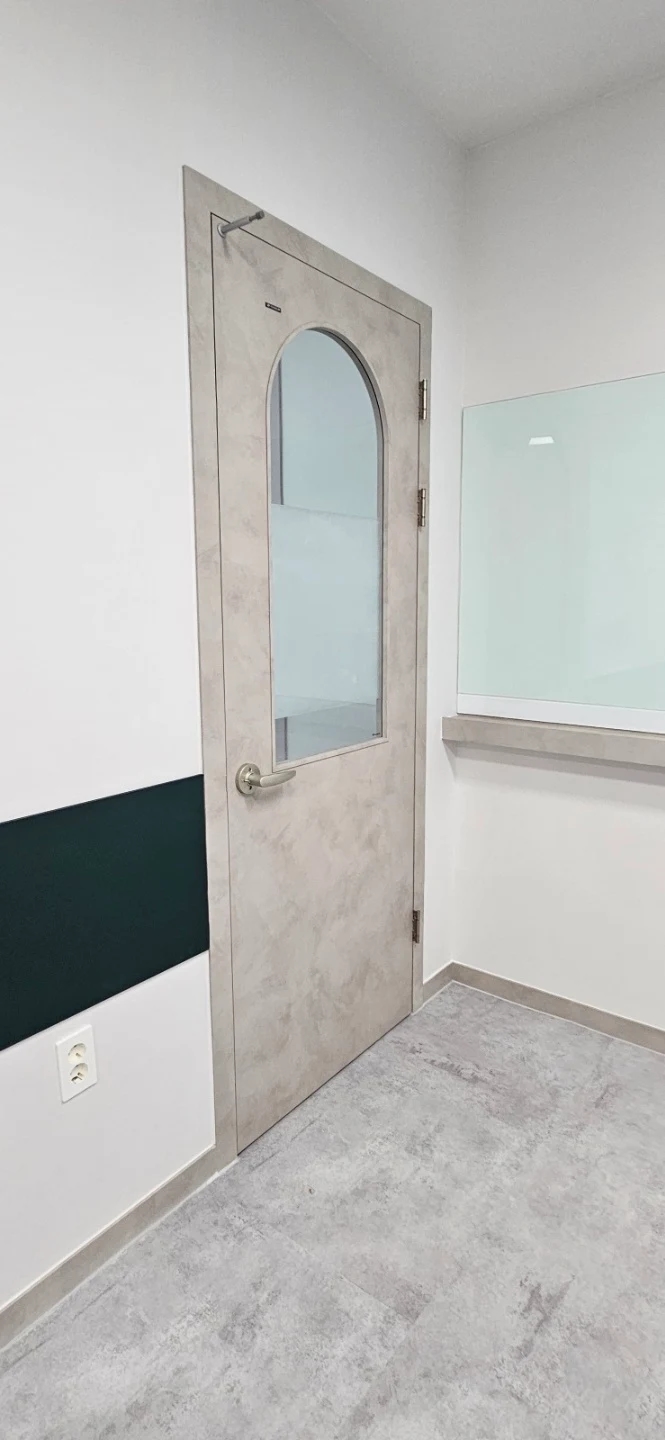
The photographed classroom door combines a light-patterned leaf and metal handle. Its prominence differs from a product viewed on white. Compare frames, hinges, and glass framing together when choosing matching tones or a more visible handle accent.
Matching silver or nickel names do not guarantee matching surfaces. Compare samples for sheen and texture. The photographed metal composition and coating are unknown, so use supplier finish details and actual samples. Color alone does not establish durability or maintenance performance.
Test lever length and end shape by gripping samples. Compare finger clearance, hand contact with the leaf when pressing, and where the hand returns after release. Distinguishing an attractive photograph from actual grip comfort can prevent later product changes.
Check handle projection with the door open. Near walls, furniture, or passing people, determine whether a smaller handle actually resolves the conflict. Review swing direction and furniture together, with the installer selecting necessary accessories after checking real products and site conditions.
For repeated doors along a corridor, coordinated colors and shapes provide a starting point. Classroom and staff-area functions need not be forced to match. Record visible finishes separately from locking needs to preserve a design family while accommodating each room.
Installing on new doors versus replacing existing handles
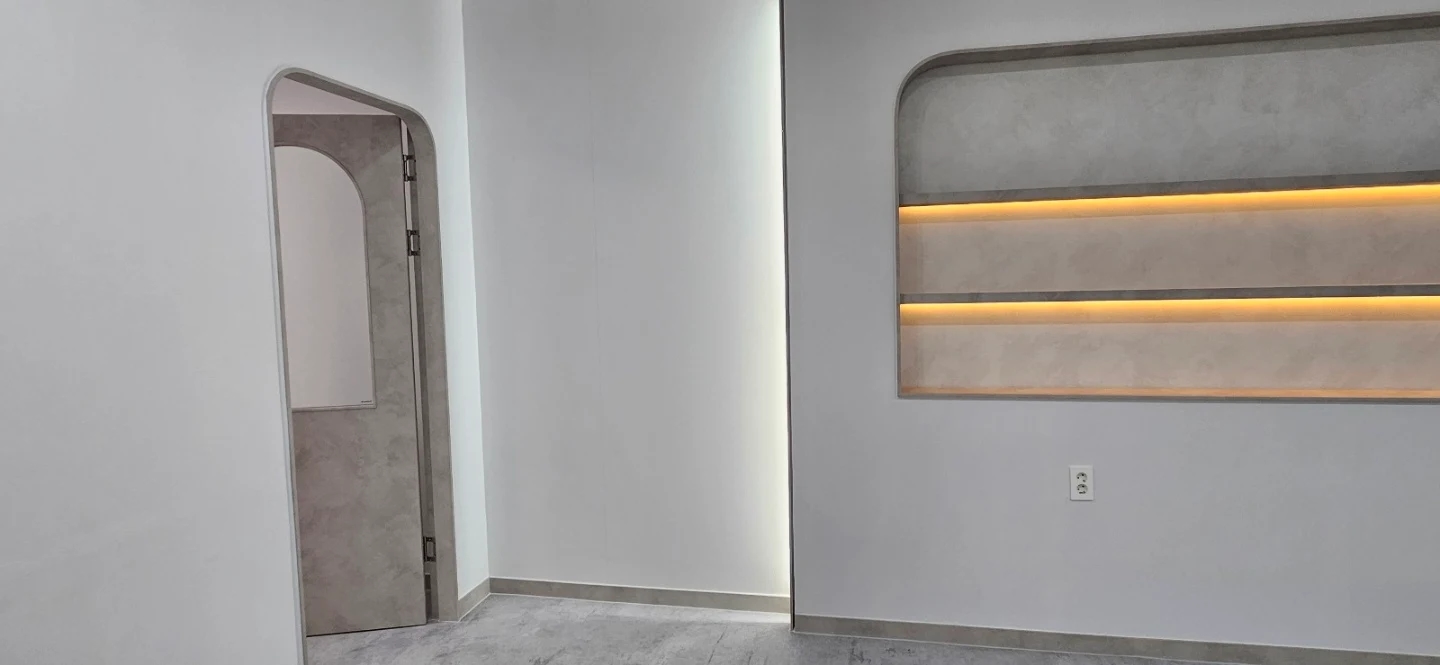
Opening the door reveals edges, hinges, and frame relationships less visible from the front. For replacements, photograph both faces and the edge. Information on thickness, existing holes, and frame-side hardware allows meaningful compatibility questions.
Domus Metal's Ø48-AL940 product guidance states that this model cannot be used on previously drilled doors and must be installed on a new door. This is model-specific, not a universal hole specification. It also does not identify the photographed handle as Domus. It illustrates why similar designs still need separate installation checks.
For new doors, give identical product information to the door maker and handle supplier. Coordinate fabrication after confirming the handle name, installation drawing, lock, and accessories. A completed door with an undecided handle can limit choices, so record approvals and dates in the schedule.
For retained doors, ask separately whether the handle conceals old marks and whether it can be installed. A larger cover hiding marks differs from compatible internal holes and locks. Compare handle-only replacement, leaf modification with surface repairs, and full door replacement as distinct quote options.
Final ordering records should include door location, handle model and color, locking method, accessories, and new or retained door status. After installation, operate handles from both sides and open and close doors with the responsible person. Check intended operation as well as color, retaining product details and adjustments by door.
Ask us about your interior project
We can discuss a quote and design suited to the space you are planning.
Request a free consultation