Two-level clinic interiors: connecting stairs and consulting room corridors
After finding reception in a two-level clinic, visitors still need the correct floor and door. Completion photos illustrate making reception, stairs, and room-lined corridors read as a connected route.

Before you begin
- From reception, check whether stairs, waiting seats, and the first room are distinguishable.
- Stairs begin the next floor as well as end the current one, so review directions at both ends.
- Read room names and numbers from actual approach directions in corridors with repeated doors.
Is the next move clear from reception?
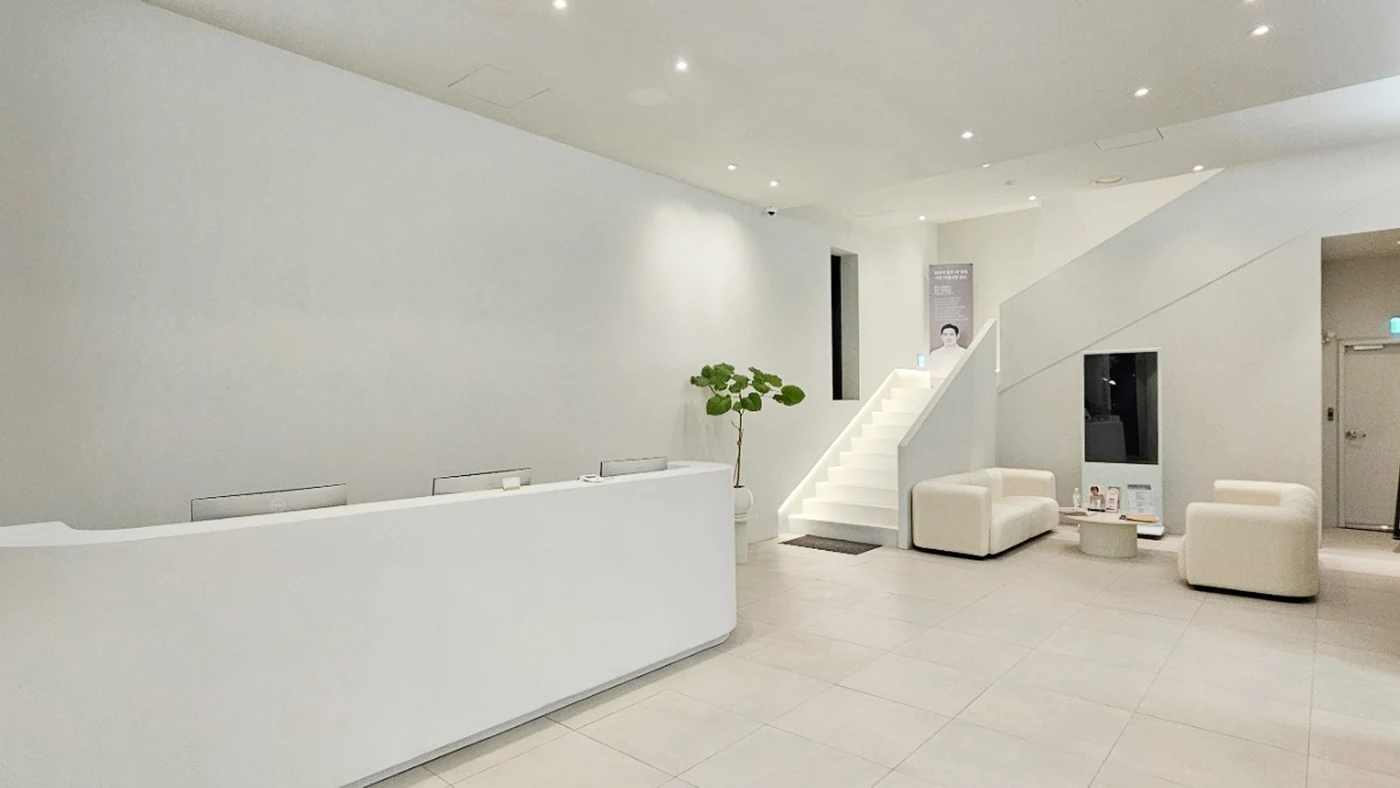
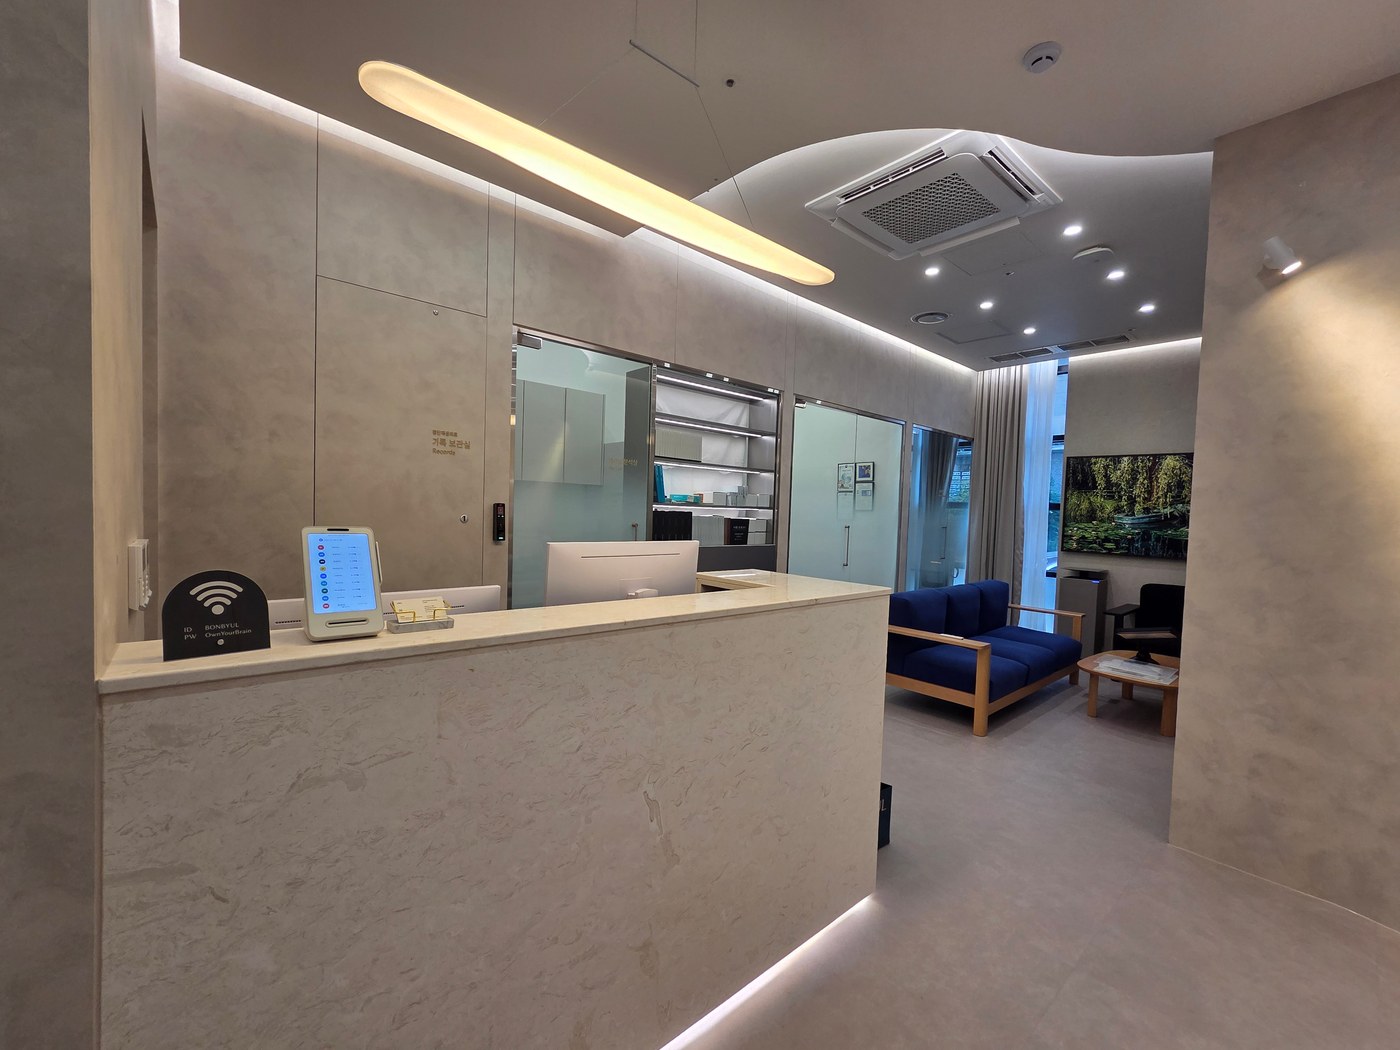
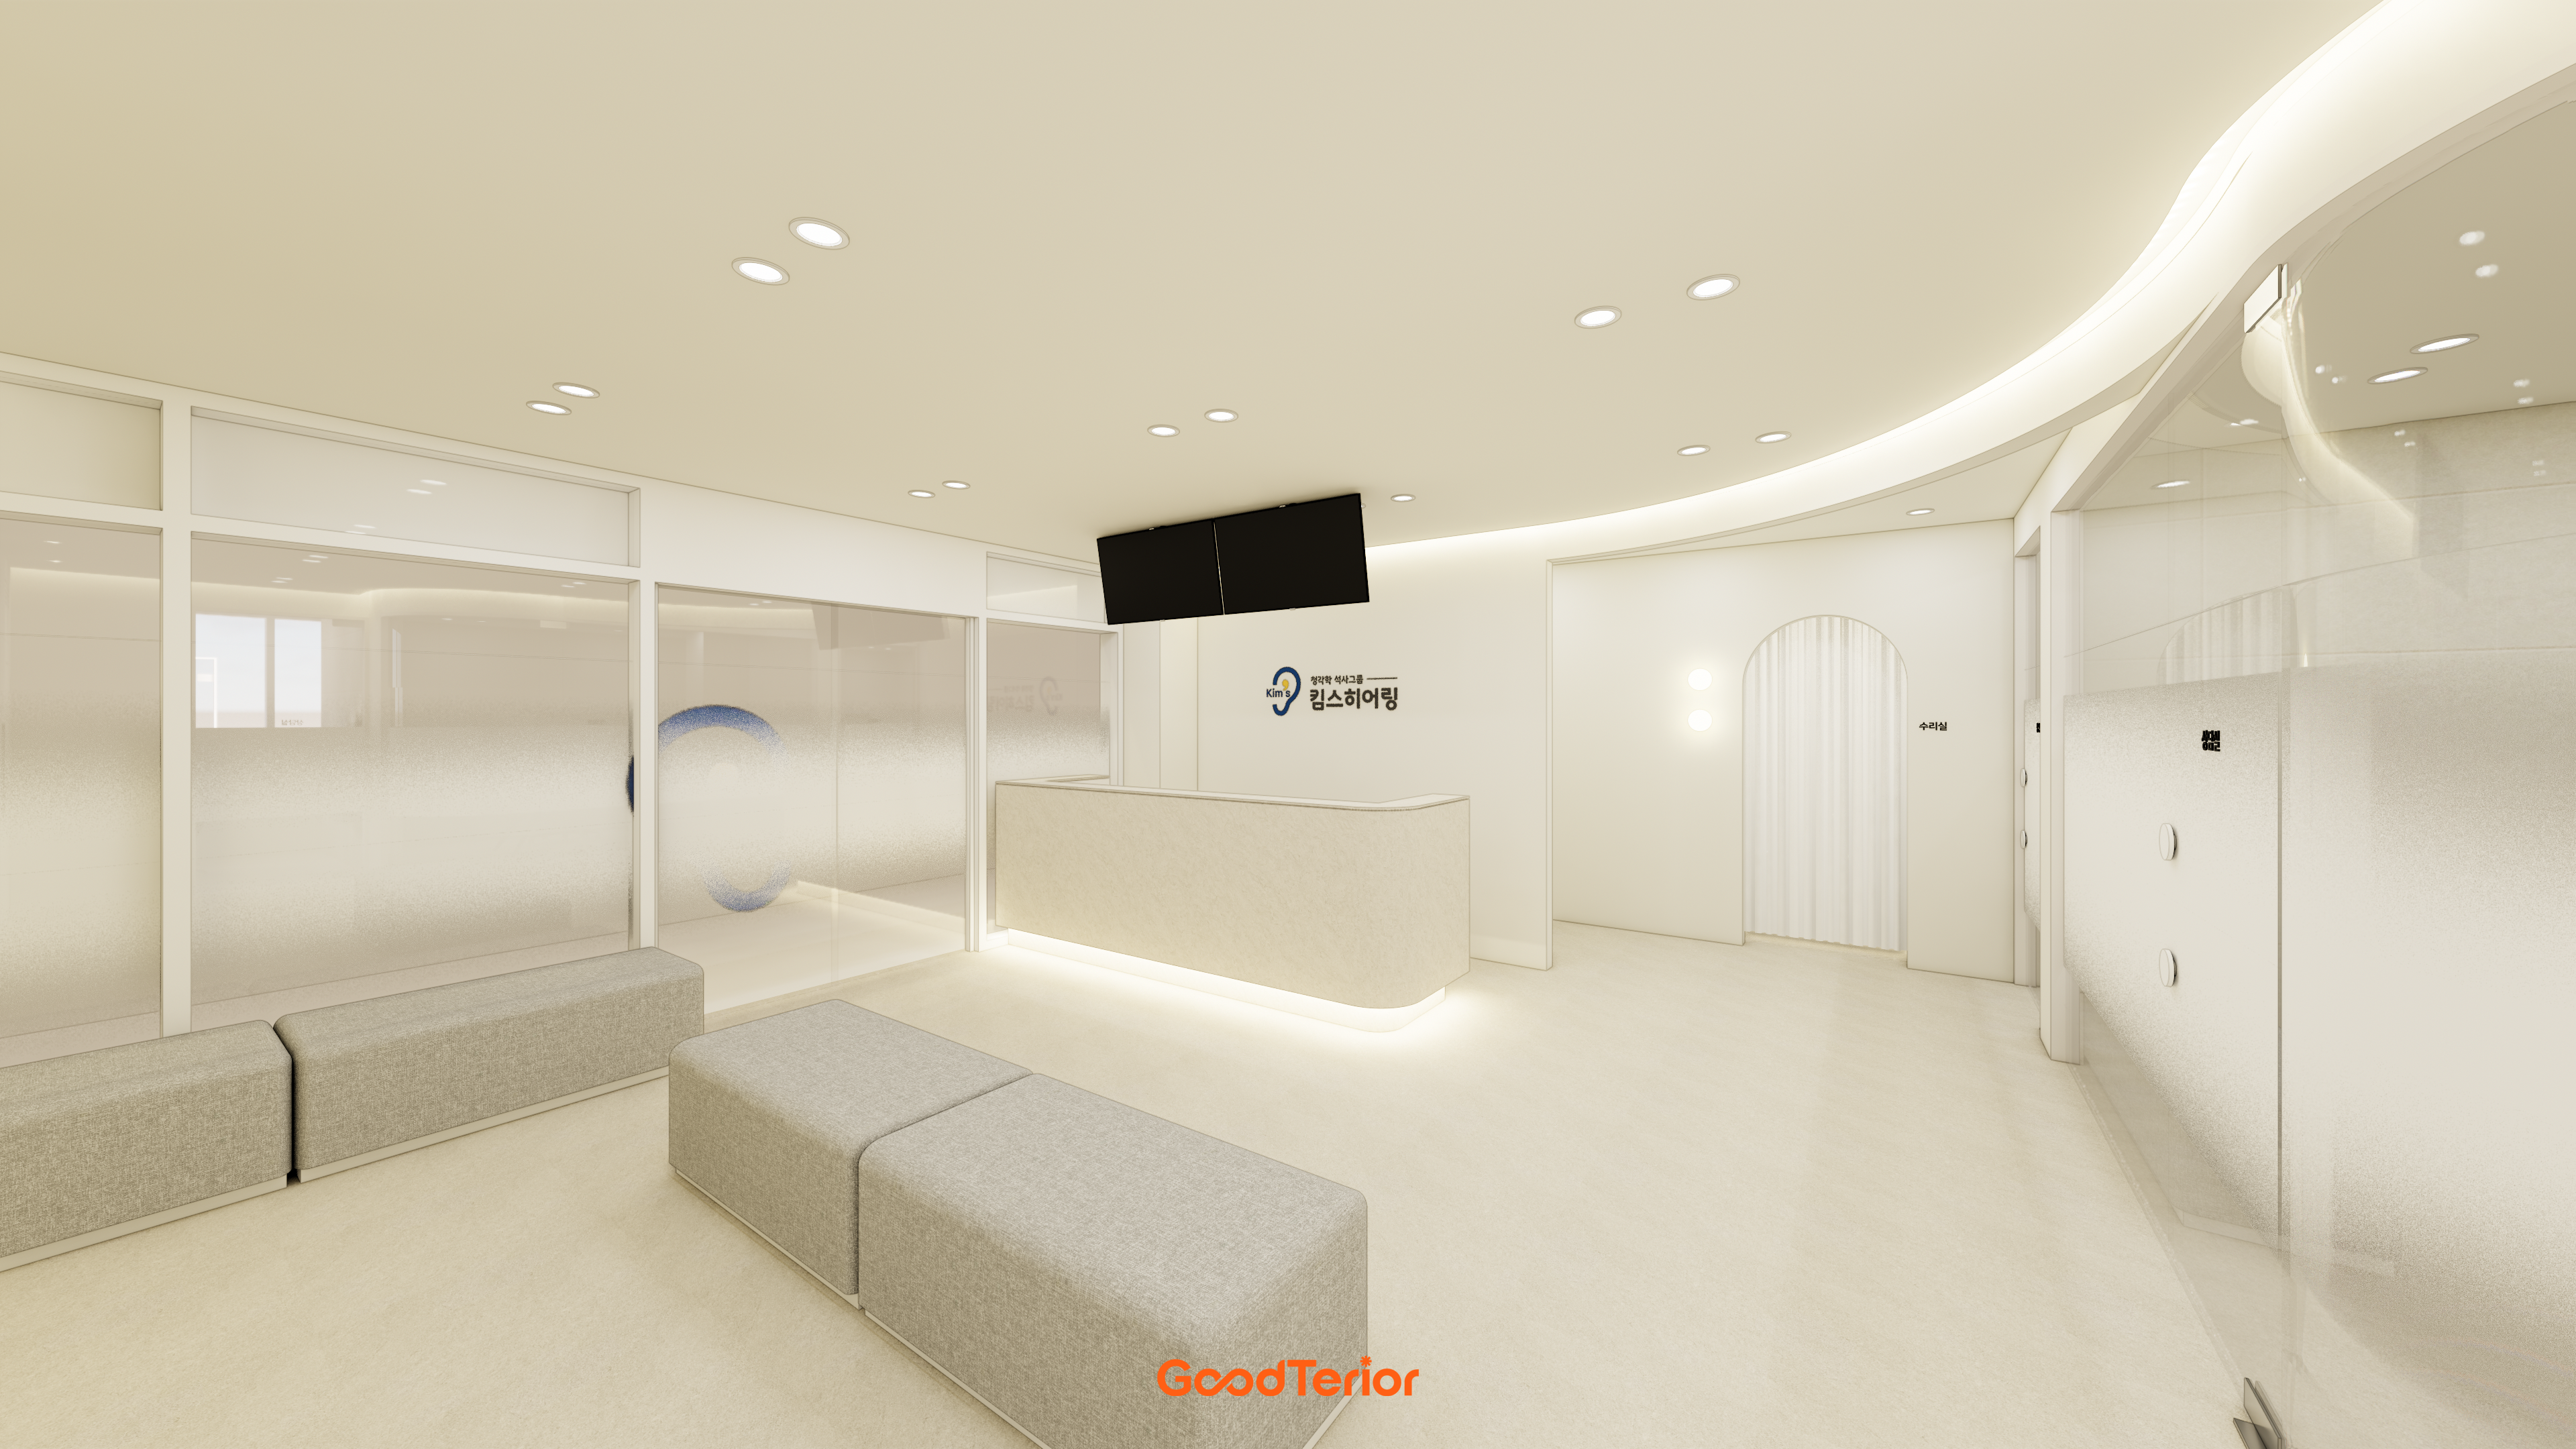
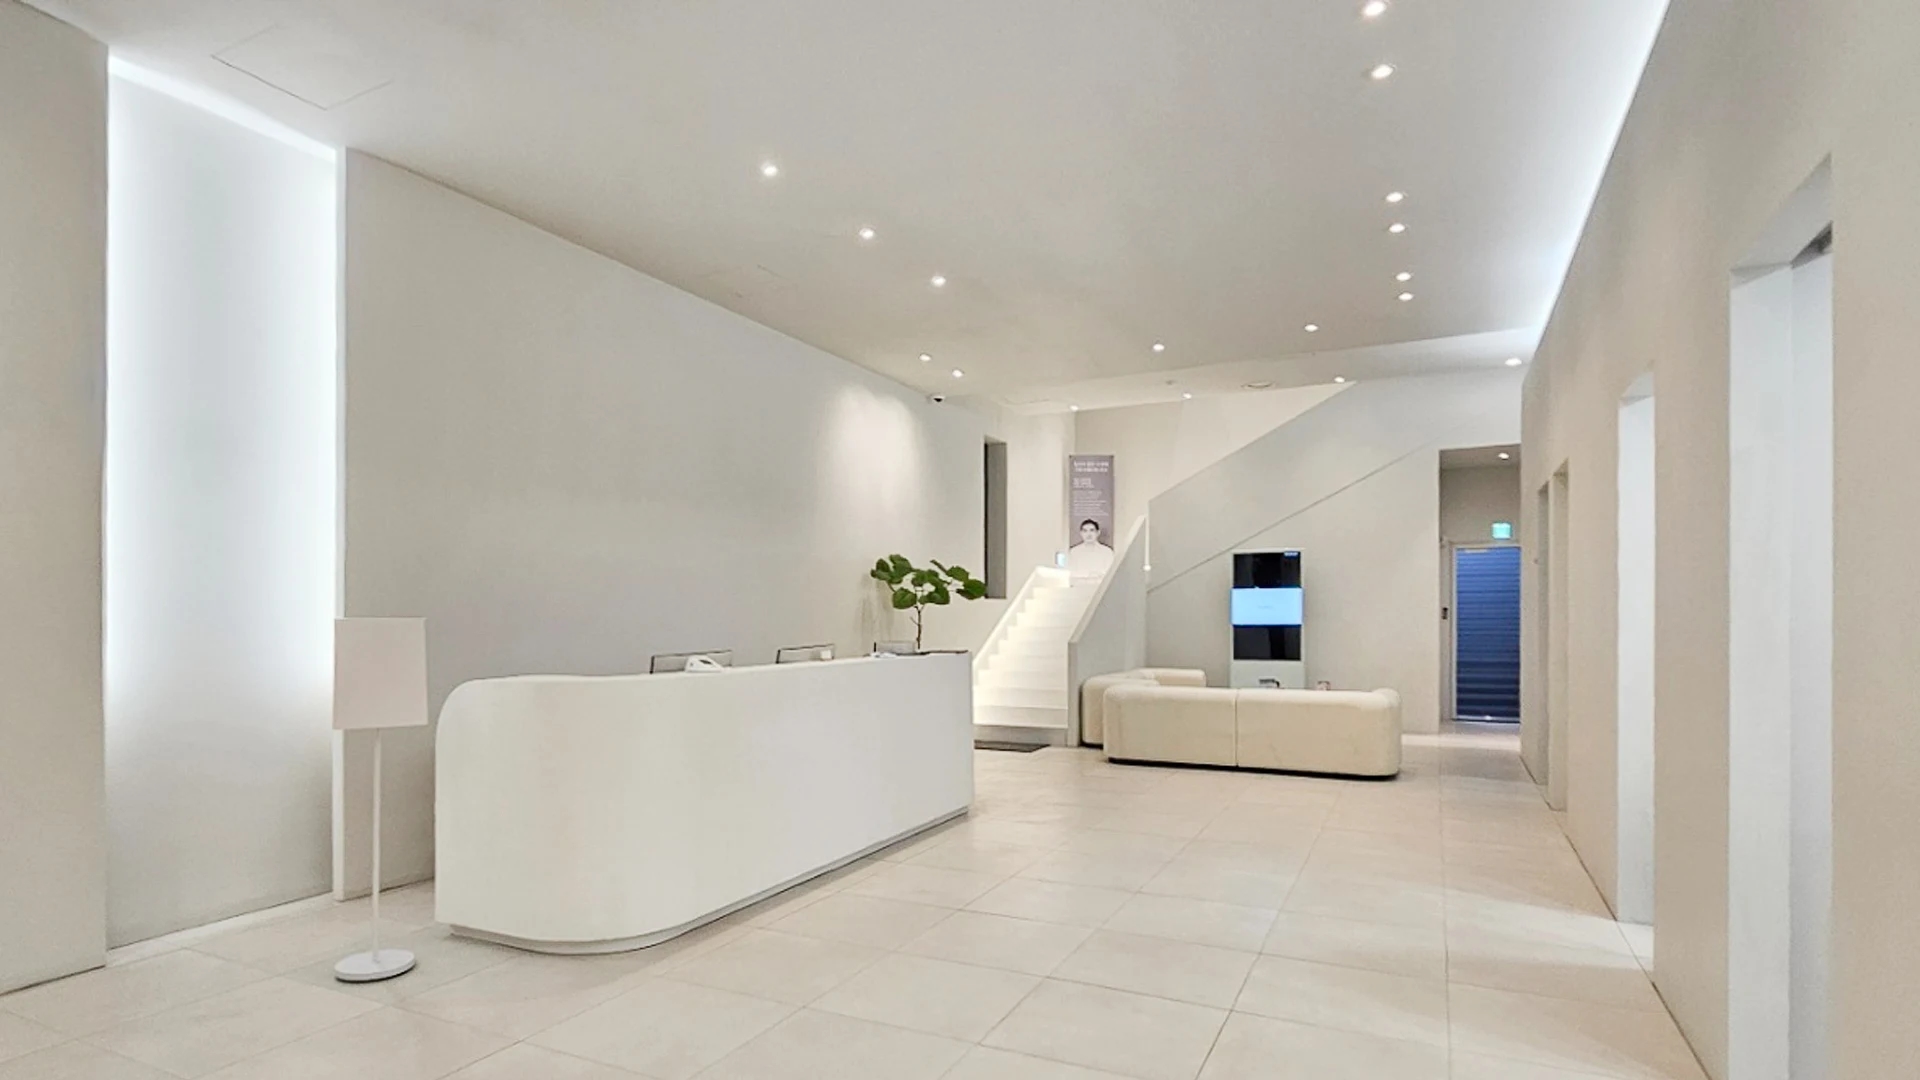
Finding the entrance and checking in does not complete wayfinding in a two-level clinic. Visitors need to know whether to wait on the same floor, go upstairs, or enter the corridor. The photo combines stairs and chairs behind a long white desk, but the view alone cannot establish the correct route for each patient. Coordinate spoken guidance and signs.
Read the plan in a first-time visitor's sequence: reception visibility from entry, waiting and stair directions from the desk, then the next opening after turning to follow guidance. A directory behind reception may be visible to staff but not visitors. Temporary paper signs read from actual standing positions provide a better check than artwork alone.
Waiting seat direction belongs to the same sequence. Sofas and chairs sit near reception here, but actual waiting times and treatment floors are unconfirmed. Short appointment waits and long waits with guardians require different arrangements. Have the operator describe the three routes after reception before placing seating and signs.
Estimating reception, waiting, and stairs as isolated trades can leave no suitable place for signs later. Mark guidance and stopping positions during design, coordinating sign surfaces and lights. On bright white walls, test small text and low-contrast signs at actual size from a distance.
The top and bottom of stairs are different starting points
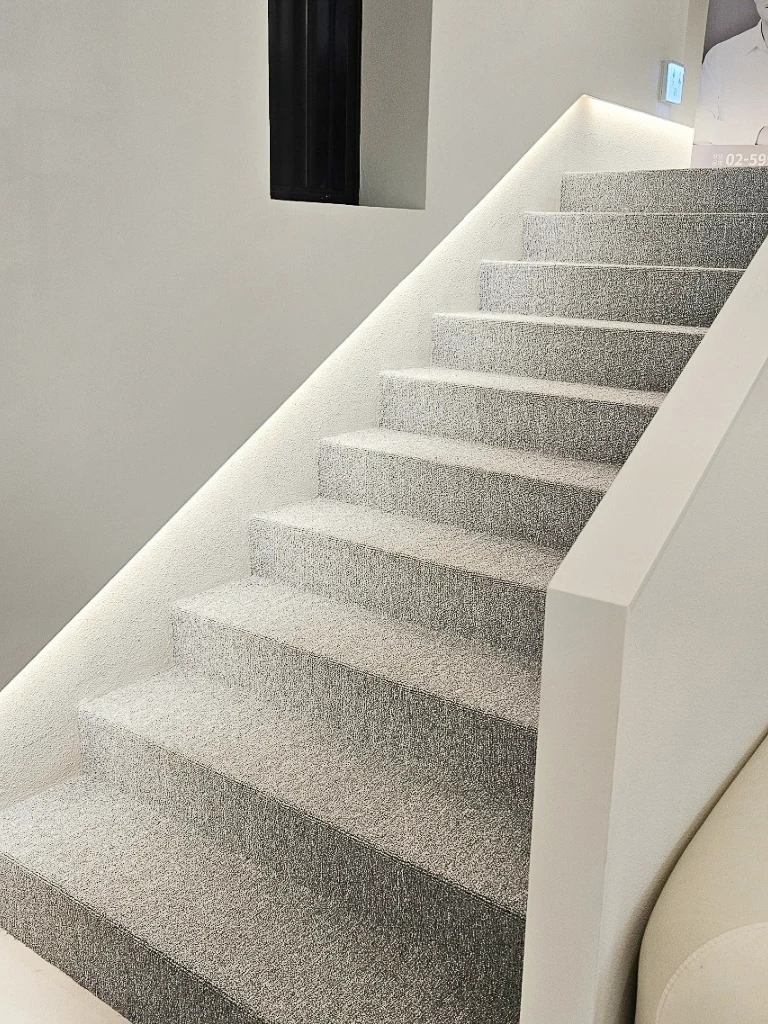
Light treads and linear lighting beneath the handrail are visible. Clearly visible stairs do not establish the upstairs destination. From below, the route leads upward; after arriving, visitors must choose again. Treat the stair entrance and exit as a pair in clinic guidance.
Where room names repeat or tests and consultations occupy different floors, appointment messages and signs should use the same names. Do not invent signs from unshown room arrangements or assumed clinical sequences. Confirm operational room names and what begins on each floor. Reception guidance, stair entry signs, and the first upstairs junction should point to the same destination.
Another photo places a sofa beside the stairs. Nearby waiting and vertical circulation can overlap when bags sit in front or users stand up. Check alternative routes to the same destination for those not using stairs against actual site conditions. Photos cannot establish elevator availability or legal circulation compliance.
Finishes can also support wayfinding. Consistent white stair and corridor walls may feel calm while offering weak clues that floors changed. Large colored walls are unnecessary: place concise floor numbers, main room names, and directions at visible decision points and check them under real lighting. Final signs depend on approved clinical layouts and procedures.
Define stopping points along repeated doors
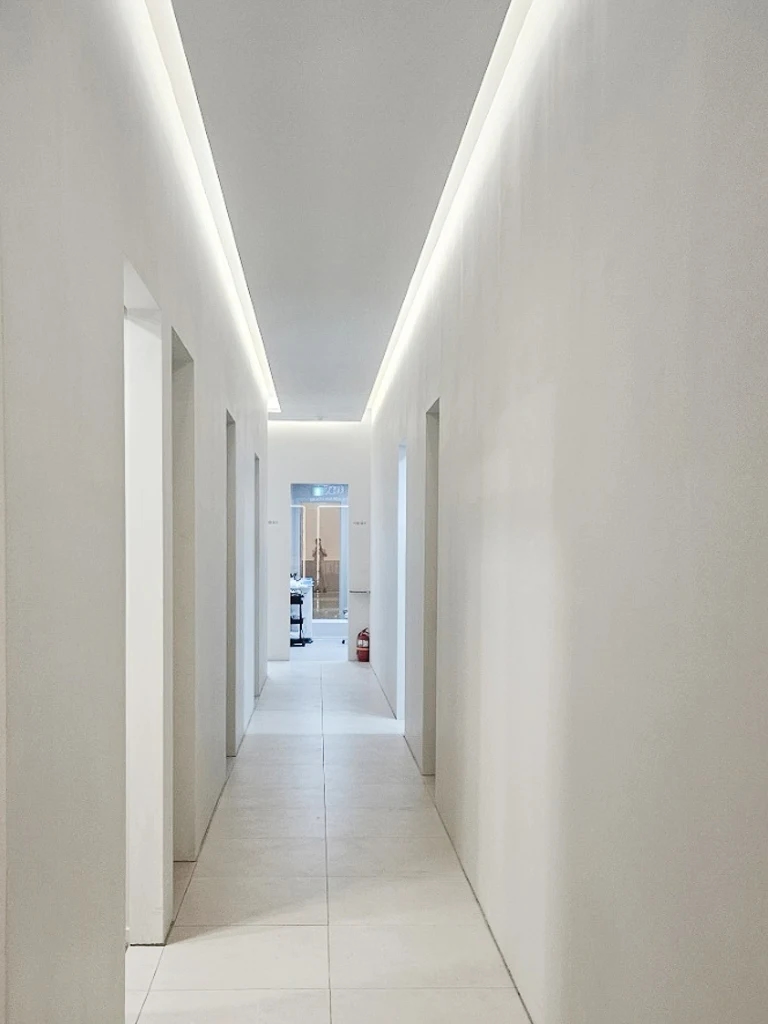
The long corridor repeats similarly sized white frames on both sides. Near and distant doors appear together, but functions are hard to identify from the photo. Visitors may slow or backtrack to find their room. Coordinate consistent door design with distinct destination identification.
Names on only one side may become readable only directly before a door from some approaches. Check arrivals from waiting and returns from the opposite direction. Use actual leaf sizes to see whether open doors hide signs or staff block wall guidance. Avoid excessive signage by separating floor directions from individual room labels.
Views into rooms from waiting seats are a separate concern. Most photographed doors are closed and use inside is unknown, so neither speech privacy nor visual protection can be established. After furniture arrives, check actual door opening frequency, waiting positions, and views through openings. Consider door location or internal screening if needed.
For final review, follow a complete visitor journey rather than only checking the sign plan: hear the destination at reception, use the stairs, find the door, enter, and return. Mark likely wrong turns and places requiring staff questions to distinguish additional signs from layout changes. Self-explanatory routes also make verbal guidance shorter and more precise.
Ask us about your interior project
We can discuss a quote and design suited to the space you are planning.
Request a free consultation