Commercial interior construction: 7 stages from preparation to handover
Commercial interior work progresses through requirements, surveys, design and quote approval, demolition and preliminary works, finishes, installation, and completion checks. Review the decisions needed at each stage.

Before you begin
- Coordinate layouts, scope, and material decision dates before demolition.
- Check concealed services before closing walls and ceilings.
- Detailed work sequences depend on site and material conditions.
Define space and operations

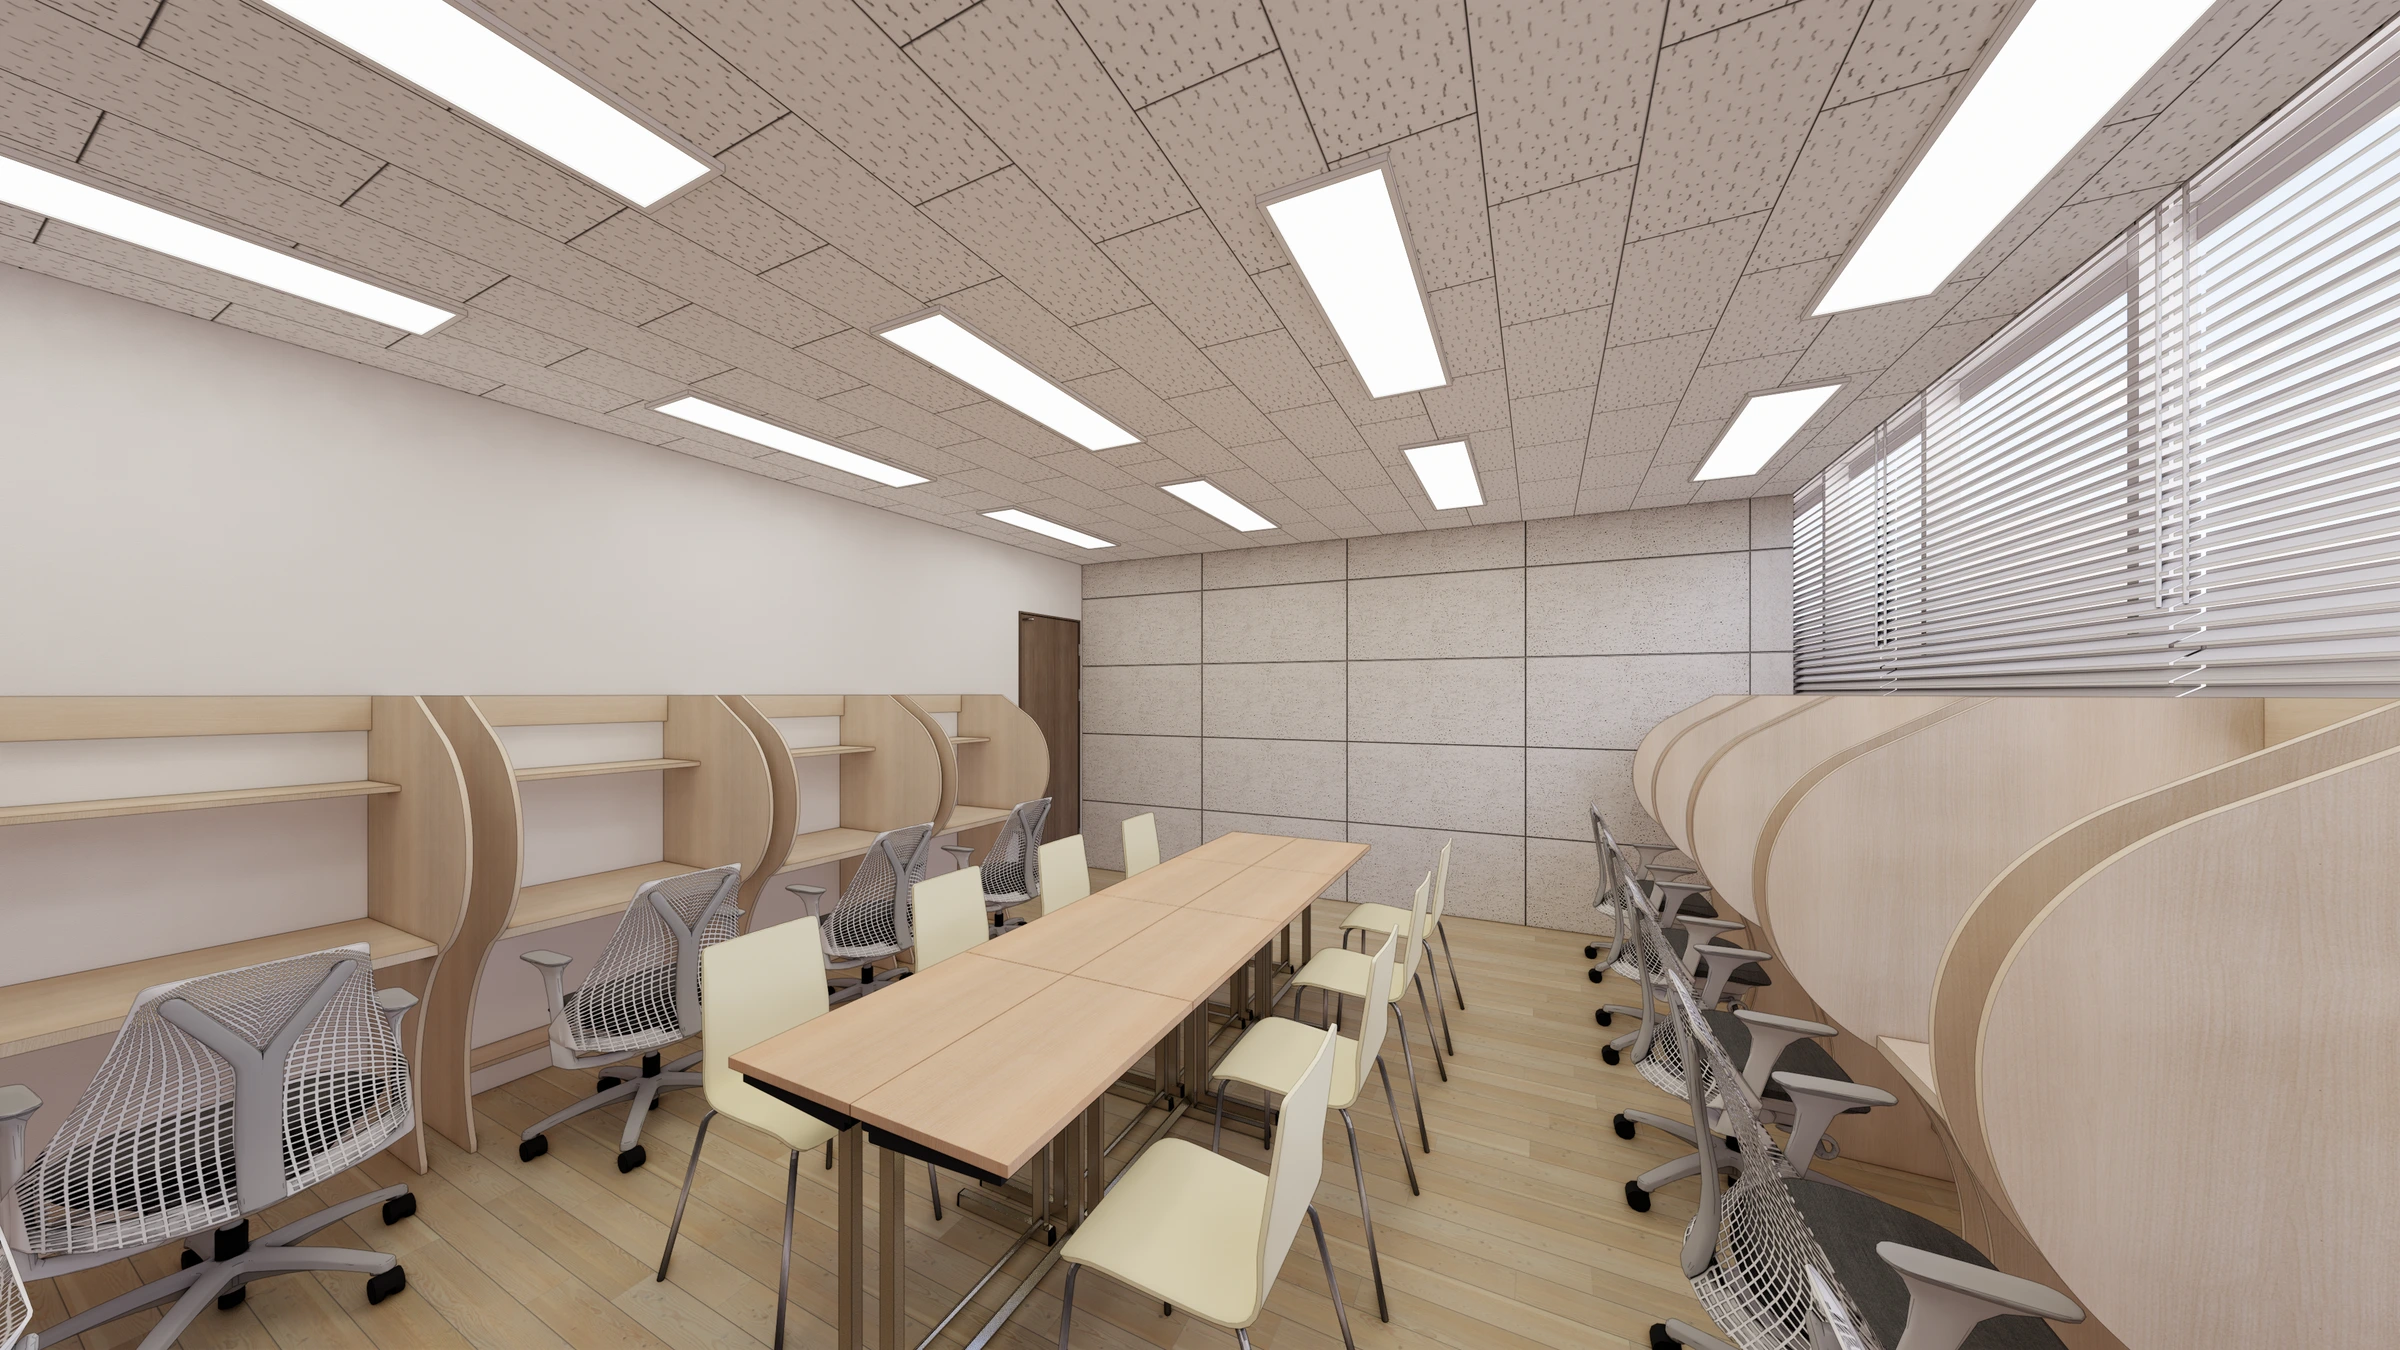
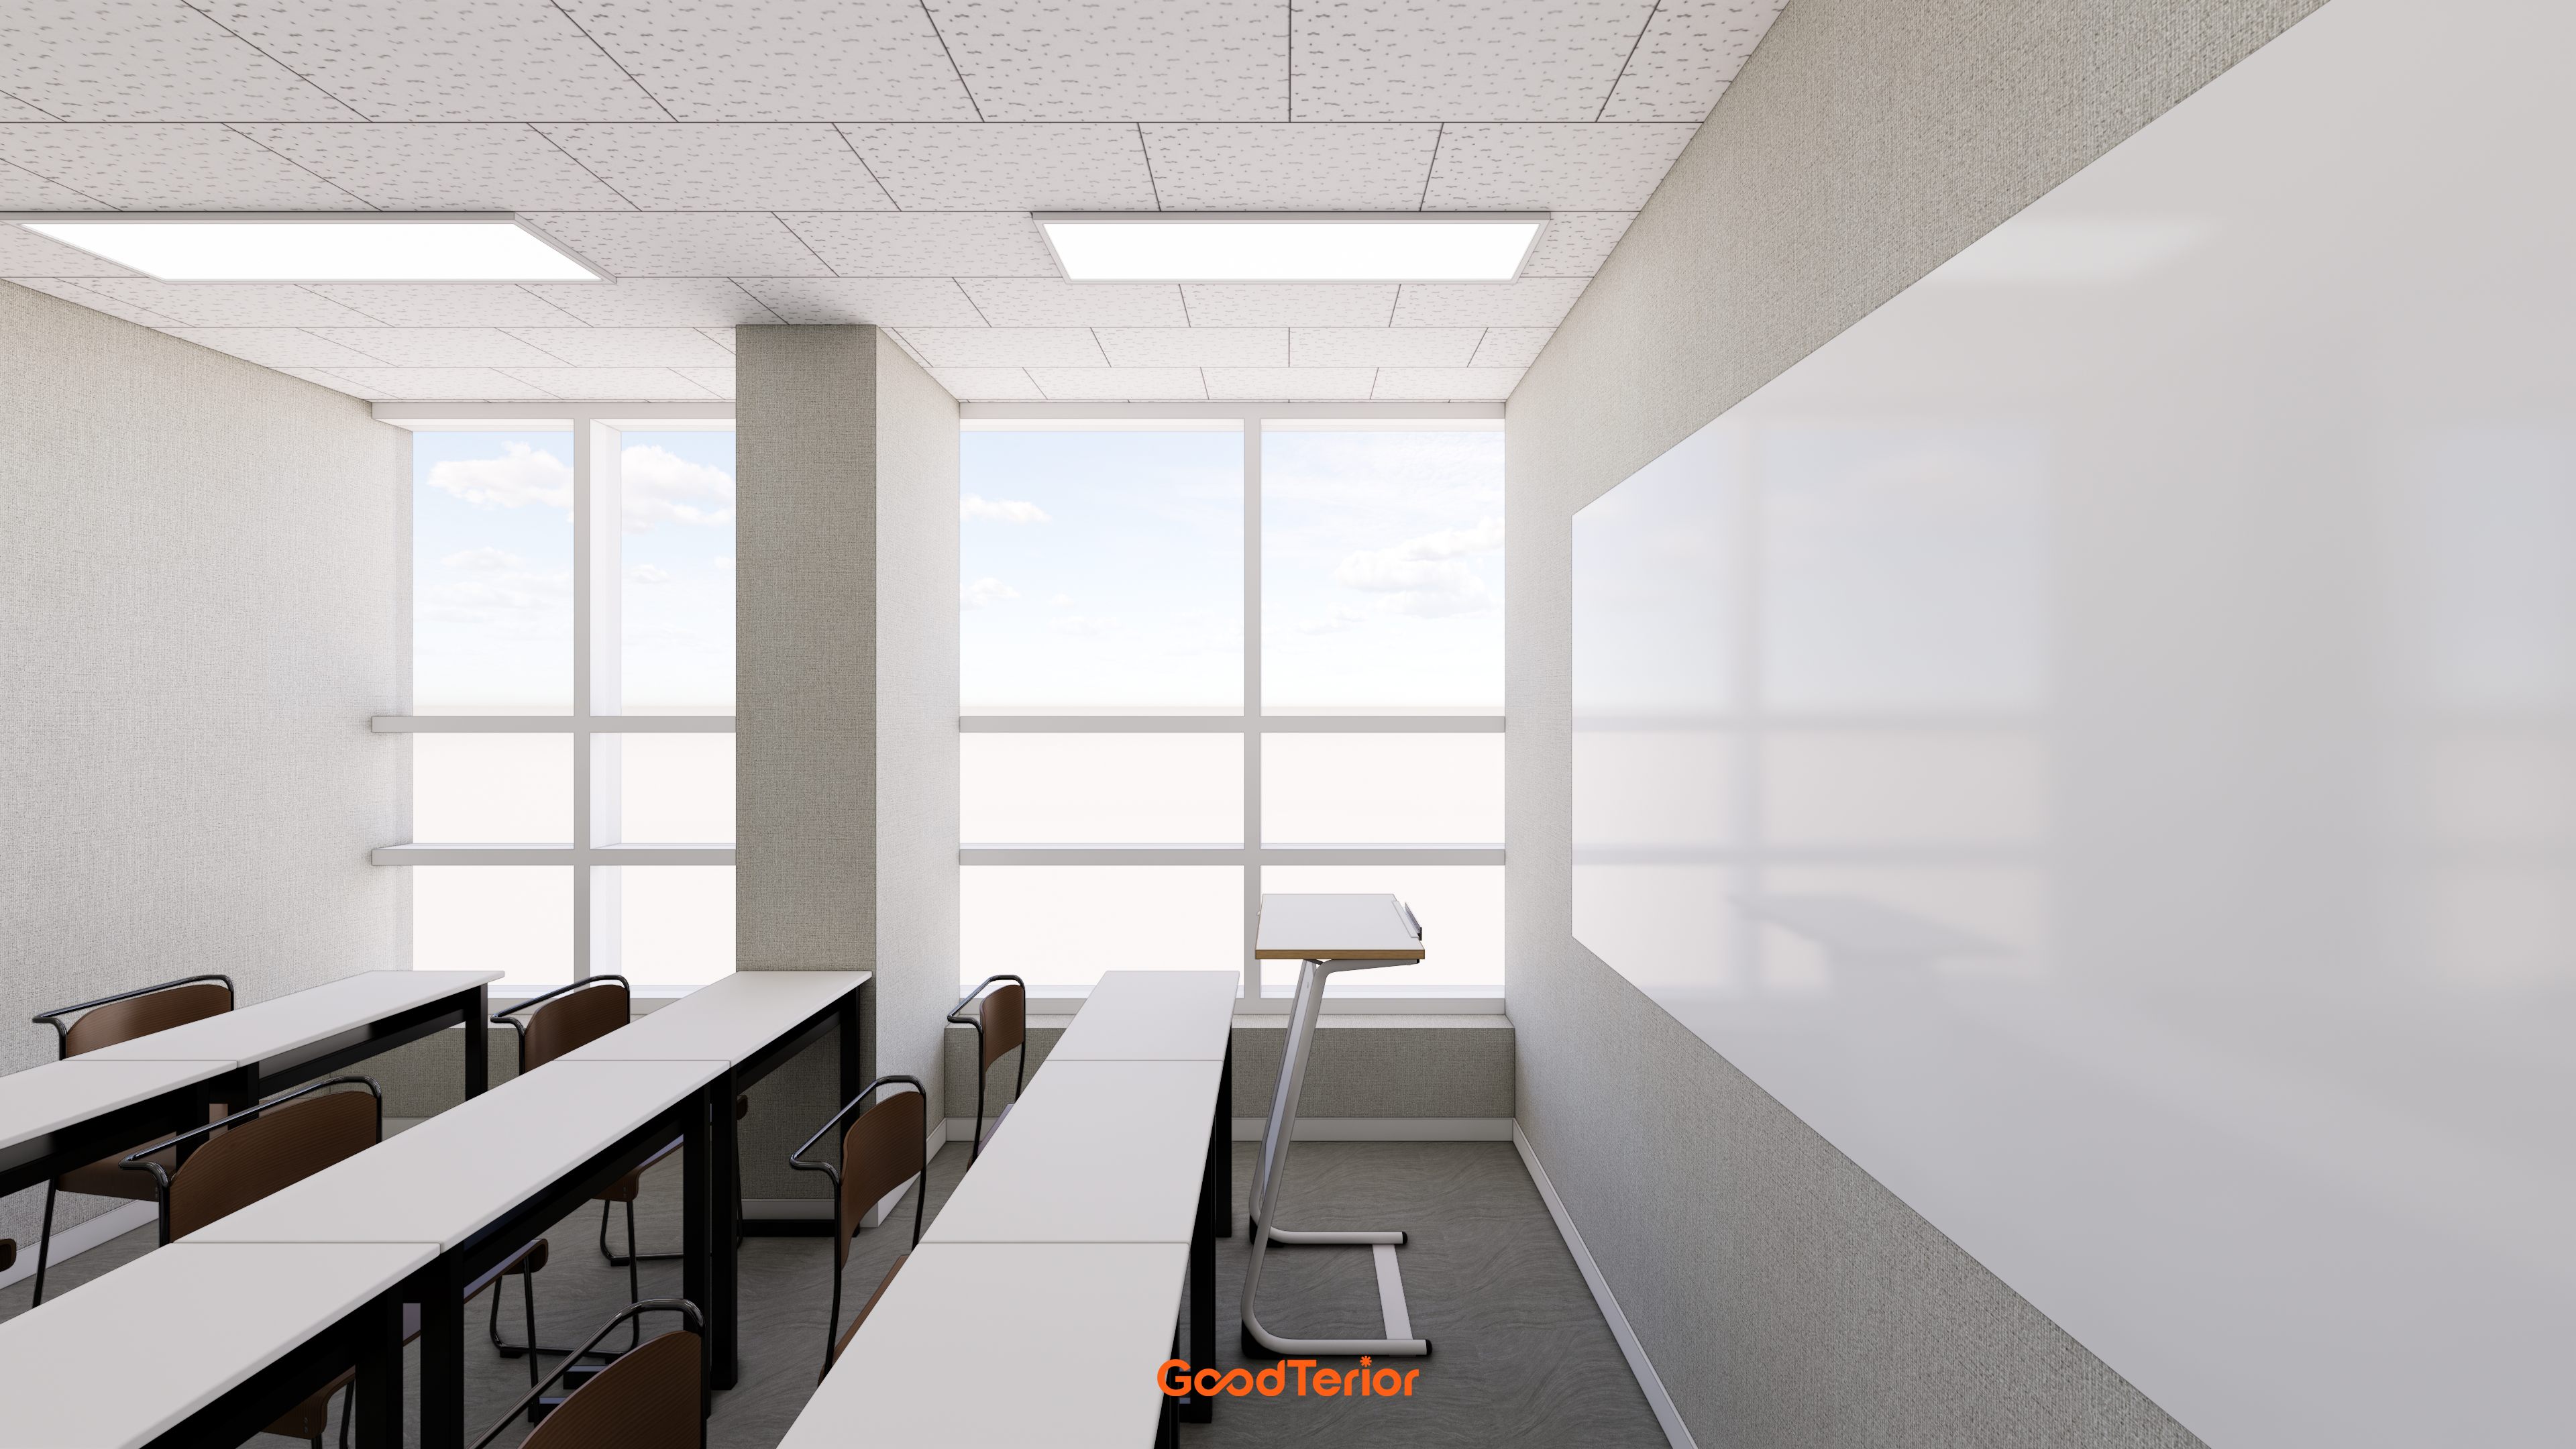
Construction planning does not start with demolition. Defining the intended space reveals what must go and which facilities are needed. Cafes need relationships between ordering, pickup, seats, and staff work; academies need classrooms, consultations, and waiting considered first.
Share essential functions, total budget, and target opening date alongside reference images. Prioritize conditions that alter layouts, such as office seat counts. Agree decision deadlines for unresolved items with the responsible person.
Measure the site and survey existing services
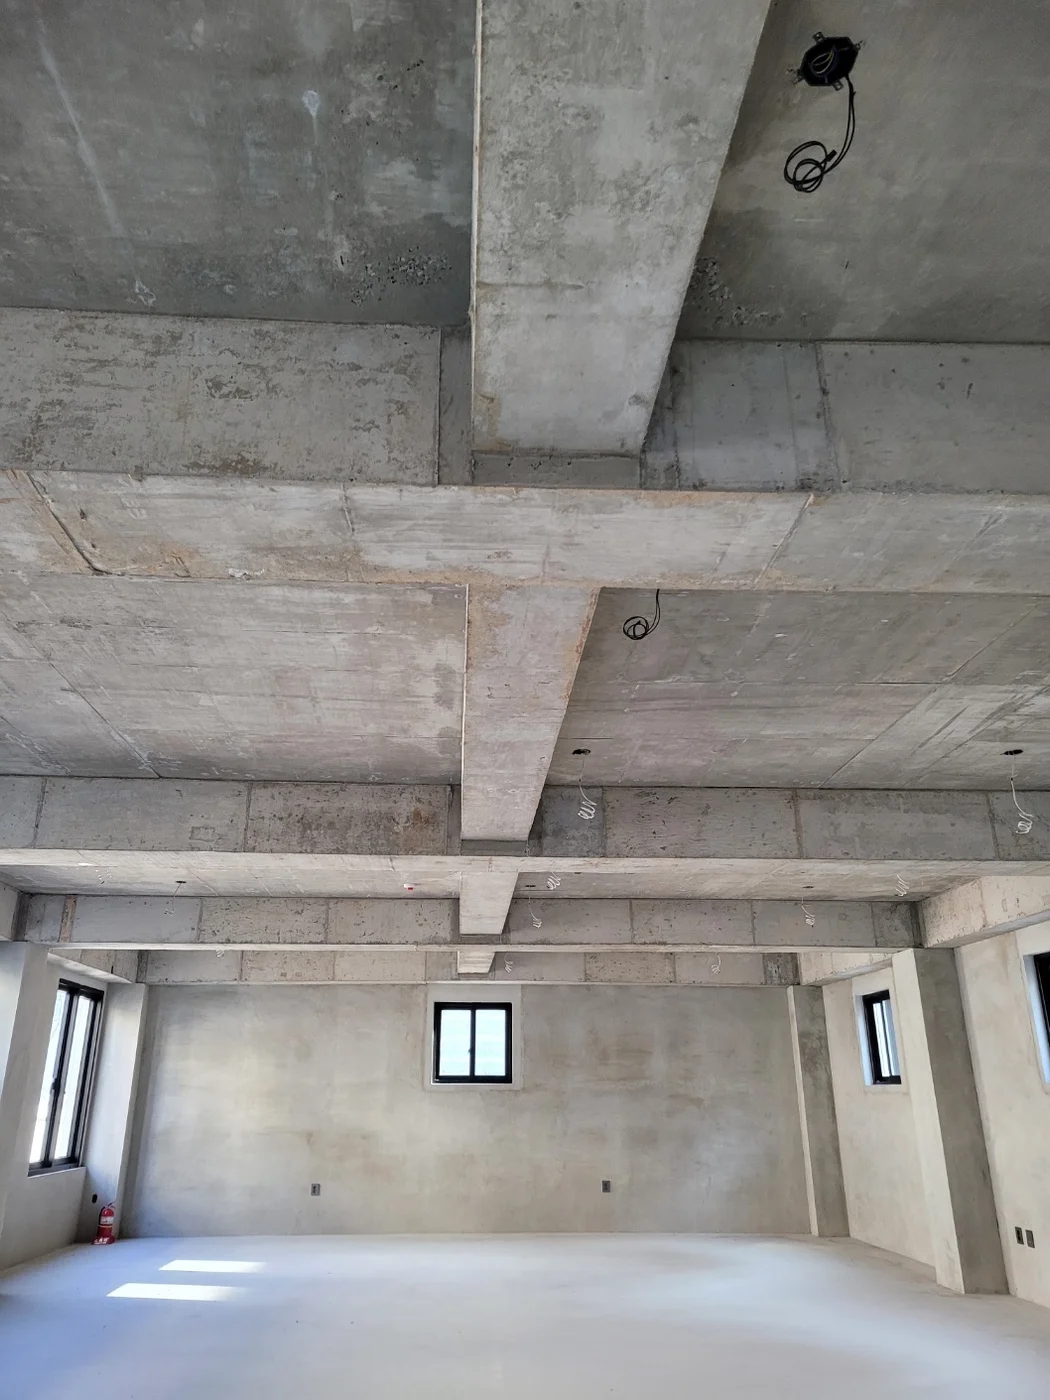
Surveys cover windows, columns, ceiling services, entrances, and material delivery routes as well as length and width. Equipment fitting on plan still requires separate checks for power, water, and drainage.
Mark retained and removed facilities on photos to clarify later scope. Record concealed areas that cannot be checked before work starts as unverified. Agree who checks changed conditions after demolition and how costs and schedules are adjusted.
Confirm drawings, quotes, and finishes

After fixing layouts, develop walls, ceilings, lighting, and furniture. Check that drawn work appears in the quote and selected products are listed accurately. A timber finish label alone does not identify the product or application surface; record locations and codes.
Put decision dates for custom furniture and lead-time-sensitive materials in the schedule. A construction start date without material decisions can leave later work unprepared. Reflect changes in both current drawings and quotes to avoid conflicting versions.
From demolition to plumbing and wiring
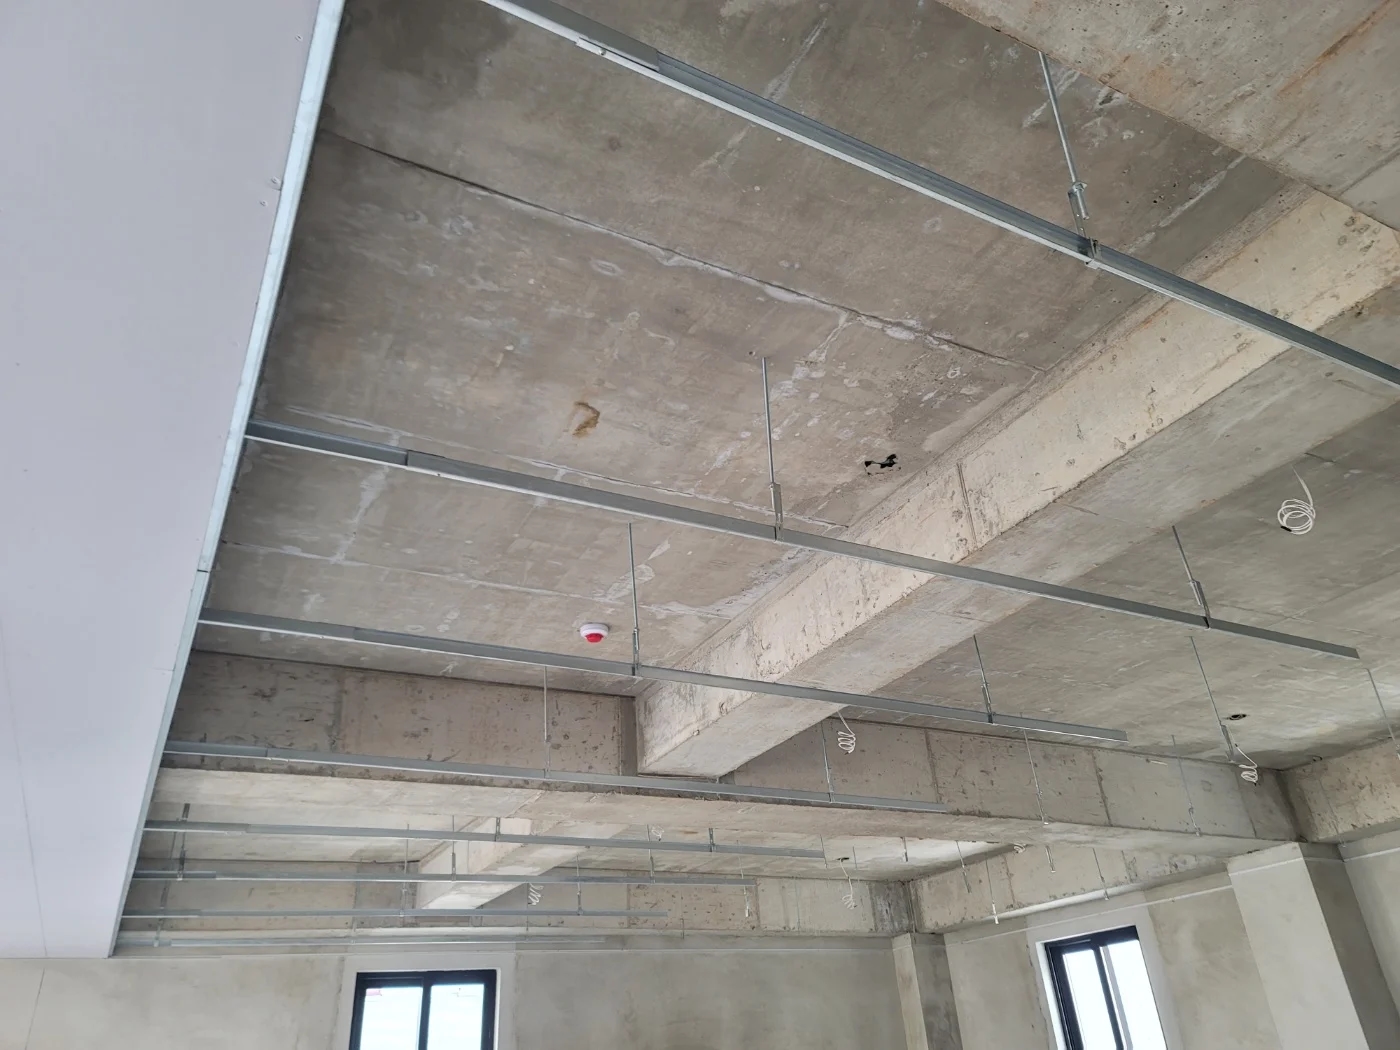
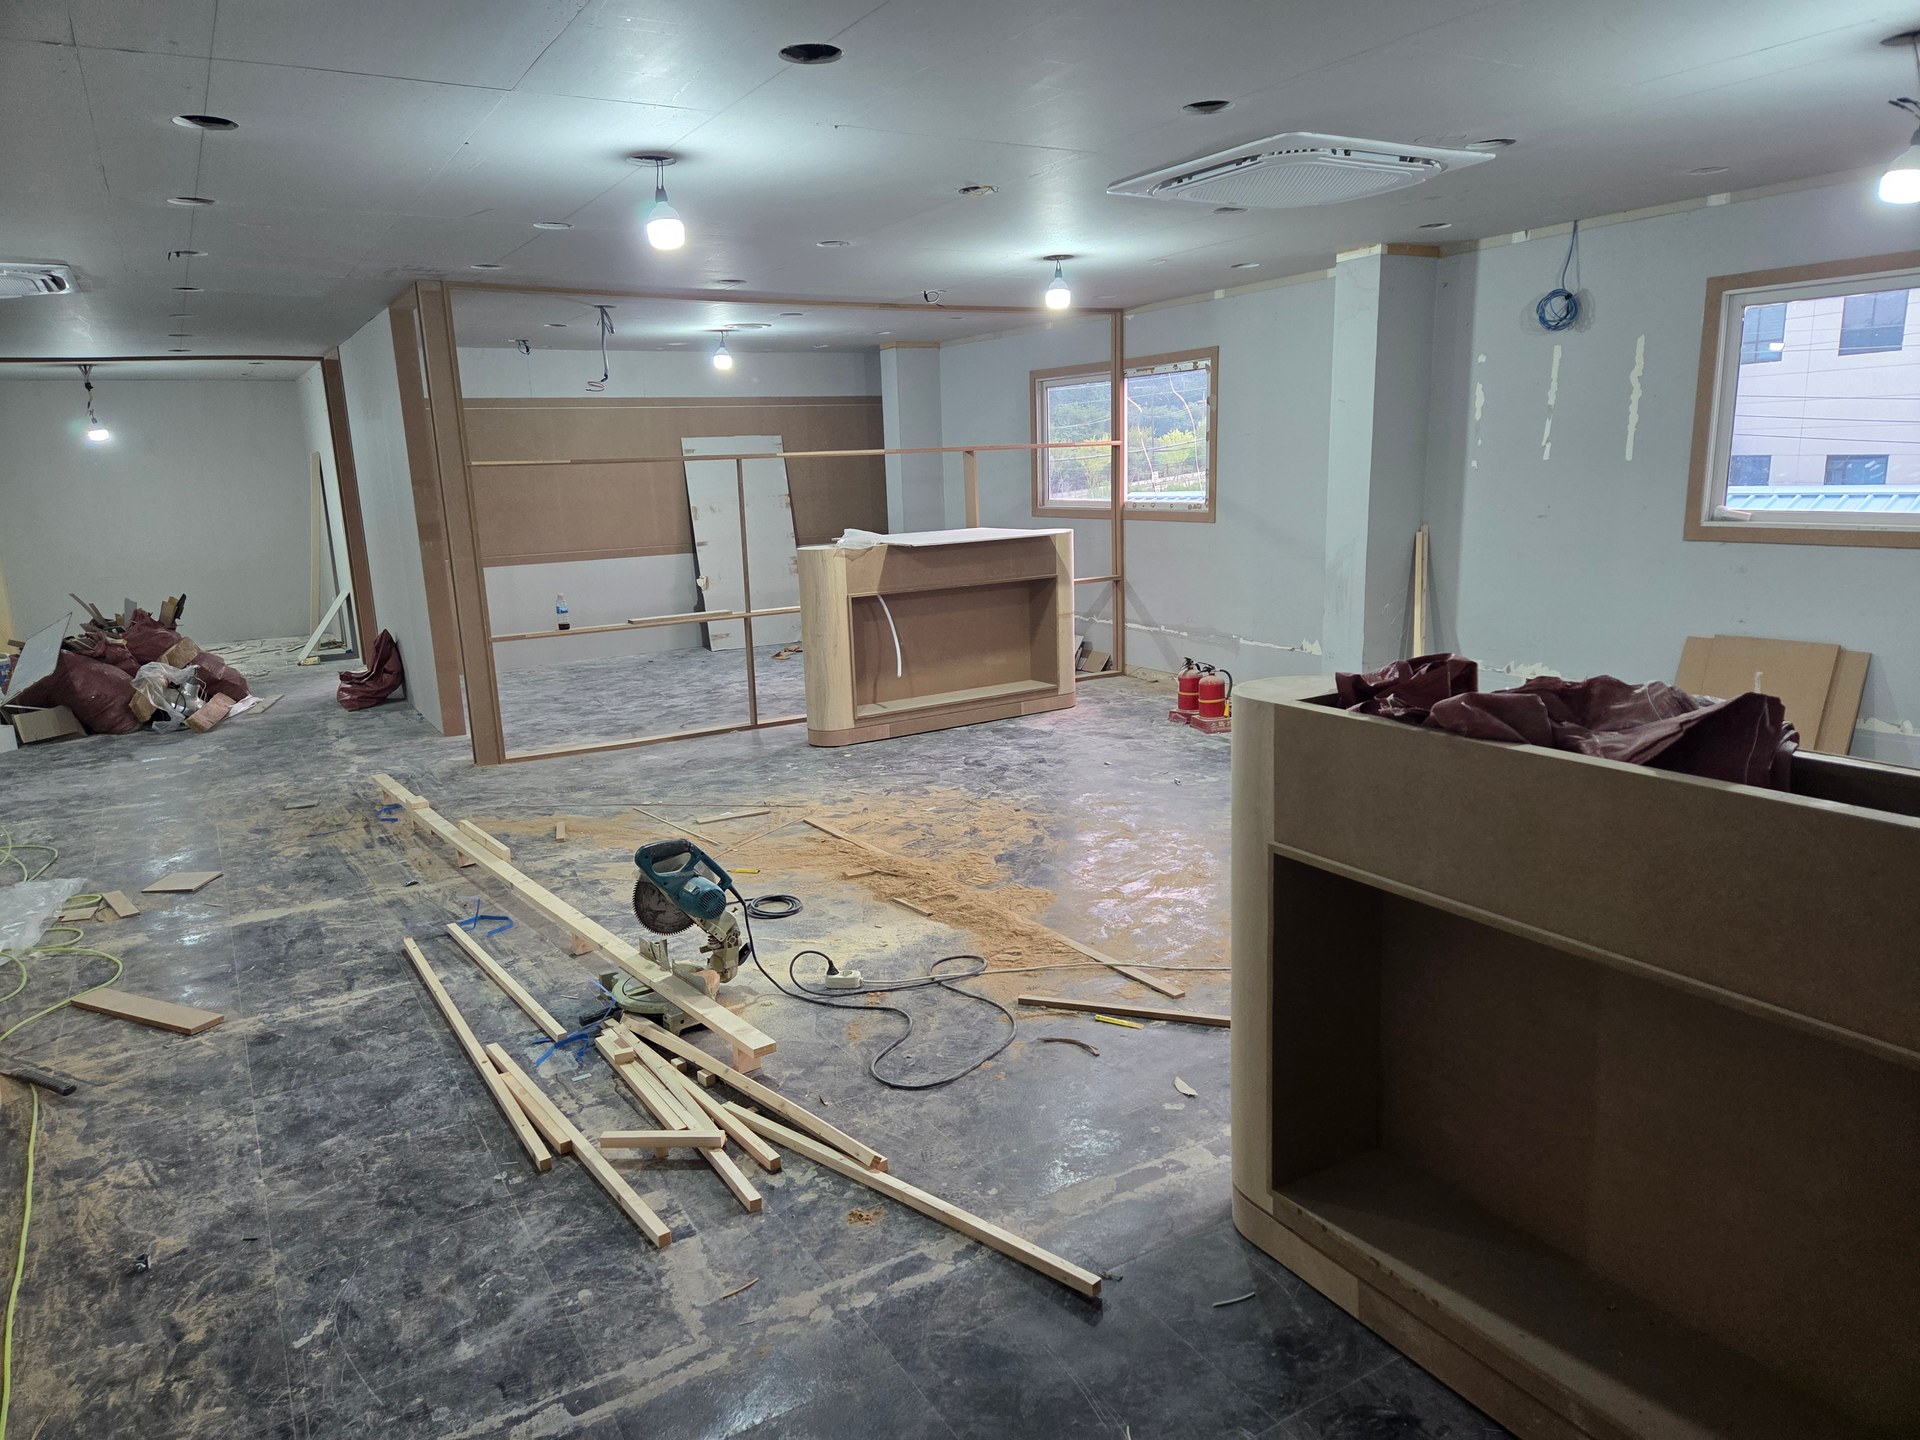
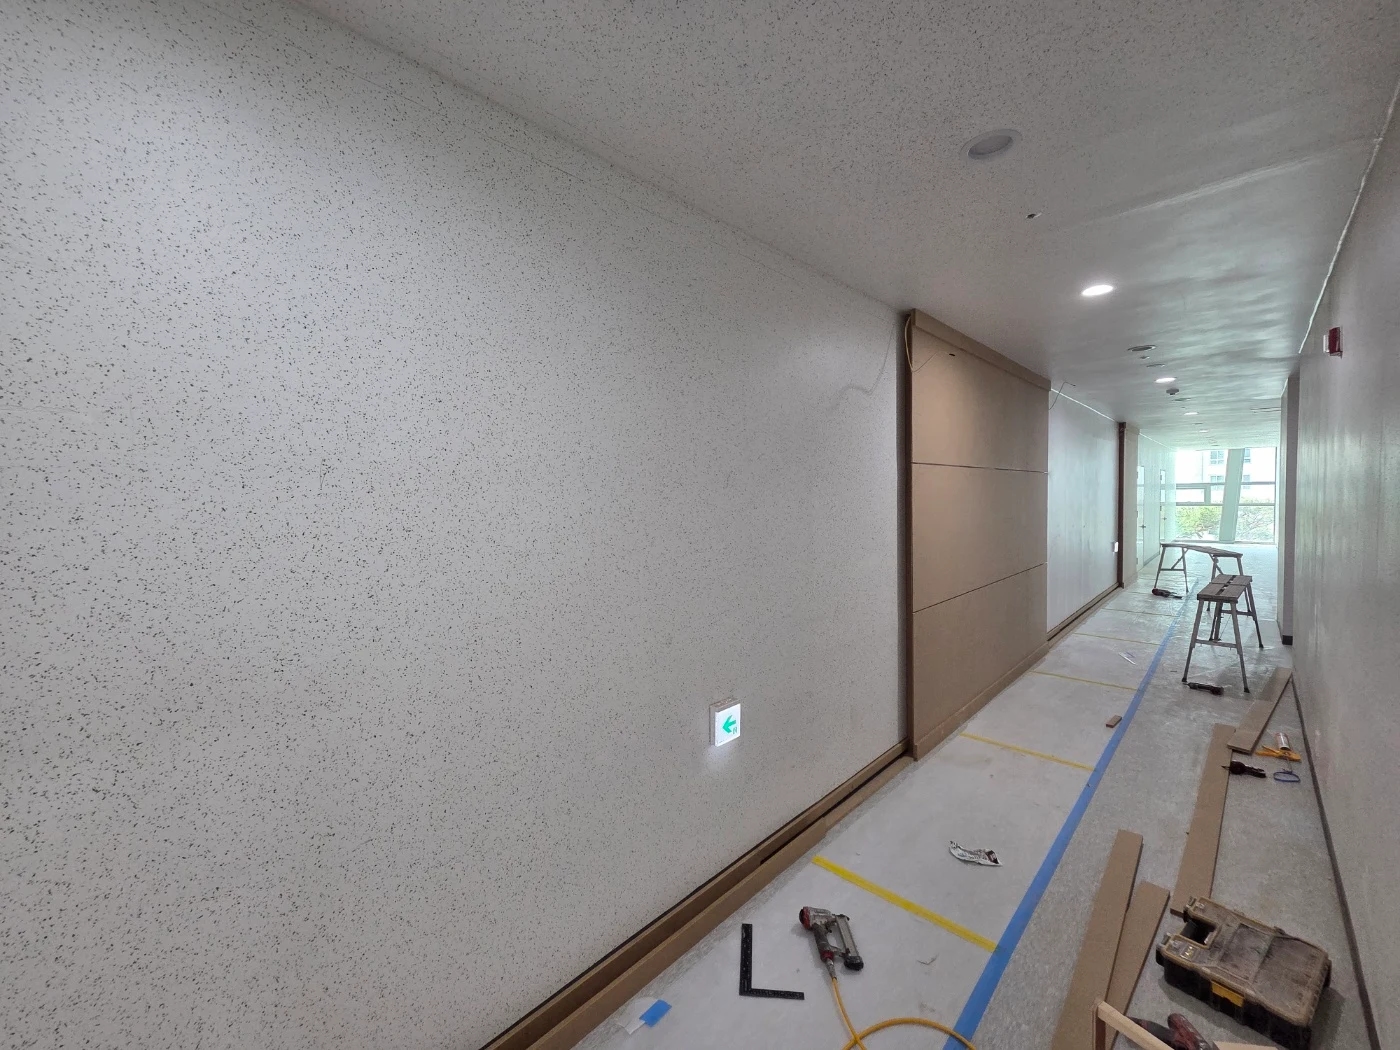
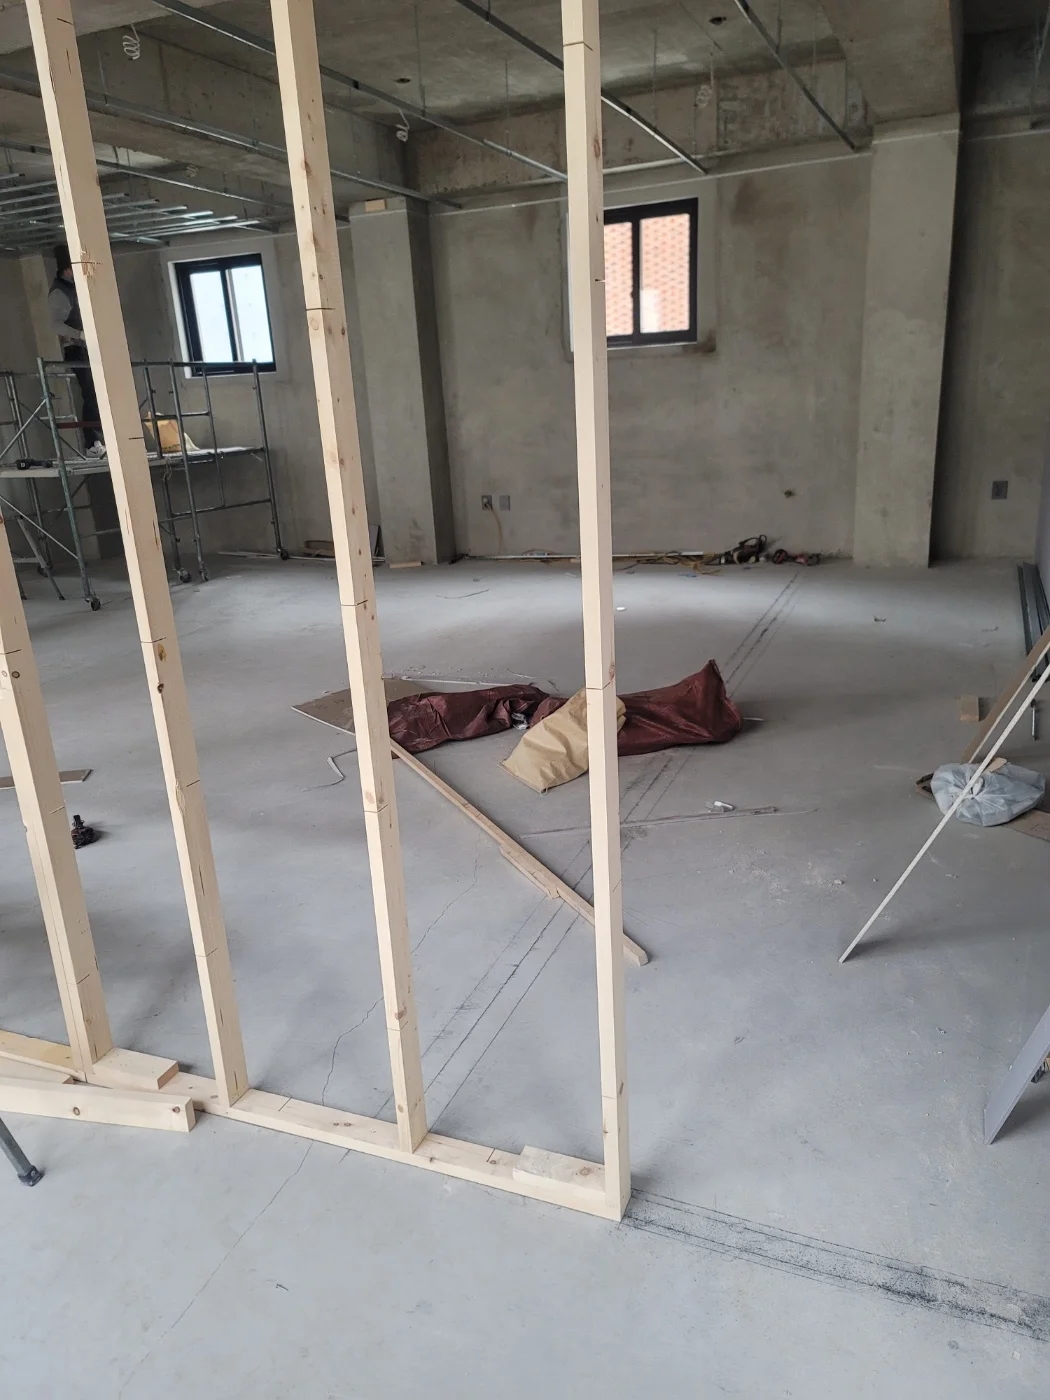
Demolition reveals conditions hidden by existing finishes. Review them before adjusting services, walls, and ceilings. A single sequence such as electrical work followed by carpentry cannot apply identically everywhere.
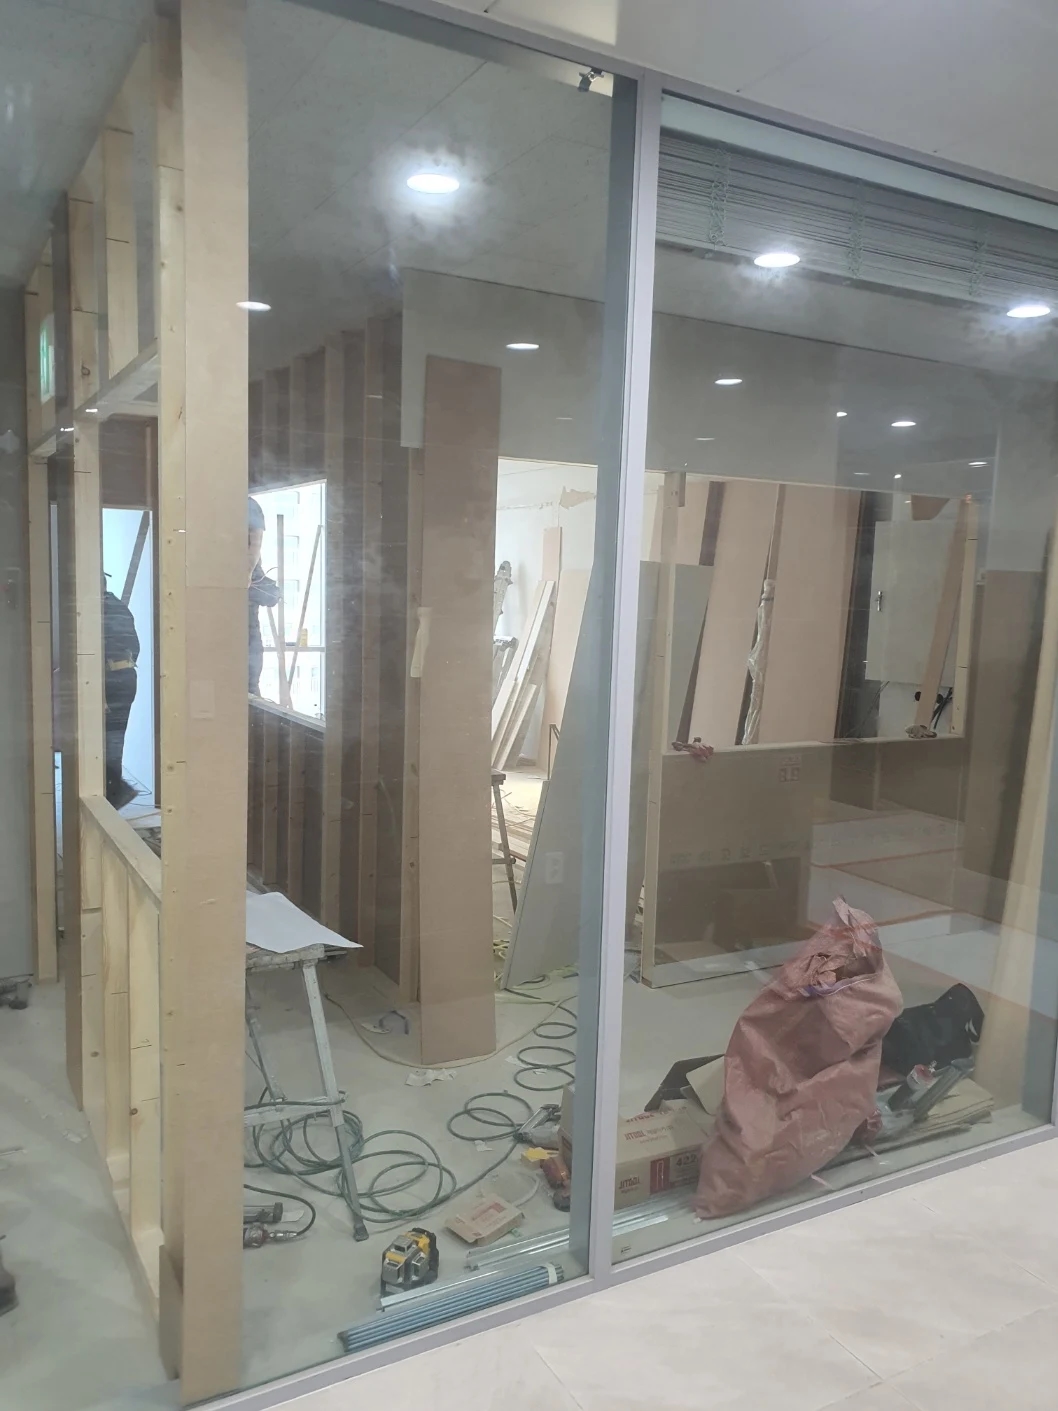
The key is what the next task conceals. Confirm outlets and switches before walls close and ask about maintenance access before ceiling finishes. Record concealed details alongside overall progress photos for later handover use.
What to check at this stage
- Have newly revealed conditions after demolition been shared?
- Have service positions been checked before closing walls and ceilings?
Install finishes and complete junctions
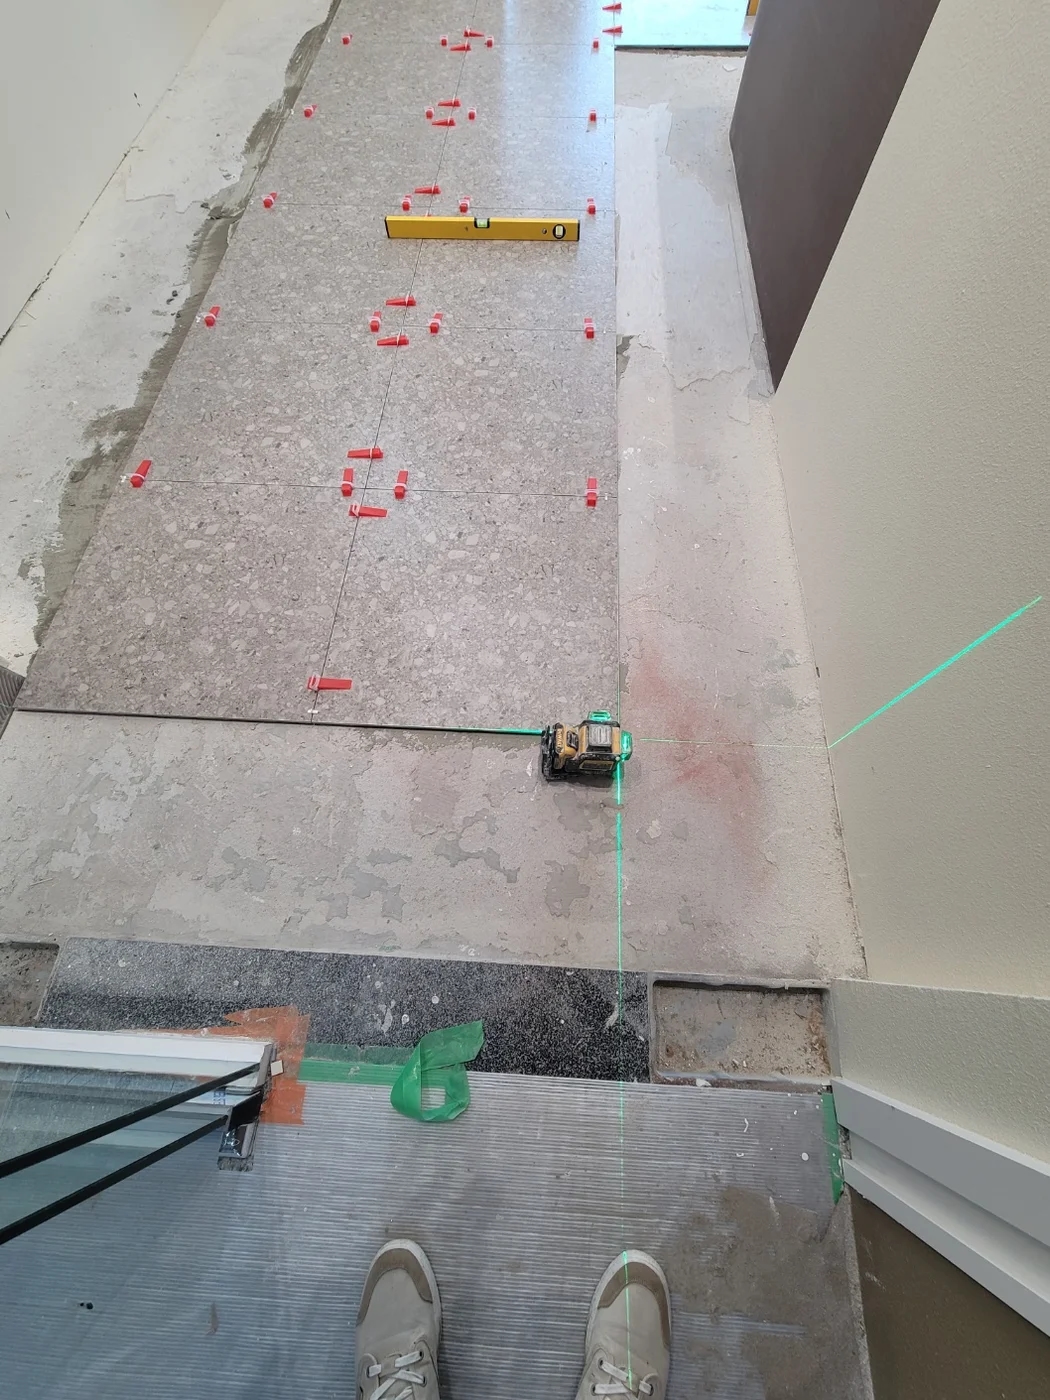
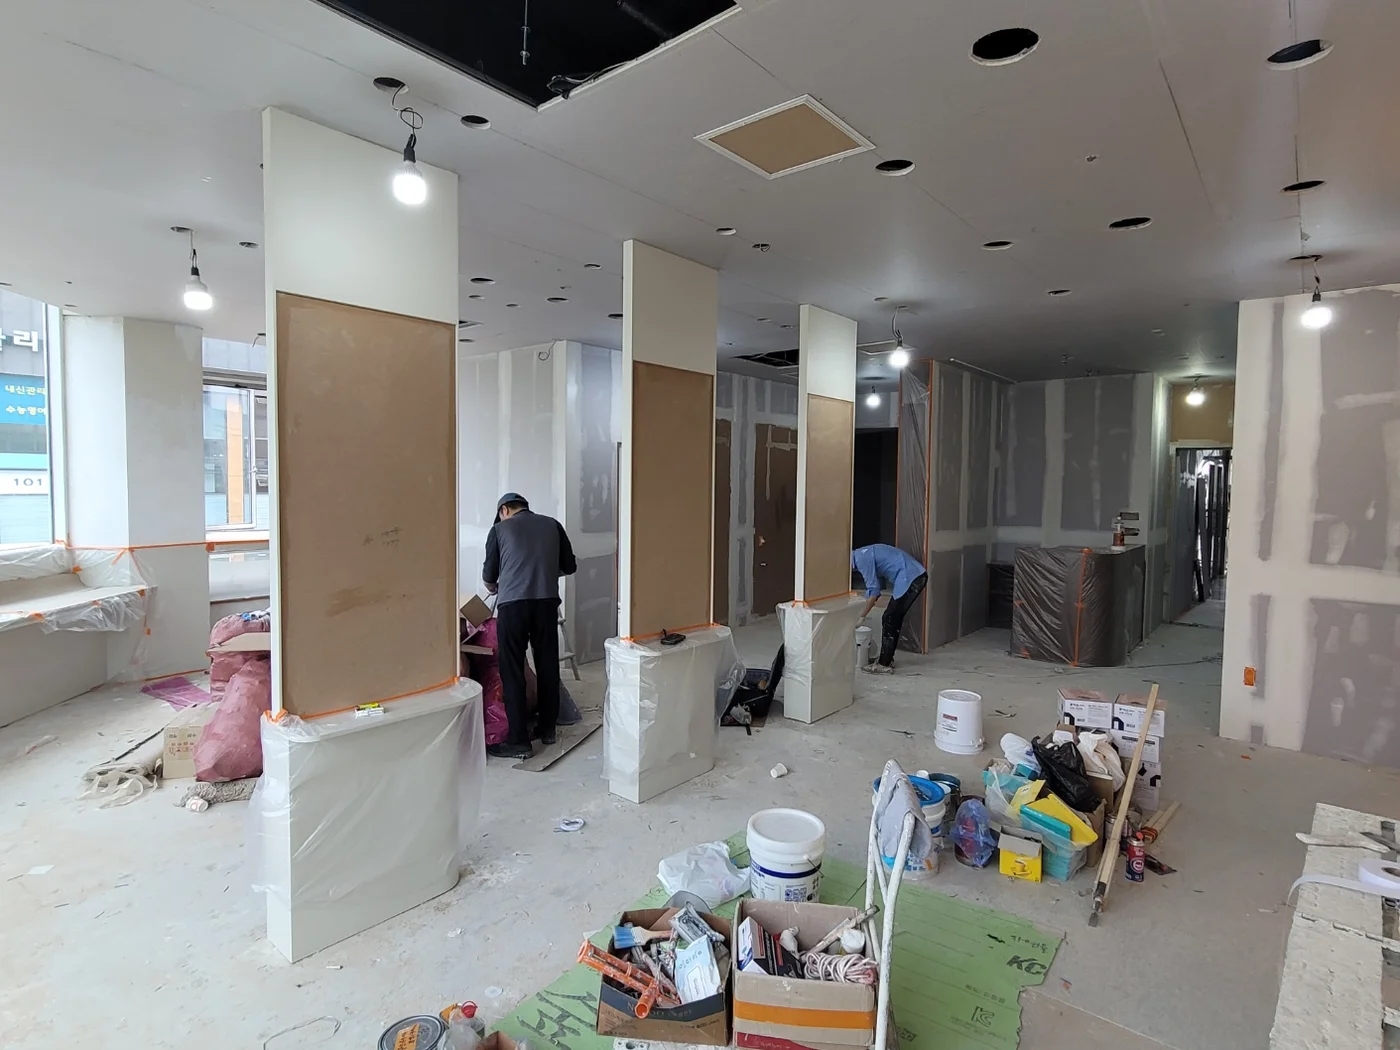
Floor, wall, and ceiling finishes establish the interior's appearance. Review junctions at frames, corners, and floor boundaries alongside broad colors. Substrate and drying requirements vary by material, so follow product guidance and site conditions for subsequent work.
If equipment must pass through finished areas, agree routes and protection beforehand. Access and avoiding damage to completed work matter more to installation sequence than visual order.
Install furniture and equipment, then test operation
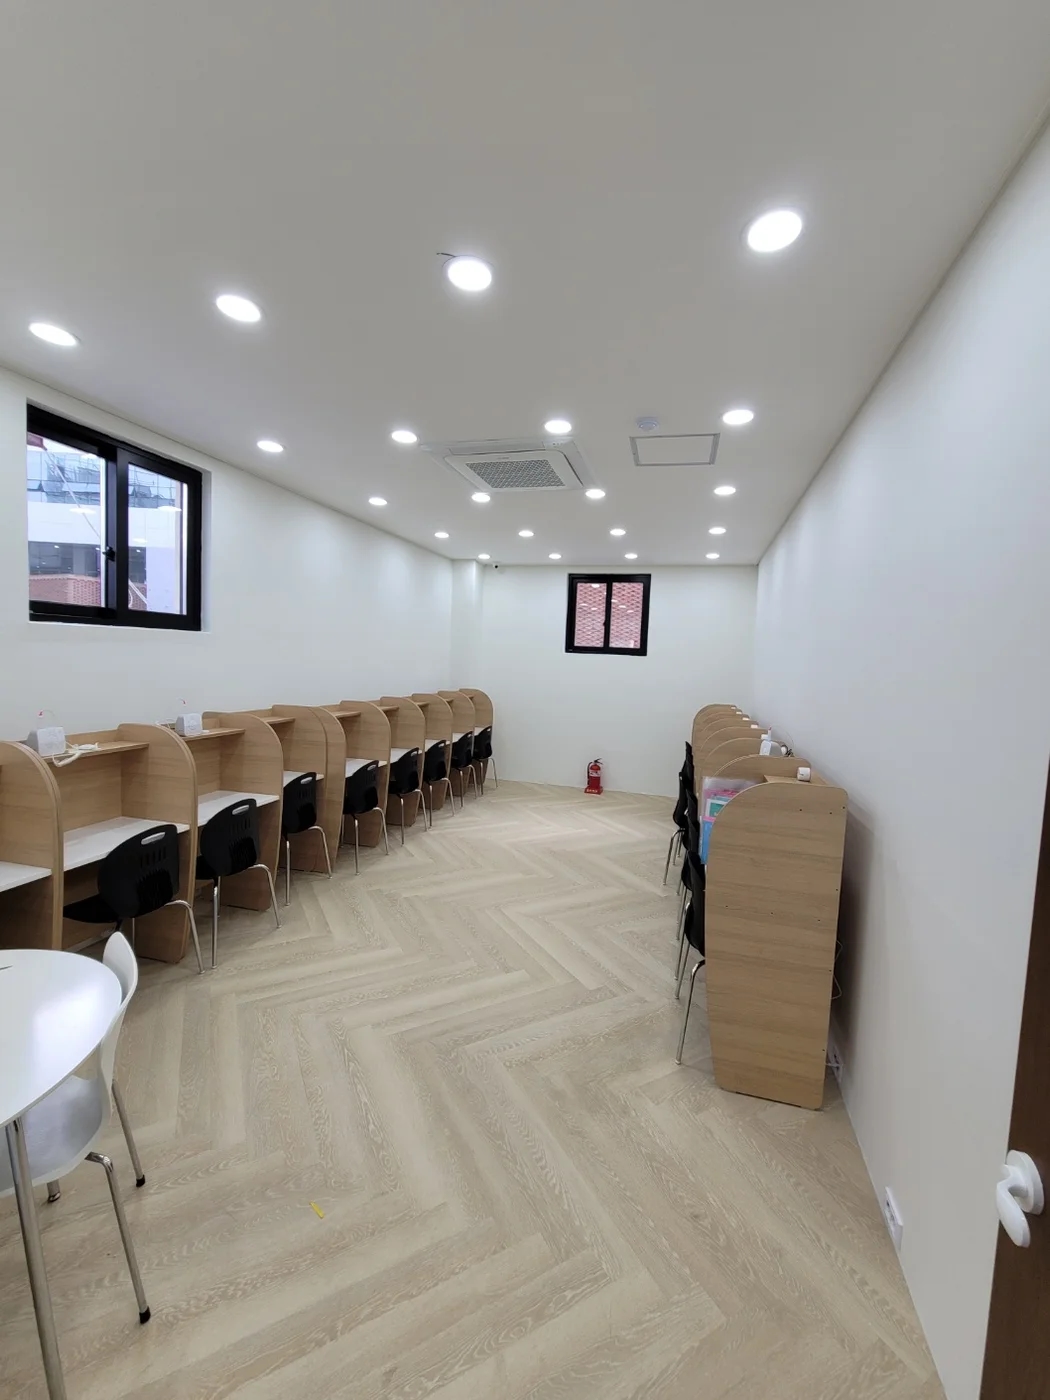
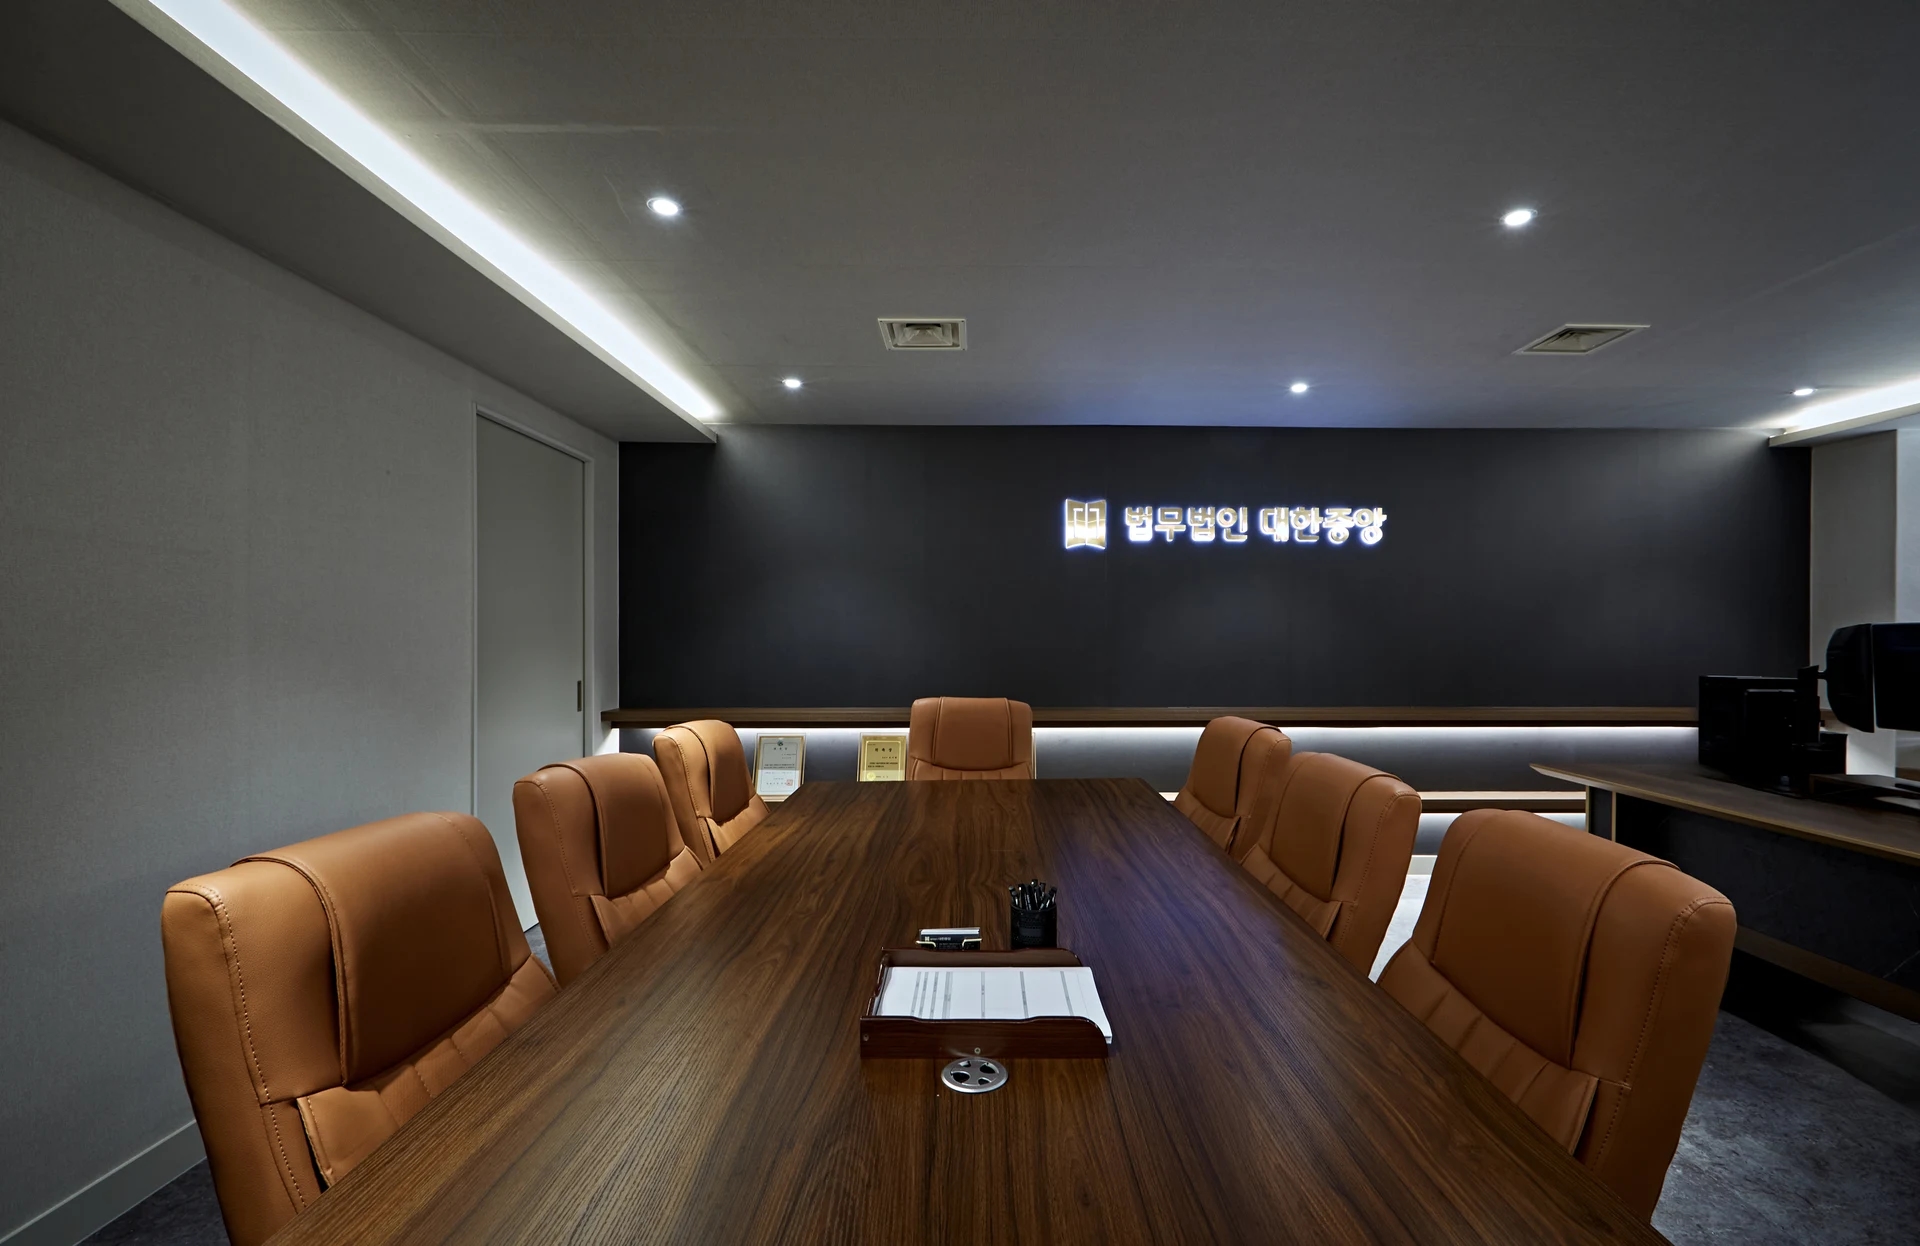
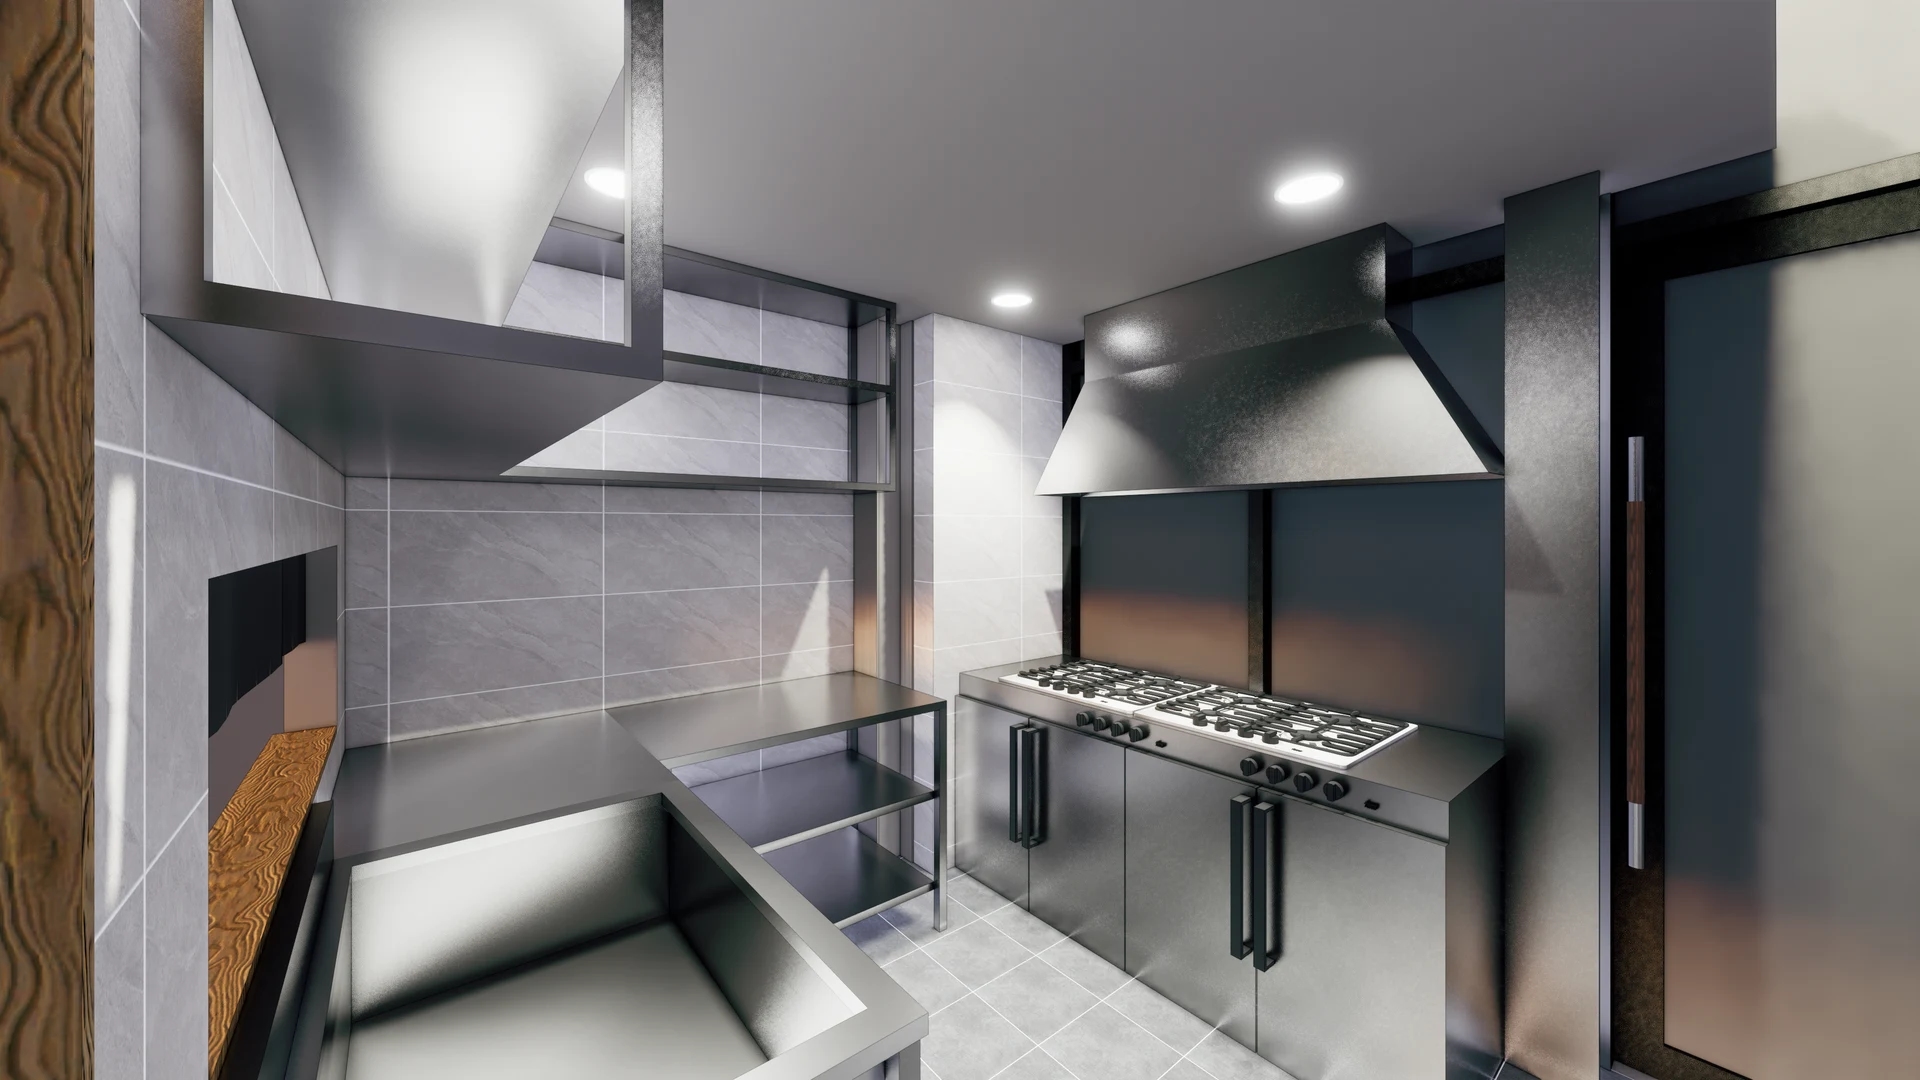
Installed furniture and equipment allow actual use to be checked. Pull out chairs, sit, and check remaining aisles and cabinet-door conflicts. Test lighting from working positions as well as switching fixtures on.
Confirm equipment operation and receive instructions with installers. List outstanding checks for equipment not yet delivered. Separate visual inspection from actual-use testing to find omissions.
Completion checks and handover information
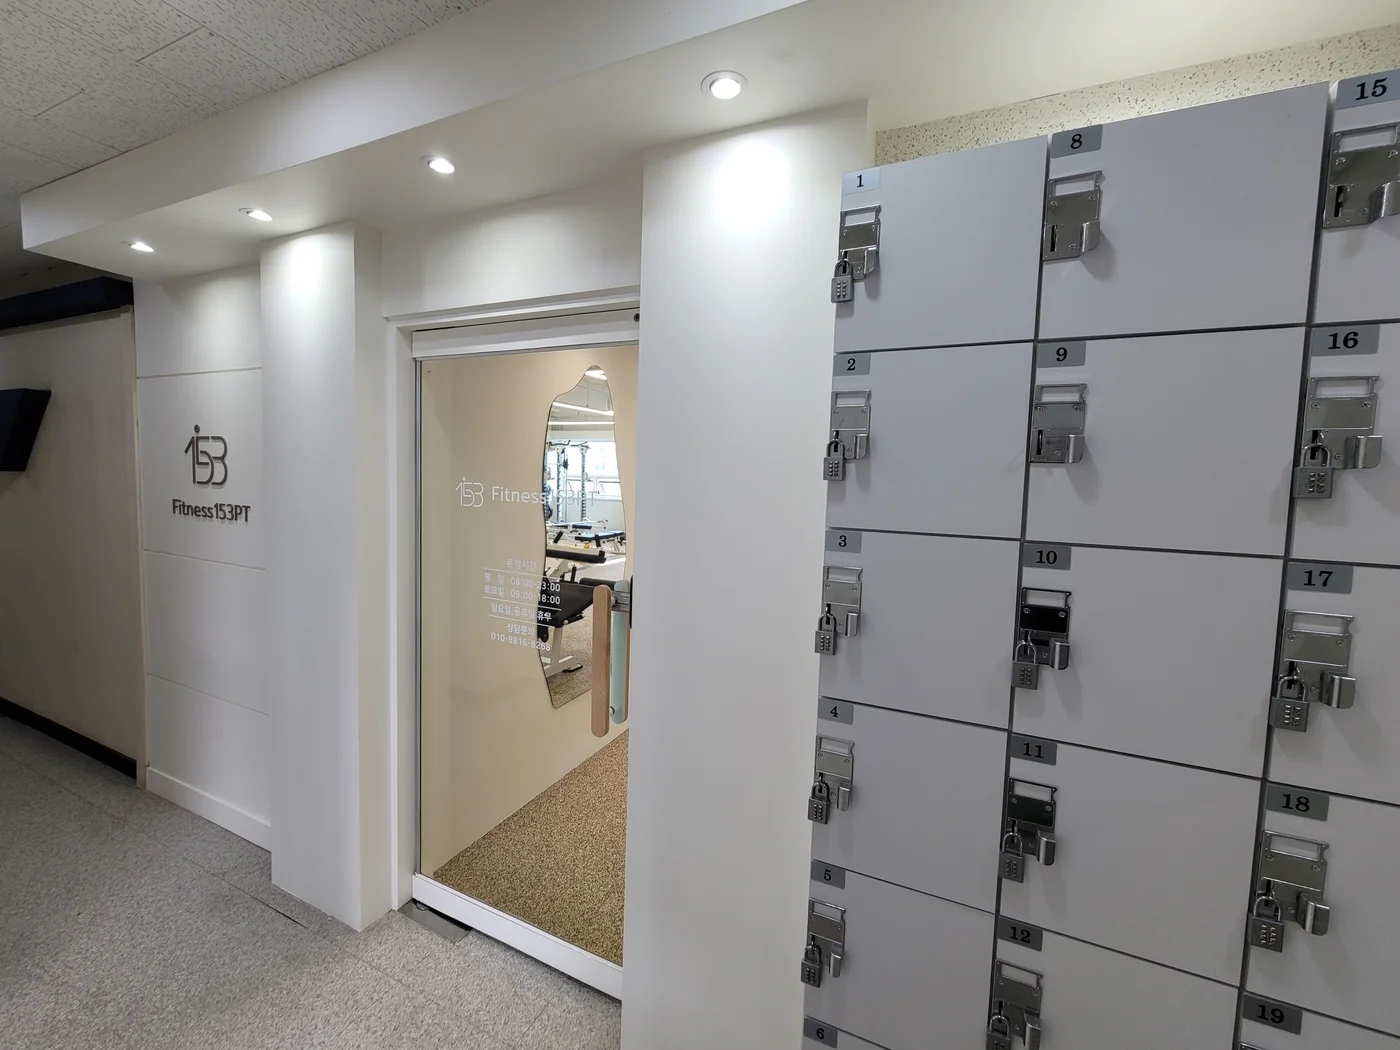
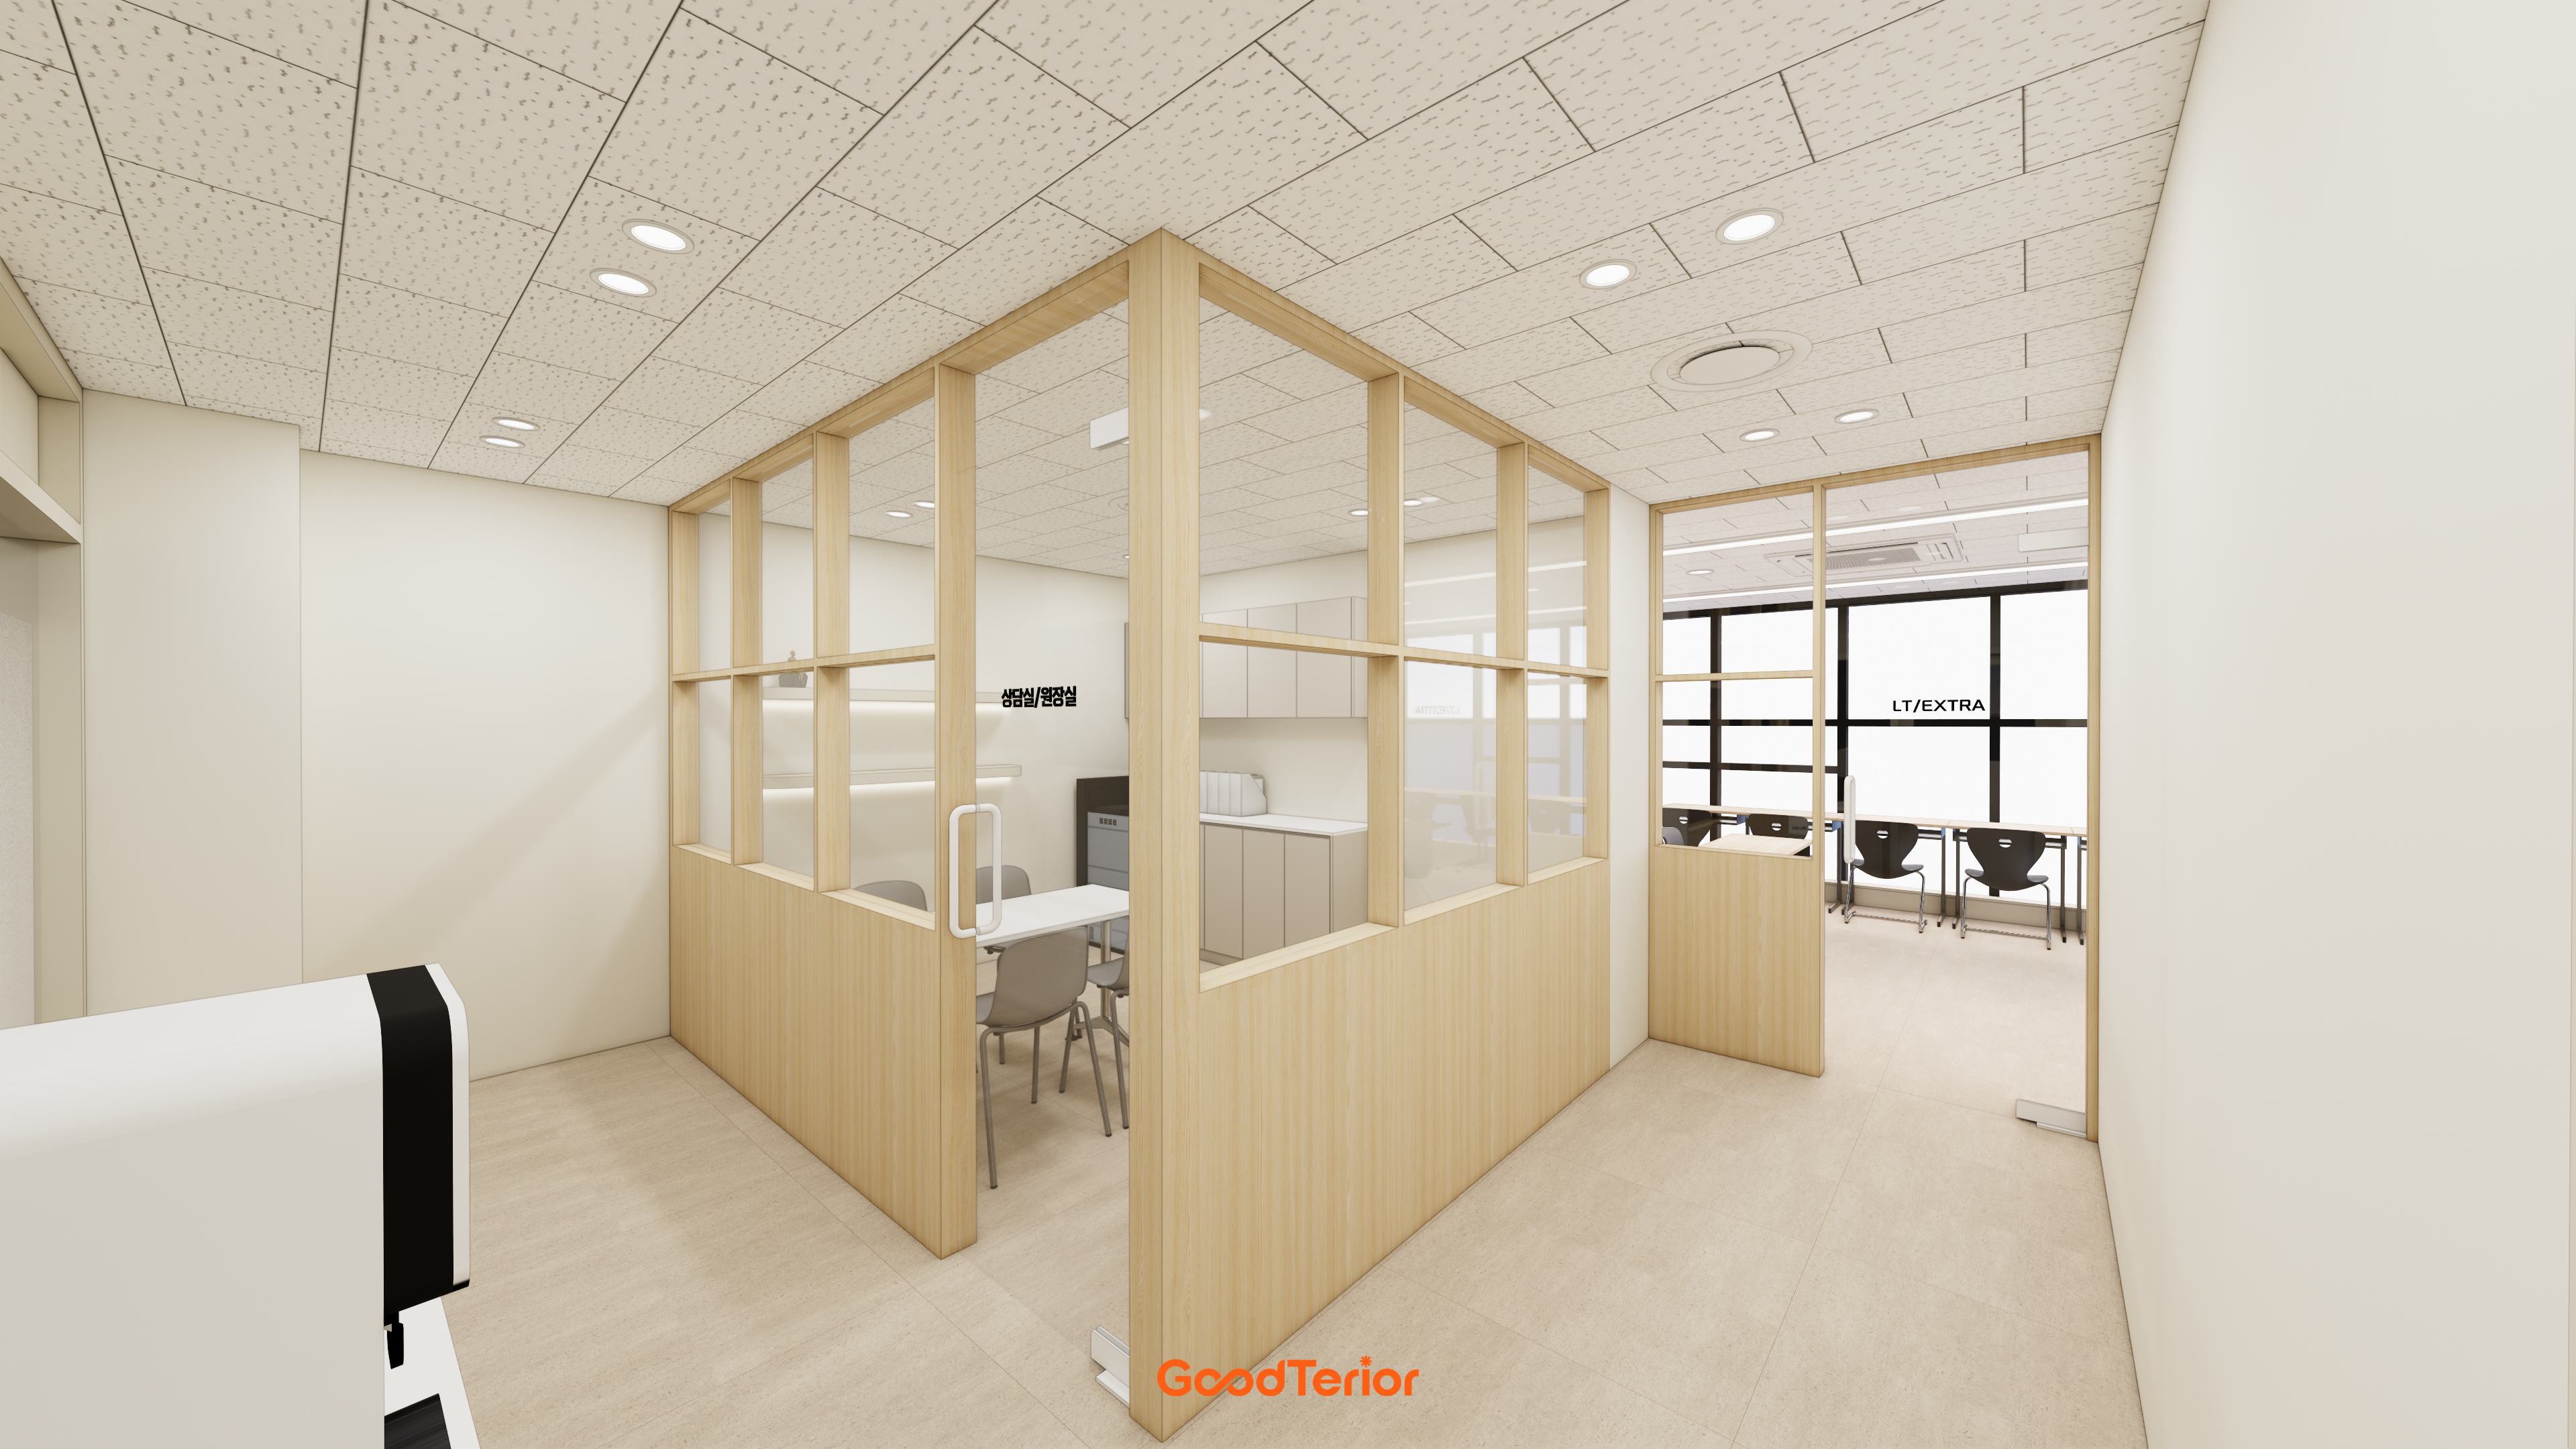
Record remedial positions, photographs, requests, responsibility, and dates together. Specific descriptions such as the joint at the right-hand consultation-room entrance frame are more useful than saying finishes are disappointing.
Obtain material details, care methods, and contacts. Allow time between construction completion and opening for cleaning, equipment tests, and staff preparation. Include post-handover tasks when reviewing the schedule.
Ask us about your interior project
We can discuss a quote and design suited to the space you are planning.
Request a free consultation