Keeping construction photographs before finishes conceal the work
Knowing where a photograph was taken matters as much as taking many images. Real site photographs illustrate linking overall and close views with fixed references, marked drawings, revisions, and handover records.

Before you begin
- Take an overall view establishing the space and direction before close-ups.
- Link fixed references such as frames and corners, verified dimensions, and photo numbers on drawings.
- Keep originals separate from annotated copies, linking revised images, verification status, and handover responsibility in the same list.
Where did you stand, and which way did you photograph?
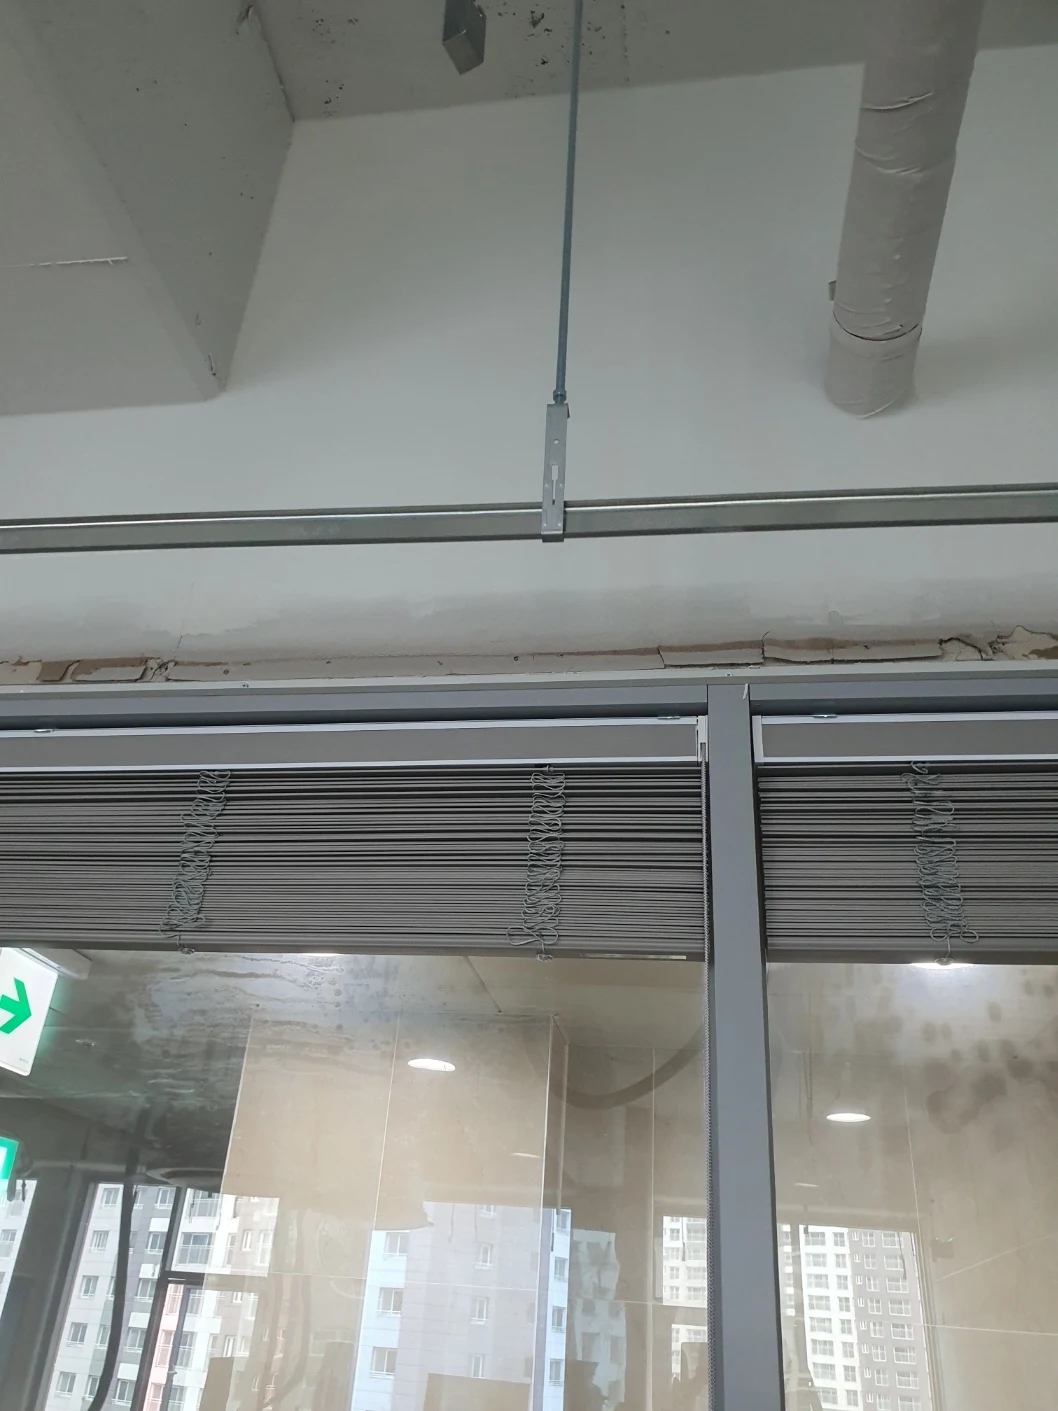
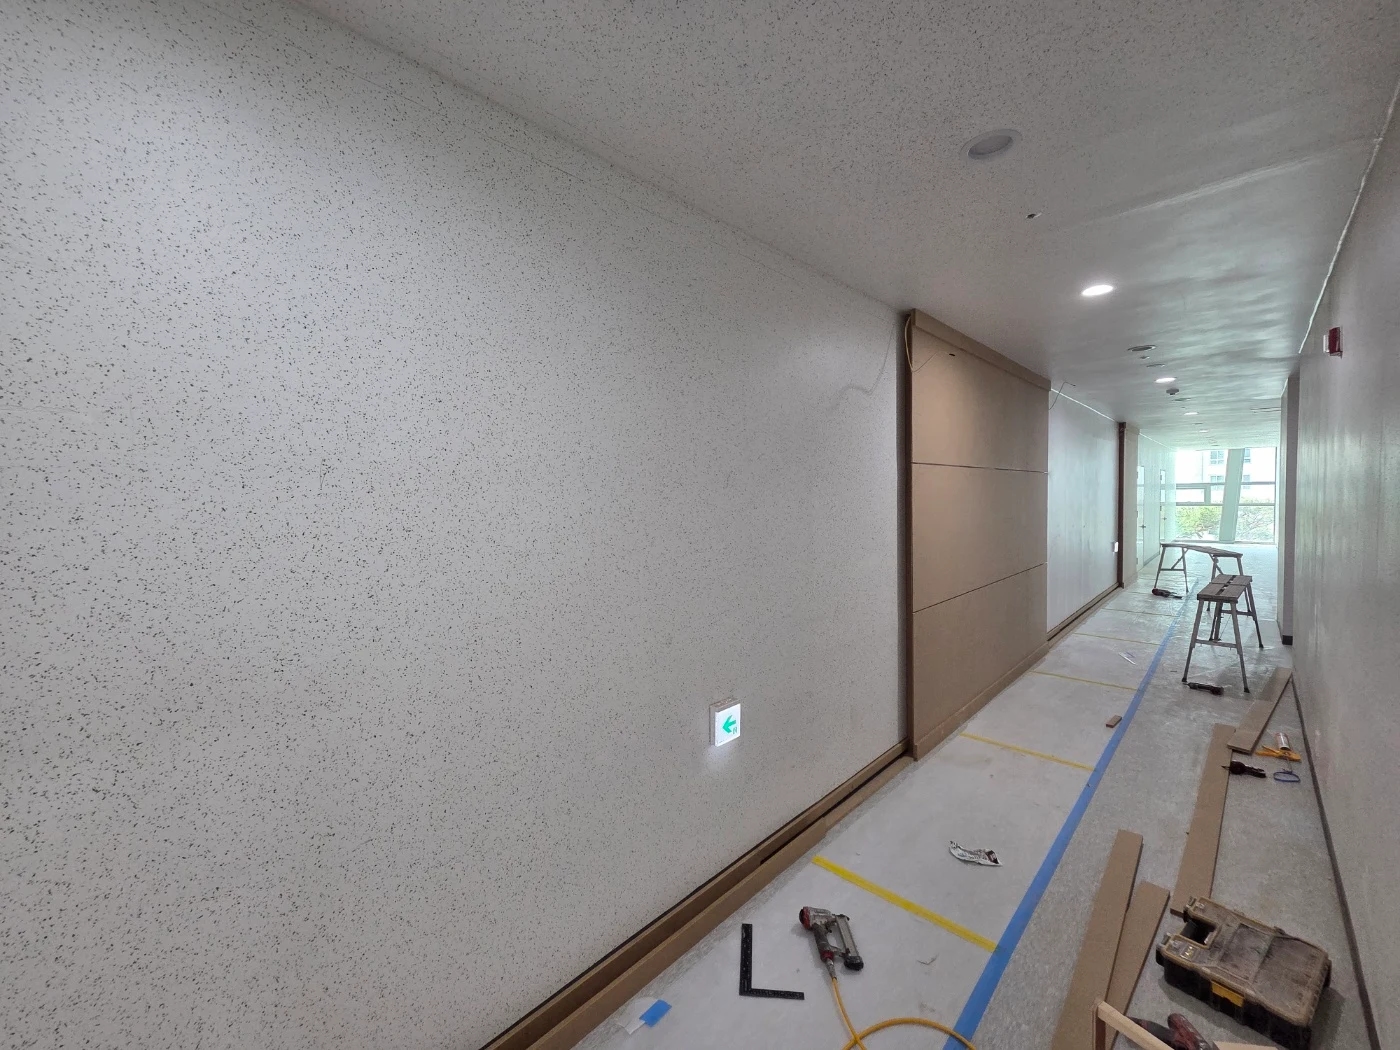
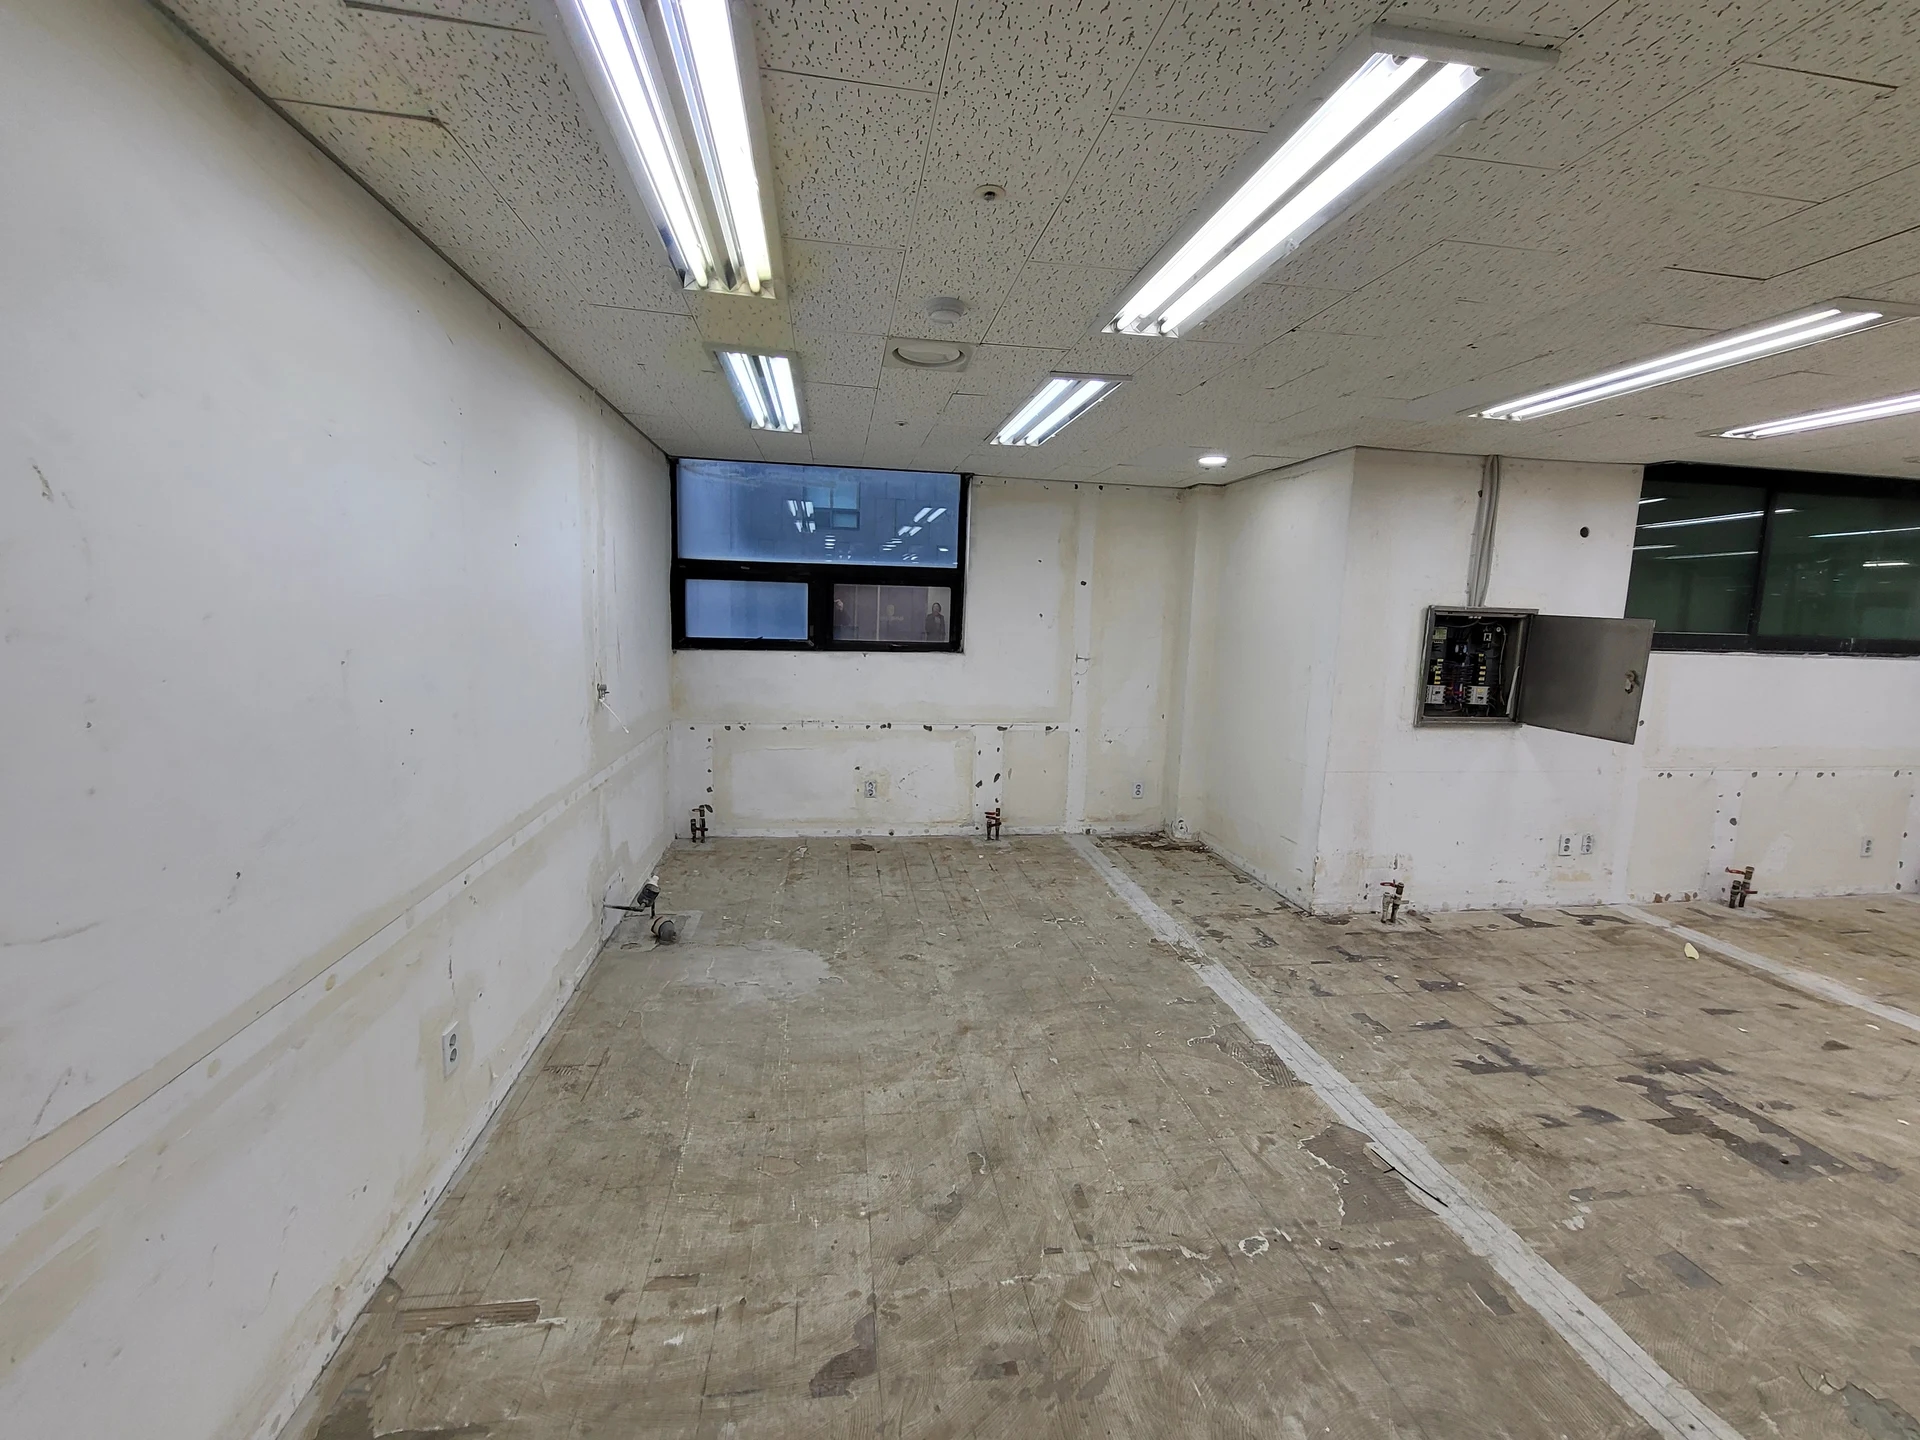
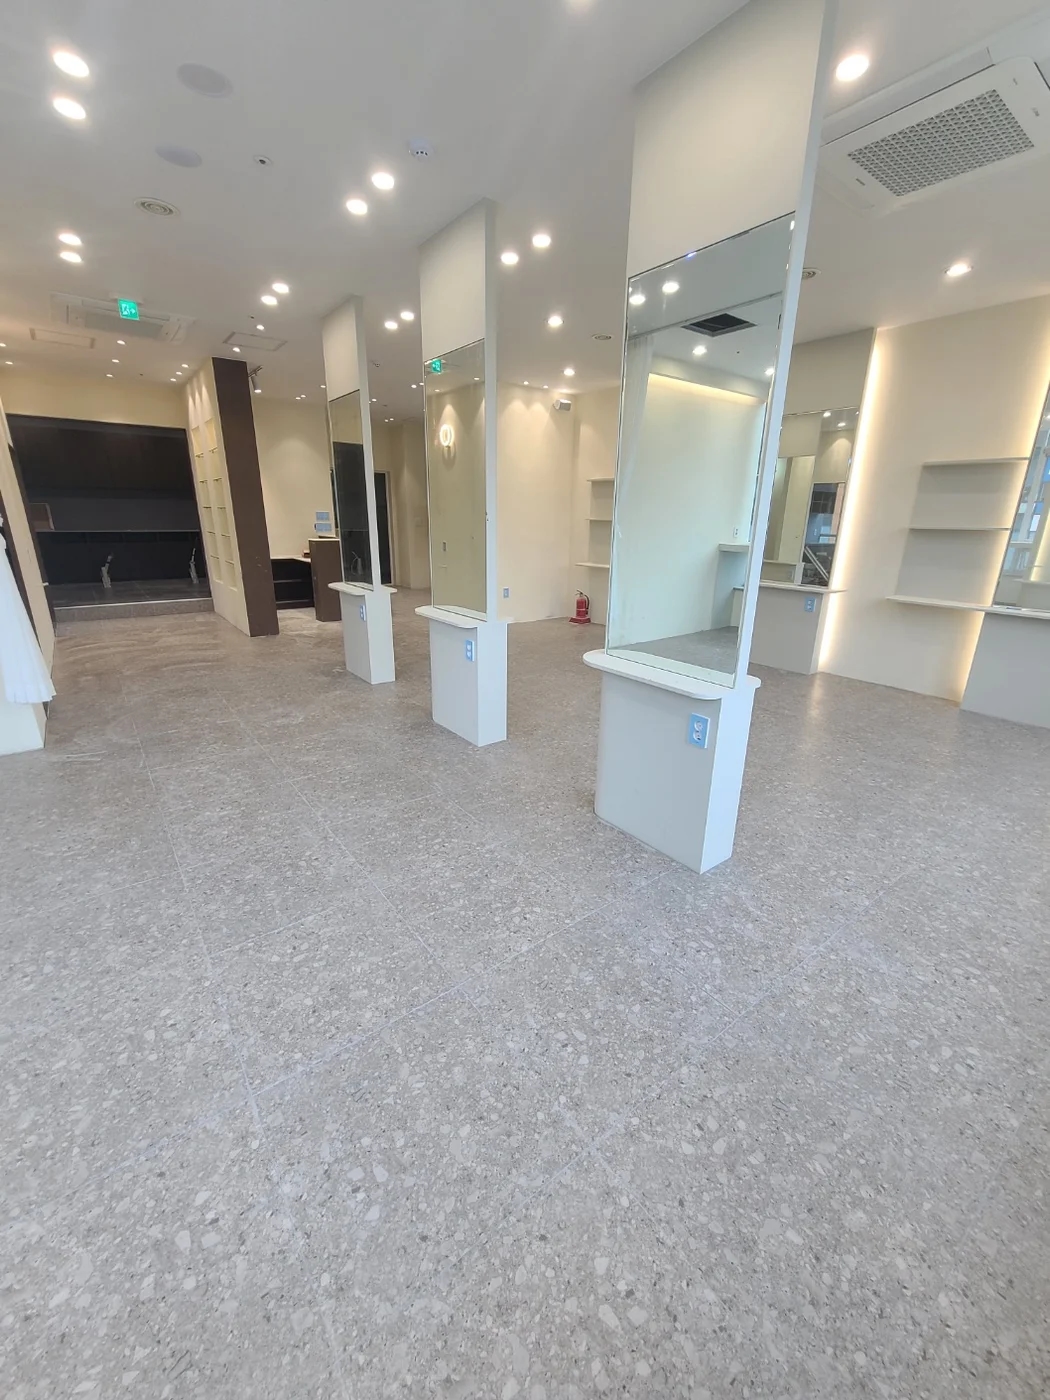
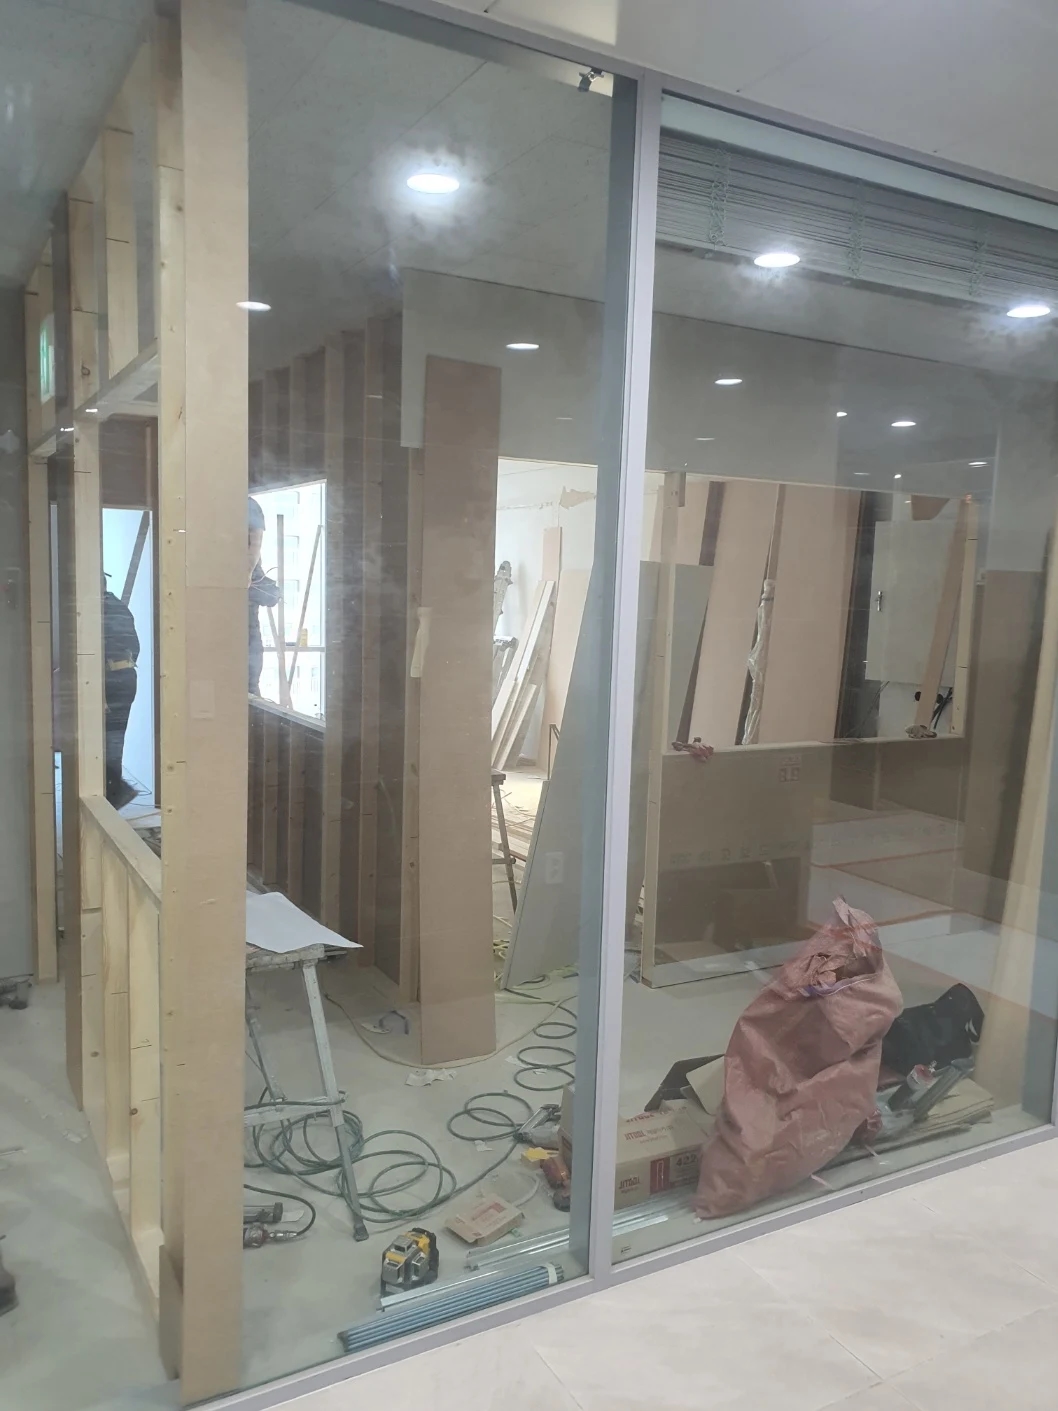
The first photograph shows exposed ceiling framing and white pipes above glazing and blinds. Including window-frame verticals provides location clues missing from tight ceiling close-ups. It still cannot establish exact position or dimensions. Useful records connect such clues to marked drawings.
Standardize space names first. Different drawing and site names can send people to different rooms. If names are undecided, share temporary labels such as Room A and Room B. Preserve the relationship between original images and later renamed rooms in the list.
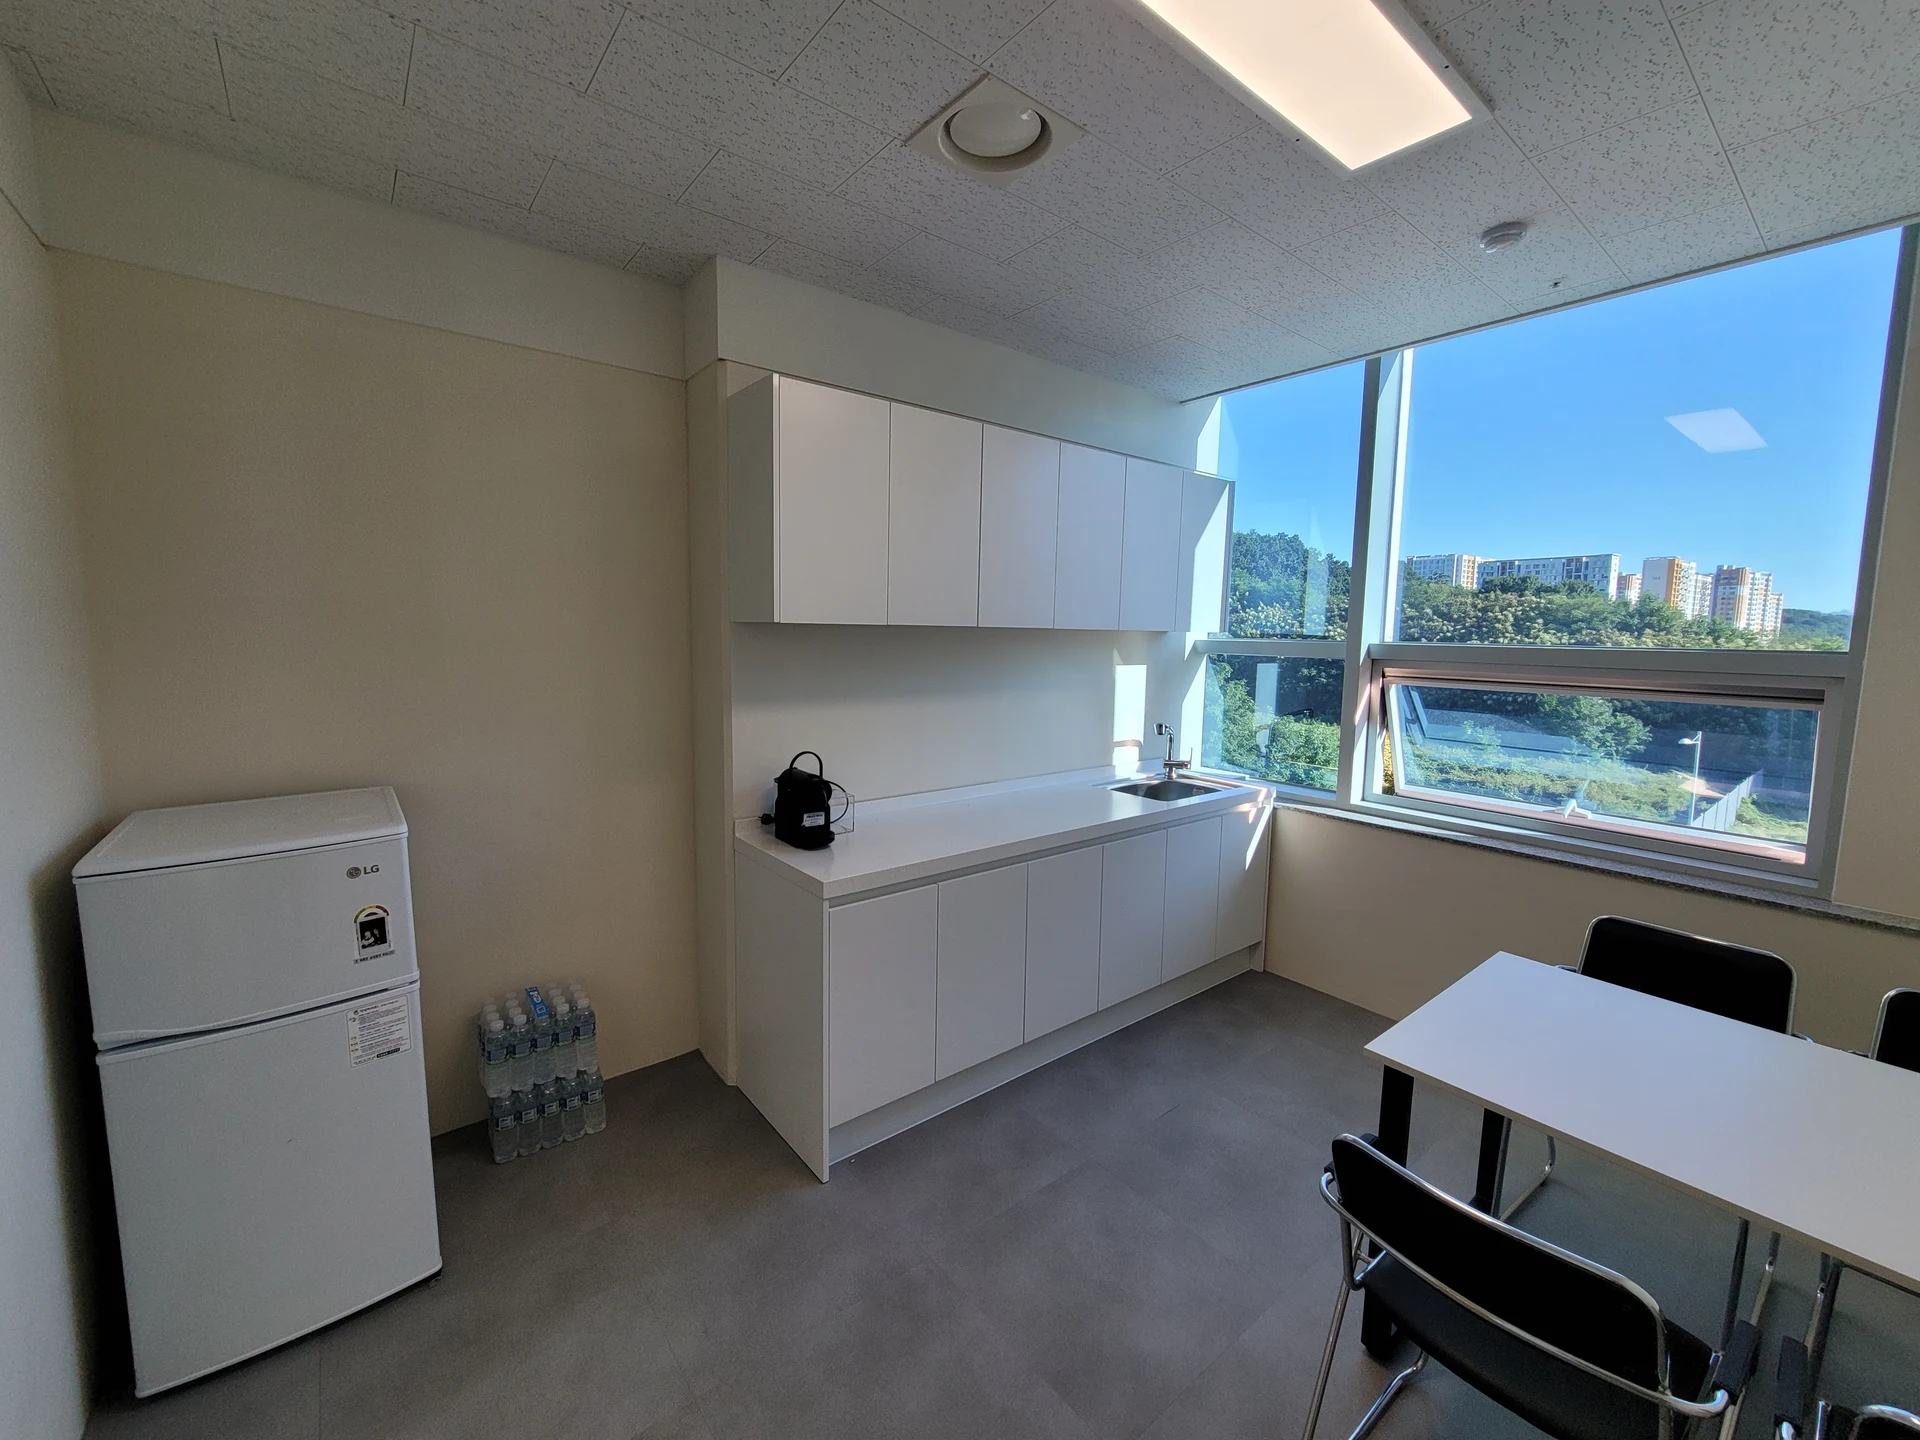
Request an overall view showing entrances or windows, followed by close-ups. Mark camera position and direction on the plan. Group, for example, a Room A entrance-to-window view with its window-head ceiling close-up. This article's images show different locations and should not be treated as an overall/close-up pair of the same detail.
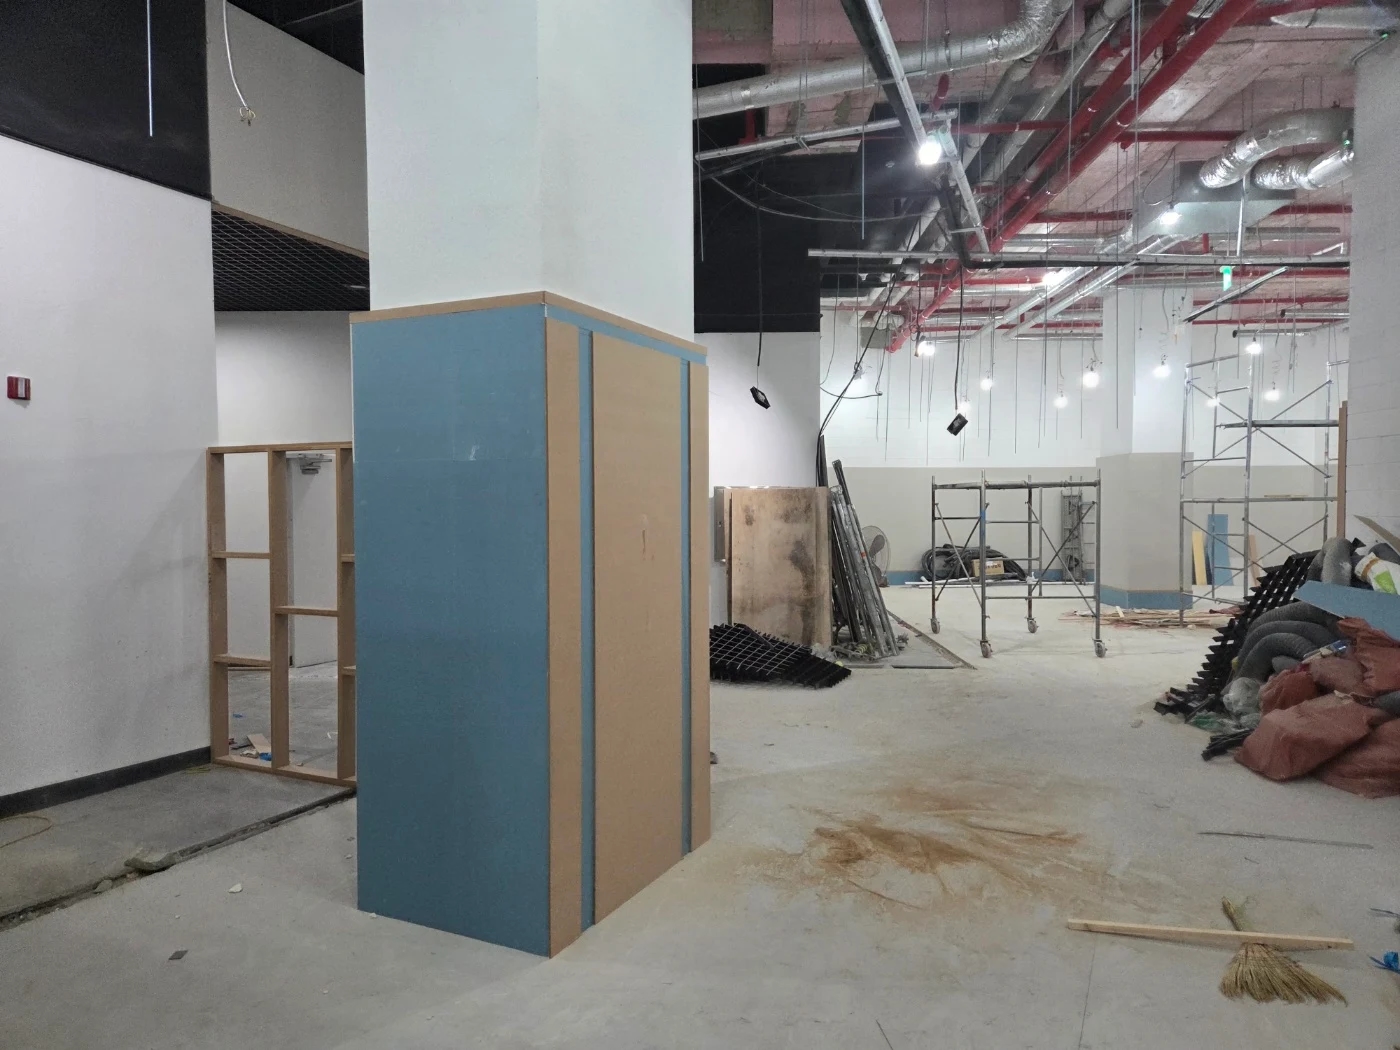
Choose references identifiable later, such as frames and wall corners. Platforms, toolboxes, and stored materials may move. Identify which frame vertical is the reference to avoid confusing similar internal lines. If references change during construction, obtain an explanation of their before-and-after relationship.
For dimensions, record the reference and measured endpoint, distinguishing drawing dimensions from verified site measurements. Do not calculate concealed pipe locations from perspective or tile counts. Confirm reference lines, units, and measured faces with the responsible person before linking annotated images to drawings.
Pre-finish timing differs by task: before closing ceilings or furniture concealing walls, for example. List required subjects and ask the site contact when photography is possible. Scheduling visits alone may miss concealed work. Follow site access guidance and request worker photographs of hard-to-reach details.
Every stage need not have equal photo counts. Choose purposeful subjects such as future maintenance points, relocated items, and connections drawings explain poorly. Record already-concealed areas without photographs too. Do not mark missing records complete, so recipients understand their limits.
Link close-ups to drawing references
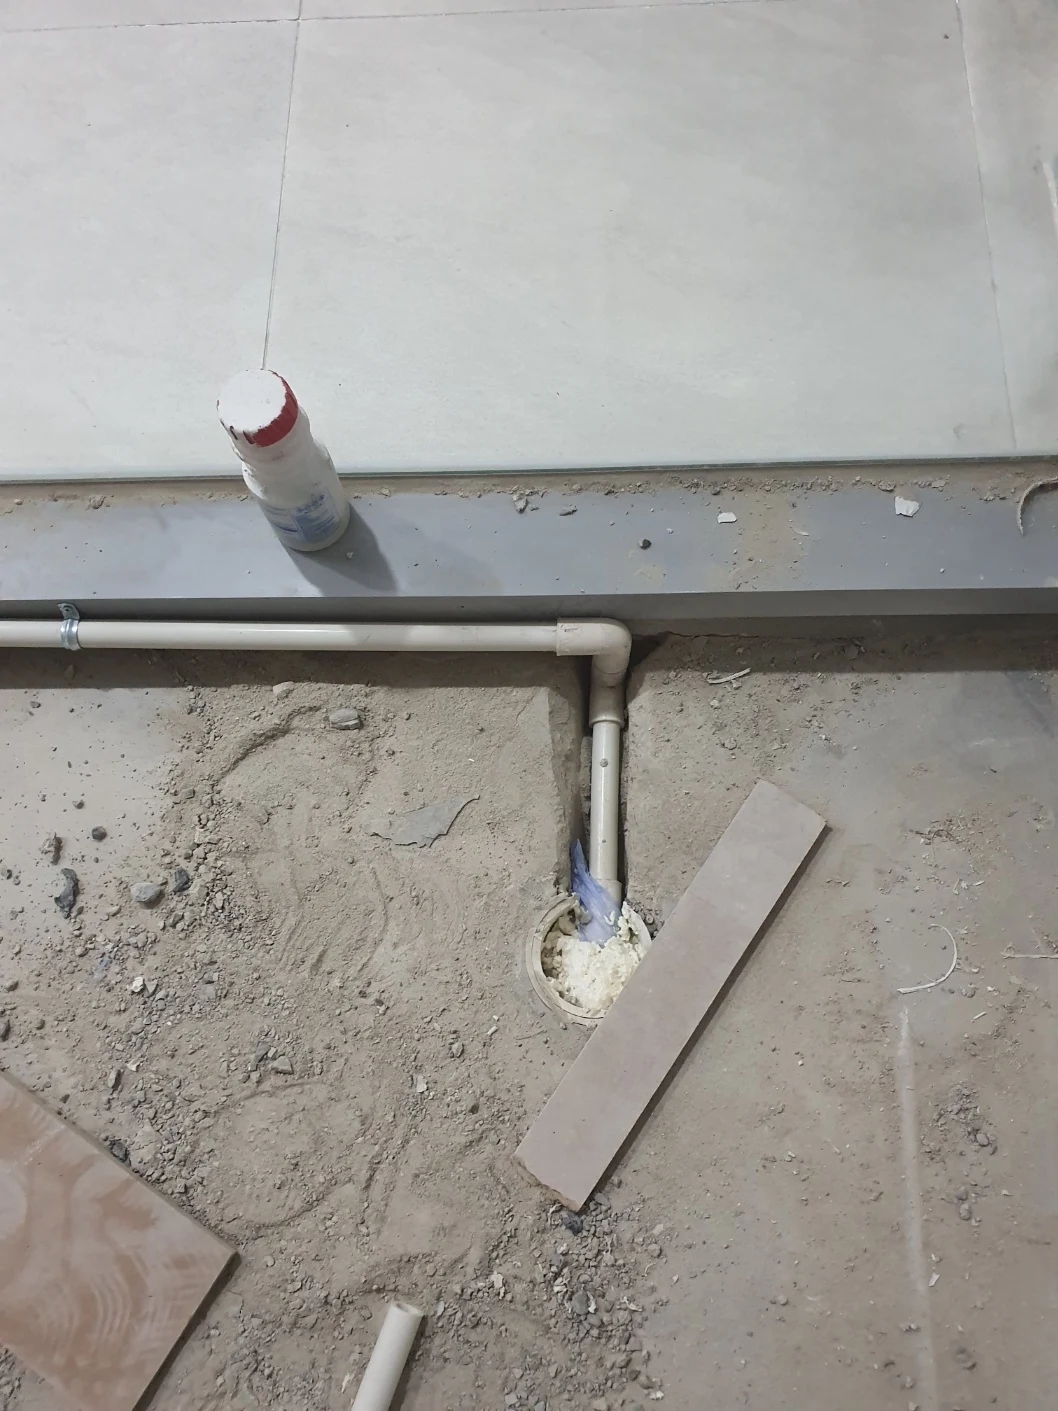
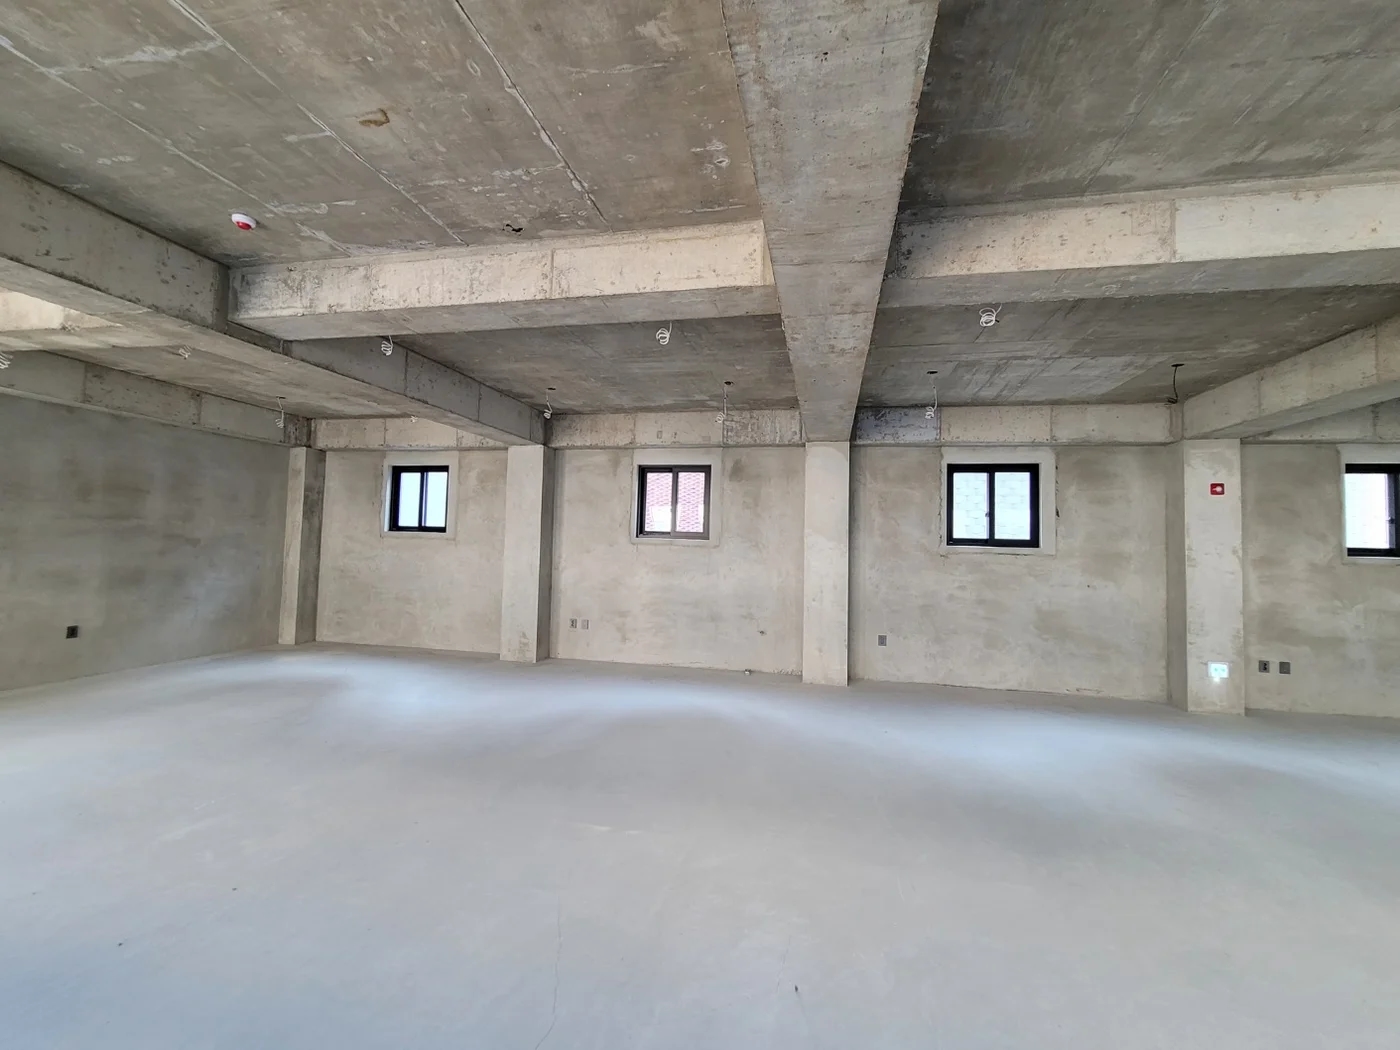
The second photograph closely shows a white pipe turning at the floor boundary. Containers and materials appear, but no entrance or whole room. It illustrates the difference between showing a connection and enabling someone to find it later. It cannot establish pipe use, specifications, hidden connections, or installation compliance.
Use filenames for room labels, subjects, and overall or close-up status, keeping detailed descriptions in the list. For example, RoomA_window-ceiling_overall_01 and RoomA_window-ceiling_closeup_02 can be grouped. Add dates and drawing references to distinguish later images of the same area. Do not rely solely on chat message order.
Store original files separately from annotated copies. Image edges may retain orientation clues. Cropped explanations should remain linked to originals. Describe added lines and lettering so annotations cannot be mistaken for photographed components.
Each list entry should contain photo reference, space and detail, date, linked drawing, question, and responsible person. Use observational language. Seeing a pipe turn at a floor boundary differs from asking the specialist to confirm its use and drawing update. Do not transfer unanswered assumptions into confirmed facility information.
When work moves or improves, retain earlier files. Link before and after under the same item, marking final reference photographs and drawings. Separate rephotographed details from outstanding answers so images shared during construction are not mistaken for final conditions.
Agree who photographs, links drawings, and hands over records. If operators cannot attend every stage, define the site contact's recording scope and delivery format. Ask about separate visits or drawing preparation and their quote and handover inclusions. Maintain the same list during work rather than collecting scattered chat files at completion.
At handover, test whether a newcomer can locate the space and detail by photo number. Share records for later maintenance, but do not choose drilling positions or repair methods from photographs alone. Recheck current drawings and site before actual work. Keep originals, final drawings, and outstanding questions together to communicate omissions clearly.
Ask us about your interior project
We can discuss a quote and design suited to the space you are planning.
Request a free consultation