3 checks after built-in cabinet installation
It is easy to accept built-in cabinets based only on their closed appearance. Compare approved and fabricated details, then check door and drawer movement, shelves and locks, and records of required improvements.

Before you begin
- Compare door divisions, handles, and internal layouts against approved furniture drawings and finish samples.
- Operate each door and drawer, recording contact points and awkward movements specifically.
- Check shelves, locks, and product information, distinguishing adjustments from additional fabrication.
Appearance with all doors closed
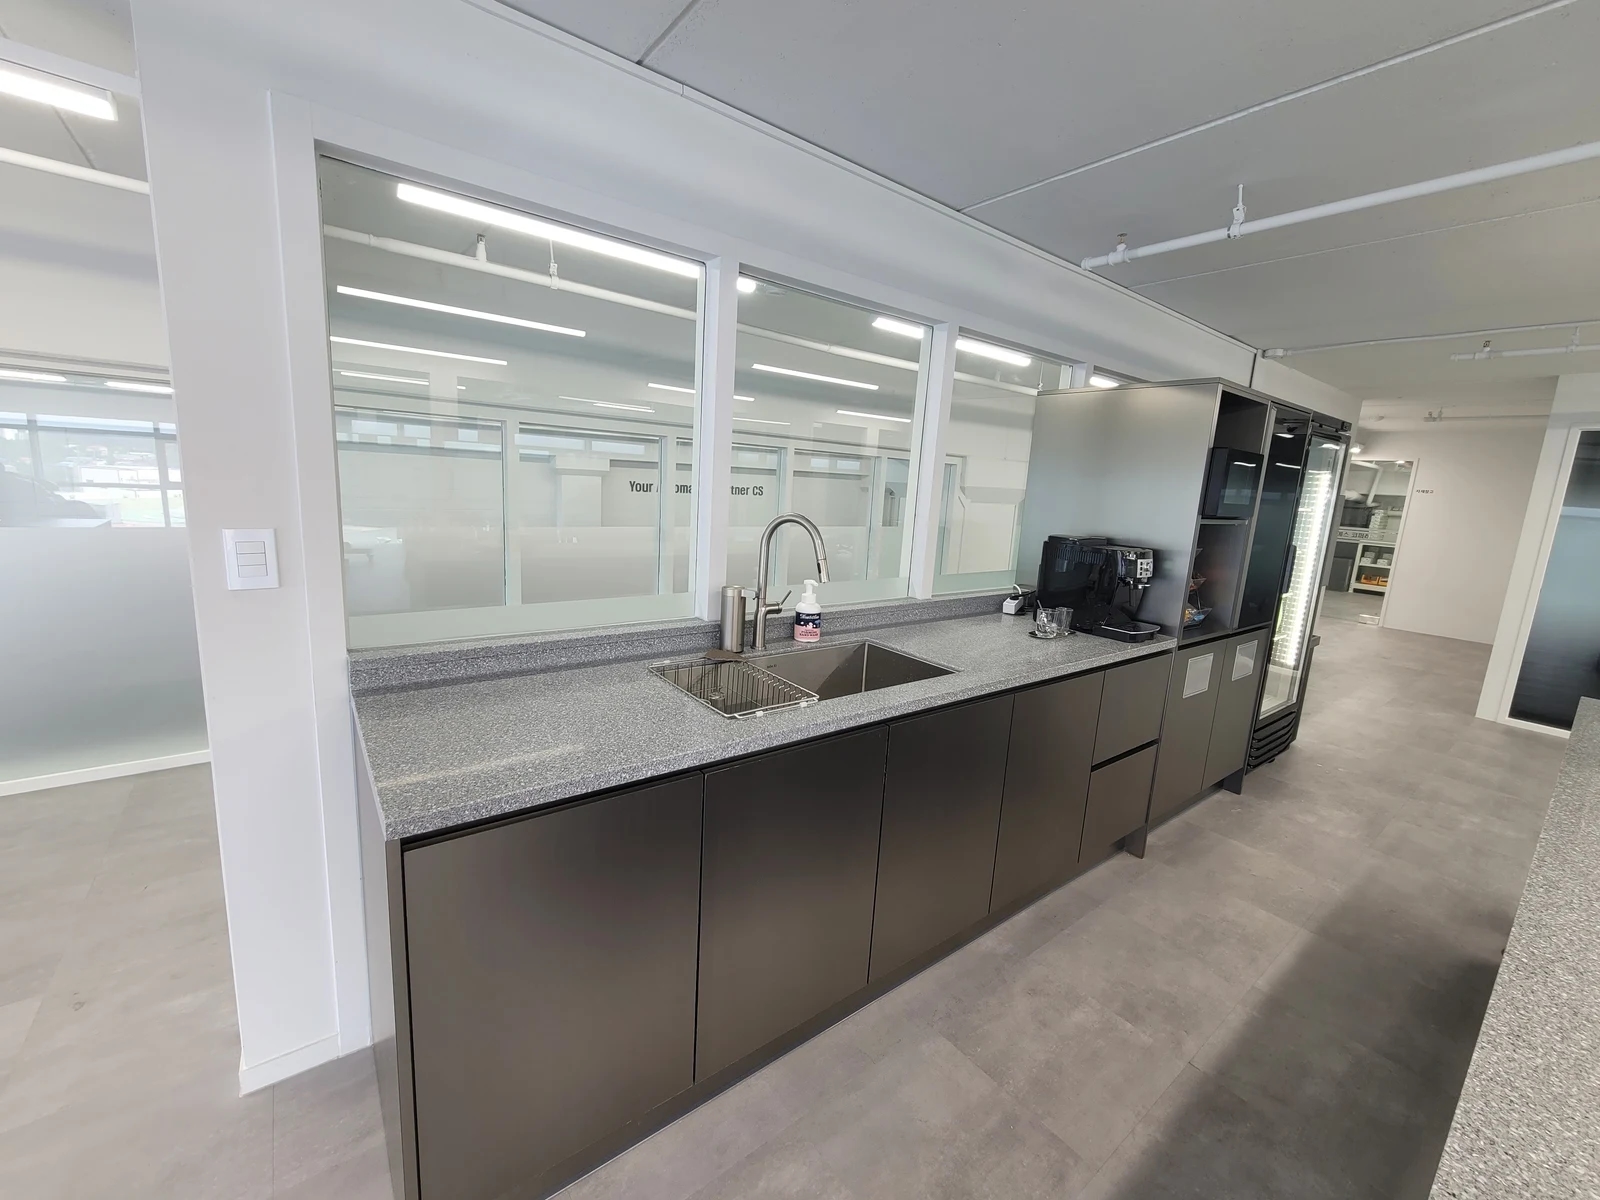
Have approved furniture drawings and finish samples ready when inspecting completed built-ins. Long runs of doors and drawer fronts, as in the pantry photograph, are easy to review closed. Compare specified door numbers, divisions, grips, and handles with actual fabrication. Distinguish separately supplied appliances such as refrigerators from custom furniture to clarify what is being checked.
Look at door top and bottom lines and gaps from the front and side. Record corners projecting unusually or sections appearing incompletely closed. Inspect closely on site to distinguish actual conditions from photographic perspective and lighting. Appearance alone does not establish poor leveling or warped panels as the cause.
A universal millimeter gap cannot apply to every custom cabinet. Ask the contractor which products, hardware, approved details, and fabrication standards apply. Have the responsible person distinguish adjustments from fronts or finishes needing replacement. Identifying visual differences separately from diagnosing causes and remedies makes the process clearer.
Compare approved samples beside the actual furniture rather than judging color from photographs with mixed light and dark areas. Include corners, frequently touched edges, and floor junctions. If a mark looks scratched, request confirmation of dirt versus surface damage. Obtain finish care instructions before using strong cleaners or abrasive tools.
Open every closed compartment
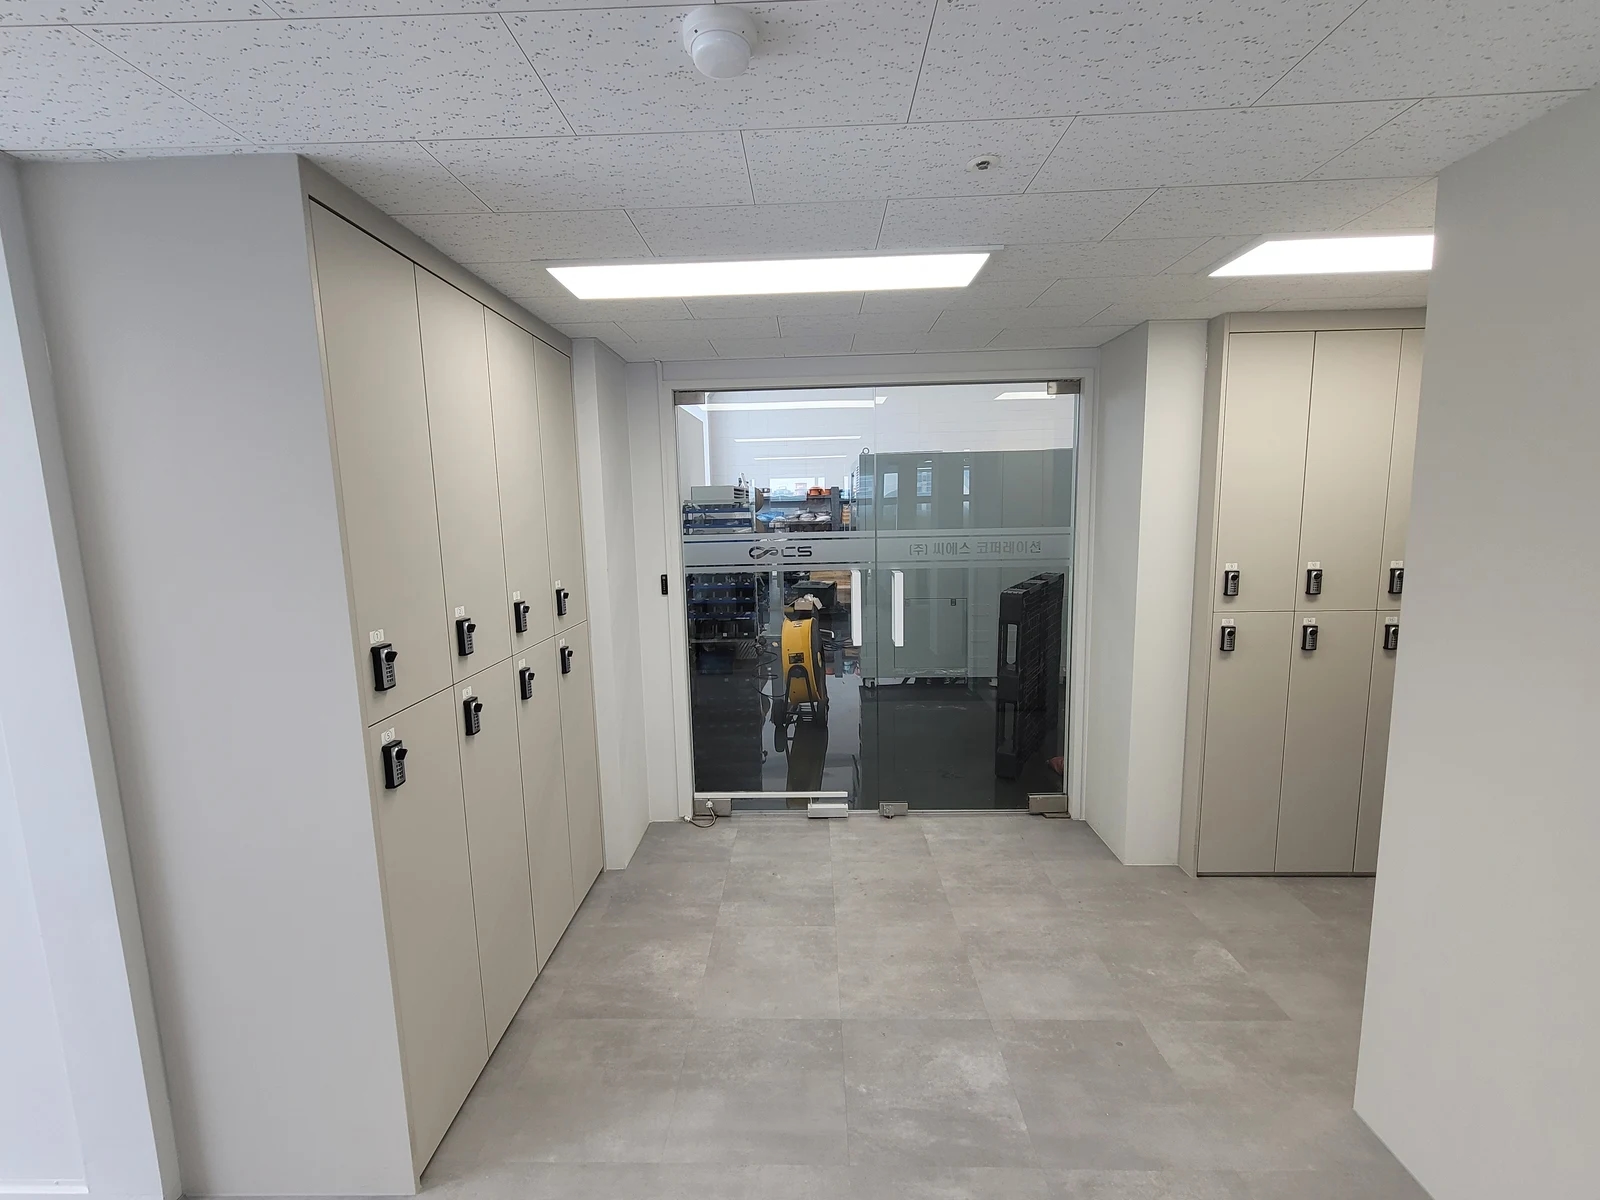
The photographed cabinets have locks on upper and lower doors. Similar appearance is not a reason to check only a single compartment. At handover, open and close each door, looking for contact with adjacent doors, carcasses, floors, or nearby furniture. The photograph shows closed appearance, not an operating-test result for that site.
Record where awkward movement occurs: initial opening, midway, or final closure. Instead of saying a door is strange, describe the location and observation, such as the first upper door left of the entrance making an apparent contact sound when closing. This lets everyone examine the same compartment. Sound alone does not establish failed hardware.
Pull out and return each drawer, checking interrupted movement, closed front alignment, and leftover packing. Before testing with stored items, confirm usage conditions and permitted loads with the responsible person. Do not force drawers or arbitrarily pile heavy objects into them. Request installer review if adjustment or dismantling appears necessary.
For locks, follow instructions through locking and reopening. Confirm supplied keys or management accessories and who provides password setup and administration guidance. Do not record actual passwords in public inspection photographs or shared documents. If allocating staff compartments, align door numbers with the handover list and mark uninspected compartments separately.
Receive shelf details and an improvement list
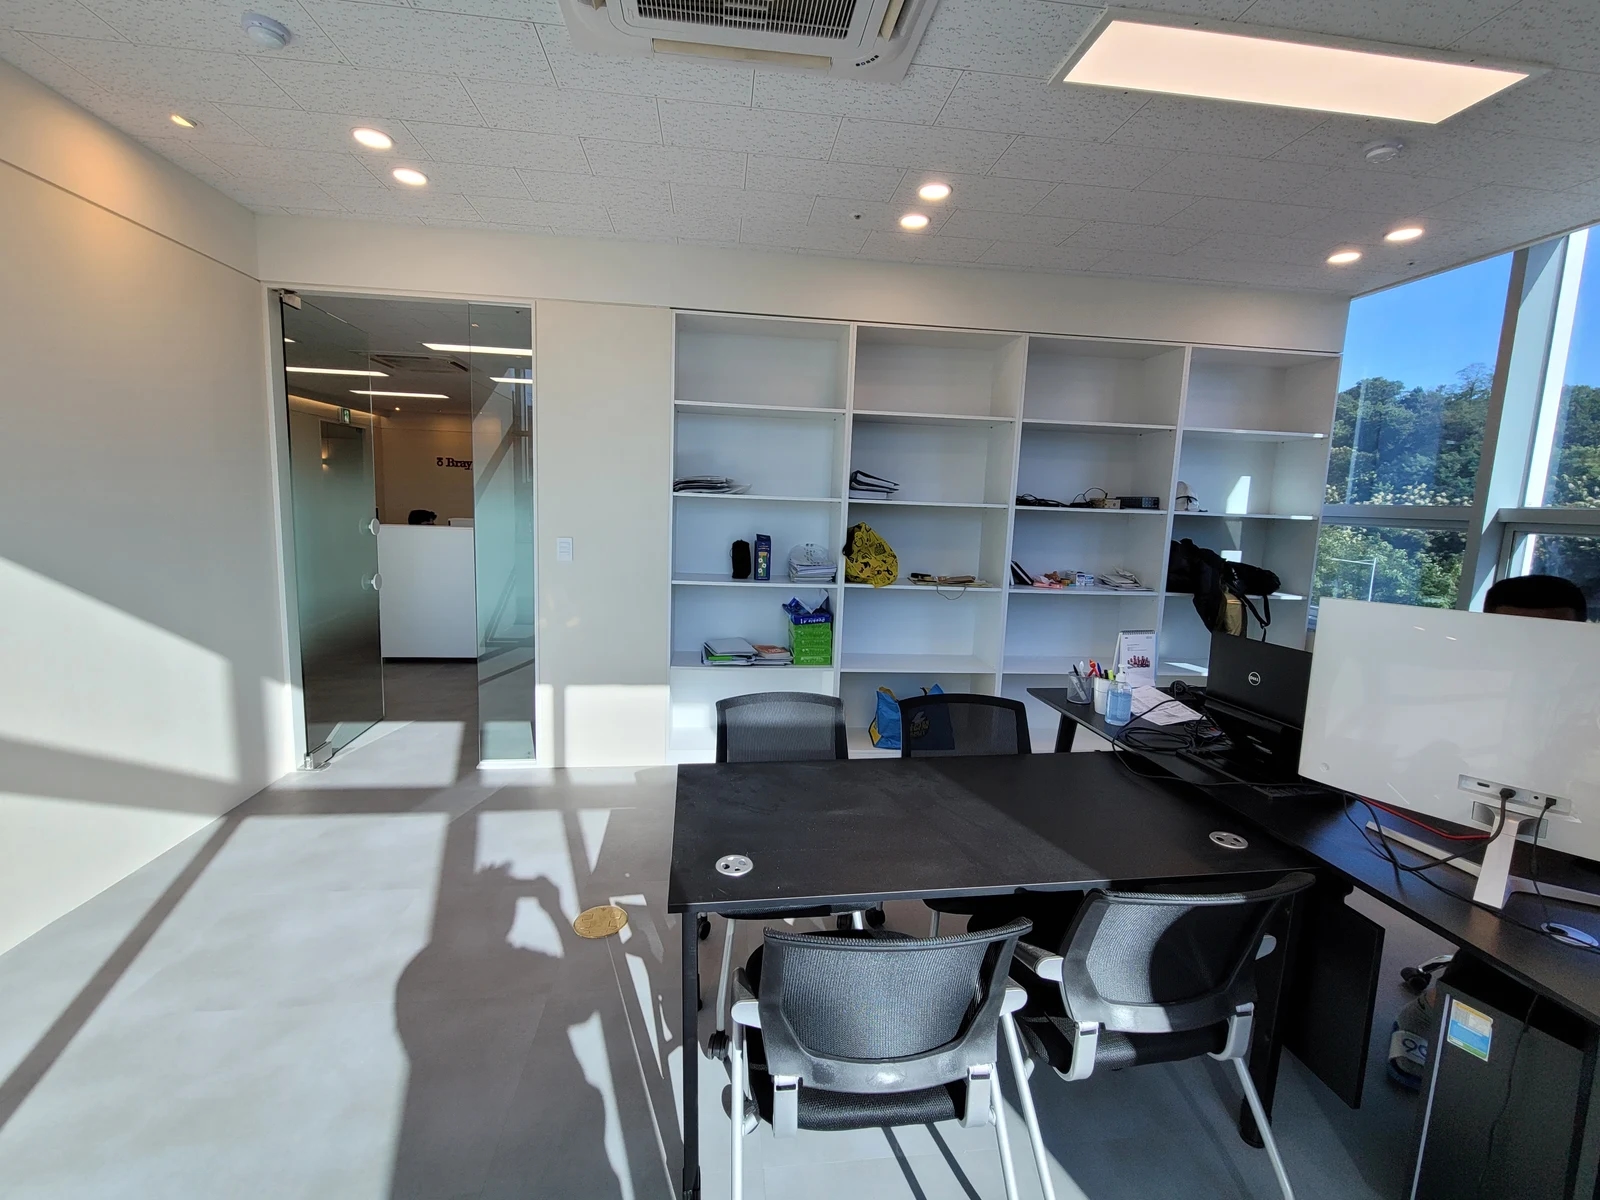
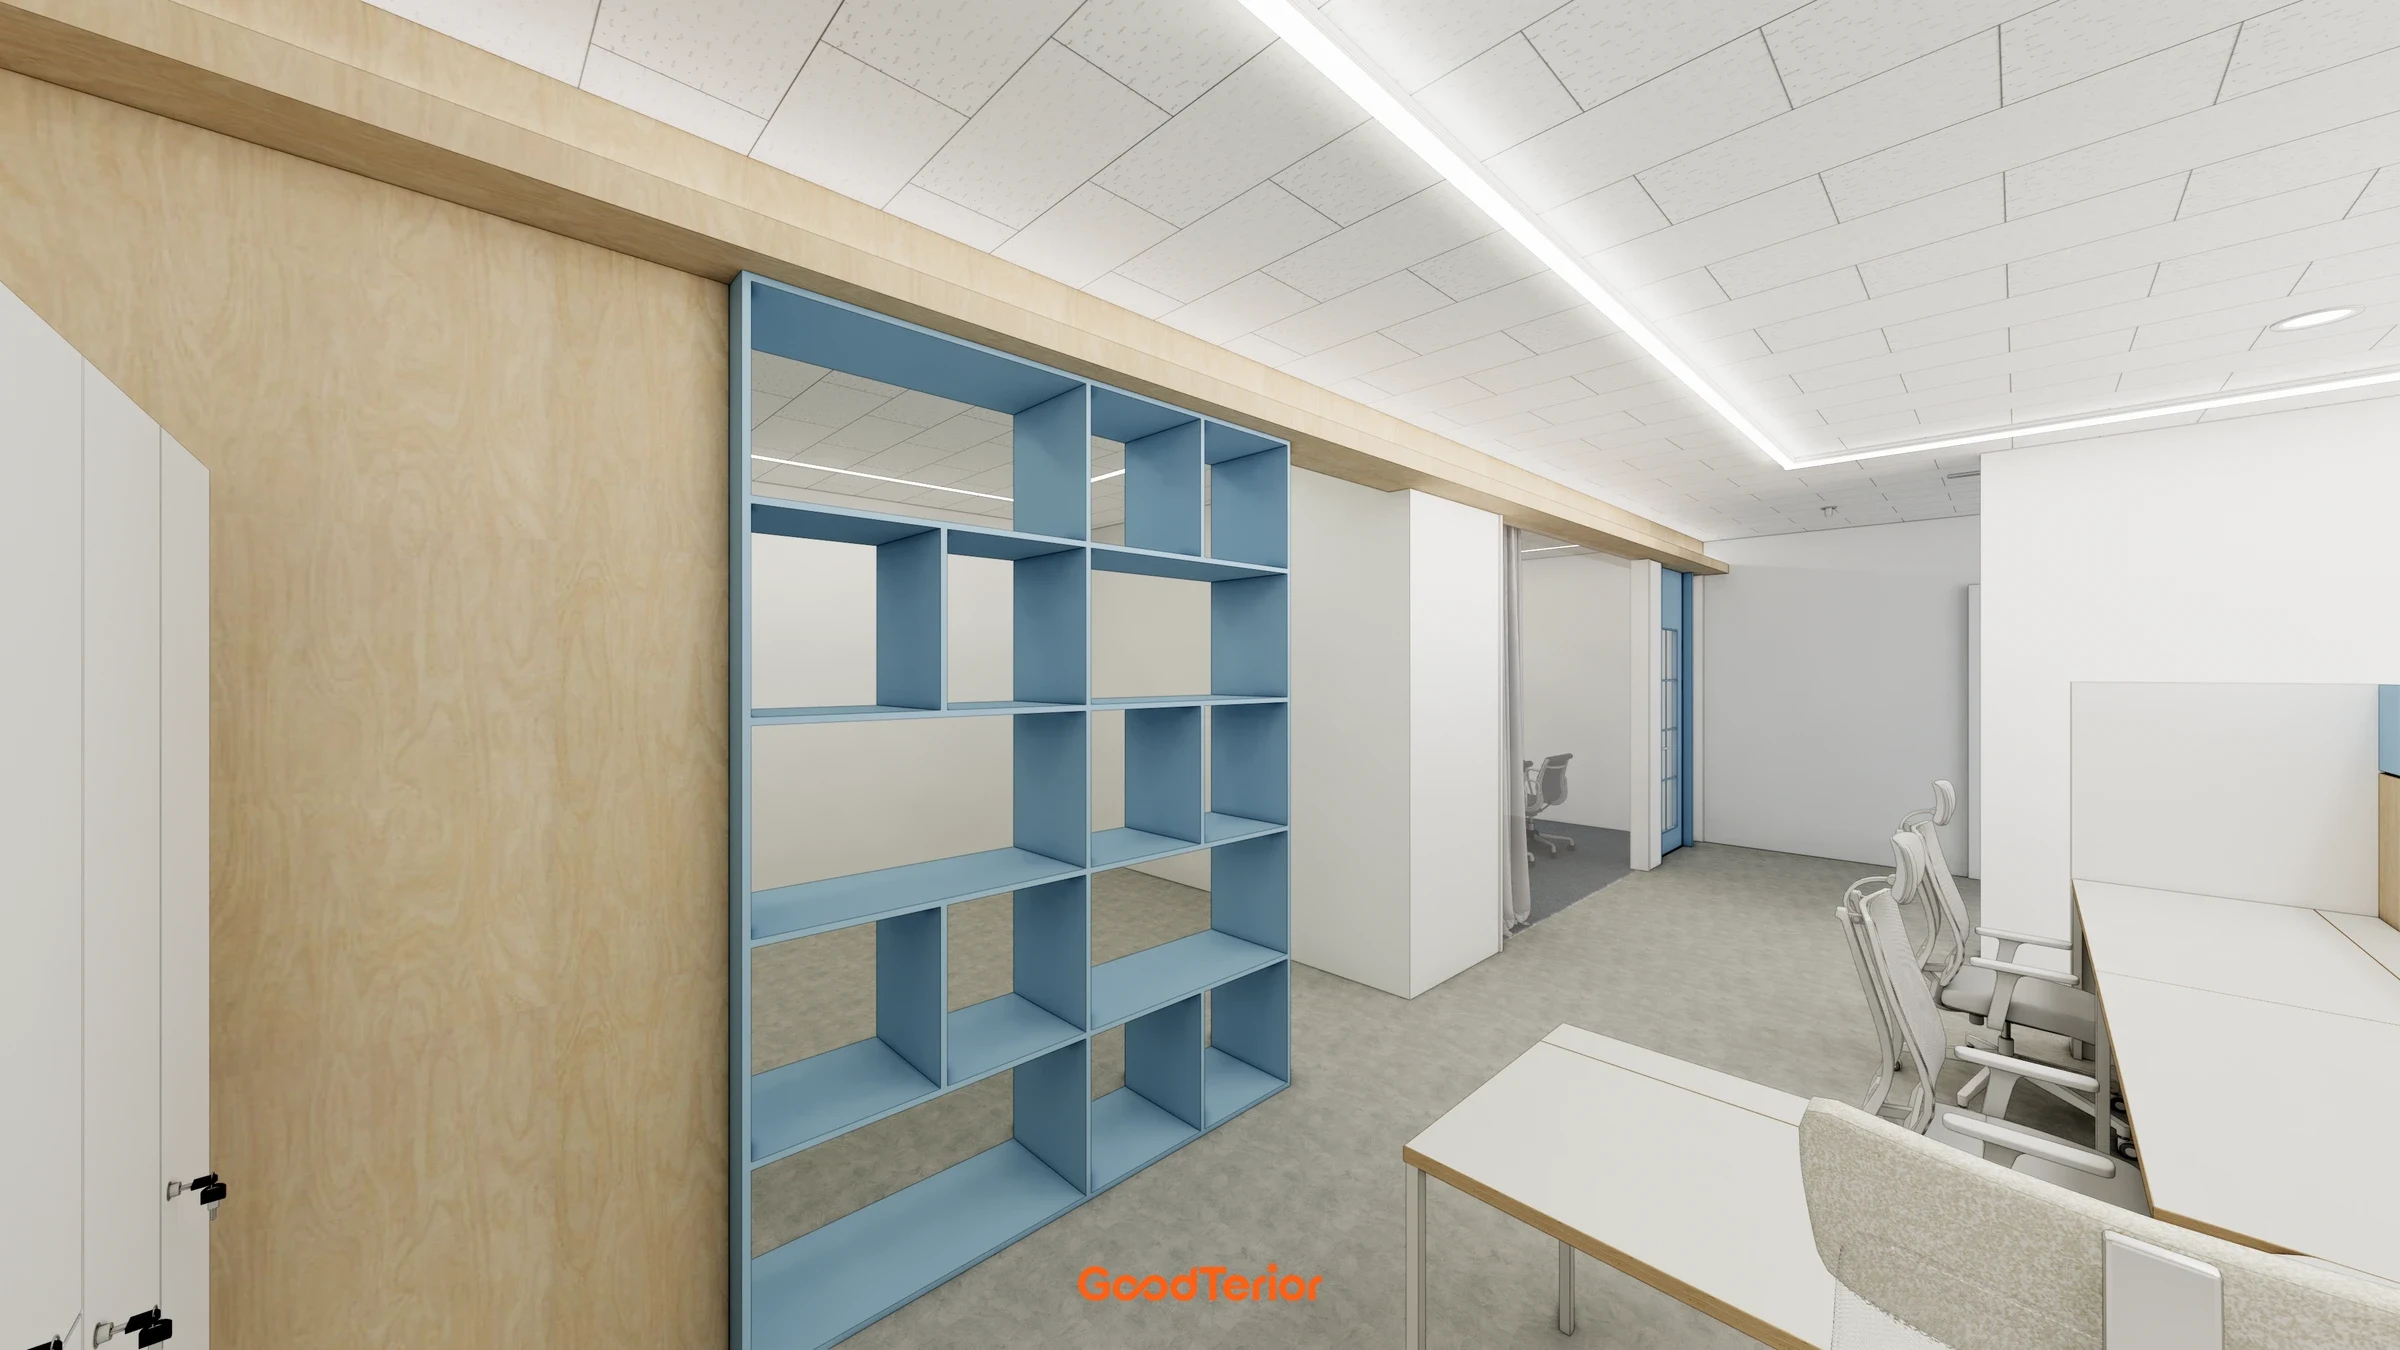
Open shelving shows divisions and contents directly. Open closed cabinets too and compare shelf quantities and layouts with approved drawings. Distinguish adjustable from fixed shelves, and verify delivery of promised additional shelves or accessories. Photographed contents do not establish shelf load limits or fixing methods.
Use actual binders or containers from the storage list to check usable compartments. If intended items do not fit, check clear internal width and height rather than only external dimensions. If storage needs changed at handover, first distinguish omissions from the approved fabrication from newly requested changes. This keeps remedial scope and costs comparable.
Link cabinet location, compartment number, observed condition, photos or short videos, the responsible person's findings, and planned date in the improvement list. Overall and close-up images make locations easy to find again. Separate on-site adjustments from return visits or additional fabrication, recording recheck dates afterward. Do not mark unchecked items complete.
At handover, obtain the final furniture layout, finish product details, identifiable hardware information, use and care instructions, and a contact person. Straight-looking doors alone do not complete inspection if interiors and instructions remain unchecked. Small differences also need not imply replacing the whole cabinet. Organizing approved details, actual conditions, and confirmed remedies together makes outstanding work specific.
Ask us about your interior project
We can discuss a quote and design suited to the space you are planning.
Request a free consultation