Small restaurant lighting: illuminating tables and aisles
Adding ceiling lights alone in a long, narrow restaurant can overlook dining tables, circulation, and inner worktops. Korean restaurant design images illustrate the sequence for setting fixture positions and switching zones.

Before you begin
- Review light for reading menus and seeing food, walking along aisles, and working at the serving counter separately.
- Place final tables and kitchen serving openings on the plan before selecting fixtures.
- Define lighting zones around operating needs before wiring everything to switch together.
What light should you check first at dining tables?
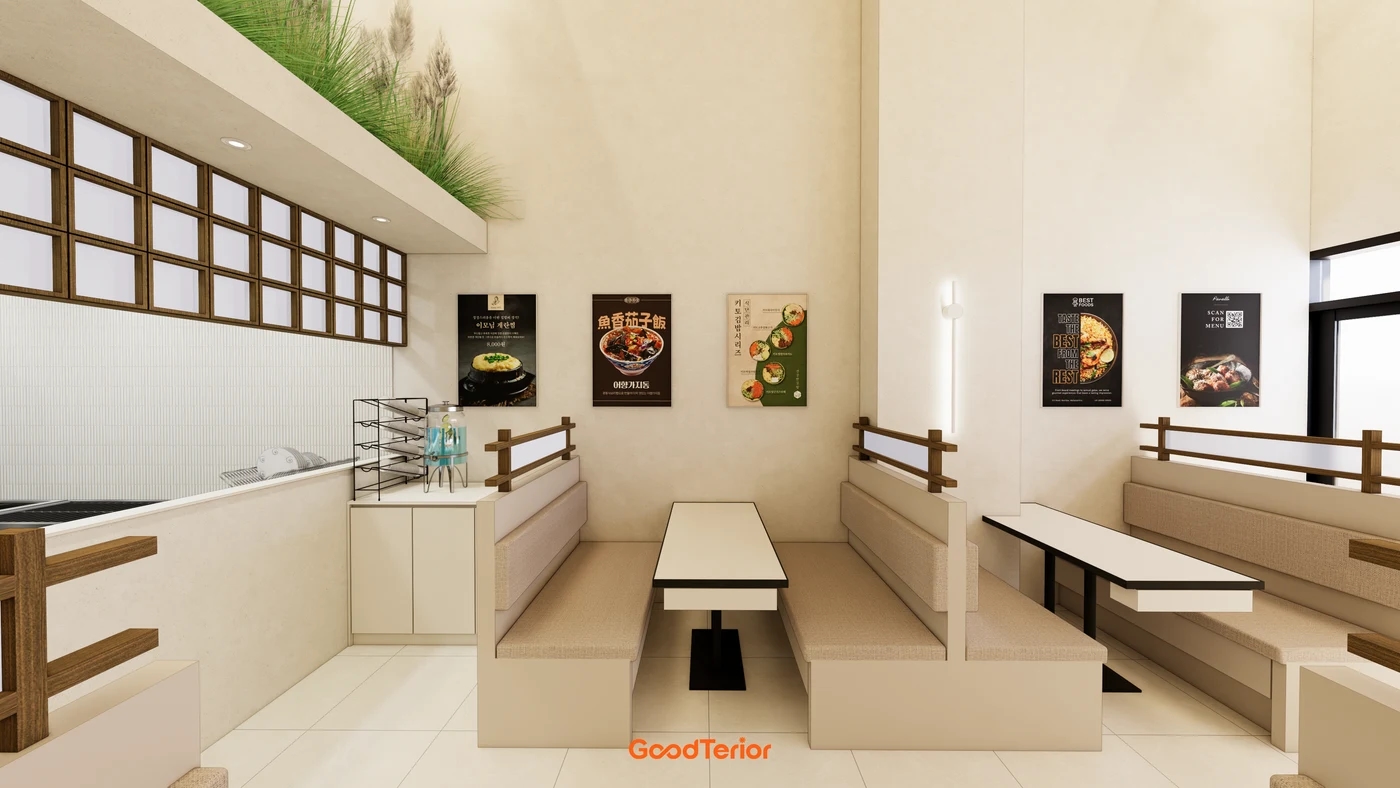
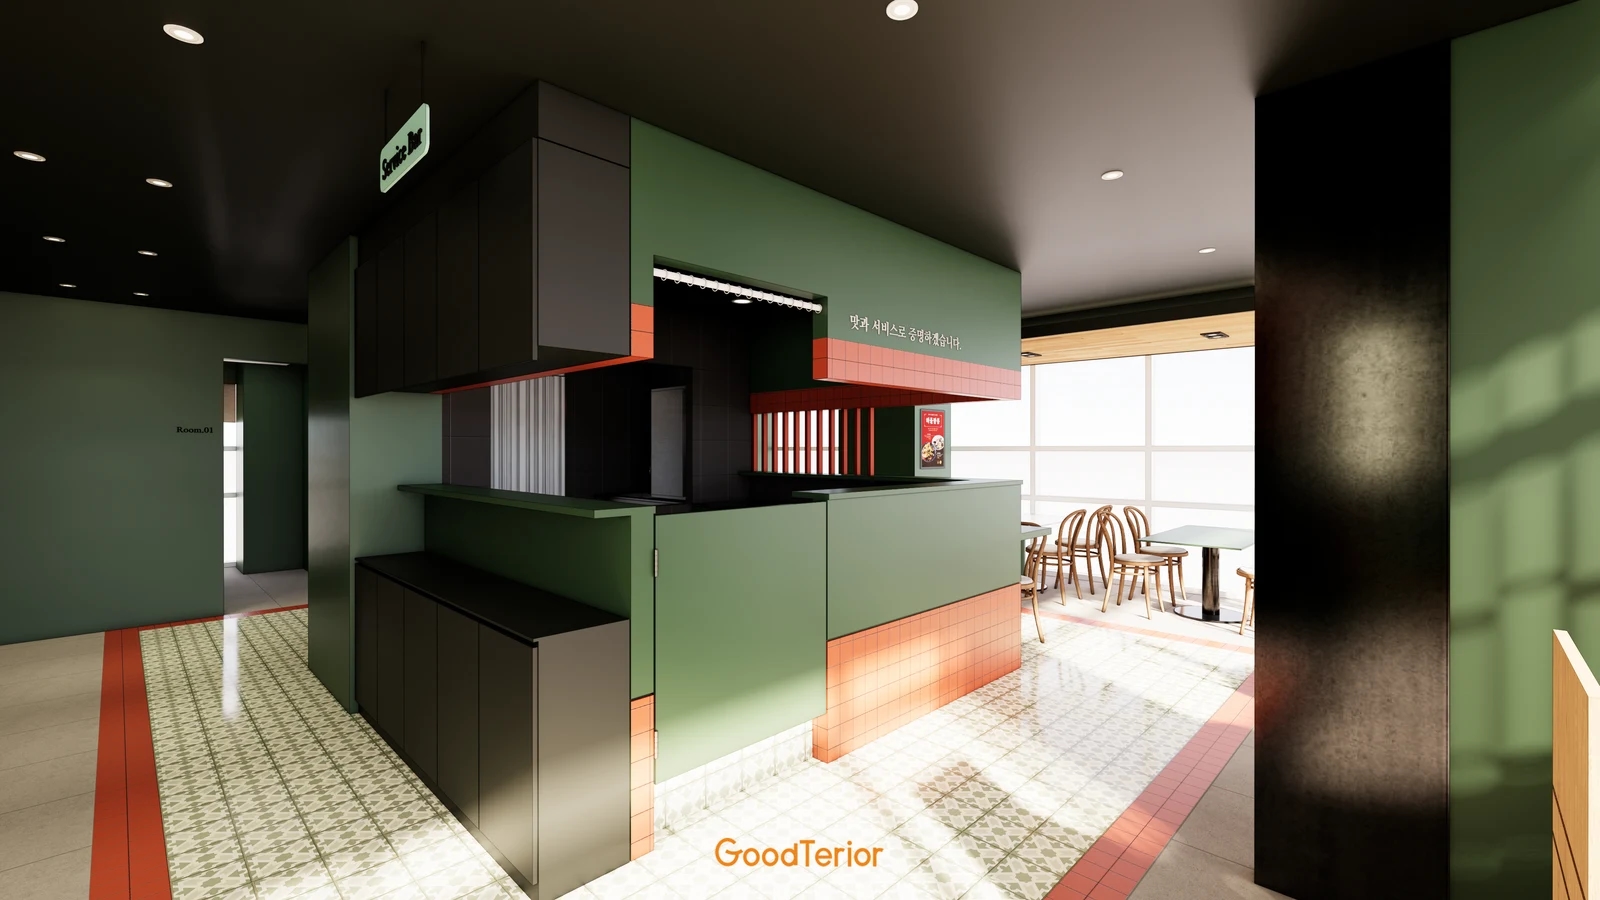
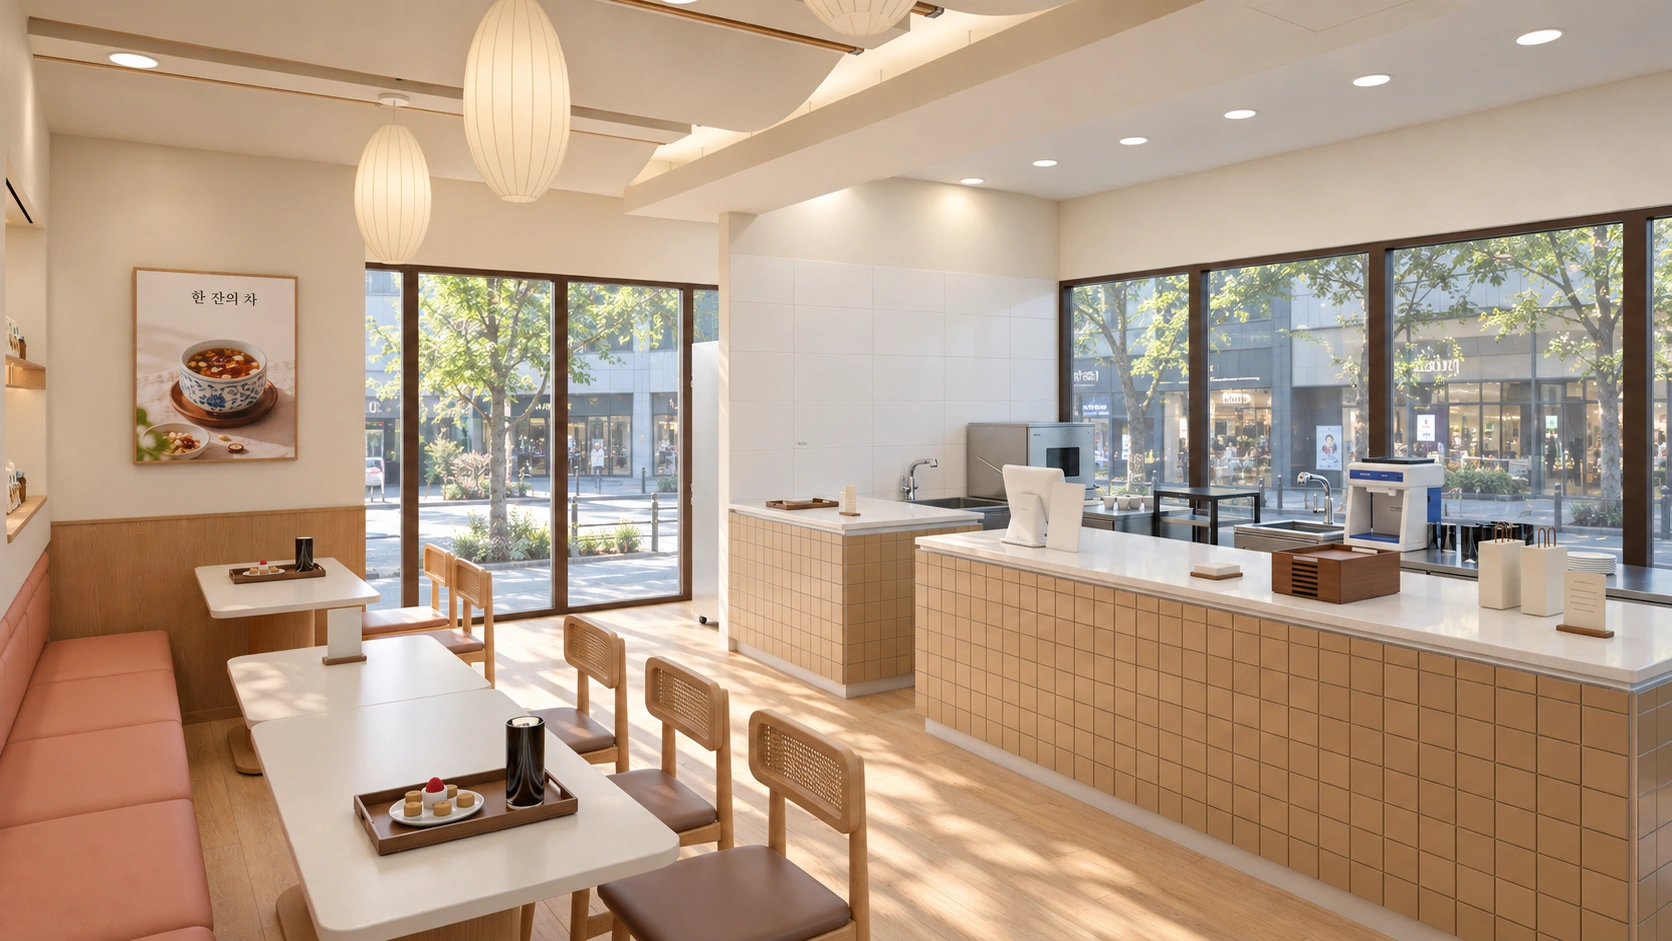
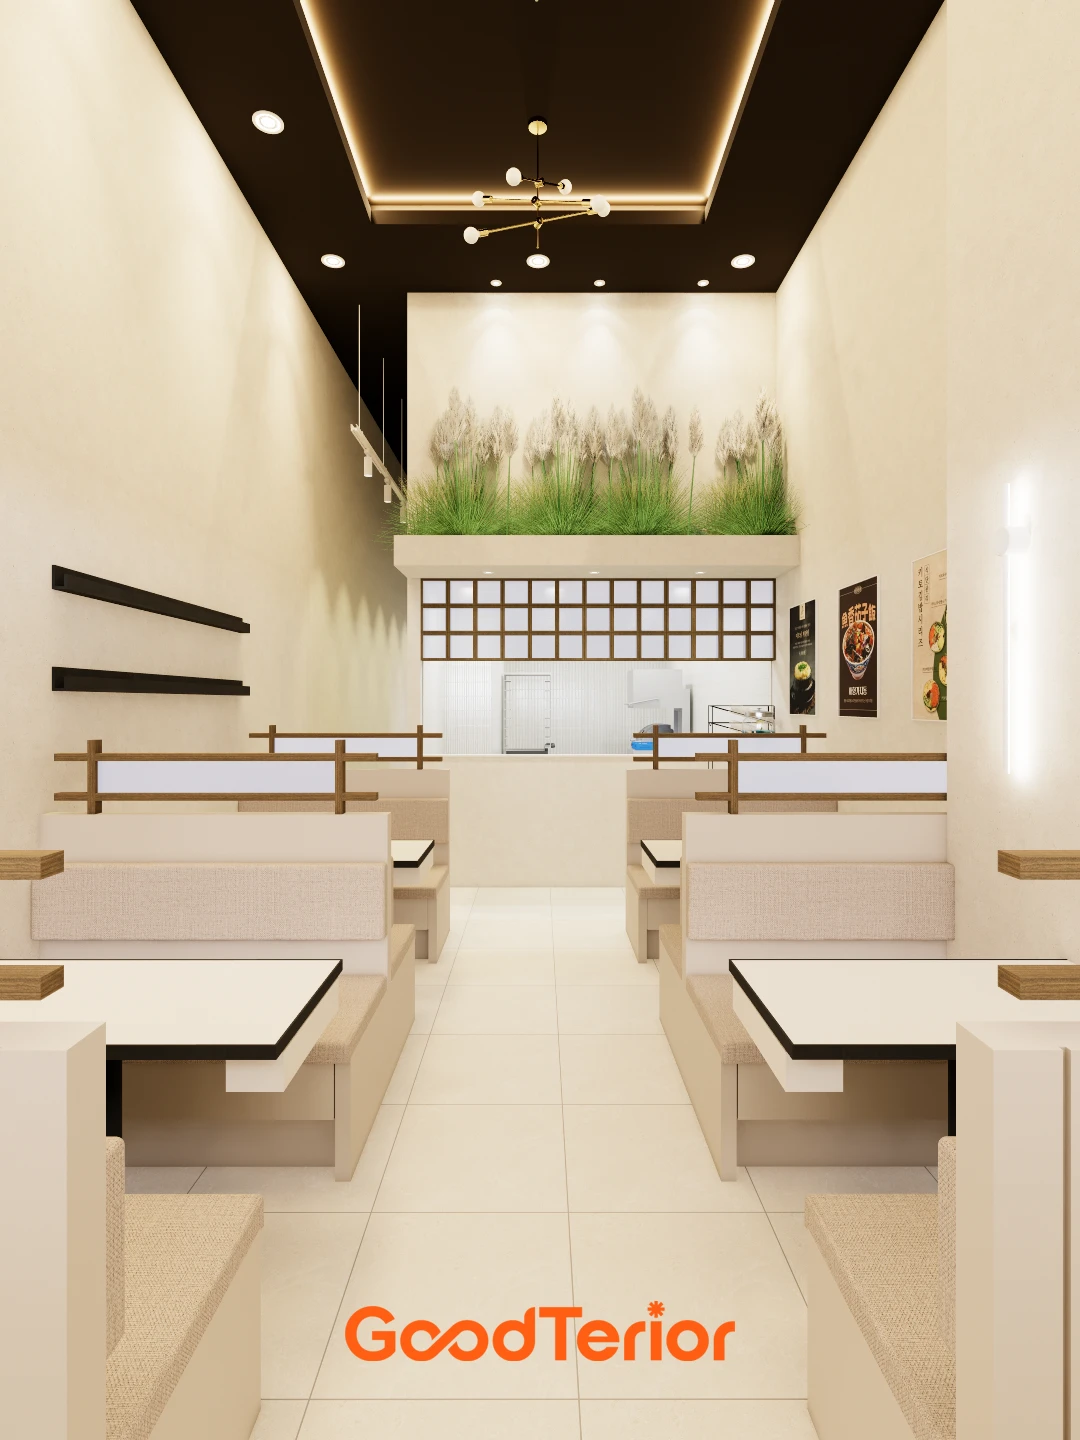
Restaurant lighting starts with where customers look and what they see, rather than ceiling fixture counts. At tables, they read menus, see food, and look at companions; in aisles, they locate seats and the floor route. Even under the same ceiling, these targets differ. This design has facing fixed seats and small tables along the walls. If decorative lights emphasize individual tables, first consider brightness differences at neighboring seats.
Place actual table sizes and arrangements on the plan and mark whether fixture centers align with their tops. If tables may be joined in pairs, a balanced arrangement across seats may suit better than highlighting isolated spots. Fixed benches remain, but tables can move during operation. Define the standard layout and permitted changes before ceiling work is complete.
Check whether light sources are directly visible at seated eye level. With several wall and ceiling lights as pictured, glare can differ between standing views and looking at a companion while seated. Review furniture heights and fixture positions together rather than only product photos. This rendering is not a measurement of actual brightness or glare.
Posters and decorations can be lit without emphasizing everything at the expense of basic table illumination. Prioritize menu reading, dining, and decorative walls separately. If trading spans day and night, review conditions with and without window daylight. Window orientation and actual opening hours are unconfirmed in this design, so compare both on site.
View high ceilings and aisles together but plan them separately
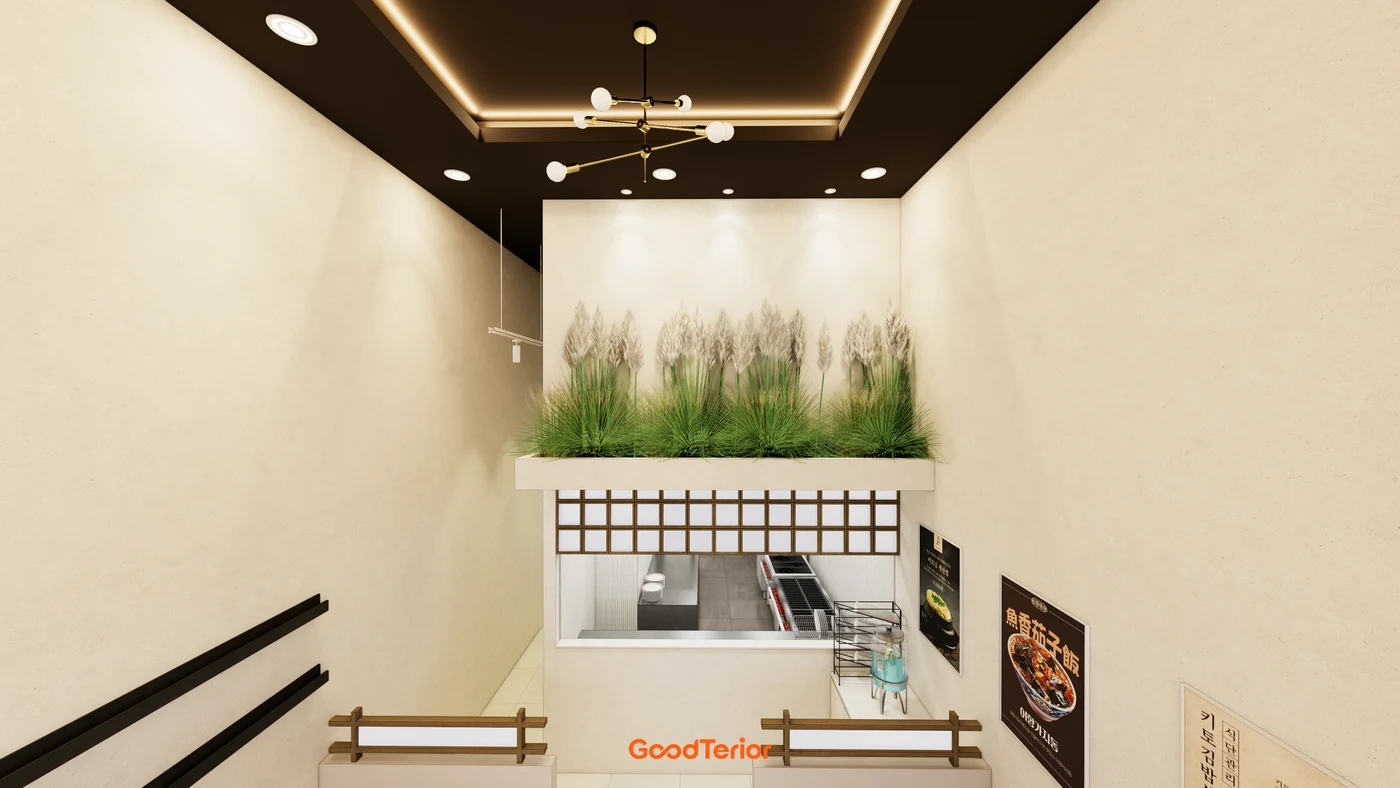
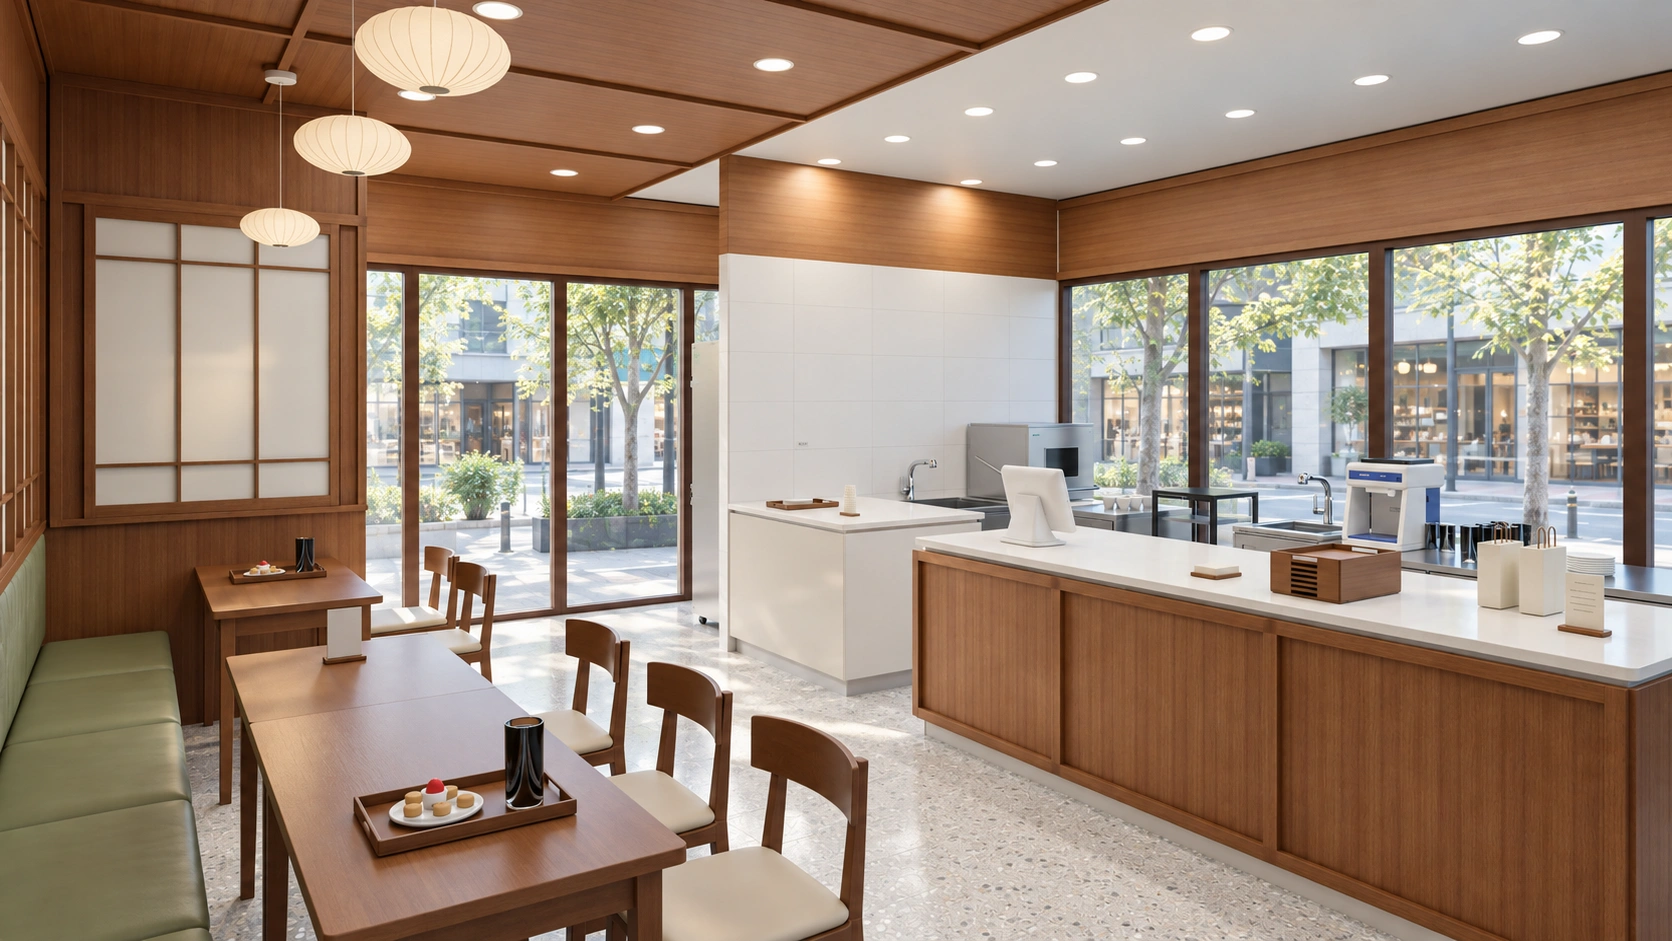
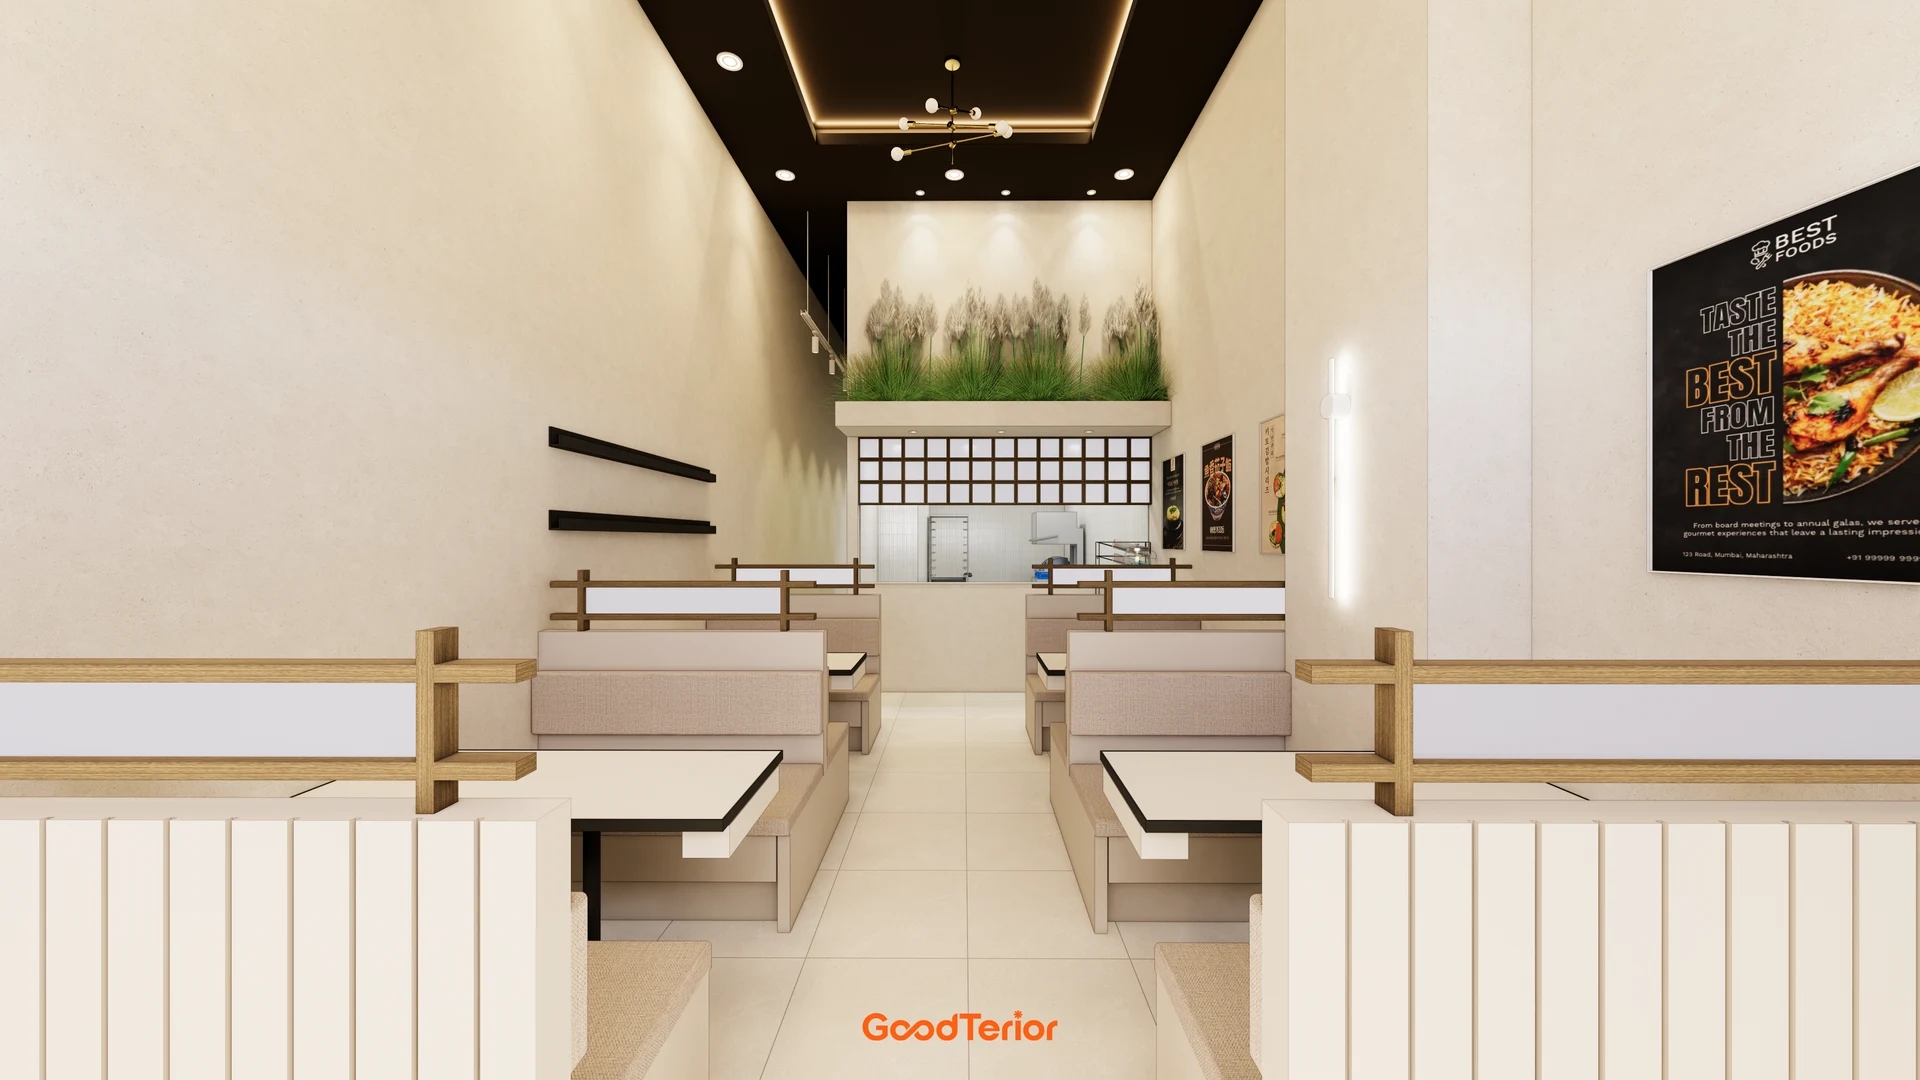
The upper view shows indirect lighting around a black ceiling, with recessed and decorative fixtures inside. Light revealing ceiling form and light illuminating walking surfaces share the image but have different functions. Separately review shadows from the beginning of the central aisle, between seats, and in front of the inner counter.
In a long, narrow shop, a bright entrance does not guarantee equal visibility at the back. Draw the actual route to the kitchen opening and mark turning and stopping points. Where staff carrying dishes and customers standing share a section, avoid leaving it dark solely for visual effect. Review aisle lighting separately from table illumination.
Operating sequences matter more than ceiling form when dividing circuits. List lighting needed for pre-opening cleaning, busy service, and closing. One switch may force all fixtures on when only one zone is needed; excessive subdivisions make operation cumbersome. Confirm who switches lights and when, then divide only as needed.
The rendering does not identify fixture models, power consumption, actual color temperatures, or circuits. It cannot promise direct reproduction of its light. Once the design is approved, coordinate specifications with overhead services, access panels, wiring, ventilation, and ceiling finish lines before construction.
Review inner work surfaces separately from the dining atmosphere
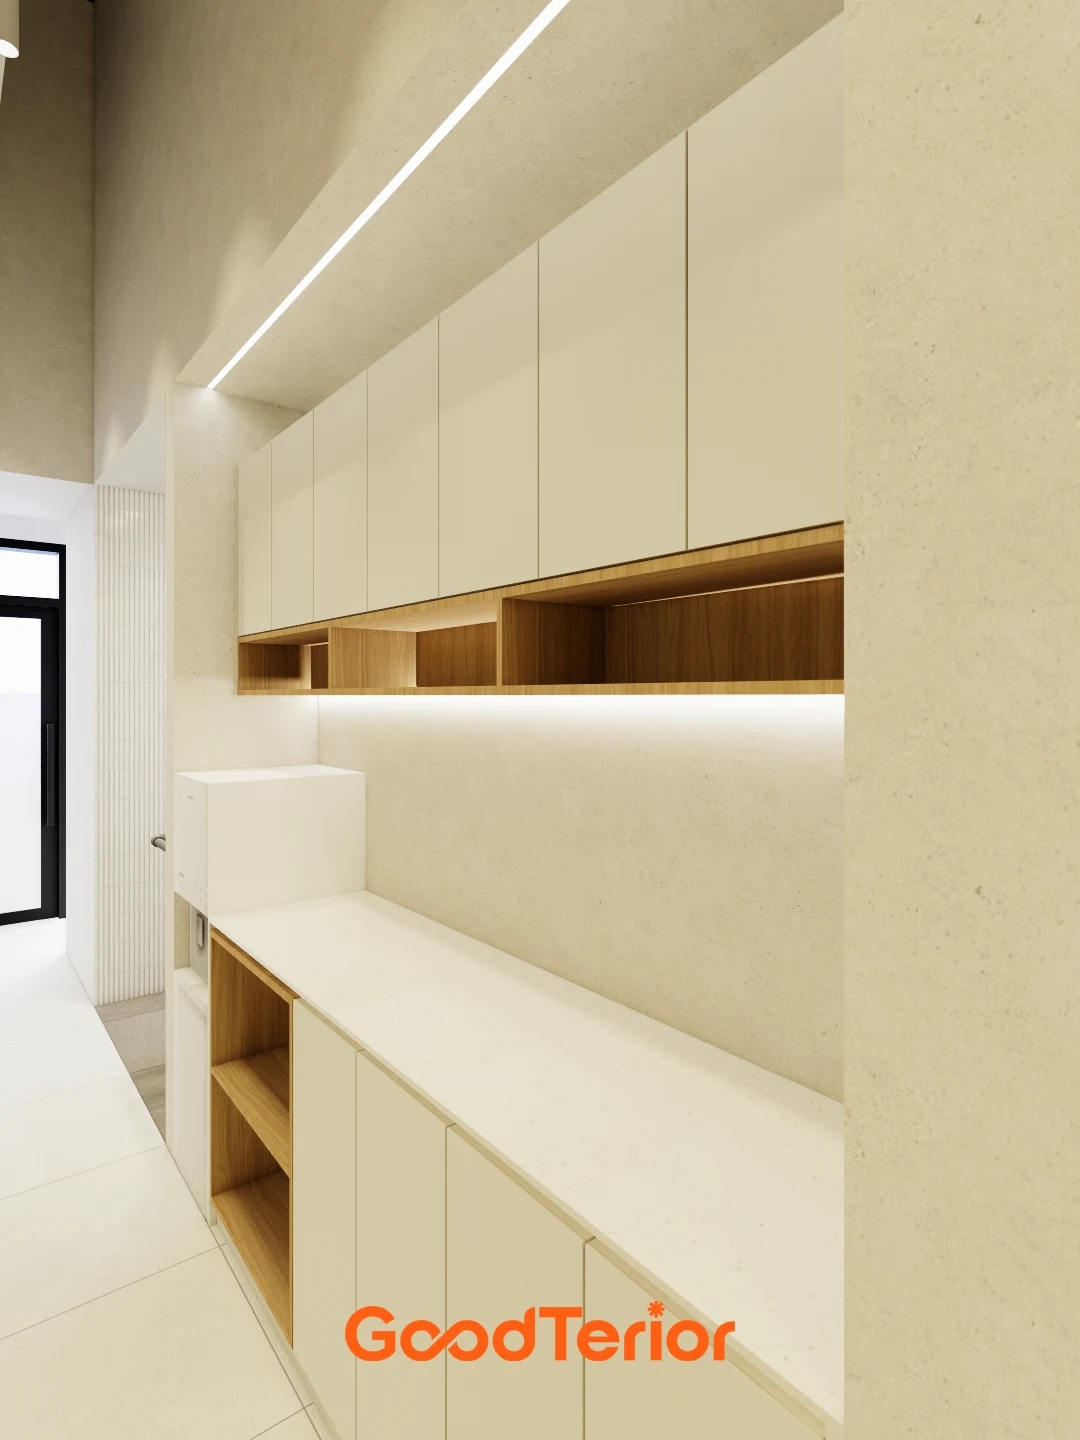
An inner work surface may serve food placement or organization. This design shows a white worktop below upper storage. Extending the attractive dining lighting unchanged can overlook shadows where hands work. Include the worker's body and cabinet positions when reviewing light direction.
First confirm with the operator which tasks occur at the worktop and hatch: temporary placement, packaging, handover, or organization. These determine surface areas and lighting positions. The image cannot establish actual tasks, particular equipment, or hygiene performance. Instead, mark where each activity ends to review likely shadows.
Review both sides of the worktop. Customers may see orderly cabinetry while staff find the surface dark beneath upper cabinets. Daylight may also disappear at night. Lighting this area involves adequate visibility as well as a color that suits the dining atmosphere. Measure worktop depth, cabinet projection, and standing positions before installing fixtures.
Finally, distinguish tables, aisles, and serving positions with different colors on one lighting plan. Review them seated, walking, and standing respectively. Check that planned locations suit these viewpoints before adding another fixture. Confirm final furniture and kitchen equipment dimensions before construction to coordinate lights and switches. Renderings set a direction; final brightness requires actual fixtures and site checks.
Ask us about your interior project
We can discuss a quote and design suited to the space you are planning.
Request a free consultation