Checks before ordering an office logo sign
A design image containing a logo differs from a fabrication drawing. Using three office proposals, we look at the order in which to check final files, lettering size, wall joints, lighting, and installation scope before ordering an office logo sign.

Before you begin
- Approve the final logo file and wording separately, rather than sending temporary render text for fabrication.
- Use a front elevation and a full-size paper mock-up to check lettering against wall joints, nearby doors, and furniture.
- Separate responsibility for the sign, lighting, electrical work, mounting substrate, installation, and repairs in the quotation and schedule.
Coordinate the fabrication artwork with the wall drawing
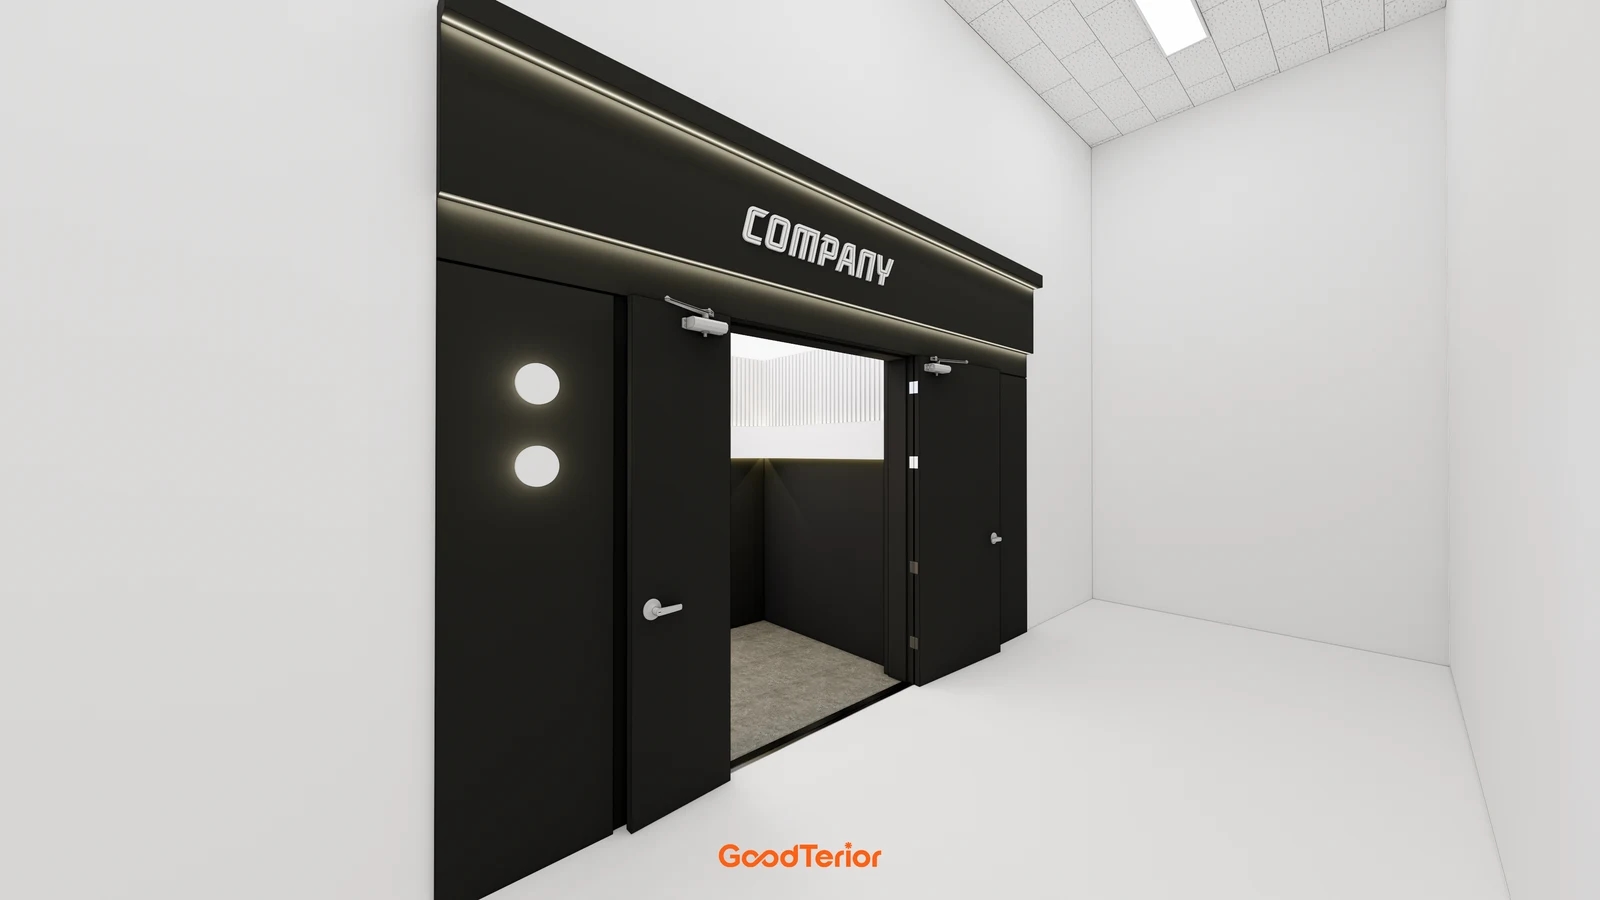
The first body image shows an entrance proposal for the Godeok office. Bright letters sit on a black surface, with horizontal lighting above and below. COMPANY is example wording within the design image. Approving the colour and arrangement does not establish approval of the actual company name, typeface, and letter spacing. When commissioning fabrication, distinguish the spatial proposal from the sign artwork.
First, collect the final logo file and exact wording the company will use. The responsible person should decide between Korean and English names, whether to combine a symbol and name, and whether to show the registered name or the name commonly used. Confirm that the fabricator can open and use the original file, and identify the version to use if the file contains several. Redrawing a logo by enlarging an email signature or a small business-card screenshot requires a separate checking process.
Next, place the sign on a drawing looking straight at the wall. Show its overall width and height, the spacing between symbol and lettering, and its distance from the floor or an agreed reference line. An elevation including door frames, wall-panel joints, and the top of the counter is more useful than a picture with the logo merely centred. Where the wall centre differs from the centre of the available mounting surface, indicate which was used for alignment.
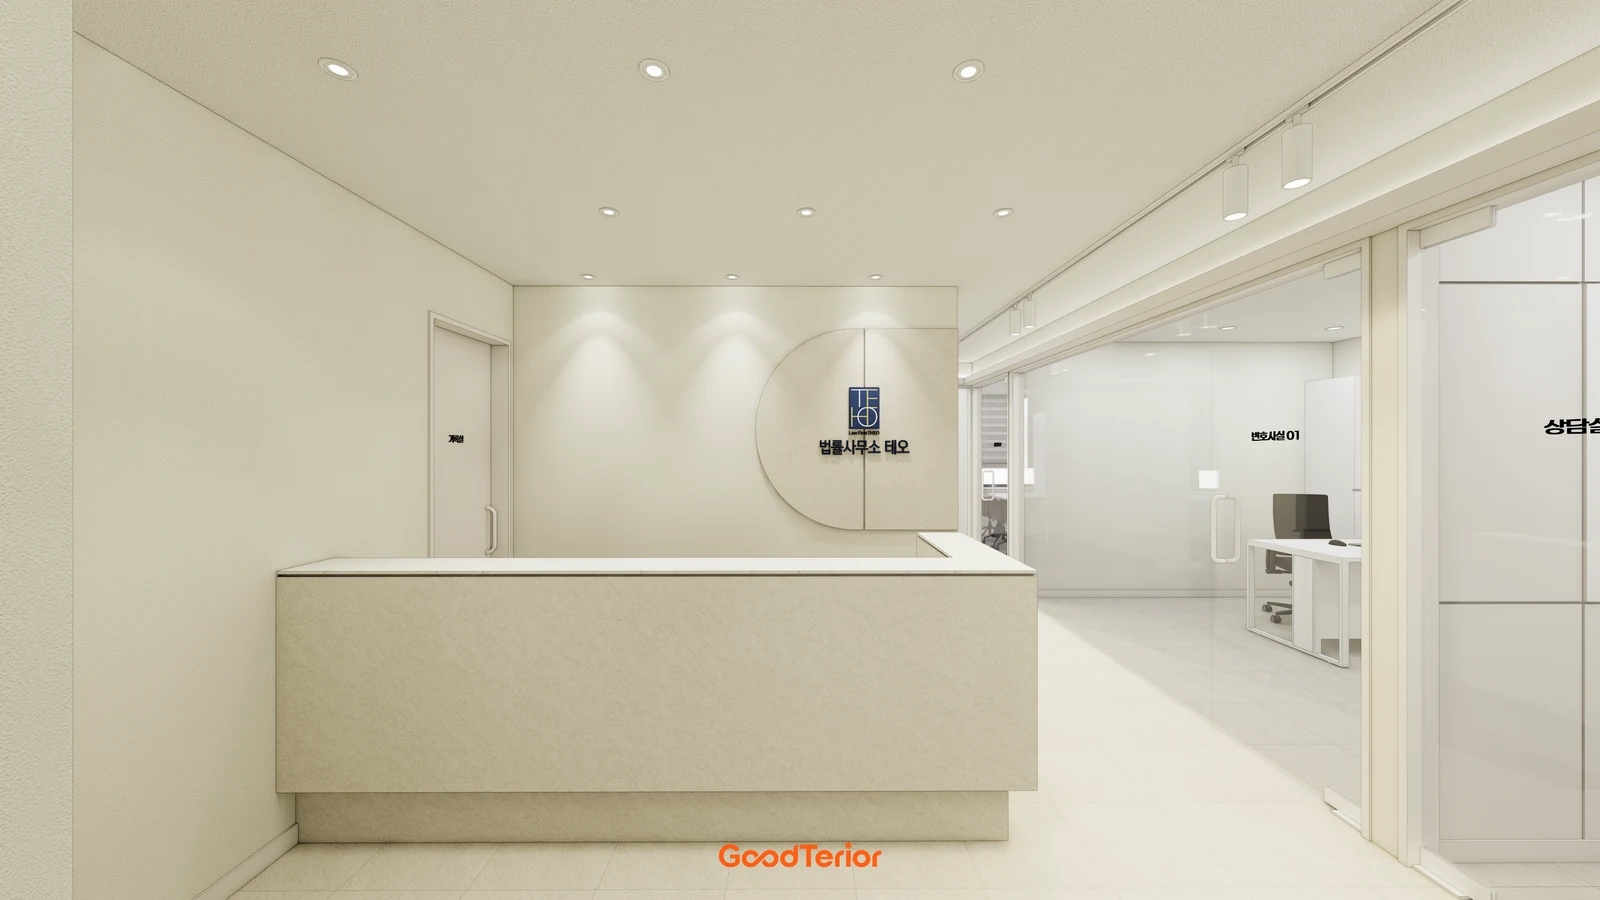
In the Gwangmyeong office proposal on the cover, the logo and company name sit inside a curved feature behind the desk. Changing the sign size alone also changes its relationship with the curved edges and vertical joints. For a similar arrangement, overlay the sign fabrication drawing on the wall-finish drawing. Recheck its appearance for seated and standing viewers if the desk's final height or position changes.
If sizing is difficult, attach a full-size paper mock-up to the intended wall. Compare readability and the balance of empty space from the doorway, reception position, and waiting seats. If the wall will also form a photography or video-call background, place the intended camera and chair and check the resulting view. Do not derive fabrication dimensions such as lettering width or mounting height from a single perspective render.
When comparing quotations, distinguish rebuilding the entire wall from installing only a sign on the existing wall. Another option is to simplify the decorative wall and refine the final logo's size and position. Conversely, if wall joints or existing marks must be concealed, sign fabrication cost alone is an inadequate comparison. Mark the extent of new finishes and retained surfaces on photographs and drawings, then obtain prices for the same scope.
Make the final version clear on the fabrication approval sheet rather than attaching several proposals together. Check file name and version, company-name spelling, colour, overall dimensions, and installation position together, and record the approver and date. If the spatial image is approved but the logo file is still due to change, record separately whether fabrication may begin. Even on a tight schedule, avoid leaving temporary lettering open to being mistaken for final artwork.
Define the order beyond the lettering itself
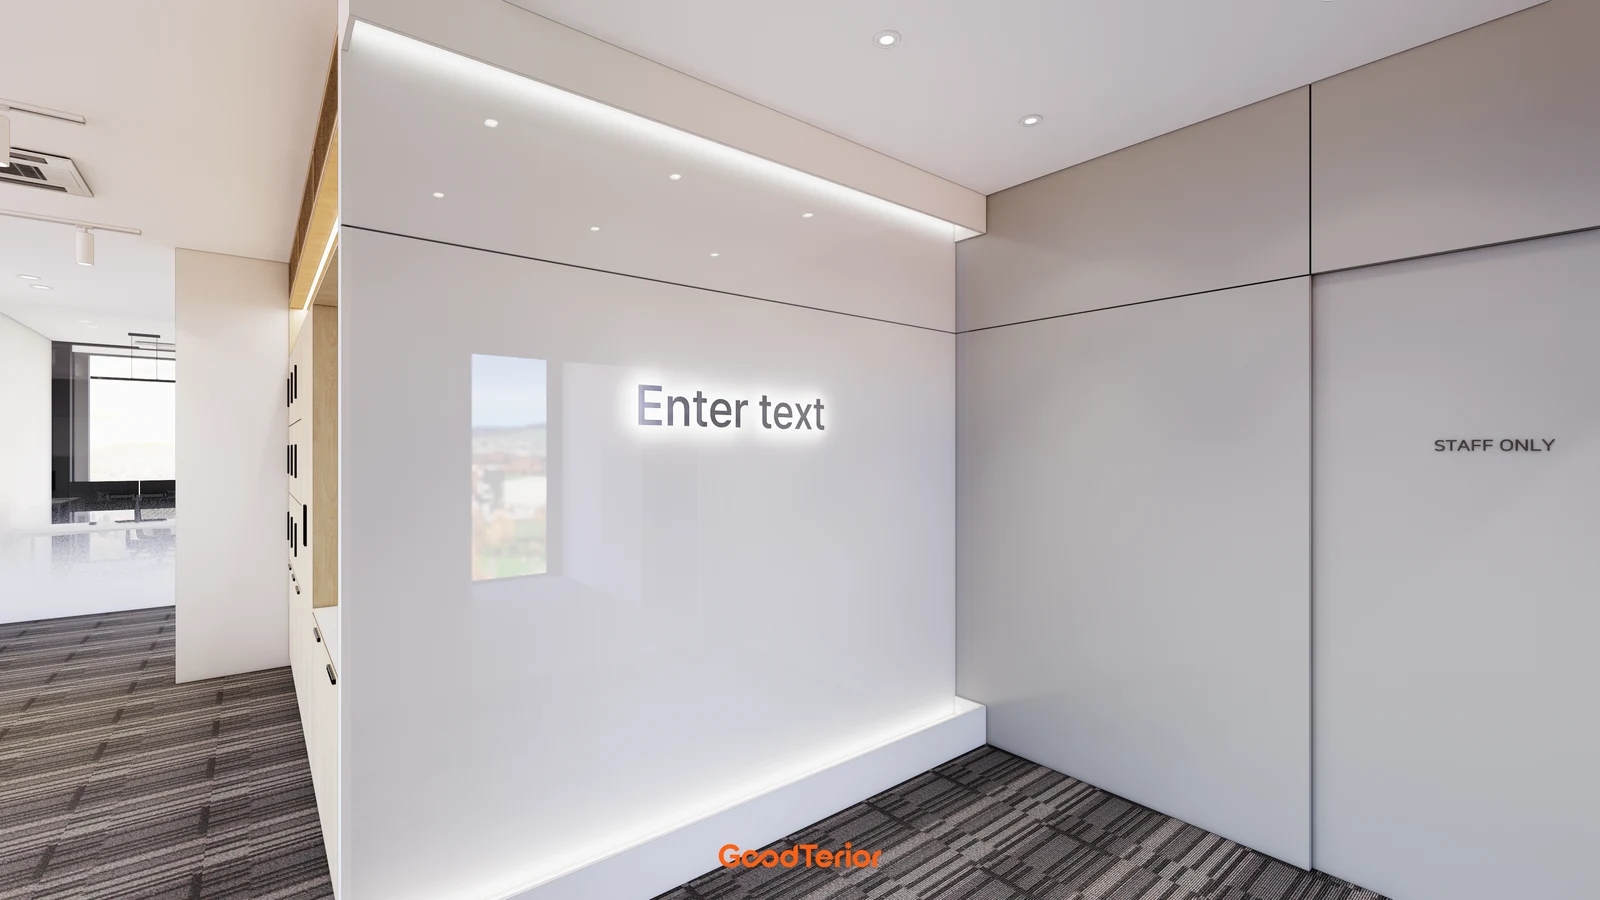
The second body image shows a Seocho office proposal. The temporary wording Enter text sits at the centre of a bright wall, with lighting represented above and below. Panel joints and a staff door are visible alongside. This scene is not a photograph proving a completed sign's performance or actual brightness. It illustrates why wording, wall finishes, and lighting must be checked as separate items.
First, compare illuminating the logo itself with showing it through lighting directed at the wall. Include unlit lettering among the options and compare colour and form against actual finish samples. If choosing an illuminated sign, explain the desired daytime and night-time appearance to the supplier and request a lit sample. A bright edge in a render does not establish light direction, product construction, or light-source colour.
Electrical supply and maintenance conditions need agreement before the wall is closed. Record power supply position, wiring route, and switch location on the drawing for the sign supplier and electrician to check together. If the product requires a separate power supply unit, use supplier information to confirm its dimensions, installation conditions, and access for repairs. Saying it will be hidden behind the logo does not establish the maintenance access position.
Determine attachment separately from lettering design. Show the installer the existing wall material and condition, and ask for a suitable substrate and fixing method for the sign's weight and projection. Check whether drilling or wiring holes are needed and whether any areas must be prepared before wall finishing. In a rented space, also pass on any installation and removal arrangements agreed with the landlord or building management.
Specify what the quotation includes for sign fabrication, transport, and installation. Allocate responsibility separately for artwork revisions, colour samples, lit samples, electrical connections, wall reinforcement, and repairs to finishes after installation. If installation follows completion of the wall, also confirm protection of nearby furniture and flooring and subsequent cleaning. Separating items is intended to identify omitted work and overlapping charges, rather than to increase costs.
If the sign faces a common corridor or building entrance, first show management the surface requiring approval and the proposed installation extent. Do not order on the assumption that the conditions match those of an internal office wall. Even for an internal sign, include door swings, information signs, fire-safety equipment, and other existing elements on the drawing. The design images in this article do not establish the permitted installation extent or applicable requirements for an individual site.
Take the approved fabrication drawing to the site for the final inspection. Check spelling, symbol shape, alignment, spacing, and surface marks, and switch any sign lighting on alongside the lighting used in normal operation. If different people check it during daytime and evening, agree camera positions and records to retain. Keeping the pre-installation approval, final photographs, maintenance instructions, and contact details together makes it easier to find a reference when the office name changes or the sign moves.
Ask us about your interior project
We can discuss a quote and design suited to the space you are planning.
Request a free consultation