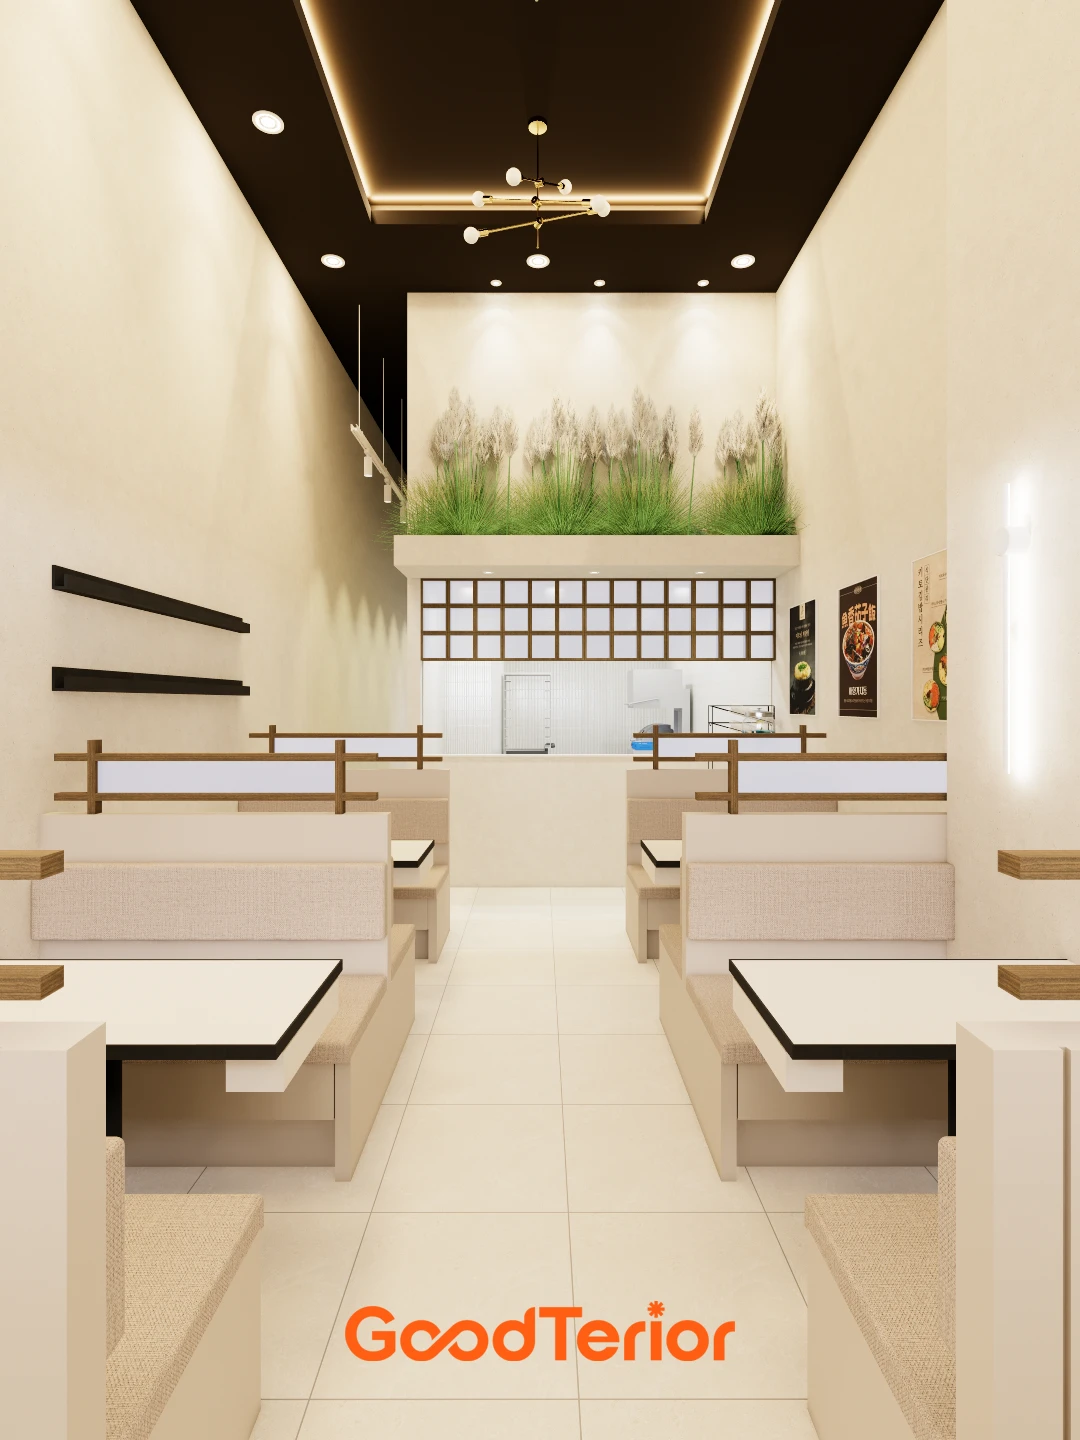
Screens for restaurant open kitchens
An open kitchen involves more than lowering a wall. Goodterior restaurant design images illustrate visible and concealed surfaces, serving openings versus staff doors, and relationships to counter seating.

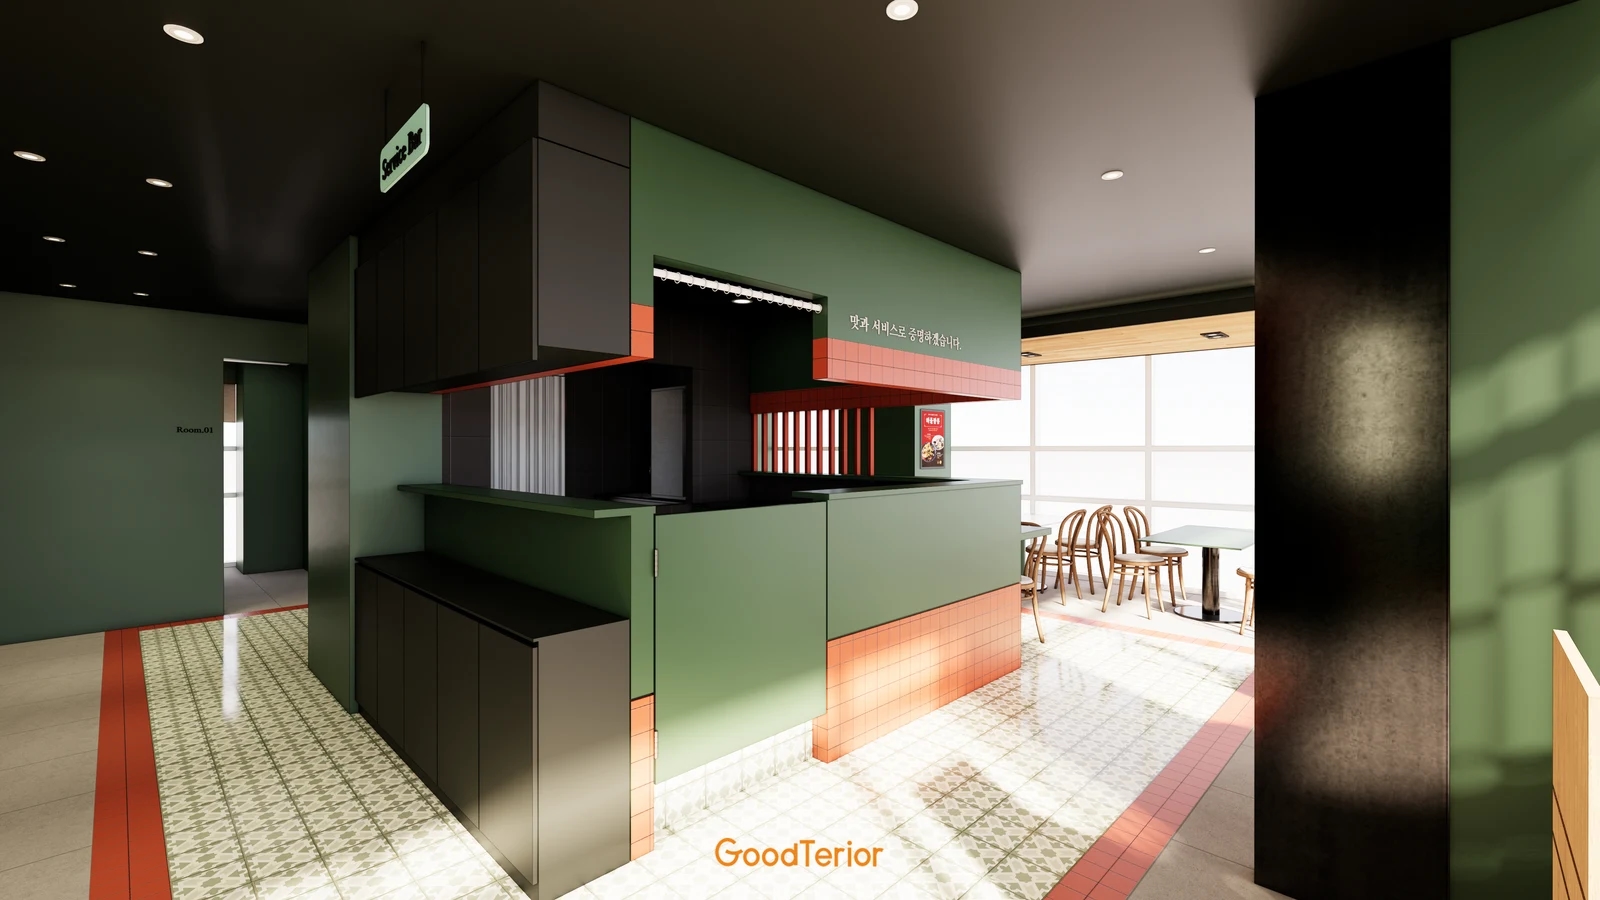
Before you begin
- Review customer views from seats and the entrance separately before defining where screening starts and ends.
- Distinguish viewing openings from serving openings, checking the latter with actual dishes and trays.
- Overlay staff door movements and counter chairs, then separate wall, furniture, and service work scopes.
Openings for looking through and passing food
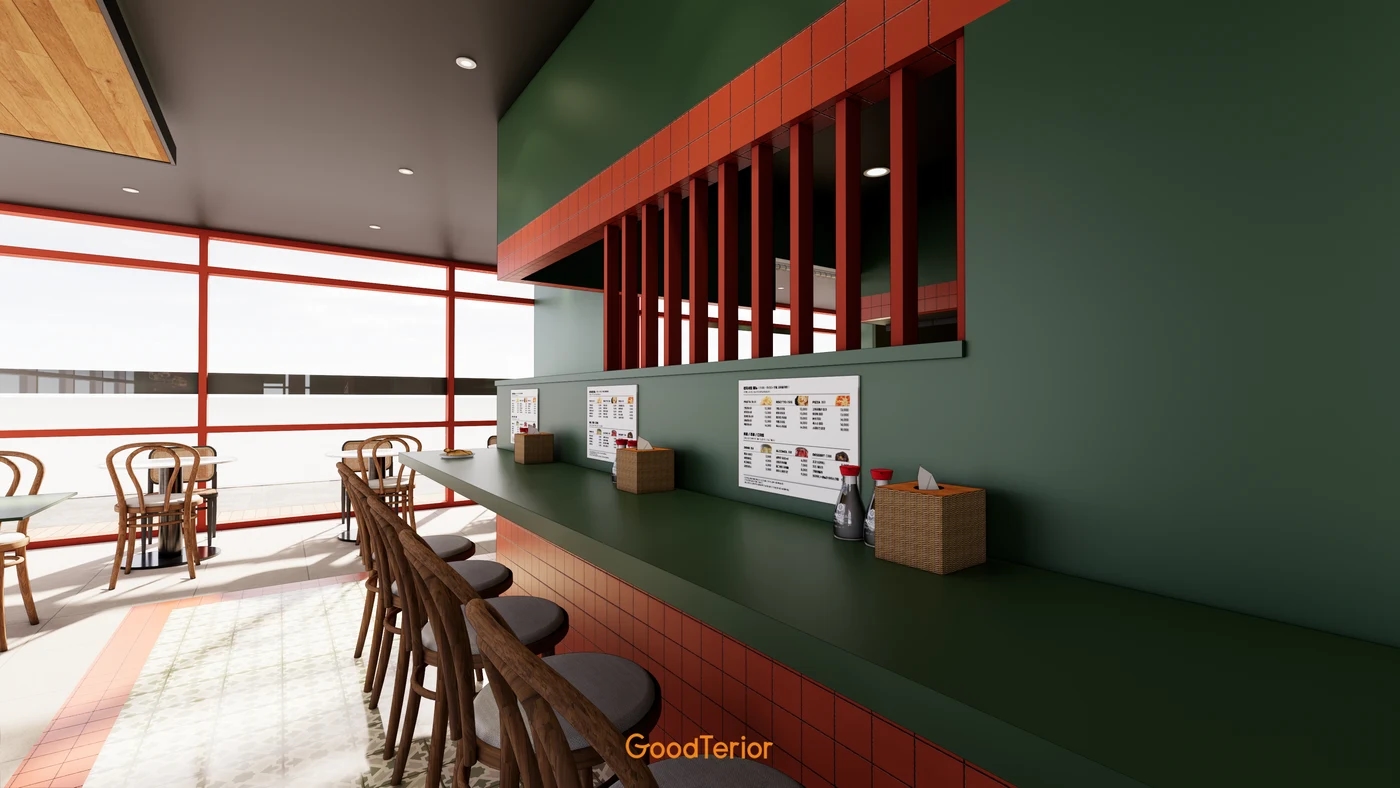
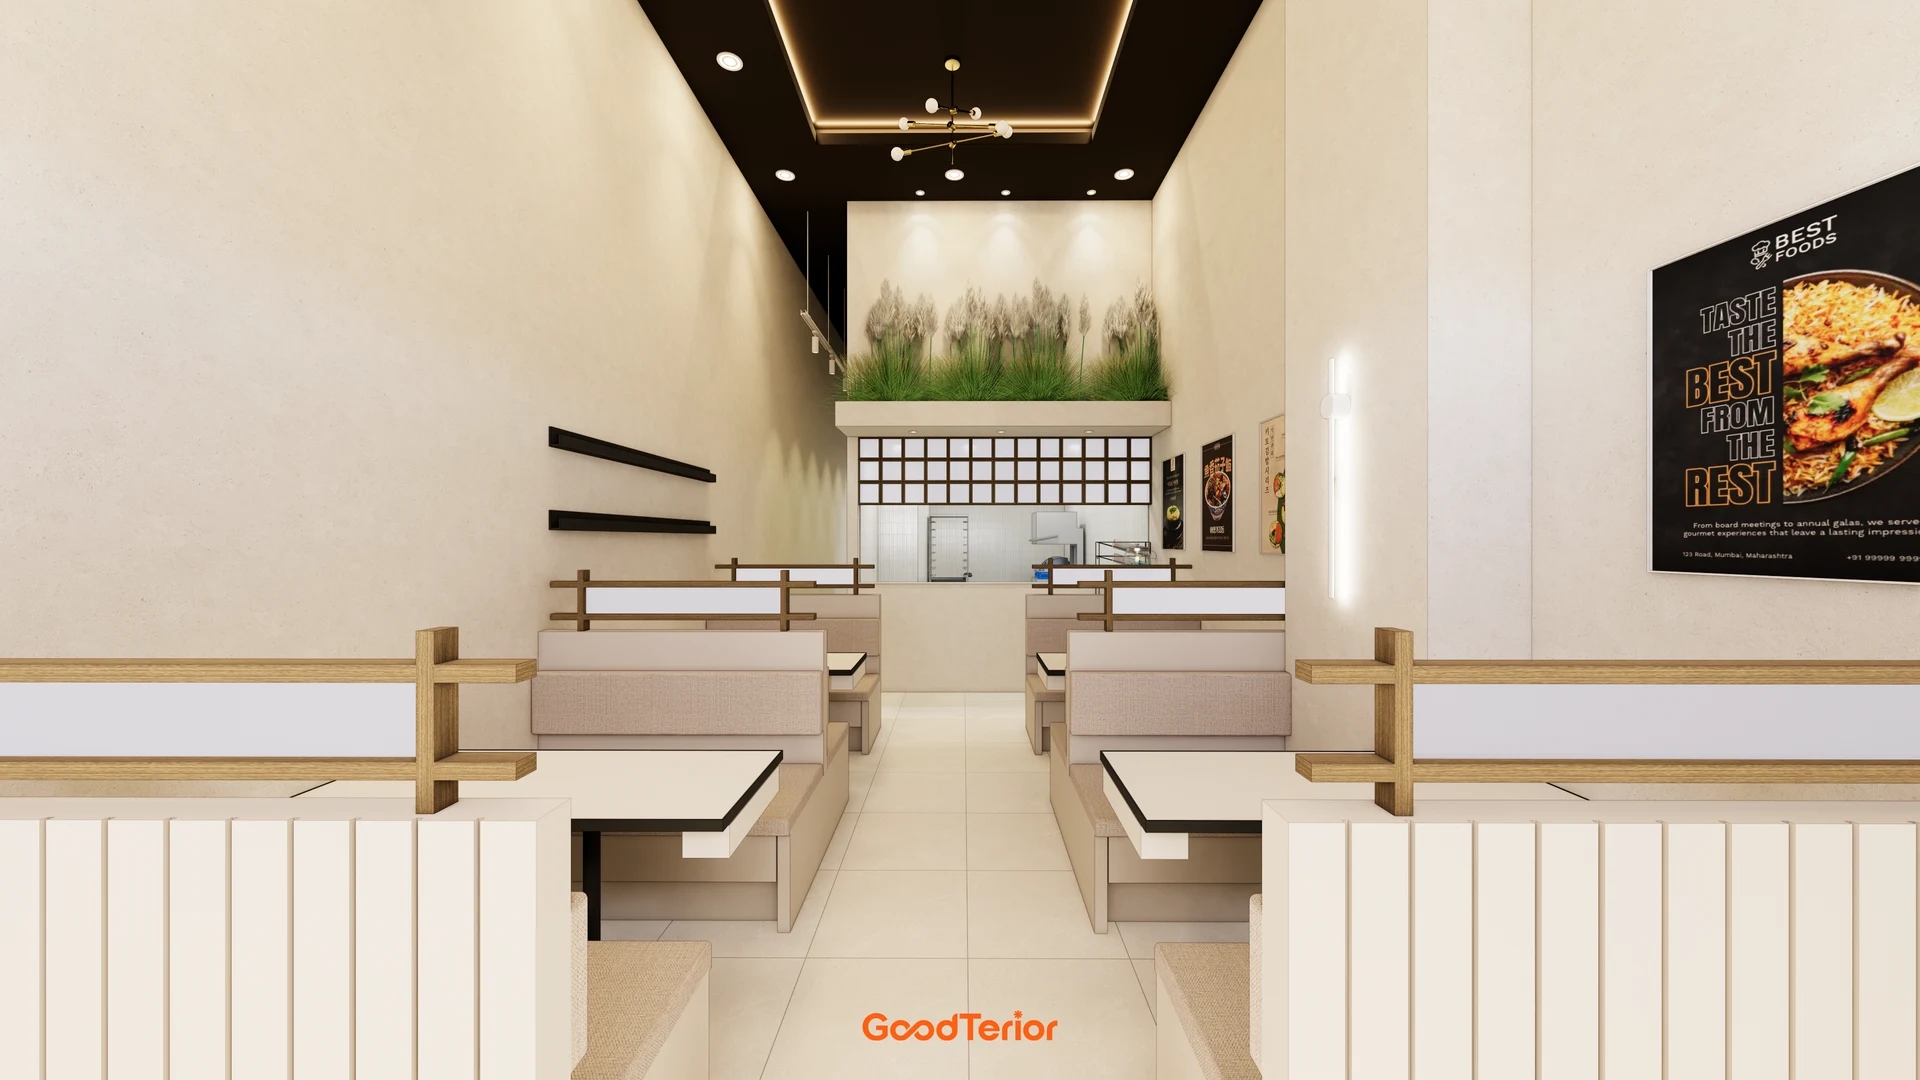
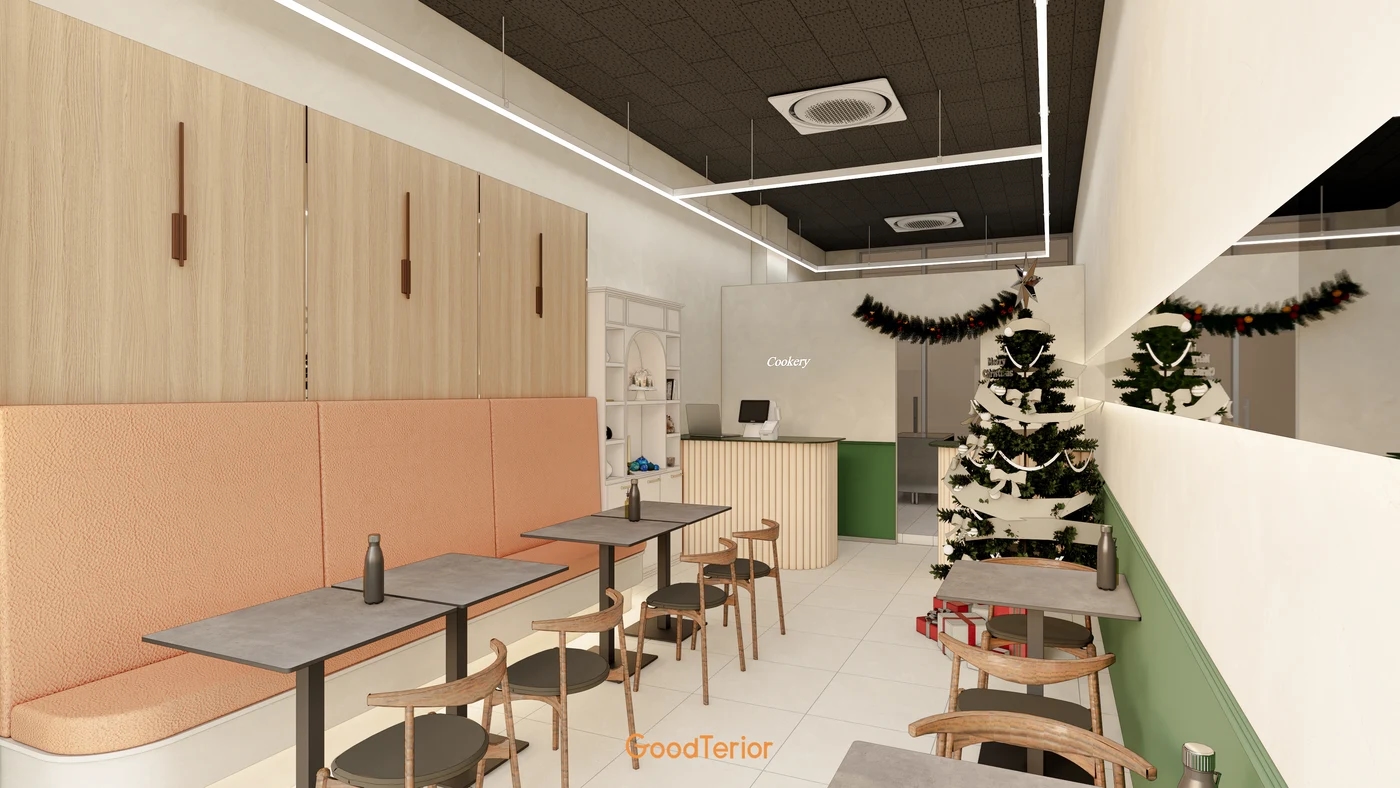
The first image looks inward from counter seats. Vertical slats rise above a green lower wall, with menus and condiment containers on the top. Several arrangements can be compared between a fully open kitchen and a solid wall. This is not a completion photo and does not establish actual cooking equipment or operations.
State what customers should see. Showing food finishing and maintaining eye contact to confirm orders need different openings. Also list packaging and spare containers needing assigned storage. Fixing wall height first can leave visible work and stored objects competing at the same line.
Draw views from seated customers and standing arrivals separately. A wall may hide the back of the top from nearby counter seats while exposing another surface from the distant entrance. Use actual candidate chairs and tables to compare lower walls with selective openings. Check dimensions for this space rather than turning photo proportions into recommended heights.
Visibility into the kitchen does not make an opening suitable for serving. With vertical slats as pictured, visible space and usable handover space differ. Test reaching and receiving using the largest intended dishes and trays. Review top depth and overhead decoration as well as opening width.
Where counter seats sit immediately against the wall, distinguish dining surfaces from temporary staff plate placement. Check usable space with menus and condiments present. Compare handing dishes across customers with an end section where dining staff can collect them separately. Setting seat counts by counter length alone can omit these handover points.
The Korea Foodservice Industry Association's hygiene training chapter on open kitchens and dining culture addresses tidiness and clear views at entrances and serving openings. It does not prescribe how low a wall should be. Plan not only food arriving but also what occupies the opening between uses and where it is cleared, together with the operator.
If returns or packaged orders share the same interface, mark their resting positions too. Separate outgoing food from incoming items and simulate peak quantities. If one surface cannot manage them, compare separate interfaces or staff delivery. Share the agreed sequence with the kitchen planner to coordinate internal work.
Should seating go in front of the staff door?
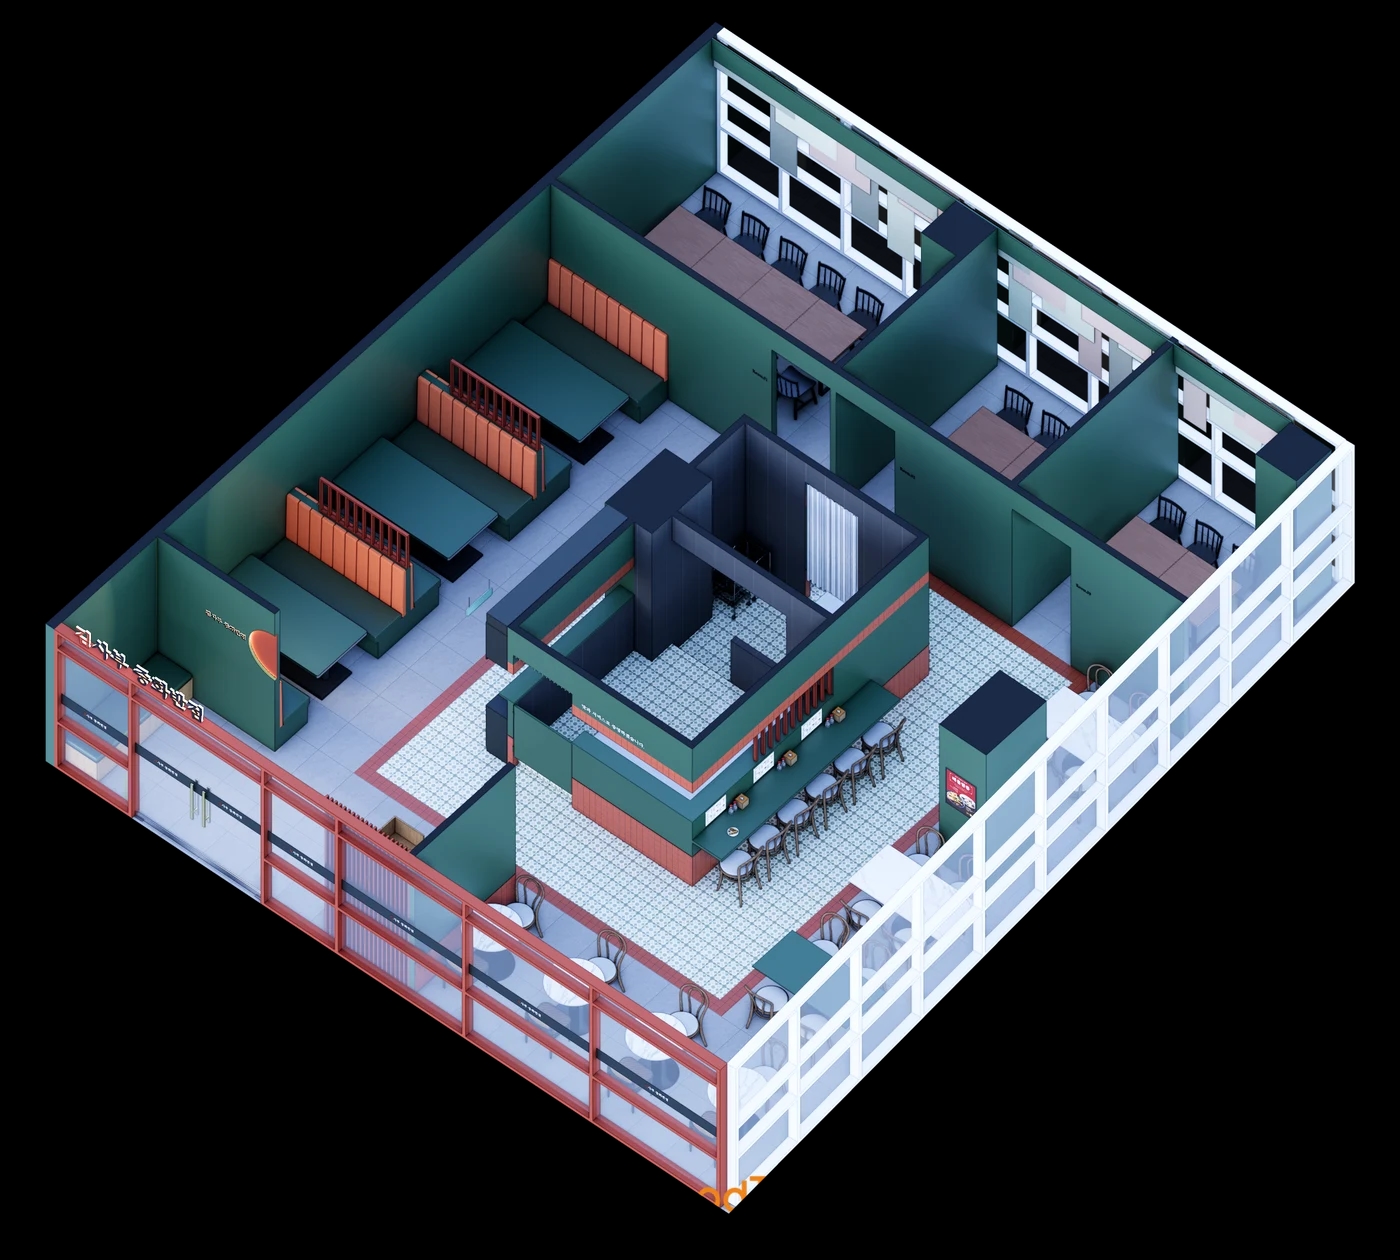
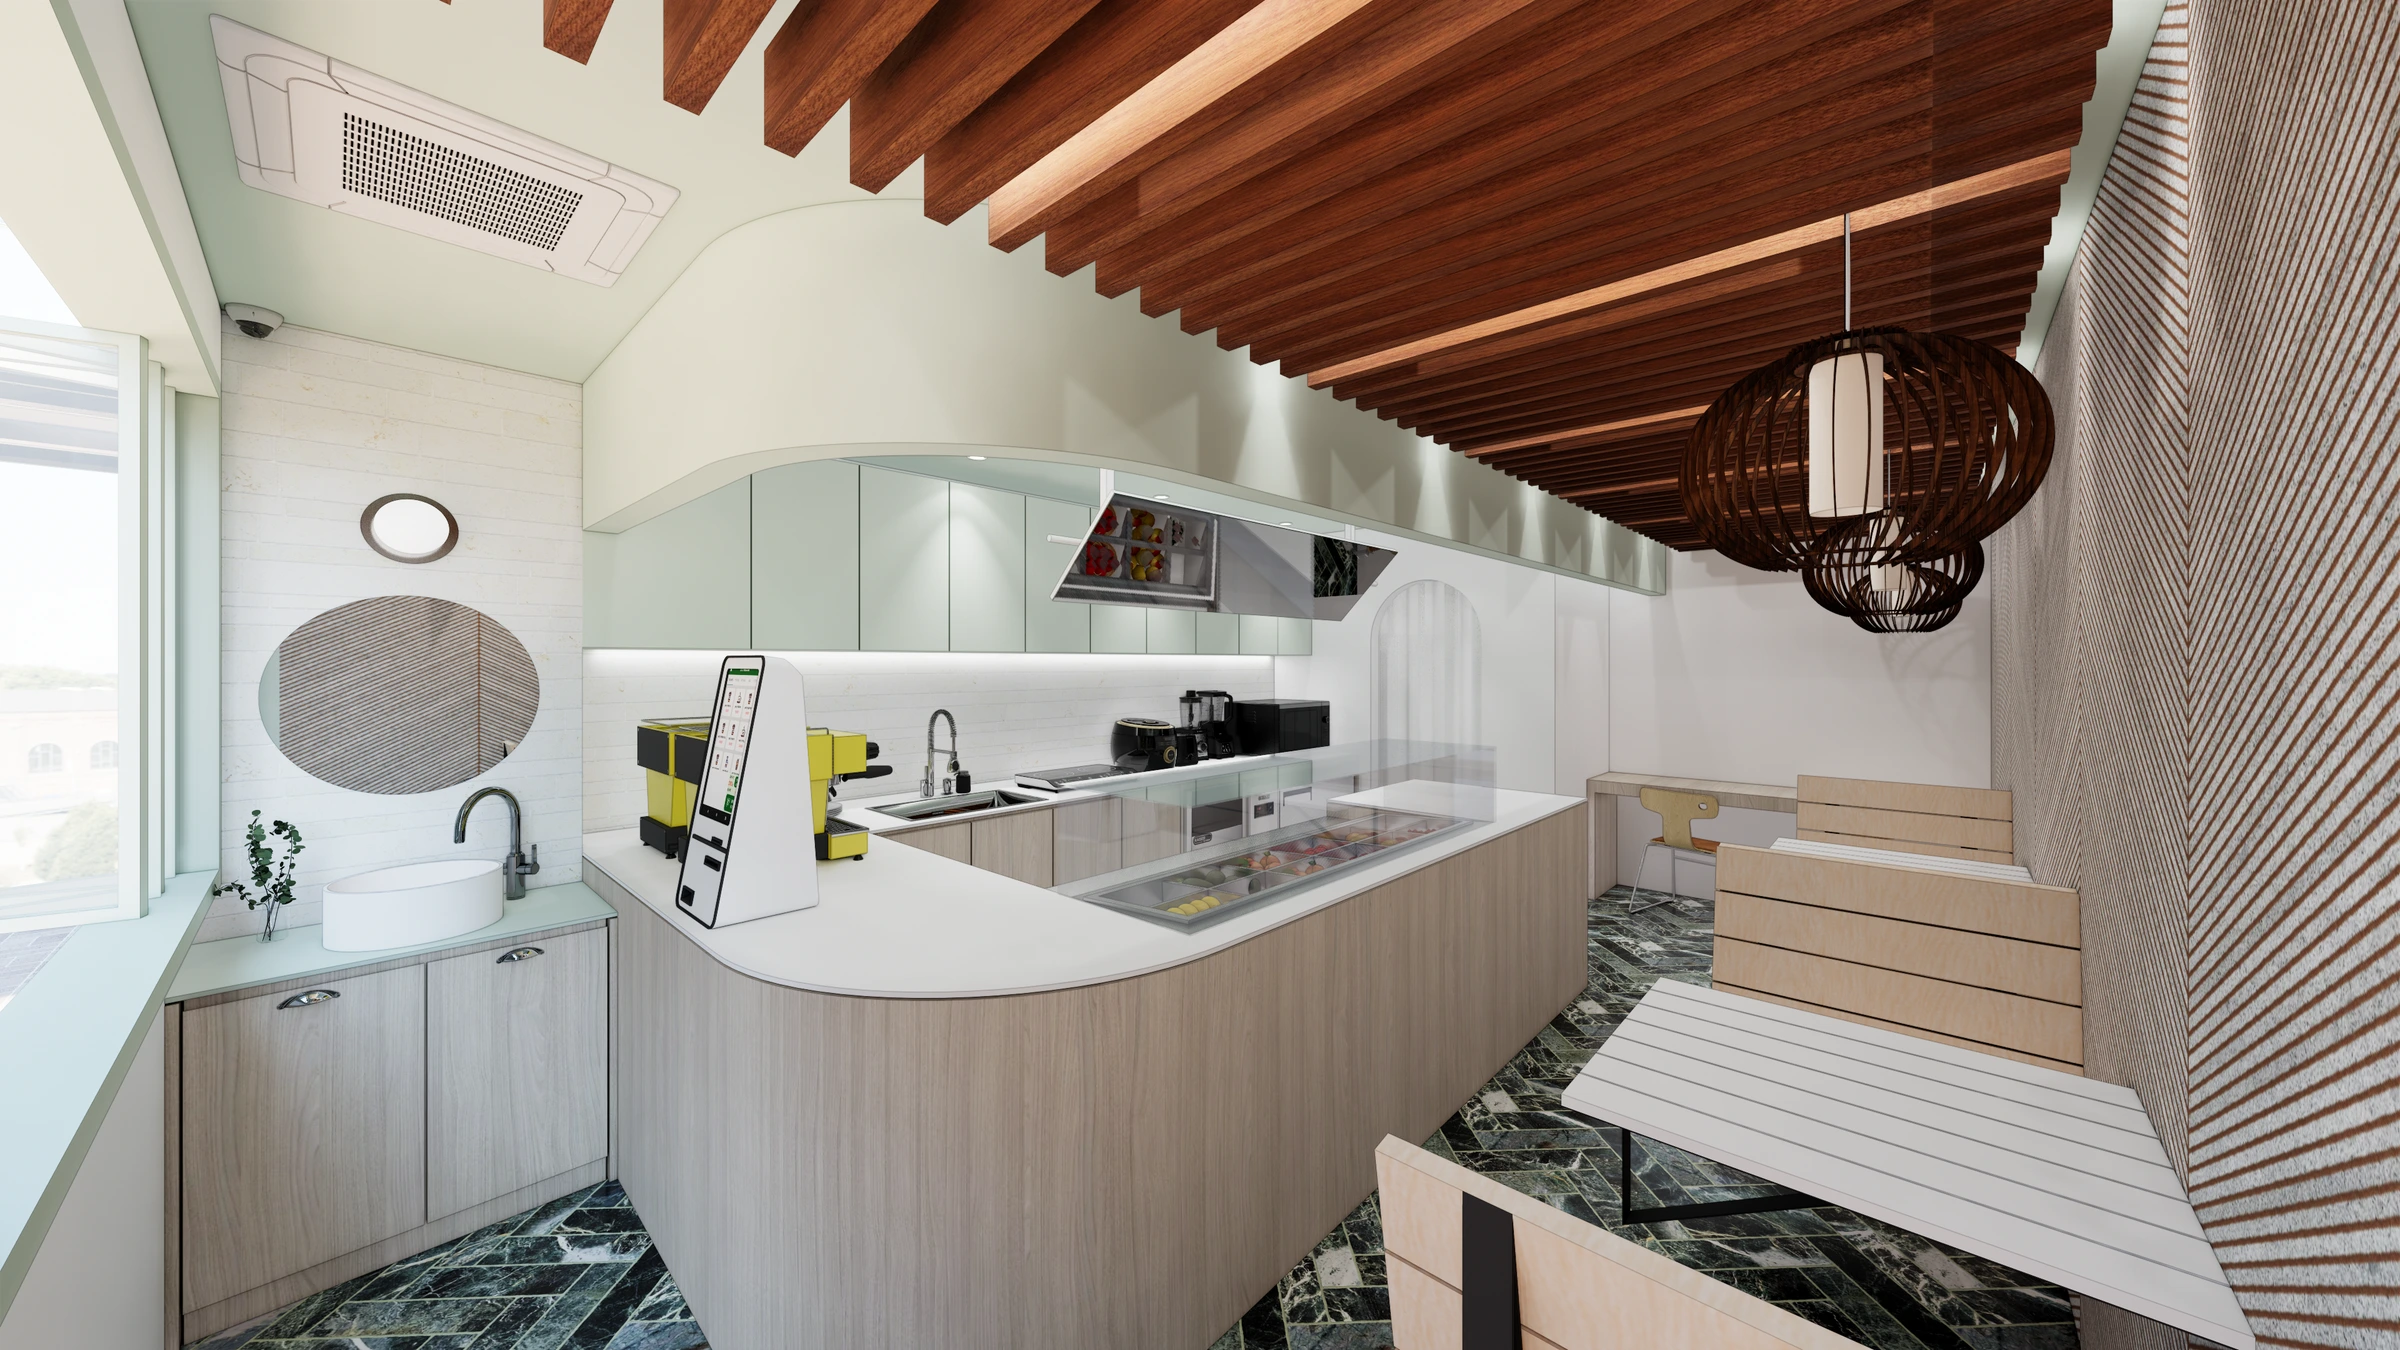
The second image looks down on the same design. Counter seats line one side of the central enclosure, while tables and benches occupy another. Review staff exits and approaches to all seats rather than just the appearance of one screening surface. This does not replace detailed kitchen equipment or service drawings.
Mark staff doors differently from serving openings. Whether using a low gate or conventional door, draw its swing and the person standing there. Check operation with customer chairs pulled out and whether someone collecting food blocks it. Empty chairs tucked beneath a top do not establish usable circulation.
Before extending screening to add a final seat, check that end position. Does staff circulation pass behind its occupant, and is turning space left before the door? Compare removing a seat to widen the interface with moving the door on the same plan. Record changed routes as well as costs and seat quantities.
The relationship between serving opening and staff entrance depends on service style. Decide whether kitchen staff hand food to dining staff or deliver it themselves. Simulating simultaneous trips reveals concentrated activity. Assess the proposed shop's actual roles rather than assuming this design suits a particular staffing level or service method.
Green walls, orange tiles, and black tops cover different faces of the boundary. Specify dining-side fronts, kitchen-side backs, and opening reveals separately. Similar color and identical material are different choices. Assign materials by face after confirming water and heat exposure and cleaning methods with the kitchen planner.
Separate opening sections, slats, tops, staff doors, and fittings in the estimate alongside wall length and height. For existing walls, have the responsible specialist check removal, retained portions, and electrical or plumbing routes. Changing the screening does not establish that cooking and exhaust equipment can stay. Explain related changes separately and coordinate them with service plans.
Final drawings should show seat numbers, screening, openings, and doors together. Have the operator identify large-dish placement, return collection, and staff exit positions before approval. After completion, review again with chairs and menus present, confirming planned sightlines and handover areas as well as screening color and form.
Ask us about your interior project
We can discuss a quote and design suited to the space you are planning.
Request a free consultation