Salon Mirror Sizes: Coordinating Chairs and Lower Edges
Salon mirror sizes require more than the width and height that fit a wall. Designs with central vertical mirrors and wall mirrors illustrate seated and standing views, chair positions, lower edges, side surfaces and dimensions to retain in fabrication drawings.

Before you begin
- Distinguish external mirror dimensions from the usable view of faces and hair.
- Compare the same arrangement with the chair raised and turned and with a standing viewer.
- Record lower edges, side surfaces, wall junctions and fixing responsibilities in elevations and the order scope.
Mirror outlines and the actual viewing area
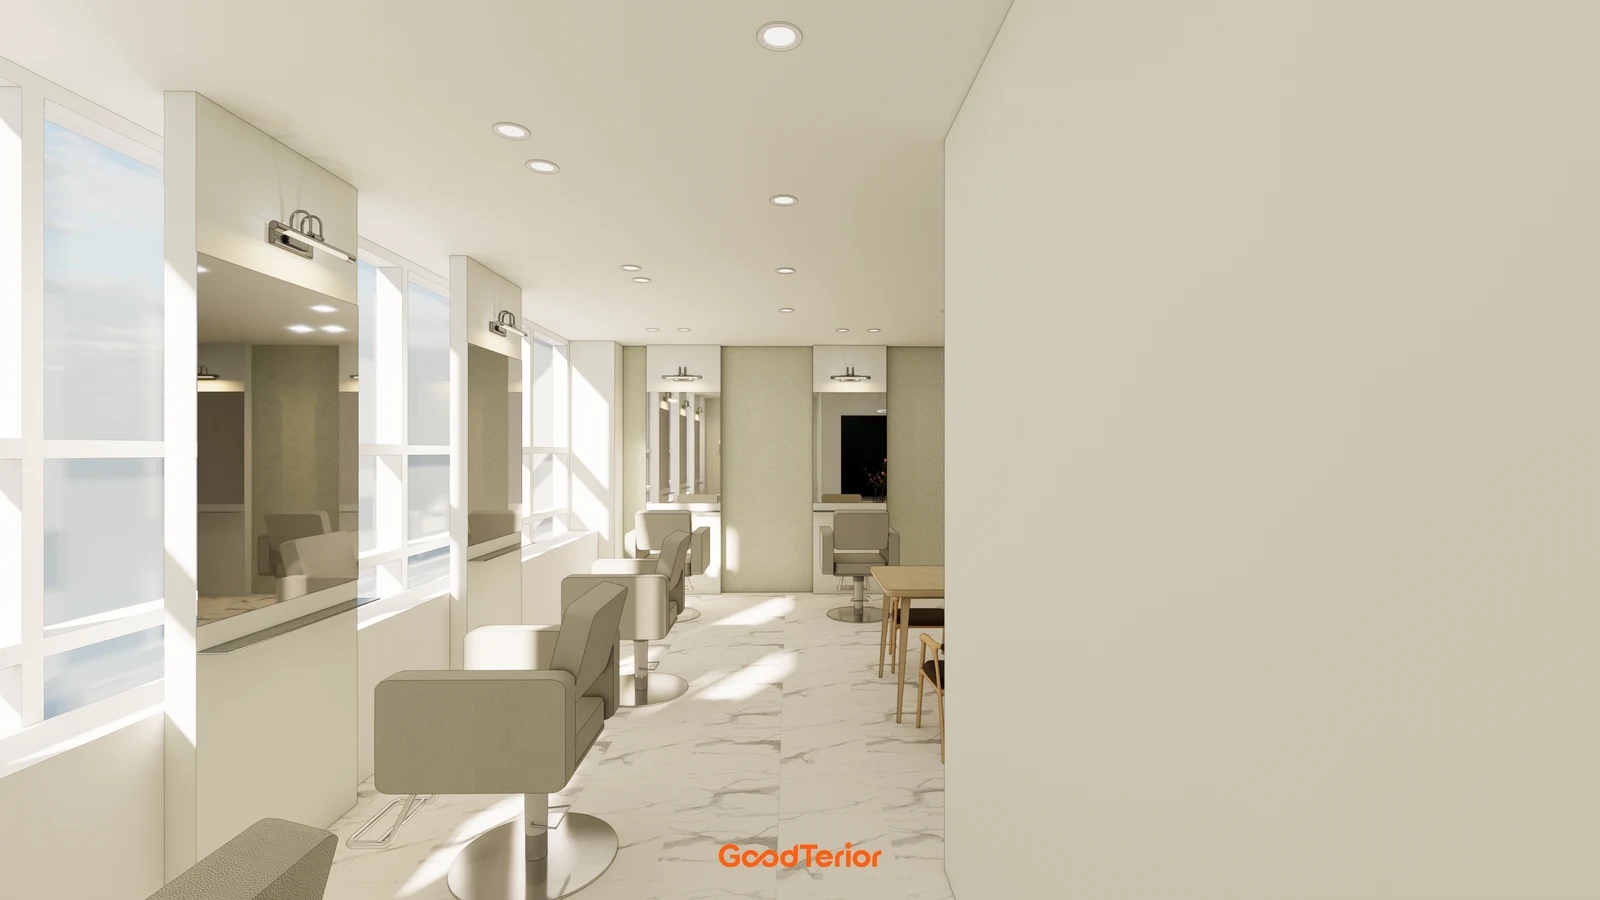
Start a salon mirror brief by identifying the intended view: a seated face and hairstyle, or a standing view after styling. Compare long mirrors at every station with a separate viewing position. A product labelled full length does not establish the required view once chairs and furniture occupy the actual space.
The Cheongdam design places long rectangular mirrors and chairs between windows. Reflective surfaces continue downward, with chairs and bases in front. Separate the choice of a low-reaching mirror from the check of what customers can actually see. Mark the chair turned sideways and the customer’s standing position on the same plan.
Record floor-to-lower-edge height, reflective height and total framed height separately. Review the chair at its lowest position and at the positions used for services. Narrow candidates with the actual chair and staff working posture rather than applying one installation height to every salon.
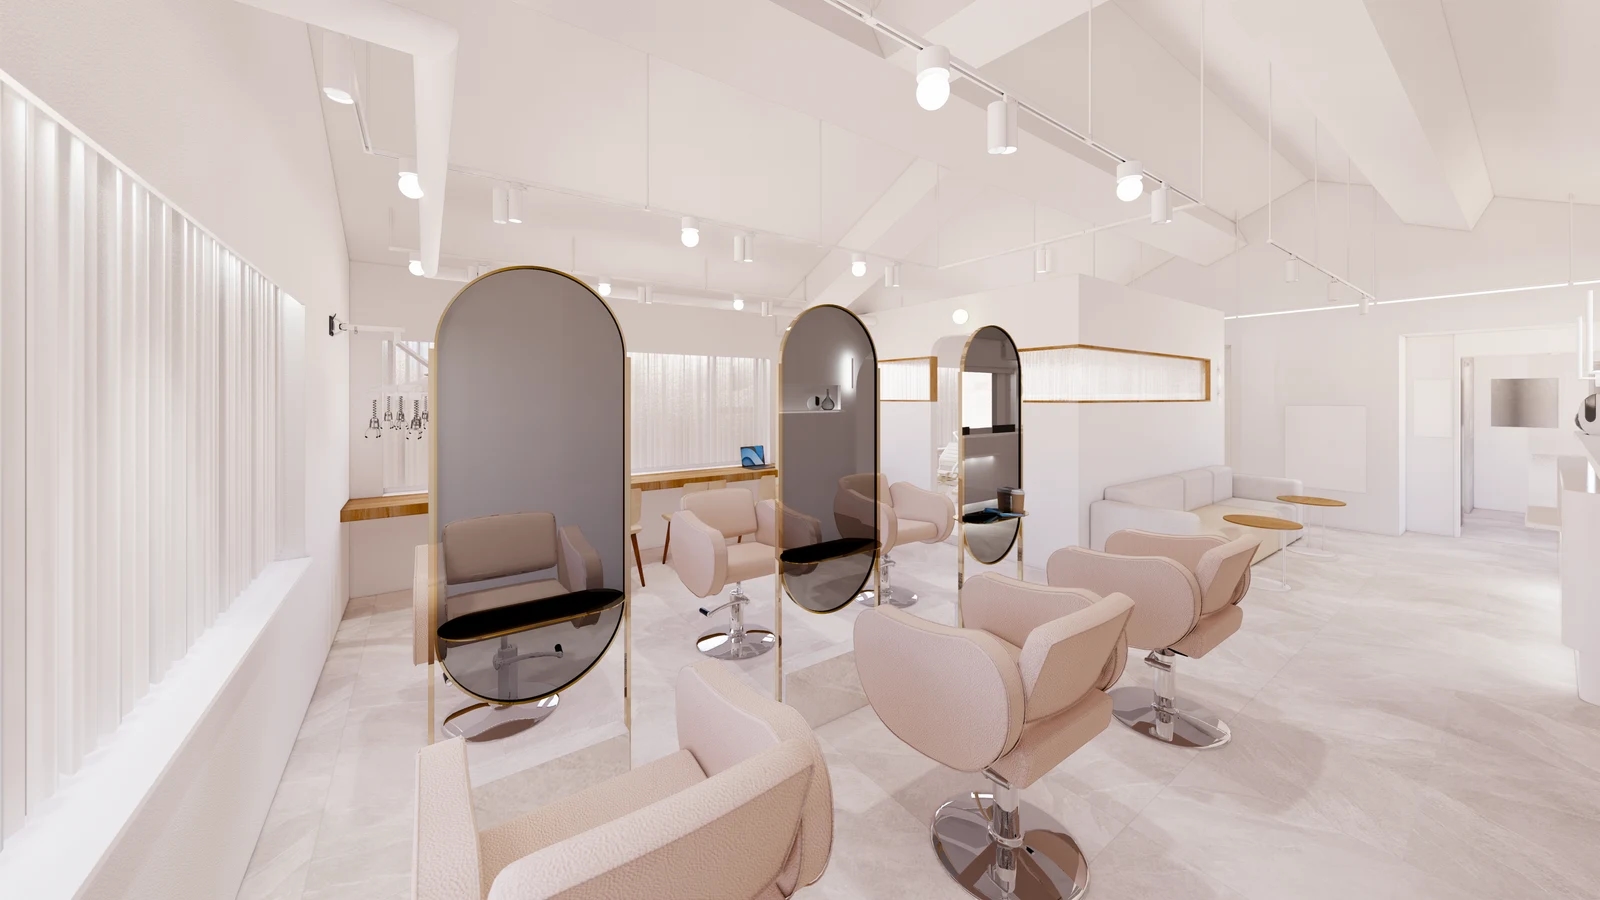
Compare available wall width with the view beside the customer’s hair and of the stylist behind. For round-ended mirrors like those on the cover, review the outline at face and hair level as well as overall width. A paper outline or candidate mirror beside the actual chair helps compare sizes and align mirror and occupied-seat centres.
Review reflected entrances, waiting seats and neighbouring stations from the seated customer’s position and again as the stylist moves. Where windows or luminaires appear, plan checks under daytime and evening conditions. Bright-looking reflections in a rendering do not establish the installed lighting’s glare or colour quality.
Place retained mirrors alongside new candidates, adding checks for frames, edges, rear fixings and the moving route. Have the removal and installation specialists assess hidden conditions and suitability for reinstallation. Coordinate approvals so station finishes and worktops are not fabricated before retained-mirror conditions are settled.
Lower edges and side surfaces
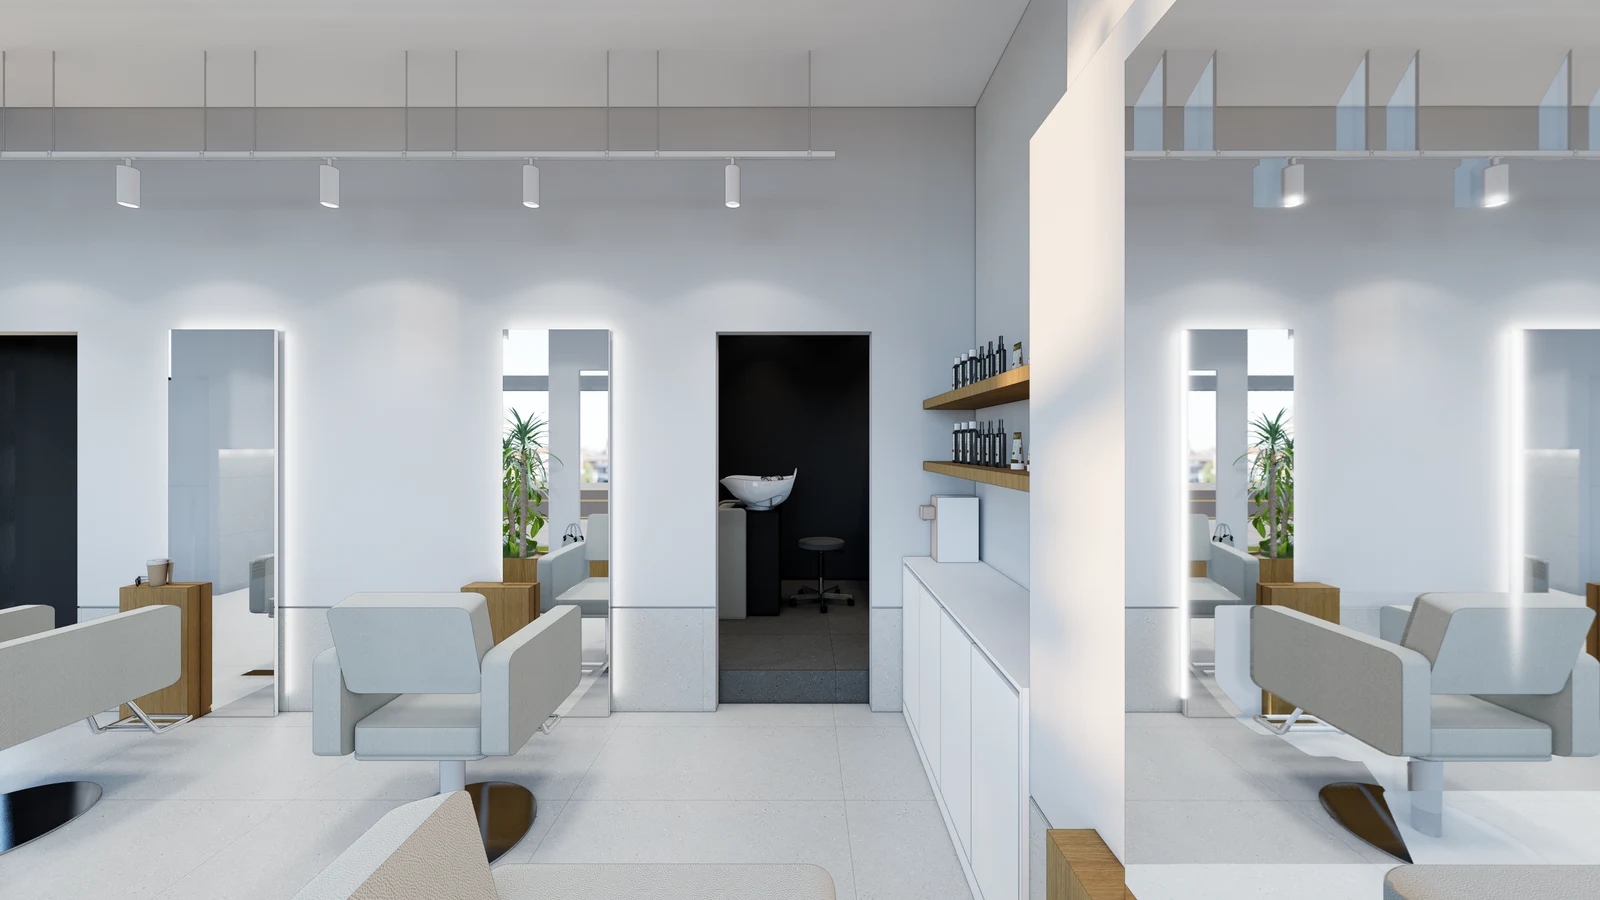
The Dongdaemun design places small wood-tone pedestals beside narrow tall mirrors, while the Hongdae cover shows small black shelves across vertical mirrors. Compare these arrangements before ordering mirrors and surfaces separately. Decide whether objects sit in front or to one side, then test the required view from the chair.
For a front shelf, review cups, information and objects temporarily placed on it, not just the empty surface. A mirror extending below a shelf is a different fact from that area remaining useful to the viewer. A side pedestal also changes reach and chair-turning relationships, so it is not the same arrangement with a different mirror width.
For a low-reaching mirror, record cleaning access around its lower edge and chair base. Test reach behind or beside the station and the path of floor-cleaning tools. Compare a raised lower edge or separate base finish over both appearance and maintenance surfaces. Have the installer specify edge details and fixings for the selected product and actual substrate.
Request frame, curved outline, edge finish and rear construction details alongside width and height. Separate integral lighting from adjacent lighting. Comparable-looking sizes do not make quotations equivalent when mirror, furniture, electrical and wall work differ. Do not infer product specifications from a frame colour or luminous edge in a rendering.
Number stations and record mirror centres, lower and upper levels, reflective sizes and external dimensions on coordinated elevations. Add windows, wall ends, shelves and lighting to detect mismatched centres between trades. Check end stations separately where walls or columns differ. Coordinate affected furniture and wall-finish revisions when models or dimensions change.
At handover, separate dimensional checks from seated use checks. Repeat the agreed chair positions and required views with objects on the shelf. Retain specialist checks of fixing, edges and surrounding finishes. Use the agreed viewing tasks and positions as ordering and handover criteria instead of size alone.
Ask us about your interior project
We can discuss a quote and design suited to the space you are planning.
Request a free consultation