Wood Slat Partitions: Planning Gaps and Finishes in Restaurants
A wood slat partition involves more than colour and spacing. A restaurant design with open slats and a closed face illustrates viewing direction, lower walls, end finishes, samples and fabrication scope.

Before you begin
- Compare views from a seat and an oblique angle as well as the frontal gaps.
- Distinguish open slats from closed wall cladding and define lower-wall, end and side finishes.
- Record actual samples, fixing details, cleaning access and fabrication quantities in the same approval set.
The same spacing looks different from different directions
First distinguish a repeated wood-toned pattern from a partition intended to screen another area. Here, open slats mean vertical members with spaces between them. Wall decoration and a freestanding division present different side and rear views. Mark the proposed location on plan and request views from both sides rather than relying on similar frontal images.
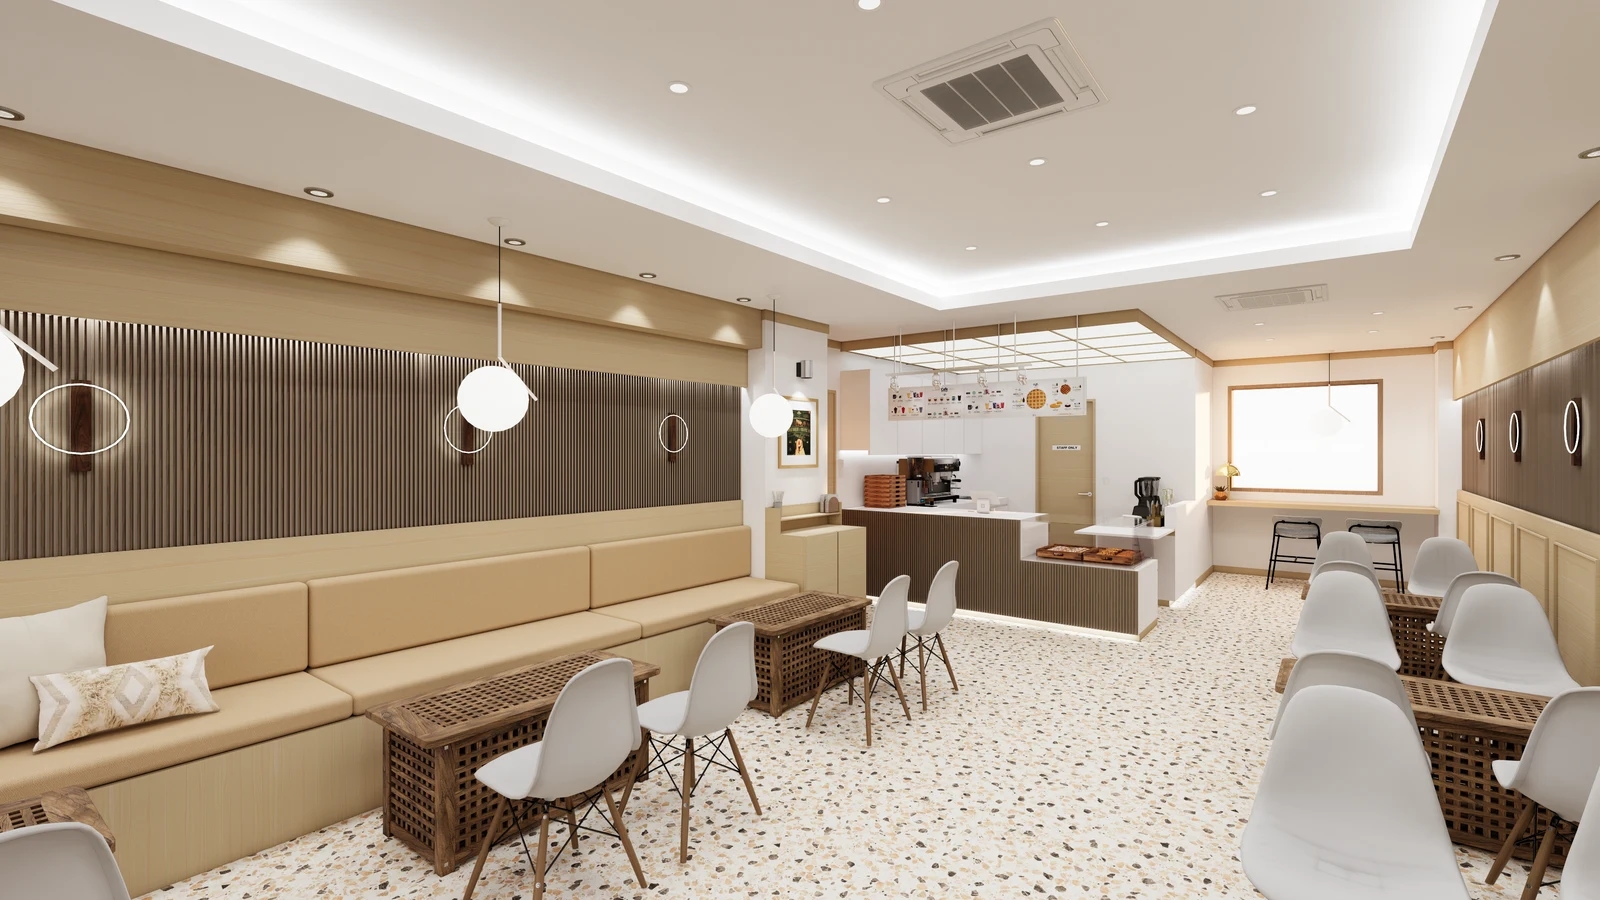
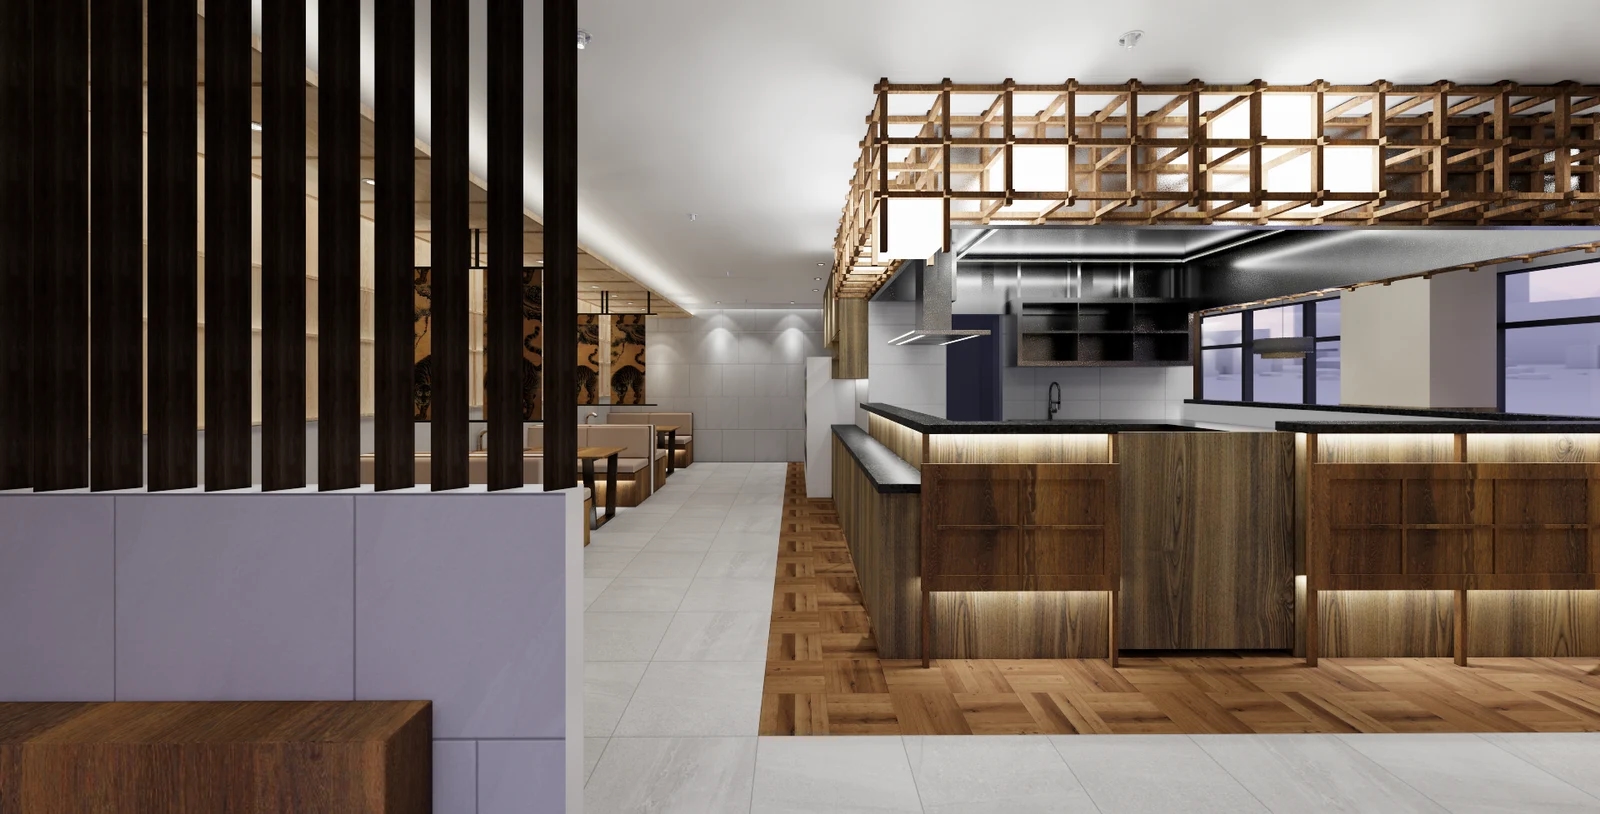
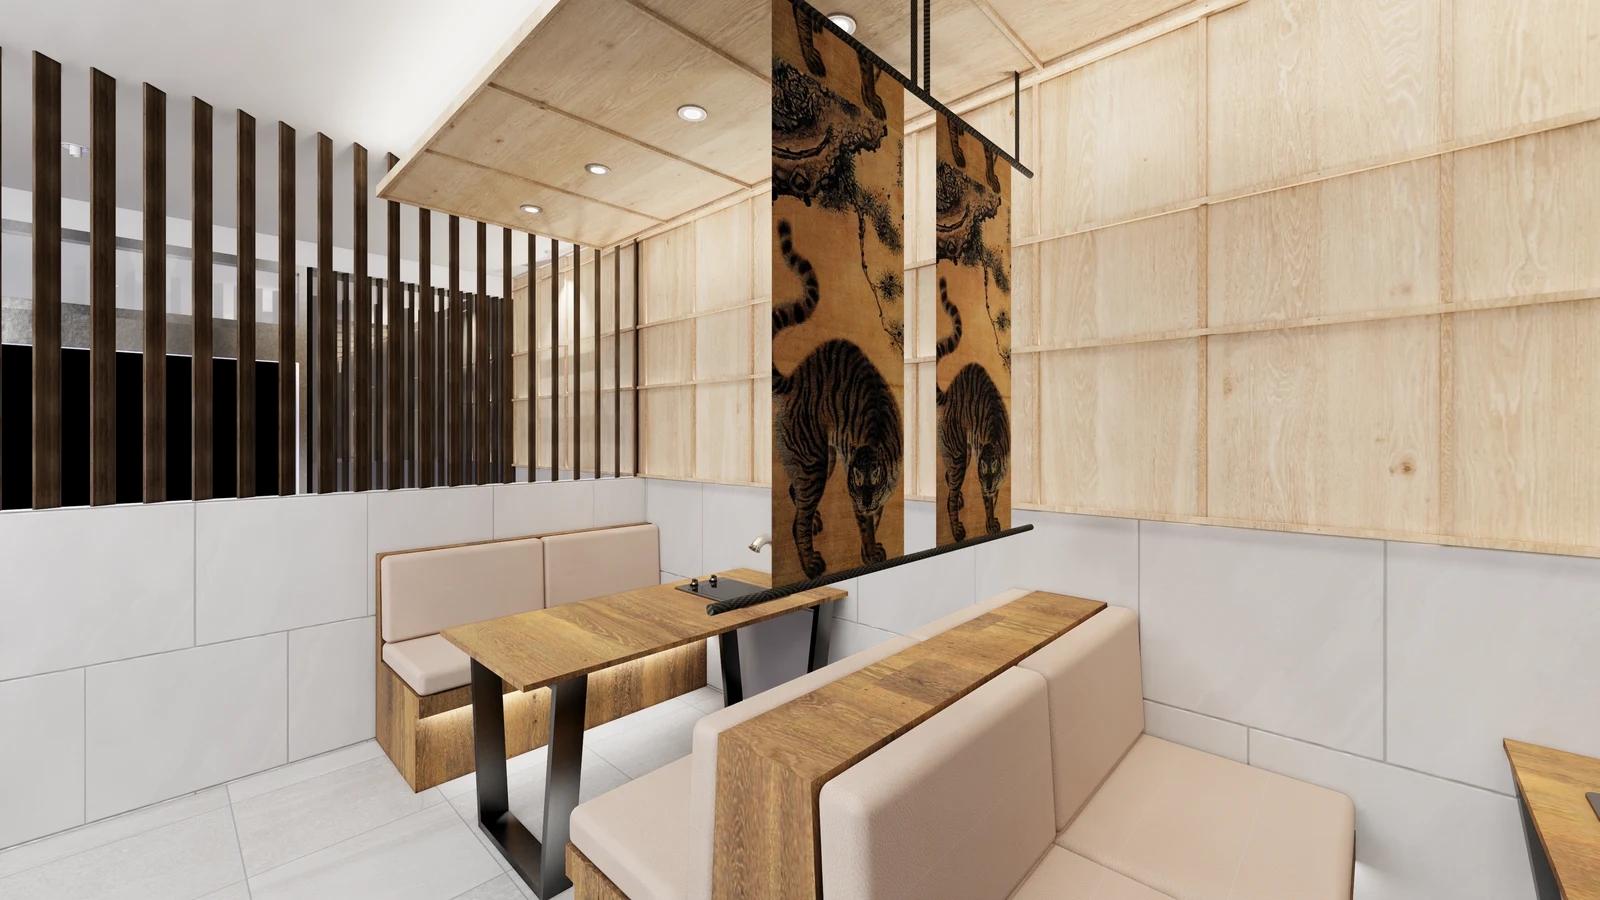
The cover places dark slats above a lower wall beside the aisle between kitchen and seating. The first section views slats obliquely from built-in seating in the same design. Together, they show the importance of member sides and depth as well as front width. These are design renderings, not measured evidence of screening ratios or installed spacing.
Oblique views can overlap the sides of members even where frontal gaps appear broad. From another position, a gap may reveal a neighbouring table or aisle. Identify whether the intended screening concerns diners or staff movement, then review seated and aisle views separately. Closer spacing alone does not establish screening from every direction.
For slats above a low wall, define the boundary between solid and open portions. Aligning it with a bench back differs from extending it above a table. If retaining an existing bench, measure its position and backrest first. Overall partition height alone does not locate the start of the openings.
Compare a partition running the full table length with a shorter one. Mark diners getting up and staff serving at the table. Even an additional end member changes the outline beside the aisle and belongs on the drawing. If the end conflicts with chair movement, reconsider partition length or seating despite an appealing pattern.
Do not describe open slats as equivalent to a separate room. If the operation requires separation of conversations or sound, specify that need for professional review. The gaps and wood tone establish no acoustic performance, material composition or fixing strength. Record visual design decisions separately from performance checks.
A fabrication sample that shows sides and ends
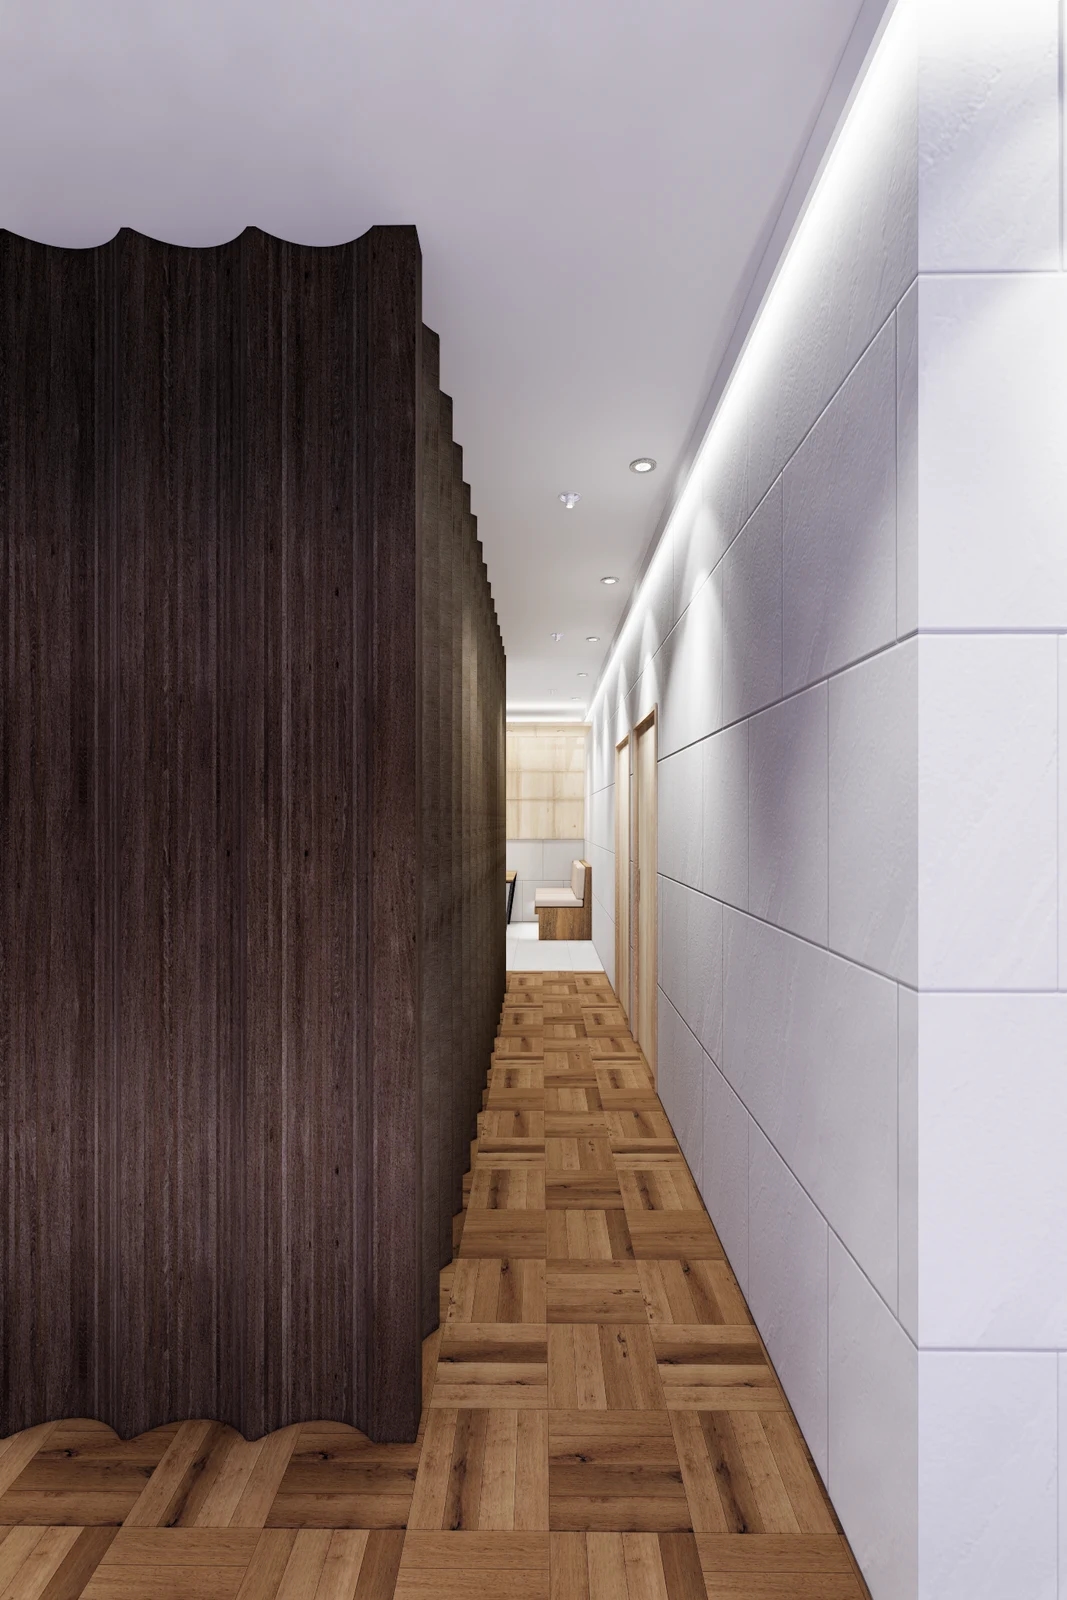
The second section shows a dark vertically profiled closed face beside a corridor. Its background does not read through open gaps, so it is not presented as the same partition as the cover. Compare a profiled face on a closed background with separate open members. A similar frontal rhythm does not establish identical materials or rear finishing work.
Ask to see sides, corners and upper and lower ends, not only a small frontal colour chip. For open members, mark every surface visible from seats and the aisle. Define the ceiling termination, lower support and space beside the final member. Change viewing height because a face assumed hidden may be visible from a low seat.
A wood tone does not identify solid timber or another substrate with a decorative finish. Name the confirmed material and finish assembly in the quotation and obtain application information from the supplier and installer. Under the actual lighting, compare front, side and cut-end treatment with the approved sample. A similar colour name does not make another product the same specification.
Agree fixing details with the installer after checking the actual supporting construction, rather than selecting an attractive ceiling line alone. Clarify opening, reinforcement and making good around the work. If a member is intended to act as a handle or shelf support, do not infer suitability from the decorative partition. Review the changed use as a separate detail.
Check access for cleaning while reviewing the sample. Try the intended tools around front and rear faces and the floor or lower-wall top, including access without moving the bench. A smooth rendering proves neither resistance to marks nor easy upkeep. Follow the chosen product’s care instructions and request alternatives for inaccessible gaps or lower details.
Link the quotation to drawings defining extent, height, member width and depth, gaps and quantity. Separate materials, finishes, fixings, support preparation and making good. For a smaller budget, compare a reduced extent or a closed face under the same requirements rather than widening gaps arbitrarily. Retain the layout, sample and end details for checking the completed work.
Ask us about your interior project
We can discuss a quote and design suited to the space you are planning.
Request a free consultation