Finishing the Junction Between Different Floor Materials
A floor junction needs both a line on the plan and a detail showing how the actual products meet. These office and showroom proposals help compare junction positions, finished levels, transition strips and the checks needed before pricing and installation.

Before you begin
- Compare junction lines with doors, movement routes and future layouts rather than following furniture outlines alone.
- Distinguish patterns in an image from actual products, and check the build-up from the substrate to each finished floor in section.
- Confirm transition-strip shape and visible width, installation sequence and repair scope against samples and drawings.
Draw where the junction will run first
When floor colors or patterns change within a space, first decide where the change will occur. Placing two product samples together is different from creating a junction in the middle of a room. Early in the design, write down why the zones need separating. Distinguishing an entrance from workstations and retaining part of an existing floor may require different positions for the same line.
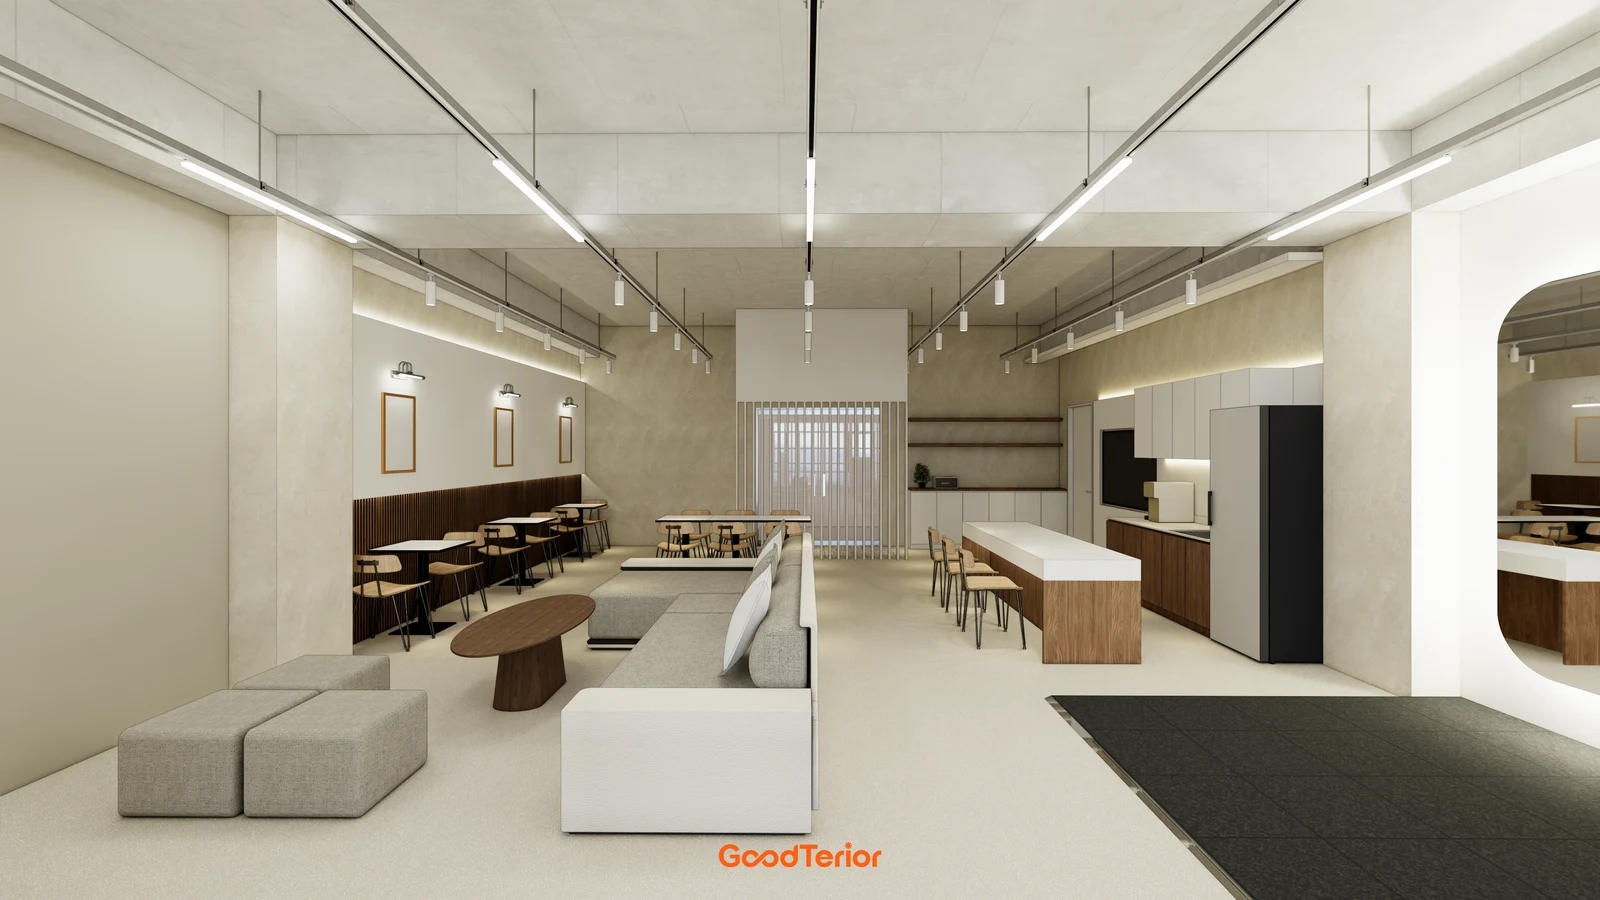
The first body image is a design proposal with a dark rectangular zone beside a light area containing sofas and tables. In an open space like this, a floor boundary rather than a wall reveals the end of a zone. Draw alternatives aligned with furniture edges, columns or wall corners. Start by comparing how the whole line appears from the entrance, rather than optimizing cuts in just one zone.
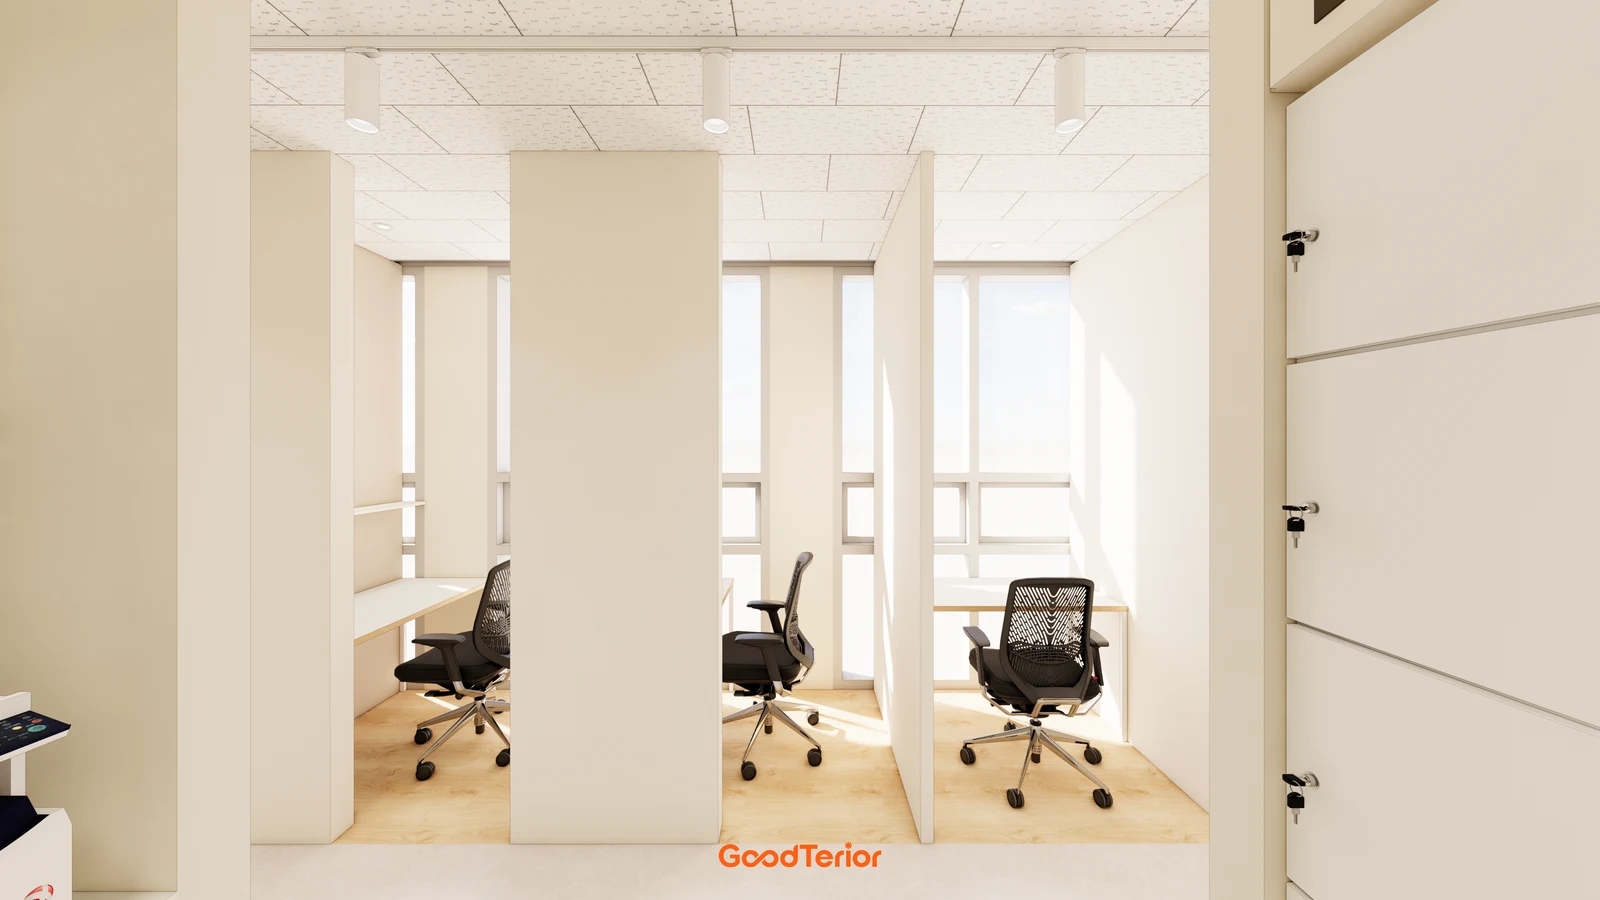
On the cover, wood-pattern flooring continues between partitions at window-side workstations and meets the light floor in front. When reviewing this arrangement, do not draw only chairs tucked under desks. Check which surfaces the casters cross when a chair moves backward or sideways. If the junction falls within that movement, compare relocating the line with continuing one type of flooring through the area.
For an enclosed room, overlay the door leaf and frame on the floor plan. Check from each side how much of the other floor is visible with the door closed, and how the boundary appears when it opens. Instead of automatically aligning the junction with one frame edge, review the door position together with the selected edge detail. Once the actual door and floor products are chosen, the installer needs to check their junction.
Consider the current furniture arrangement separately from future layouts. A floor line following a movable sofa or display unit can remain after the furniture moves. In frequently rearranged zones, compare continuing a shared floor and defining areas with movable elements. For a room or entrance that will remain, walls and doors can provide a reference instead of furniture.
On the plan, identify not only the flooring but also the start and end of each junction and the doors and walls it meets. For a diagonal or curved line, confirm the cutting scope and termination points as well as the shape. An attractive pattern is different from a detail that can be coordinated on site. Include a step for marking the boundary on the floor and reviewing it from both spaces before installation.
Coordinate actual products and finished levels, beyond the surface pattern
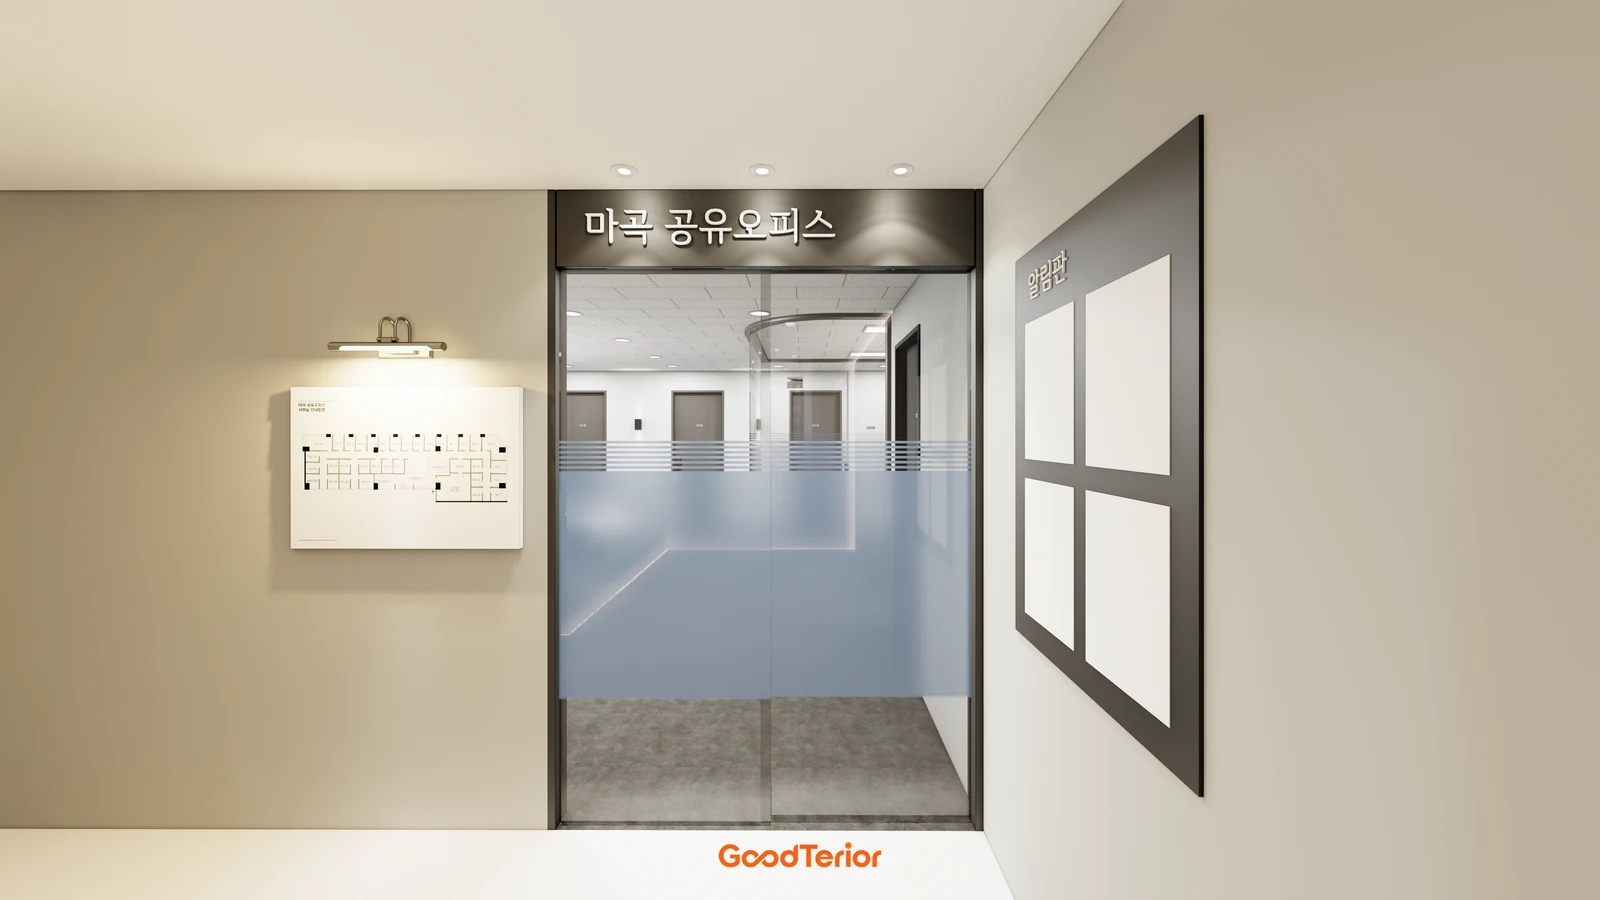
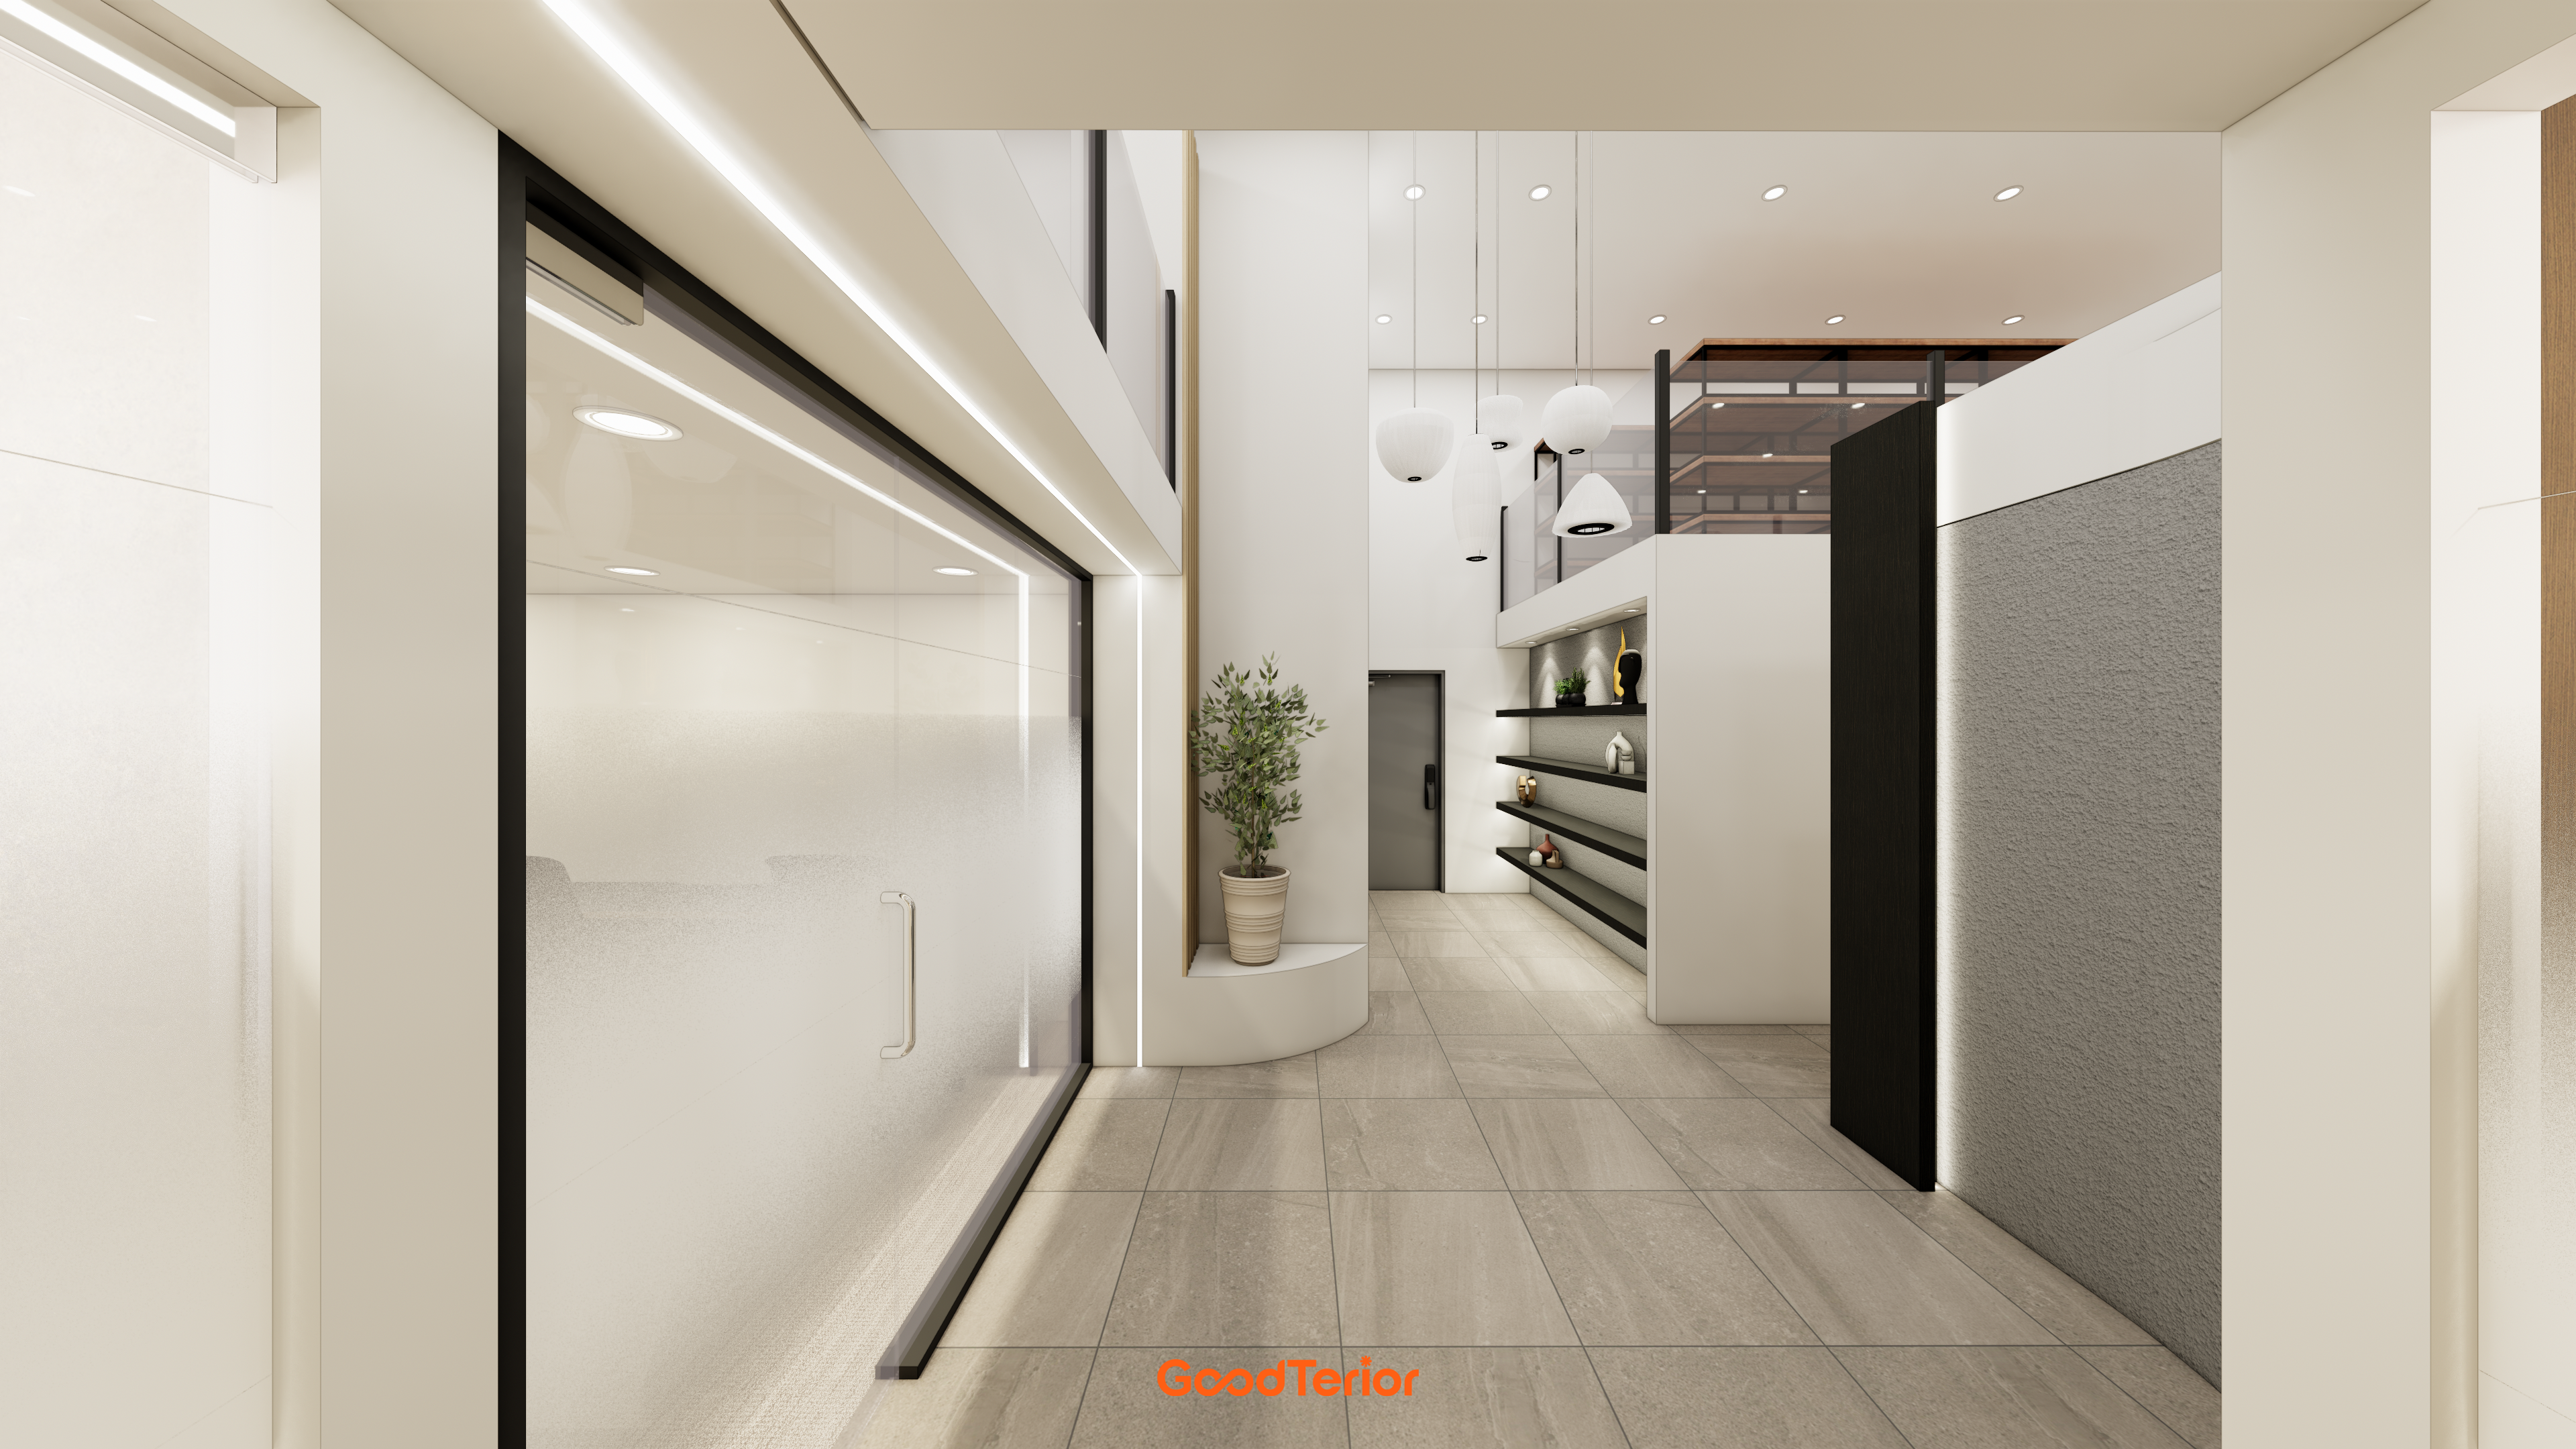
The second body image shows a light outer surface meeting a gray-patterned inner surface beneath a glazed entrance door. The image establishes the position and visible appearance of the boundary. A rendering cannot confirm actual thicknesses, substrate condition or clearance below the door. Do not assume that surfaces appearing level can be joined on site without further review.
Do not identify materials by pattern alone. LX Hausys explains in its LX Z:IN installation guide, Deco Tile at a Glance that deco tile uses a PVC base printed with patterns such as wood, carpet and marble. This is a reason to distinguish a wood- or stone-like appearance from the actual product type. The guide does not identify the products in these images or establish an installation method for every commercial floor.
Once both products are selected, request a section distinguishing the existing substrate from the finished floor surfaces. Compare more than product thicknesses: confirm whether existing finishes will be removed or retained and how substrate repairs and ancillary materials will be arranged. Record any additional work needed on either side to coordinate levels, then compare it with actual site conditions. Repeat this review if a product or substrate changes.
If a transition strip is planned, confirm how its shape will finish both edges before choosing its metallic color. Use a sample or detail to distinguish the width visible from above, the height seen from the side and the fixing portion. Even strips sharing a name need a separate compatibility check with the selected products and site build-up. Compare applicable direct-joint and transition-strip options with the installer.
Do not decide a long junction from a short sample alone. Place actual finish samples and the proposed strip on the same substrate arrangement, and check ends and corners. Review them along walking routes and the directions taken by movable furniture. If a visible step or open gap remains, investigate the substrate and connection detail before choosing an option that simply covers it.
In the quote, separate floor areas from junction-finishing work. Check which items include removal of existing finishes, substrate repair, strips and terminations, and adjustments to nearby doors or skirting. Junctions of equal length can involve different work at doors, in open spaces or at corners. Compare inclusions against the same drawings and product conditions to understand differences in totals.
Finally, confirm that the people responsible for both trades are working from the same line and section. Assign responsibility for the first surface, the surface fitted afterward, strip installation and protection of unfinished areas. At completion, retain overall and close-up photographs of the junction and mark locations needing further checks, such as lifting or gaps. Coordinate the plan, samples and site review so that the line separating floor colors also becomes a usable finished junction.
Ask us about your interior project
We can discuss a quote and design suited to the space you are planning.
Request a free consultation