Office carpet tiles: choosing pattern directions and color zones
A single color chart cannot show how office carpet tiles will look across a whole floor. Compare tile directions, boundaries between meeting and work areas, and patterns left after furniture moves, then record the decisions before installation.

Before you begin
- Check the selected product's permitted installation directions and compare several tiles laid on the floor.
- Set color boundaries independently of desk outlines, and draw how they look with doors open or furniture moved.
- Record products, colors, installation directions, and setting-out lines on a drawing, and check cuts and spare materials by zone.
A single tile color versus a repeated arrangement
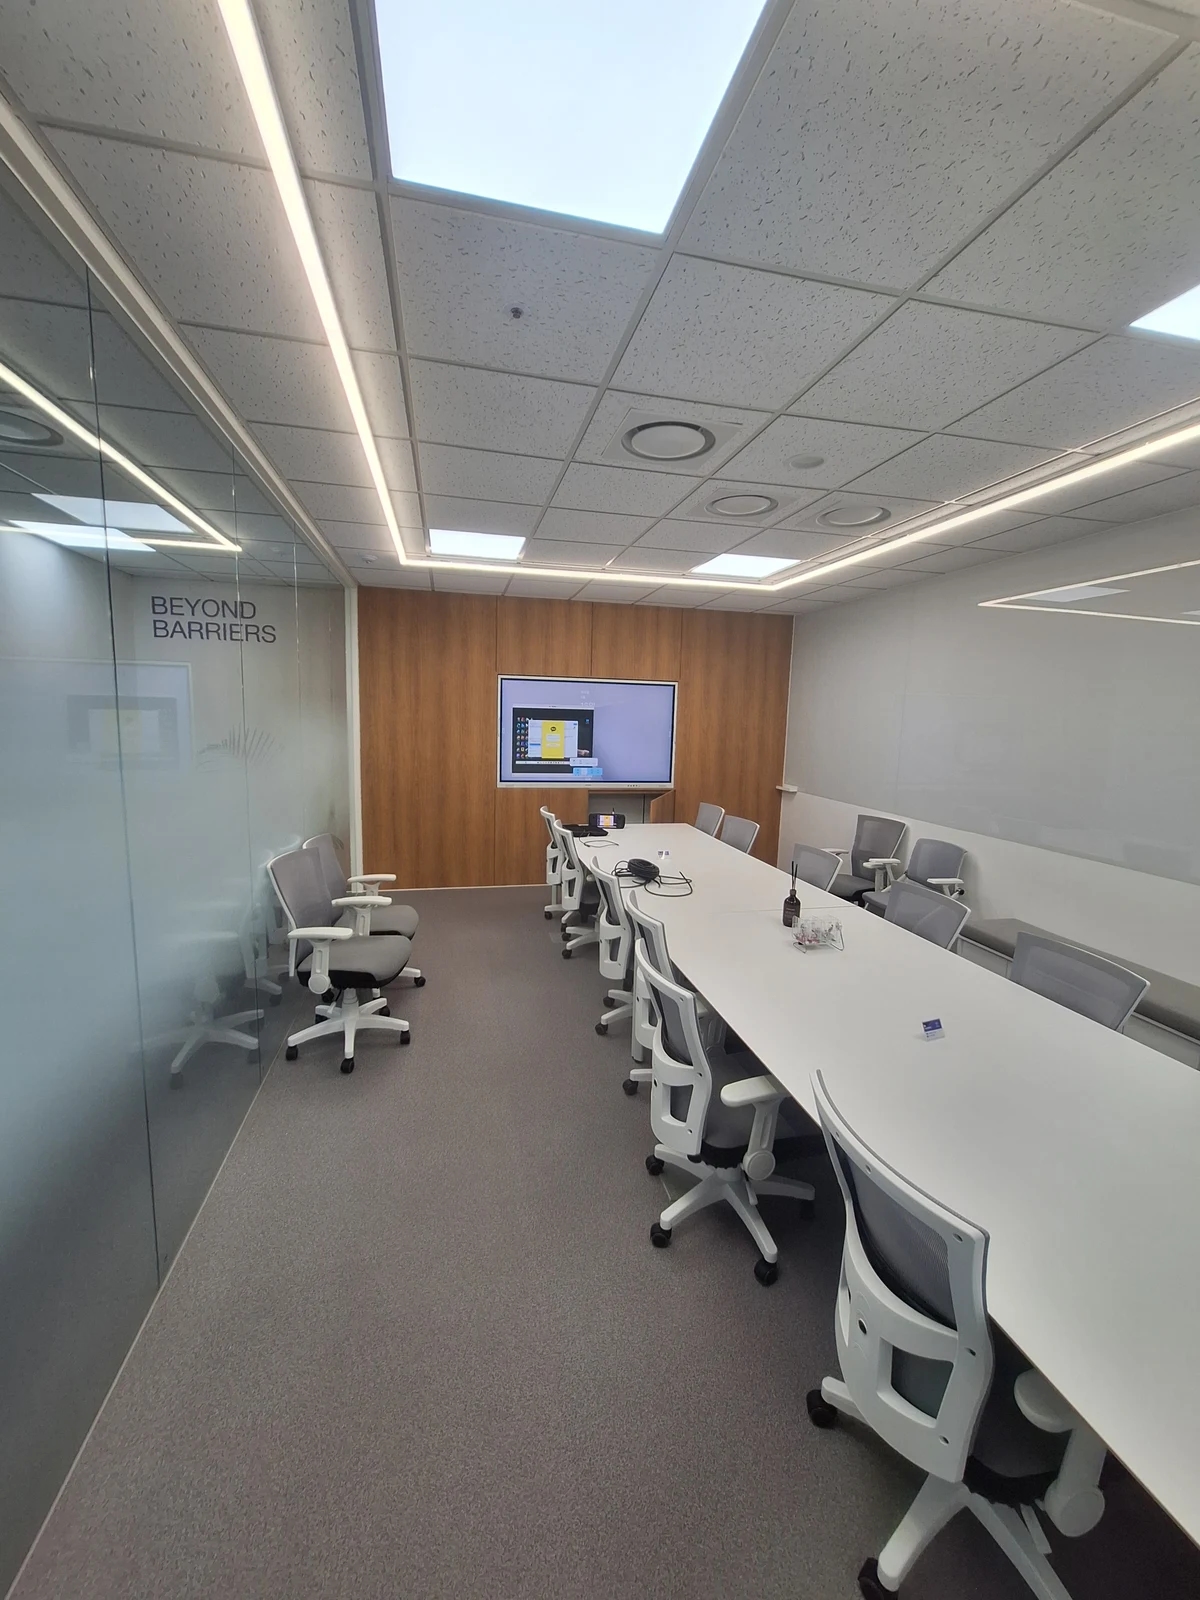
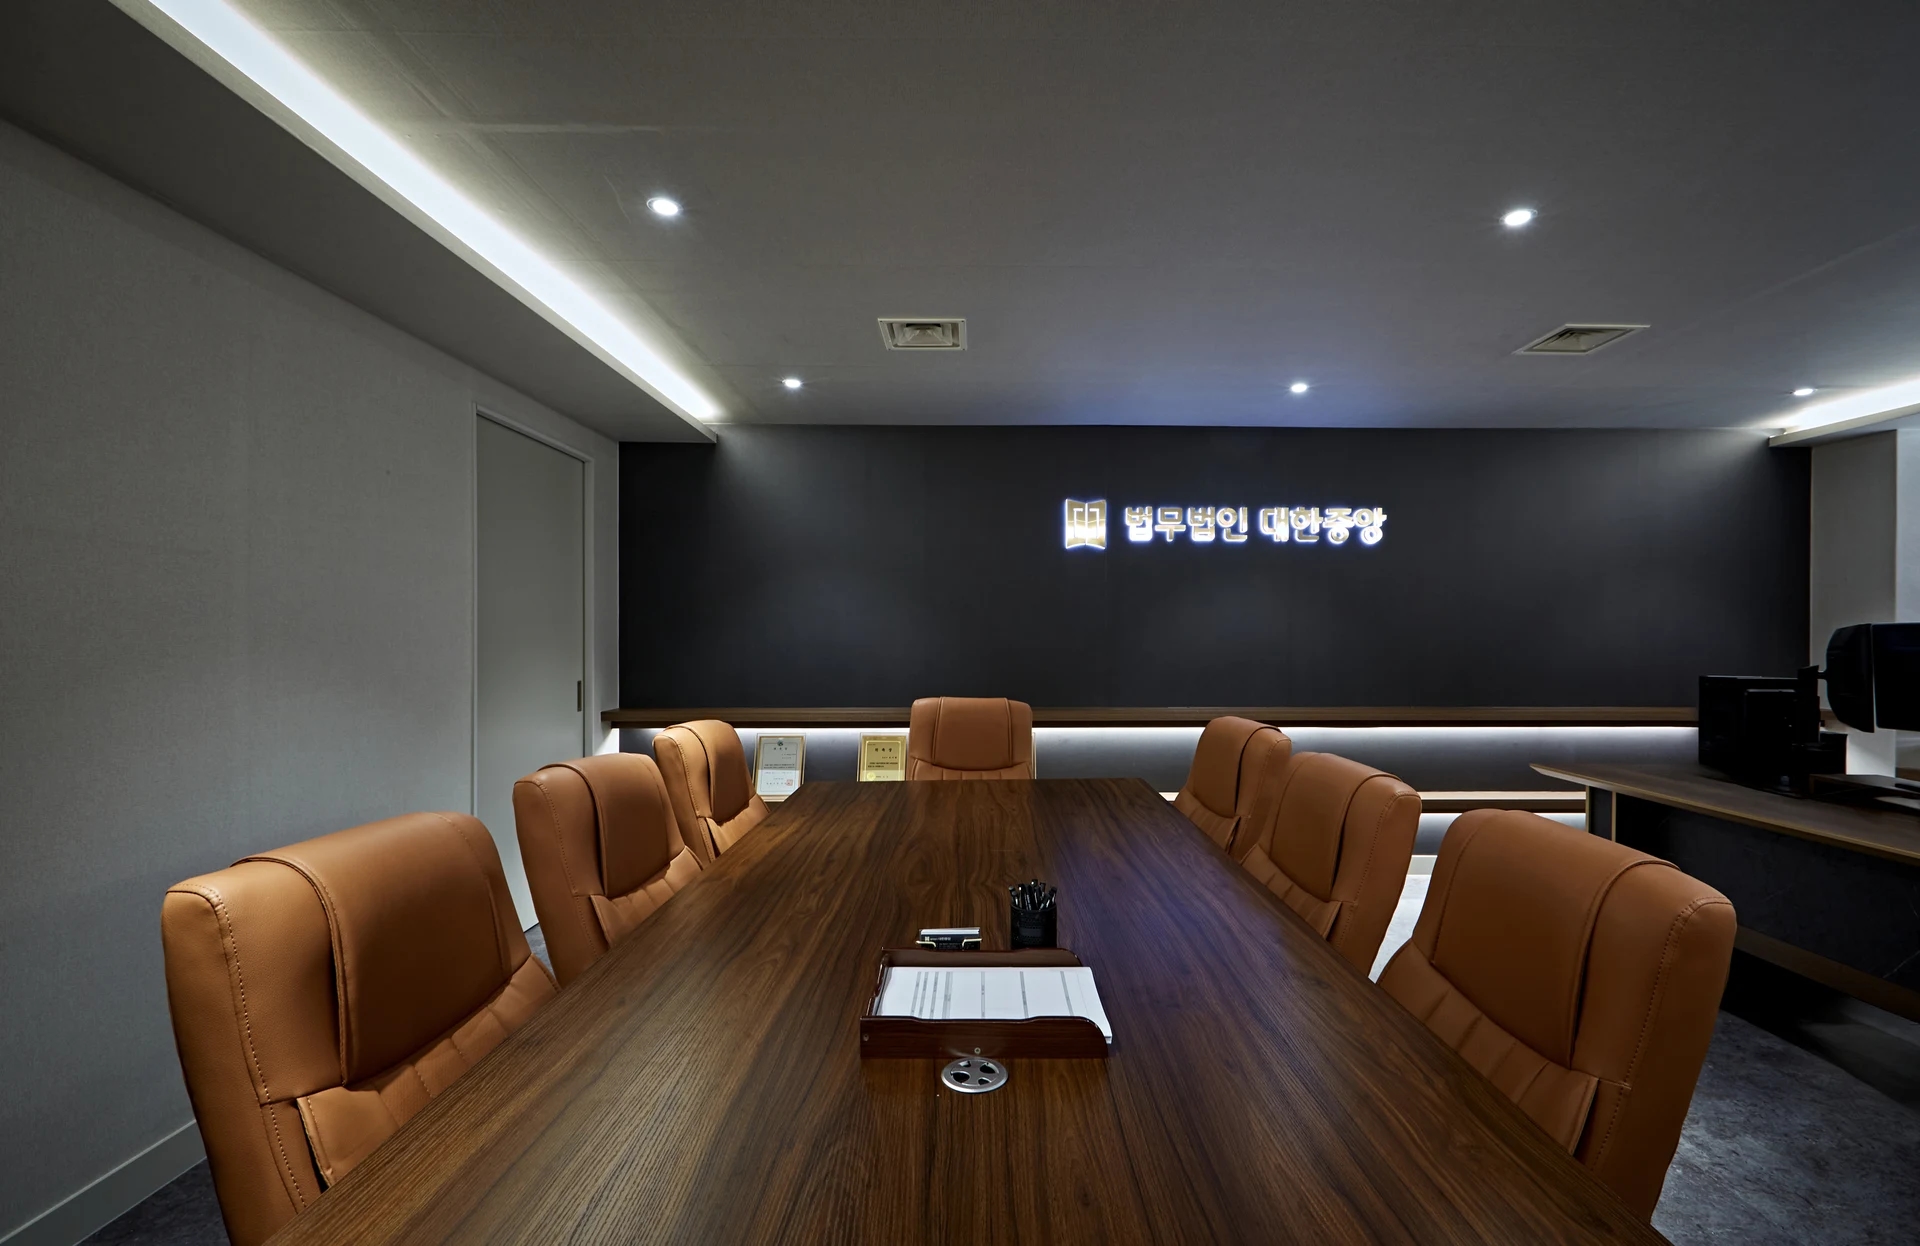
When selecting office carpet tiles, first draw where and how much flooring will remain visible. Areas that look expansive in an empty office become smaller patches around chairs and aisles once desks and cabinets arrive. This meeting room shows both the floor beneath a long table and narrow strips near the wall. Mark exposed areas over the actual furniture plan before choosing a large pattern.
Start with an option using a single color of a candidate product. Then compare pattern repetition within its permitted installation directions. With a linear design, the composition changes depending on whether its lines run along the table or across it. Do not finalize the overall arrangement simply by rotating a small sample in your hand.
Installation direction is not necessarily a freely interchangeable design choice. For example, the installation guidance in KCC Glass's carpet tile catalog instructs installers to check backing arrows and use a consistent quarter-turn arrangement for the listed products. This is an example from that reference, not a rule for other products. Check the selected model's current installation guidance for permitted arrangements.
After narrowing the candidates, request a sample review with several tiles on the actual floor. Compare views from the entrance and from a seated position, as well as near windows and deeper inside. When sharing photos, photograph each arrangement from the same position and record its reference direction. Avoid mistaking differently exposed photos for different color options.
Do not mix samples of different products to test a layout simply because they are all gray. Label each candidate with its product name and color code, verify an arrangement within a single product, and then compare alternatives. The photographed floor is also only a reference for the relationship between a large surface and furniture. The photo cannot identify the product, backing arrows, or actual installation direction.
For a pronounced stripe or color variation, show individual tile directions on the drawings. Direction does not automatically continue when walls turn or rooms divide: ask whether zones share a reference or start separately. Retain both color samples and arrangement photos in the finish approvals so installers do not interpret direction differently from color alone.
An appealing sample does not establish durability or acoustic performance. Tell the supplier about uses such as wheeled desk chairs and heavily trafficked entrances, and obtain separate suitability and maintenance guidance. Distinguishing appearance selection from product verification avoids assuming unconfirmed performance from a product chosen for its pattern.
Color boundaries and installation reference lines
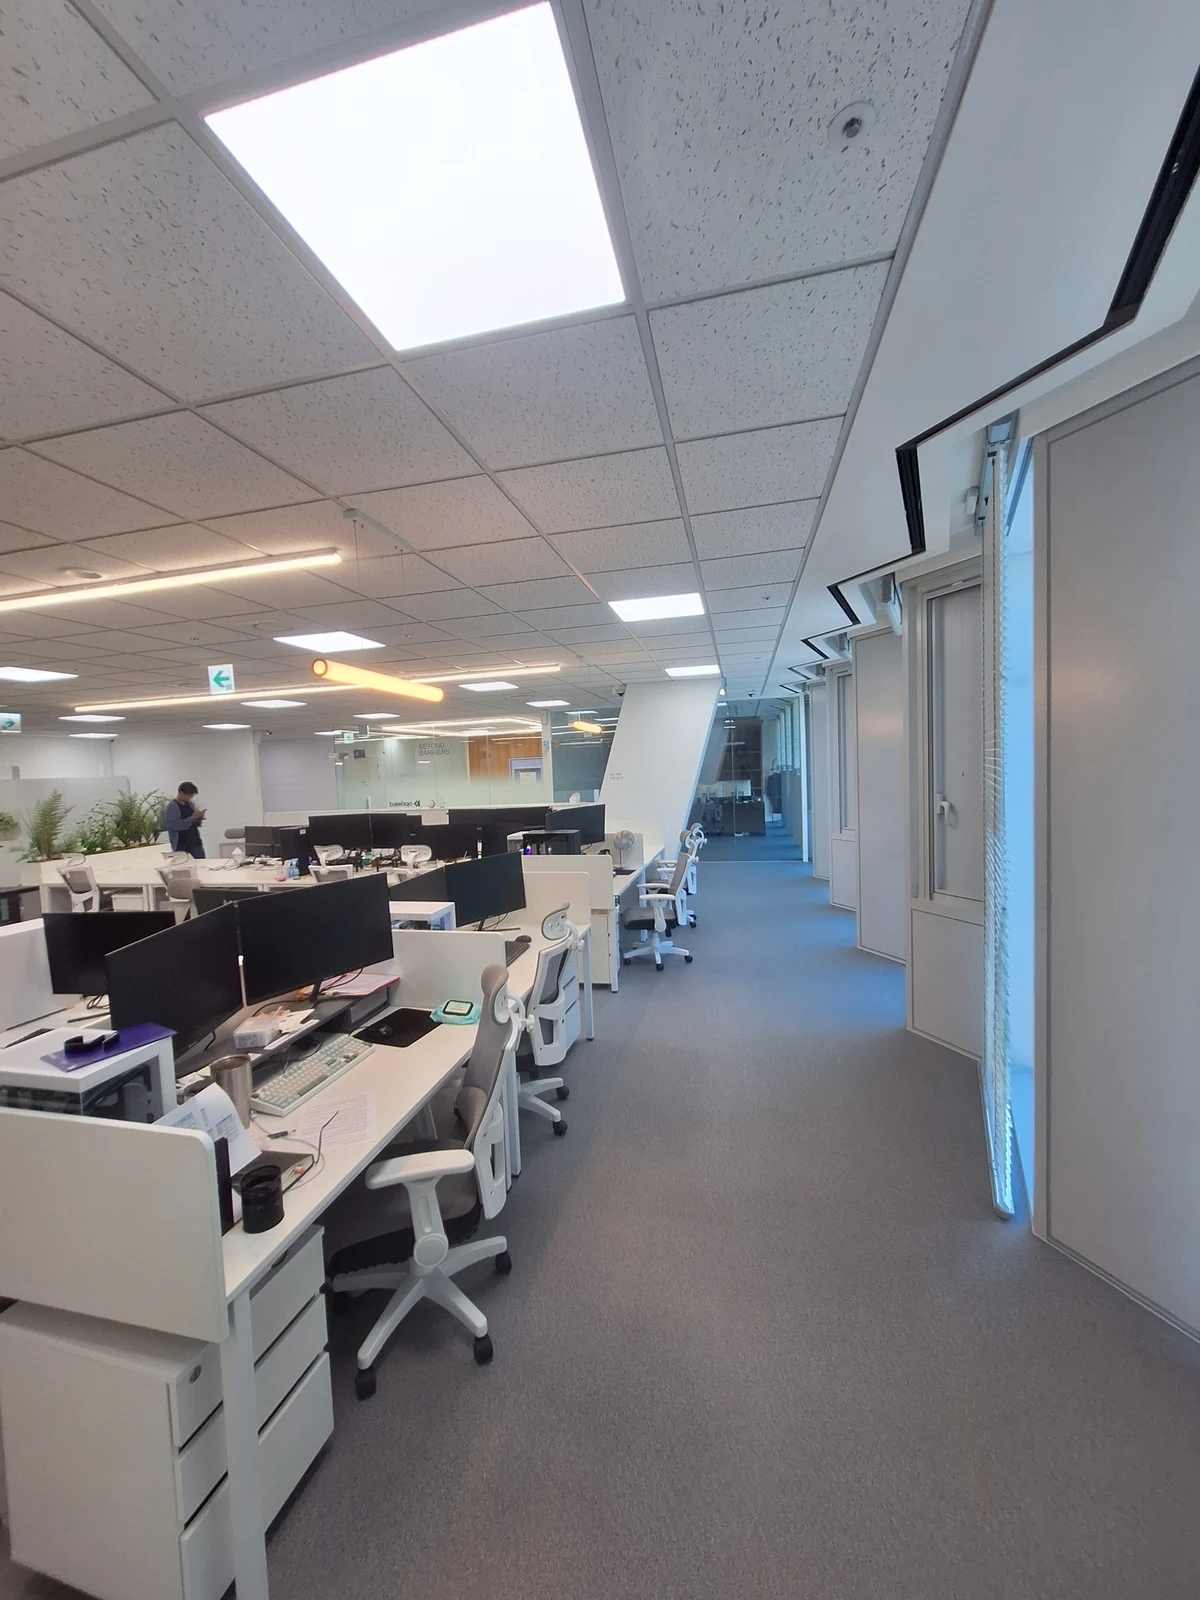
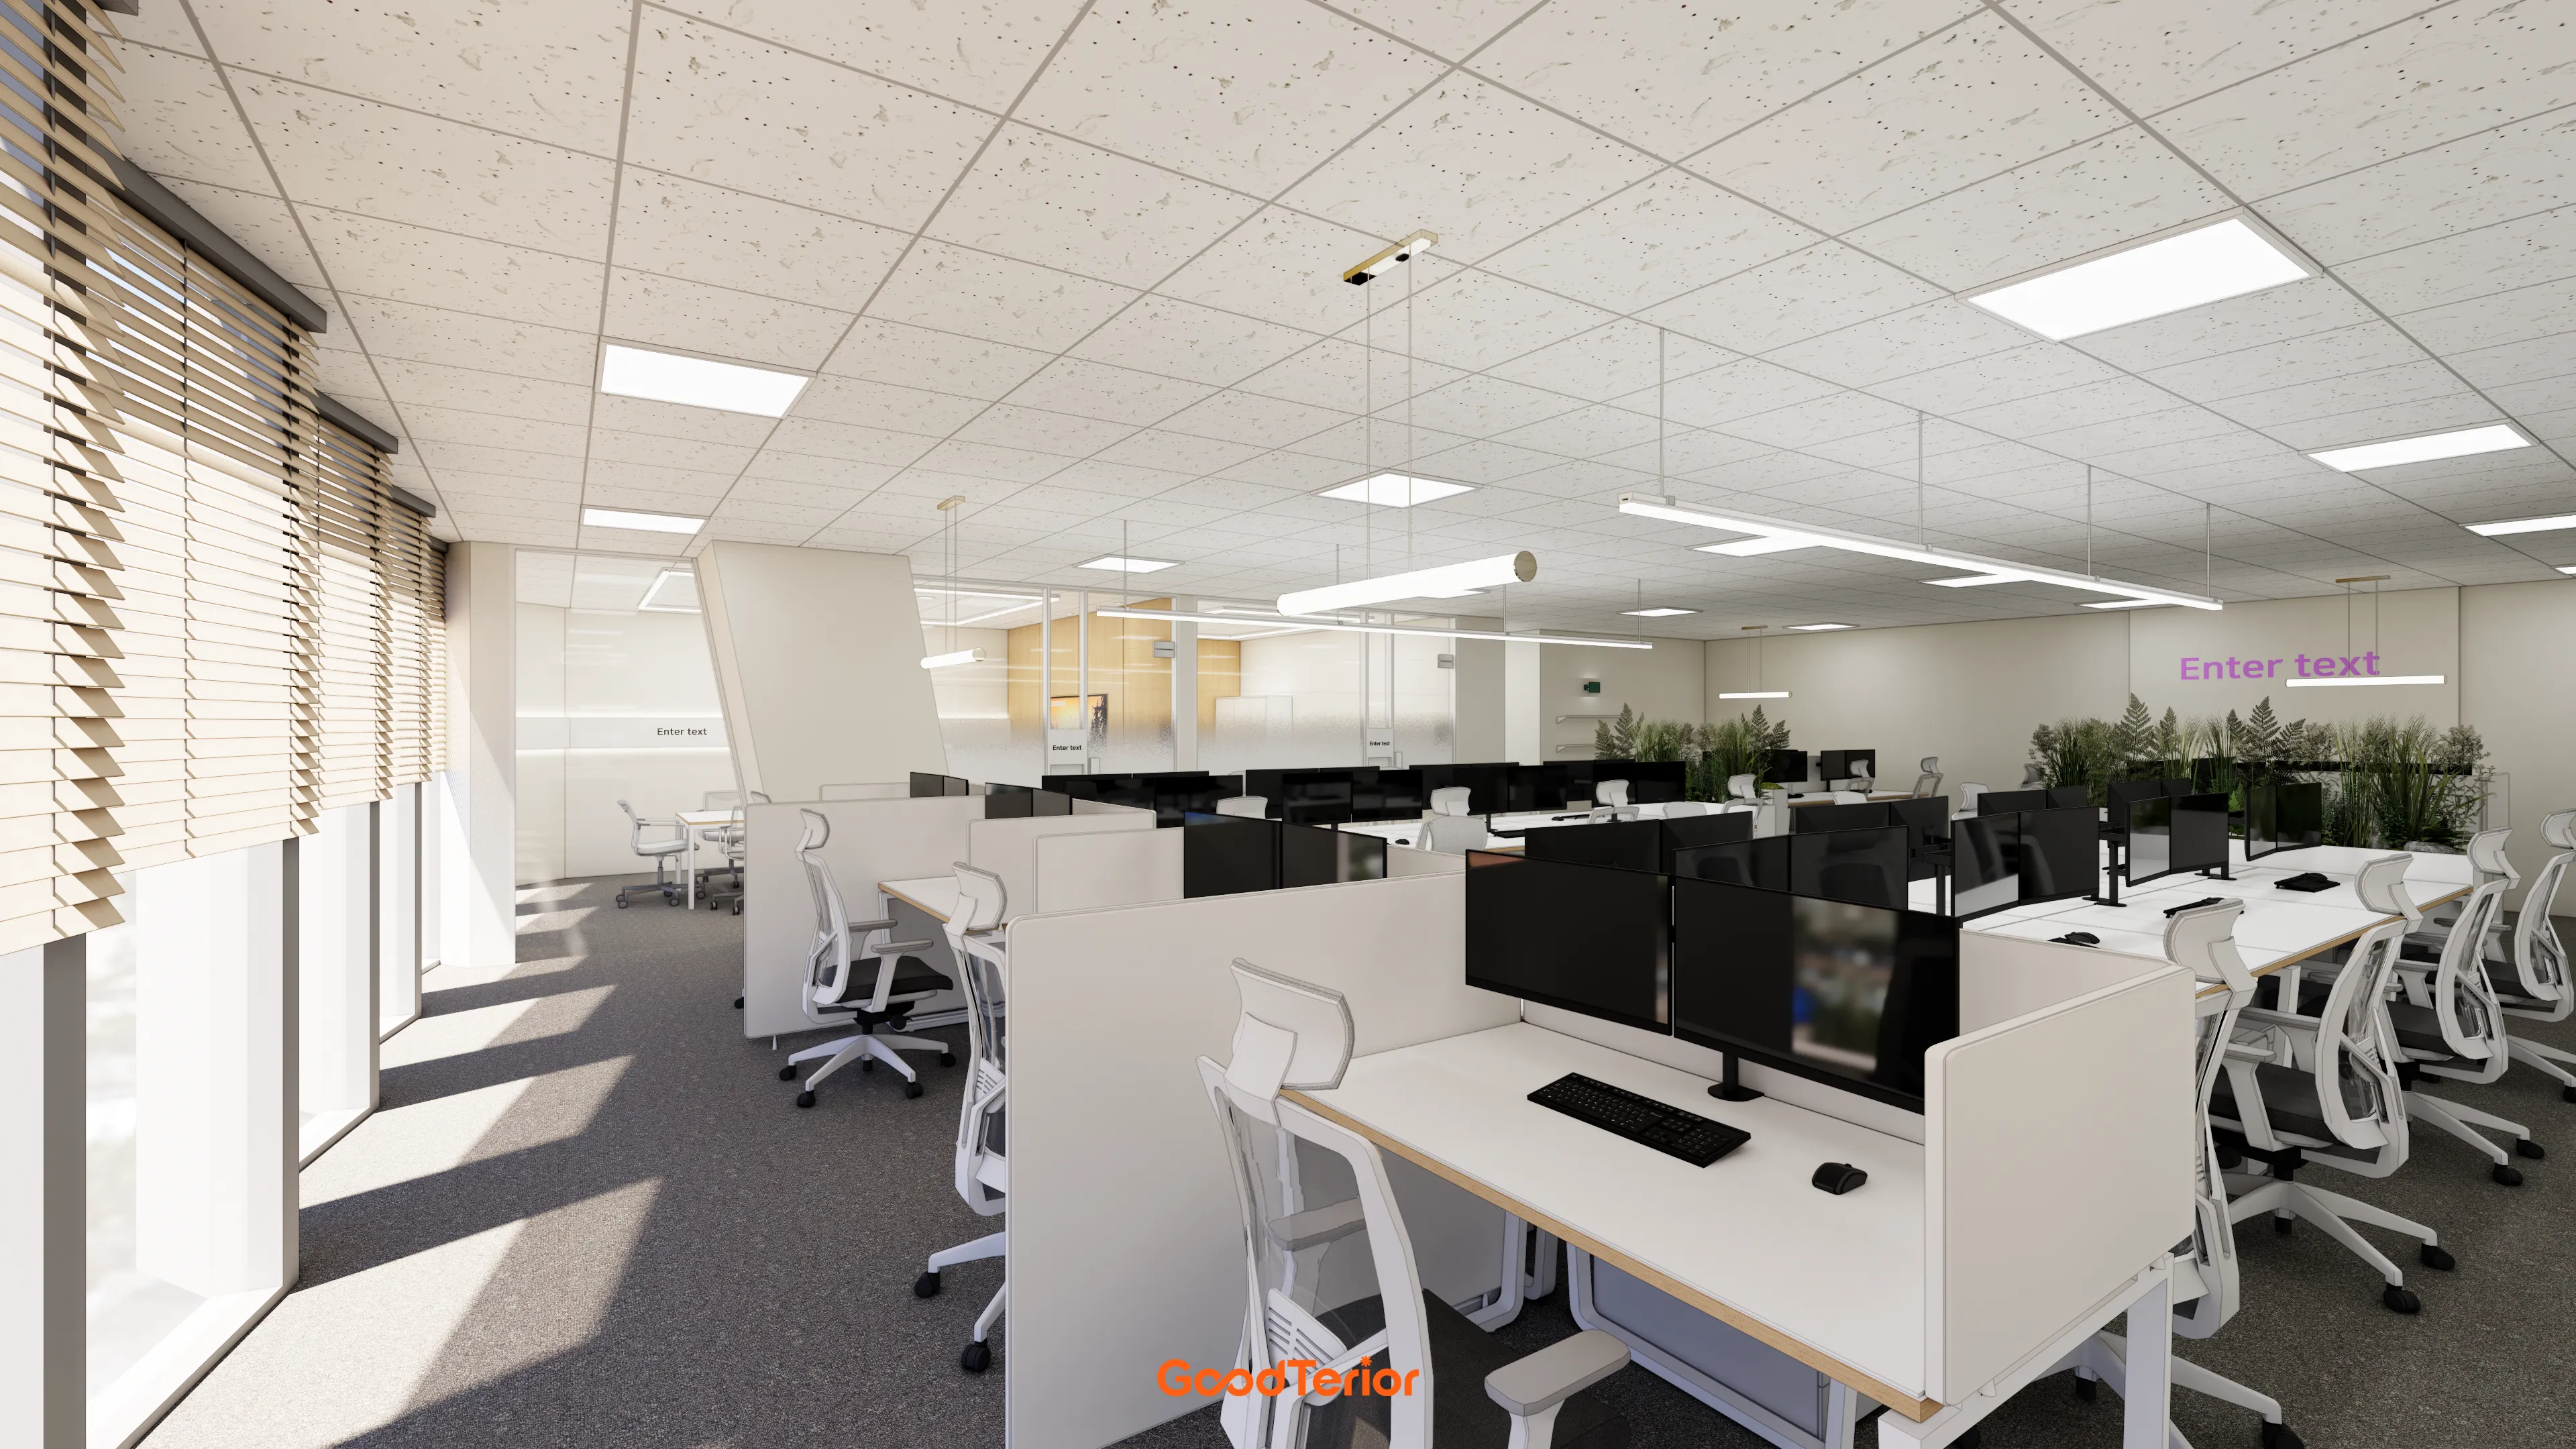
Choose whether work areas and meeting rooms share a color or use different colors. A continuous color requires fewer adjustments to boundaries after furniture moves. Separate colors can identify zones but need defined changeover lines. In a layout with a long aisle beside desks, as shown here, also draw the space occupied by pulled-out chairs.
If a different color fills only the space immediately beneath desks, consider future moves. Removing a desk row or changing its direction can leave the old color zone in the middle of an aisle. If seating will change frequently, compare a larger continuous floor zone with uses distinguished by movable furniture. This requires different drawings from dividing colors along permanent room boundaries.
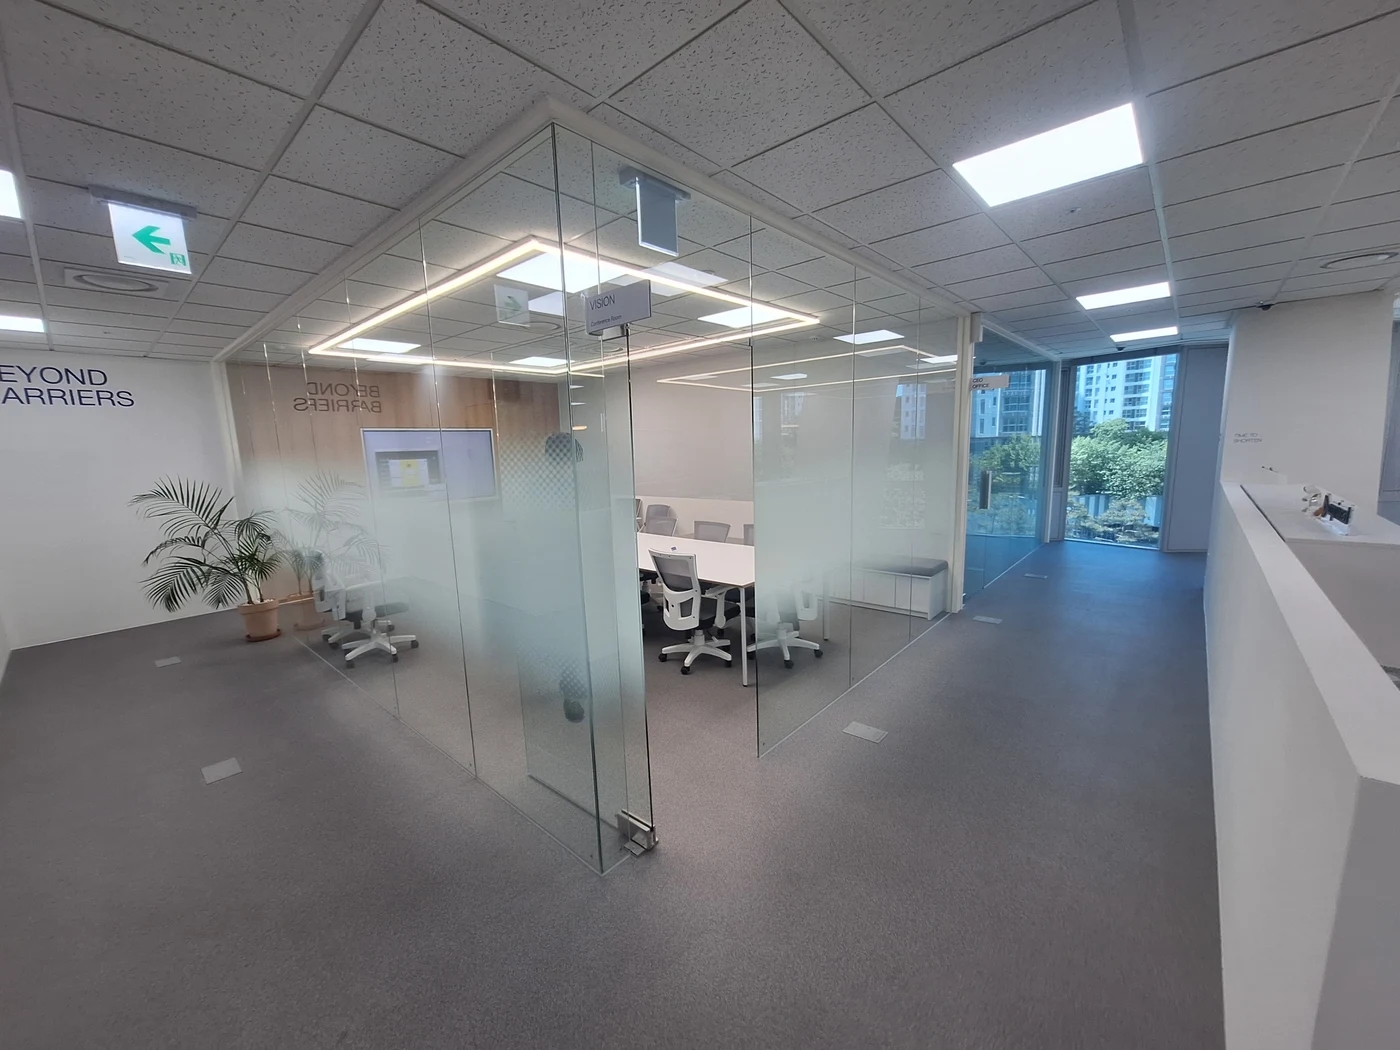
When changing color at a meeting room entrance, review both closed and open doors. Mark which color will show beneath a closed door and how far the boundary will be exposed toward the corridor when open. Because glass rooms reveal their floors from outside, compare ending colors at the wall line with continuing them between inside and outside.
Where different flooring materials meet, treat color boundaries and material junctions separately. Confirm material thicknesses, edge trims, and required clearance below doors with the responsible installer. Defining a color boundary does not resolve the joint detail. If some existing flooring stays, mark retained, removed, and newly installed areas on photos.
Before installation, have setting-out lines marked on site and ask how the tiles will finish at the edges. Review prominent positions such as opposite entrances, in front of glass walls, and beside cabinets. Relocating small cut pieces may change the starting reference, so do not approve from a single end of the plan. Assess concealed and exposed areas separately.
Alongside the total area, the estimate should identify color zones and directions, checks and preparation of the existing substrate, and boundary finishes. Ask for cut locations and spare ordering quantities to be explained against the actual layout. Compare elaborate patterns and simple arrangements using estimates for the same scope, including arrangement and cutting as well as material prices. Do not apply an unverified blanket waste allowance.
Keep product names, colors, directions by zone, setting-out lines, and junction details together. Check the delivered materials' production batches, and label retained spare materials by installed zone. Before replacing a patch later, compare the existing direction and appearance with the new material. Keeping spares cannot guarantee an exact visual color match to a used floor.
Ask us about your interior project
We can discuss a quote and design suited to the space you are planning.
Request a free consultation