Academy Wall Design: Choosing Two-Tone Colors and Boundary Heights
Choose both the palette and the boundary height when dividing academy walls into two colors. Compare classroom furniture and corridor openings, decide where to retain a single color, and coordinate samples and construction scope.

Before you begin
- Compare boundary heights on wall elevations showing boards, windows, desks and doors.
- Compare divided walls with single-color walls accented by furniture.
- Separate color appearance from finish performance and document work and repair scope at boundaries.
The color boundary between the board and desks
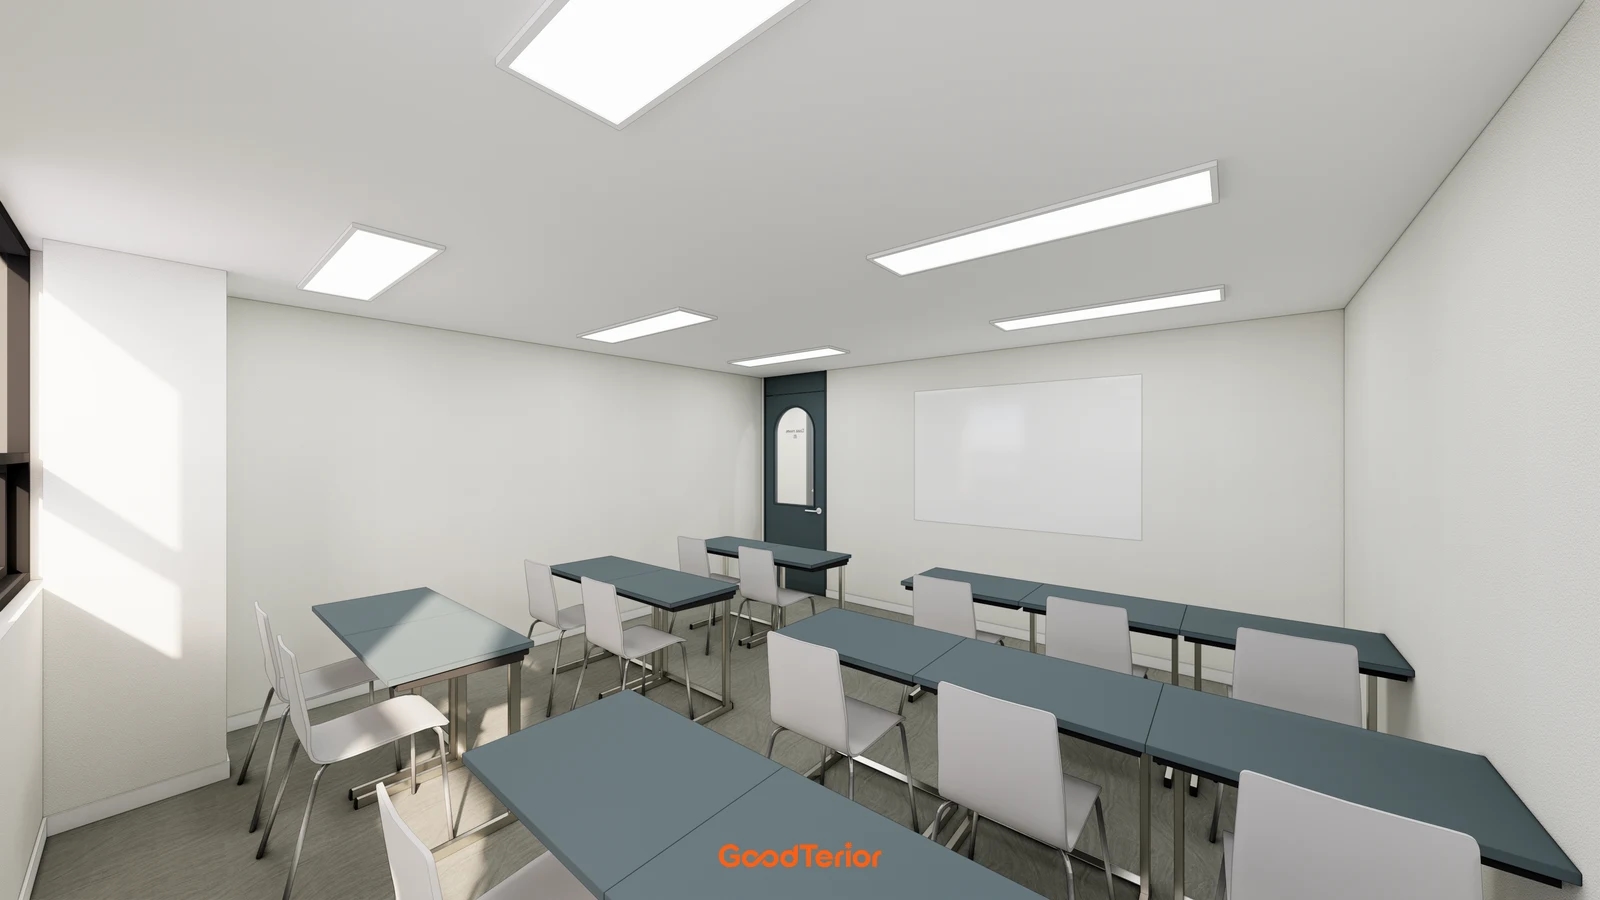
A two-tone academy wall requires a boundary as well as two colors. Compare where the line passes relative to the board and window bottoms. Show boards, doors, windows and desk heights on wall elevations, then compare higher and lower boundaries in that context.
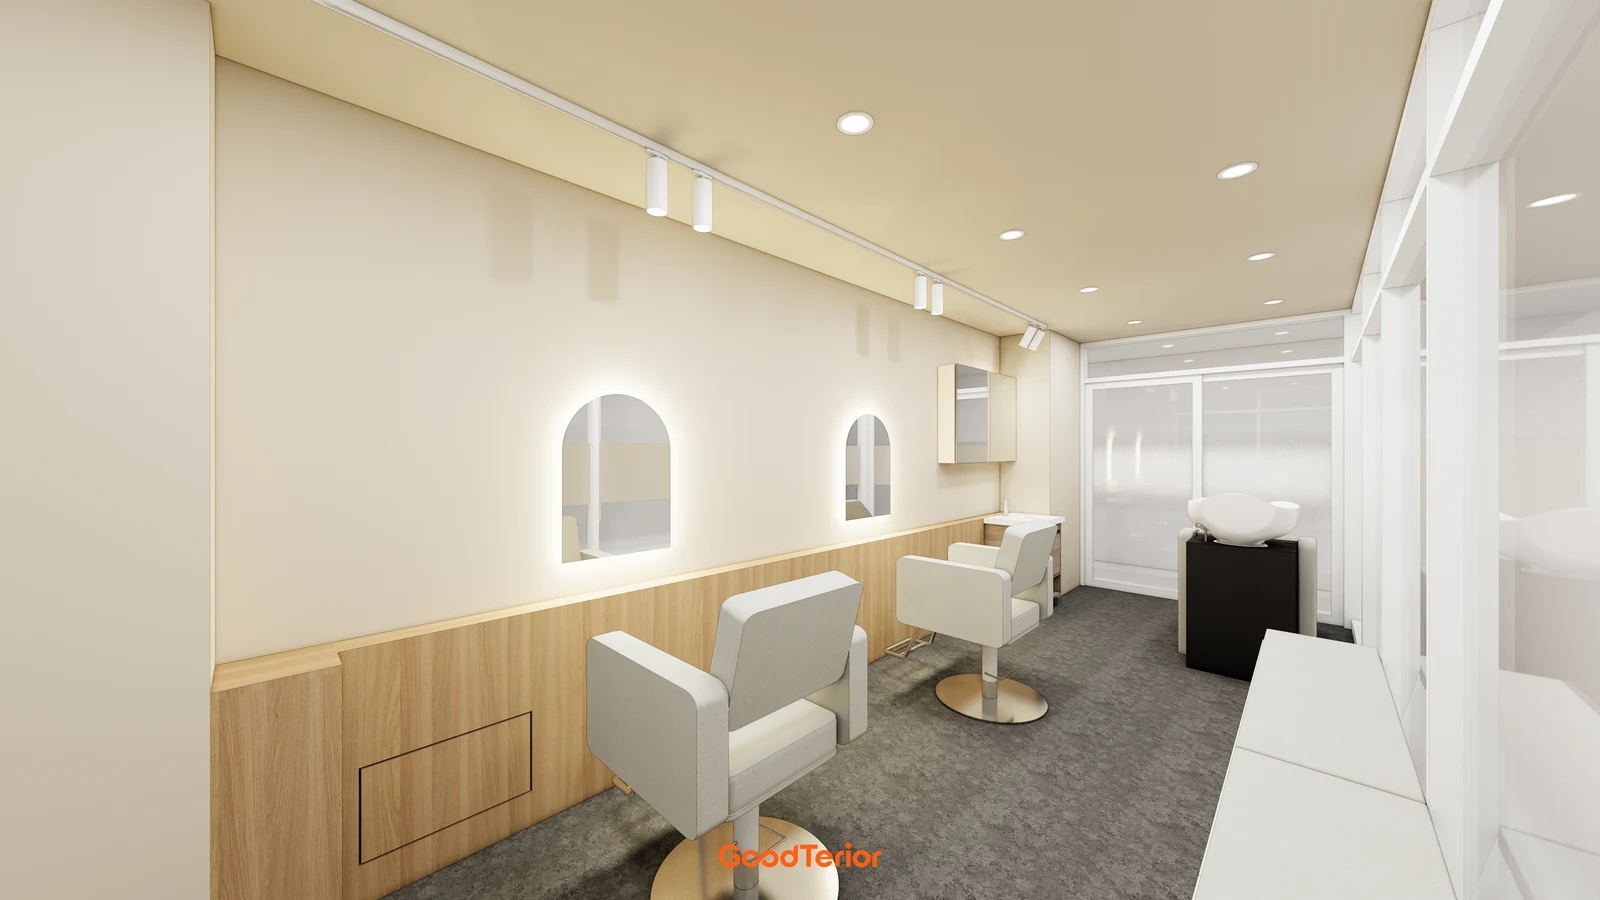
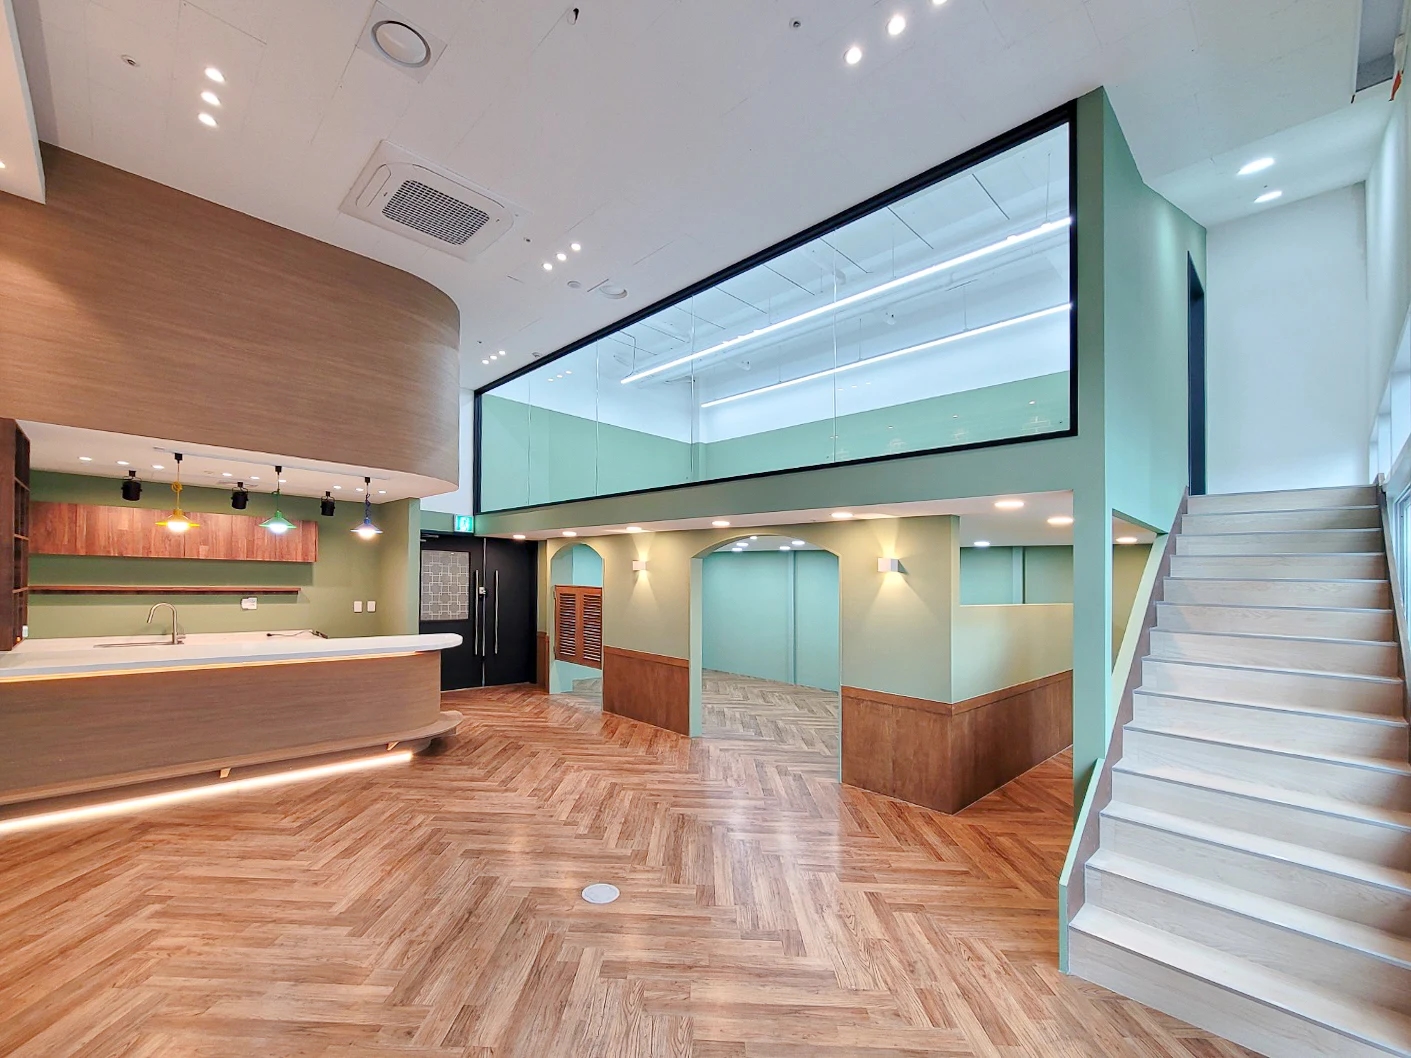
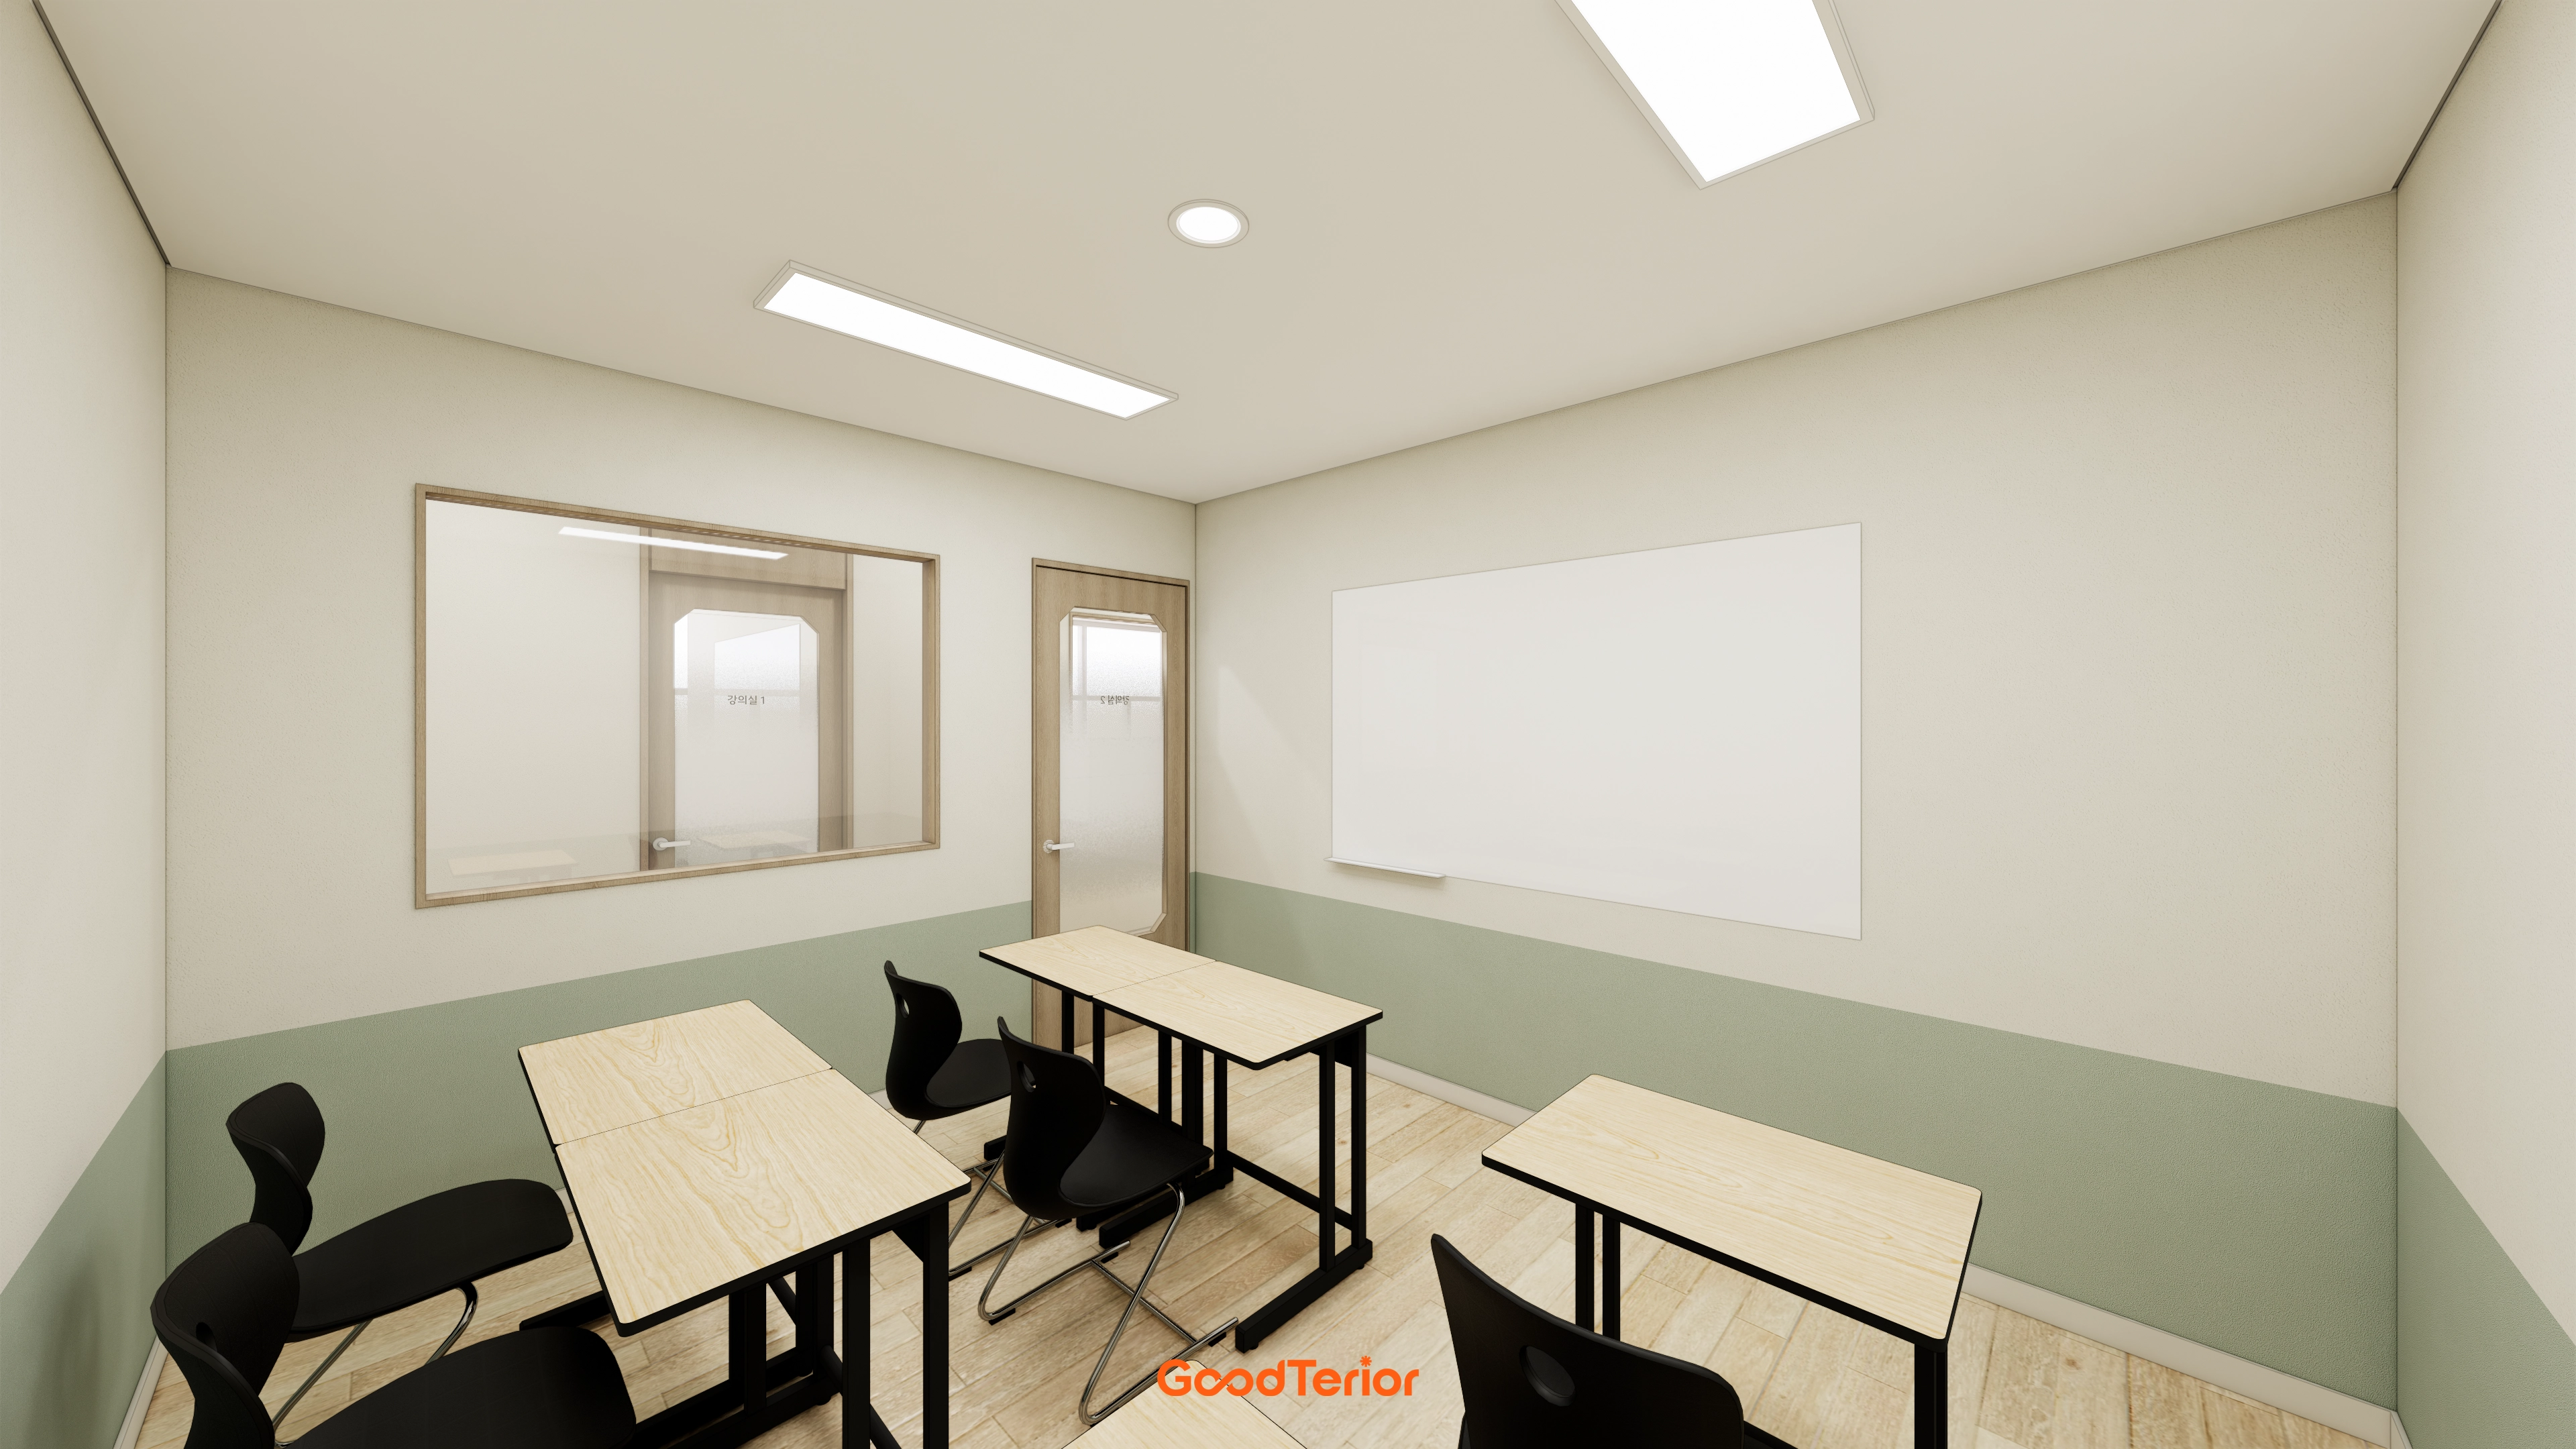
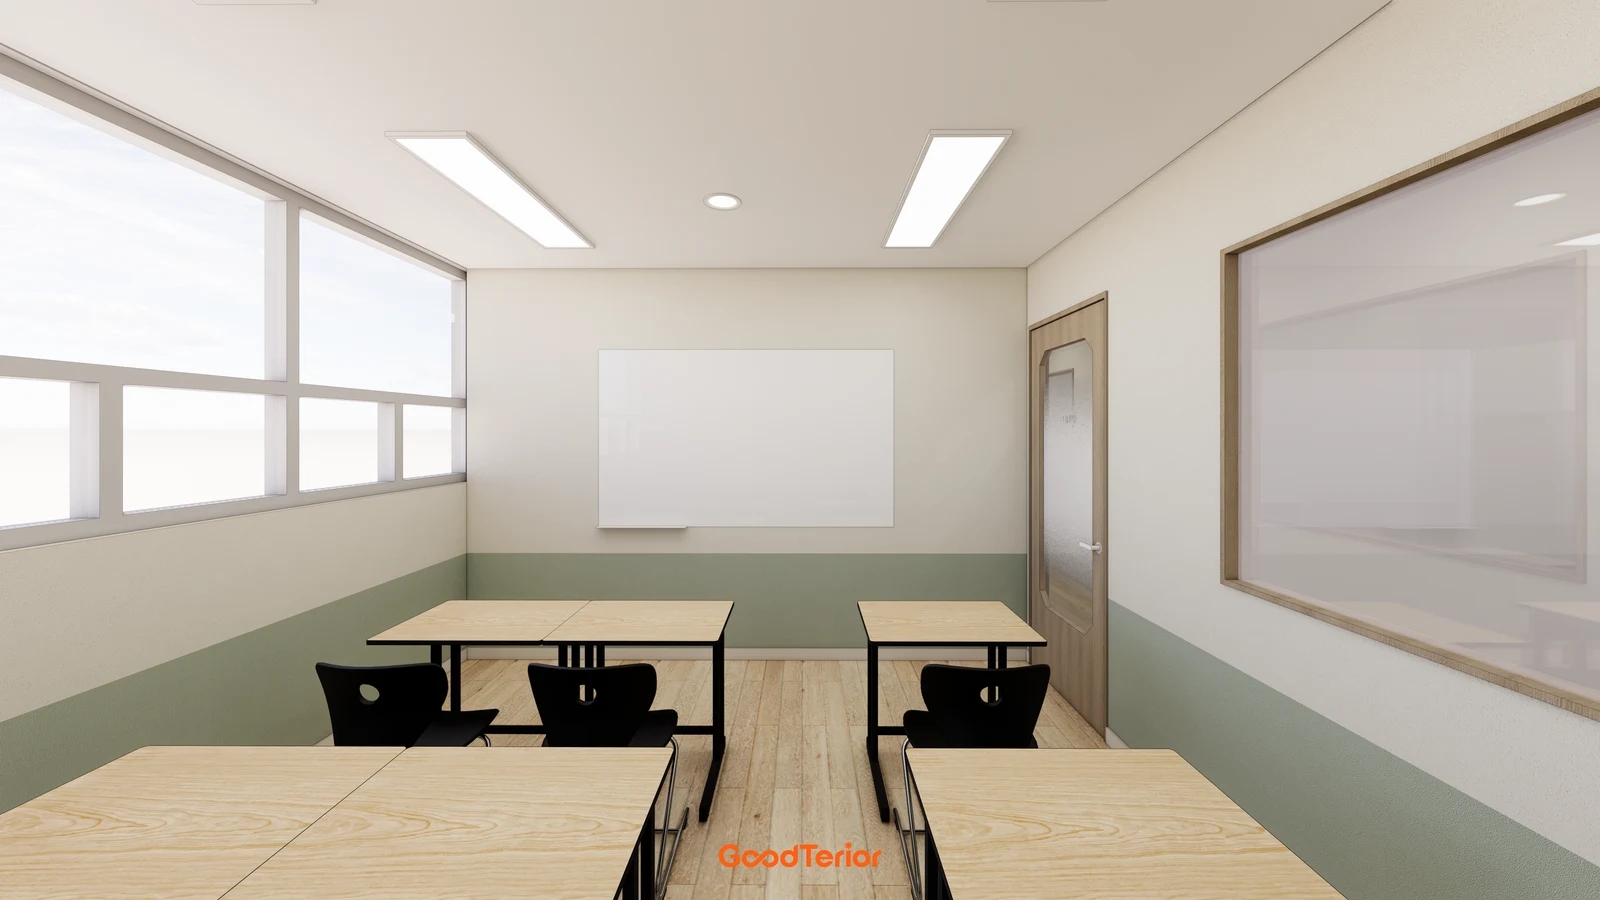
The cover separates pale upper walls from green lower walls. The line beneath the board continues around the room behind wood-look desks. Examine the exposed lower color between desks and the pale area around the board, without treating the rendered boundary as a universal dimension.
For a low boundary, check how much color furniture conceals. For a higher boundary, review the colored areas beside windows and boards. The same level exposes different amounts on furnished and empty walls, so compare room views with individual wall elevations.
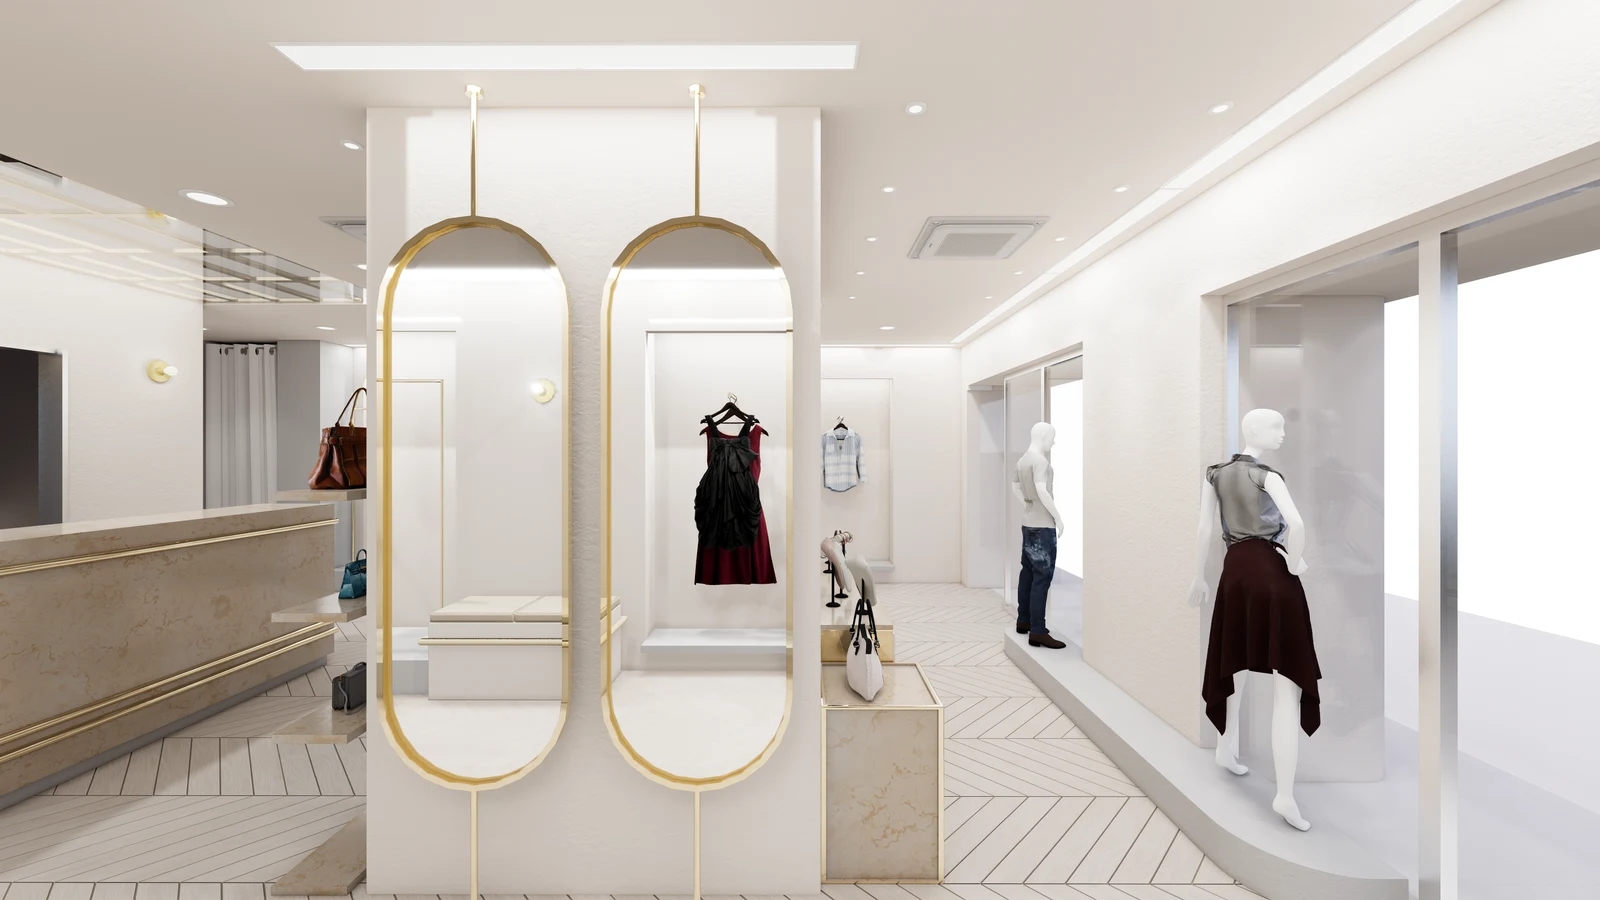
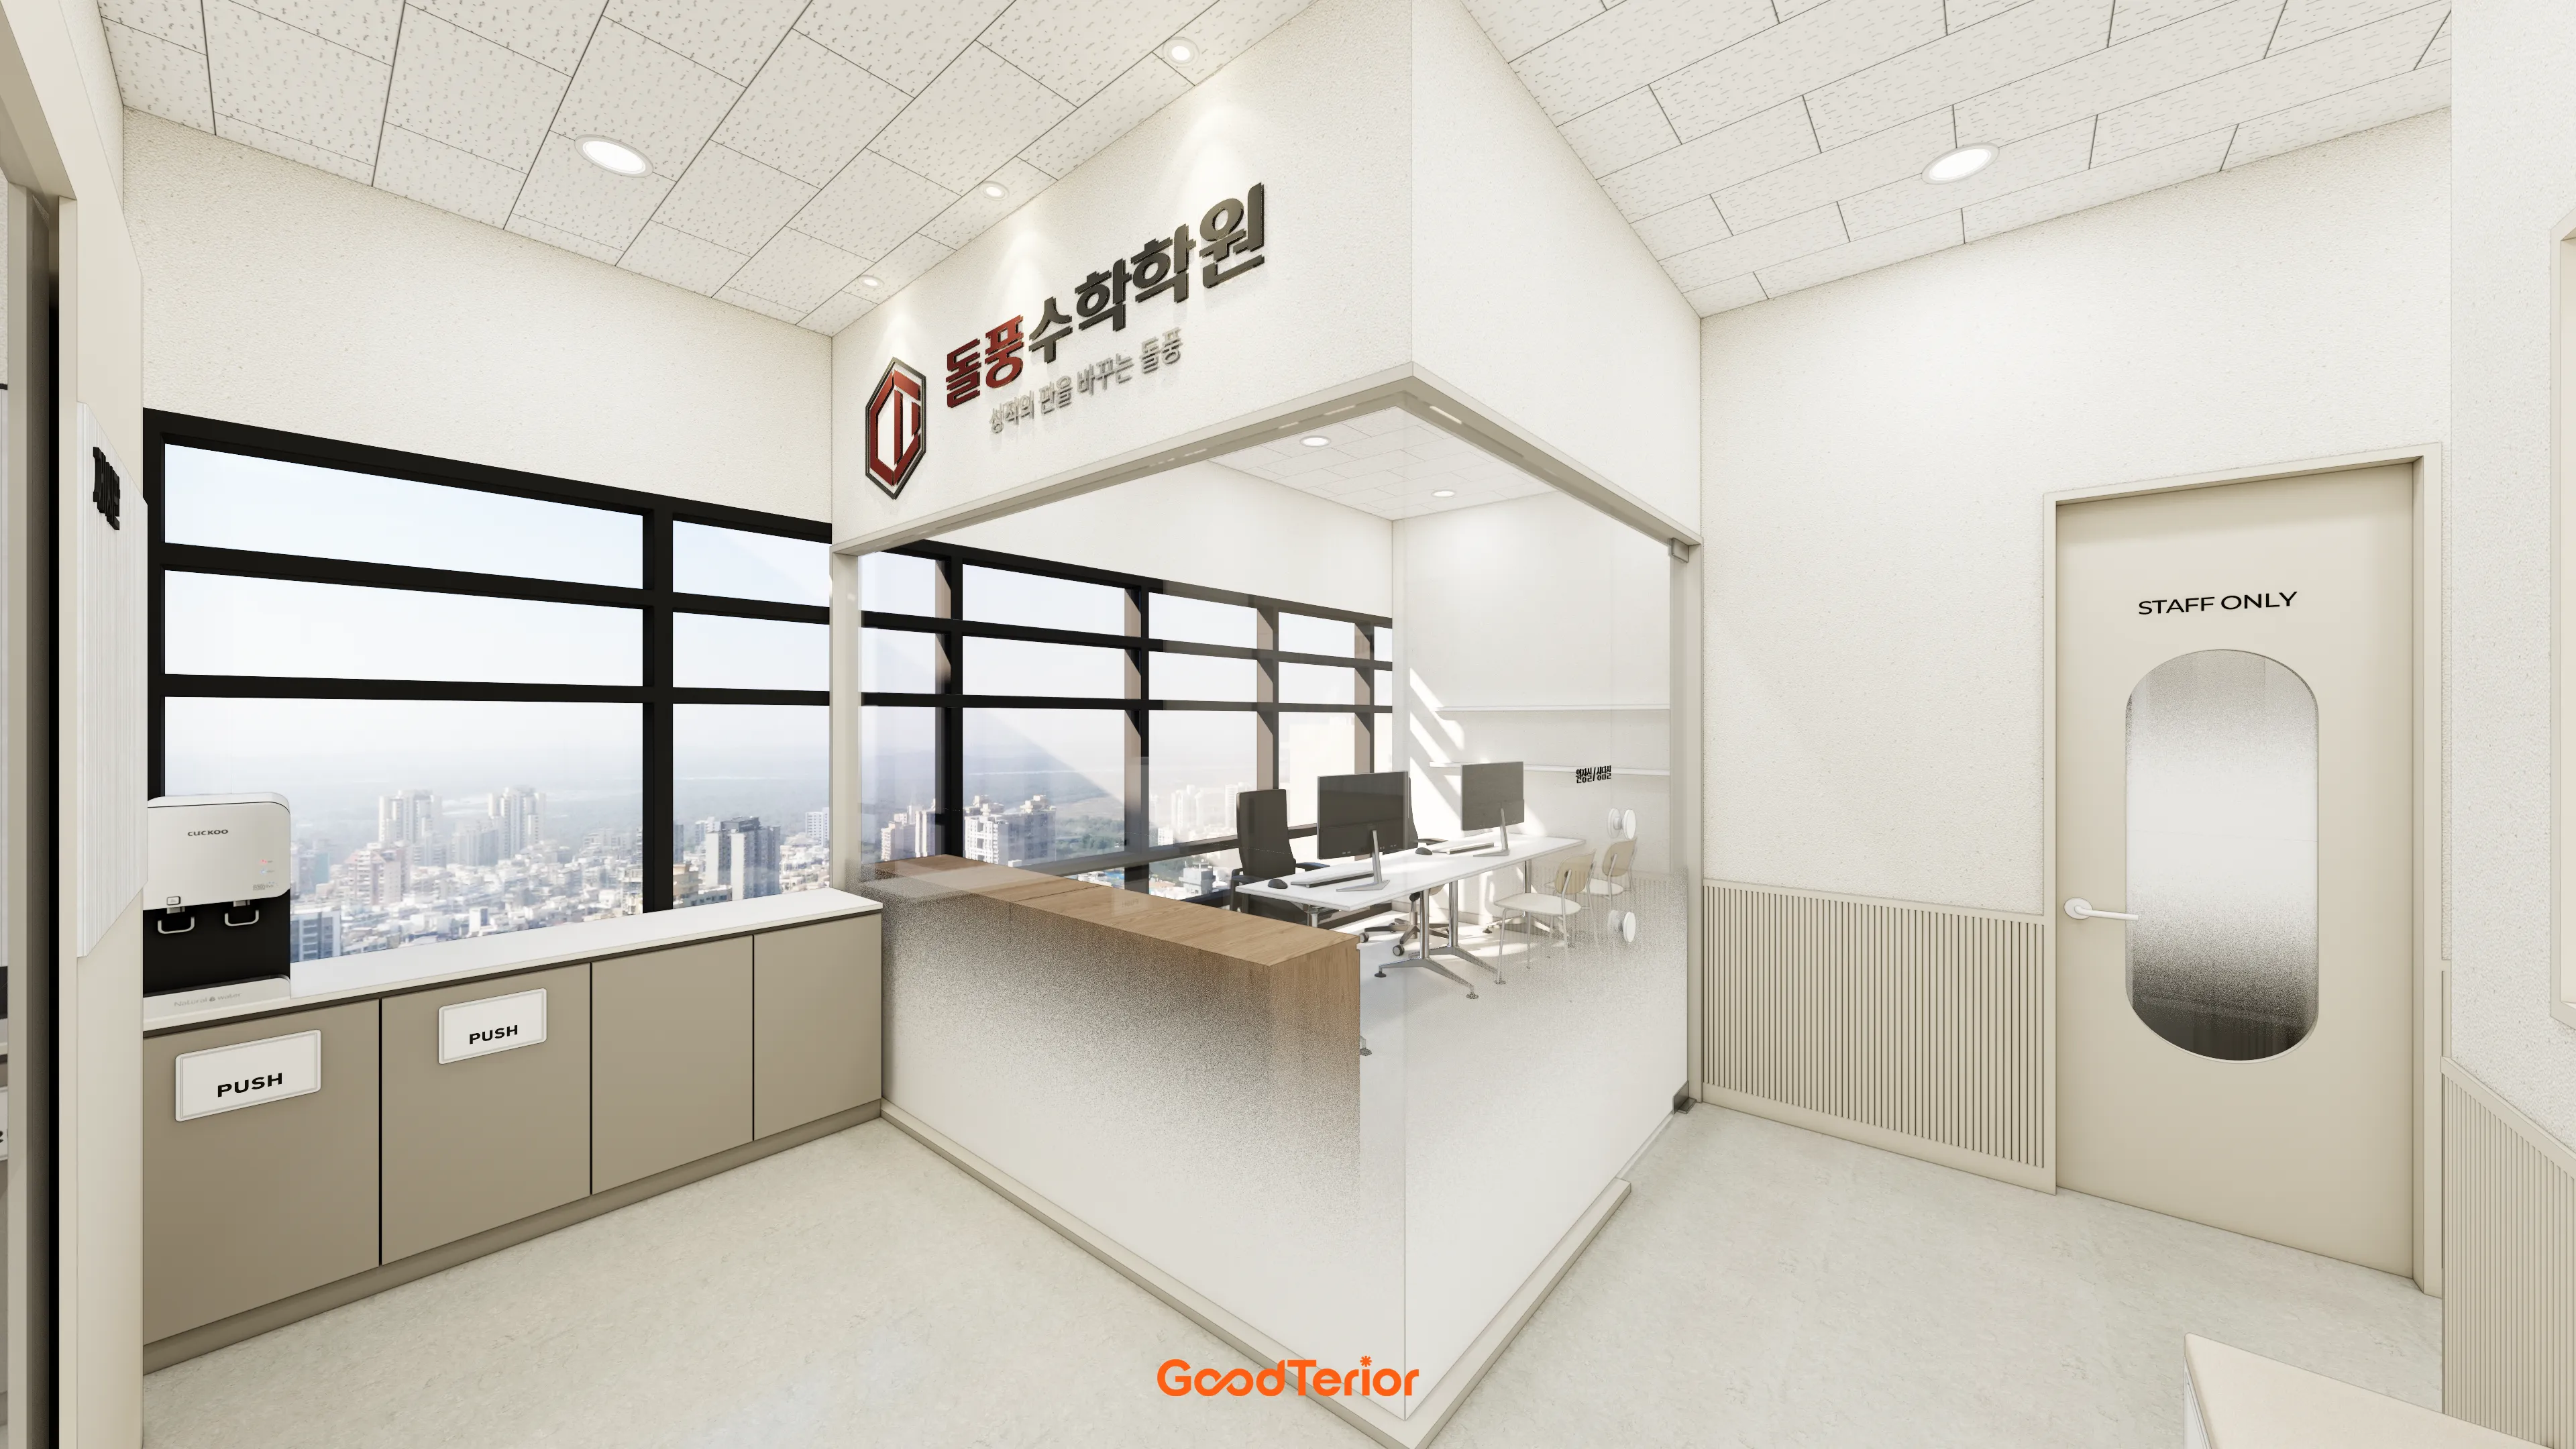
The first body image retains pale single-color walls and concentrates teal on desks and the door. Compare this alternative after adding retained furniture and approved door colors to the drawing. Review the additional colored area before deciding that a lower-wall band is also needed.
Distinguish a color boundary from the top of skirting. If contact from chairs or bags motivates the lower treatment, identify actual contact points and the proposed finish’s use conditions separately. Dark color alone does not establish resistance to scratches or soiling.
Approve a representative classroom with its furniture and board, then identify differences in window and cabinet arrangements elsewhere. Mark where the boundary stays consistent or changes, documenting the reason for each adjustment while retaining a coordinated overall palette.
Terminations at openings, samples and work scope
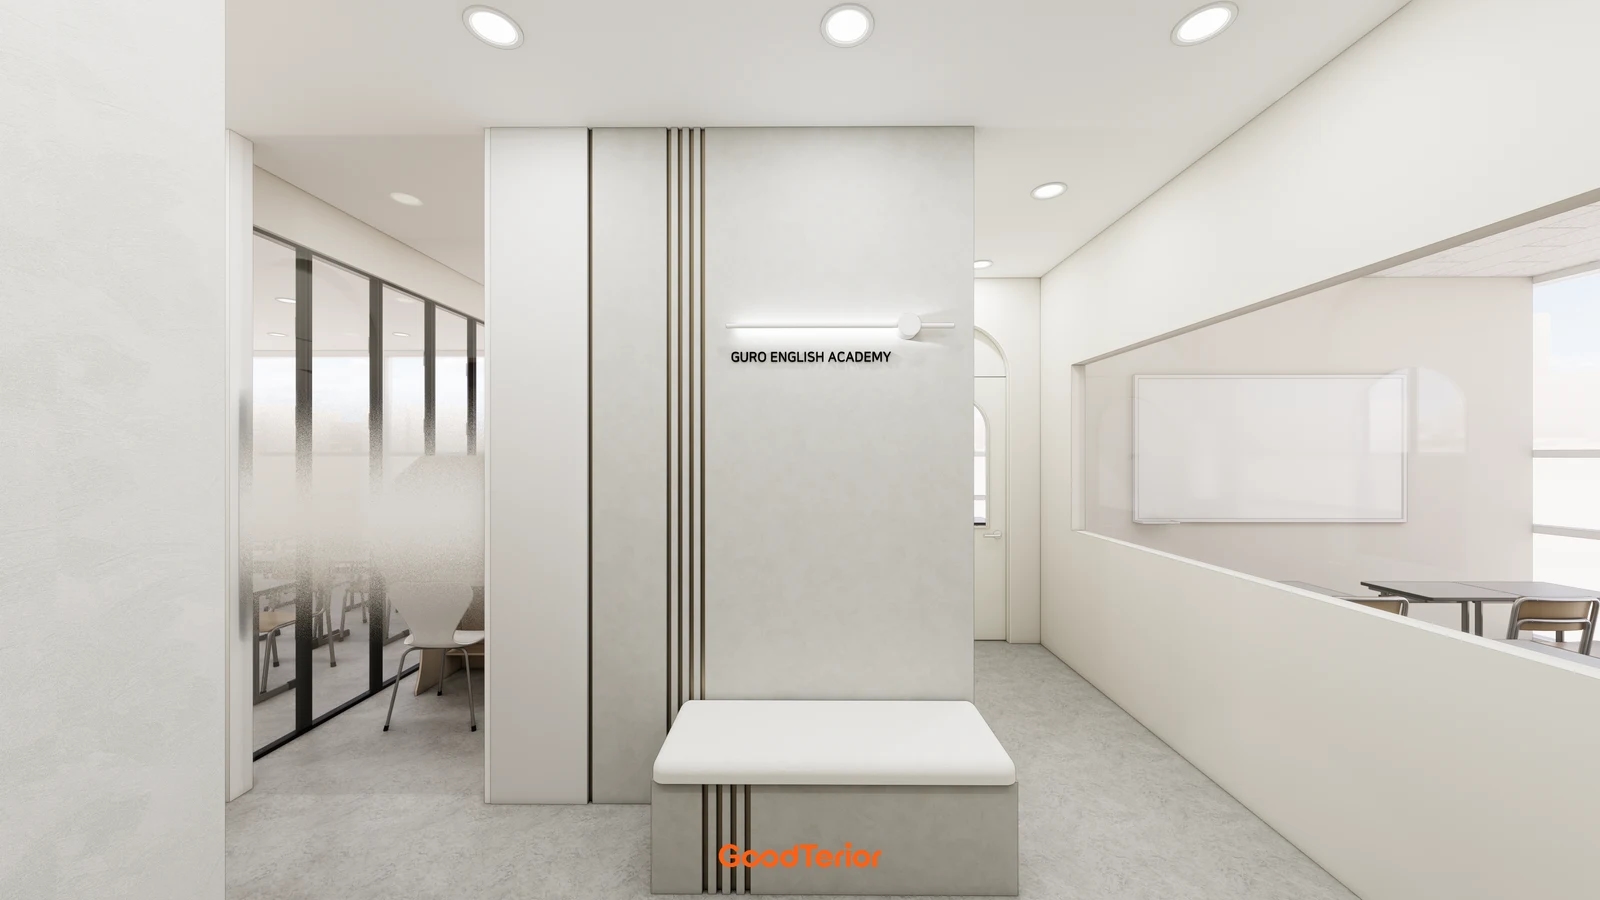
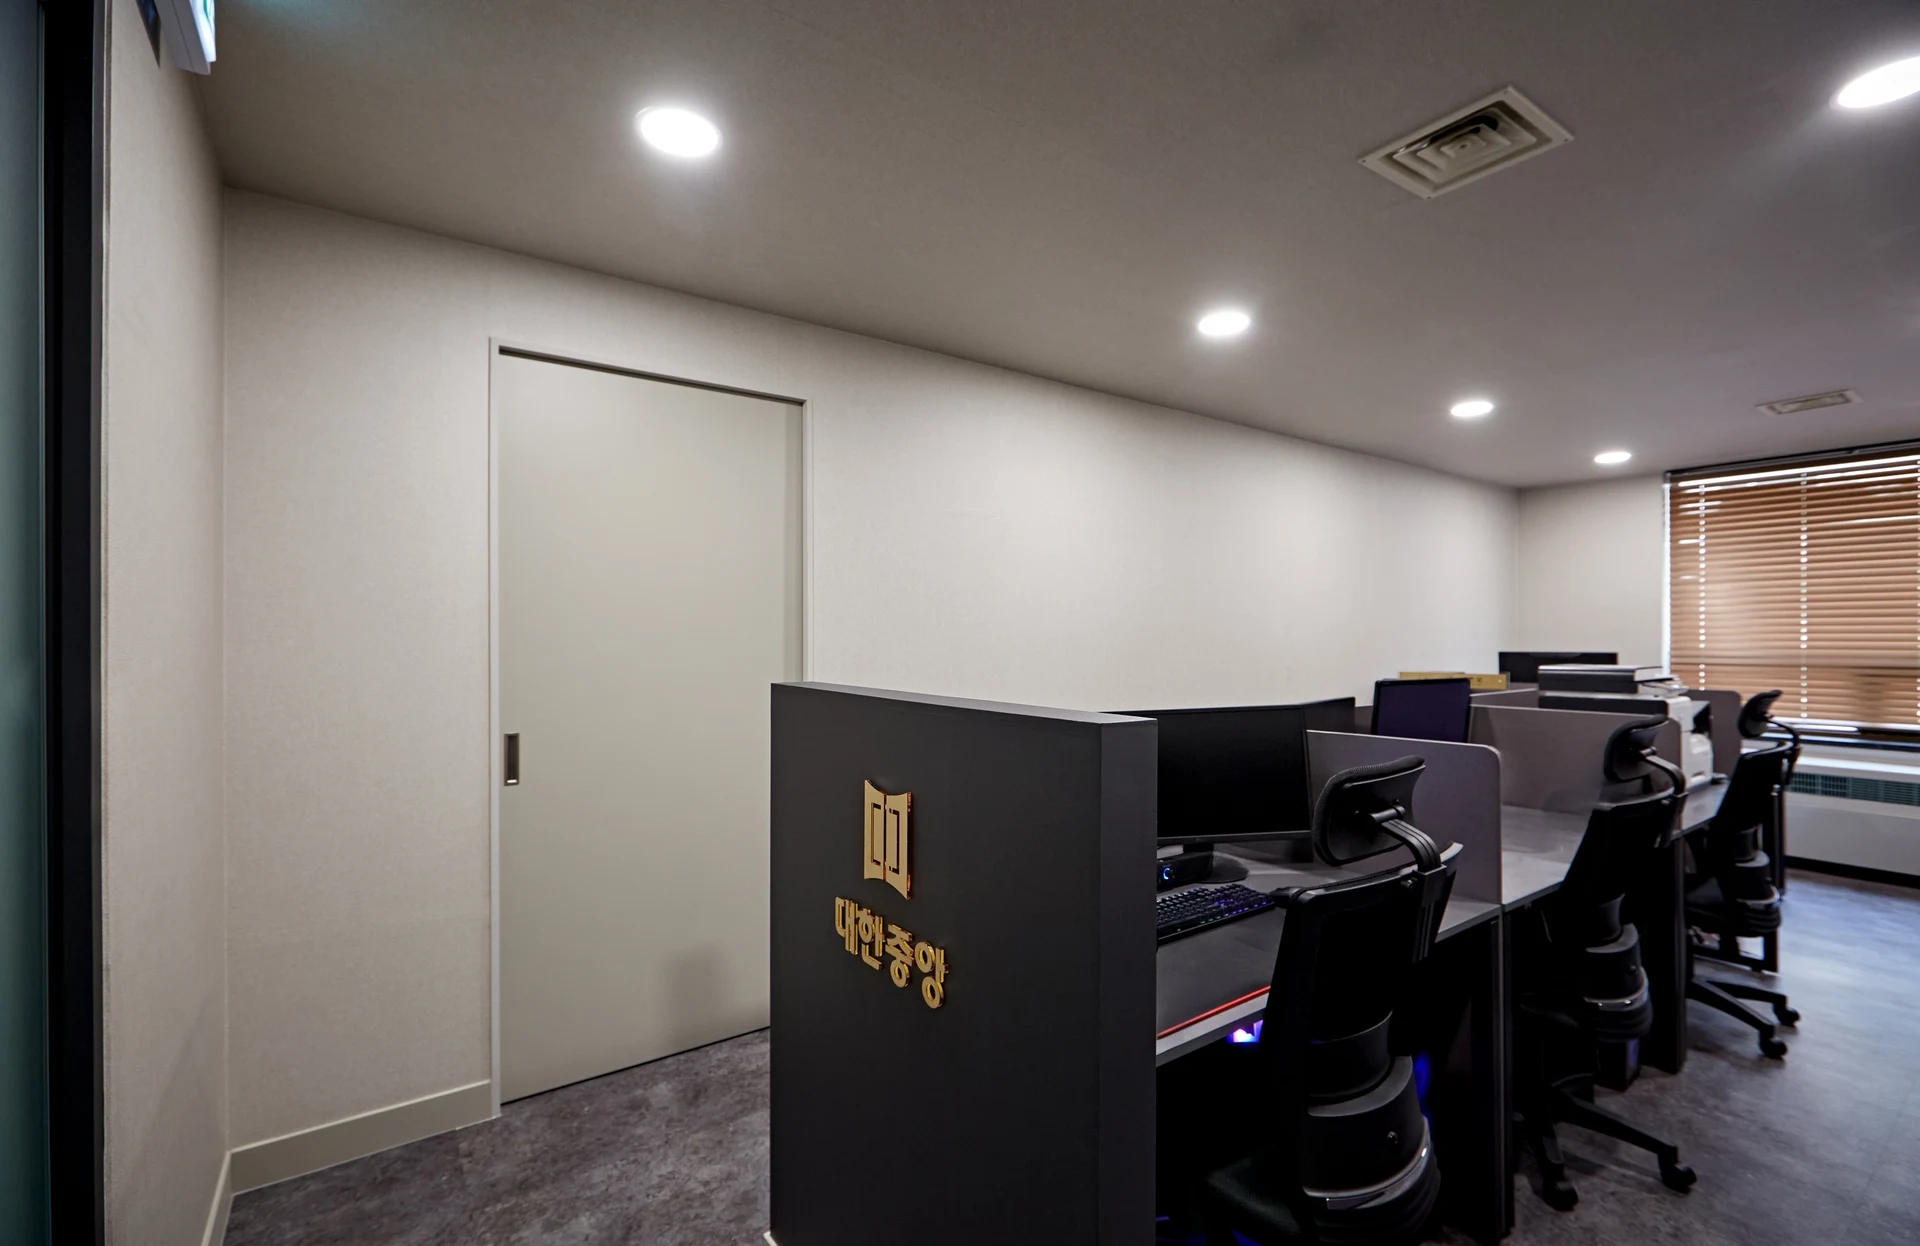
The second image retains pale walls beneath a broad corridor window. When extending a classroom palette into a corridor, draw how the boundary meets window bottoms. Compare coloring the full area beneath an opening with adding a separate dividing line; the image itself shows the pale-wall alternative.
Decide whether the boundary stops at door frames or continues beside them. If a door leaf is divided too, review it open and closed. Mark returns at corners and columns, including reveals and short side faces that a frontal image may hide.
Compare upper and lower samples alongside flooring, furniture and door samples. SP SAMHWA’s pre-consultation guidance advises physical color samples because web and photographic colors may differ from real colors, and explains that tinted colors can vary by paint product. This does not identify the finish in the images; use it to connect approval to the actual selected product.
Choose the finish system separately from the palette. A color-only division and a junction between different materials require different edge and thickness decisions. Ask the installer how the boundary will be formed for the actual substrate and products, rather than treating an arbitrary combination as a standard detail.
Define upper and lower application zones, substrate preparation and boundary work in the quote. Mark retained and new areas, including surfaces exposed after removing cabinets or noticeboards. Reconcile different boundary heights and trim with the approved wall numbers and elevations.
Approve product names, colors, heights and terminations on one drawing. Where possible, review a small on-site sample area and retain the approved samples and records. At handover, compare the boundary with doors open and closed and furniture in place, keeping product and wall records for later repairs.
Ask us about your interior project
We can discuss a quote and design suited to the space you are planning.
Request a free consultation