Salon Styling Station Fabrication: Counters and Hairdryer Storage
A salon styling station involves more than a small counter beneath a mirror. Compare design studies to plan surfaces for belongings and tools, hairdryer storage, outlets, fabrication drawings and quotation scope.

Before you begin
- Separate counter items from trolley tools, then check placing and retrieving actual objects.
- Show hairdryer storage and plug access on side and internal drawings as well as the front view.
- Assign furniture fabrication, electrical connections and appliance supply in the quotation and handover record.
Counter contents and access to tools
Start fabrication planning by gathering the objects intended for the counter. Decide whether glasses and phones temporarily placed by clients will share a surface with combs and staff tools. A small counter can be paired with a trolley; a large one still loses working space when items accumulate. Compare appearance with the sequence of use.
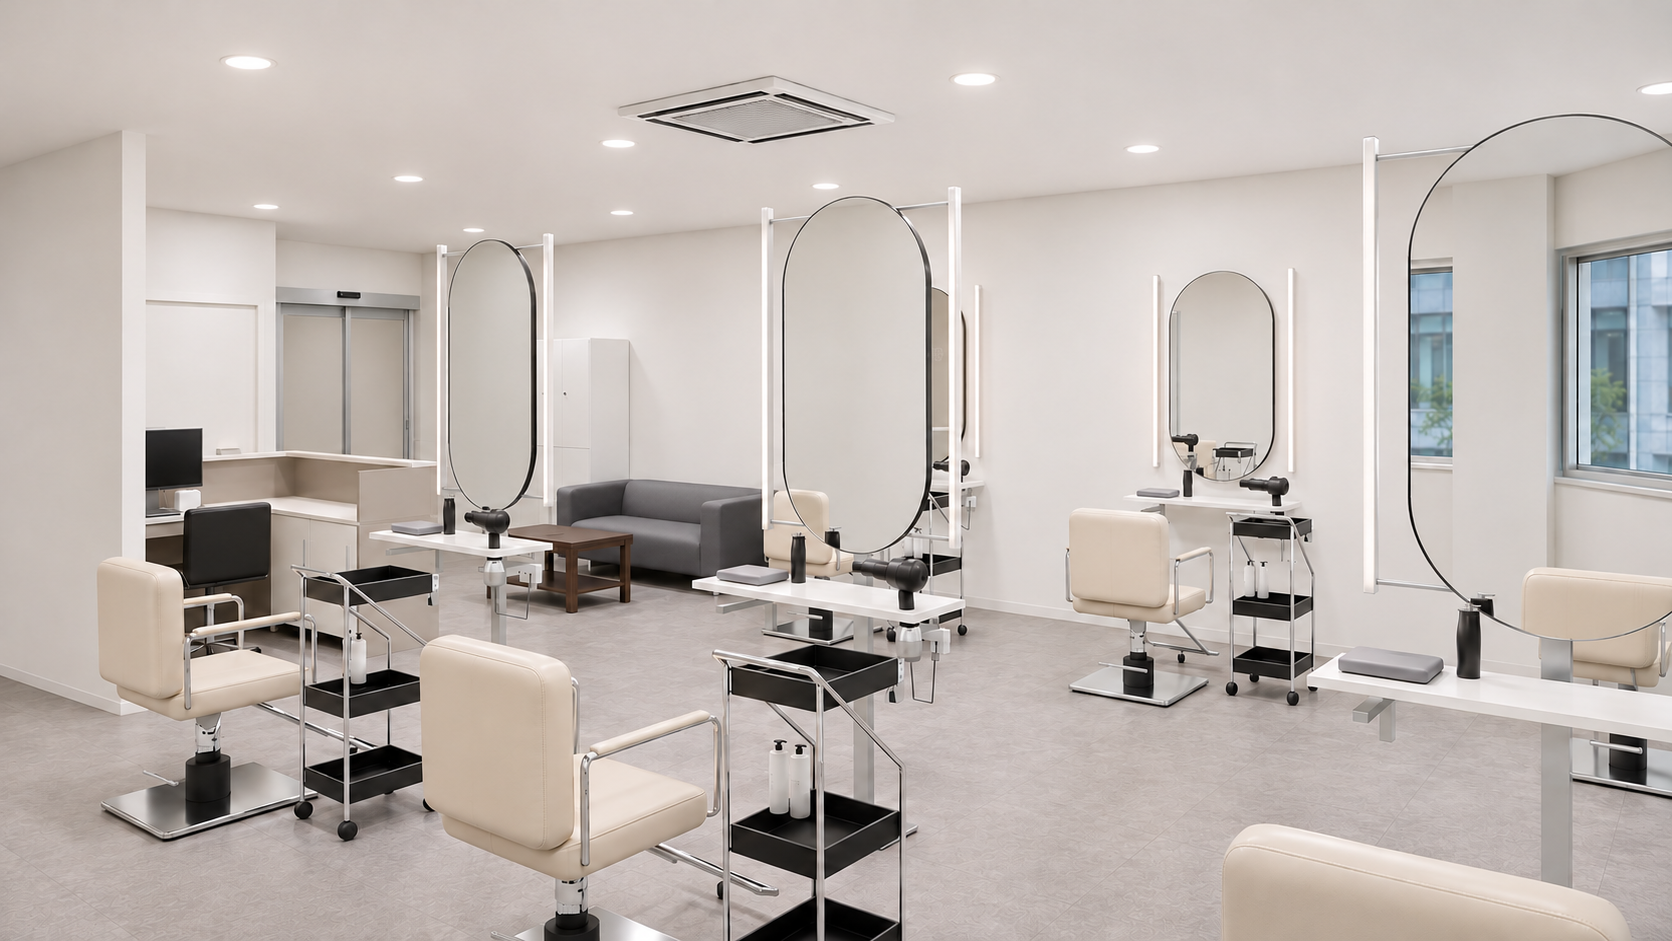
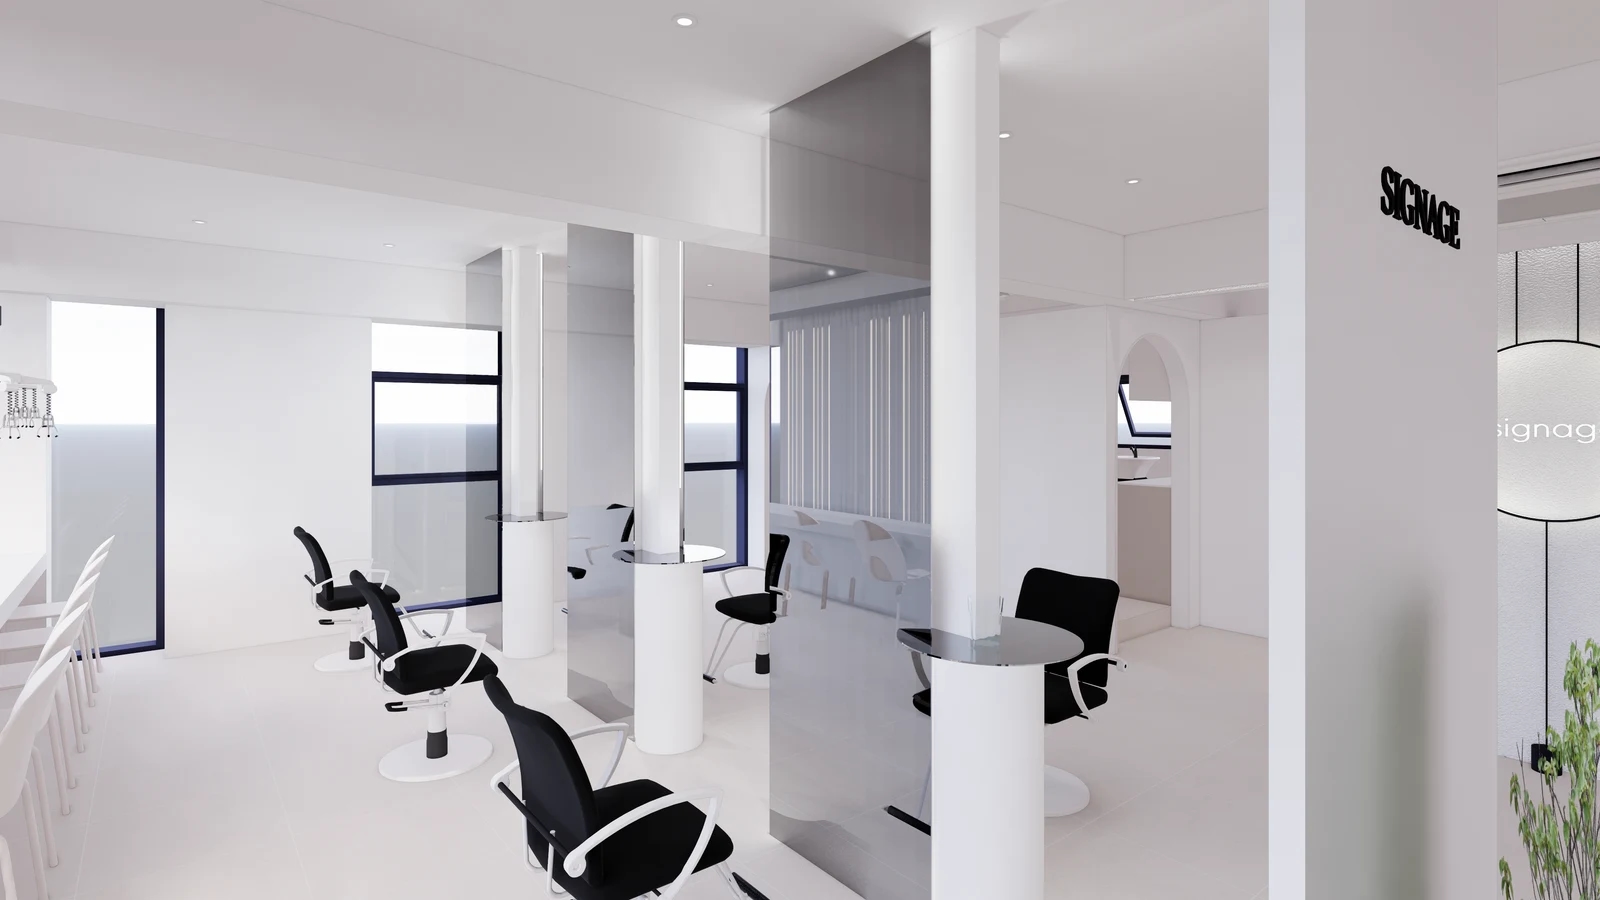
The cover shows repeated circular counters around mirrors. Review usable areas in front of and beside each mirror rather than the overall diameter alone. Subtract the mirror or column footprint and distinguish the client’s reach from staff access. Empty counters in a design image do not establish storage for every styling tool.
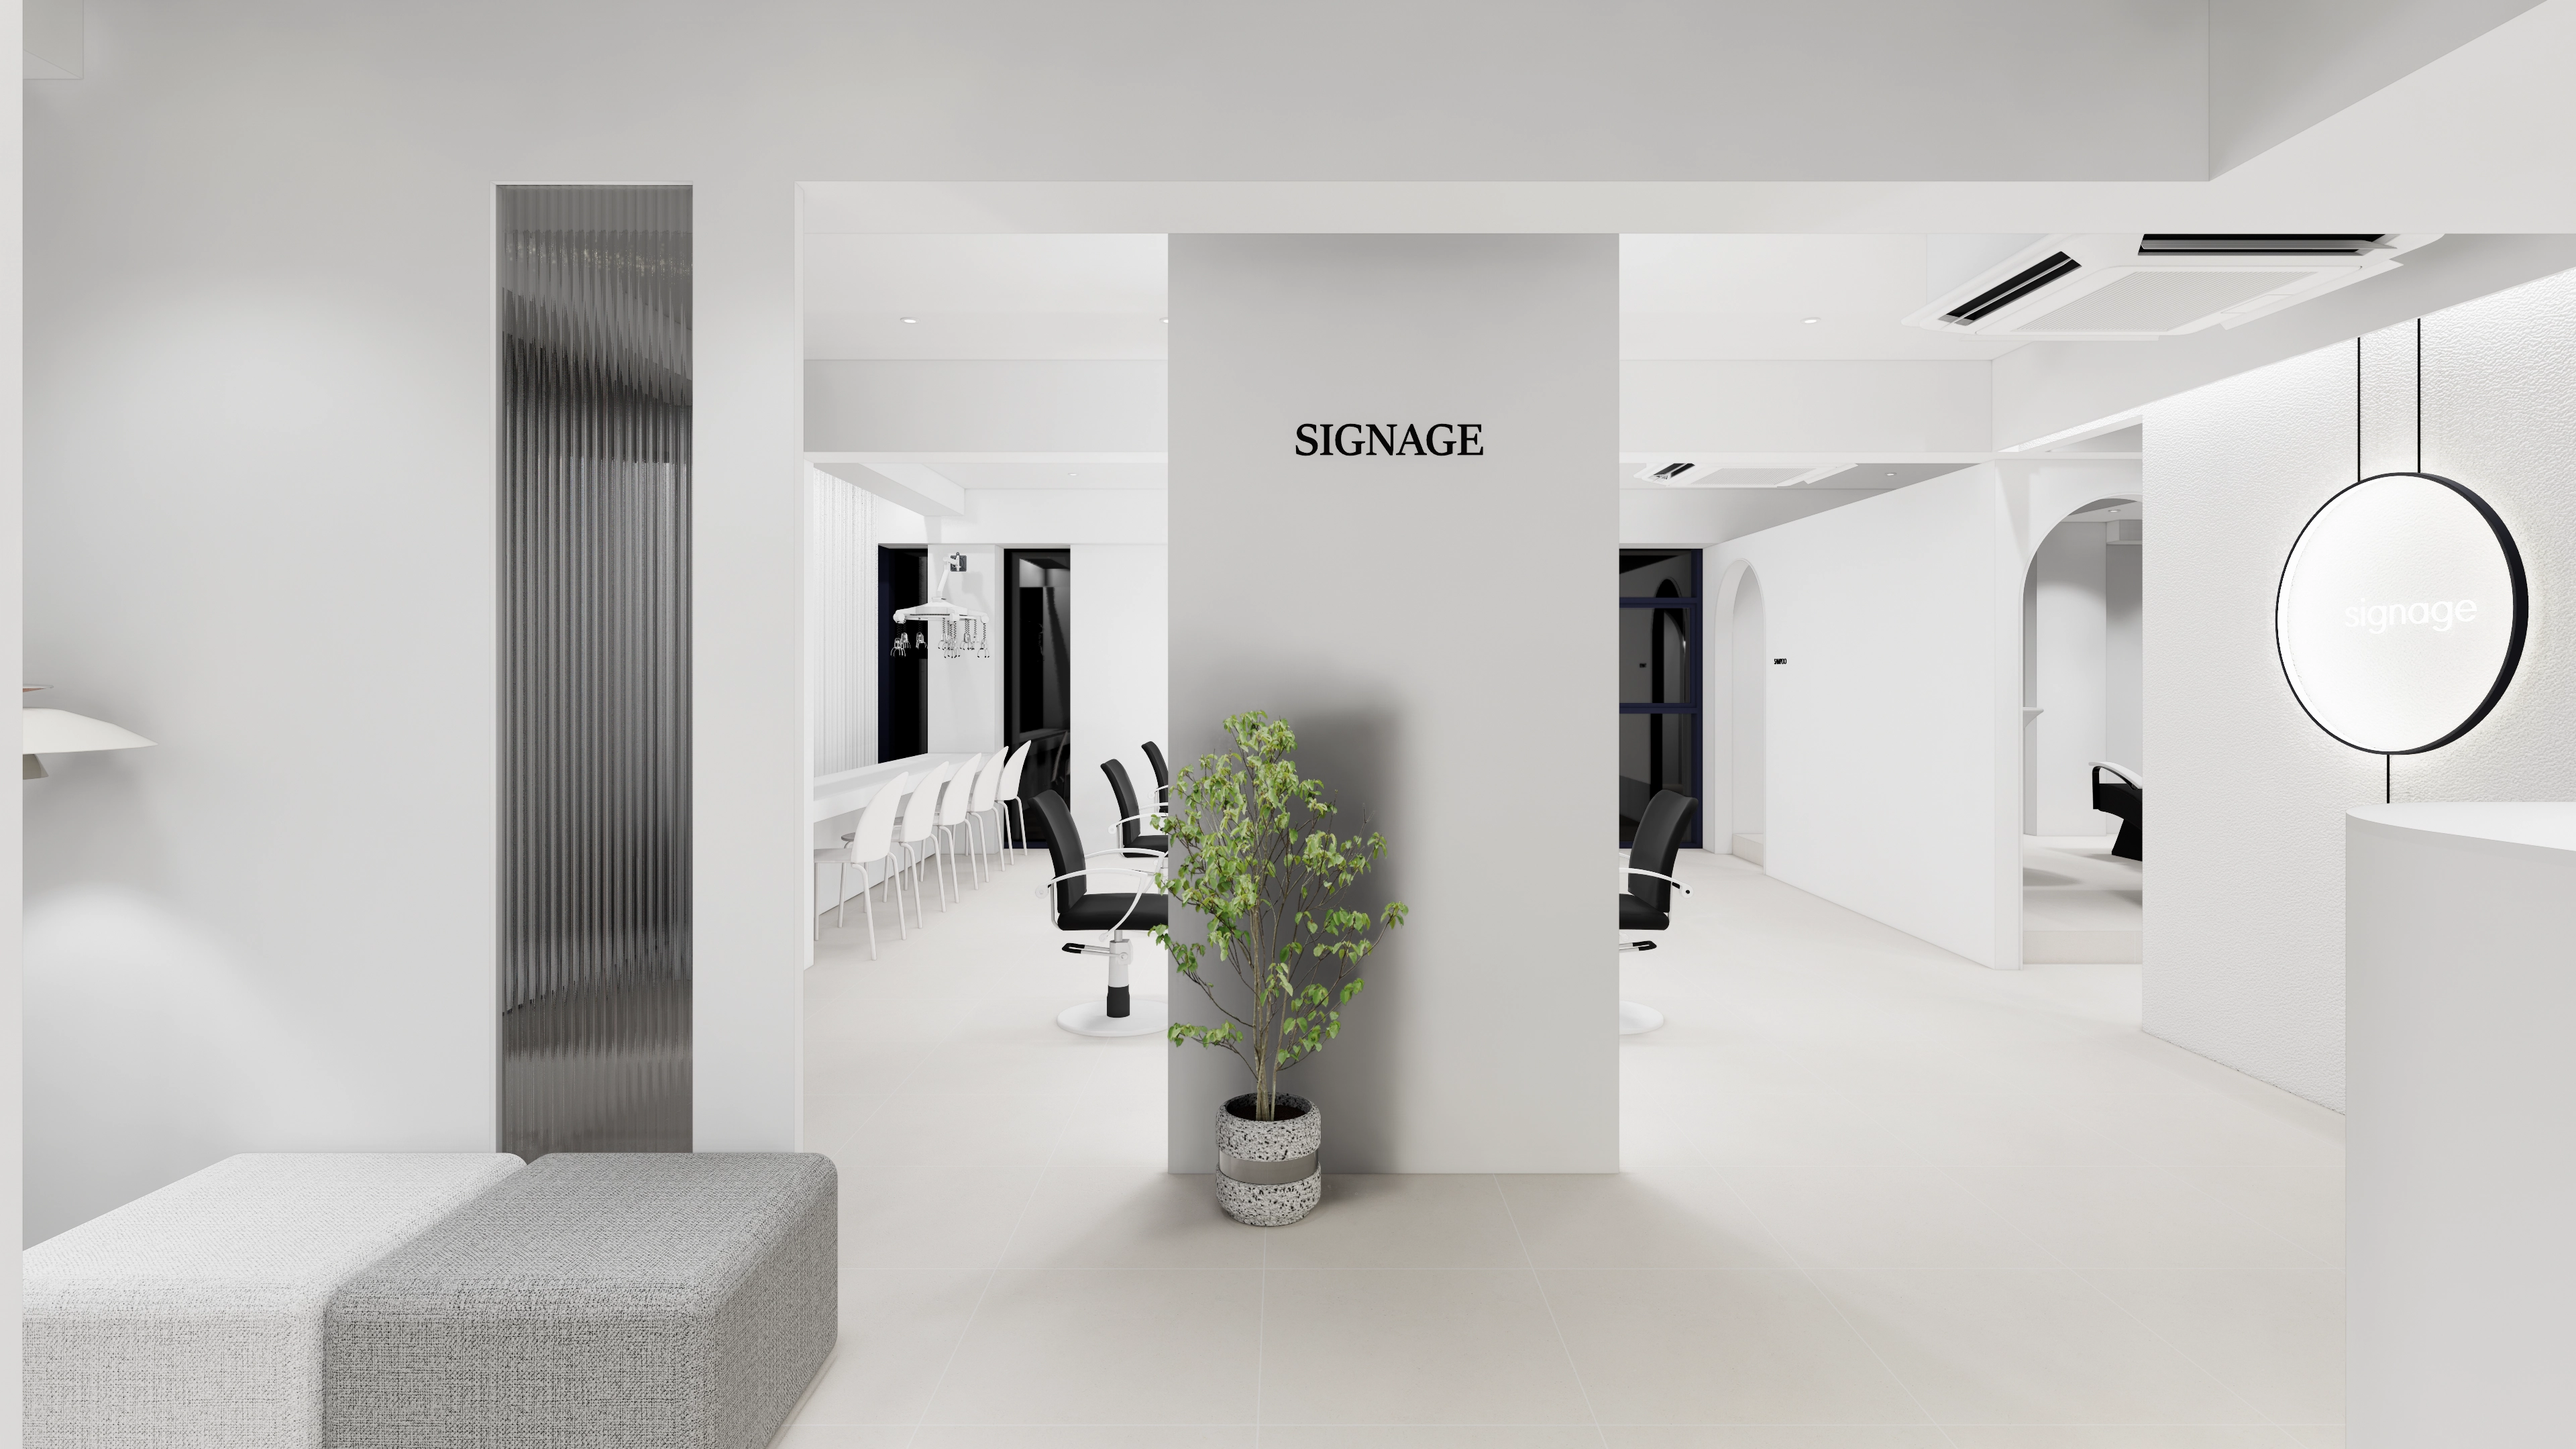
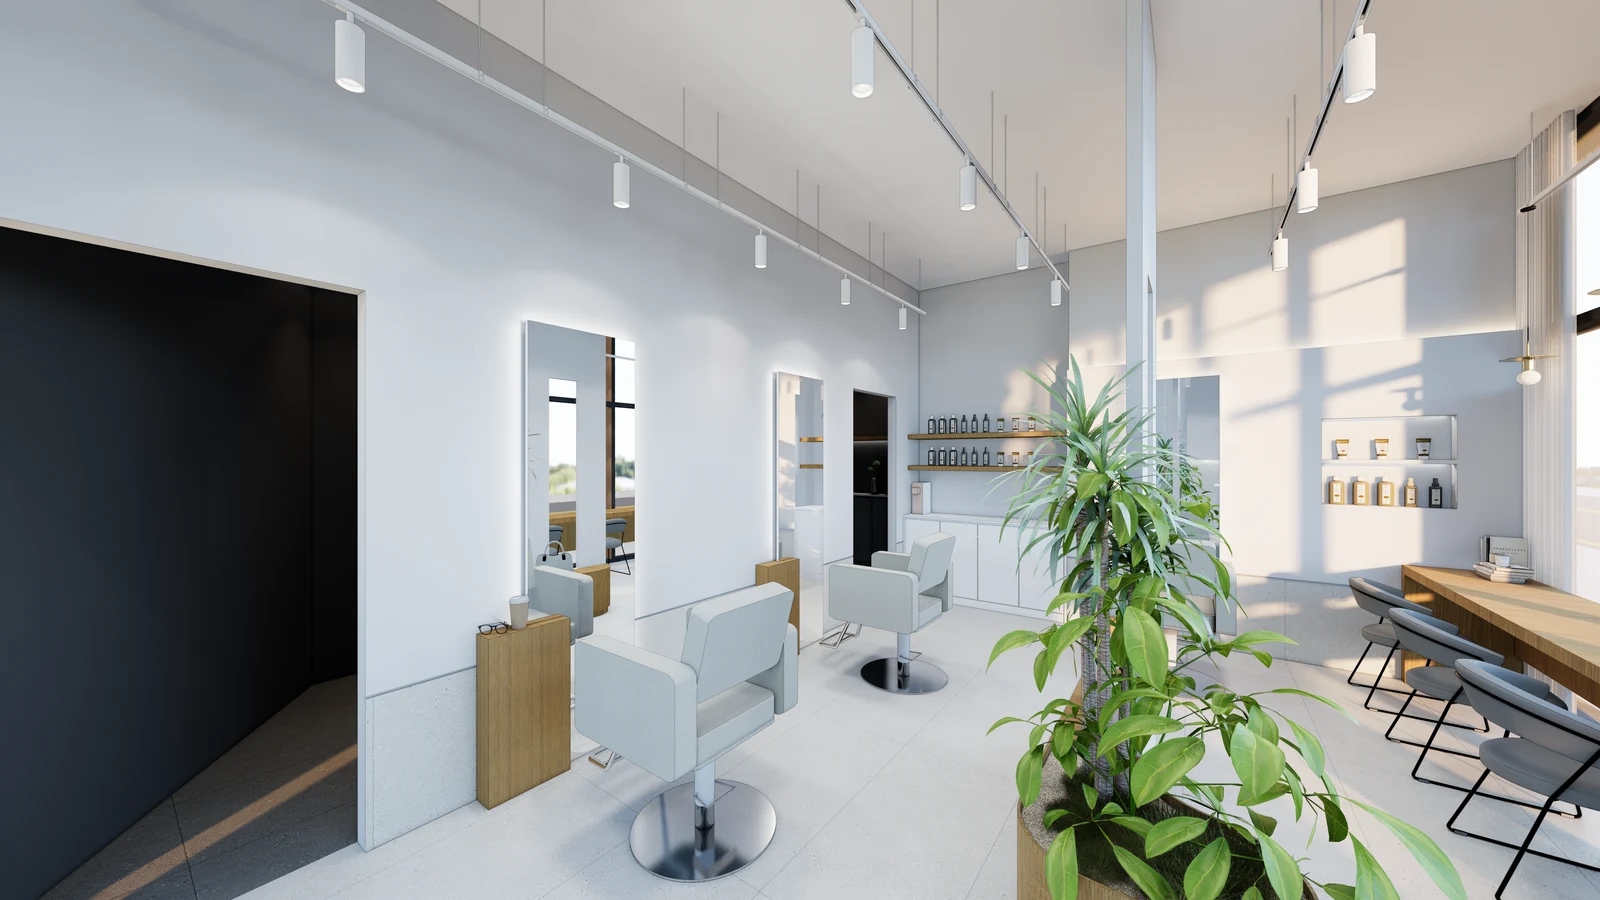
The first body image shows a cup and glasses on a small ledge beside a mirror. If reserved for belongings, assign a separate place for retrieving and returning styling tools. If used as a staff work surface, provide another place for clients’ items. Record the intended user and contents because the same form can require different compartments under different operating plans.
Compare built-in storage with a mobile trolley at each station. Check doors and drawers against chair arms and staff leg space, and draw both working and parked trolley positions. Another option is to keep only frequently used items nearby instead of adding excessive cabinetry to a small station. Recheck furniture width and neighbouring work areas when increasing storage.
Check usable drawer space rather than the visible external width. Test real combs and attachments after allowing for dividers, handles and hardware. If retrieval requires a fully open door, check access with a staff member in position. Compartments used repeatedly during an appointment need not sit beside those opened only before or after business hours.
Set counter height and projection with the selected chair. Check seated knee and footrest use and staff retrieval from the same mock-up. A different shape or greater projection also changes the edge facing the aisle. Approve a side view and a counter plan containing actual objects, rather than the front elevation alone.
Do not identify counter materials from colour or reflections alone. Obtain product names, surface samples and edge and joint details. Distinguish cleaning surfaces from item placement and consult the selected product’s care instructions. For a wall-mounted ledge, assign fixing and wall-substrate checks to the fabrication scope and request details of concealed construction.
Furniture details for outlets and appliance holders
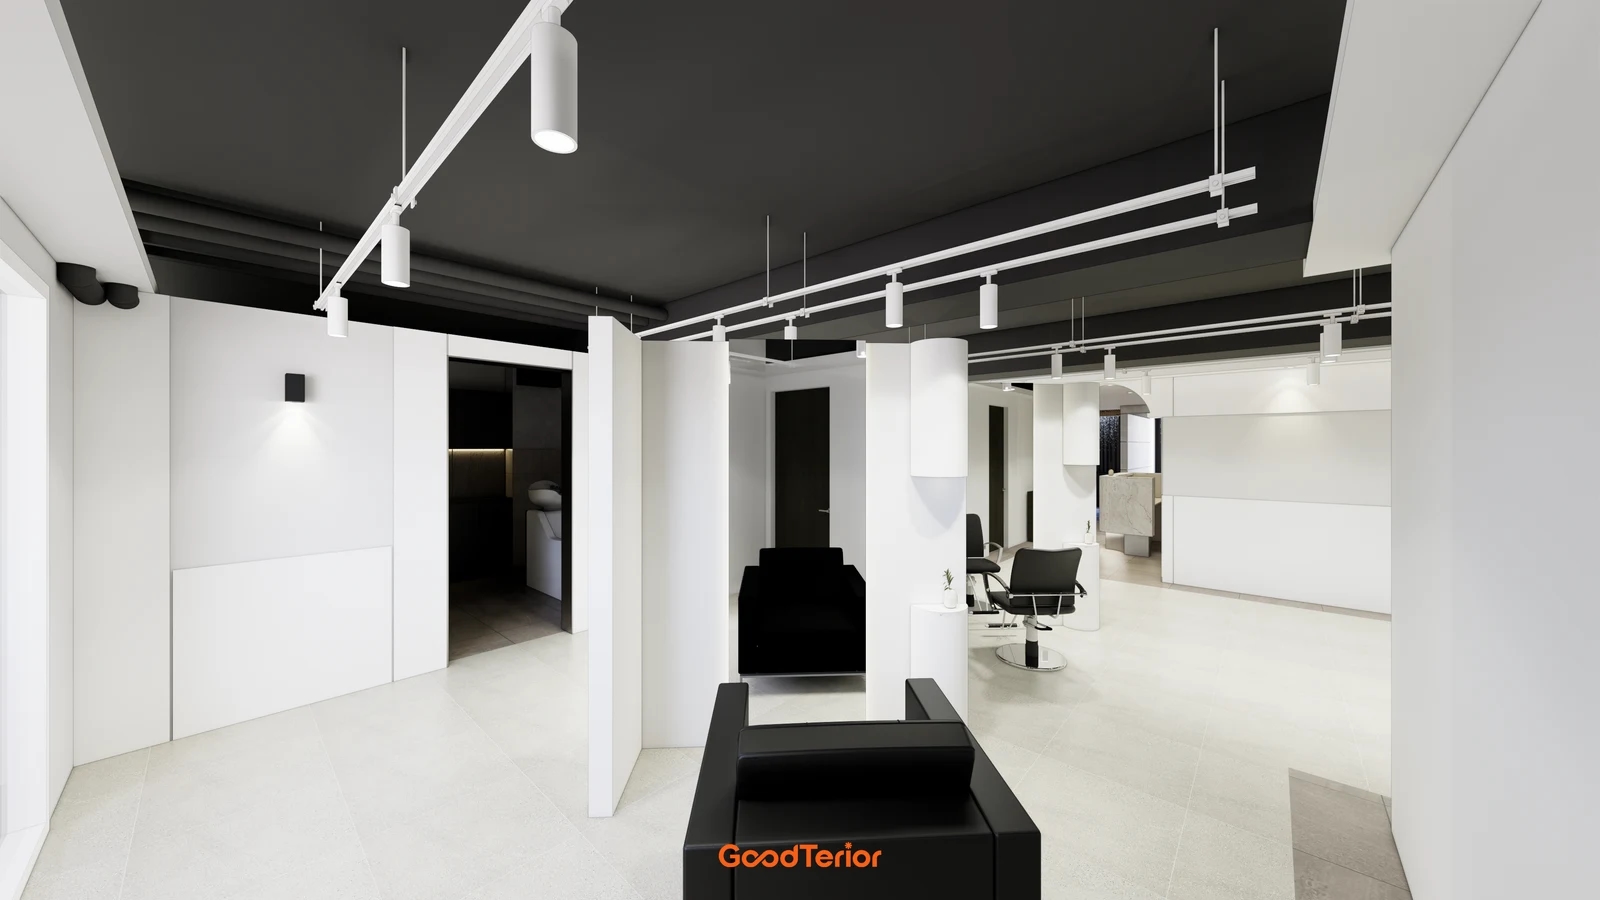
The second body image reveals a small ledge beside the mirror and the faces below it. Mark where a hairdryer would be stored and from which side its plug would be accessed in a new station. The rendering does not establish electrical readiness. Select actual appliances and holders, then draw retrieval, return and cable paths.
Do not order an appliance holder from a hole symbol alone. Give the fabricator the actual appliance and attachment forms and check the handle, cable and hand-access areas. Ask whether the same holder side works for different staff and assistants. If appliances may change, compare whether the holder can be replaced without rebuilding the furniture.
Check whether a discreet outlet position is also accessible to staff. Concealment beneath a counter requires room to reach and grasp the plug. For a side location, examine cable use between furniture and chair. In either arrangement, plan a check with cables connected while the chair and trolley move, including any crossing of client routes.
A station’s appearance does not determine appliance power requirements or simultaneous operation. Provide the actual appliance list and use plan for the electrical specialist to assess against site conditions and product instructions. These design images are not wiring or circuit instructions. Separate requests for more outlets from the electrical assessment and finalize furniture openings and internal spaces afterwards.
Include cable entries and inspection access in furniture drawings alongside counters and compartments. For an enclosed station, ask whether checking the interior would require removal of the entire mirror or counter. Allocate responsibility for fixed furniture and appliance accessories without leaving gaps. Record holder supply, installation and electrical connection responsibilities against the same drawing number.
When adjusting the budget, compare storage and accessories rather than simply shrinking every counter. Consider the operating implications of fewer drawers with a trolley or separate client and staff surfaces. At handover, check a station by placing items, retrieving tools and returning them. Record deviations with station numbers and photographs so repeated units can be reviewed consistently.
Ask us about your interior project
We can discuss a quote and design suited to the space you are planning.
Request a free consultation