Handleless Pantry Cabinets: Opening Methods and Quotation Scope
Separate a handleless cabinet’s smooth appearance from the way its doors actually open. Office pantry renderings help compare grip and push positions, upper and lower cabinets, and the hardware and machining to specify in a quotation.

Before you begin
- Specify whether each door is pulled from a grip or pushed open instead of approving only a concealed-handle appearance.
- Compare hand access on upper and lower cabinets with adjacent appliances and opposing furniture at actual scale.
- Keep door machining, opening devices, hinges, installation, and adjustment scope comparable in quotations.
Smooth Fronts and Places for the Hand
When requesting handleless cabinets, discuss both the lines to conceal and where users will place their hands. In a pantry, doors for cups, supplies, and the area under the sink are used in different situations. Rather than selecting one opening method for every door immediately, distinguish frequently used doors from those opened only for occasional checks and mark them on the drawings.
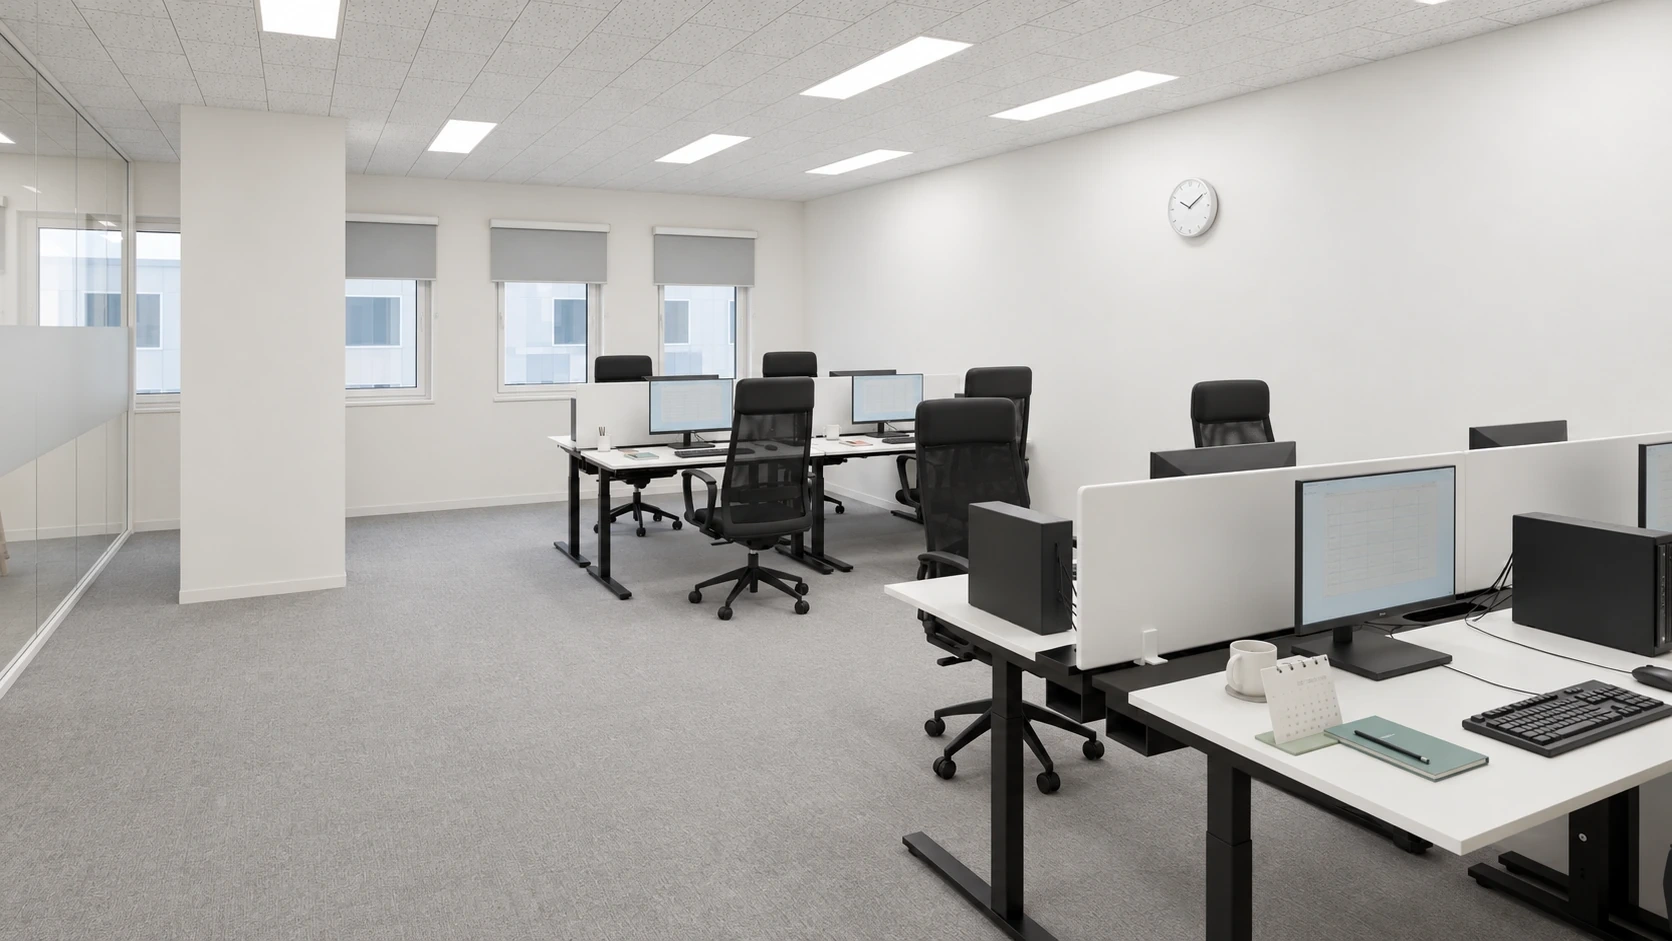
The cover shows aligned beige upper and lower cabinet fronts with separate furniture in front. No projecting pulls are visible, but the image cannot identify the internal hardware or grip detail. Approving a smooth elevation and approving a construction method are separate decisions. Use the image to communicate the appearance, then confirm operation through sections and samples.
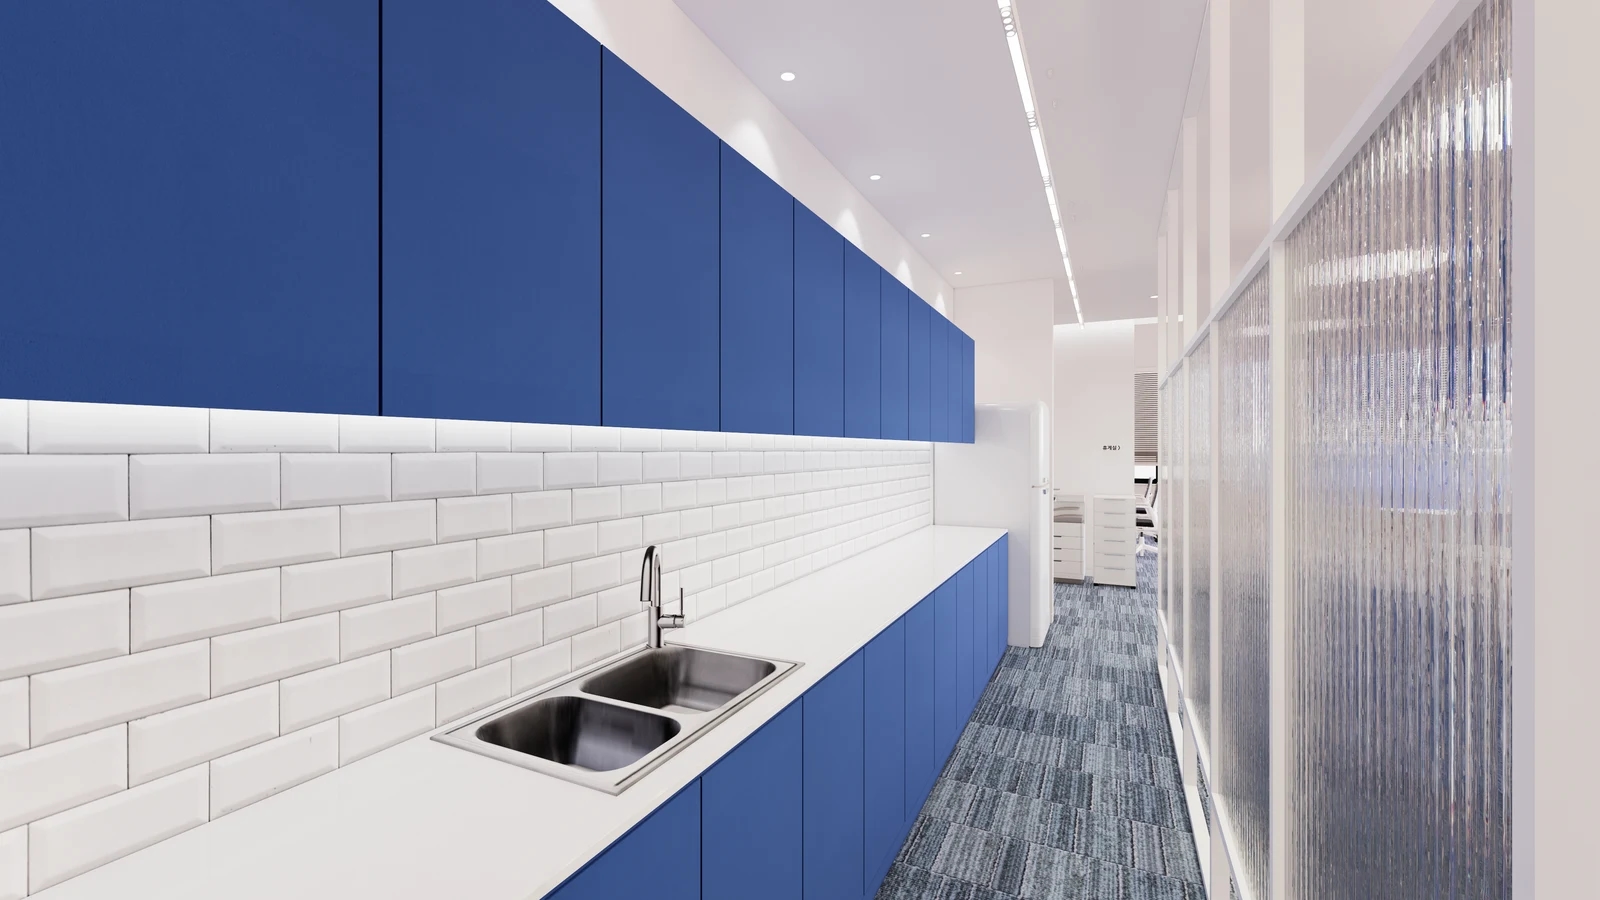
The blue doors in the first section image repeat above and below a long white worktop. For a similar arrangement, mark whether the upper doors are gripped underneath or pushed at the side or front. Compare gripping below the worktop with pushing the lower fronts. Include a projecting pull as an alternative and use a full-scale mock-up to try the movement of the hand into and out of the grip.
For a pull-open option, enlarge the detail where fingers make contact. Show whether the user holds the door edge or a separate groove or profile, and where the hand enters between the worktop and door. The visible joint width on an elevation does not itself establish a comfortable grip. Obtain a sample including the proposed finish and edge shape to try contact and operation.
Place actual appliances and objects below the upper doors when testing access. Compare reaching over a coffee machine or water dispenser and whether an open door obstructs the appliance front. For lower cabinets, draw room to step back alongside the outlines of opposing furniture. With a separate counter facing the cabinets, as on the cover, distinguish the open-door position from the position of a person retrieving something.
Also try a situation with a cup or object in one hand. Compare whether the hand must be freed to grip the door or whether setting the object down first suits the intended operation. Instead of making a frequently used door awkward to preserve a visual line, consider handles on selected doors or leaving an open compartment. An open compartment also changes what remains visible and needs organizing.
Hardware and Quotation Items for Each Door
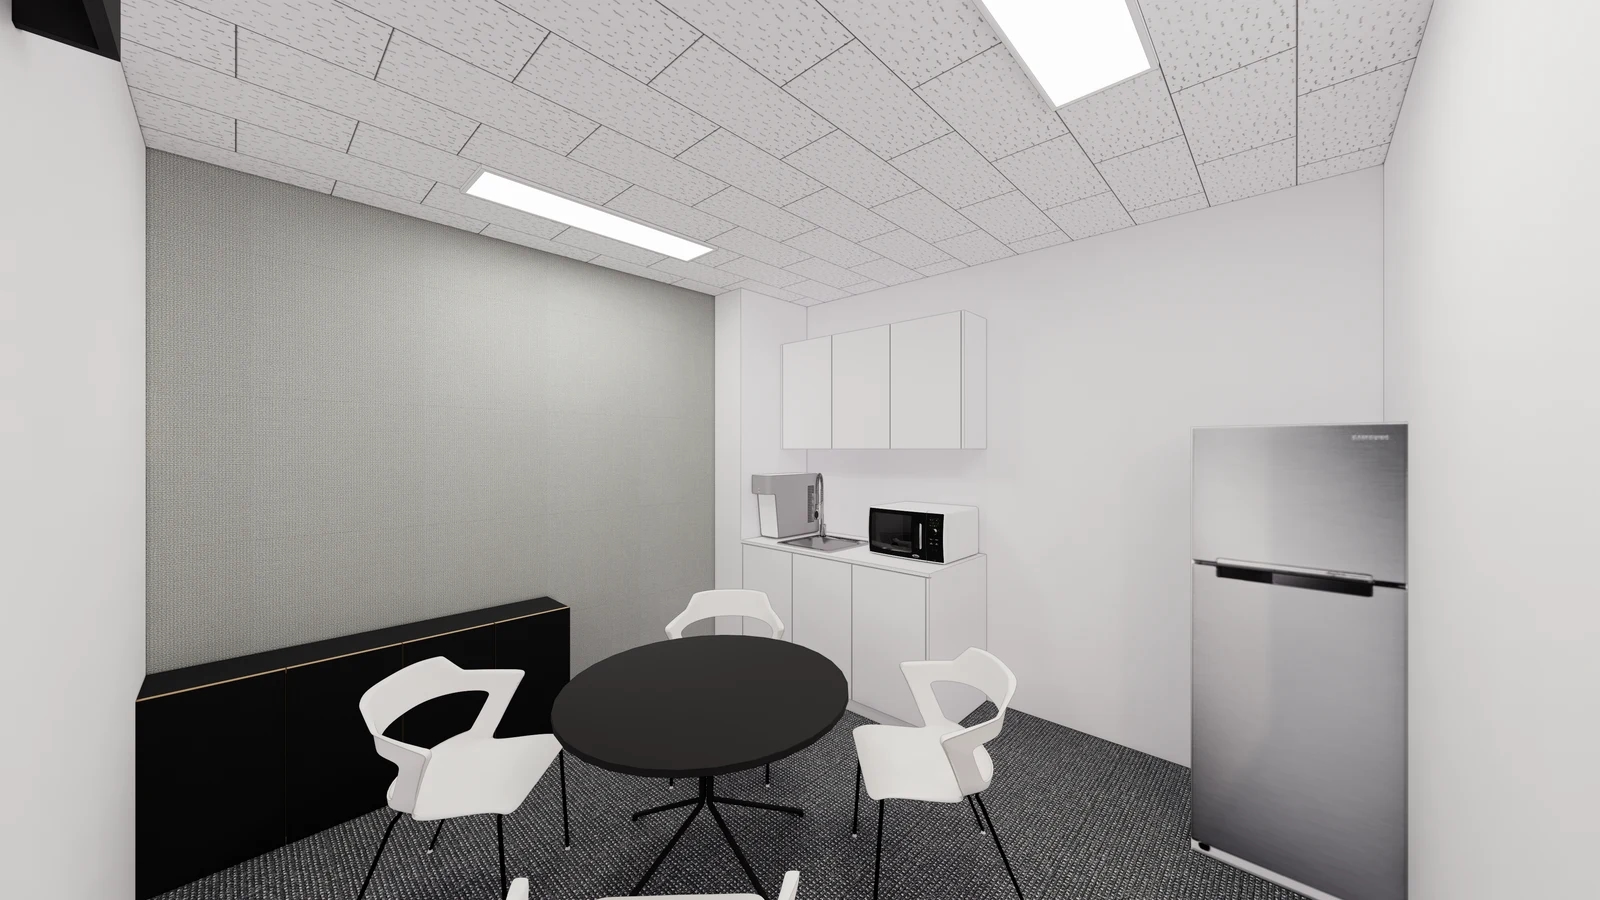
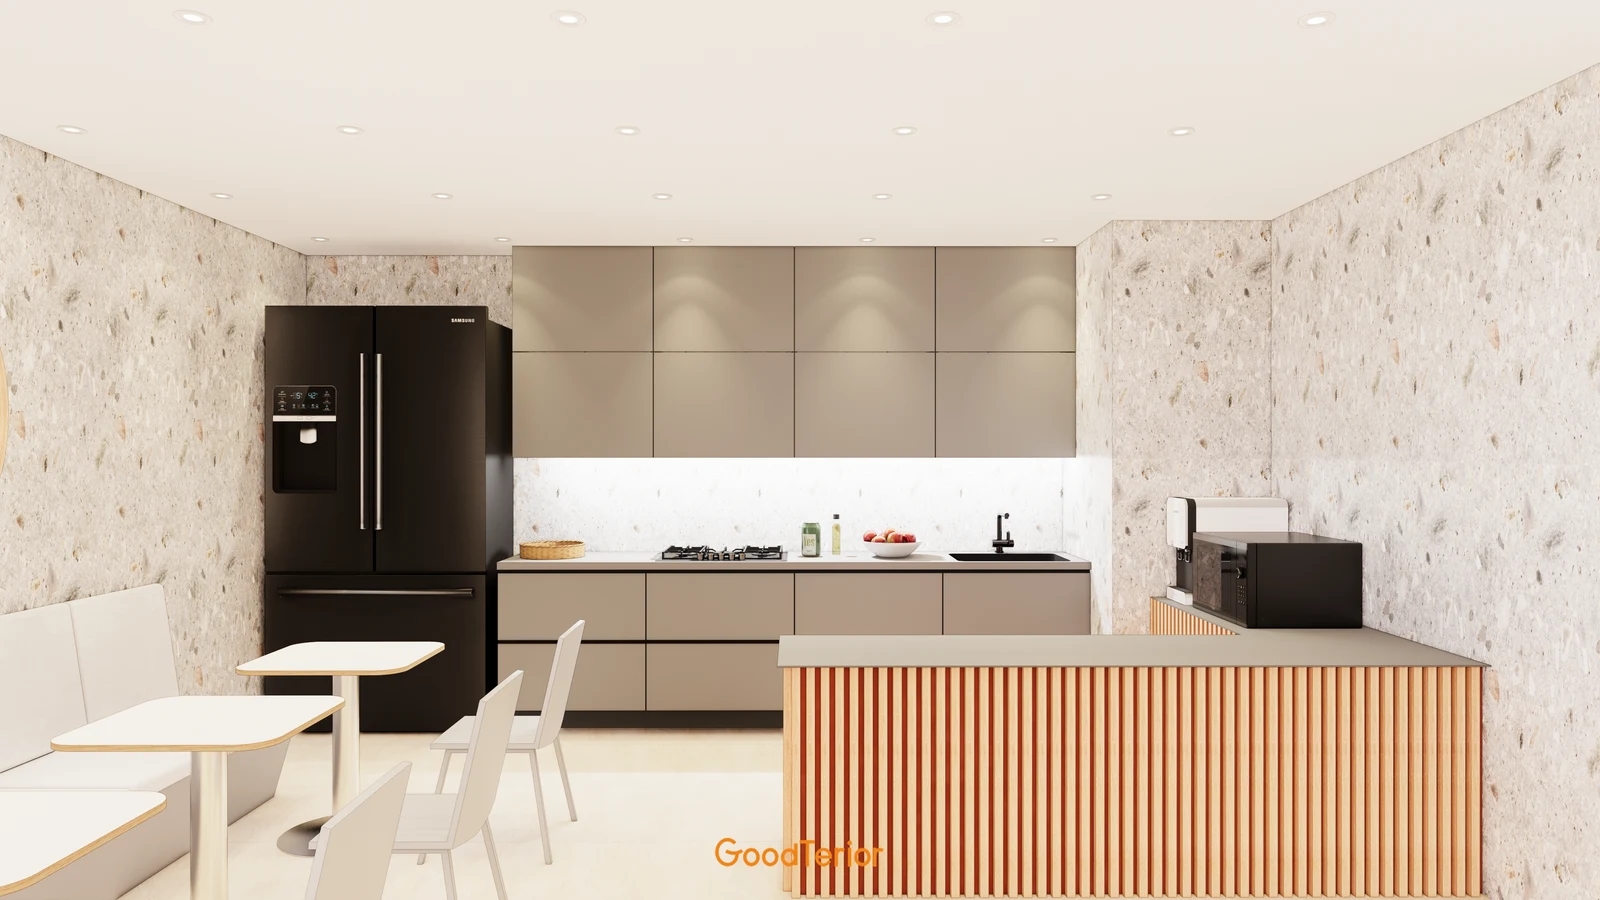
The second section image shows a refrigerator beside upper and lower cabinets, with a table and chairs in front. Marking each door’s swing and hand-access side reveals relationships missed when looking only at front divisions. Compare where refrigerator handles meet cabinet doors, the area occupied by an upper door, and the standing position beside the table. Do not treat the illustrated appliance shapes as verified installation conditions for actual models.
If choosing push opening, do not describe the quotation merely as a push system. Obtain the opening-device and hinge models, quantities, and doors where they will be used. Blum’s Korean “TIP-ON for doors” guide describes a mechanical push-opening device for handleless doors and a combination with unsprung CLIP top hinges. This is information about that product; it does not identify the fittings in these renderings or establish a shared specification for every push-opening device.
Check the way a device opens a door separately from its closing movement. A handleless description does not establish that soft closing is included. Ask the supplier and maker to verify the combination against product information for the intended door thickness, size, weight, and finish. Try the contact position and initial opening movement on an actual sample before approving the required action.
Do not compare quotations simply by removing the price of handles. Separate door-edge or groove machining, additional profiles, opening devices, hinges, and installation and adjustment for the door quantity. Keep overall furniture dimensions, door count, and finishes the same when comparing a projecting-pull option. Rather than assuming handleless is always cheaper or more expensive, identify the included machining and components.
Before ordering, discuss whether a full-size door or relevant sample can be reviewed. Inspect the grip groove and door gaps from visible angles and check where a fully open door approaches adjacent furniture. Record the actual section and color represented by a dark line in a rendering. If the sample changes, revise door dimensions and hardware lists together.
For existing cabinets, first distinguish adding machining to current doors from replacing doors and hardware together. Check old handle fixing marks, edge finishes, and hinge condition, then agree with the maker what will remain. Do not assume adding one device produces the required appearance and operation. Compare a proposal including repairs and reworking with the scope of new fabrication.
After installation, go beyond opening empty cabinets. Use upper and lower doors in sequence with appliances and tables in position, and consider someone passing alongside. Include where to push and whom to contact for adjustment and replacement in the handover record. Connect the approved opening method and components to door numbers on the final drawings so the same arrangement can be identified during later maintenance.
Ask us about your interior project
We can discuss a quote and design suited to the space you are planning.
Request a free consultation