Office Blind Divisions and Control Positions
Plan how many sections will cover an office window together with where people will operate them. These design images help compare window-frame lines, work and meeting zones, and access behind desks, then identify what to record for measuring and ordering.

Before you begin
- Mark which seats and zones need separate light adjustment, alongside the window-frame divisions.
- Overlay blind divisions and the lowered blind plane with window handles, monitors and cabinets.
- Distinguish measured dimensions from manufacturing dimensions, and record controls, mounting surfaces and acceptance checks for each window.
When window-frame lines and use zones differ
Assigning one blind to each window-frame section can look orderly when ordering office blinds. However, the frame sections do not always match the zones used by people at desks. Overlay workstations, meeting rooms and cabinets on a front elevation of the windows, then mark the areas that need separate adjustment. Providing only the total window width can leave this distinction out of the manufacturing plan.
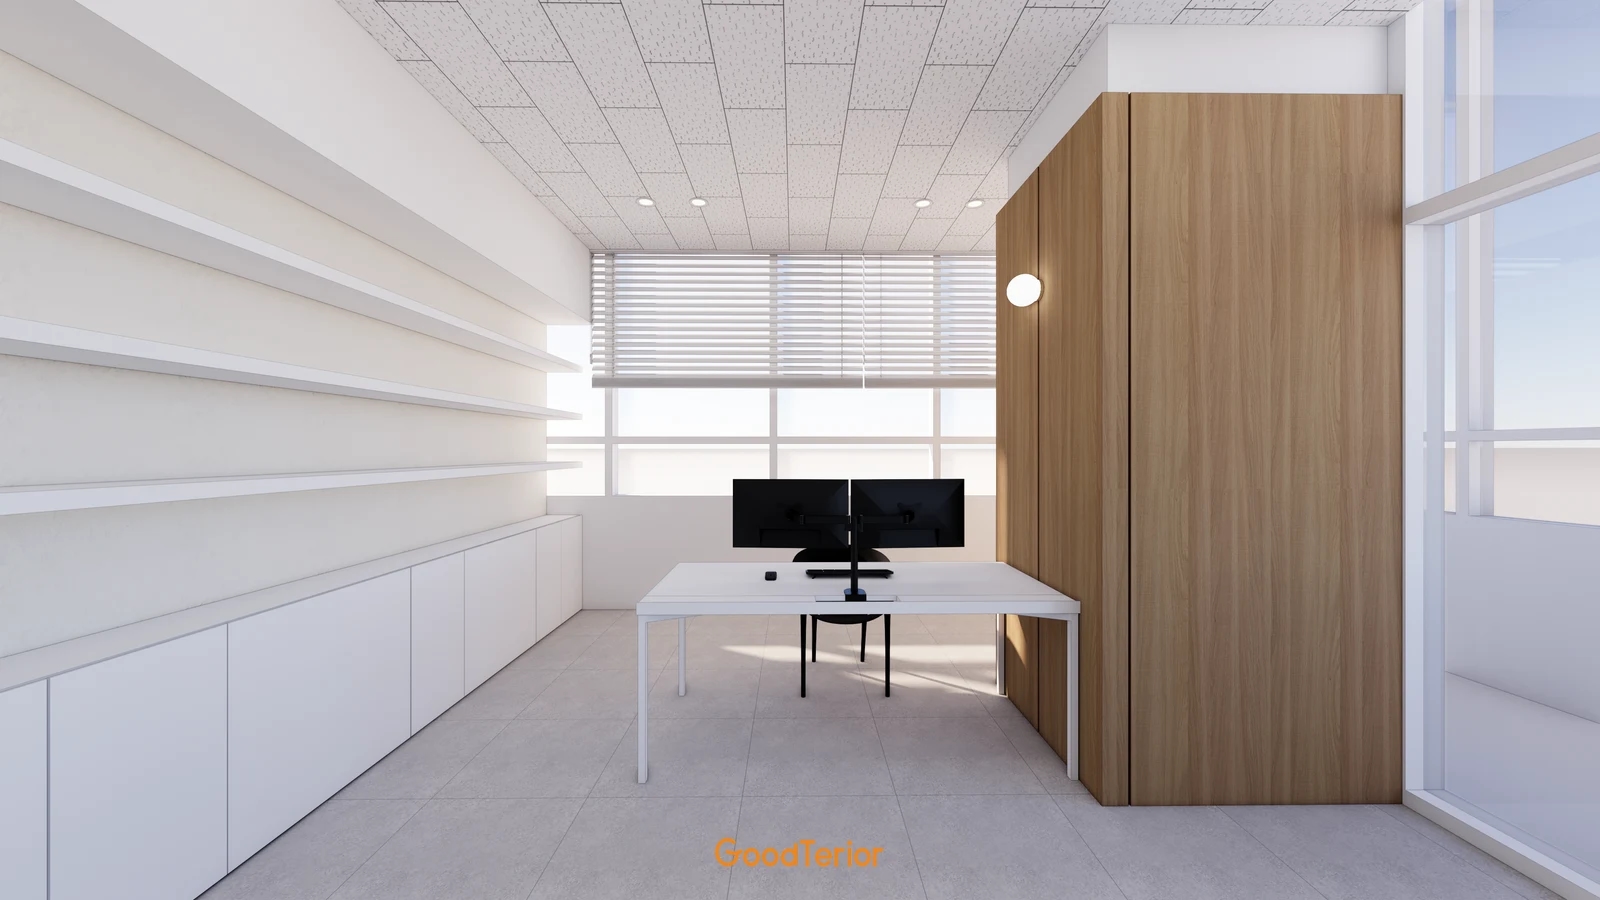
The first body image shows a division in the white blinds behind the desk and a wood wall to the right. For a similar arrangement, distinguish the window hidden by the wall from the part visible in the room. Check the visible window width separately from the area available for mounting the blind. Use the image to find appropriate divisions for the new office rather than copying its arrangement.
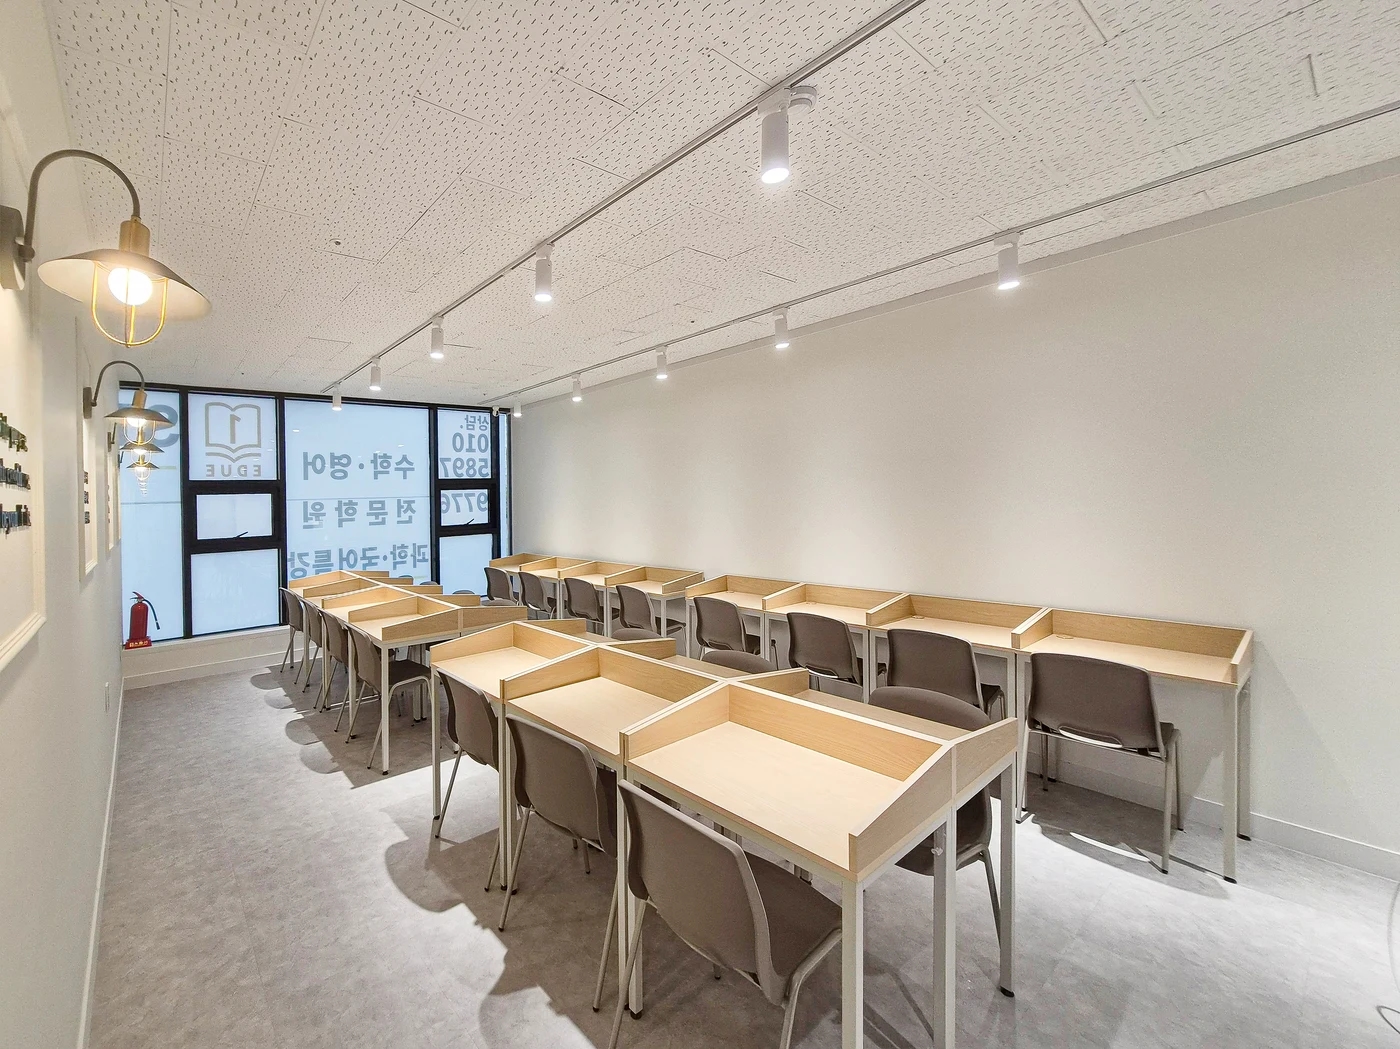
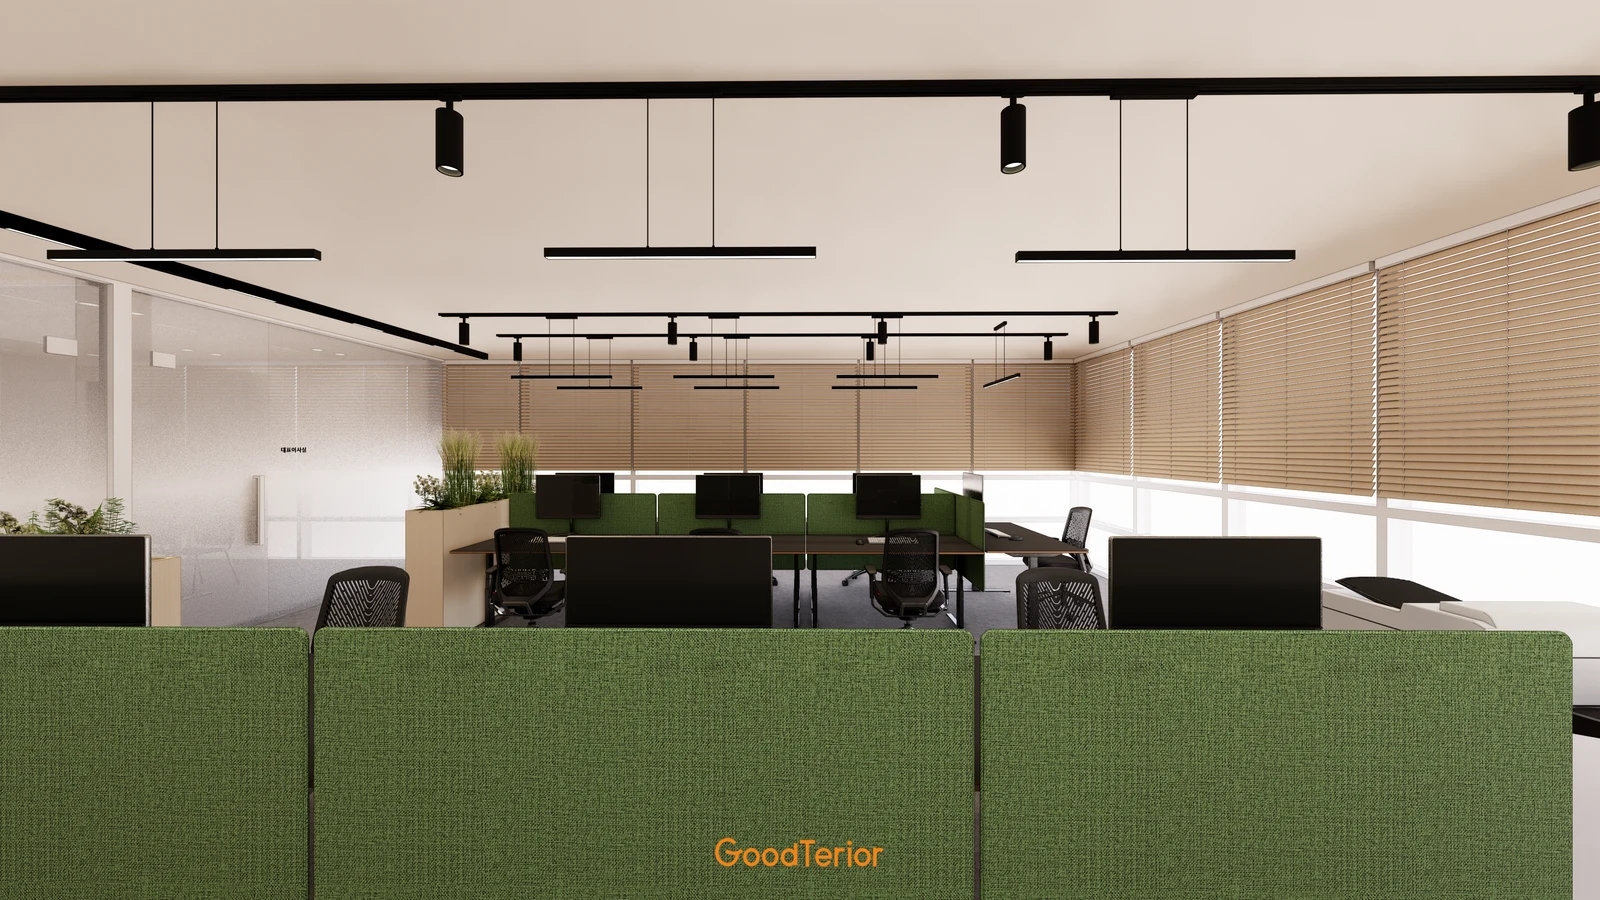
The cover proposal groups several workstations with windows continuing behind and to the right. For this layout, discuss with the operator whether all blinds will stay at the same height or be adjusted by seating zone. Compare one side lowered and the other raised from the actual seats, and record the different needs of screen users and people walking through. A single rendering cannot establish daylight conditions or screen reflections at different times.
A single wide blind allows comparison of an appearance with fewer intermediate divisions; several blinds allow separate adjustment by section. Also check which seat faces a division and how many control points are created. Compare the actual use zones rather than assuming that either option is always neater or easier. Confirm available sizes and configurations with the selected product supplier.
If some windows will open, do not record only their closed front view. Mark the handle movement and opening direction, then compare them with the plane of the lowered blind. Compare mounting inside the opening with covering it from outside on the same window. Do not infer fixing positions or required clearances from a photograph before checking the product installation conditions.
If a meeting room and work area share a window, the new partition line also matters. Mark where the blind ends beside the separating wall and check whether each room can operate its blind without entering the other. If seating may change later, consider whether the divisions suit only the current desk row. Communicating possible layout changes before ordering helps distinguish the parts to retain from those that may need alteration.
Windows operated from behind desks
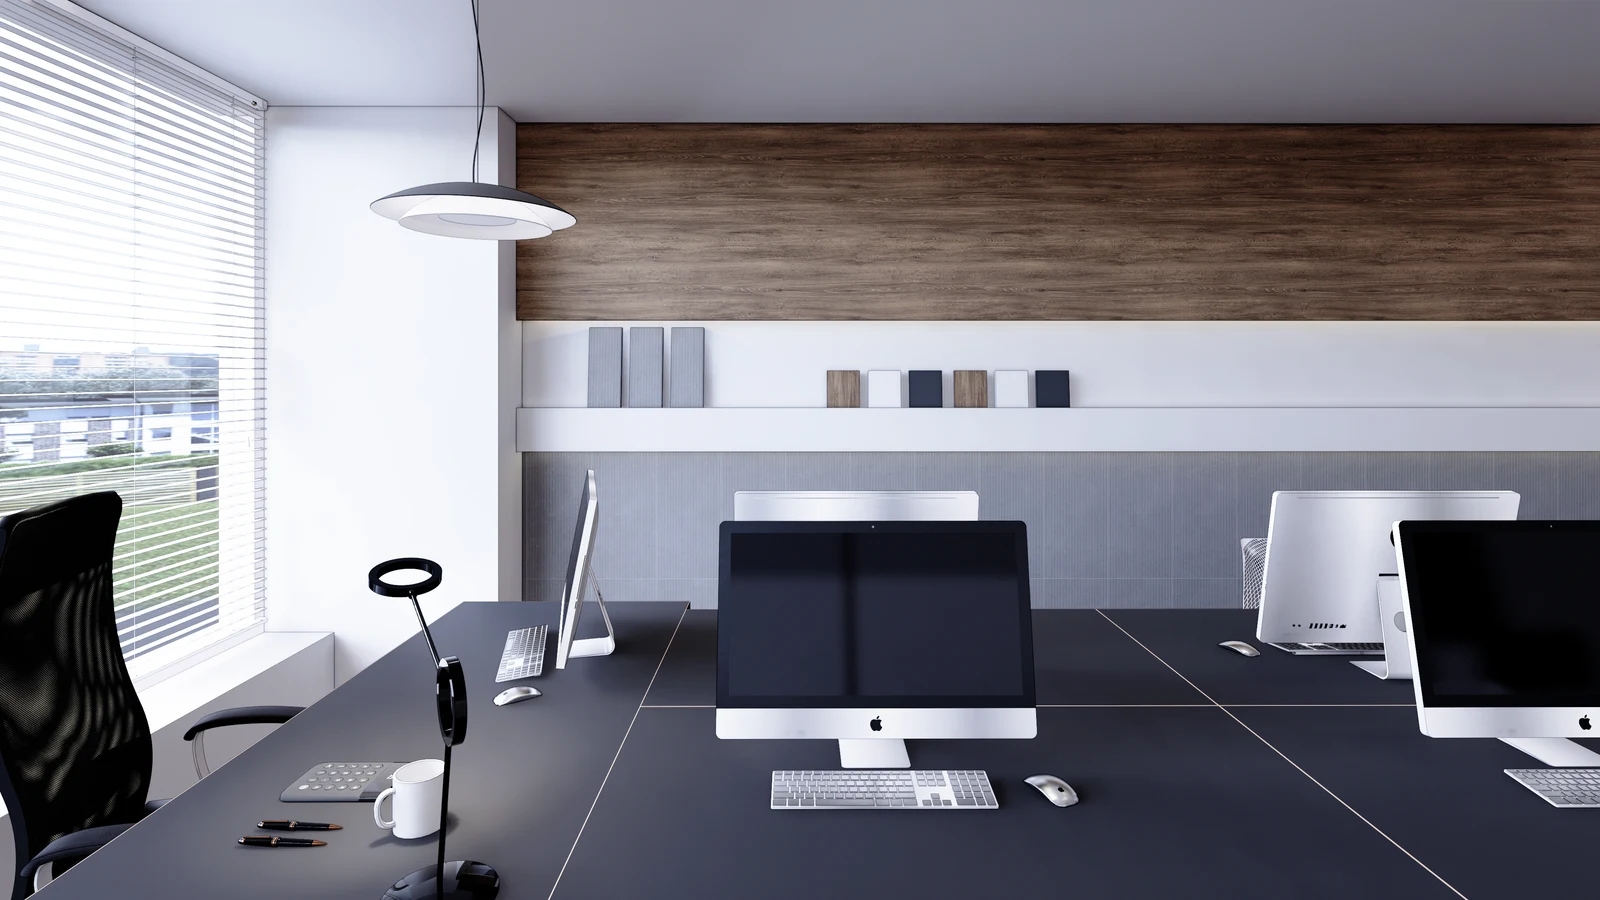
The second body image places desks and monitors immediately beside a window with blinds. In this setting, saying that the control is within reach does not fully establish its location. Draw the route to the window with someone seated and objects on the desk. Check whether operation would require asking a colleague to move or bending behind a monitor.
For a manually operated product, mark the control side for each window. State that directions are viewed from inside the room so that left on the drawing is not confused with left on site. Compare accessible candidates beside a desk end or low cabinet, and check the control type and mounting method against the product instructions. Do not infer the length of cords or their fixing details when these are not visible in the image.
If motorised products are an option, decide who will manage the button or remote and which windows should move together. After selecting the model, have the supplier and electrical contractor confirm power and control requirements on the same drawing. Adding wiring after furniture installation involves a different scope from preparing it before finishes. Compare installation and handover as well as convenience.
Give each window a number during measurement, and connect its width, height, mounting surface and nearby obstructions to photographs. State whether a dimension describes the frame, the area to cover or the final manufacturing size. Instead of transferring measurements directly to the order, have the supplier confirm final dimensions for the chosen installation method. Compare the width, height and control side of each divided unit in the same schedule.
Quotes do not represent the same scope just because the window count matches. Compare products, colours, unit counts, operation methods and installation scope against the same drawing. Separate removal or retention of existing blinds, repairs to mounting surfaces and power preparation. At junctions with new partitions or ceiling finishes, identify who confirms dimensions first and who completes the finish.
Do not end acceptance checks with raising and lowering blinds in an empty room. Place the actual desks and chairs, approach each control, and record conflicts with opening the windows. Check screens directly from work and meeting seats at the relevant times, then identify the specific part requiring adjustment. A product description of adjustable light and a judgement that it is convenient in this office are separate matters.
Finally, hand the operator the window numbers, control directions, product names and supplier details. Decide where remotes or spare parts will be kept. The record should allow blind divisions and access routes to be reviewed together when seating changes. Complete the plan by documenting the sequence of use as well as the surface covering the window.
Ask us about your interior project
We can discuss a quote and design suited to the space you are planning.
Request a free consultation