Shop Track Lighting Installation: Display Layout and Quotation Scope
Plan track lighting around merchandise and display furniture. Review target surfaces, existing track reuse, compatible accessories, ceiling fixing and lighting checks before comparing quotations.

Before you begin
- Identify the surfaces to light on walls, shelving and low displays.
- Check existing track and new fixture configurations using product information.
- Separate track, fixtures, accessories, fixing and reinstatement in quotations.
Track positions for wall displays and central shelves

When planning track lighting for a shop, distinguish drawing an attractive line on the ceiling from lighting merchandise. The track provides a line for locating fixtures; customers look at products and wall displays. Mark wall displays, central displays and checkout positions before deciding whether to retain existing track or install new sections, so fixtures still address the intended objects once furniture arrives.
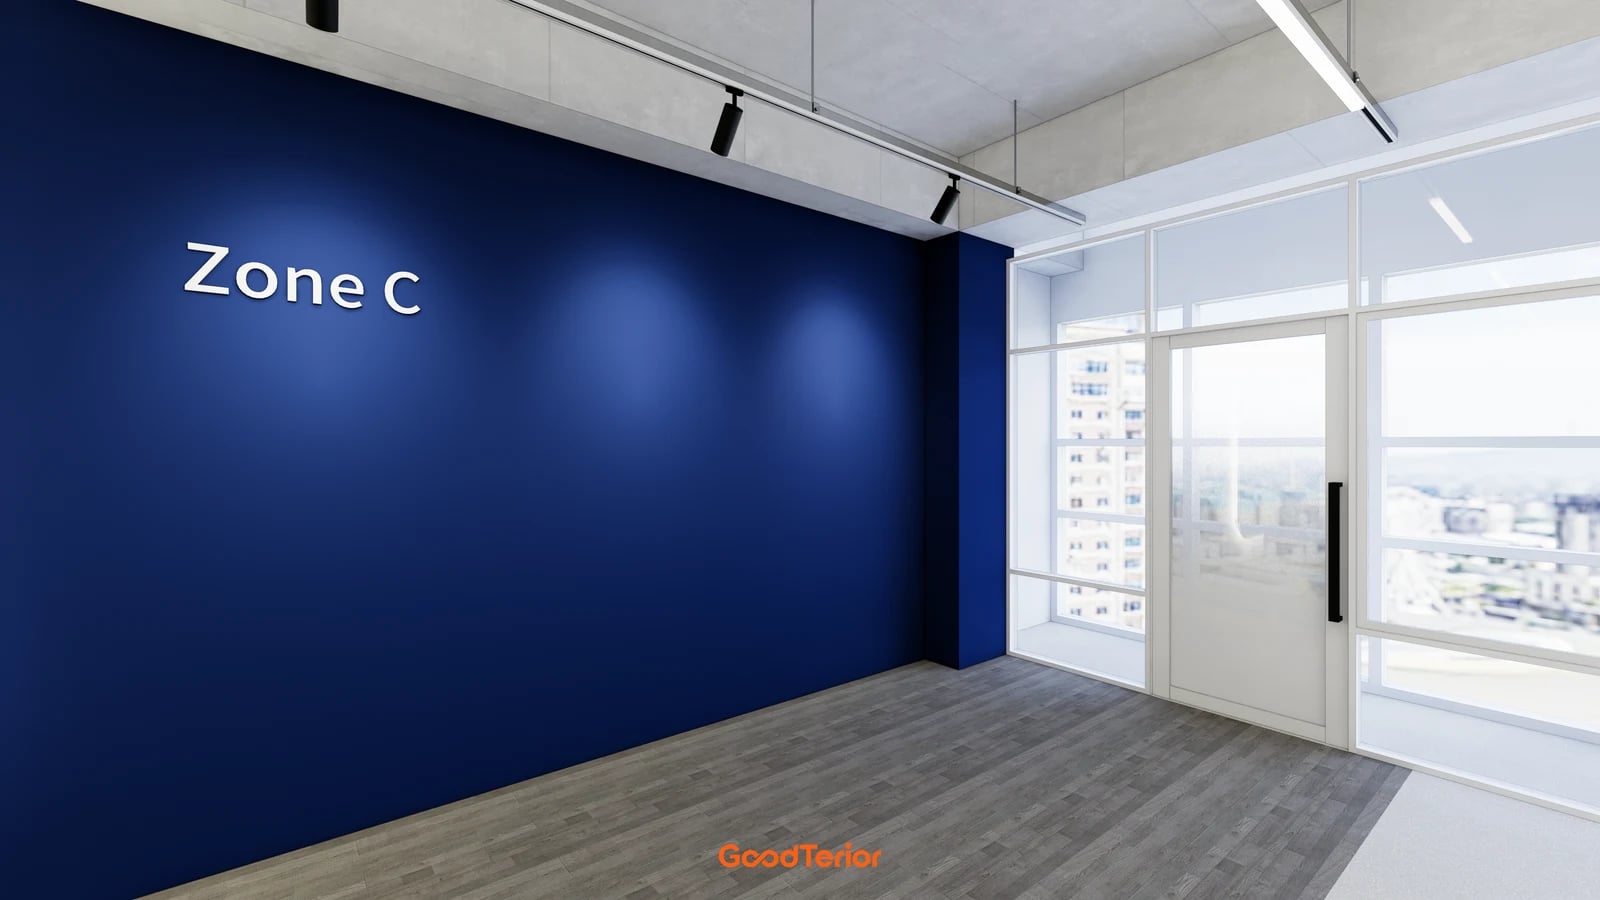
The showroom design on the cover places black cylindrical fixtures along a track in front of a blue wall. Pools of light appear on the wall, with a linear fixture nearby. It illustrates considering fixtures aimed at a wall alongside other lighting forms. Treat the rendering as an illustration of lighting roles, not evidence of actual brightness, beam patterns or product performance.
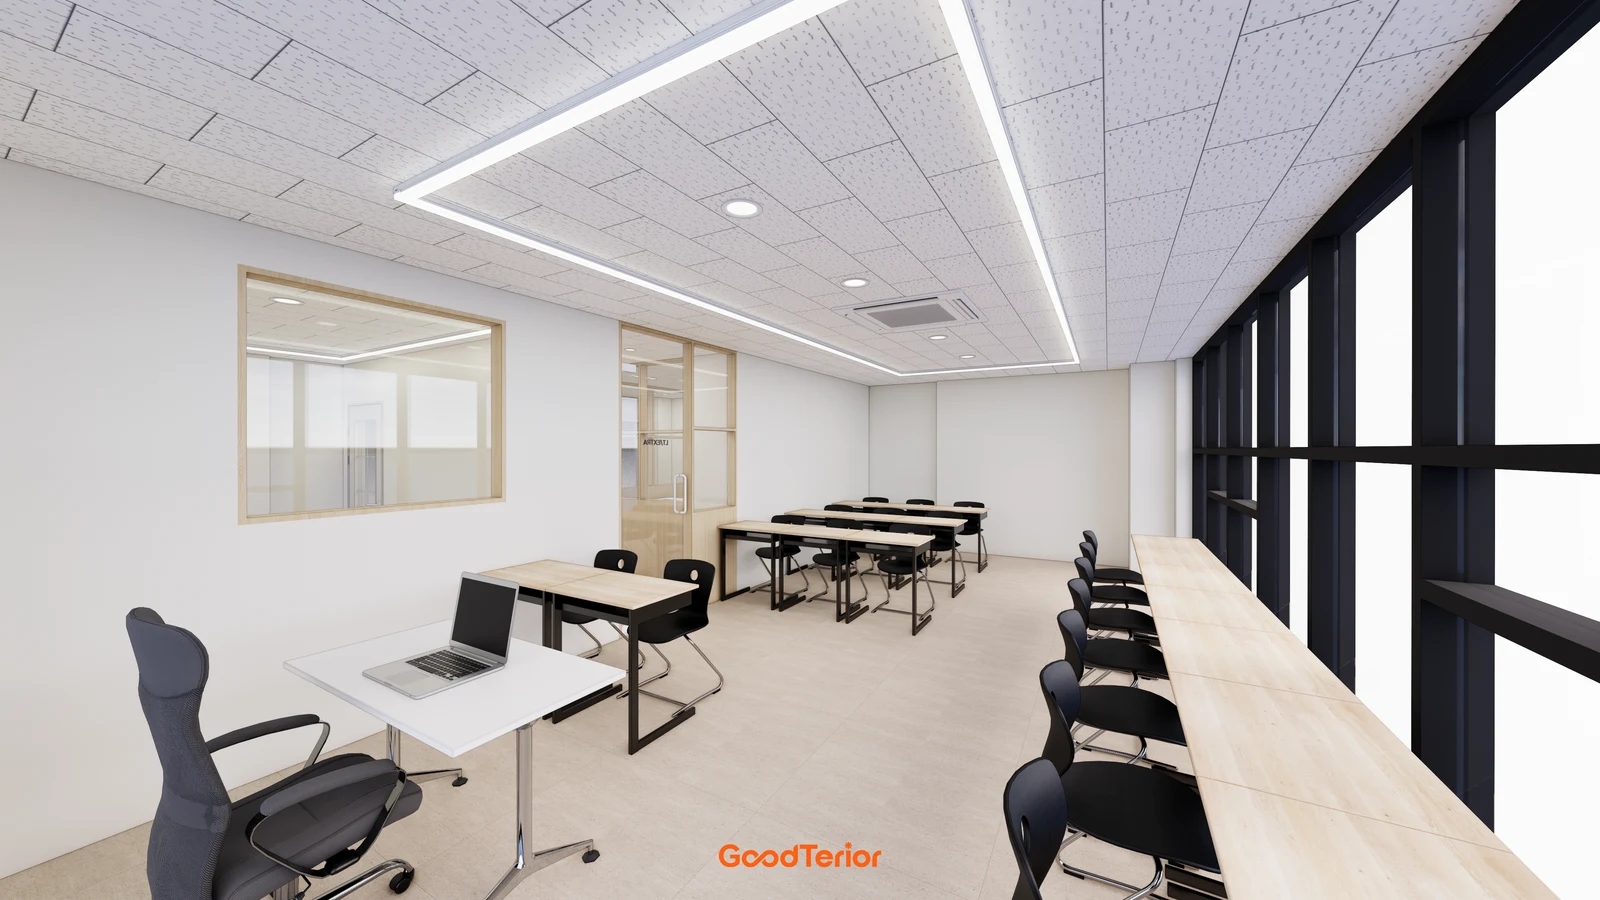
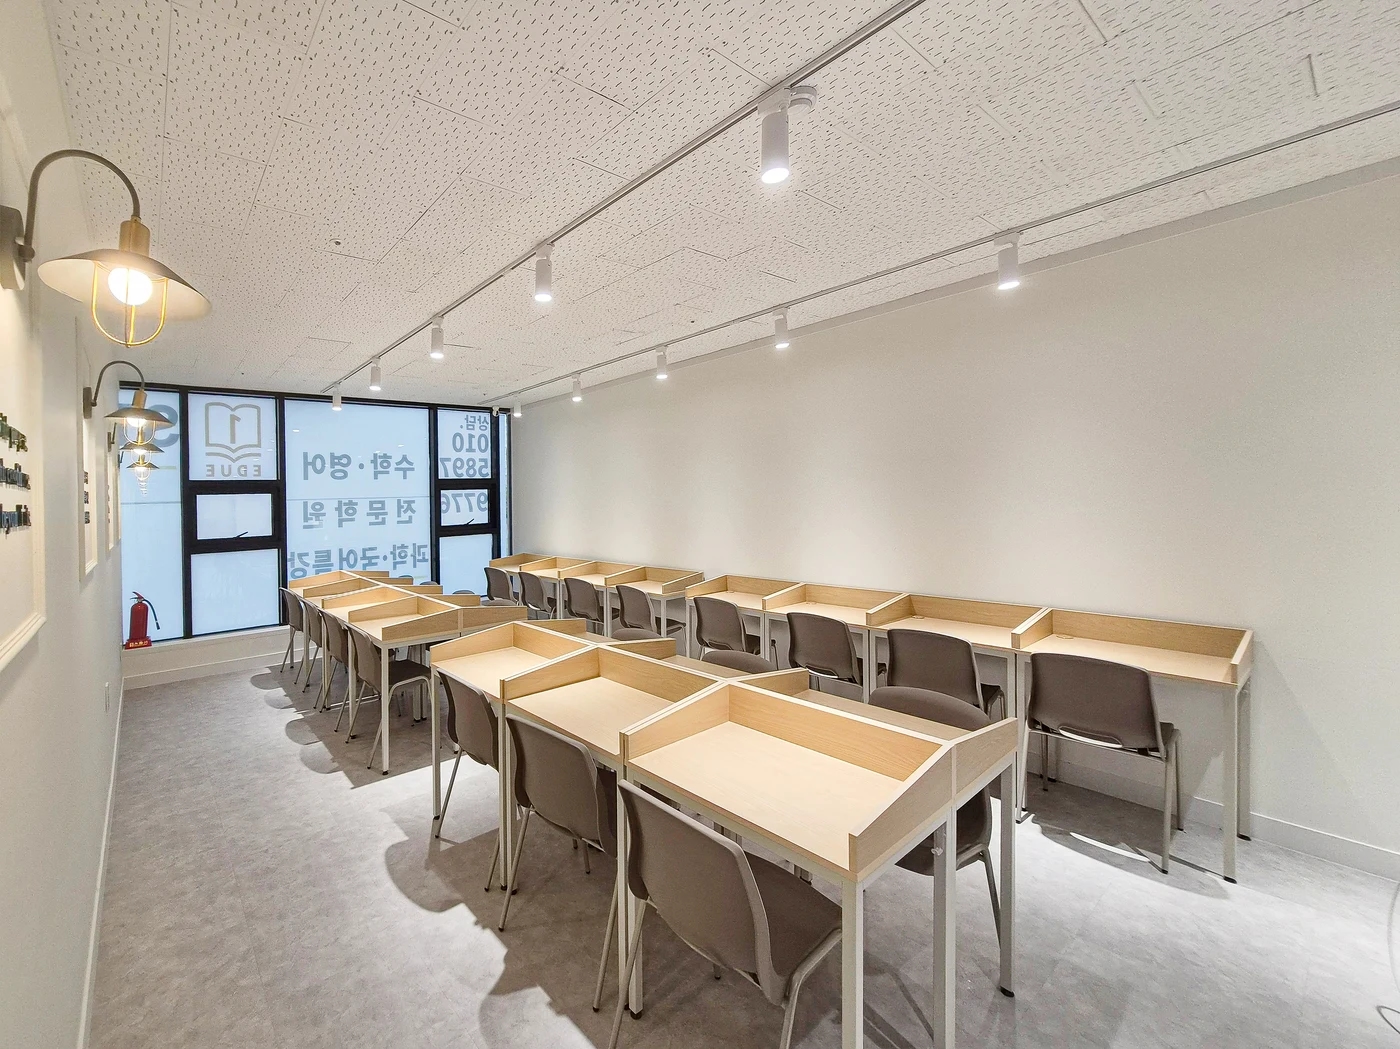
The first section design shows multi-tier shelving in the middle and a low display in front. Rectangular ceiling panels and cylindrical track fixtures share the ceiling. Separate the fronts of tall shelves, the top of the low display and the viewing aisle. List product heights and viewing directions, and ask the lighting designer to relate each target surface to a proposed fixture.
Do not set a wall-side track by applying a universal distance from the ceiling edge. Review display depth and height, actual fixture installation height and the selected beam distribution together. If deep shelves conceal products or a customer standing in front casts a shadow, consider whether fixture aim and track position can be adjusted separately. Establish required spacing and angles from model information and on-site trials.
Draw central displays in their usual positions and in proposed event positions. Compare adjusting fixtures on existing track, adding track and lighting a fixed display separately. Mark the areas whose arrangements will actually change instead of filling the entire ceiling with a grid. Movable furniture does not mean the lighting can serve every possible location.
During a lighting trial with product samples, review the display from the entrance and aisle as well as nearby. Check whether reflected light obscures package lettering or whether the top shelf is visible while lower shelves are difficult to see. Record positions where the light source enters the viewer’s direct line of sight. Distinguishing aim, coverage and fixture position helps assess whether additional fixtures are needed.
For products whose colour or texture matters, compare real samples under the final candidate lights. Avoid selecting solely from sales photographs affected by editing and screen brightness. Obtain model information for colour temperature and light distribution, and plan checks both with daylight and during evening trading. Fixtures depicted in these designs are not identified as the same models as products offered for sale.
Installation quotations separating existing track and accessories

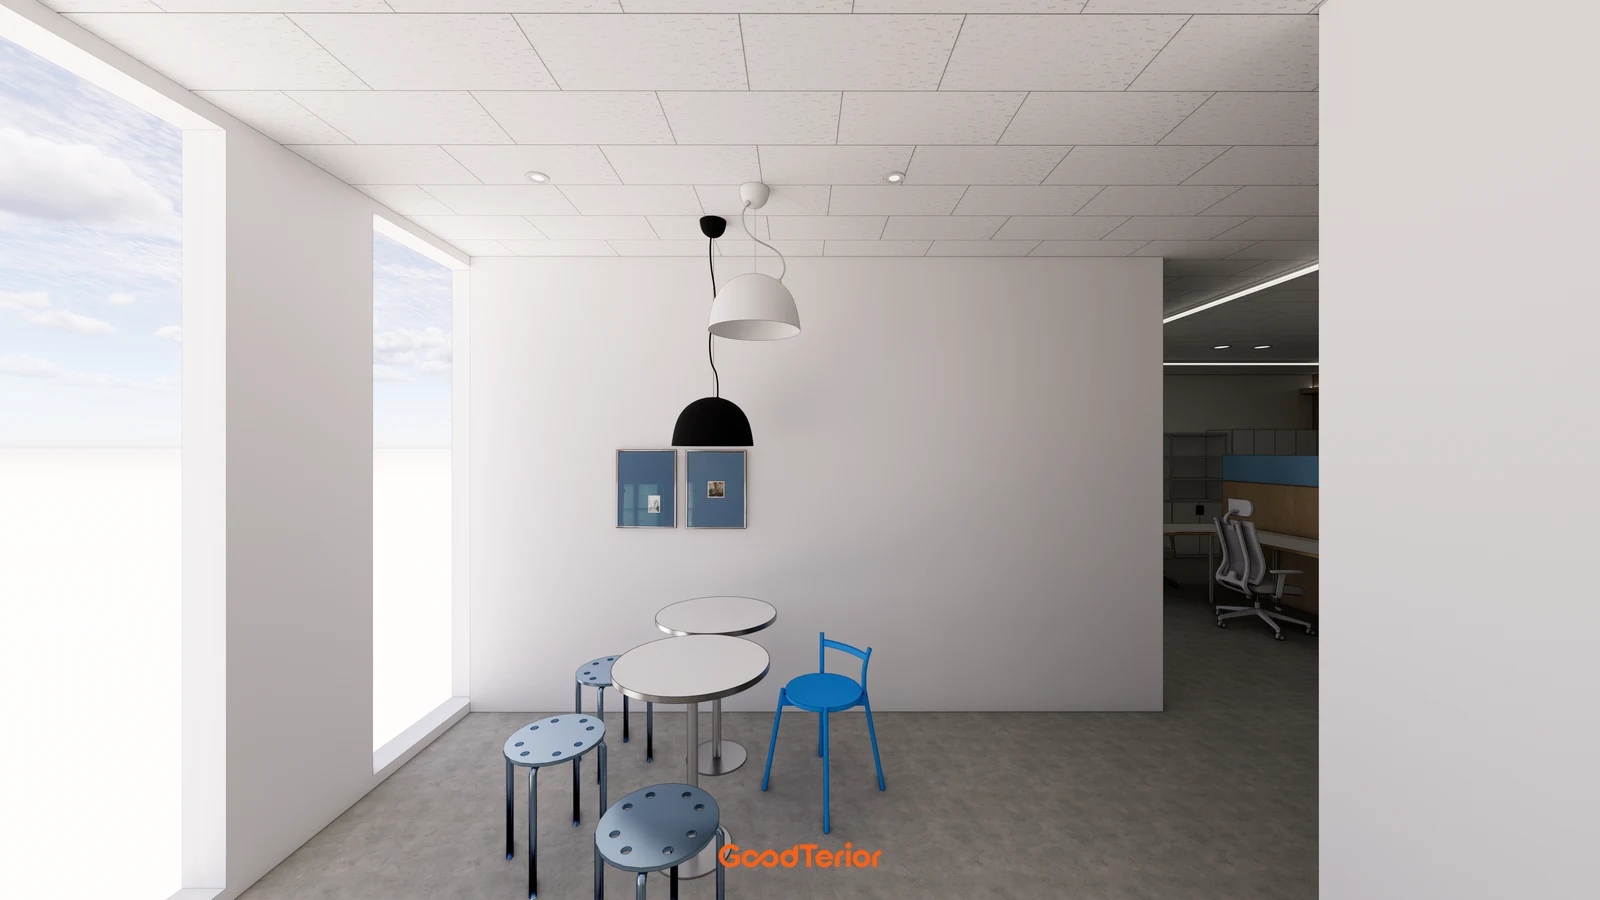
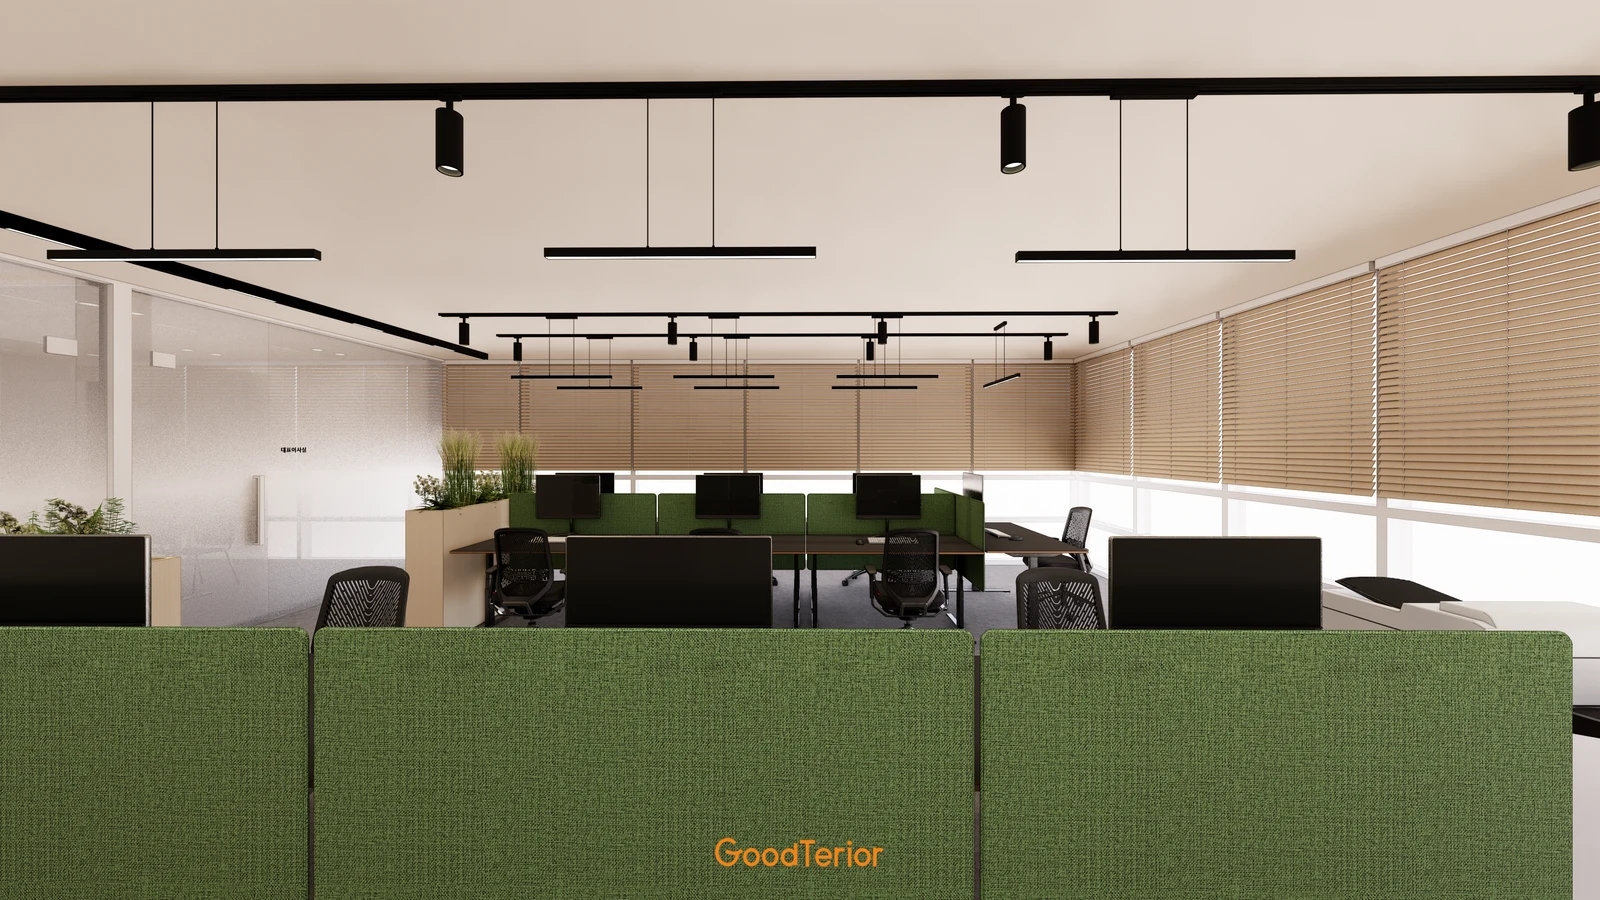
The second section design has white track fixtures around the ceiling edge and suspended fixtures in the middle. Consultation screens and a low display sit below, illustrating the difference between matching fixture appearances and matching light to each task. Start additions with a reflected ceiling plan that includes existing fixtures and furniture. Appearance alone does not establish connections or electrical arrangements.
Do not reduce the purchasing list to a length of track and a fixture count. VITTZ’s track accessories listing separates track, connectors and track supports into different items. Use these categories to check quotation inclusions, without interpreting the listing as evidence that any accessory fits any track. Obtain the actual compatible product system and item codes confirmed by the supplier.
For existing track, ask the responsible installer to check product information and condition. Confirm whether new fixture adapters match, whether their adjustment directions and range suit the task and which fixture configuration is permitted. A visually continuous line does not establish how it is controlled. If the product cannot be identified, prepare photographs and an on-site inspection rather than ordering presumed compatible replacements.
Compare ceiling-mounted and suspended track using the final fixture height. Distinguish visible ceiling panels from the substrate used for fixing, and have the responsible installer determine the fixing and support arrangement. Mark adjacent air-conditioning equipment, other services and obstruction by doors or tall displays on the same drawing. List any reinforcement or ceiling reinstatement separately from product supply.
For an operating shop, agree which displays must be cleared and how products will return, alongside the work date. Coordinate who packs or moves merchandise, when the area below the work remains clear and when the electrical work and lighting review occur. Do not assign wiring connections or track alterations to shop staff. At handover, agree responsibility for fixture adjustment and replacement under the product instructions.
Separate track sections and lengths, fixture models and quantities, connectors and supports, power and control arrangements and reinstatement in the quotation. Fixture-only replacement and complete track replacement are different scopes. To adjust the budget, request the difference between reducing highlighted display areas and retaining existing equipment after inspection. Do not assume arbitrary fixture reductions produce the same result.
Review completion with displays stocked as they will be used. Compare locations, products and quantities with the approved plan, then view merchandise from the entrance and approach it to read. Photograph adjusted fixture positions together with their target surfaces and record final item codes, connection accessories and responsibility for replacement. Retain information explaining the adjustment scope for the next display change.
Ask us about your interior project
We can discuss a quote and design suited to the space you are planning.
Request a free consultation