Small Shop Window Displays: Planning Fixtures and Backdrops
Decide whether your shop window should frame a product or reveal the shop behind it. Compare display fixtures and backdrops from the pavement, just inside the door and during a display change.

Before you begin
- Check how products, frames and the entrance overlap from the front and both sides.
- Compare an open view with a backdrop limited to the space behind the product.
- Before fixing the display in place, check how customers enter and how staff change the merchandise.
The first view between the window frames

It is tempting to treat a small shop window as one picture. Customers also approach along the pavement or look for the shop from across the street. Even with generous glazing, a frame or column can obscure the featured product from the approach that matters.
The cosmetics shop design shows a black entrance frame with glass on either side. Mark the frame and handle on the plan before choosing the display bay. Small bottles on a low plinth might be visible head-on but overlap a mullion from an angle. Before raising the plinth, try shifting it sideways and check whether both the products and the entrance read more clearly.
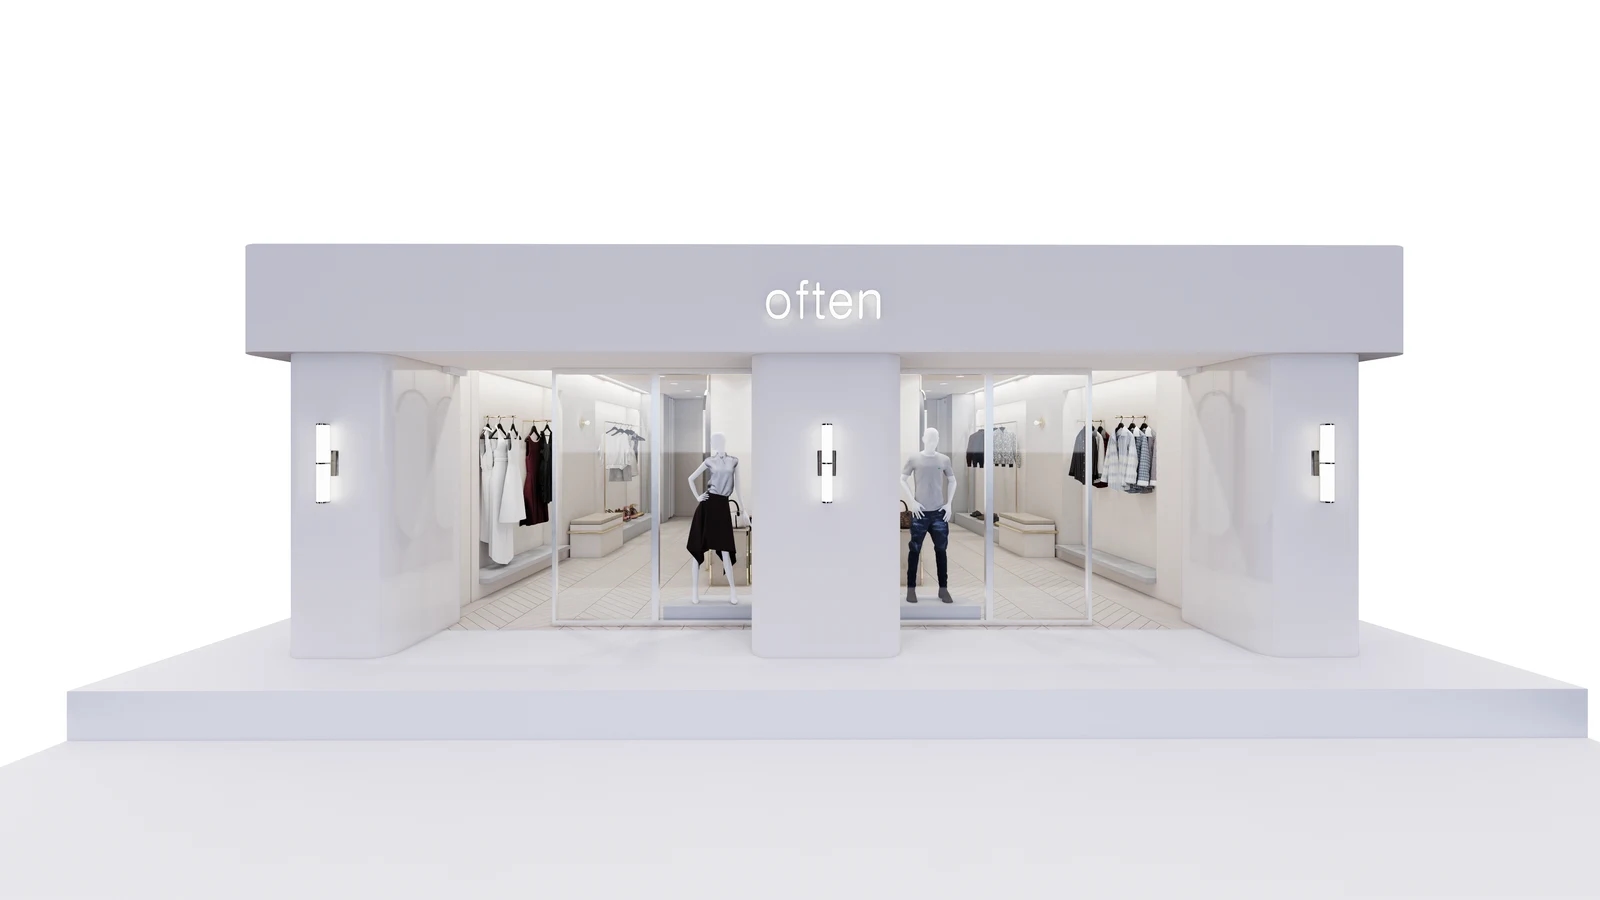
Choose the backdrop based on what appears behind the featured item. In the cover design, the wall displays behind the mannequins give a view of the clothing range. If small products merge with packaging or signs behind them, try a movable panel directly behind the display. Extending that panel across the window changes how much of the shop is visible, so check that the entrance and first display area remain legible.
On site, put an object of similar size in the proposed position and use paper or a sample board to mark the backdrop. Look from both approaches and check reflections with the shop lights on. Buildings or the sky may overlap the display by day, while lights or signs may appear in the glass after dark. Photograph the troublesome view so fixture placement and lighting direction can be compared before considering larger work such as replacing glazing.
Displays and changeovers inside the door
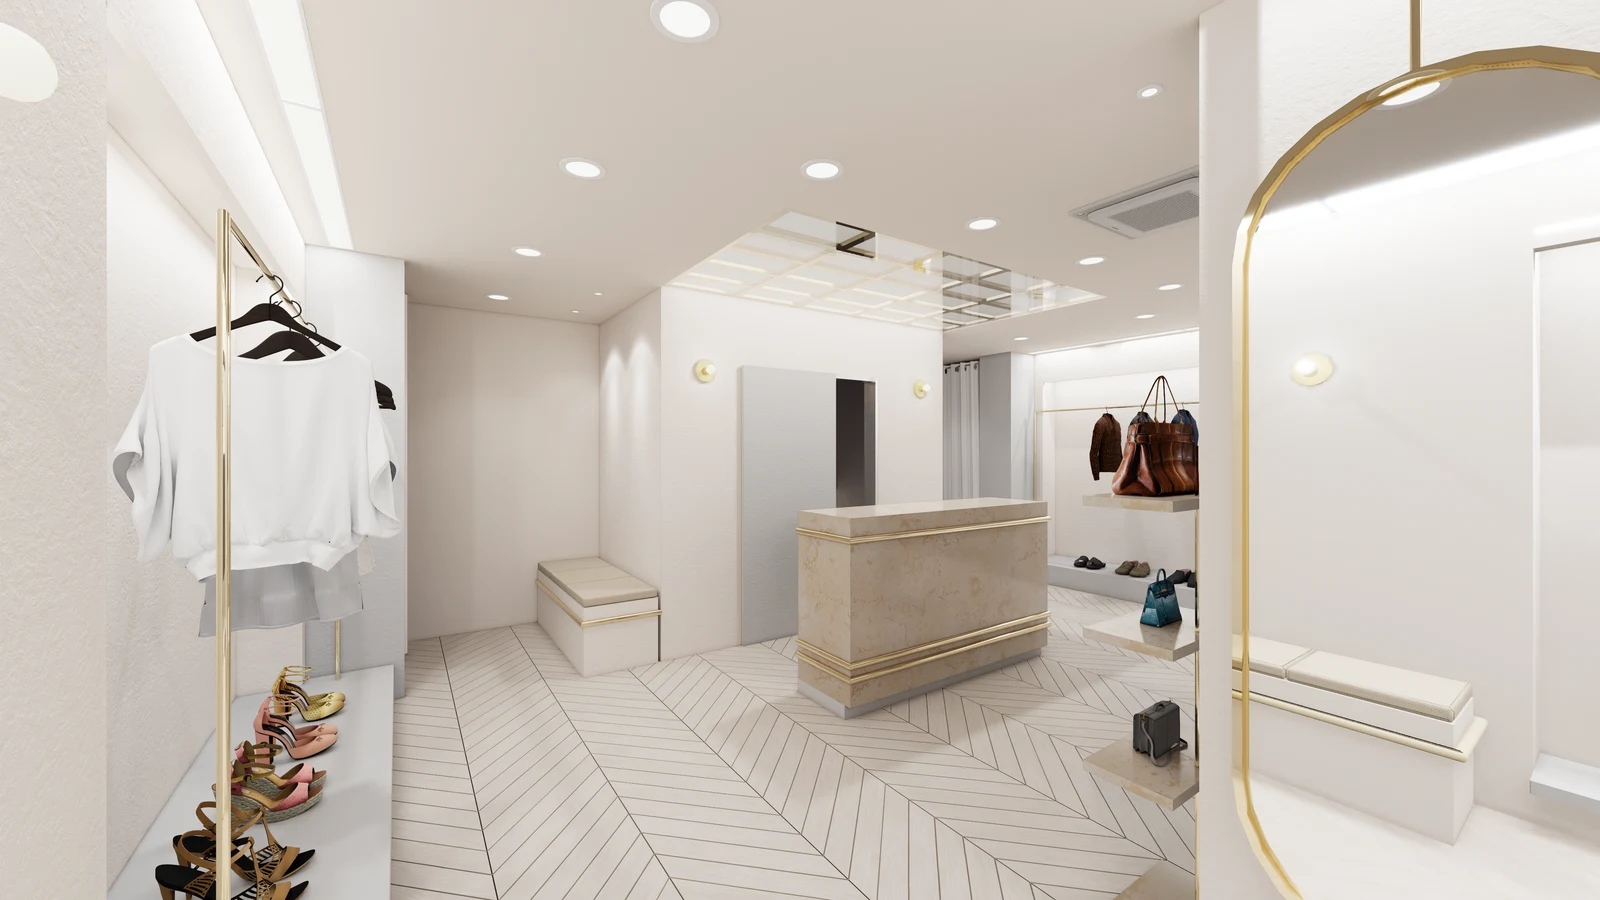
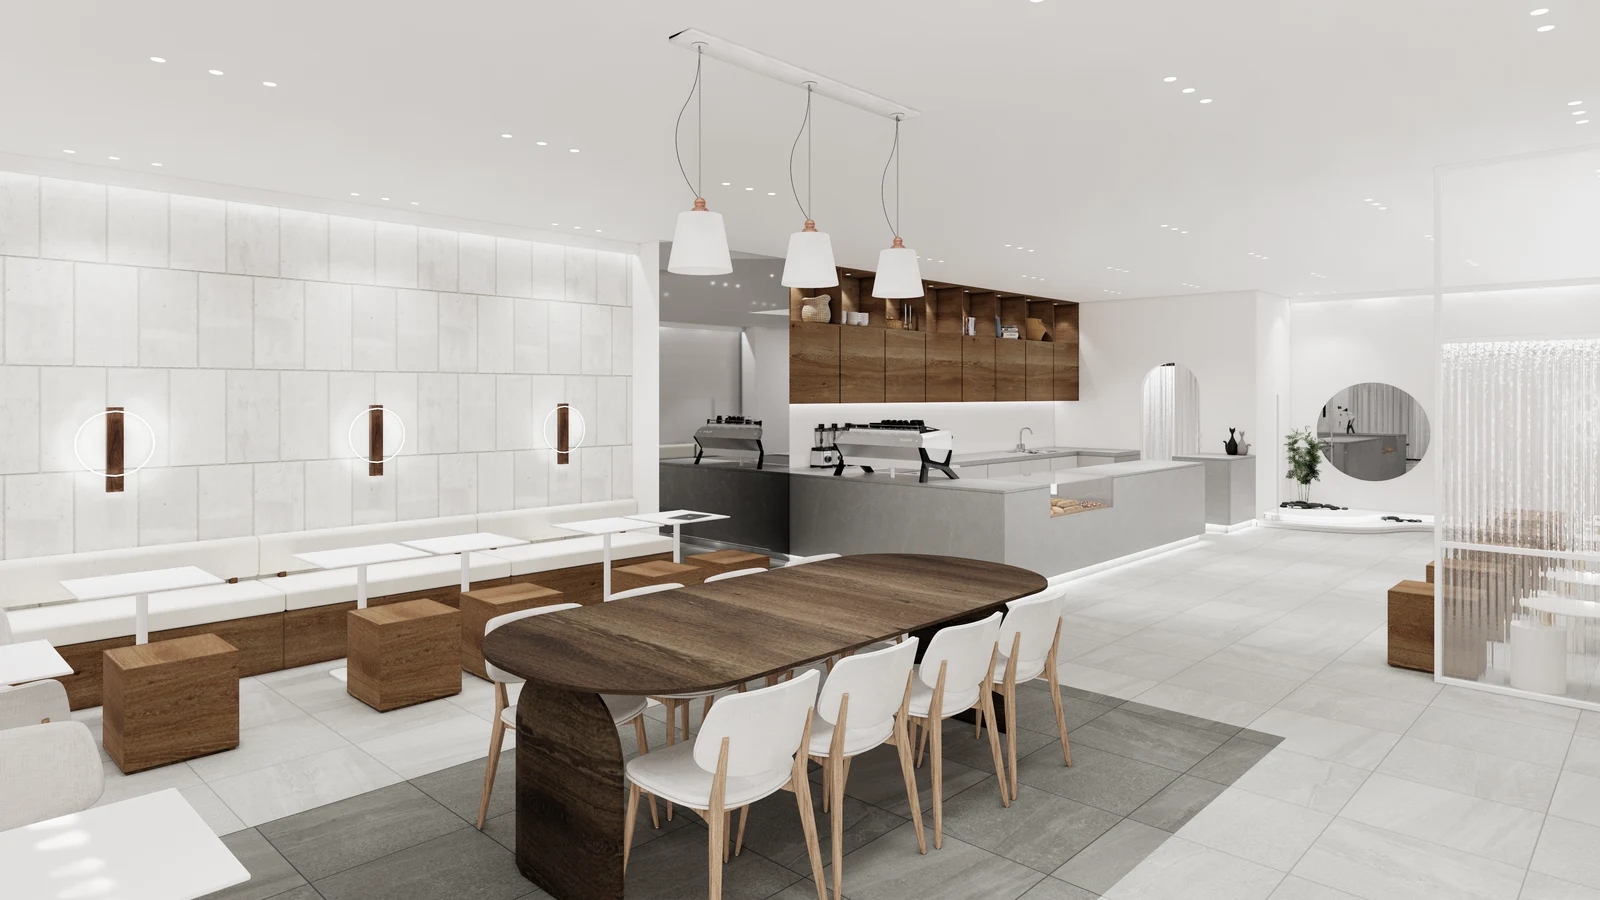
After planning the window display, check what customers see just inside the door. The second interior design leaves visible floor between a freestanding counter and the wall displays. When using it as a reference, draw the footprint of the fixture and the space for a customer to stop separately. If browsing the featured item and walking farther into the shop both bring people to the same corner, consider shifting the first selling display toward the wall.
The featured item and the stock for sale need not share one fixture. If the product comes in many colours or sizes, show a representative combination in the window and put the choices on the wall inside. If customers buy directly from the window fixture, check which side they reach from and where staff replenish it. Two-sided access takes more room than placing the unit against a wall, so compare it with replenishment from one side.
Consider placing the same item or a matching sample inside so a customer can locate what they saw in the window. Use the first row visible from the door for featured items and keep taller or bulkier stock farther back. Separate information intended to be read from the pavement from price labels read up close. Large signs that combine the two can cover the display you meant to show.
For frequent changes, try movable plinths and a removable backdrop before ordering a built-in display. Decide the display height, how the panel comes out and where unused fixtures go. If you need built-in work, ask for quotes that separate the fixture body, backdrop finish, lighting and electrical work, and what can still be adjusted after installation. That makes the scope of each price comparable.
Check the lighting with both the smallest and largest products. See whether a beam aimed at a low plinth lights only the top of a taller item and whether it can be redirected after the display moves. If the fixture needs power, check that cables stay off the customer route when it is repositioned. Mark fixed and adjustable lighting separately on the plan so the electrical scope is clear.
Before ordering, walk the shop as someone opening the door, someone stopping at the featured item and a staff member moving a fixture. If removing a panel always means moving another display, or boxes would pile up at the entrance during changes, revise the changeover first. Keep the layout that shows the product from outside, leaves a clear way in and lets the team reset the display during normal operations.
Ask us about your interior project
We can discuss a quote and design suited to the space you are planning.
Request a free consultation