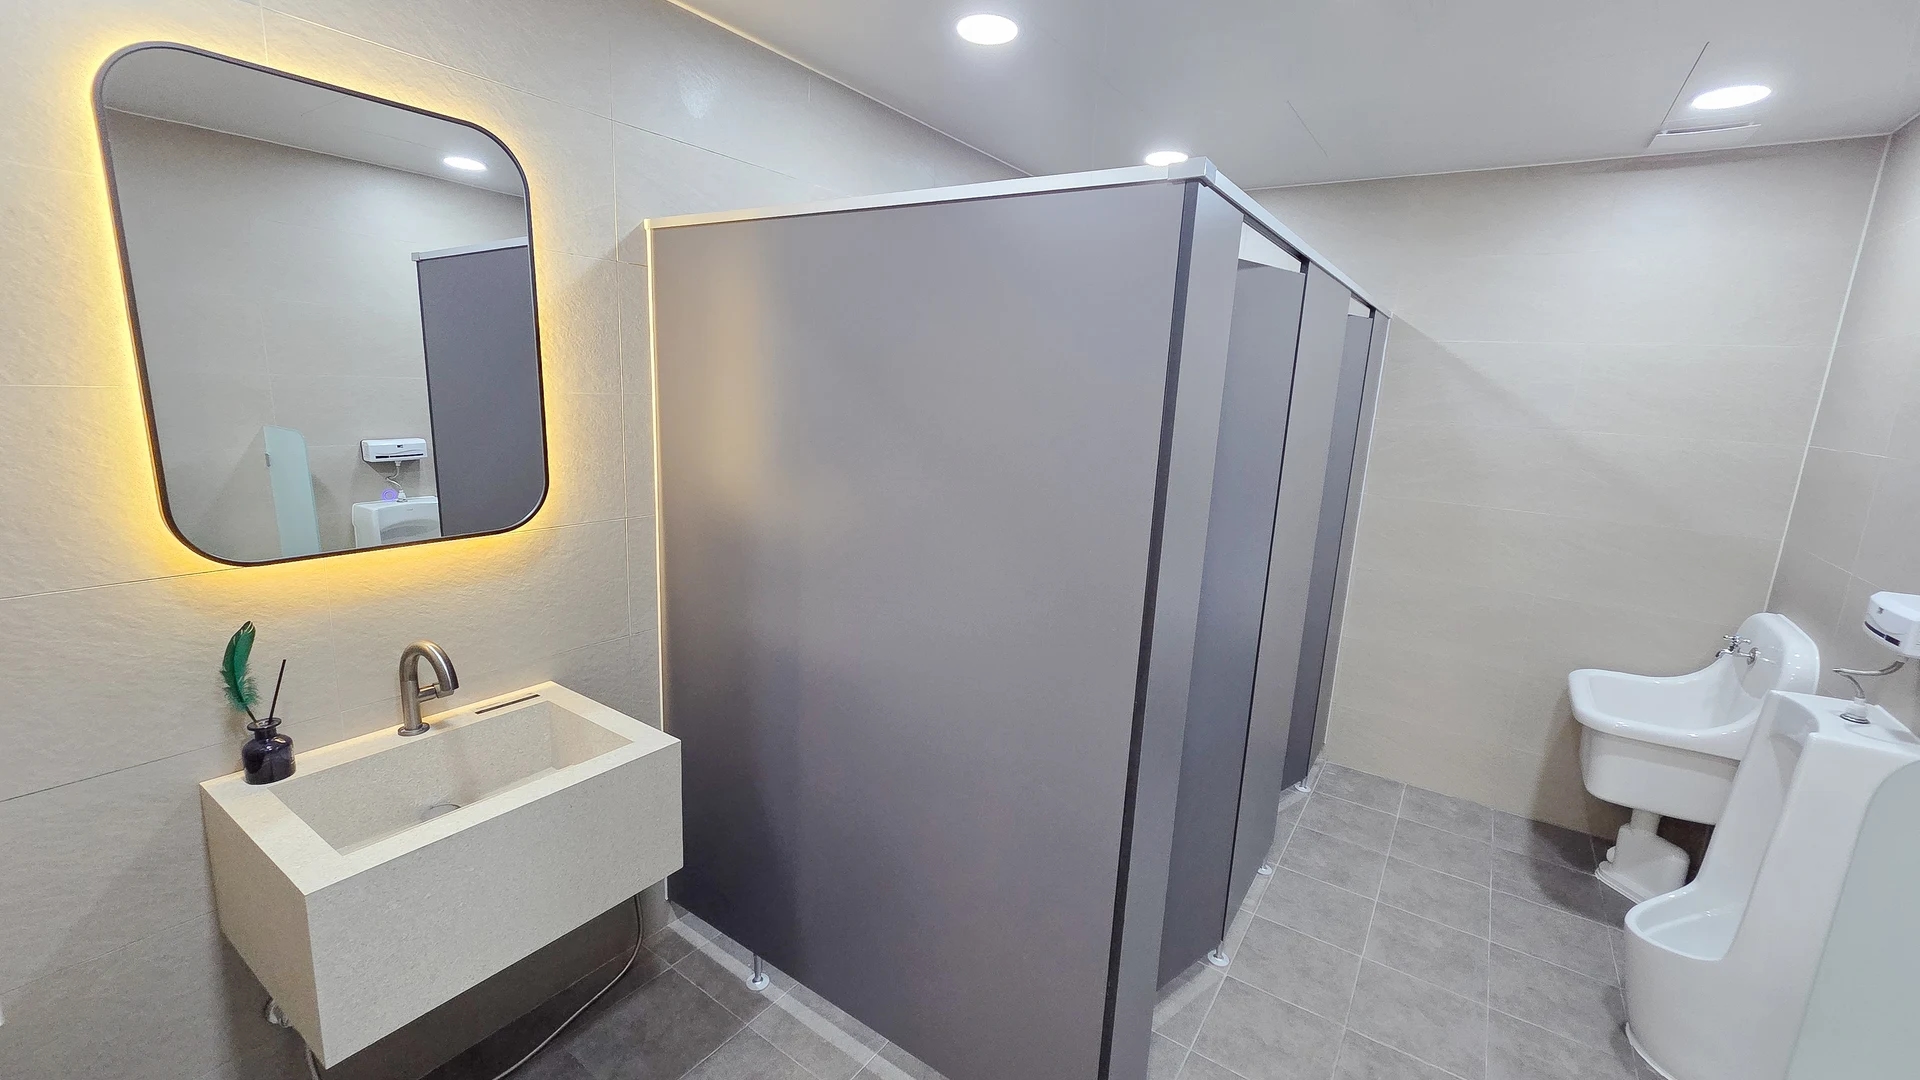
Gym Shower Booths: Door Clearance and Fixture Layout
Gym shower booths need more than a stall count and a door. Three designs illustrate lockers near entrances, door movement and glazing privacy, plus fixtures and personal-item space inside, with decisions for fabrication and installation.

Before you begin
- Mark door movement and entry positions separately from the internal stall dimensions.
- Review glazing privacy, fixtures, hoses and shelves using actual products and intended use positions.
- Separate responsibilities for glazing and hardware, existing substrates and services, and finish repairs.
The closed face and the space an open door occupies
When planning gym shower booths, distinguish shower fixtures from individually enclosed stalls. Decide between partitions within a shared room and stalls with doors, then address visibility and movement with belongings inside. These images compare design proposals rather than document operating practices or completed performance.
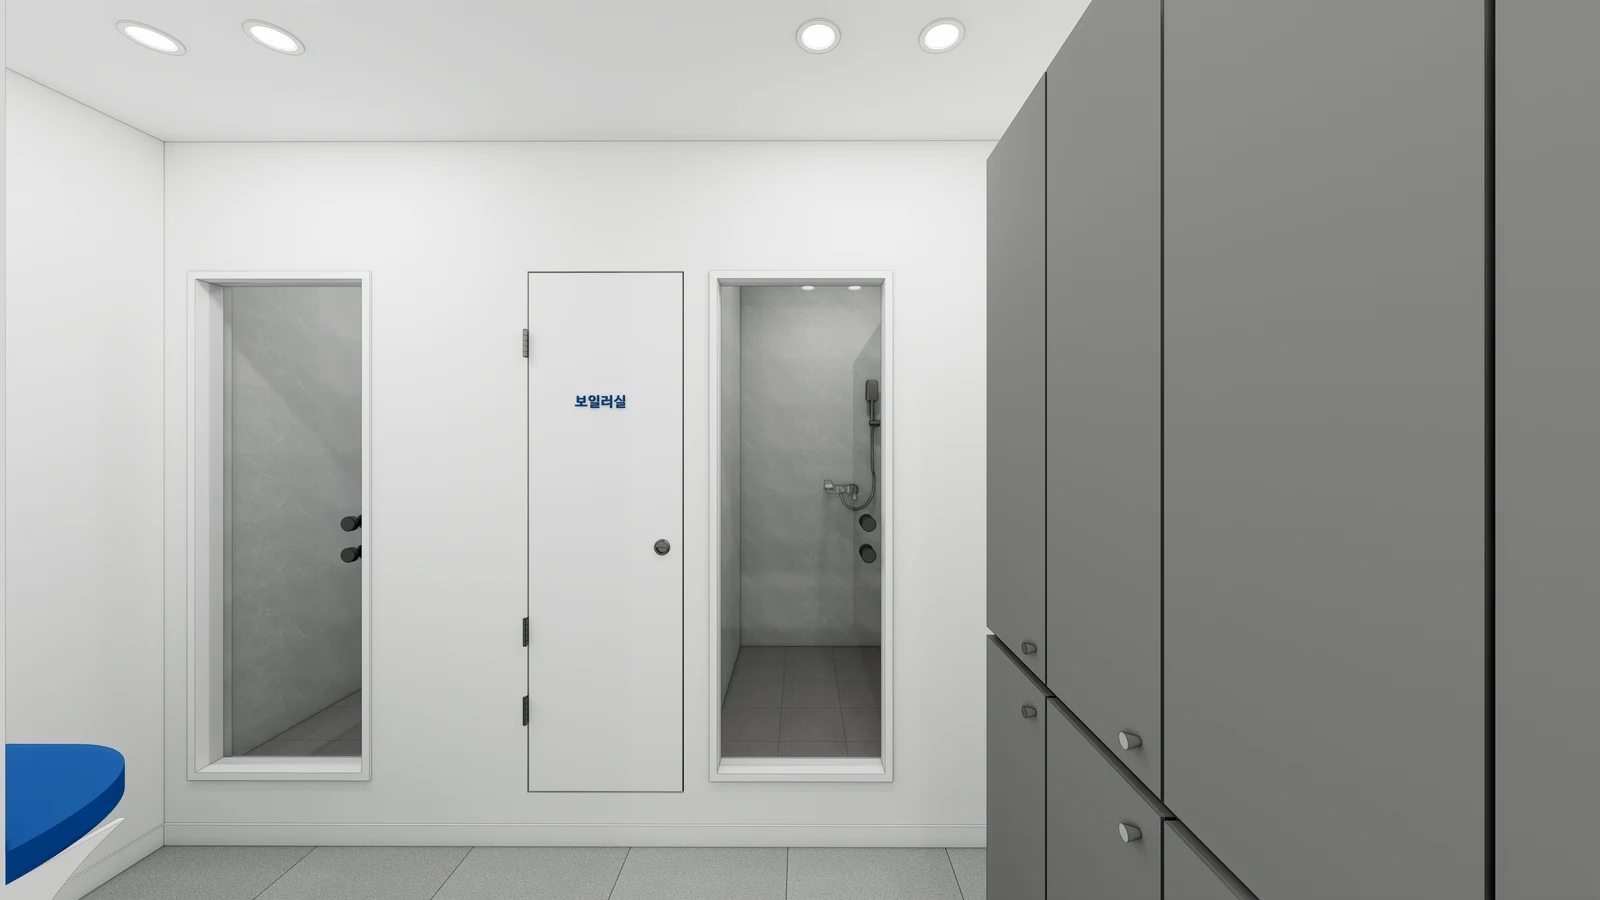
The cover shows two shower entrances, a central boiler-room door and adjacent lockers. Map each door’s movement and compare entry positions with people retrieving belongings from lockers. Use measured drawings and the selected door rather than derive installation dimensions from the rendering.
Door movement needs different checks for swinging and sliding formats. The domestic installer’s BARO Showerbooth & Partition product-design guide lists both types. Use it to discuss options, then obtain opening dimensions and panel positions for the selected product rather than treat a general product guide as a universal gym installation standard.
For a swing-door option, map the handle and user position for inward and outward movement. Compare outward movement with people and adjacent doors, and inward movement with fixtures, shelving and the showering area. For sliding options, distinguish overlapping panels from the usable entry gap and test the actual movement rather than assume a format suits every compact space.
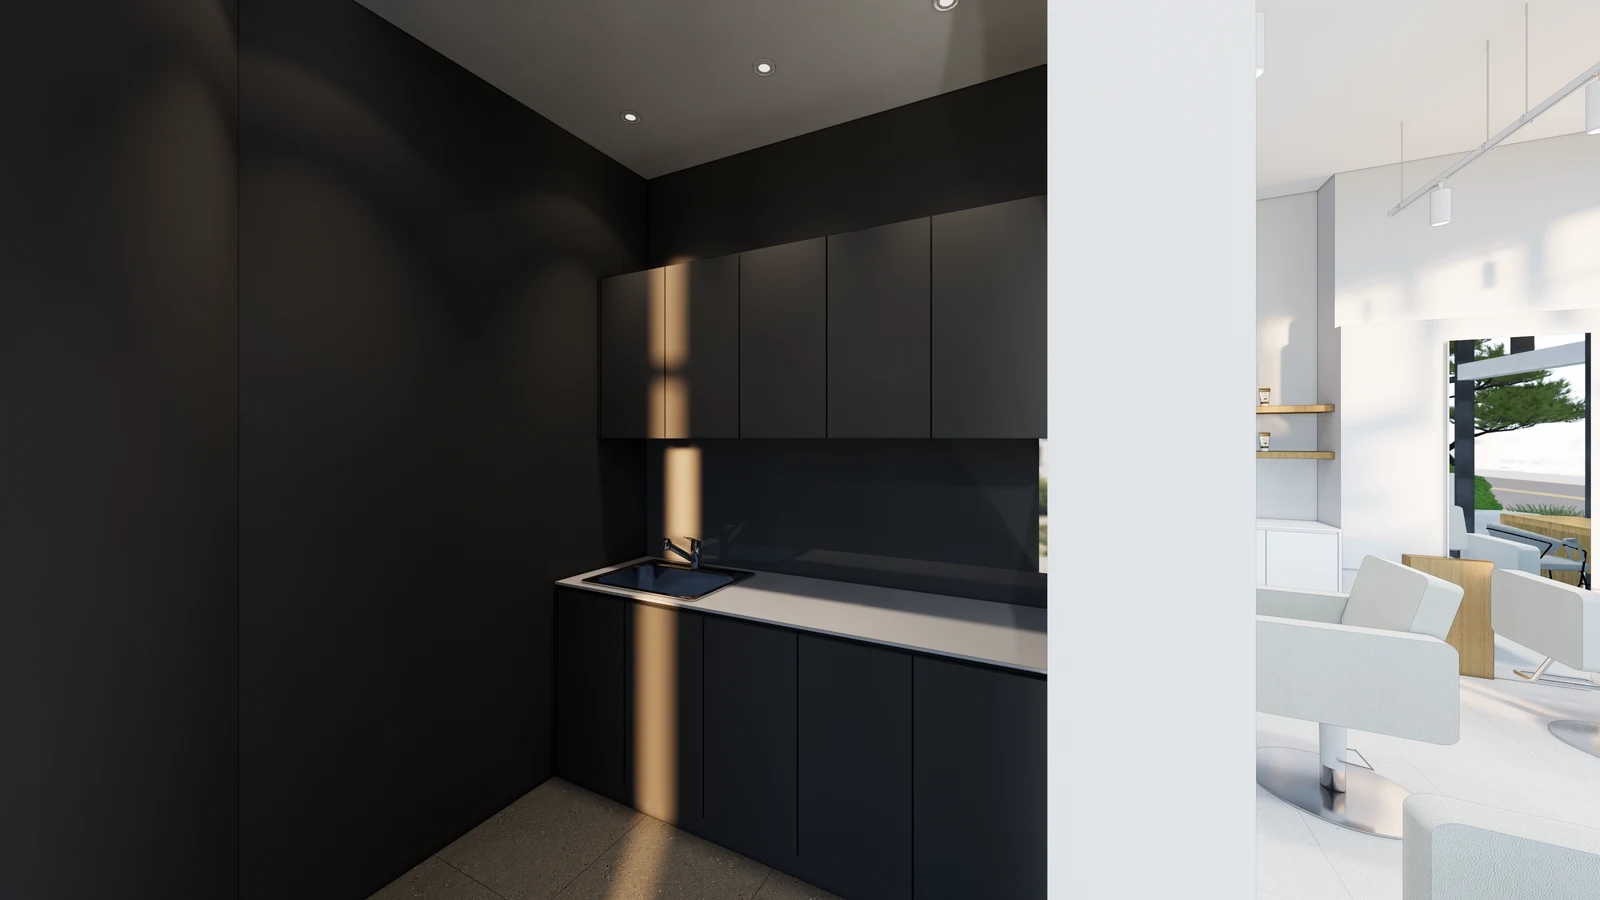
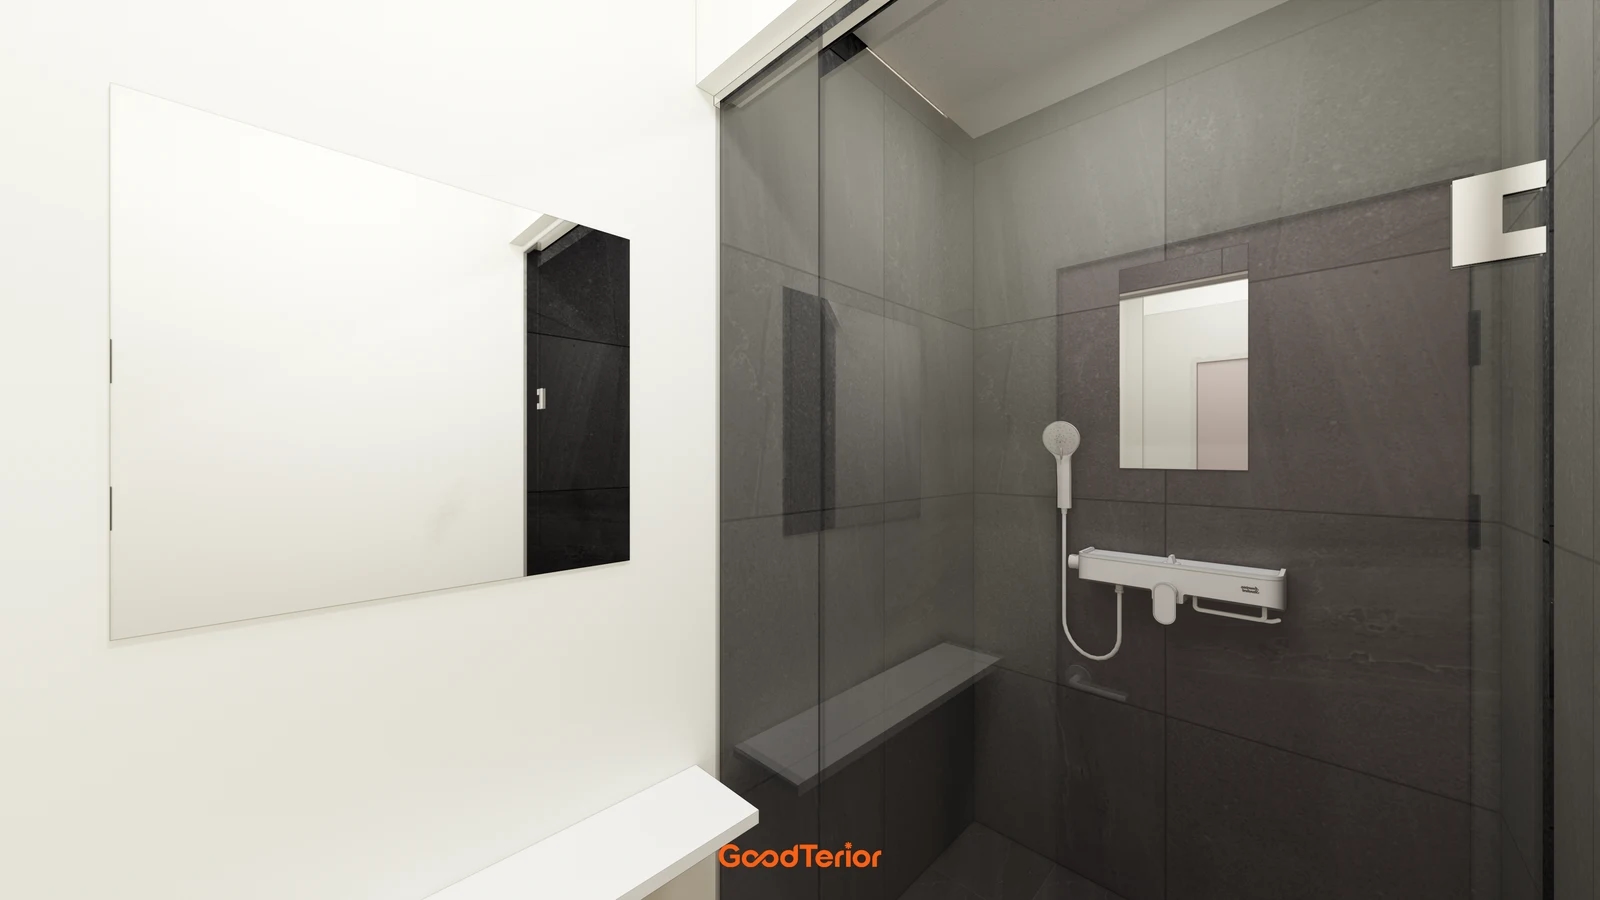
The first section shows a fixture and mirror through glazing. A closed boundary does not establish visual privacy. If screening is required, mark transparent and screened areas in elevation and compare samples under the intended lighting, including reflections in mirrors outside. A frosted appearance alone establishes no privacy guarantee.
Include closing and locking in the use sequence. Review reach, turning space and staff inspection procedures with the product supplier. Decide where an occupied indicator is needed. Confirm the actual lock, glazing and fixing requirements rather than select hardware by resemblance to a photograph.
Personal-item space around fixtures and hoses
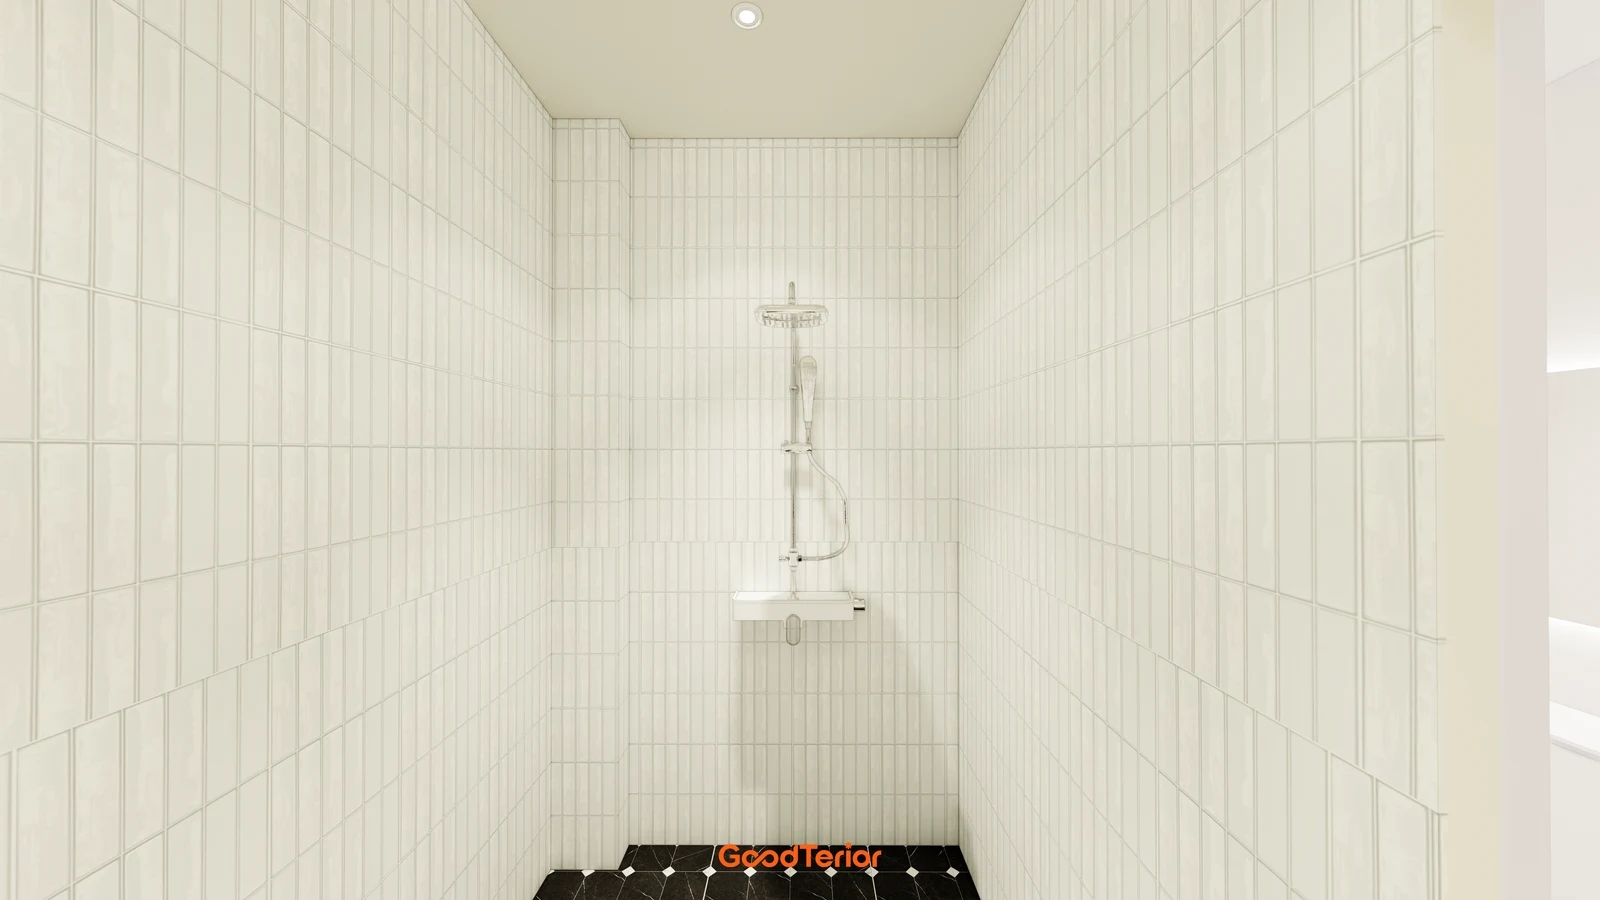
The second image shows an overhead head, hand shower and projecting fixture. Floor area alone does not establish turning or personal-item space once equipment is added. Choose the fixture, hand shower and hose configuration, then review reaching and turning on the drawings without deriving dimensions or heights from the rendering.
For a fixed head and hand shower combination, separate control and storage positions. Test the hose against handles and shelf edges and define its return position, with the door open and closed. Have service specialists review pressure, hot water, drainage and ventilation against the site and product documents separately from this movement review.
Personal toiletries and shared supplies need different provisions. Distinguish a basket landing point from a surface for bottles; fixed dispensers need replenishment access. A shelf-like fixture in a rendering does not establish a permitted load or use. Confirm the actual product conditions before deciding whether separate storage is needed.
Decide whether towels and clothes remain outside or have a place within the stall. Compare water exposure and door movement for internal storage, and access to necessary items for an external arrangement. The designs establish no actual storage procedure. Agree the substrate, product and use sequence before adding hooks to an apparently empty wall.
Review cleaning and replacement across the door and internal fixtures. Check access to both glazing faces, behind handles and beneath the fixture, and obtain service-access details. Tile colour or floor appearance establishes no waterproofing, drainage, slip or maintenance performance. For a retrofit door, survey the substrates, fixing positions and existing services before defining installation work.
Itemise glazing, panels, frames or fixings, handles, locks and surrounding finishes. Separate fixture and pipe changes, removal and repairs. At handover, review entry, belongings, controls and exit alongside staff cleaning. Compare equivalent use scenarios as well as stall counts to clarify fabrication and service responsibilities.
Ask us about your interior project
We can discuss a quote and design suited to the space you are planning.
Request a free consultation