Gym changing rooms: space to leave in front of lockers
Locker count alone cannot establish changing-room usability. Real gym photographs help review retrieving clothes, changing, pausing at mirrors, and routes to showers.

Before you begin
- Distinguish closed-door aisles from the space used to open lockers and retrieve bags.
- Check whether mirror users and bench occupants block shower routes.
- Plan movement from showering to dressing alongside towel collection and cleaning-tool routes.
Closed lockers may look spacious; opening them changes things
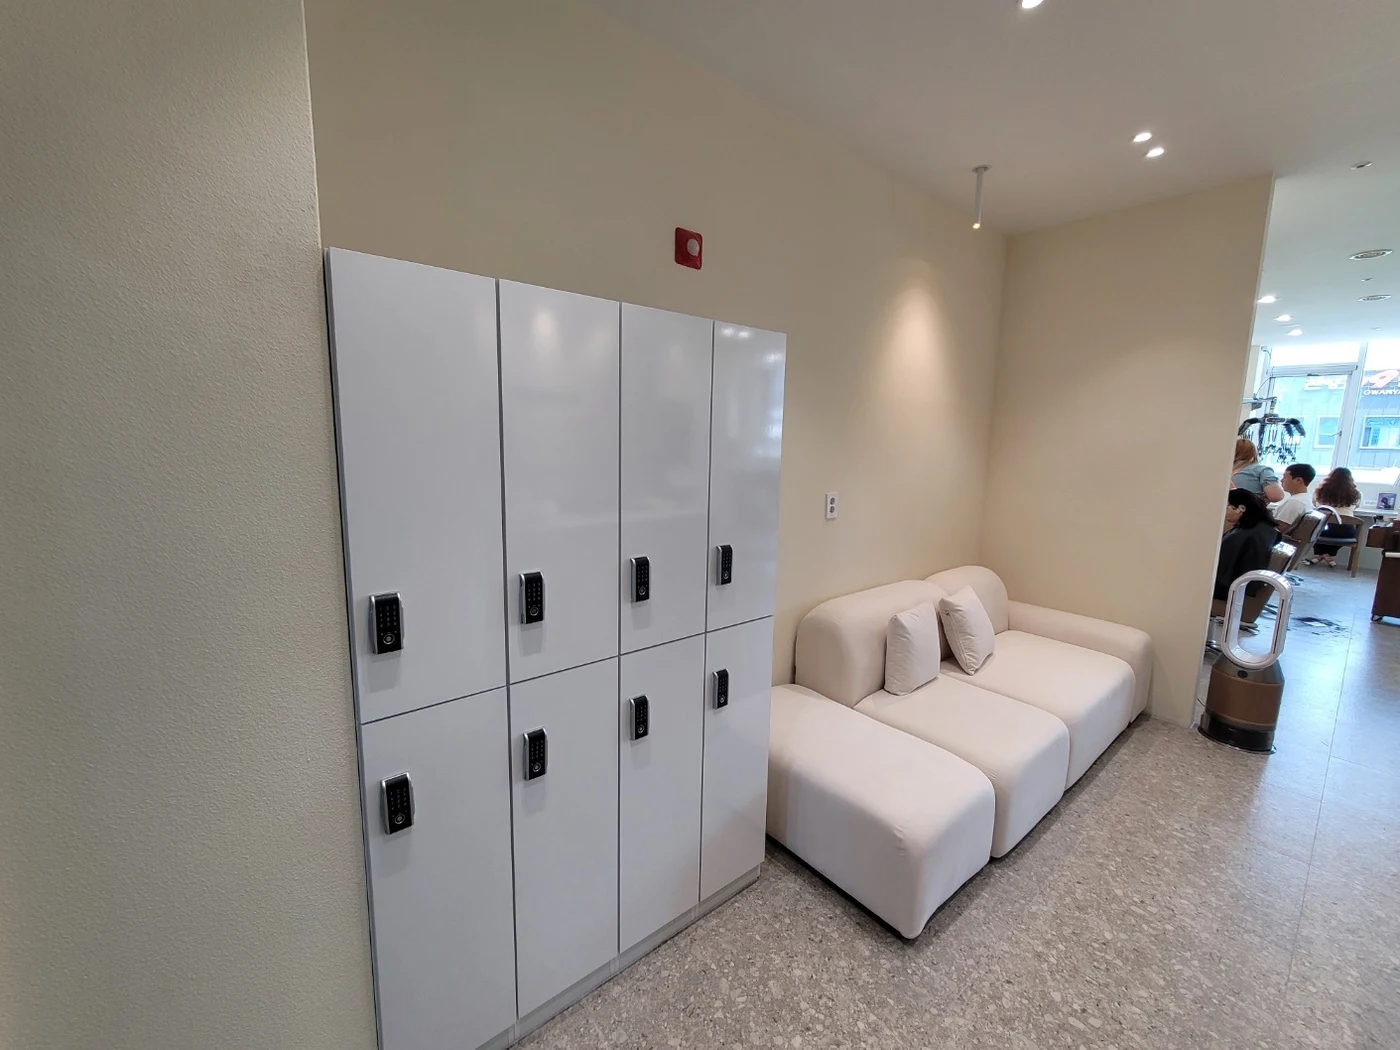
Planning often starts with how many lockers fit a wall, but a locker-filled drawing changes when people arrive. Opening doors, retrieving bags, hanging coats, and changing shoes all occupy space in front. Do not represent passing and changing as the same empty strip.
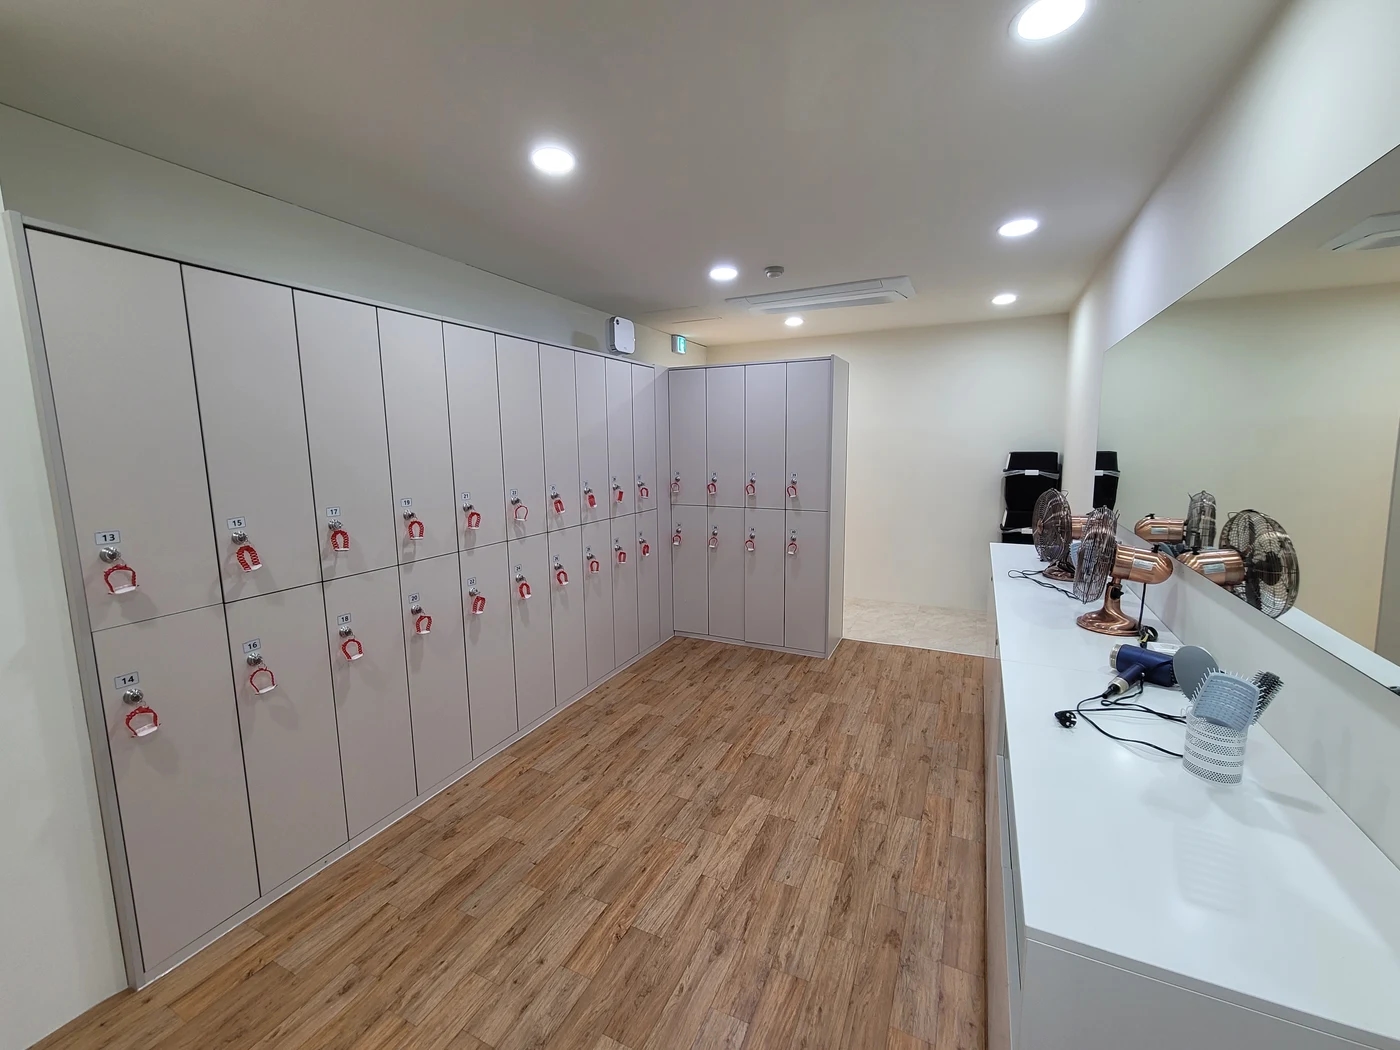
The photograph shows stacked lockers along a wall opposite mirrors and a preparation counter. The central floor looks empty with every door closed, but locker users share it with people grooming and passing behind. Confirm remaining space with doors open through drawings and site testing, not photograph measurements.
Mark locker swings, standing positions, and temporary bag locations on the furniture plan. For opposing lockers, consider doors open simultaneously. Check whether adjacent compartments remain usable beside a standing person and whether bending for lower lockers blocks passage.
Stacked compartments increase storage counts on a wall but do not necessarily fit every belonging. Long coats, combined bags and shoes, and long-term personal storage need different interiors. If separating daily-use and personal lockers, define contents as well as quantities.
Before filling every remaining wall with lockers, inspect end compartments. Doors near corners or entrances may hit walls, furniture, or other doors. Fitting the carcass differs from comfortably using every compartment. Draw open-door use to identify where to add lockers and where to preserve space.
Check hair-drying and bench space separately
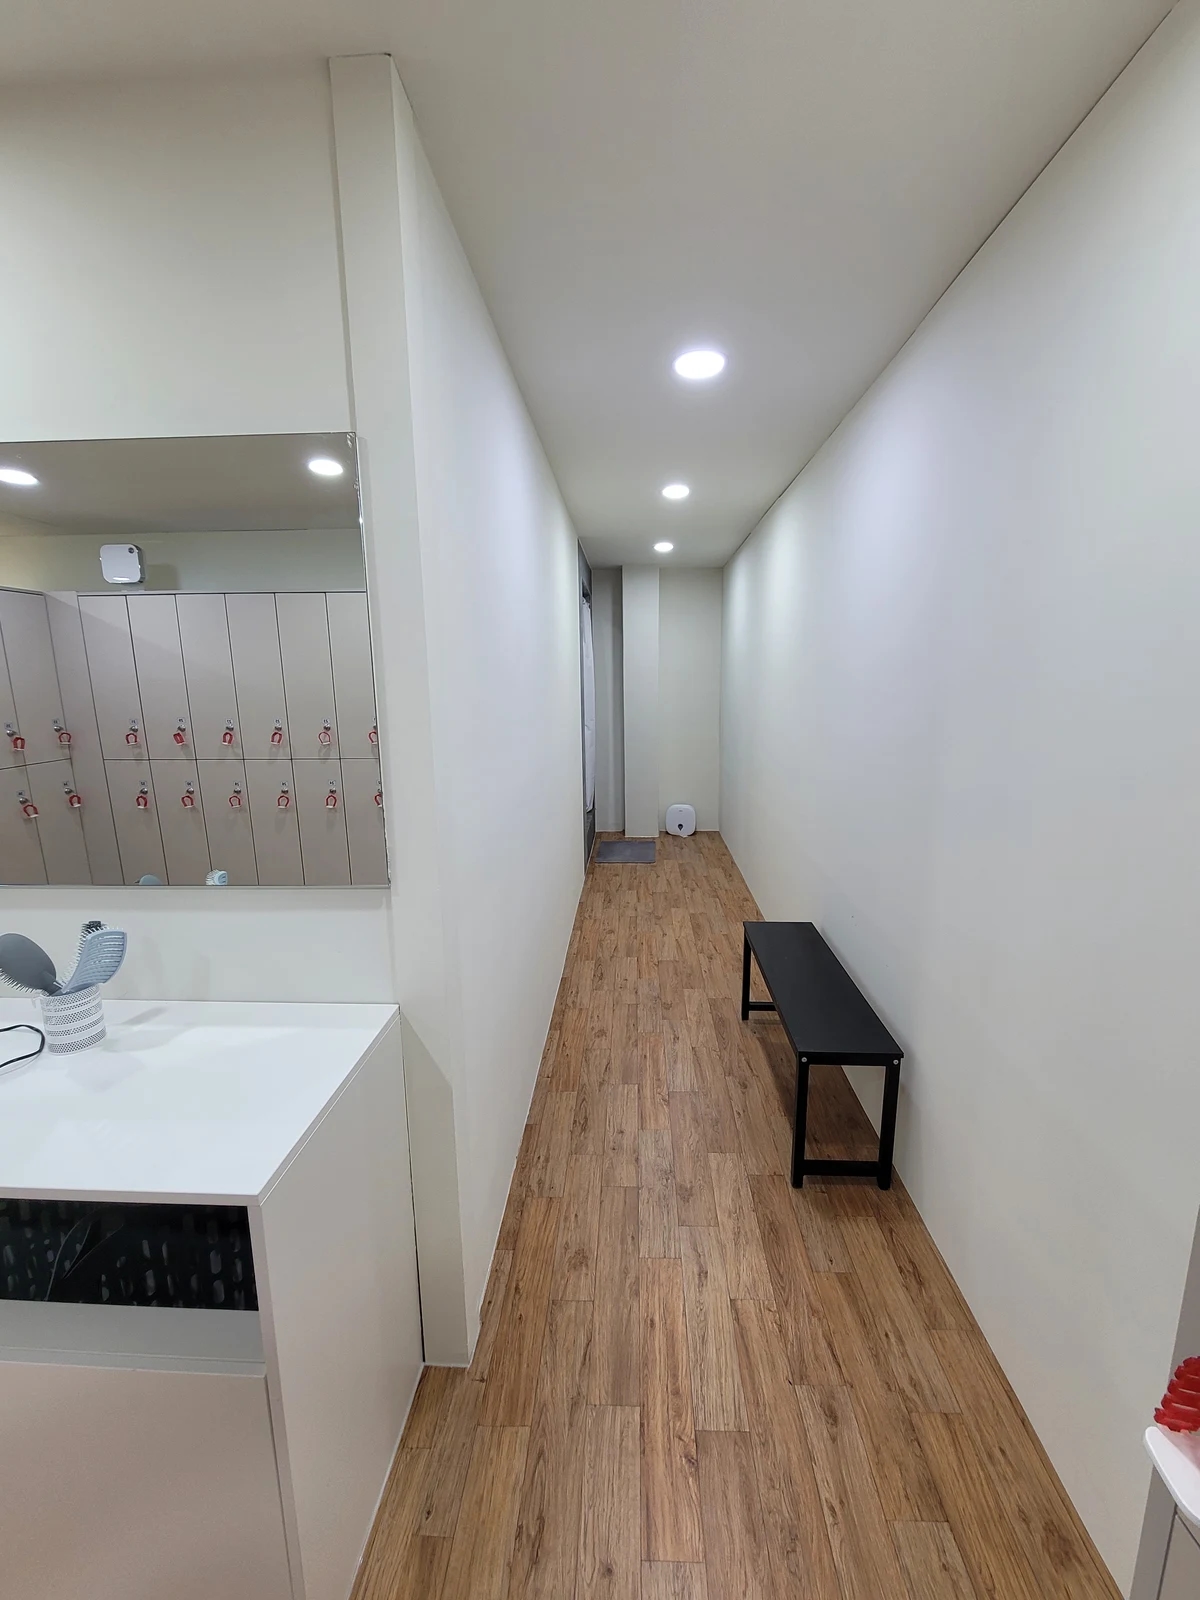
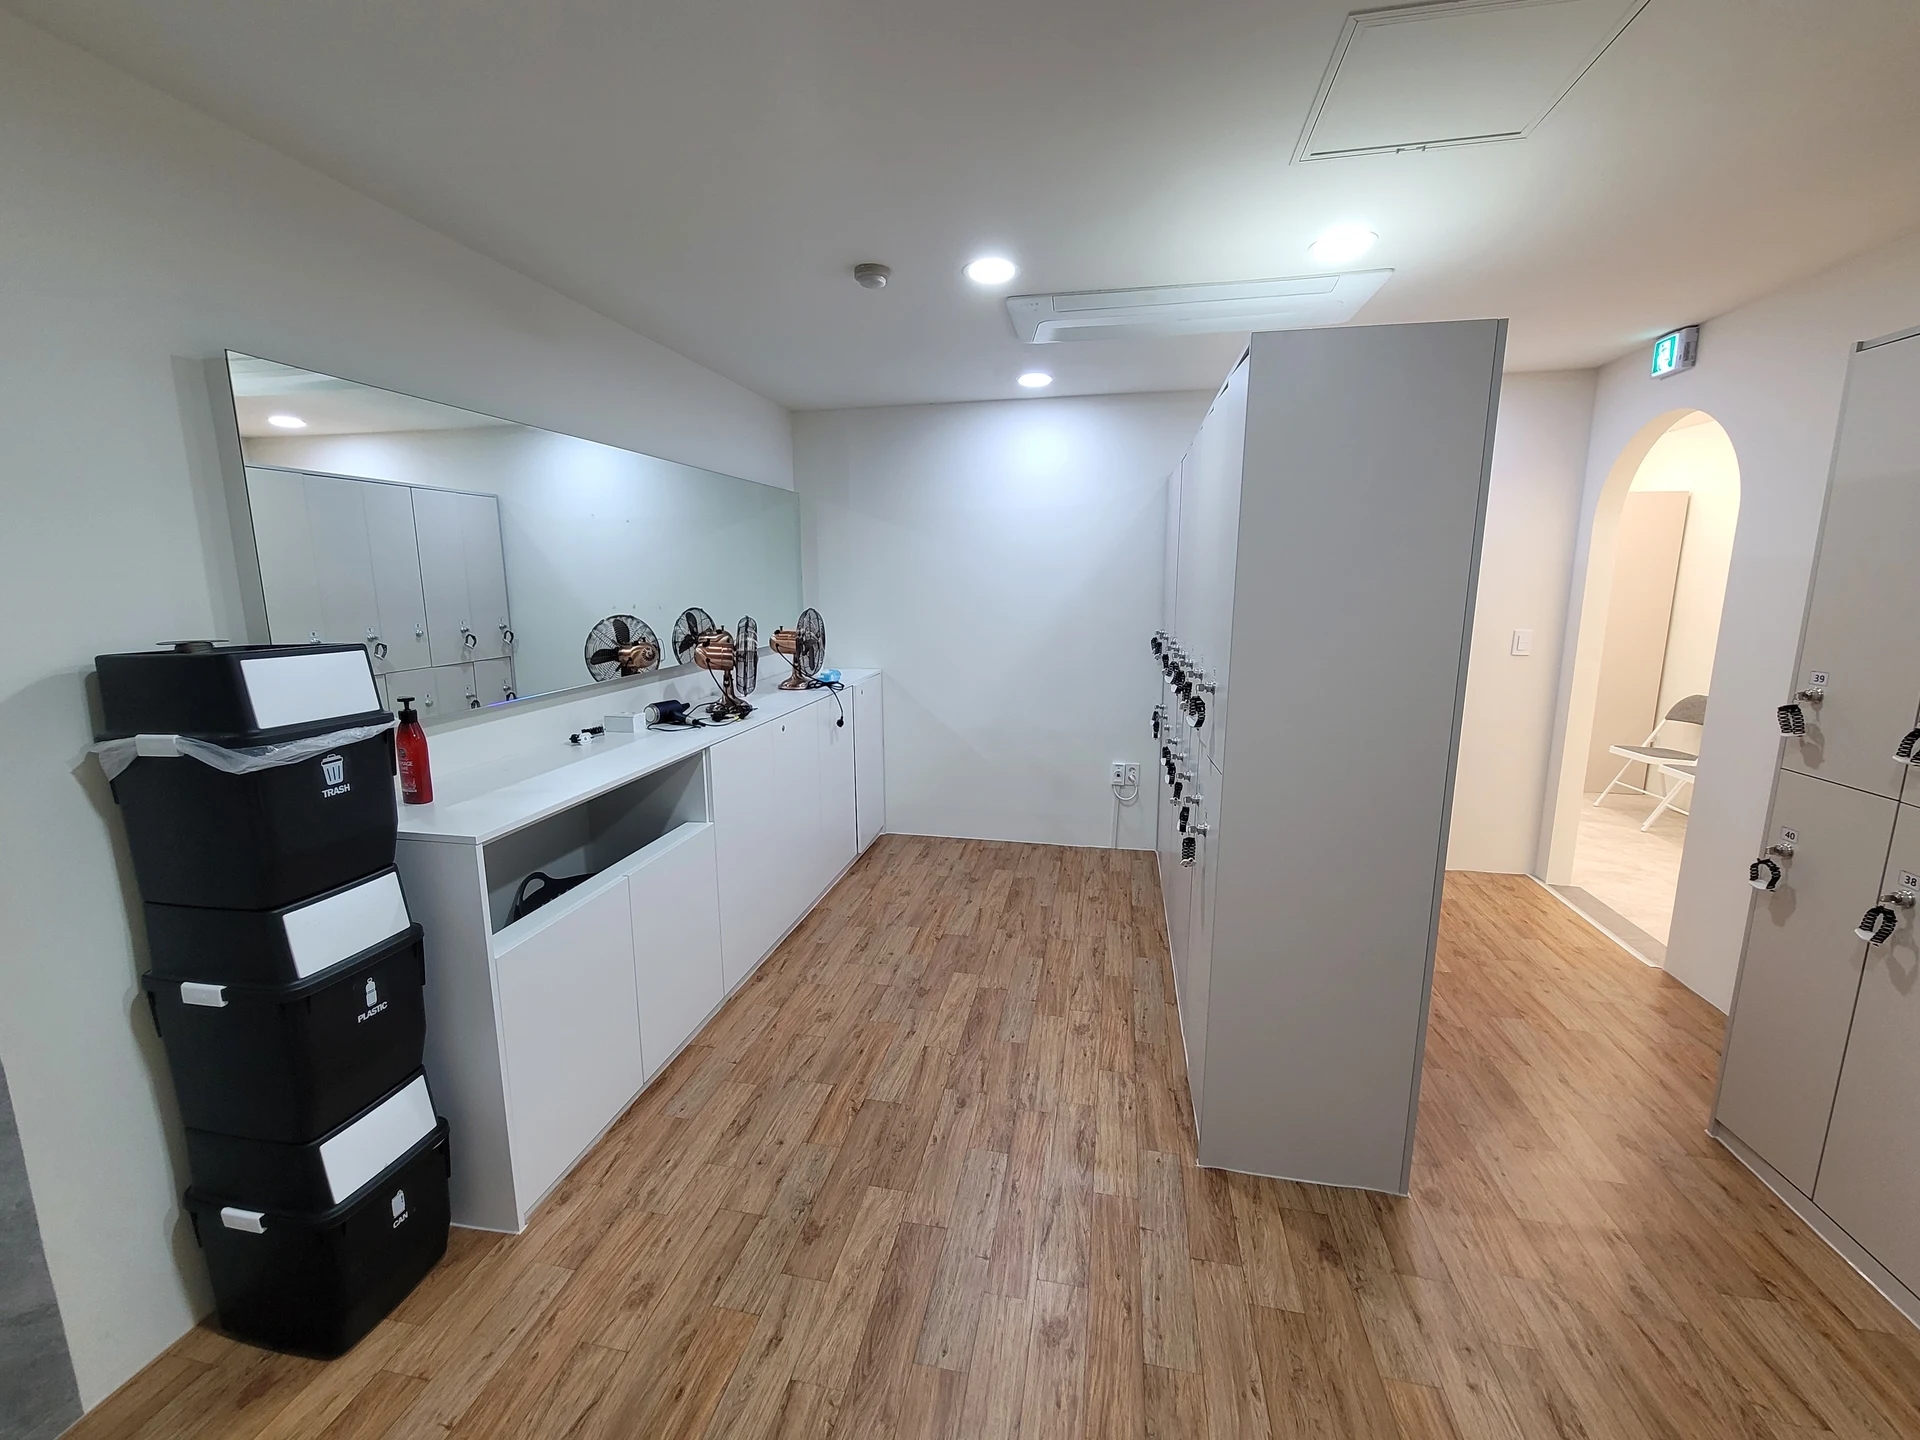
A powder area includes people pausing to dry hair and organize belongings, not only a mirror wall. The photograph shows a route beside the counter and an opposite bench. Assess where people sit and stand alongside furniture widths.
Mirror users need countertop space for dryers, brushes, and personal pouches, as shown here. Check remaining hand space after objects arrive and whether cords hang into edges or routes. Electrical installation conditions need separate review for actual appliances and site conditions.
A bench can support shoe changes and bag organization, but placing it does not automatically create enough sitting space. Knees and bags extend into the aisle. If people must pass behind mirror users, overlay both activities on the same drawing.
In small rooms, compare central benches with wall-side benches. Central seating may be accessible from both locker banks but divides circulation; wall seating may leave a route but sit farther from some lockers. Check overlaps between seated users and open doors in either option. The photographed arrangement is not universal.
Include towels, tissues, and used-item collection. A bin only beside the door may require shower users to backtrack; directly before the counter it may occupy foot space. Mark clean supply retrieval separately from used-item disposal. Staff replenishment and emptying methods clarify what belongs on counters or in cabinets.
Continue the route beyond the shower exit
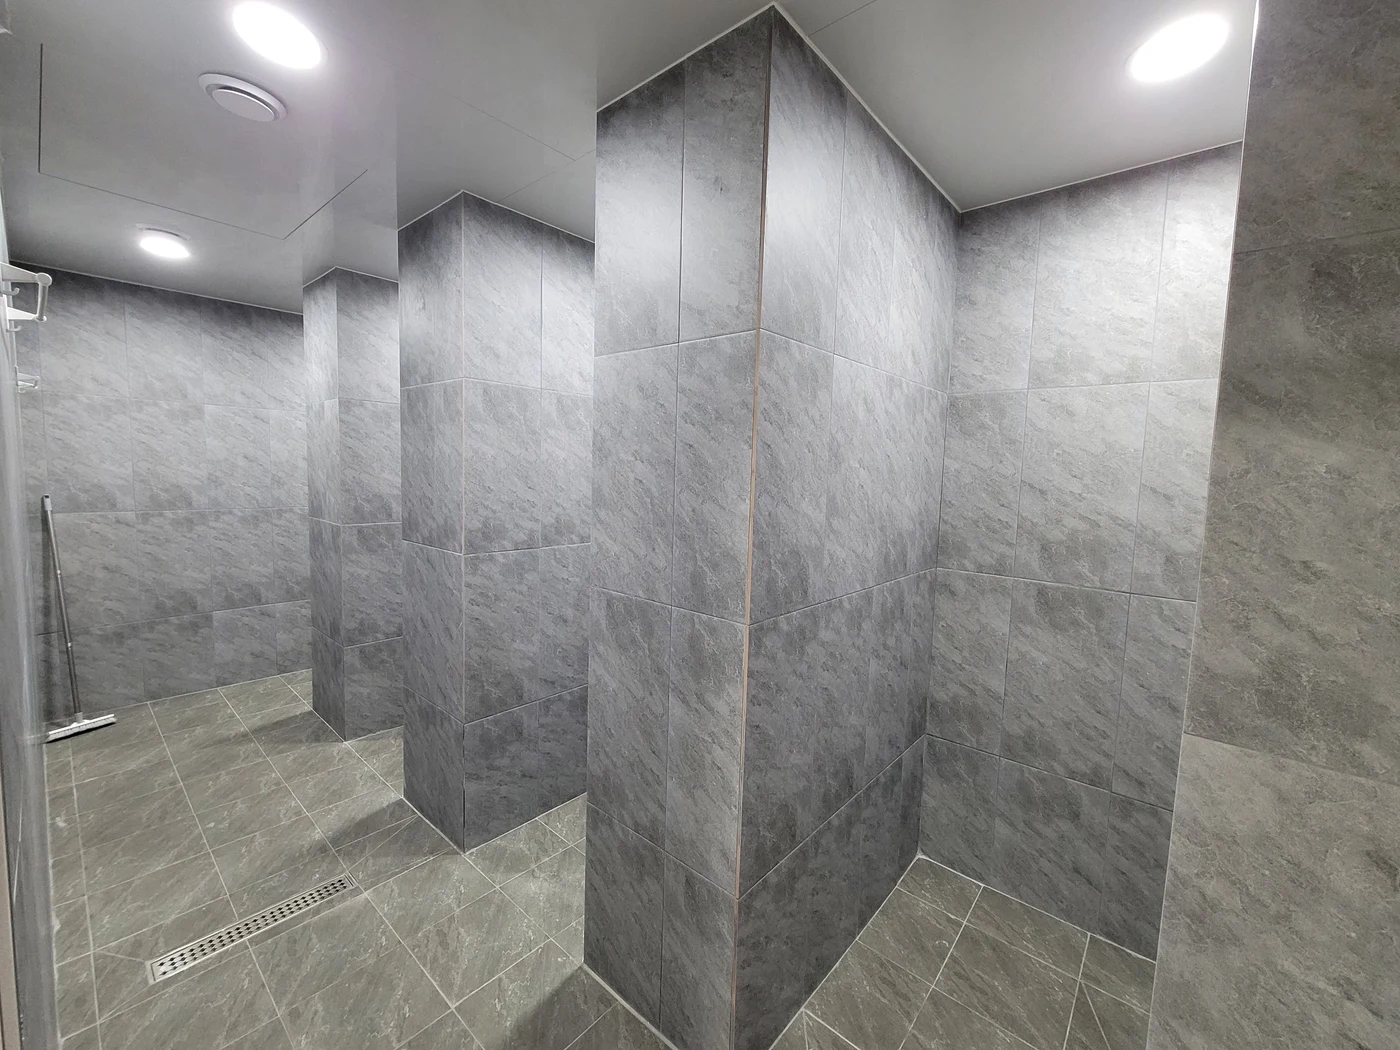
Large changing and shower rooms alone do not guarantee convenient sequences. Retrieving towels and clothes, entering showers, drying, and dressing need connected routes. Consider where someone pauses between leaving a shower and reaching a locker to identify space needed around entrances.
The photograph shows repeated tiled partitions and a long drain. It reveals separate washing positions, but not towel and clothing storage or the complete changing-room route. Review those through connected shower services and changing-room plans.
Mark where wet-foot routes meet dressing and bag-organization areas. Check space for drying and overlap with waiting users. Matching flooring appearance does not make wet and dry use conditions identical. Photographs cannot identify the timber-pattern flooring or gray tiles or establish their performance.
For renovations, record existing drain positions and water flow before enlarging showers. Check actual water remaining during use and cleaning and any spread toward entrances. Finished photographs cannot establish drainage or waterproofing. Separate locker relocation from service modifications when comparing retained and replaced systems.
Draw cleaning routes alongside user routes. The photographed cleaning tools need a separate storage decision after use. Check whether carrying tools or removing bins conflicts with benches and open lockers. Clear changing-room space serves dressing, waiting, and supplies management rather than being unused floor. Draw those activities before adding lockers.
Ask us about your interior project
We can discuss a quote and design suited to the space you are planning.
Request a free consultation