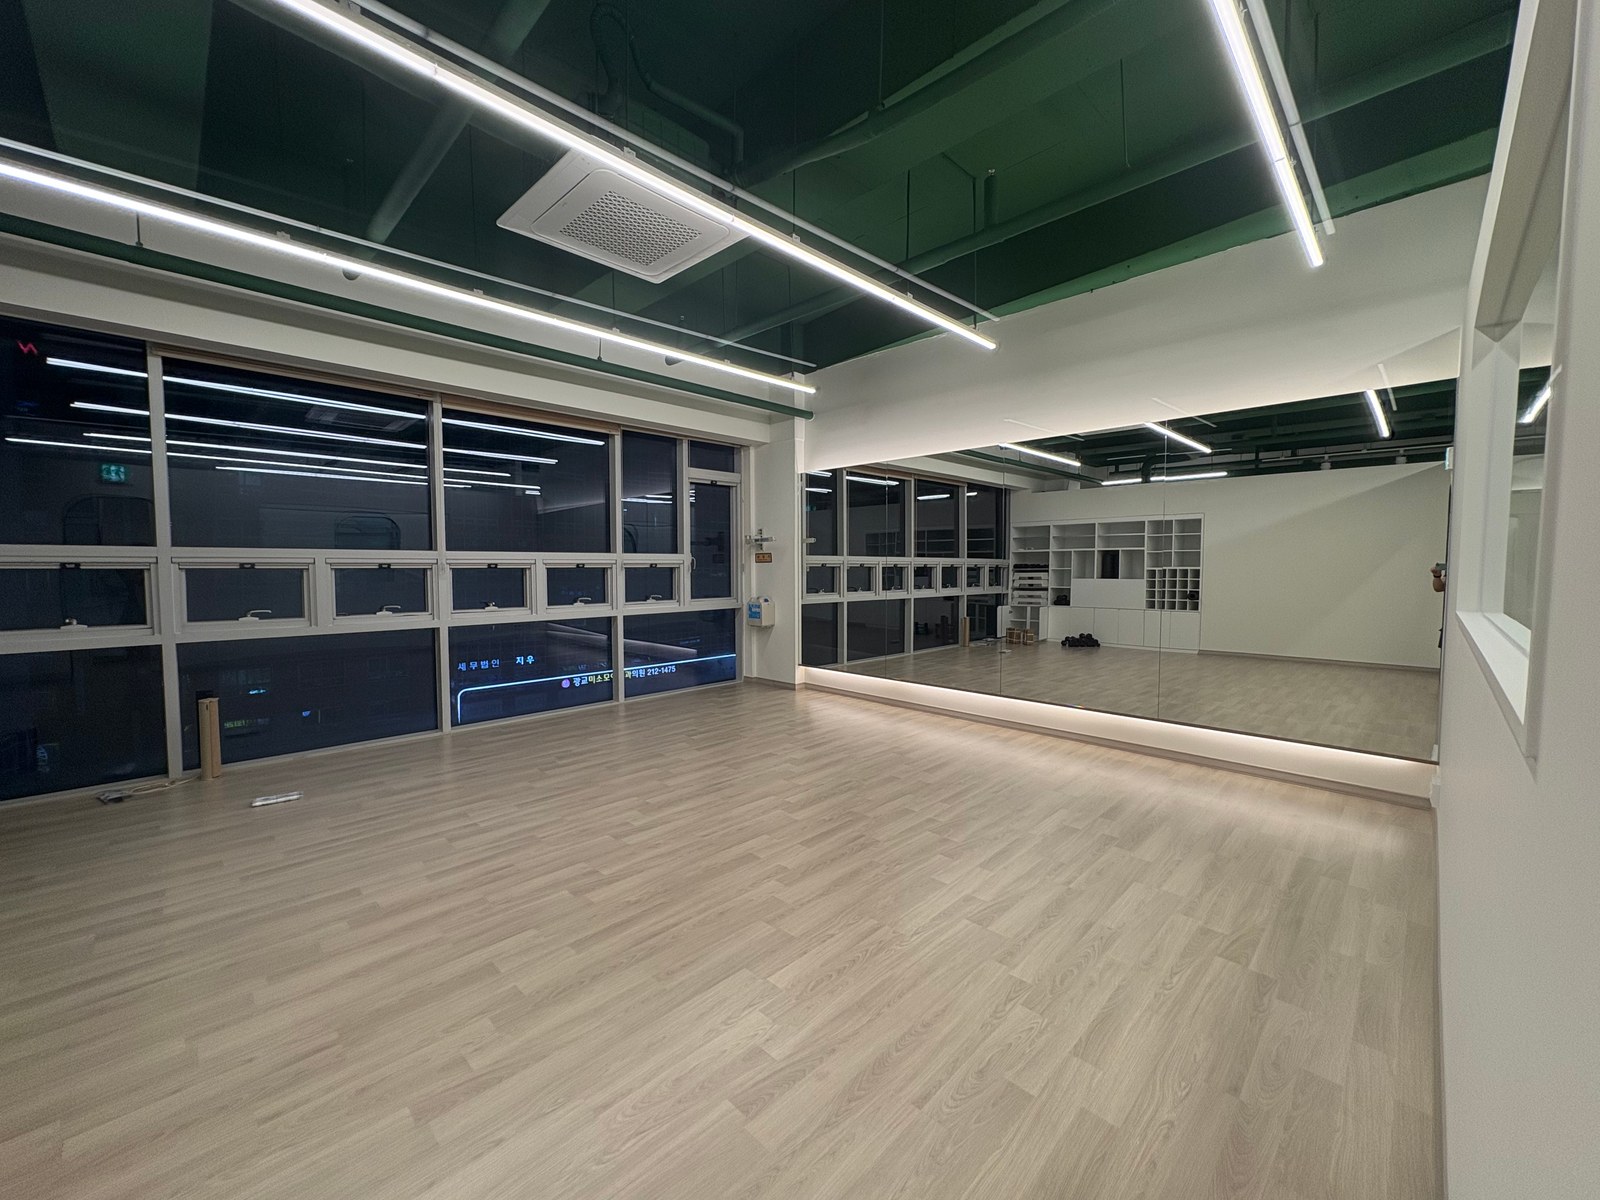
Pilates equipment layouts: routes for instructors and members
A Pilates studio cannot be planned by equipment fit alone. Actual space photos illustrate instructor access beside members, exits after class, and places for belongings and teaching tools.

Before you begin
- Mark operating ranges and instructor access separately from equipment outlines.
- Connect routes between equipment to shared areas used before and after class.
- Separate belongings storage from tool preparation, allowing space for open doors.
Empty floor between equipment also serves a purpose
Equipment quantities are often the first question in Pilates planning. Outlines alone can omit member and instructor space. Mark individual use, side-by-side instruction, and movement to other equipment separately to reveal layout differences. Agree these activities with the instructor before finalizing equipment numbers.
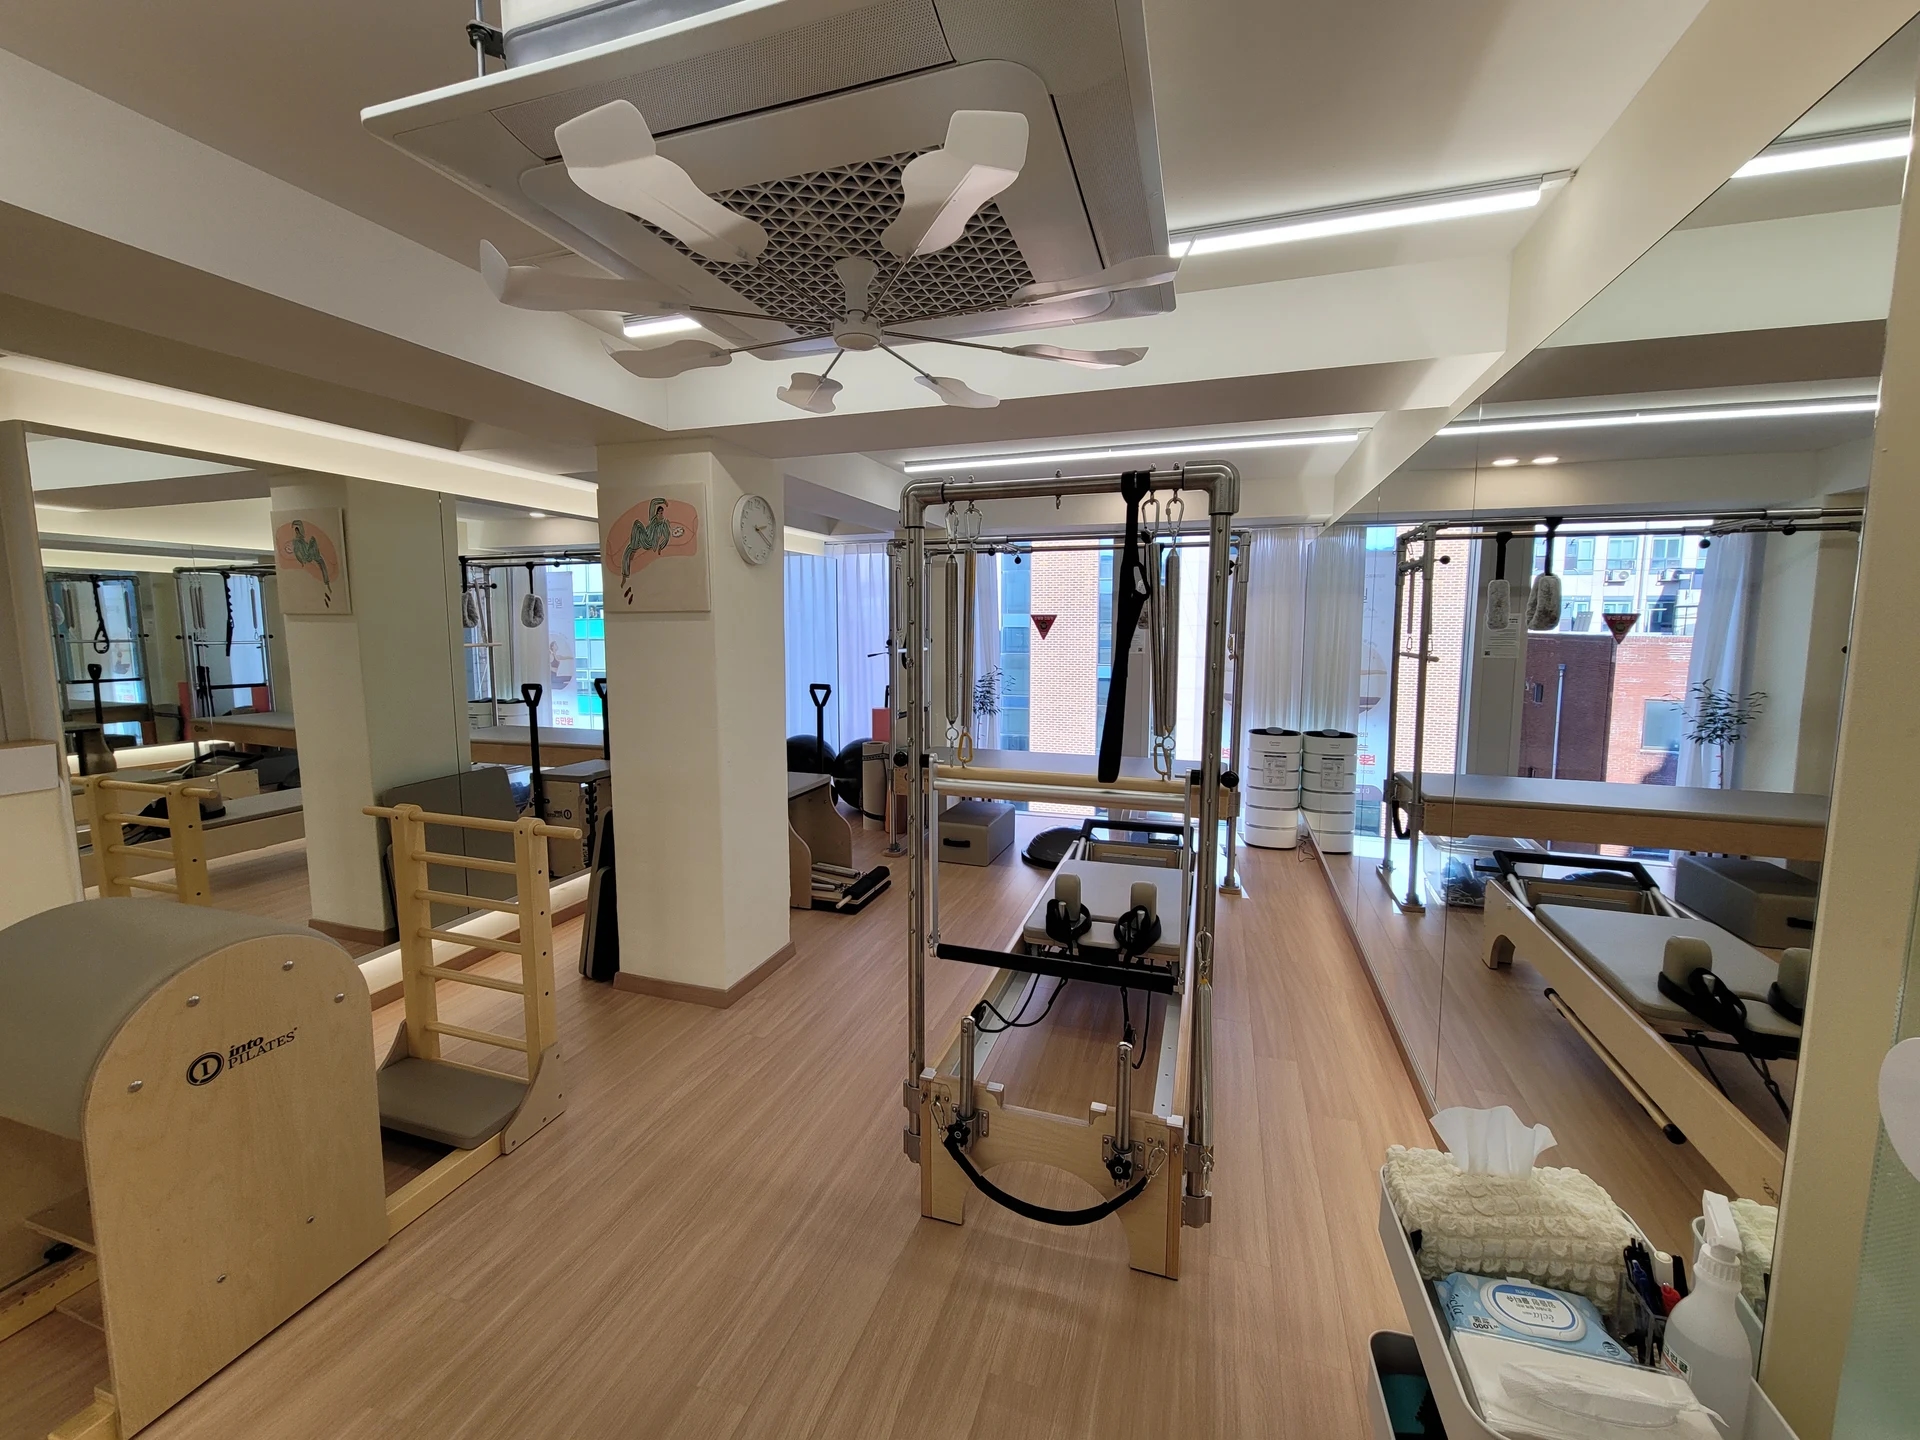
The photo shows tall-framed equipment, a wall mirror, and a mobile cart together. Reflections broaden the view, but actual usable floor lies between equipment and columns. Do not confuse mirrored space with real aisles, and show every floor-standing item on drawings. Photos cannot establish exact spacing or permitted occupancy.
List product names, models, actual dimensions, and accessories. Obtain model-specific installation information rather than substituting identical shapes for similarly named equipment. Have the instructor confirm operating ranges and access sides, then compare with manufacturer requirements. Recording confirmed conditions and allocated space in a shared table reveals revisions when equipment changes.
Draw whether an instructor approaching one machine crosses the adjacent member's use area and how the route continues afterward. For carts, compare parked and working positions. Assign who uses each gap and when before filling it with tools or auxiliary equipment. This distinguishes movable objects from required clear areas. Adding equipment requires another comparison including these occupied spaces.
Entrances between classes
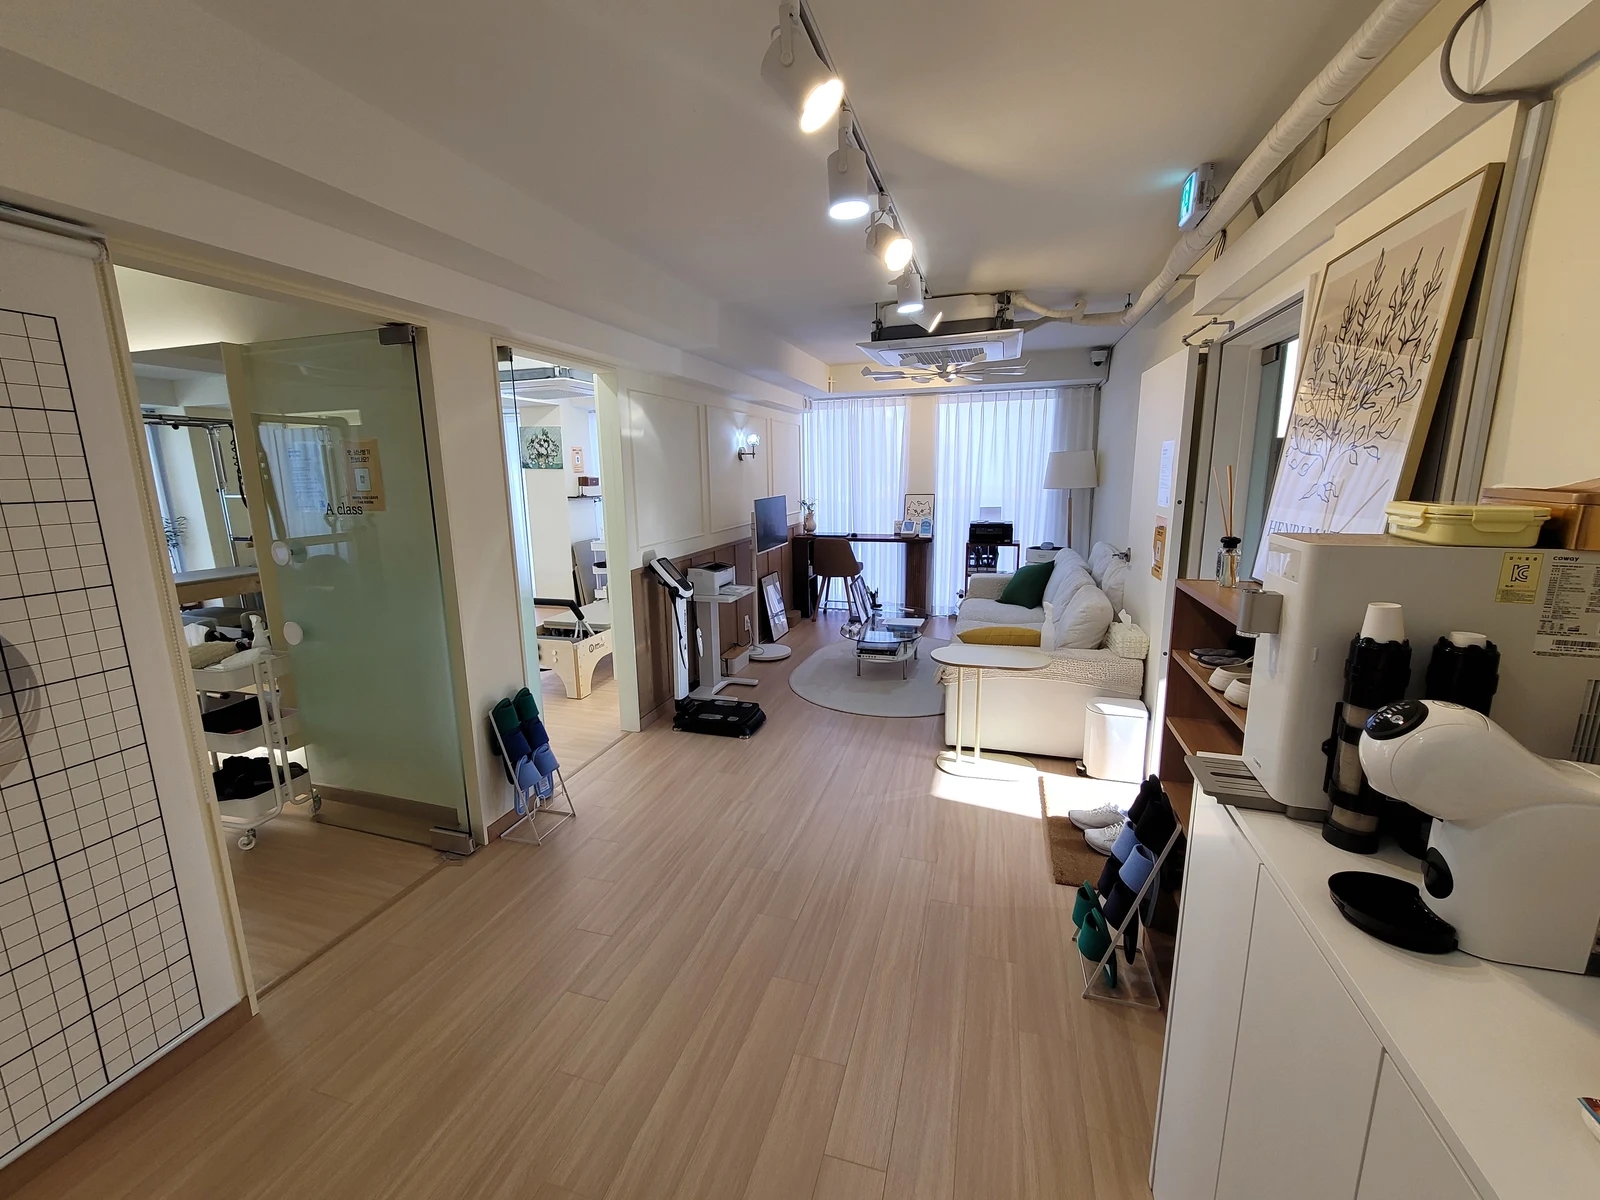
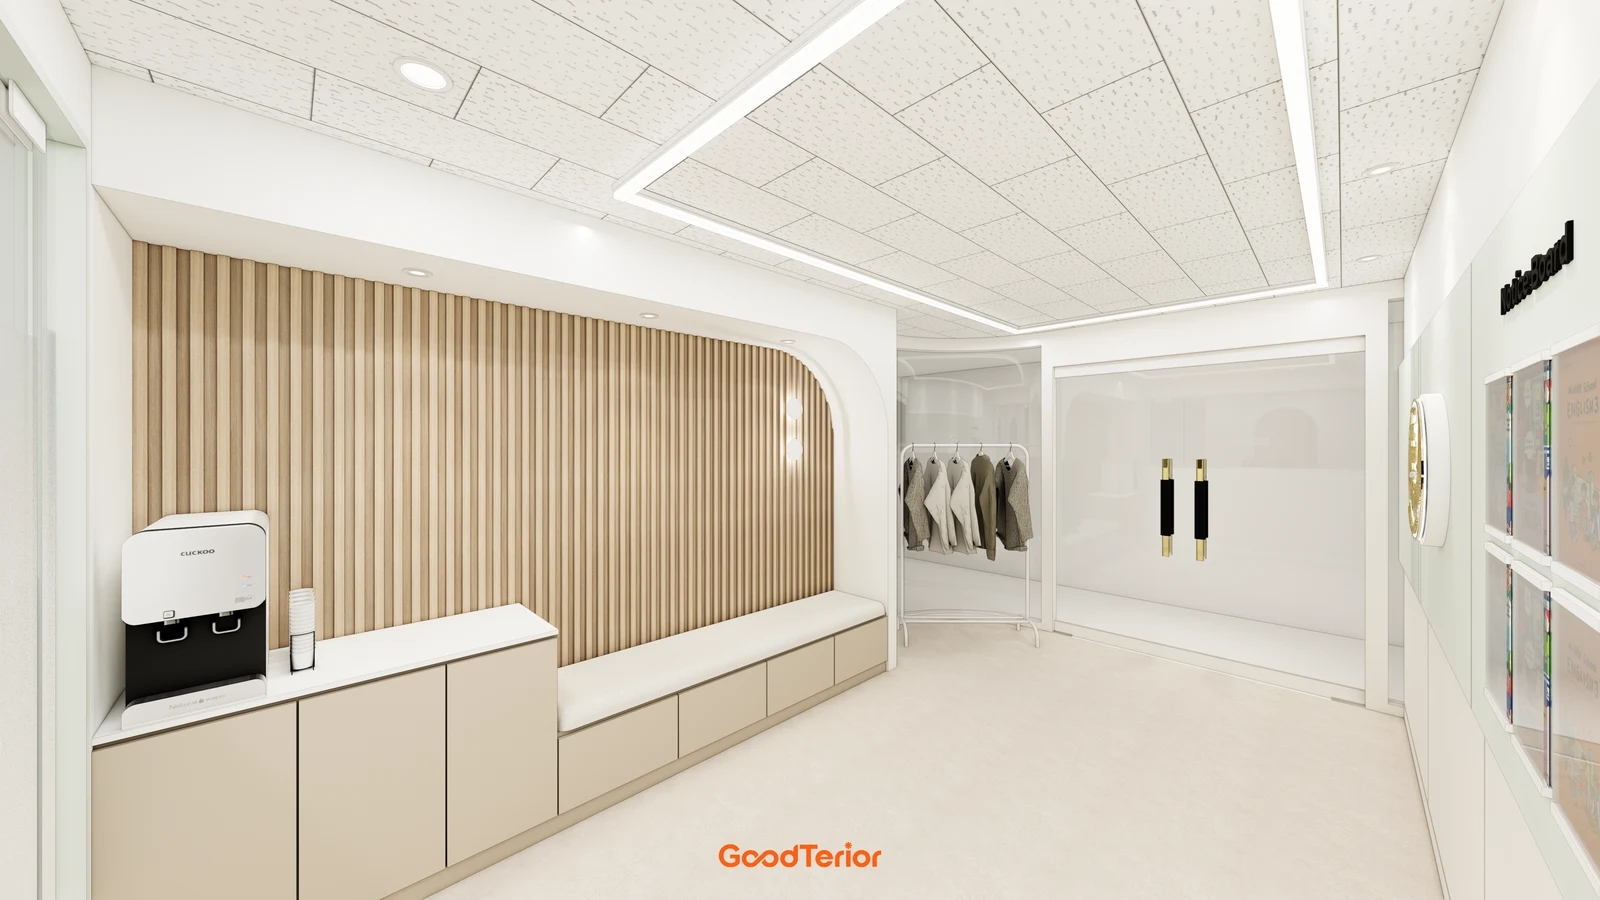
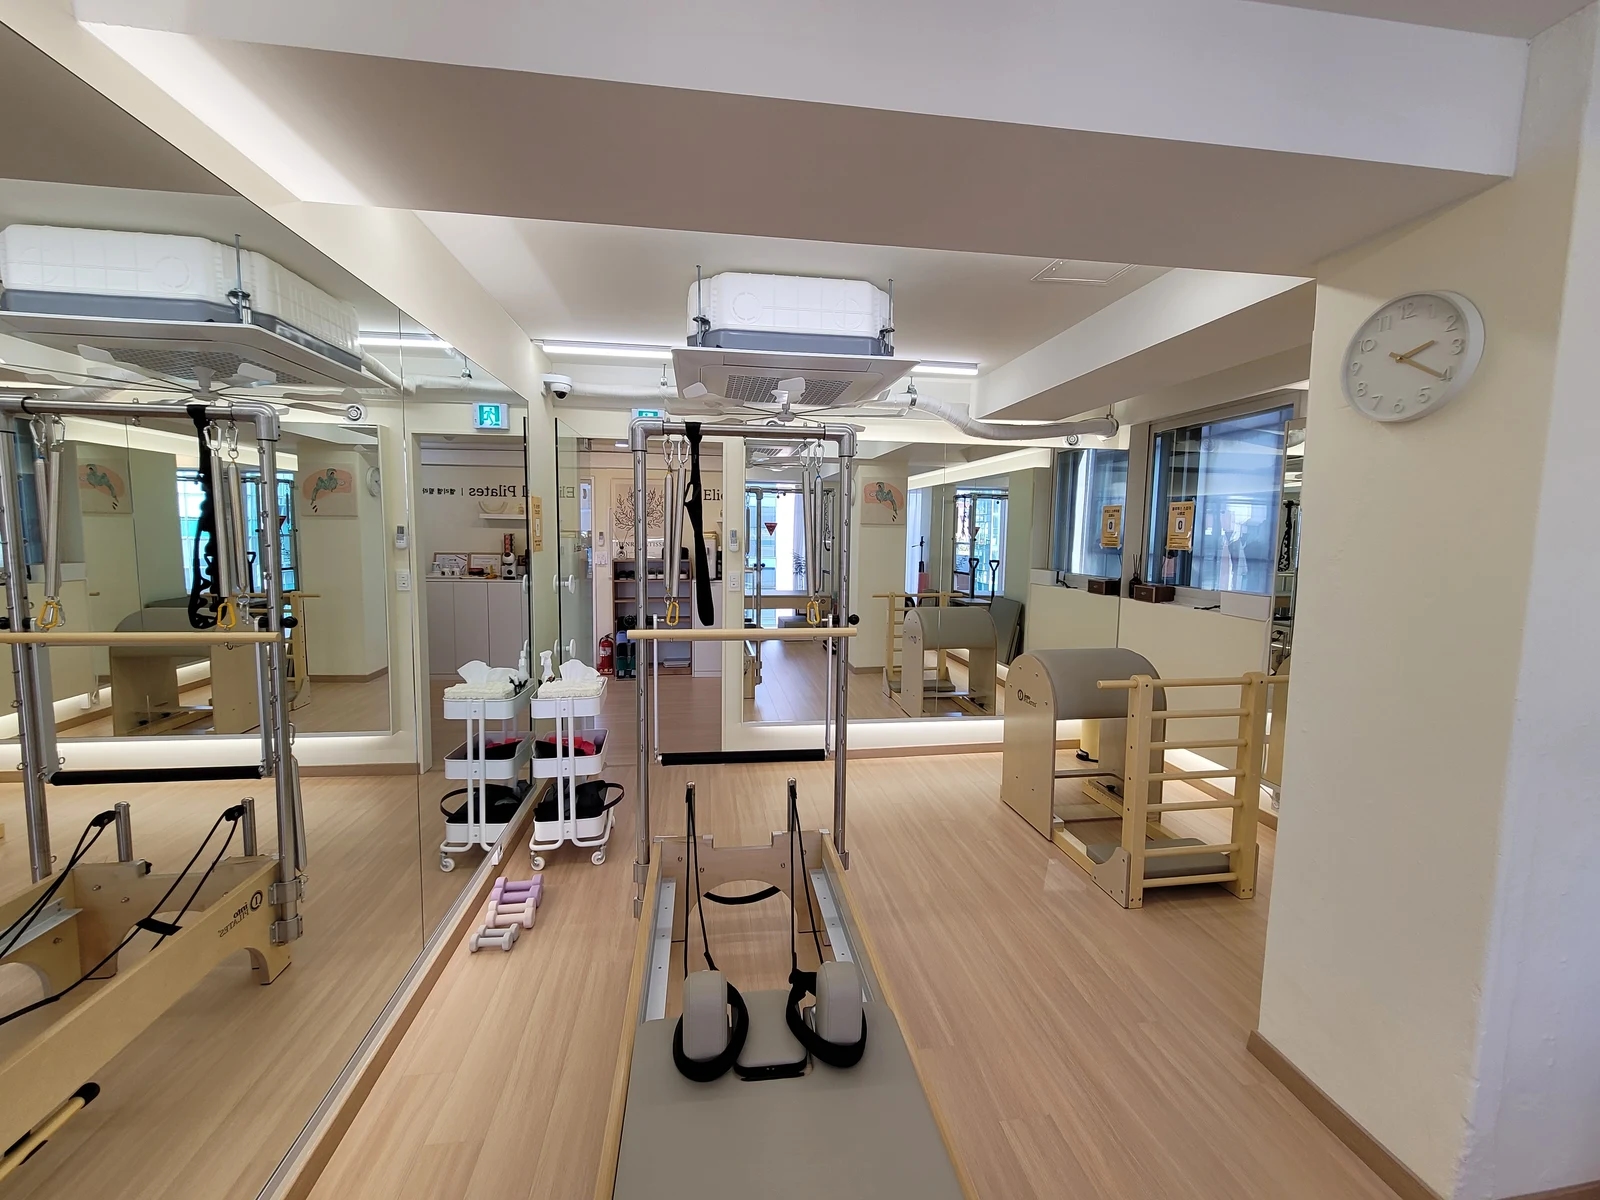
Even clear internal aisles can lead to a blocked doorway. The photo connects a glass classroom door, slipper rack, water station, and sofa. Although schedules and attendance are unknown, it illustrates routes into class and brief pauses in shared areas. Extend equipment plans beyond the classroom door into these spaces.
Simulate one class leaving while the next arrives. Check whether people meet at the door and whether changing shoes or taking water occupies circulation. With several classrooms, separately mark overlapping entry and exit times. Base simultaneous attendance on operating plans rather than photos or equipment counts.
Seeing through glass does not resolve every wayfinding issue. Check whether first-time members recognize the correct door and whether people repeatedly pass it during class. Include swings, handles, and shoe or slipper storage on drawings. When adding waiting seats or cabinets, check their relationship to the classroom approach.
Before enlarging the space, list operational adjustments: staggered class turnover, leaving belongings before entry, and relocating shared items. If moving doors or walls, confirm associated finishes and services. Compare rearranged furniture and altered walls as separate scopes even when addressing the same problem.
Separate belongings from teaching tools
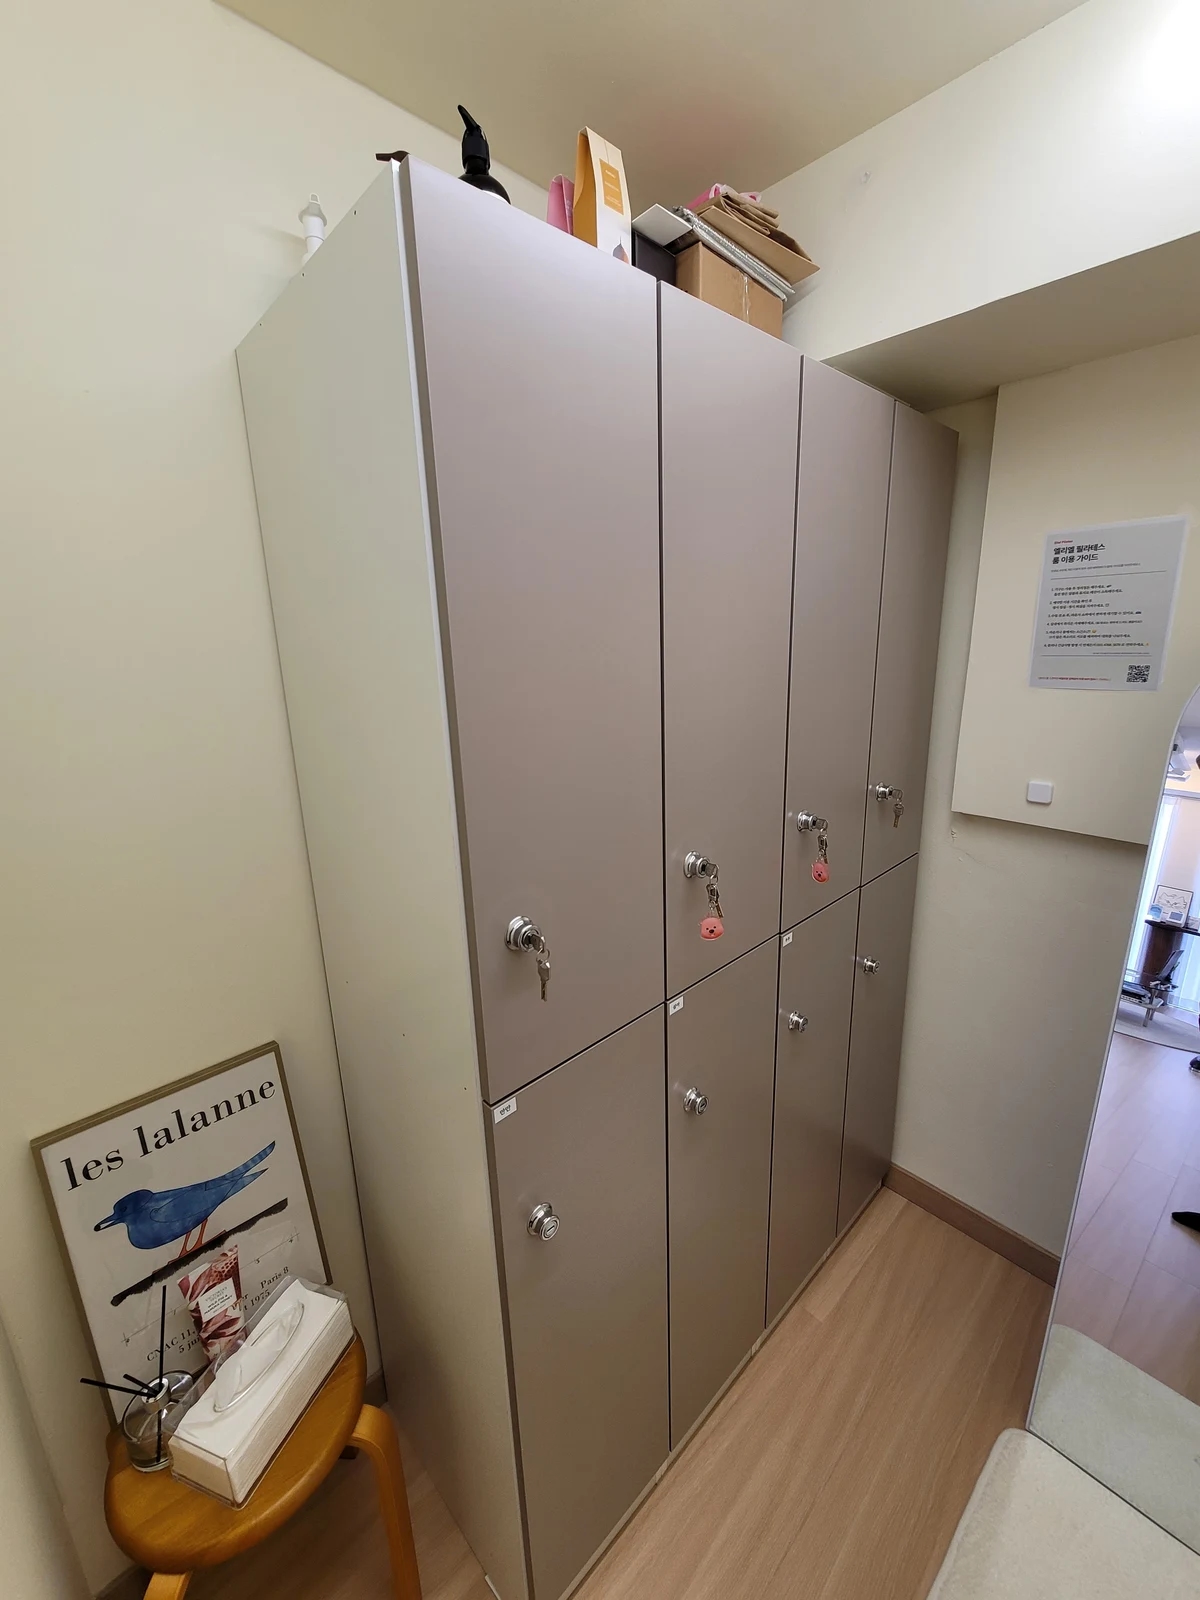
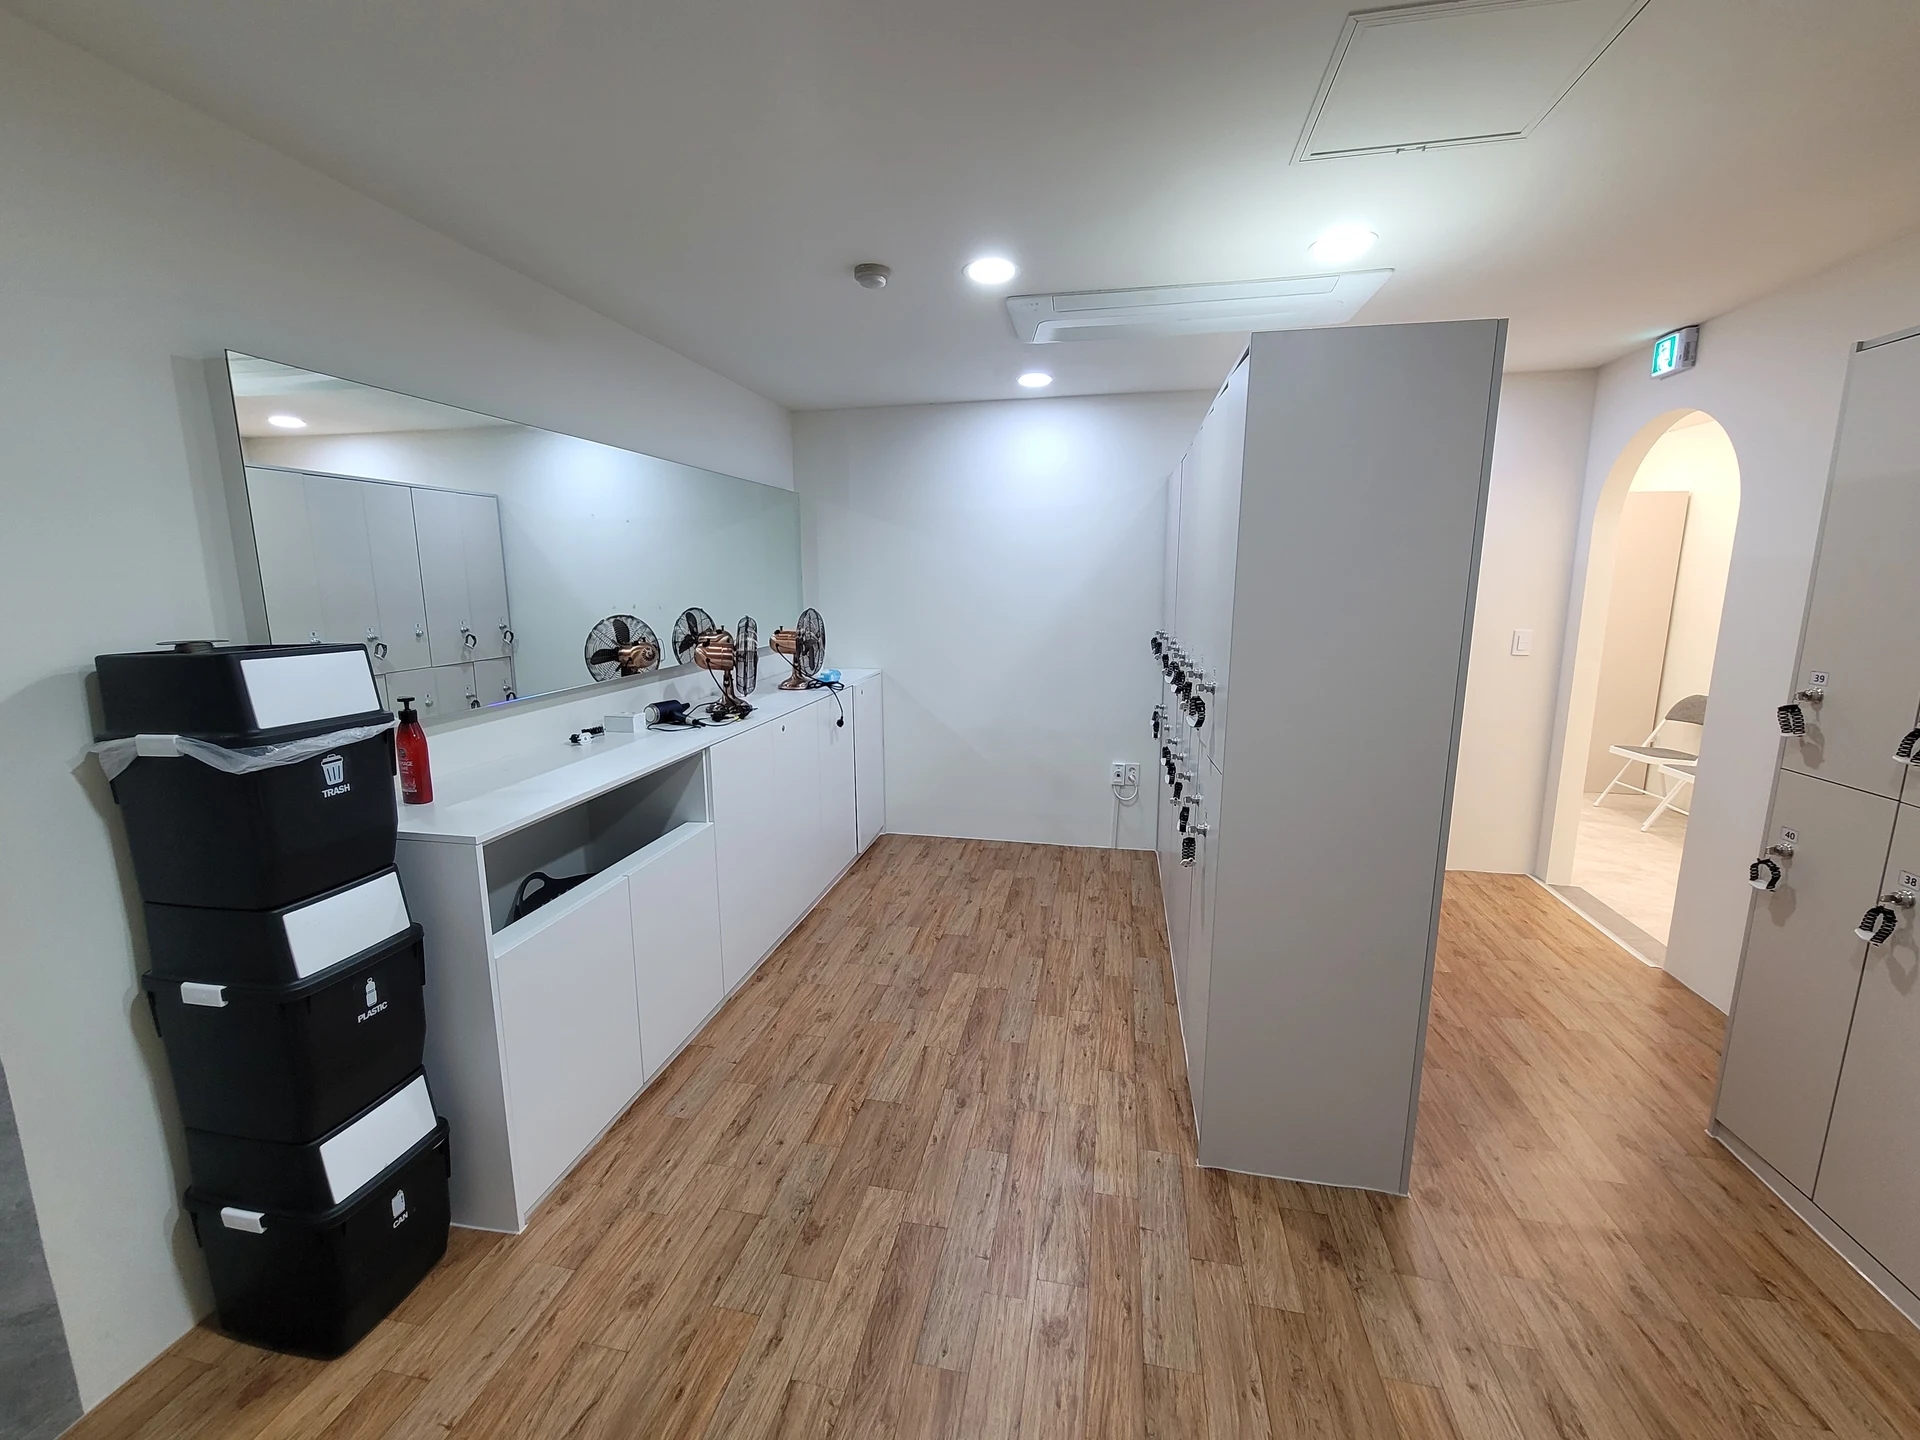
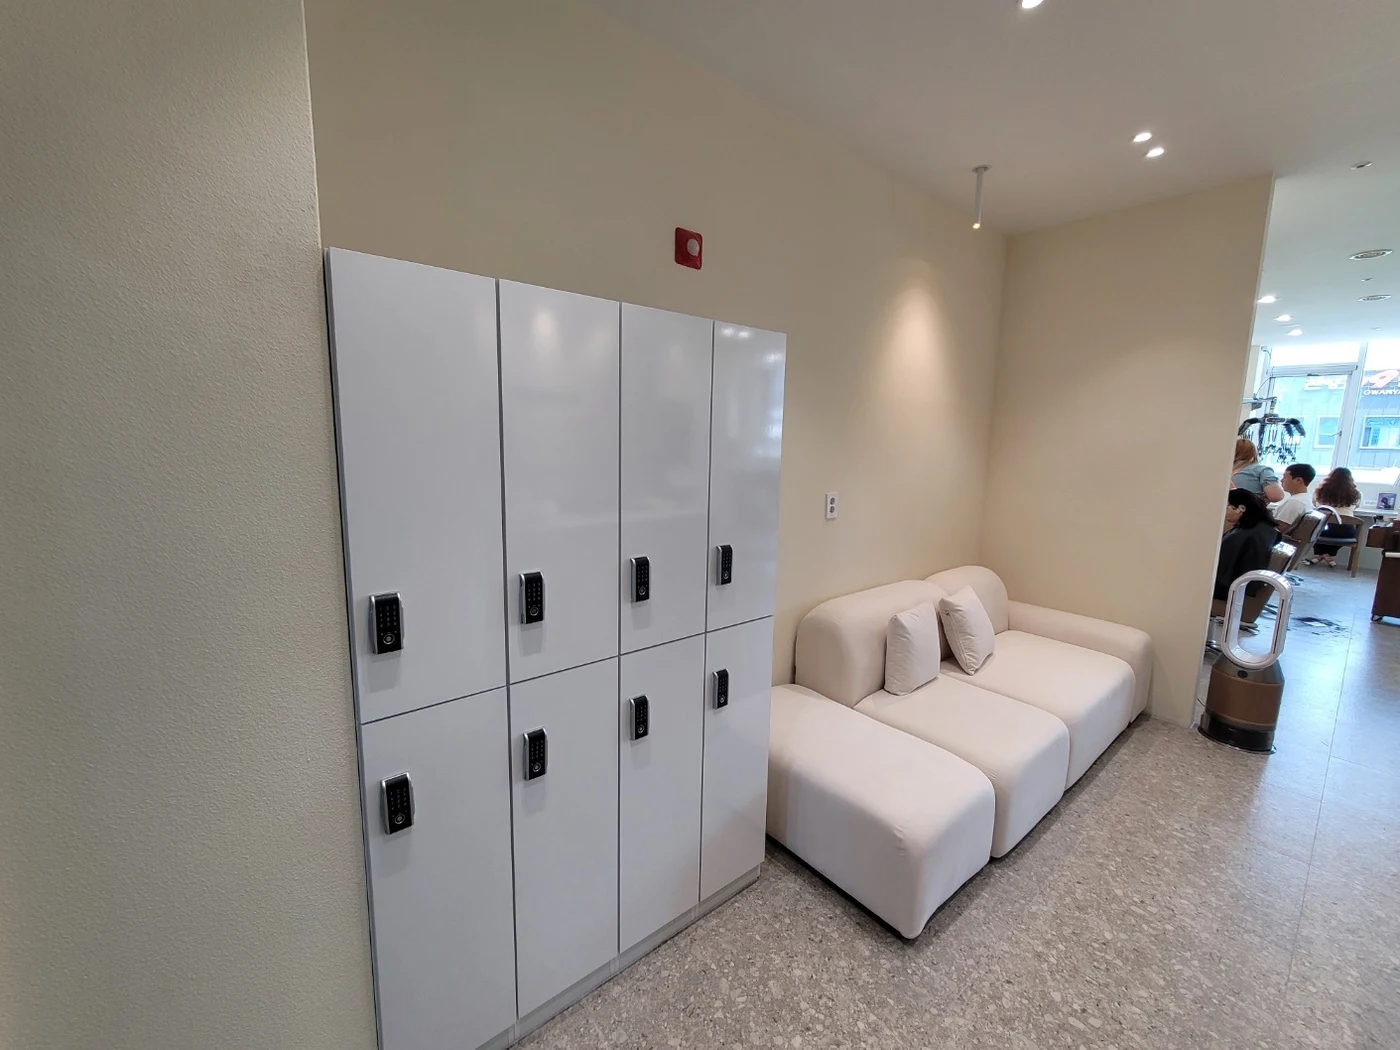
The photo shows keyed storage doors beside a route. Increasing capacity requires room for users in front as well as objects inside. Check how others pass while someone retrieves a bag or arranges a coat. Empty floor before closed doors does not establish sufficient circulation.
Members' belongings and teaching tools need access at different times. Consider separately items stored once before class and tools instructors retrieve during it. List actual mats, long accessories, and small items with dimensions. Design cabinet heights and shelf spacing around those items and measured site sizes rather than photo proportions.
Decide whether classrooms need both prepared tool positions and temporary places for items awaiting tidying. For mobile furniture such as the pictured cart, mark parked and working positions separately. Check instructor access and doors while it is out, and overlap with members when returning it afterward. Avoid ending with equipment gaps as temporary storage for items without assigned places.
Review final equipment and furniture layouts overlaid with class operation. Distinguishing operating ranges, instructor routes, member turnover, and retrieval and return positions provides a basis for reducing or moving items. Use the same checklist to compare retaining the facility with construction changes. Decide equipment quantities after establishing how people move between them, as well as how many outlines fit.
Ask us about your interior project
We can discuss a quote and design suited to the space you are planning.
Request a free consultation