Office Glass Door Locks: Door Leaf and Frame Checks
Before fitting a lock to an office glass door, document the door assembly. Review single and paired leaves, handles, locking components, removal of existing devices and reinstatement to prepare a clear installer brief.

Before you begin
- Record moving leaves, fixed panels, existing handles and locks separately.
- Check mounting space for the lock body and the component receiving its bolt.
- Assign installation, removal and finish repairs, then check handover under actual use conditions.
Door configuration and the receiving component

Identify the door to be locked and distinguish moving leaves from fixed glass. Tell the installer which leaves are used and how they open. The lock body and receiving component need to be considered against the actual assembly rather than an entrance photograph alone.
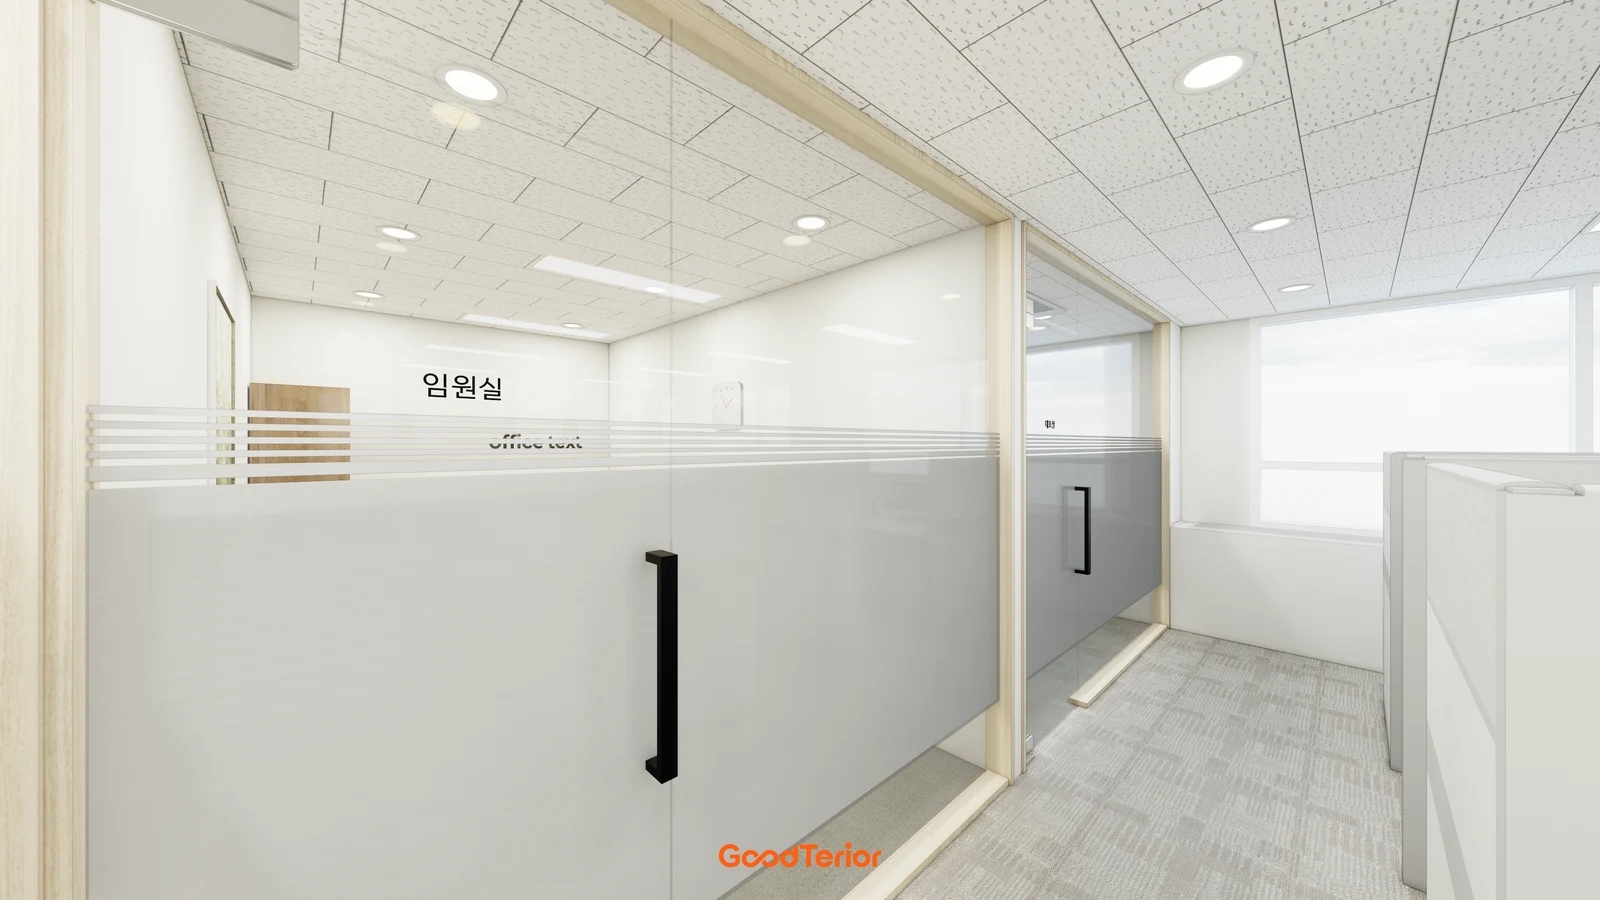
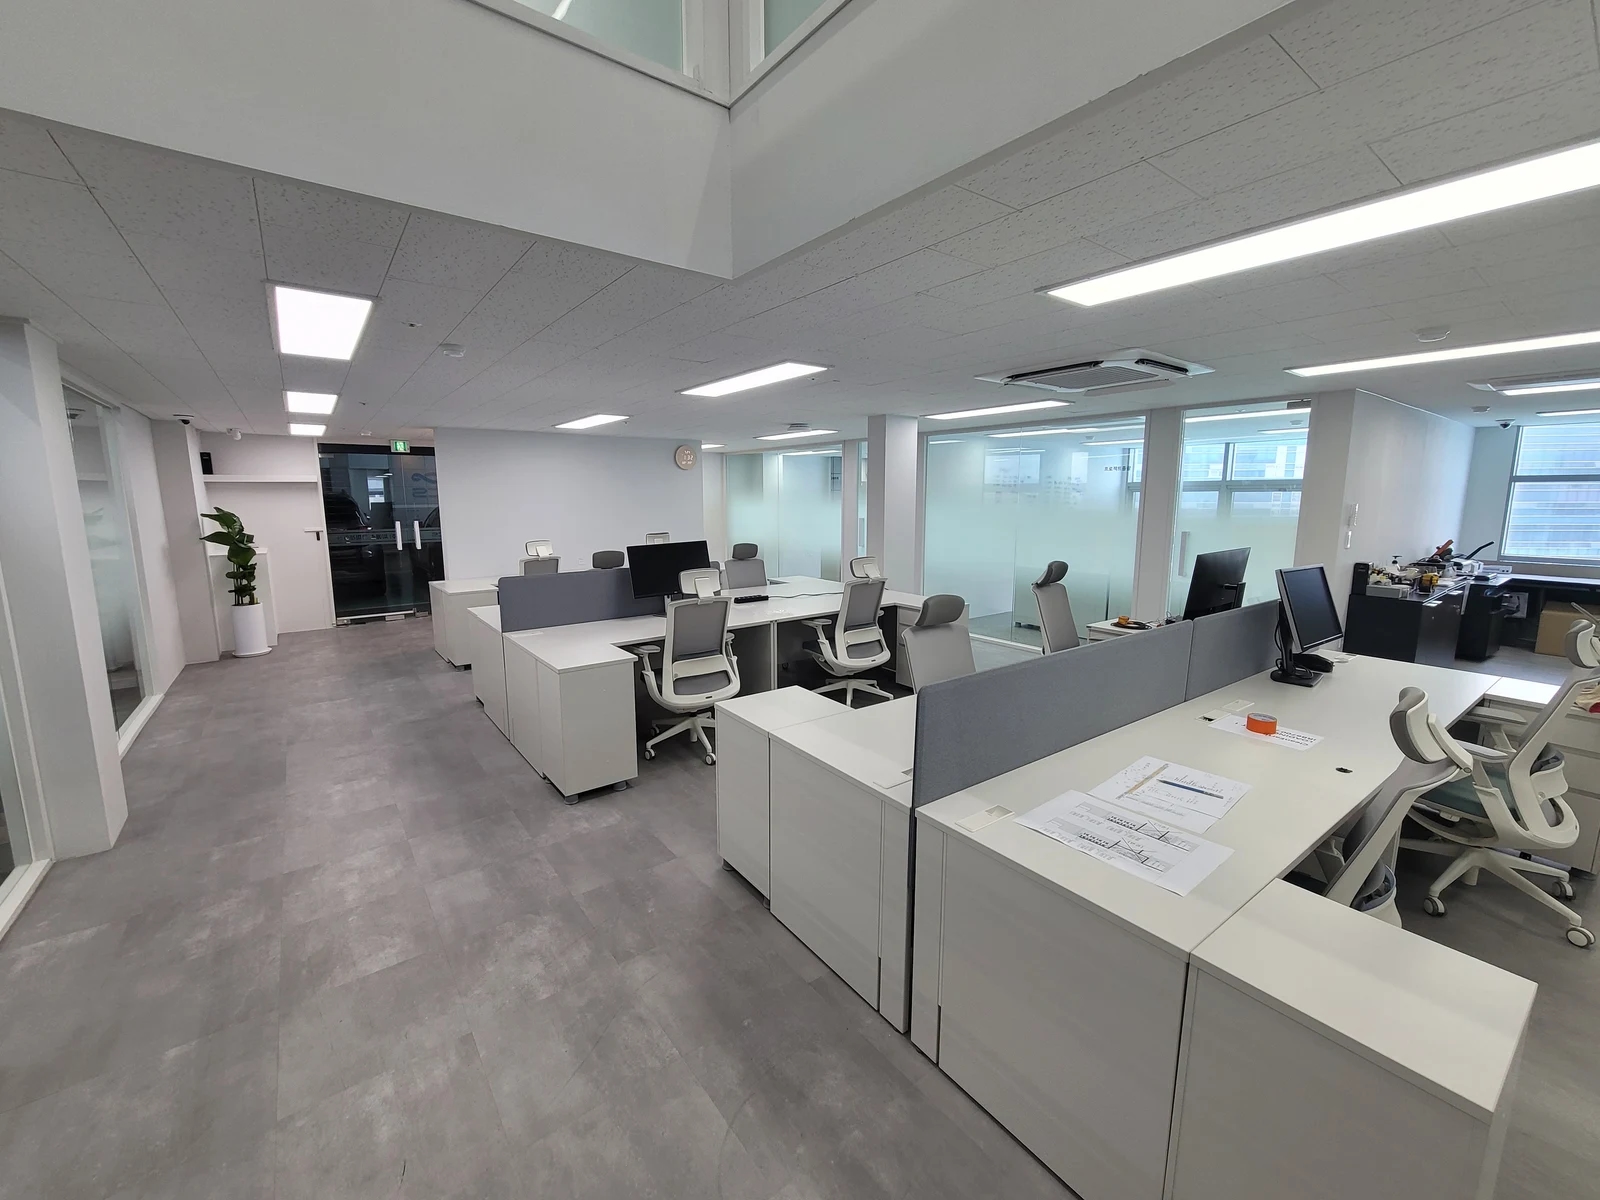
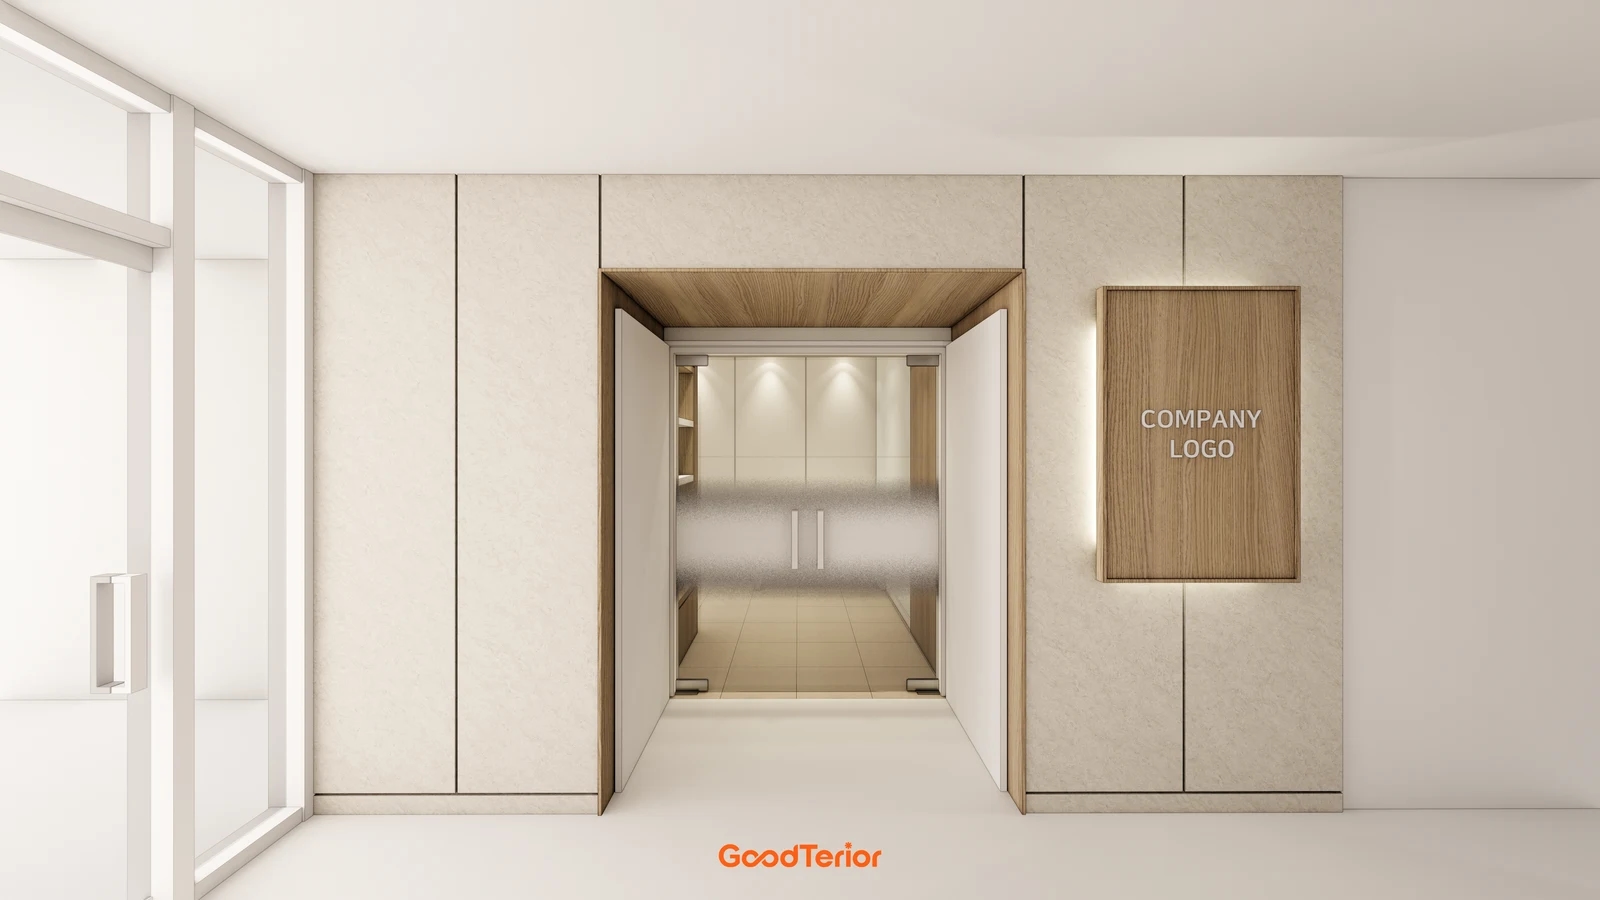
The cover shows paired glass leaves and vertical handles. It establishes visible meeting lines and handle positions, not glass thickness or mounting suitability. Prepare closed and open views, edge and handle details, and existing device information, then ask the installer to define the required measurements.
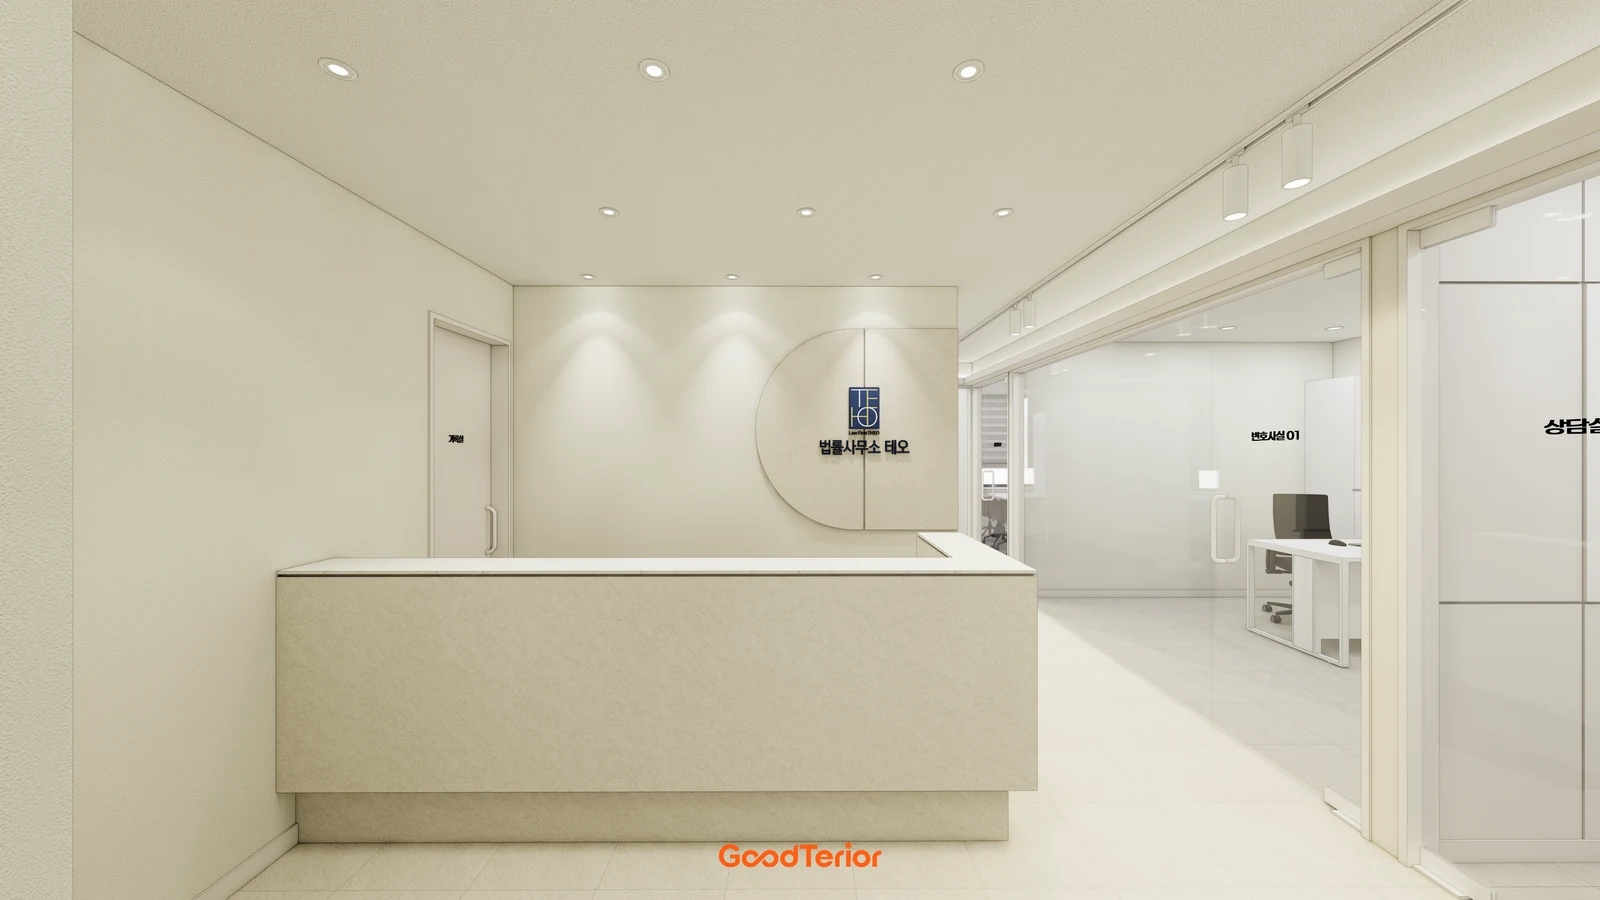
The first body image combines opaque doors and a glass opening. List each door’s material, frame and existing hardware separately and explain its use, such as visitor entry or a staff room. A shared appearance does not establish that one lock suits every door.
Milre Systek’s M-250S glass door lock product guidance lists separate dimensions for the exterior body, interior body and striker, the component receiving the bolt. This is a product-specific example. Ask the installer to assess both sides using the selected product’s actual drawings and components.
For paired doors, explain which leaf is routinely used and how the other is held. Have the installer assess the receiving side, distinguish frame-mounted and glass-to-glass arrangements, and confirm any additional fittings before ordering.
Check grip space and the full opening path around handles and the proposed device. Compare retained and replaced handles including the marks left by removal. Leave glass processing and fixing details to the responsible installer after inspecting the door and product.
Existing device removal and handover checks
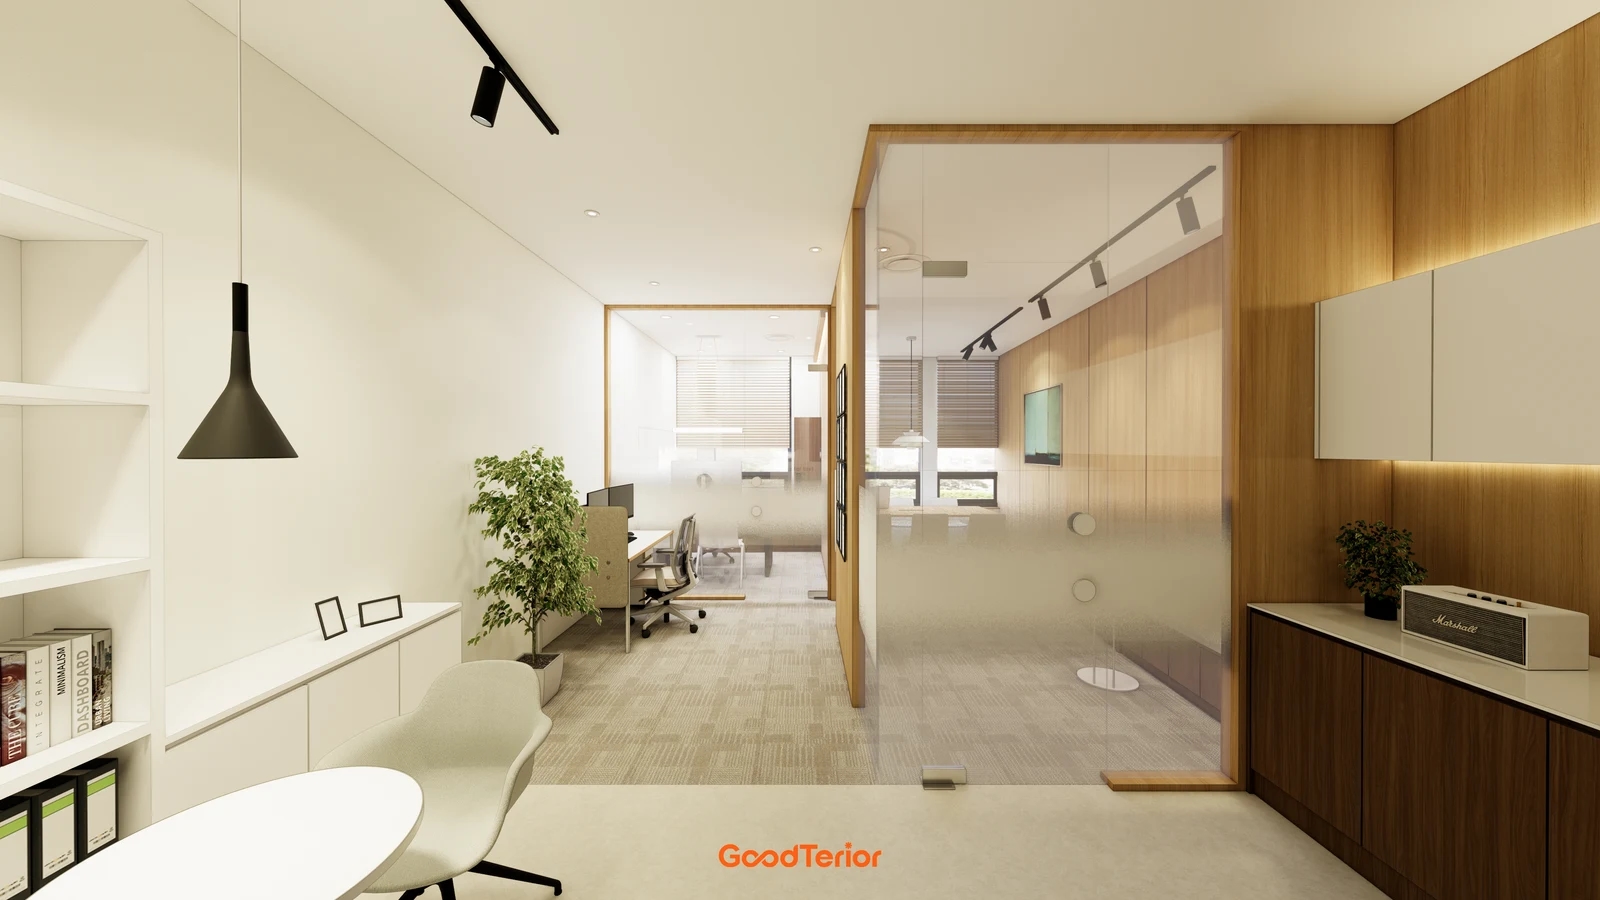
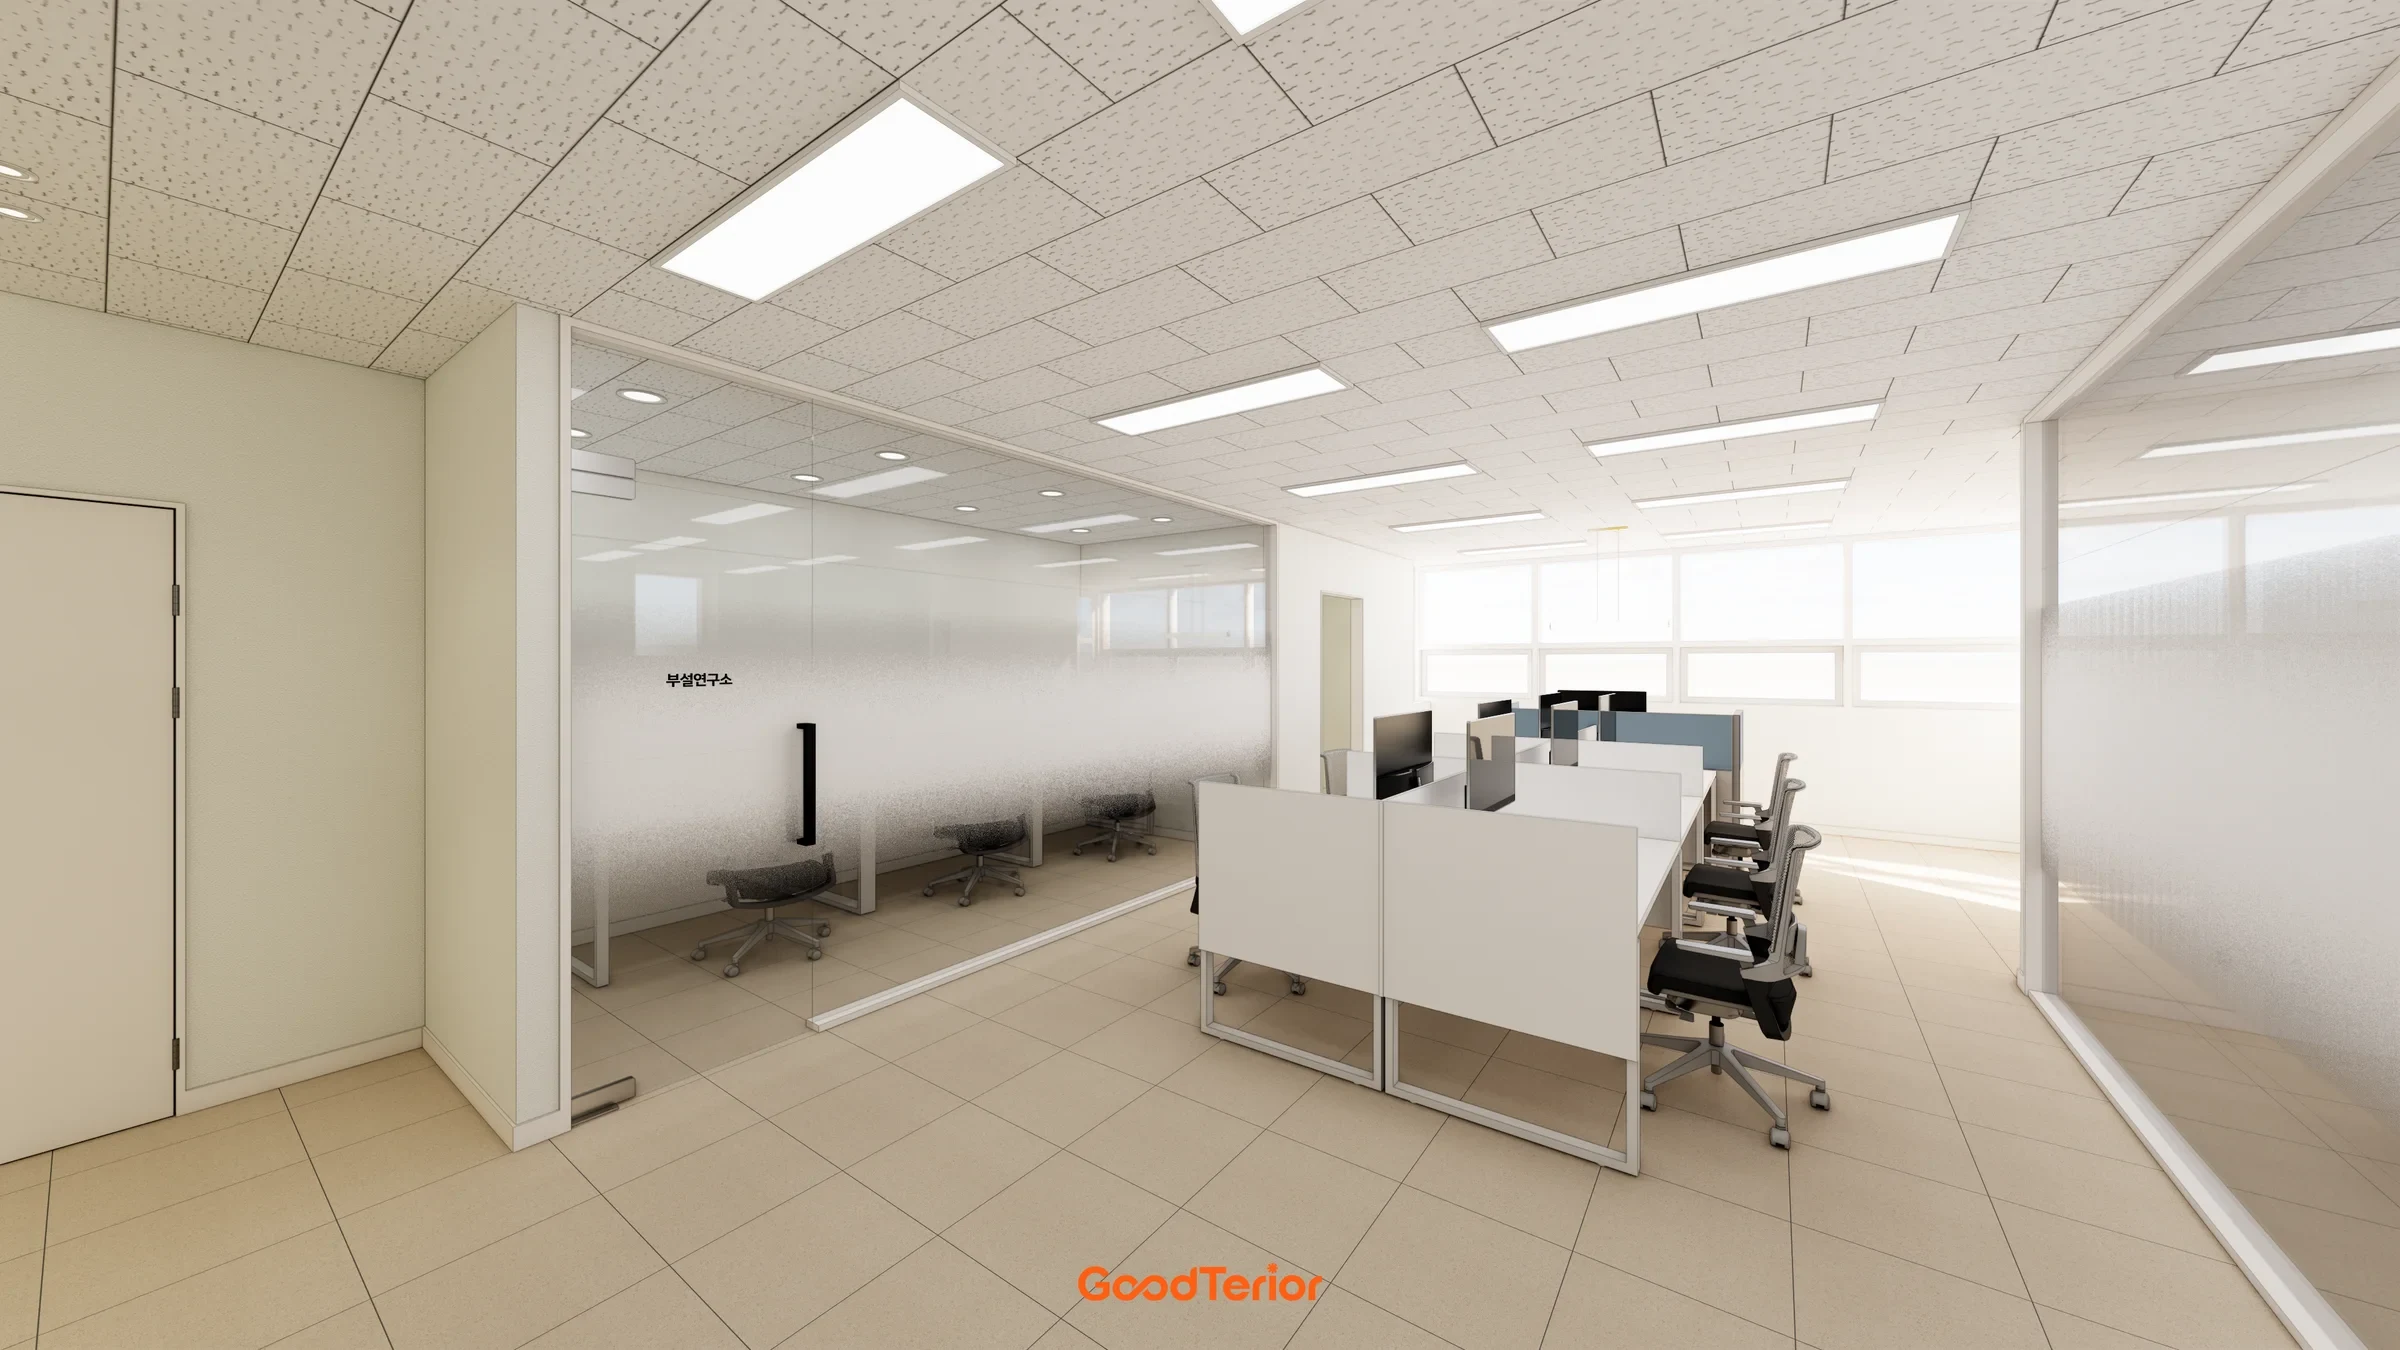
The second image places a glass door beside work areas and furniture. Review access to the device, open-door circulation and cabinet use together. Check the actual door and adjacent furniture arrangement as well as the device’s appearance.
Separate retained and removed devices, including the body, receiving parts and handles. Confirm change and handover arrangements for landlord or third-party equipment. Agree whether the existing closing action needs assessment rather than assuming a new lock resolves every door problem.
Separate supply, installation, additional mounting parts, removal and finish repairs in the quotation. Obtain the site assessment for any door or frame work and compare options using clearly stated retained and altered components.
Describe staff arrival and departure and visitor handling when briefing the installer. If another access system will remain, obtain compatibility and responsibility confirmation from its supplier. Assess required functions separately from physical installation suitability.
At handover, have the installer demonstrate closing and locking under the actual leaf and access arrangements. Obtain routine operating and consumable care instructions and service contacts, with check results recorded by the responsible installer.
Retain the model, door location, suppliers, installers and repaired finish scope with the instructions and contacts. Keep access settings and credentials under the operator’s separate control, outside public drawings and image descriptions. Complete the work with an agreed installation scope and operating handover.
Ask us about your interior project
We can discuss a quote and design suited to the space you are planning.
Request a free consultation