Office Glass Film: Choosing Privacy Heights and Clear Areas
Office glass film involves more than choosing a central band. Three office design studies help review screening targets, seated and standing sightlines, clear areas, doors and lettering, samples and installation quotations.

Before you begin
- Identify whether faces, documents or screens need screening, then draw sightlines.
- Check screening heights from seated and standing positions in corridors and waiting areas.
- Record clear areas, lettering, application faces and existing-film removal in plans and quotations.
Set Heights Around Screening Targets
Before choosing office glass film, describe the view you want to screen. Concealing desk documents from passers-by and reducing views of faces from waiting seats require different viewpoints. Separate decoration from screening. Start with who sees what from where, rather than copying a reference band height.
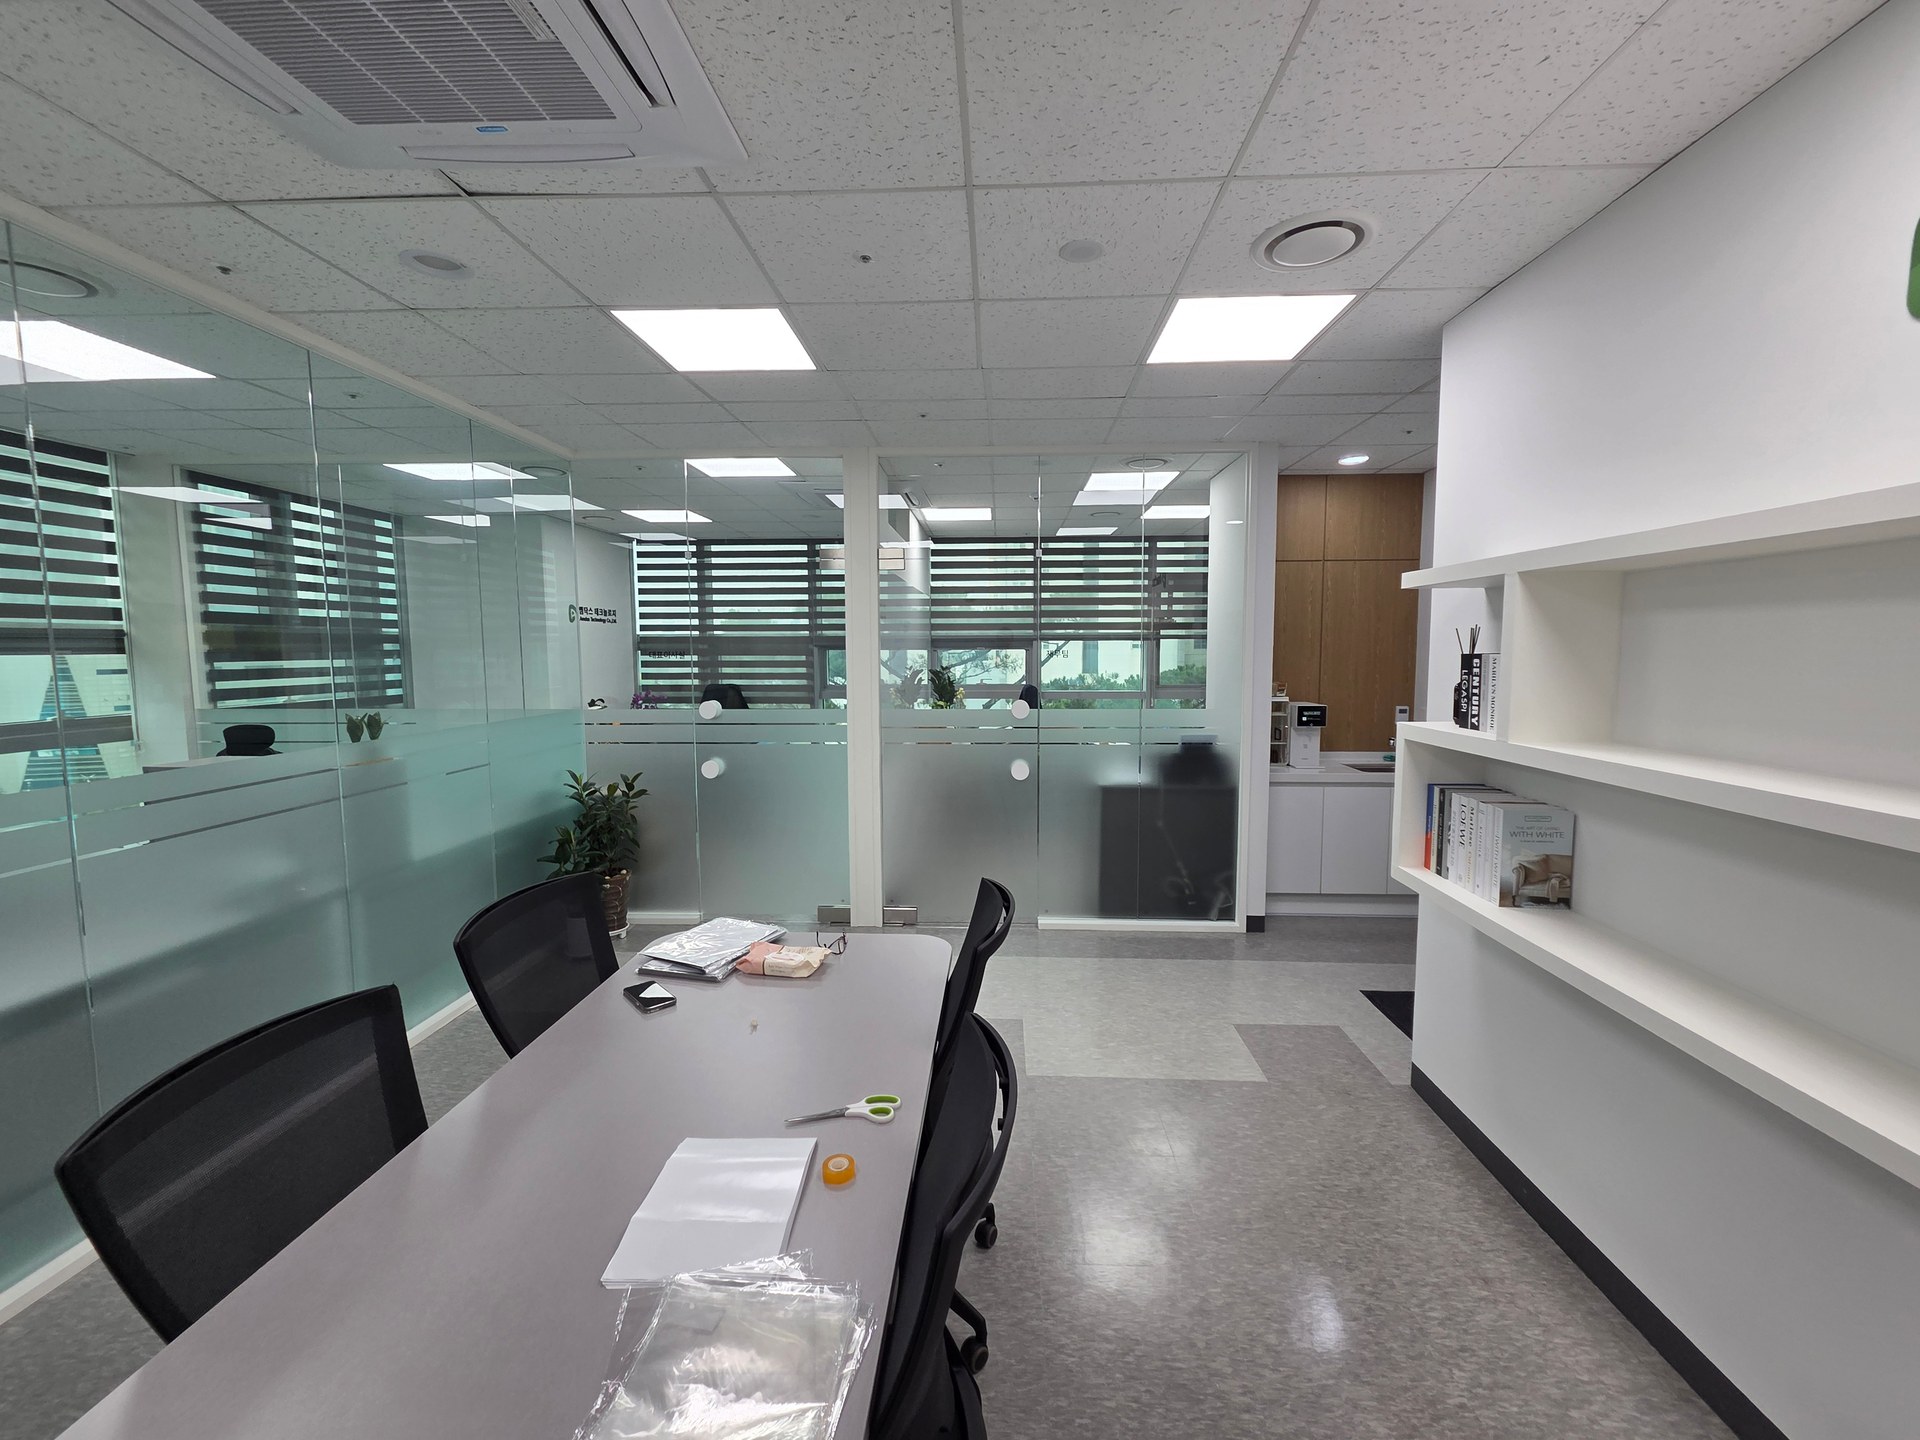
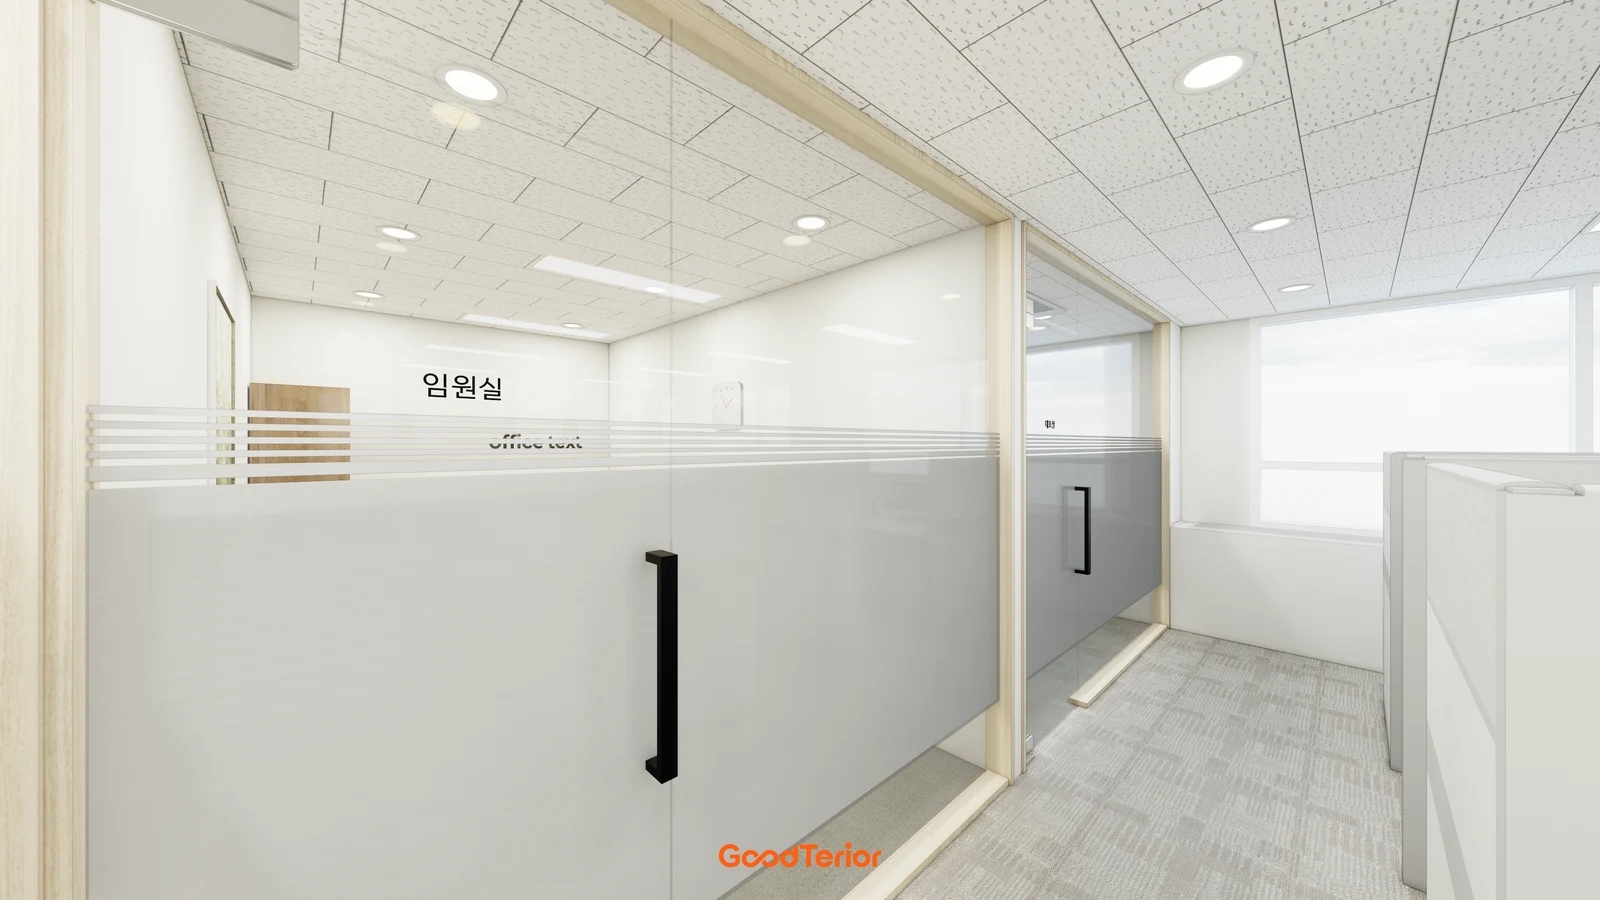
The cover shows broad frosted lower areas with thin lines above, continuing across doors and fixed panes. Review clear spaces between and above the lines as well as the frosted edge. This design visualization does not establish a particular film product or actual screening performance.
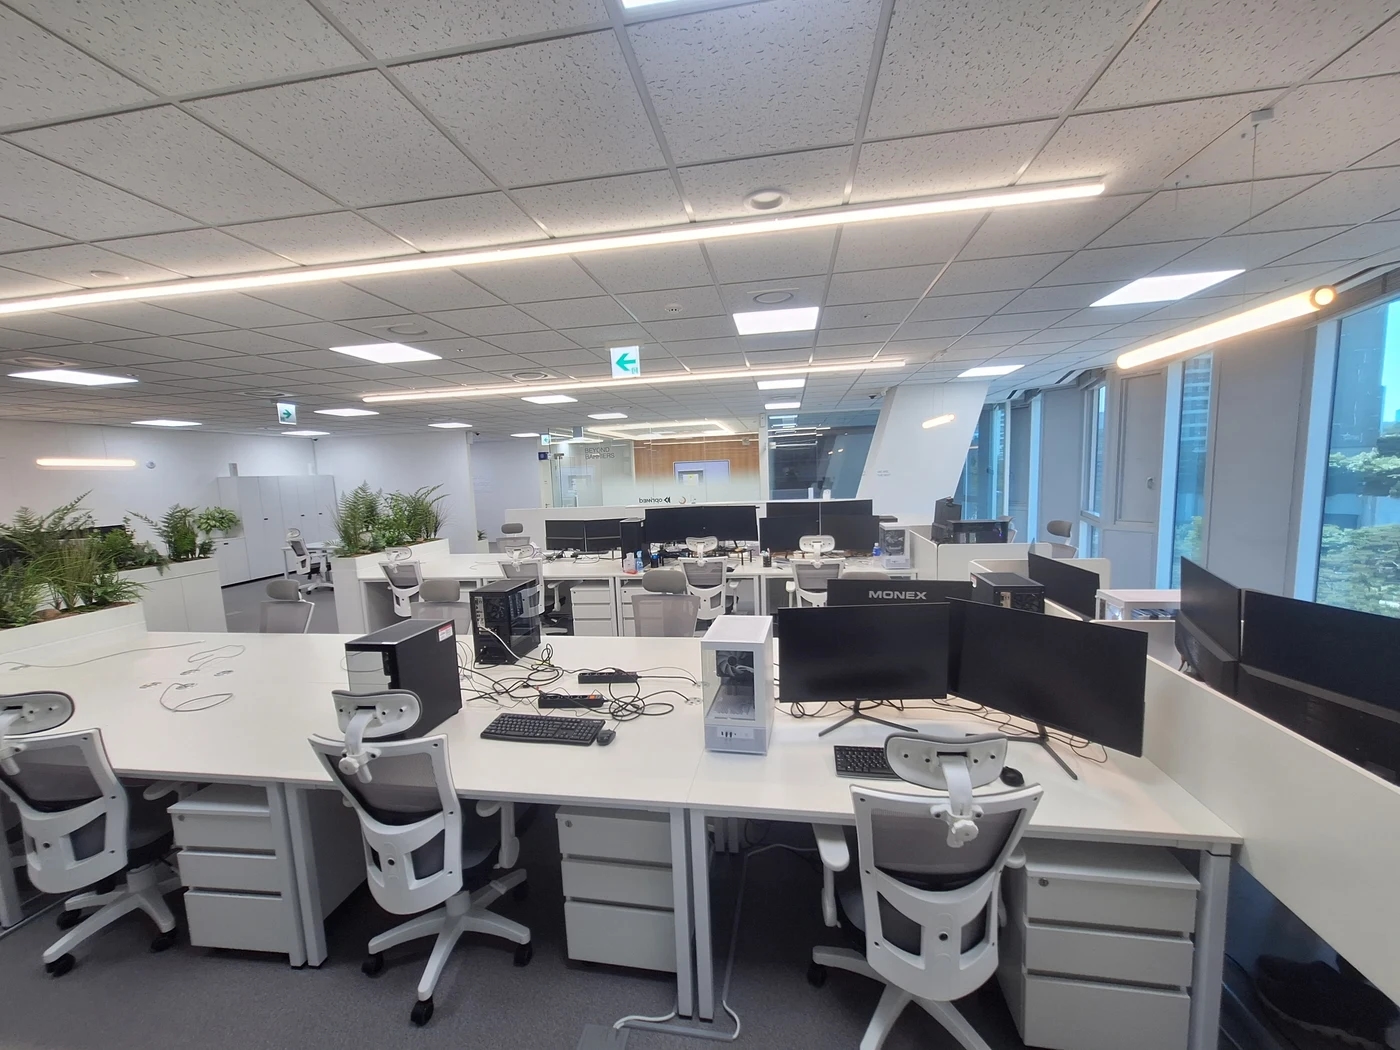
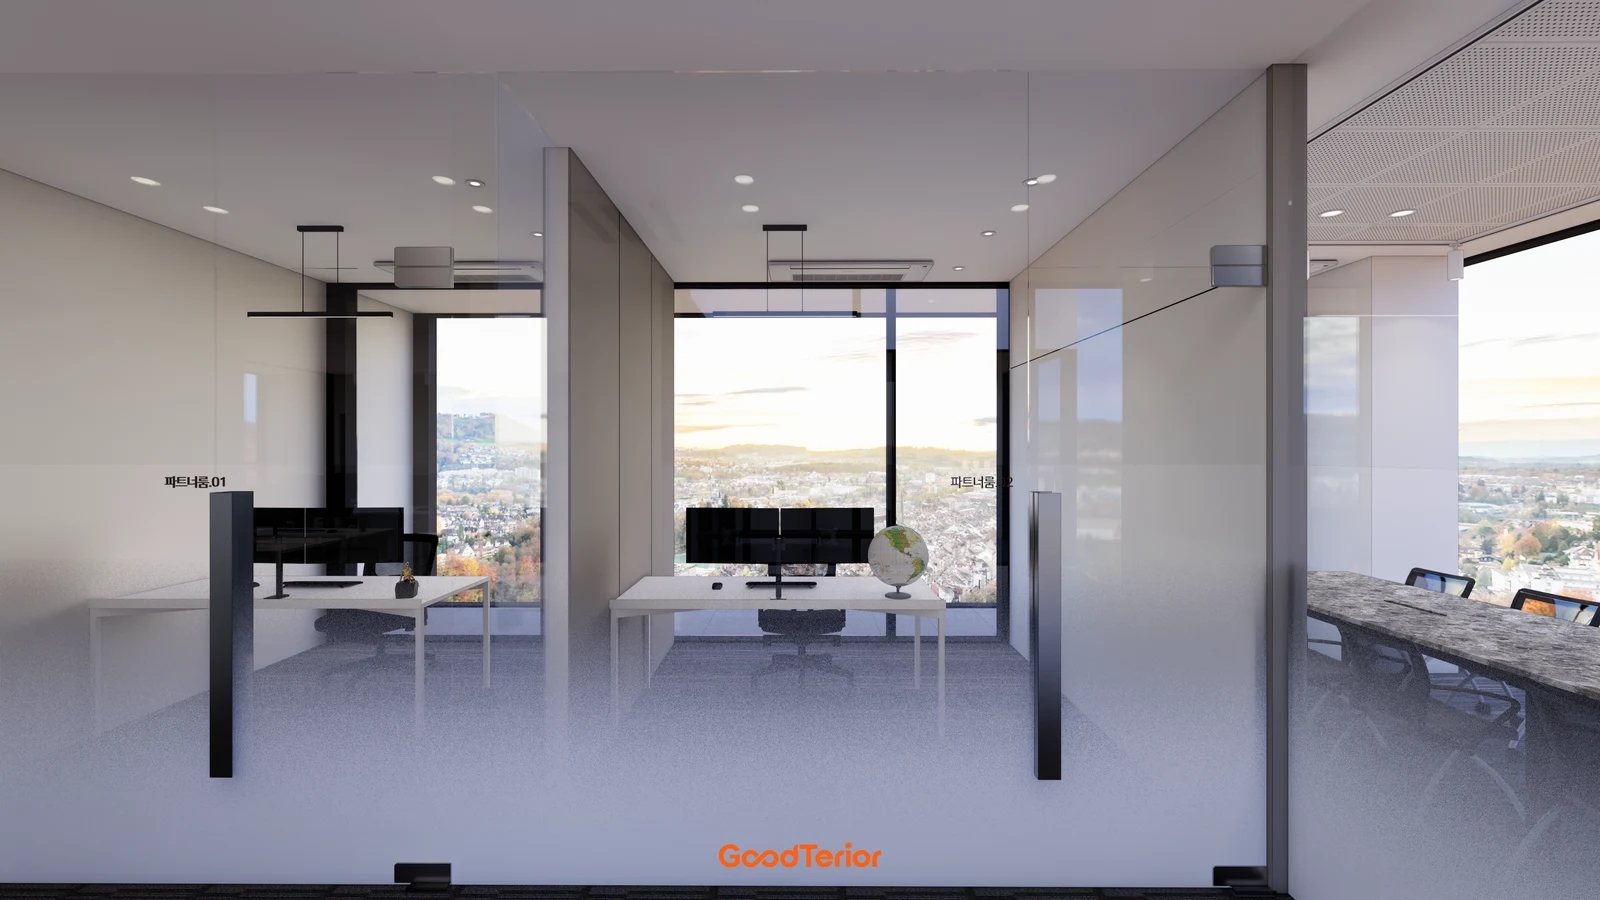
The first body image shows desks and monitors through glazing beside a meeting table. Inspect this arrangement from standing corridor positions and seated meeting positions. Different viewpoints change the targets requiring review. Consider rotating monitors or relocating desks first, then define film coverage for the remaining need.
Mark both upper and lower screening limits. A band considered only from standing eye level leaves seated views unreviewed. Mark waiting seats, corridor ends and door approaches using actual furniture heights. Determine coverage from furniture and viewpoints rather than a universal installation height.
Give clear areas a purpose. Compare views toward doors, room-finding cues and desk areas needing screening. Request broader and selective coverage options on the same furniture layout. If a logo includes clear cutouts, check views through those openings too.
Do not assume gradients and stripes provide equivalent screening. 3M Korea’s FASARA Glass Film Pixela product information describes different opacity options within the range. This supports comparing candidates by product. It does not identify rendered materials or guarantee identical screening in every office.
Hold shortlisted samples against the intended glazing and check both sides. Place targets at planned positions and review near, distant, seated and standing views, including normal lighting and window conditions. Small samples compare materials; use drawings or full-size markings for overall heights and clear areas.
Coordinate Doors, Lettering and Installation Scope
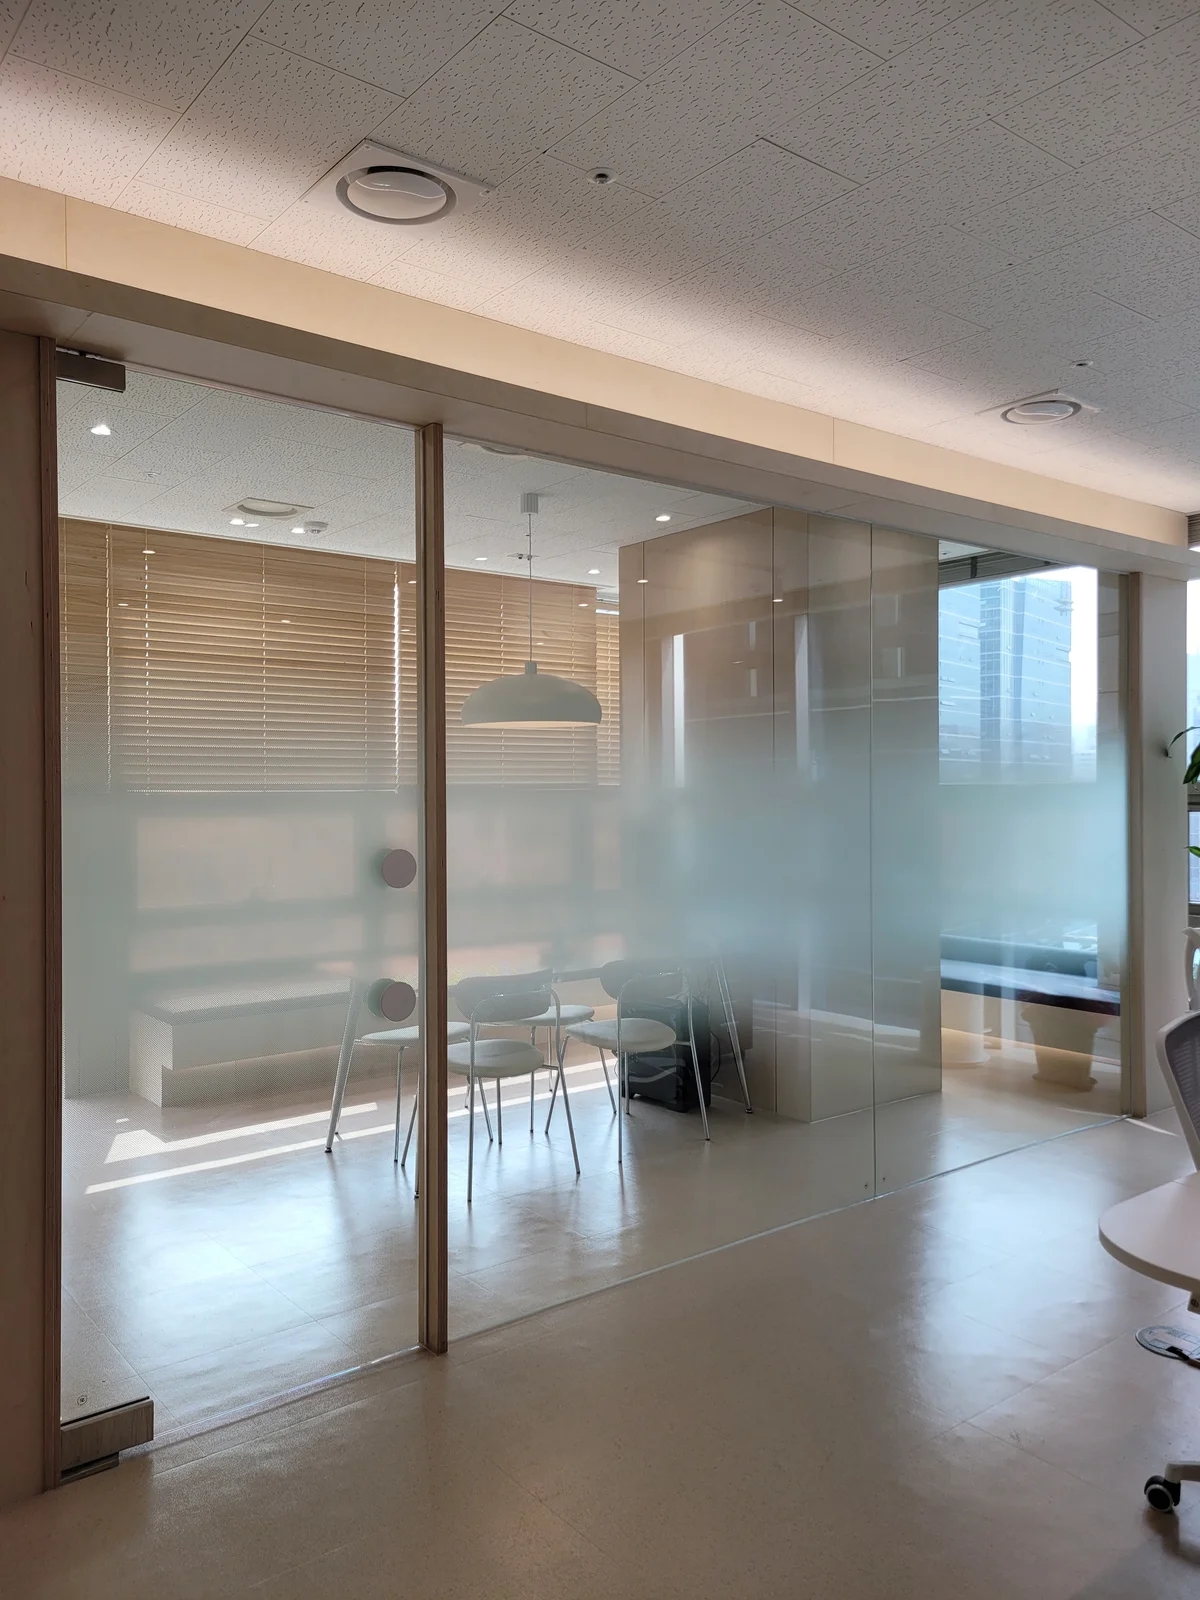
The second body image shows bands and a frosted lower area on a pantry-side door, with clear glazing above and workstations beyond. It helps review pattern edges, handles and door margins. Close views support more specific discussion of these details than a full-wall image.
Include the open-door condition: film on a door moves with it. Check views exposed during entry. If more film cannot address them, adjust desk orientation or waiting positions. Review open conditions on the plan even if fixed glazing and doors share one elevation approval.
Place room names and logos after defining coverage. Review pane joints, door edges and handles alongside text. Decide whether lettering must be read from both sides or serves one approach. Separate replacing lettering from replacing its background film.
Record upper and lower heights from the floor and each pane’s width for quotations. Coordinate corridor reference heights and explain room-specific differences. Specify the application face. Have the contractor confirm surface condition and product requirements instead of assuming compatibility from an image.
For existing film, mark retained and removed areas, logos and lettering on photographs. Ask how post-removal checks, cleaning and new application are included. In occupied offices, define furniture moves, working times and access zones so scopes can be compared.
Separate changing products from reducing coverage for budget adjustments. Recheck the screening target if heights are reduced. Simpler lettering or phasing by room may also be considered. Compare products, coverage, lettering fabrication and existing-film removal on one schedule to explain price differences.
At handover, revisit the original waiting-seat, desk and door positions while seated and standing. Compare open-door views, clear areas and lettering with approved drawings. Keep care guidance and pane records, and revisit screening when furniture or room use changes.
Ask us about your interior project
We can discuss a quote and design suited to the space you are planning.
Request a free consultation