Commercial Floor Tile Layouts: Check Entrance Lines and Edge Cuts
Choosing a floor tile size and colour still leaves its layout origin undecided. Showroom and clothing-store design studies help review lines seen from the entrance, cuts beside walls and furniture, pattern direction and quotation details before installation.

Before you begin
- Compare the full layout seen from the entrance and cuts at both walls, rather than a single tile.
- Review plans with and without furniture before confirming pattern direction and layout reference lines.
- Check the layout drawing against actual products and site dimensions, recording cuts, additional quantities and quotation scope.
Entrance Sightlines and Edge Cuts
When planning a commercial floor tile layout, request a drawing of the whole floor alongside product samples. With the same tile, moving the layout origin changes the pieces remaining at the walls. Selecting a sample should not count as approving the layout. Identify the principal entrance view and exposed circulation areas, then compare the lines visible there.
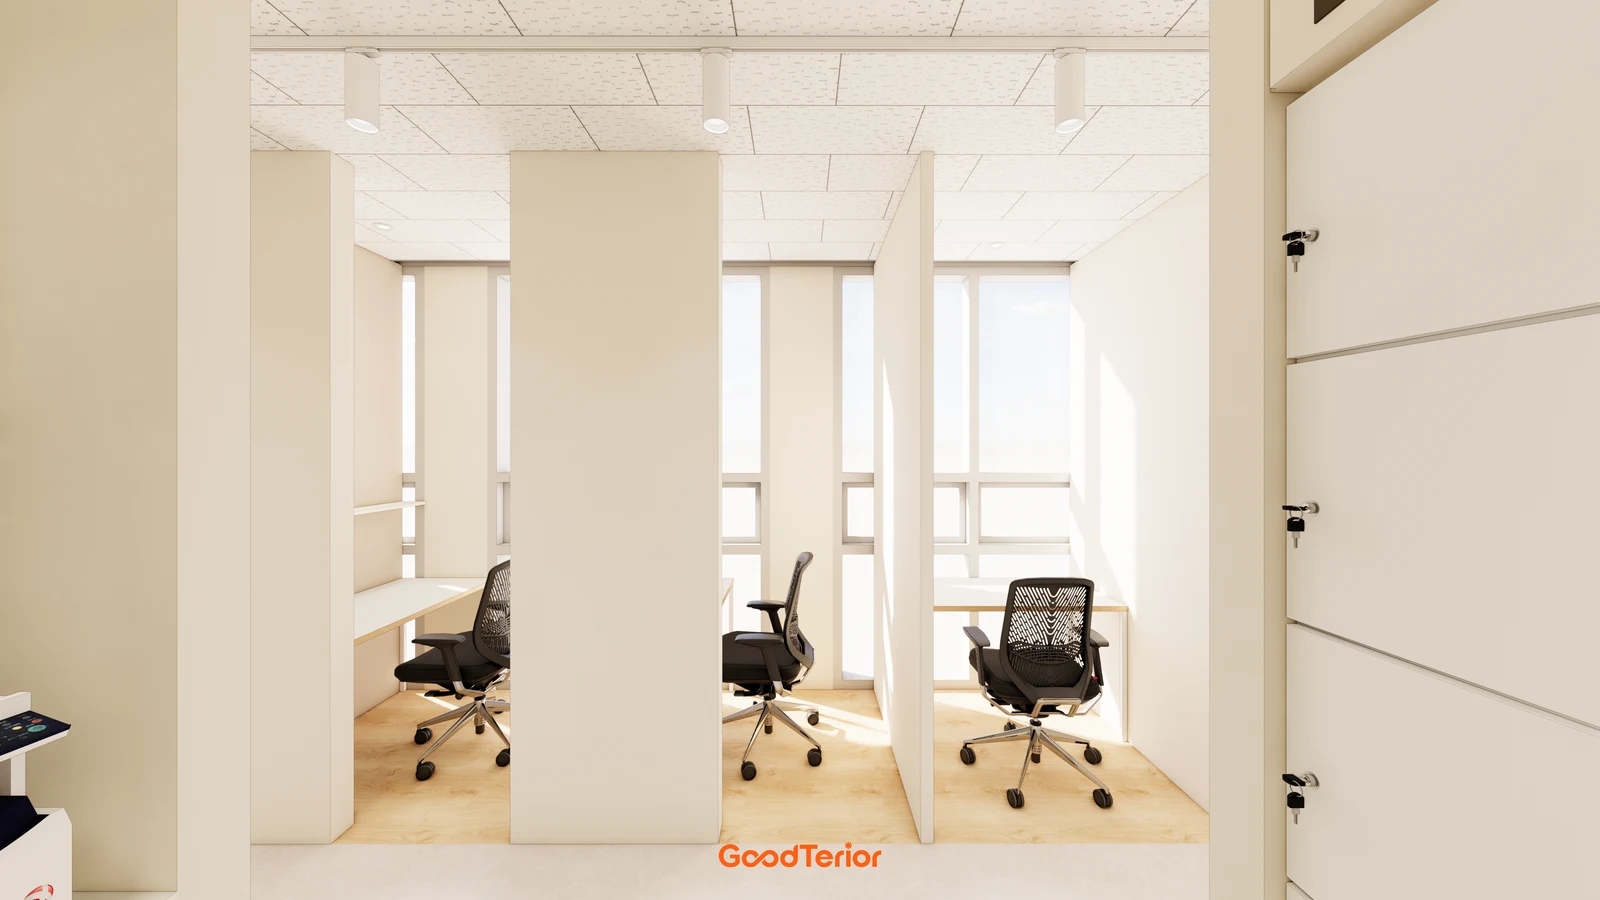
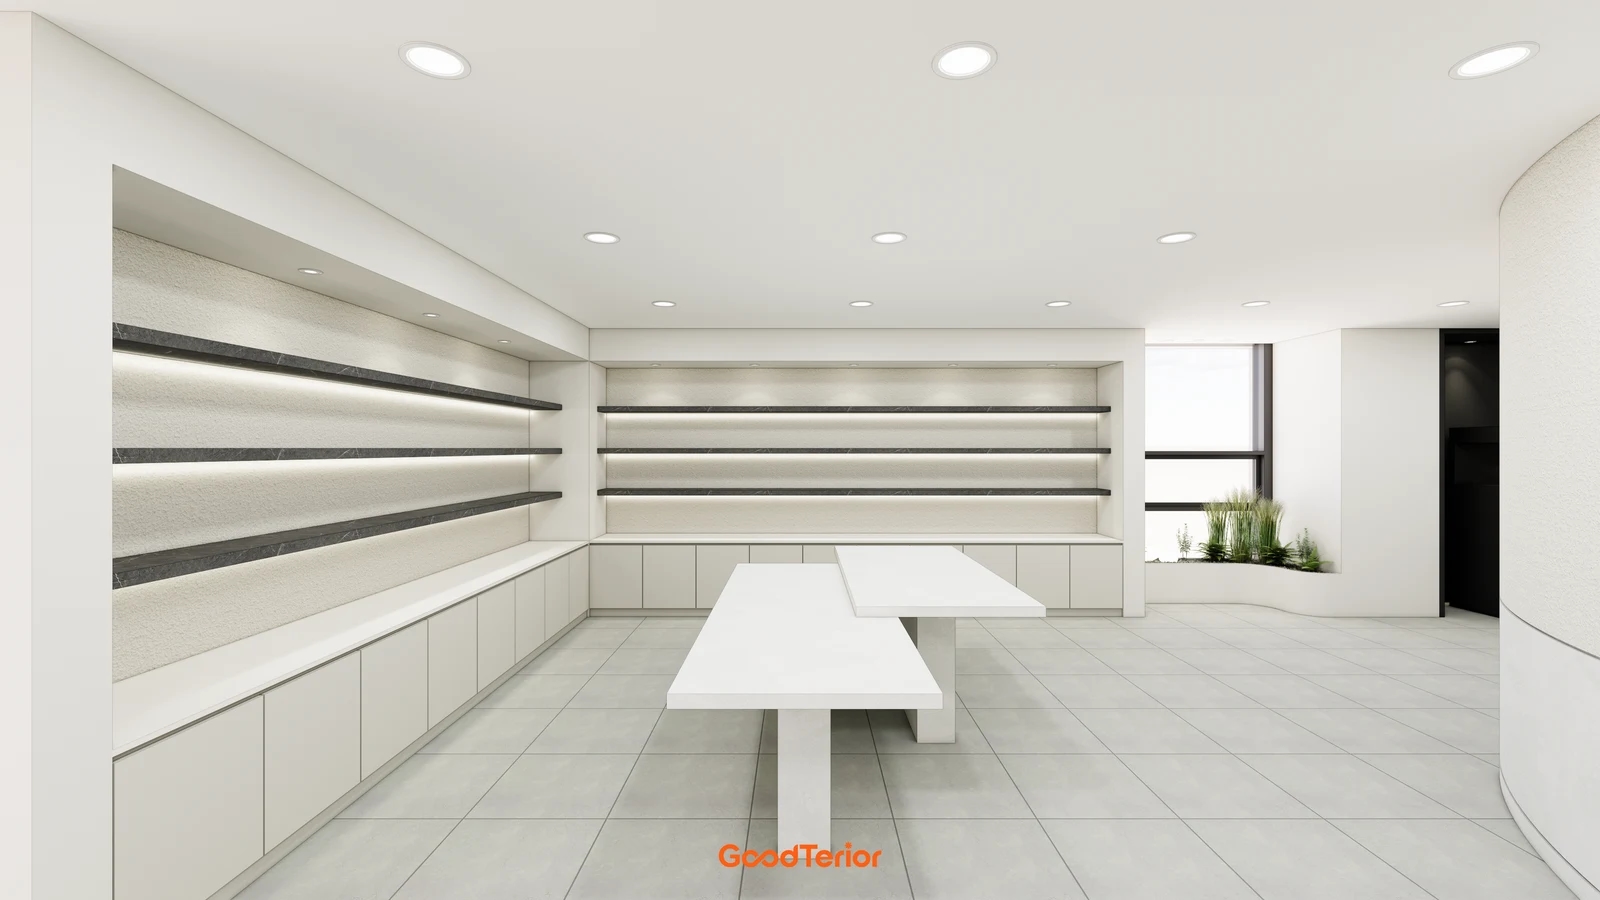
The cover shows a square grid continuing between wall shelves and central display tables. It lets you consider lines along the displays together with those seen from the entrance. The rendered grid does not establish actual tile dimensions or completed installation. It illustrates the relationship between layout and furniture; products and joint conditions need separate decisions.
Compare reference options on the same plan: centring a tile at the entrance, placing a joint on that centreline, or orienting the layout to a long wall. In every option, inspect both walls and internal corners rather than stopping at an orderly front view. Adjusting pieces at one edge requires another review of the opposite edge.
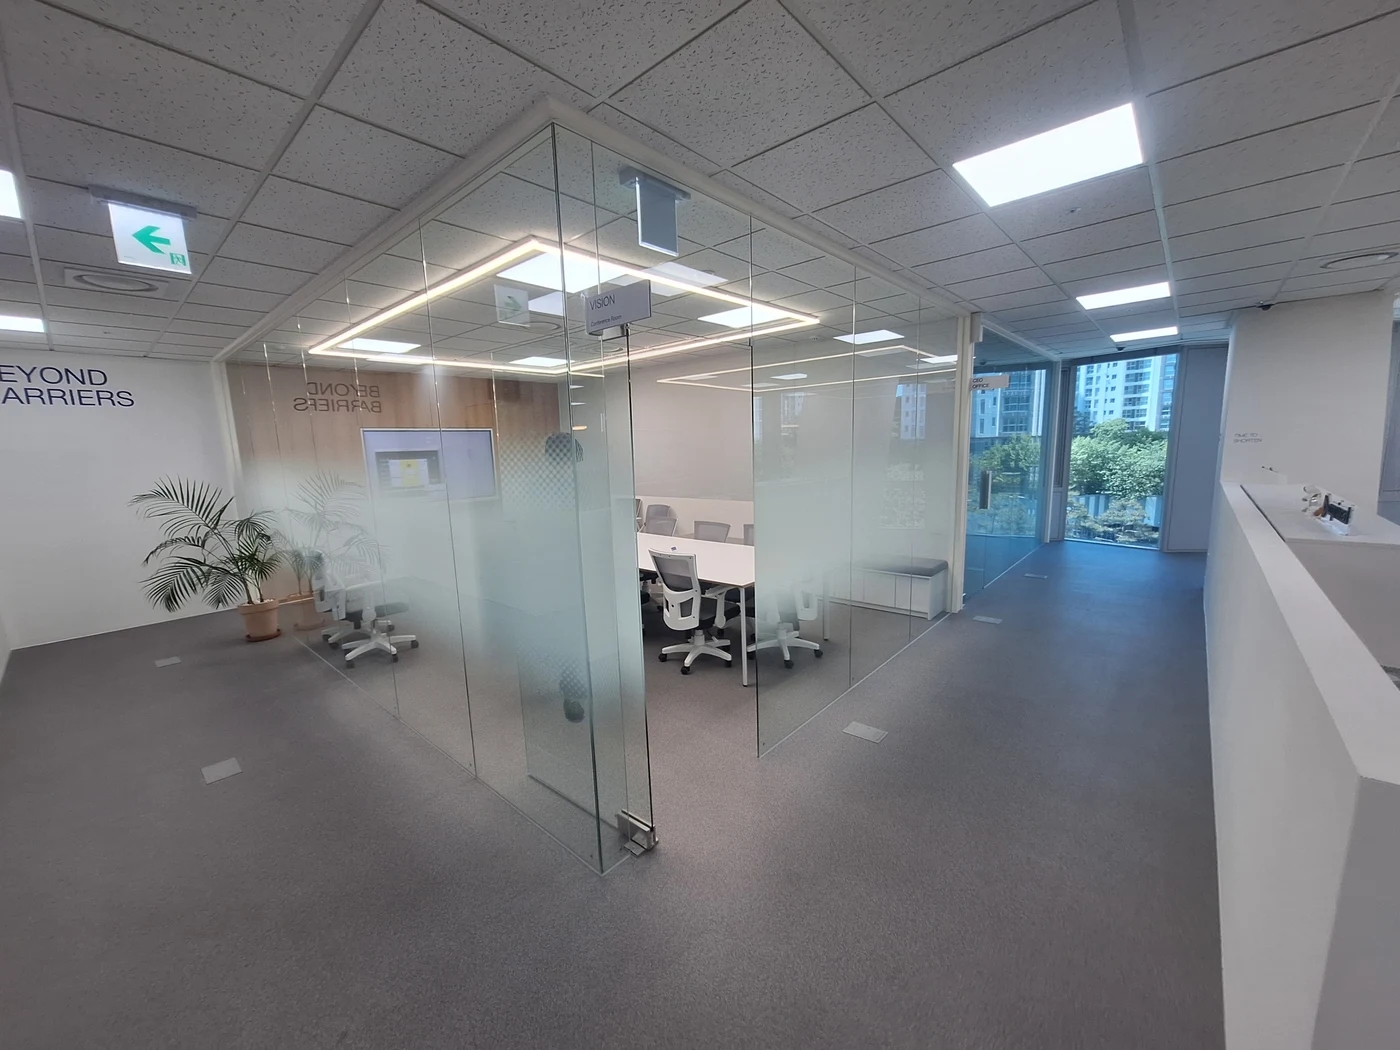
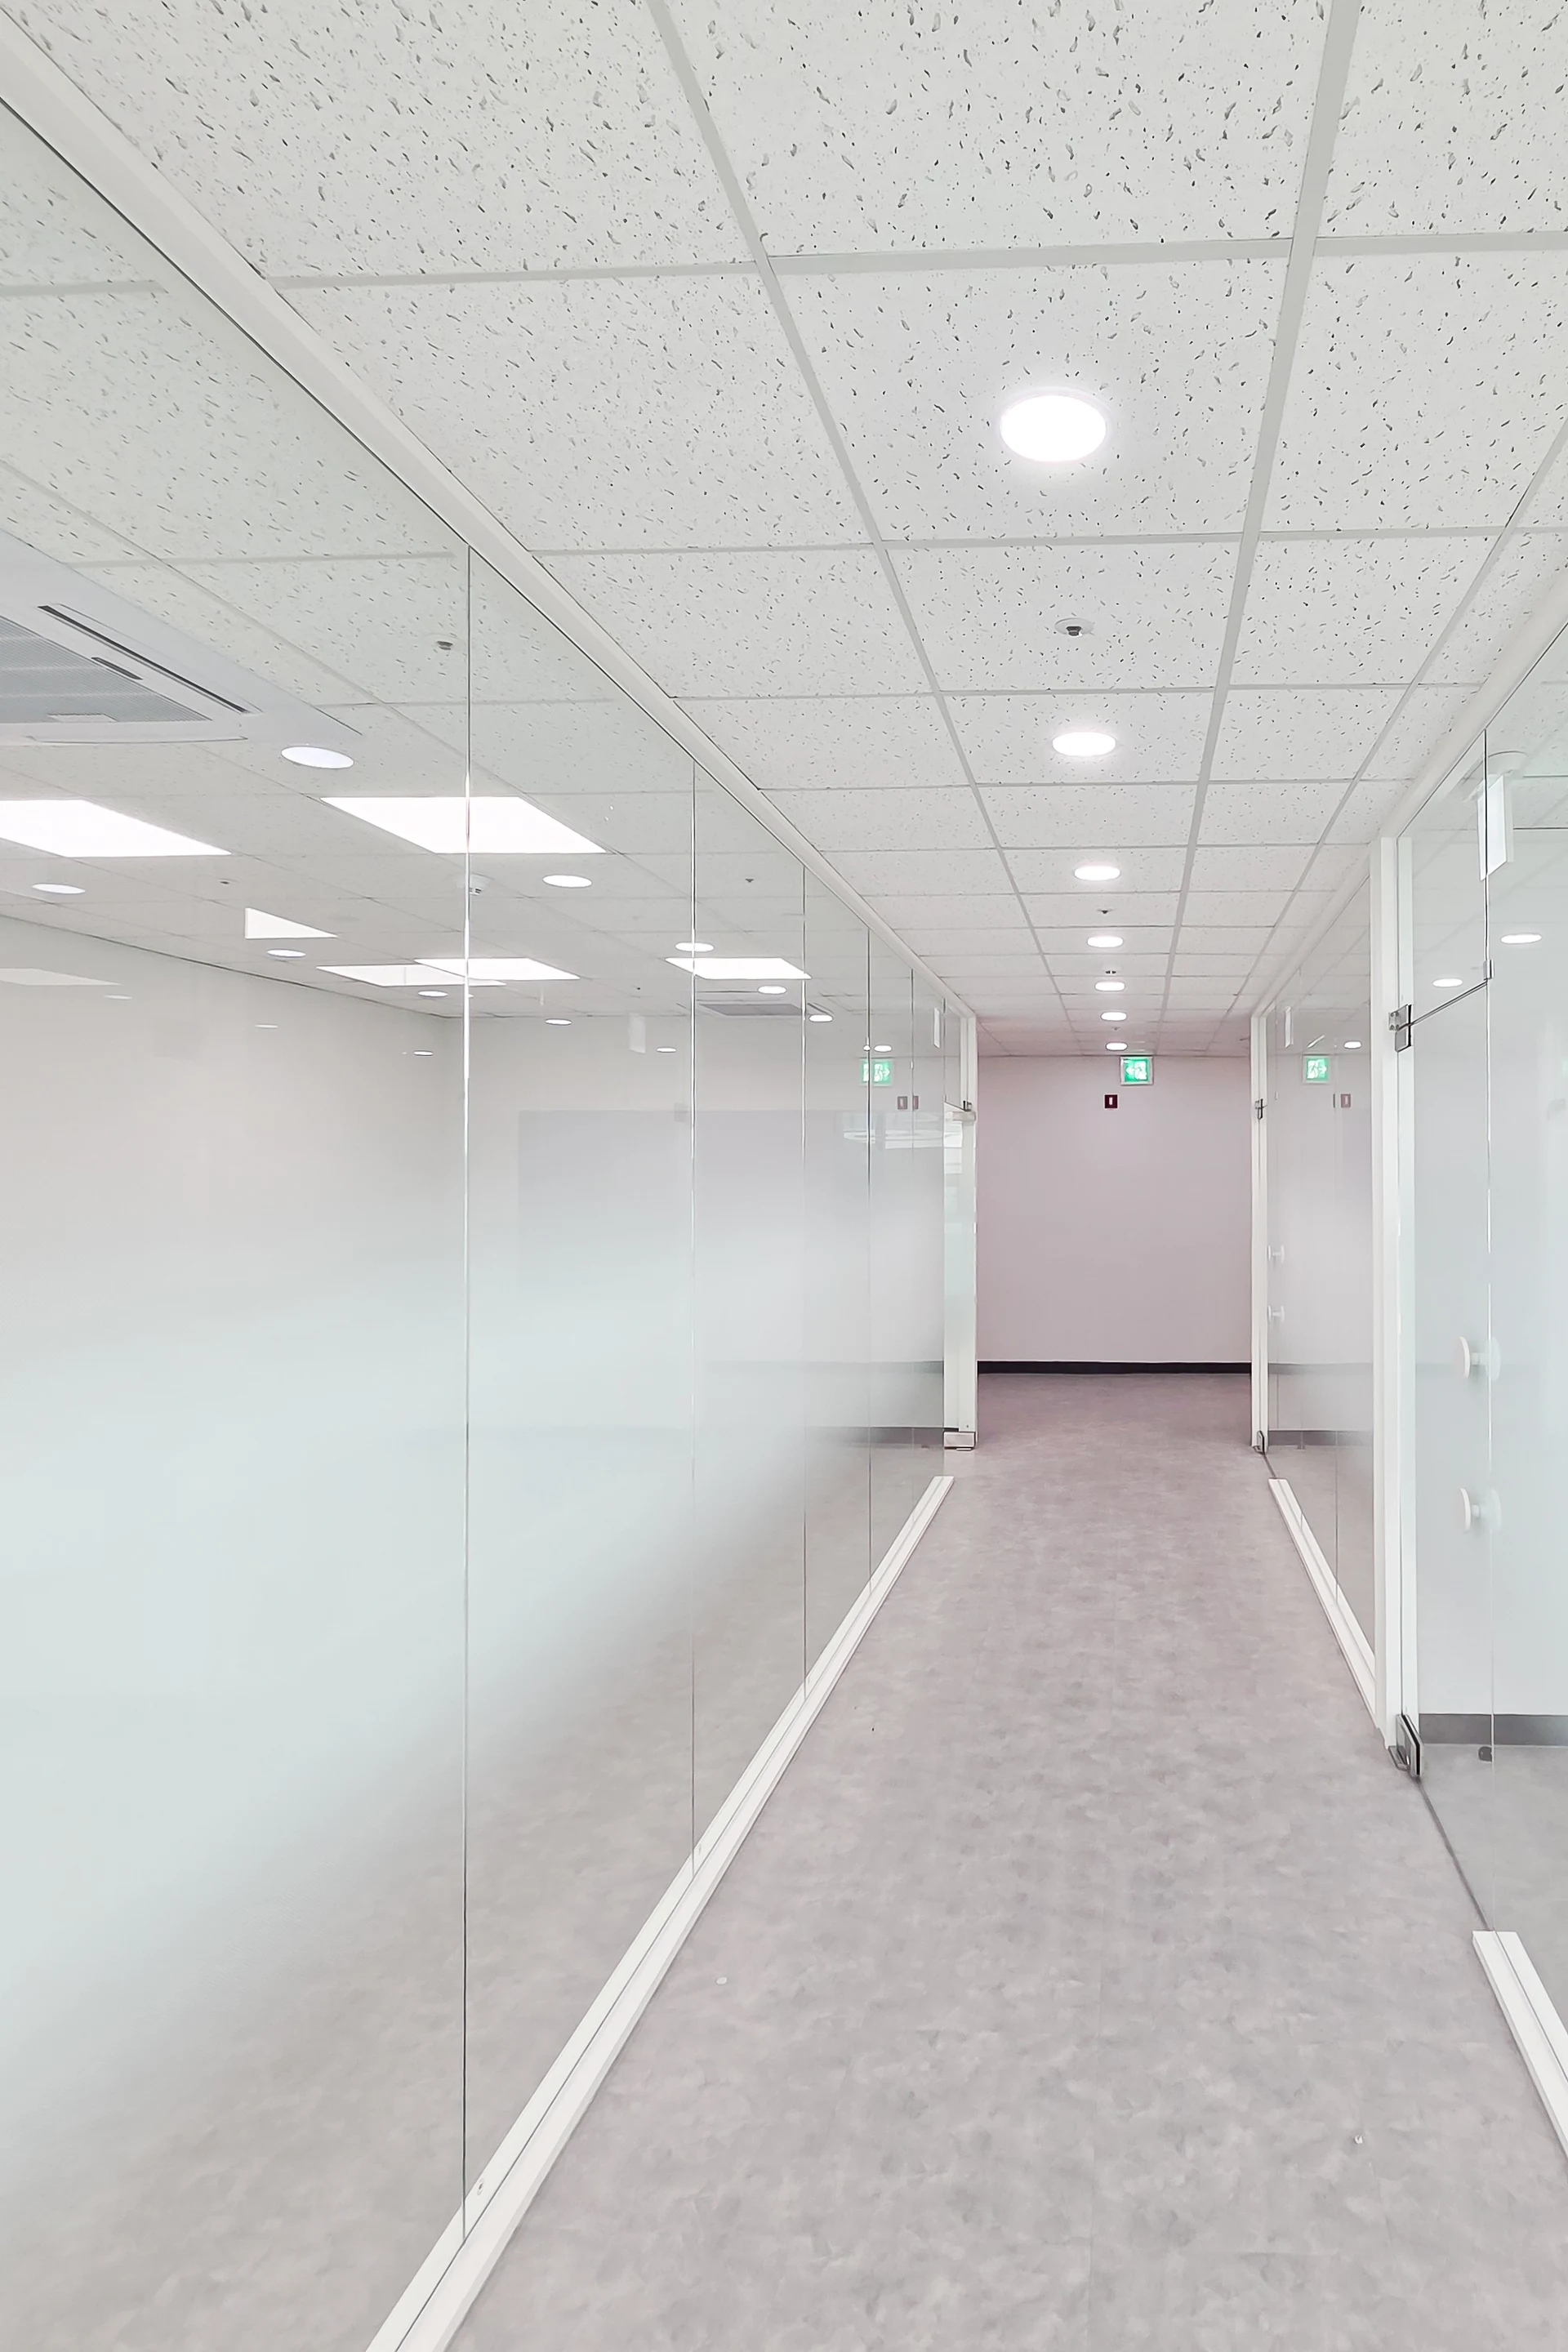
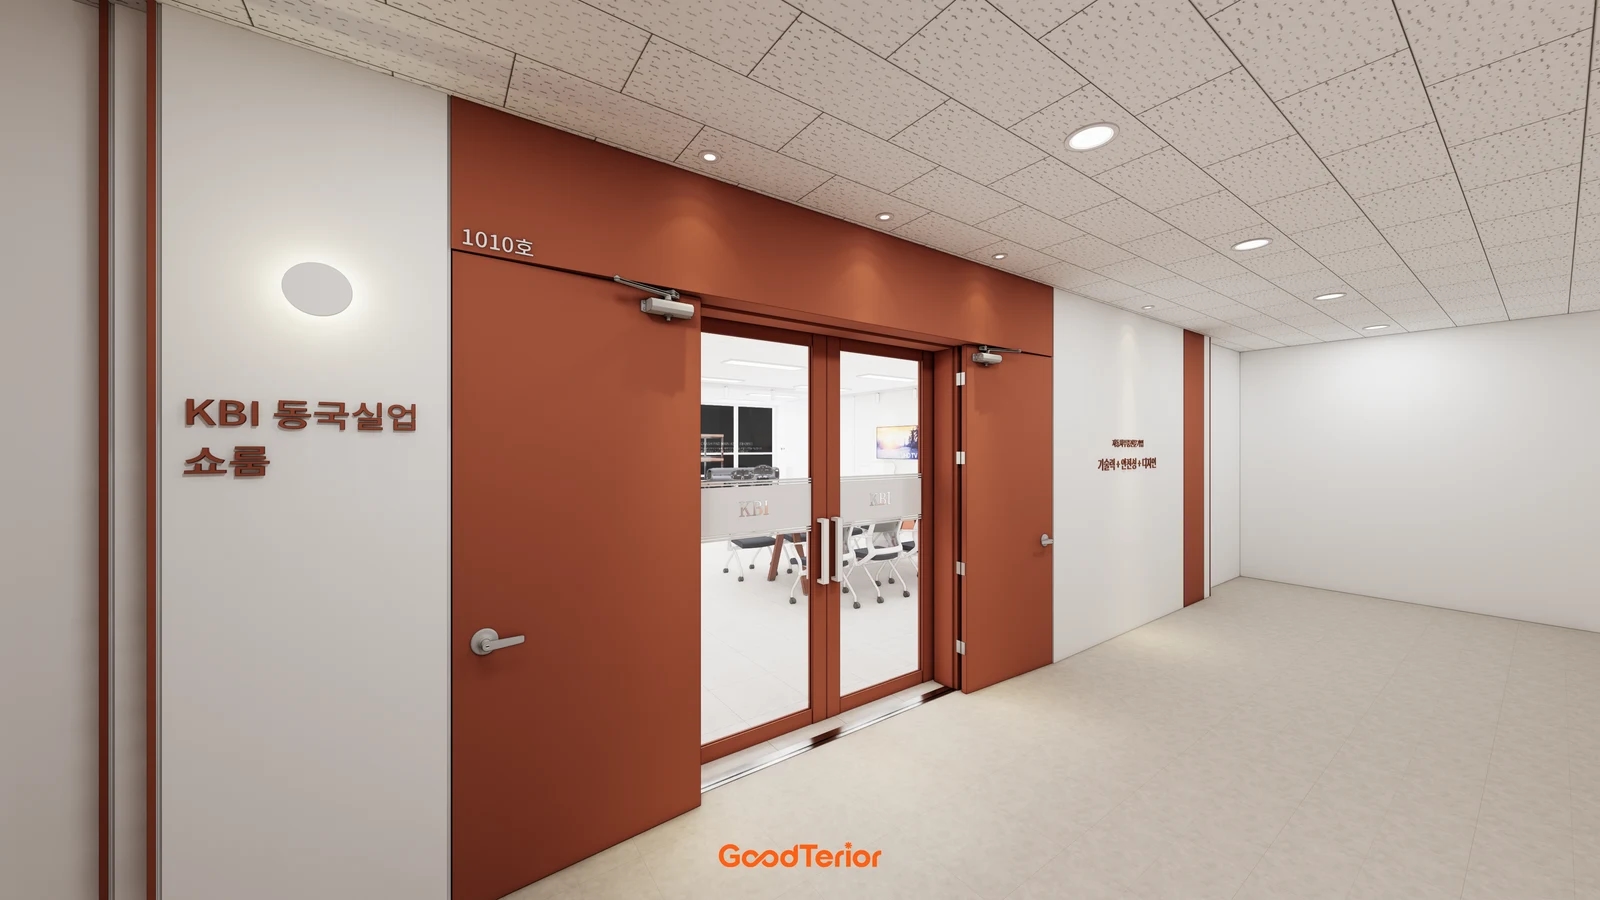
The first body image shows flooring outside and inside glazed entrance doors. Compare the lines seen while entering with the edges visible when the doors are closed. Consider whether to continue corridor lines or establish an independent interior layout. Distinguish the visual request for alignment from the actual detailing at the door base and floor boundary.
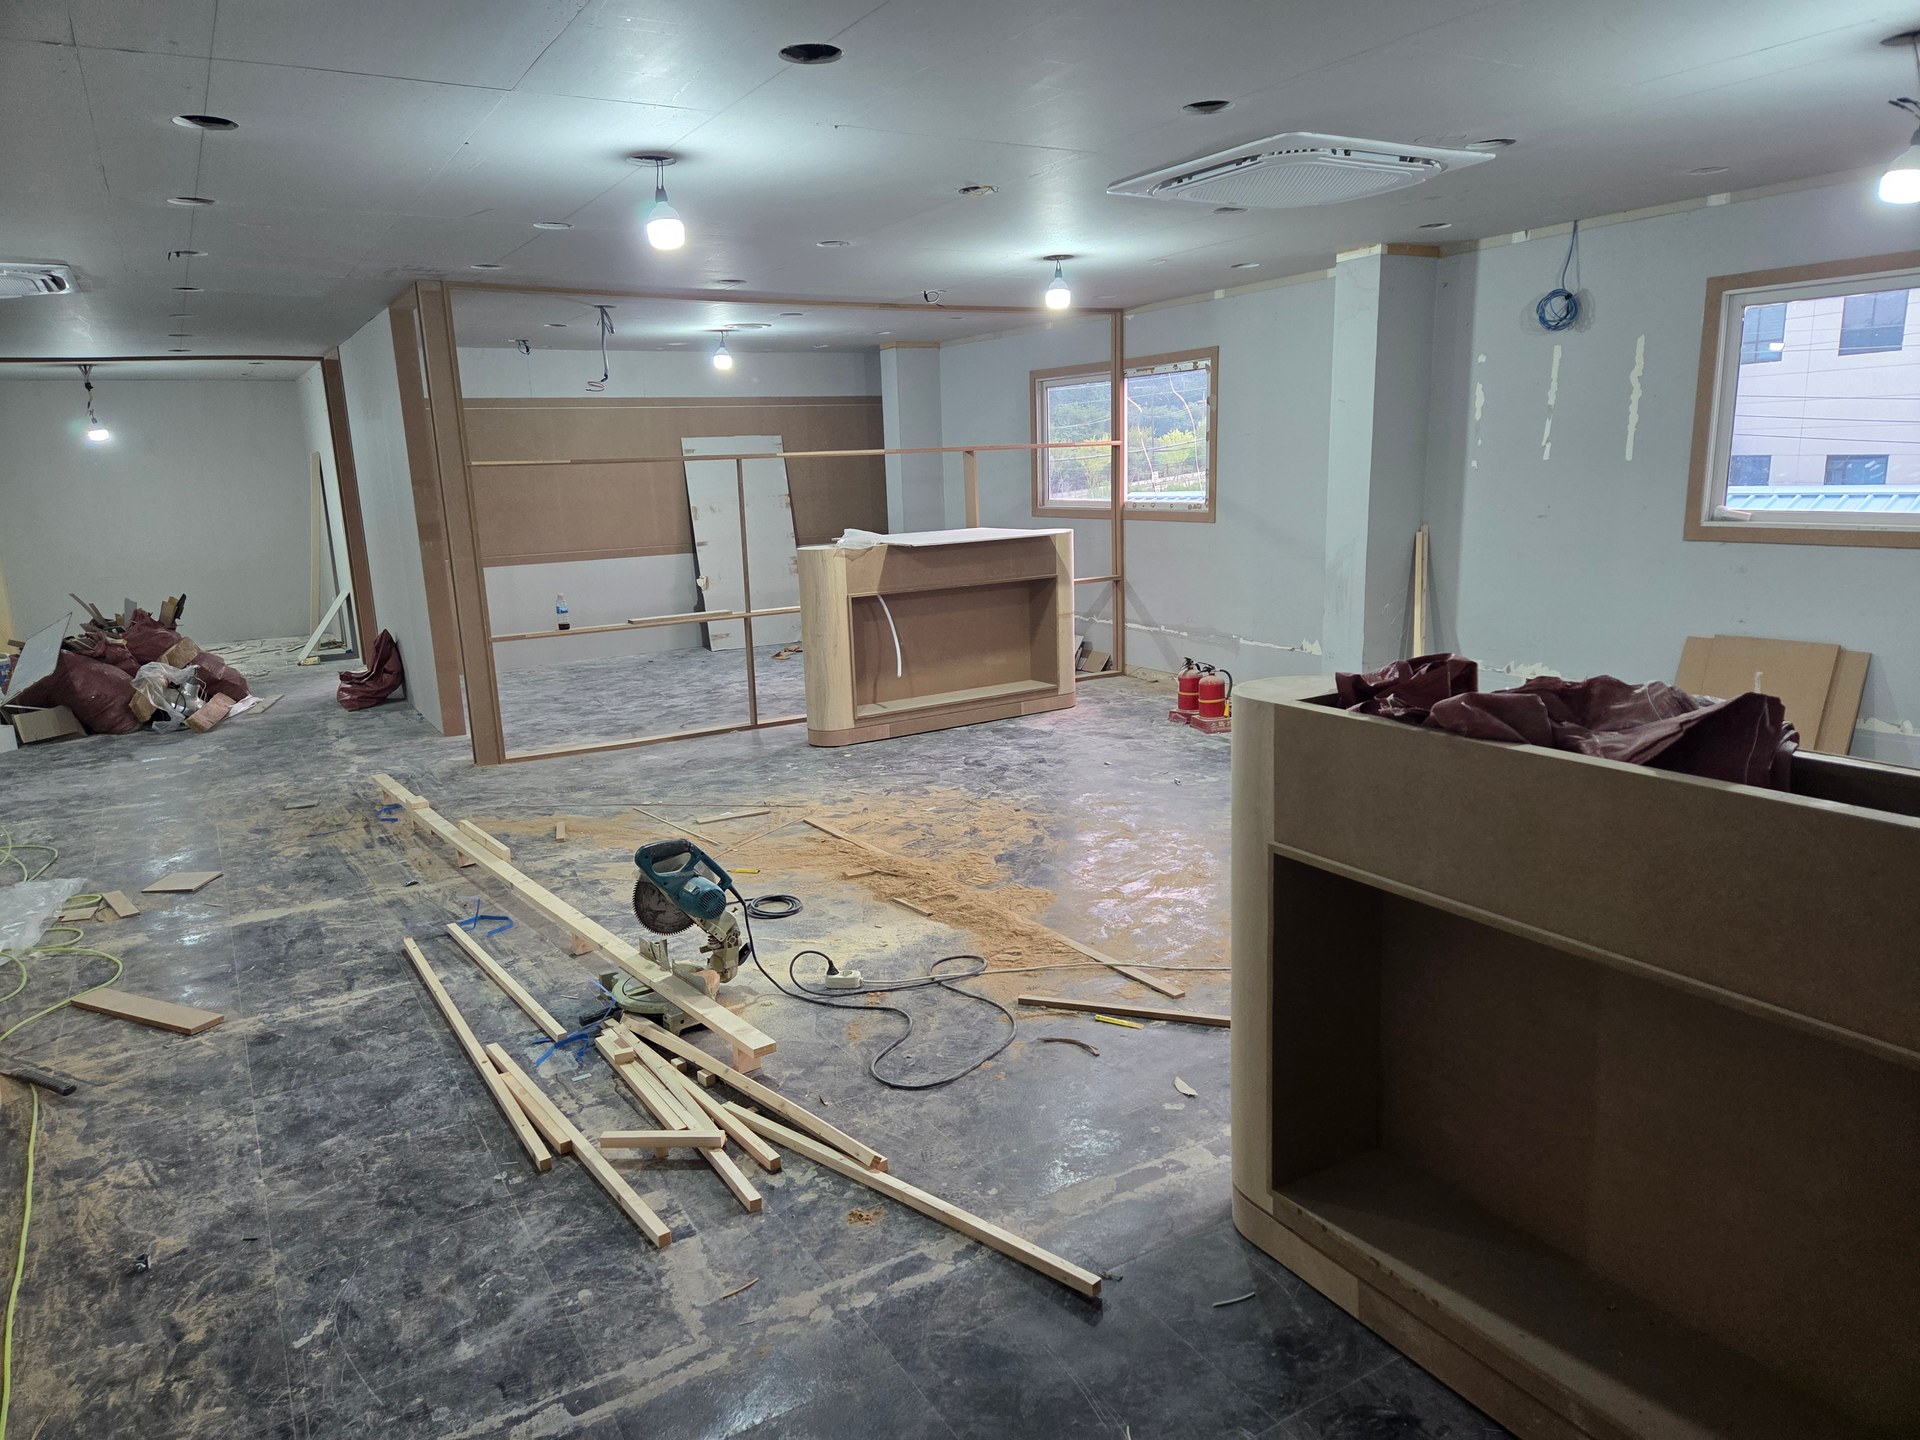
Overlay cuts on the final furniture plan. Check for narrow pieces exposed along a counter or lines that appear misaligned at a display end. Areas concealed today may become visible when movable displays change. Decide the extent of flooring beneath fixed furniture together with installation sequence and quotation scope; do not infer omissions from concealed areas in an image.
Request enlarged layouts around columns and changes in wall direction. Small pieces on an overall drawing may be noticeable at entrance corners or frequent standing positions. Rather than promising identical cuts at every edge, prioritize particular views and approve the resulting cuts elsewhere. Reconsider the reference line if site dimensions change.
Do not decide to force a dimensional fit by adjusting joint widths. Have the contractor confirm the selected tile, grout and installation conditions, then review the complete layout on that basis. Grout colour and layout origin are connected decisions but require different approvals: colour through a physical combination sample, and lines and cuts through dimensioned drawings.
Confirm Pattern Direction with Actual Products
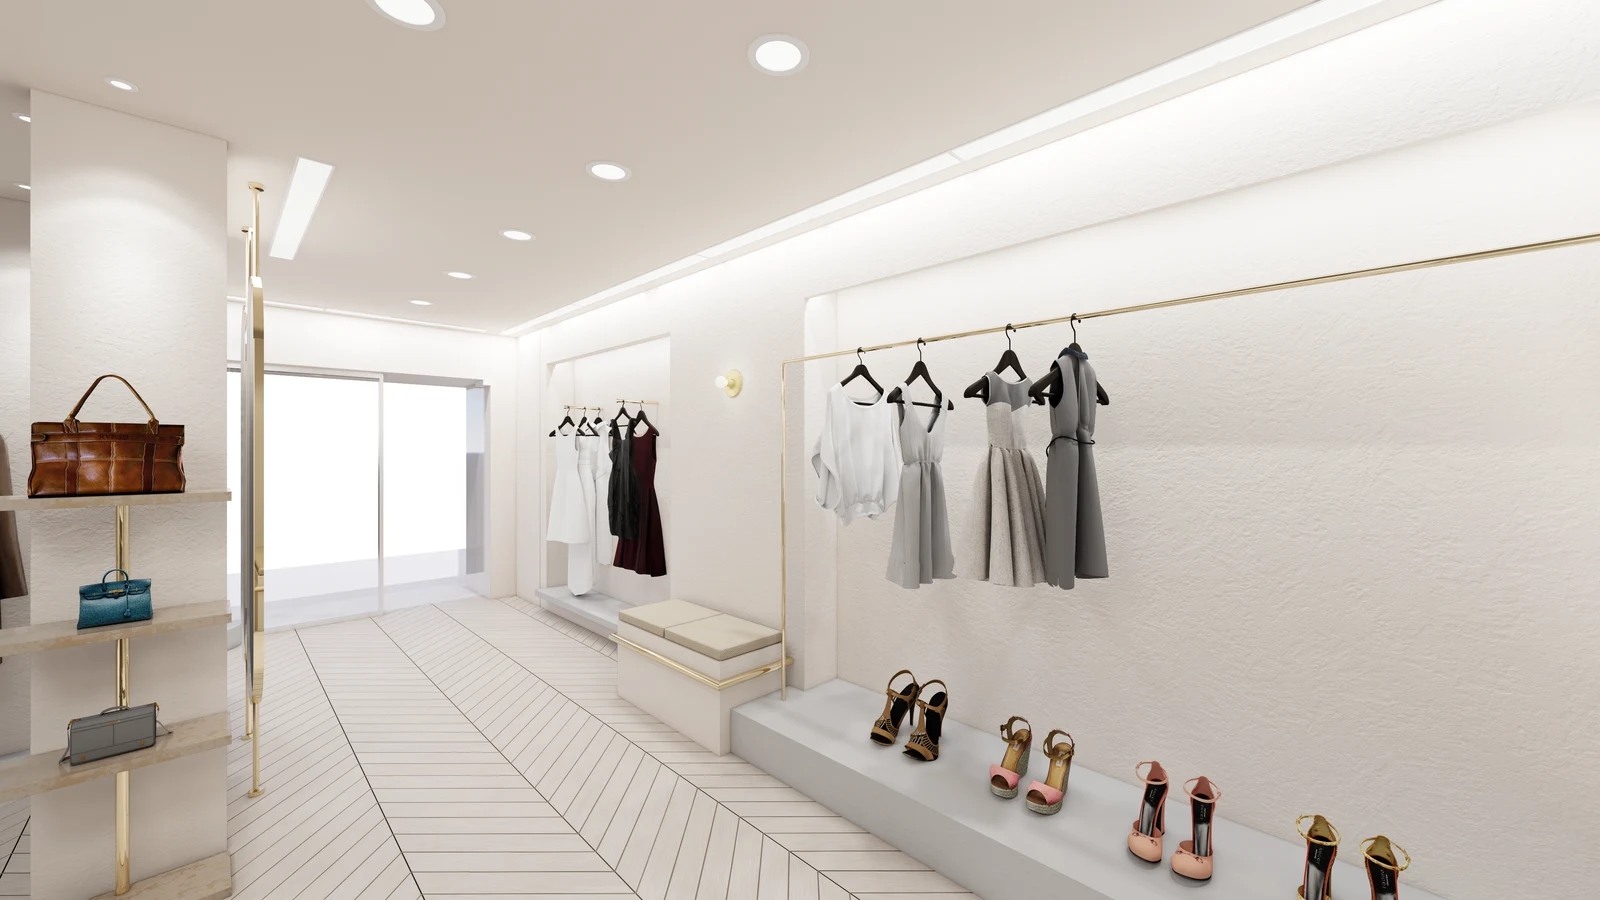
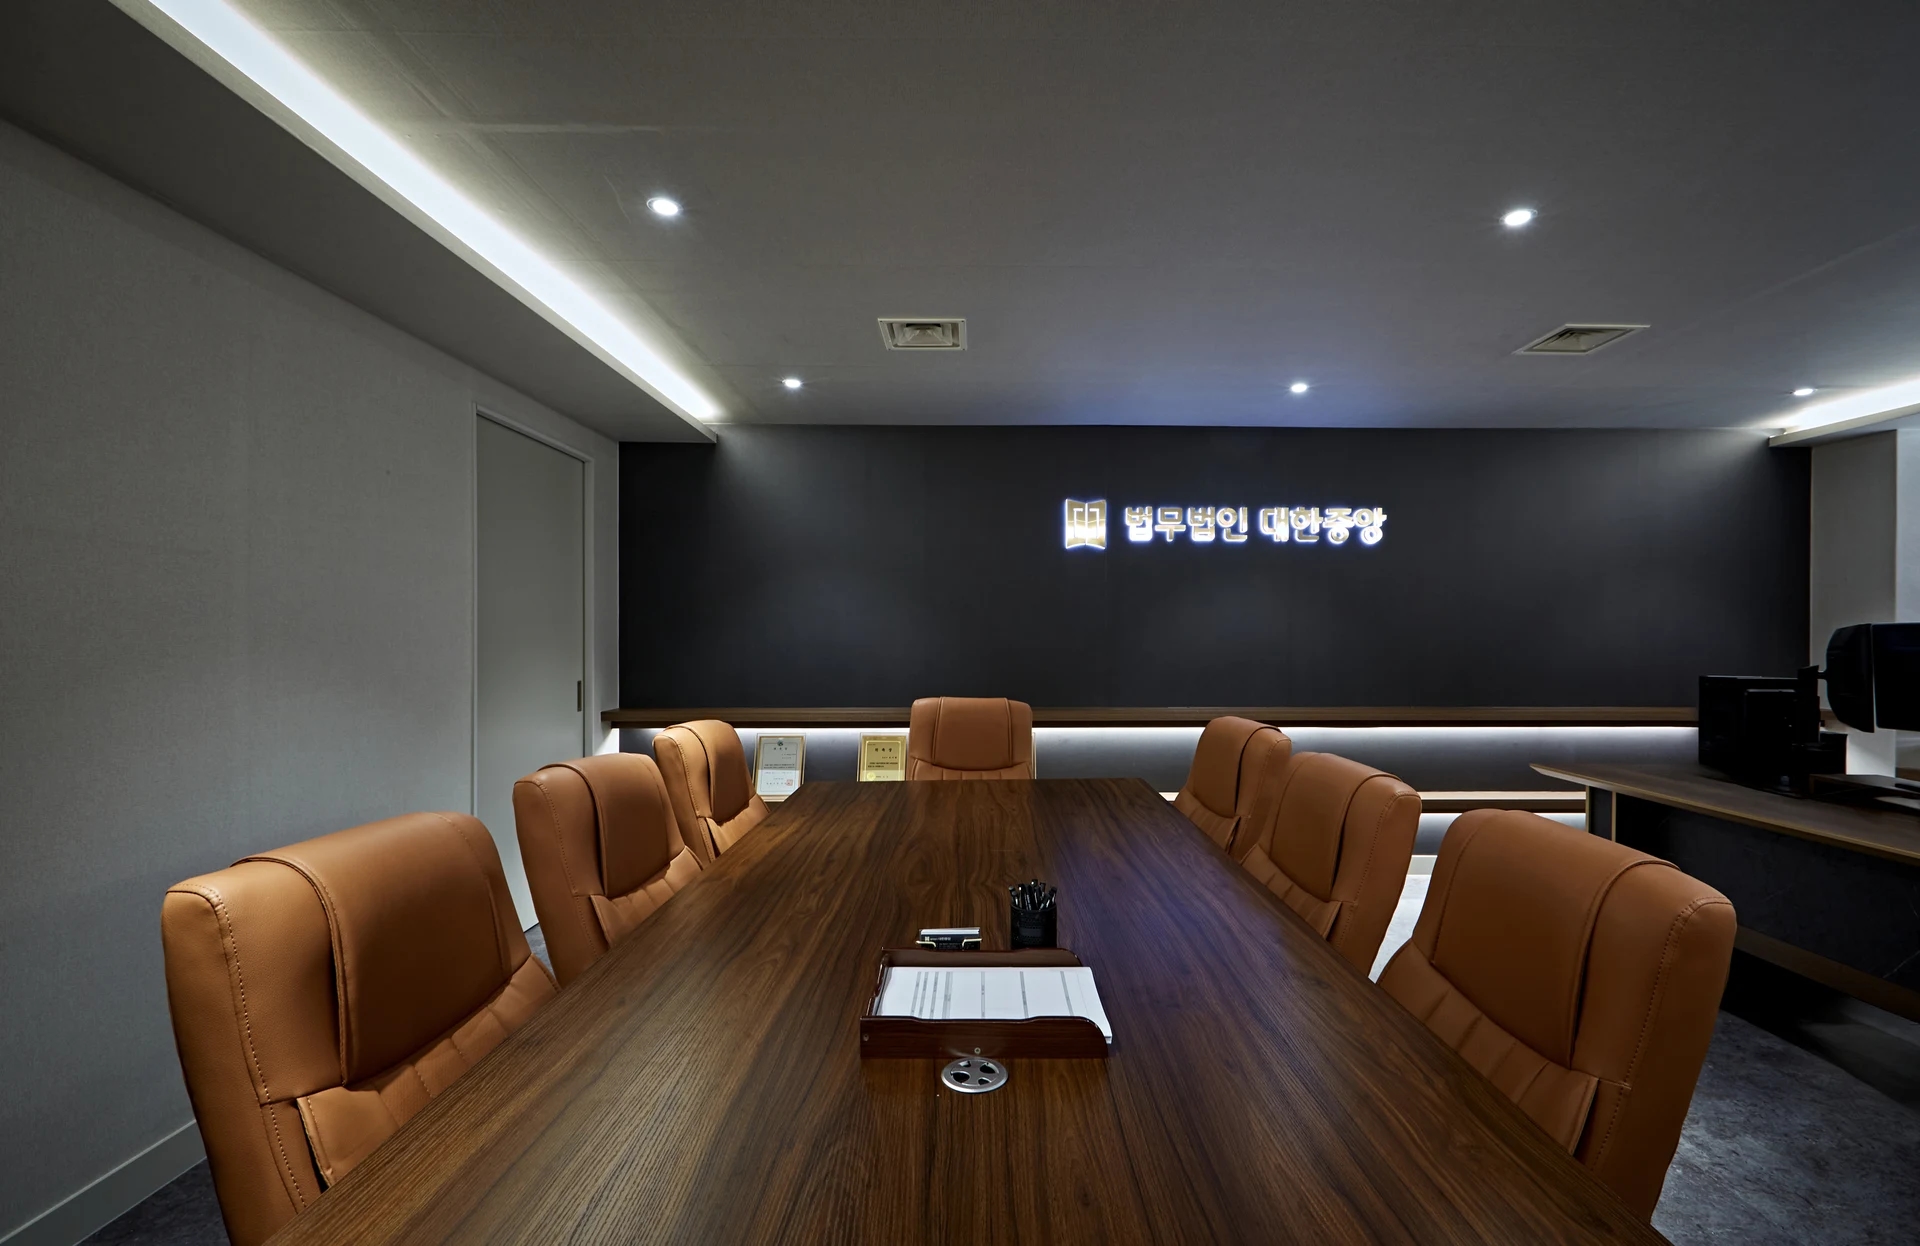
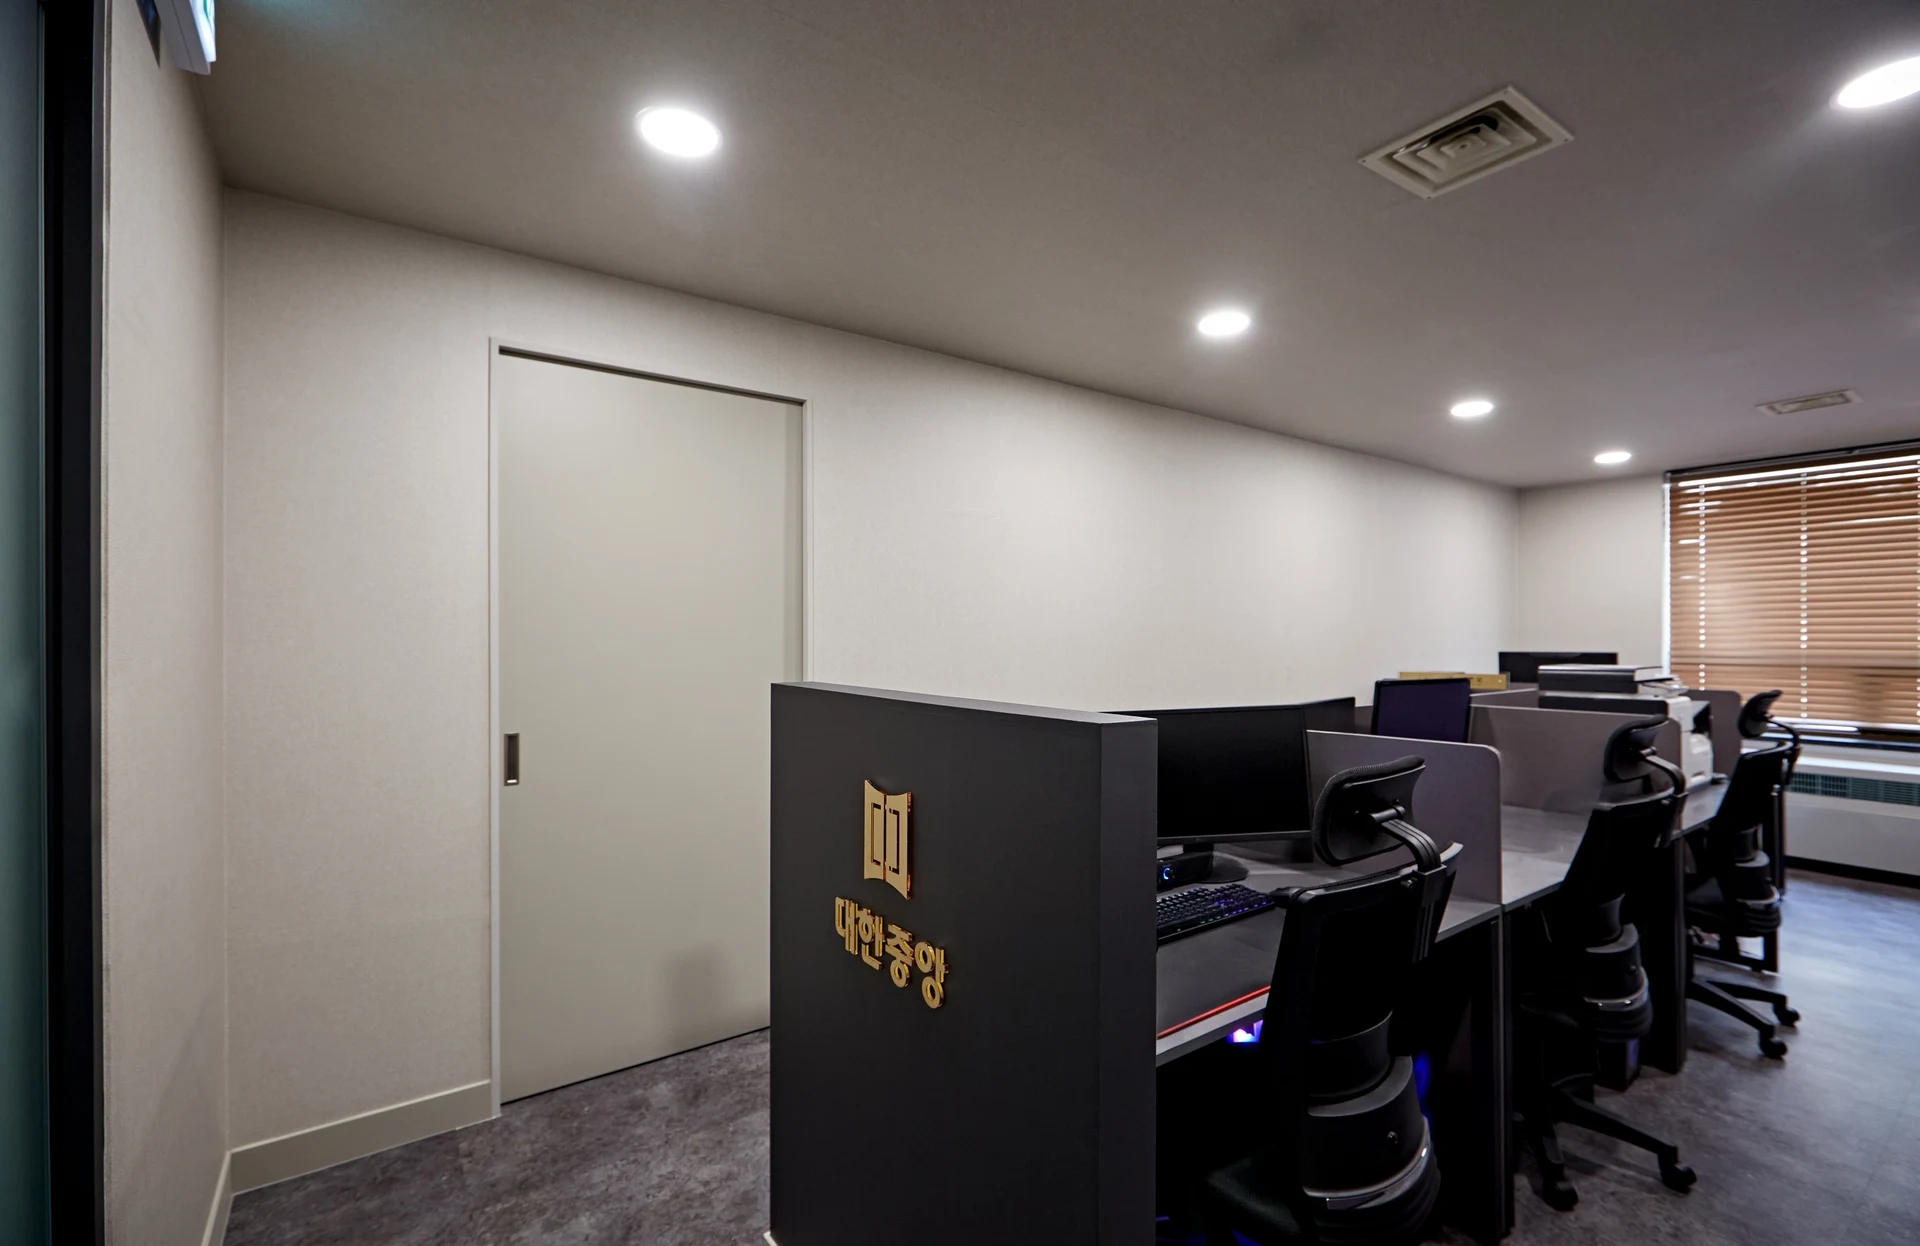
The second body image shows repeating V-shaped lines ending beside wall displays and a window. Reproducing such a pattern in tile requires more than choosing a similar-looking sample. Without assuming the rendered floor material, first confirm whether the selected product can form the intended arrangement. Unit shape, surface pattern and laying arrangement are separate approval items.
Compare repeating patterns from the entrance and from the side. Use arrows to show the direction of the V or the wall parallel to elongated units. A verbal instruction such as vertical can be interpreted differently as a drawing is turned. Mark fixed references such as doors and windows to distinguish rotated alternatives.
For diagonal or V-shaped arrangements, request edge layouts as well as front views. A pattern that looks right at the entrance can leave different cuts in small rooms or beside doors. Compare continuity throughout with separate zones at doorways. Decide whether a pattern change also warrants a material boundary by reviewing use and finish details together.
Once a product is selected, arrange several actual units on the floor. Record the product and colour codes, and confirm directional markings or surface variations against product documentation with the contractor. Do not measure the rendered grid to derive an order size. First compare the actual dimensions and surface appearance with the visual proposal.
Do not finalize an order from floor area divided by unit area alone. Ask the contractor to show cuts on the final layout and explain where offcuts can be used. Request recalculation after a pattern change, even if area stays the same. Establish additional quantities and spares from site conditions and supply units rather than applying an unsupported universal percentage.
Record the laying pattern, cut scope and any special fabrication alongside product and area. Separate retaining or removing the existing floor, substrate work and doorway finishes. For budget adjustments, request distinct options for simplifying the pattern and changing the product. A lower total is meaningful only when any omitted pattern work is clear.
For final approval, compare samples, dimensioned layout drawings and site markings together. Check the entrance reference line, both wall edges, columns and fixed furniture in sequence, recording changes on revised plans. Before changing a layout during installation, review the effect on cuts, quantities and cost. Photograph the overall floor and edges before furniture placement to compare the result with approved lines.
Ask us about your interior project
We can discuss a quote and design suited to the space you are planning.
Request a free consultation