Office Carpet Tile Replacement: Repair Scope and Spare Material Records
Partial carpet tile replacement requires checks of the existing product, installation and furniture access as well as the affected area. Office workspace and private-room design studies illustrate how to define repair zones, compare replacement samples and hand over spare materials.


Before you begin
- Identify the existing product and installation before separating cleaning and replacement areas.
- Mark the replacement area and furniture access separately, then compare samples under the actual lighting.
- Label spares by product, colour, production reference and installed zone, recording later use.
Separate the affected area from the working scope

Do not start a partial carpet tile repair by assuming one tile is the complete job. Distinguish soiling, surface damage and areas needing investigation for lifting. Find product and installation records and photograph the surrounding floor as well as the defect. The decision concerns the junction between retained flooring and new material.
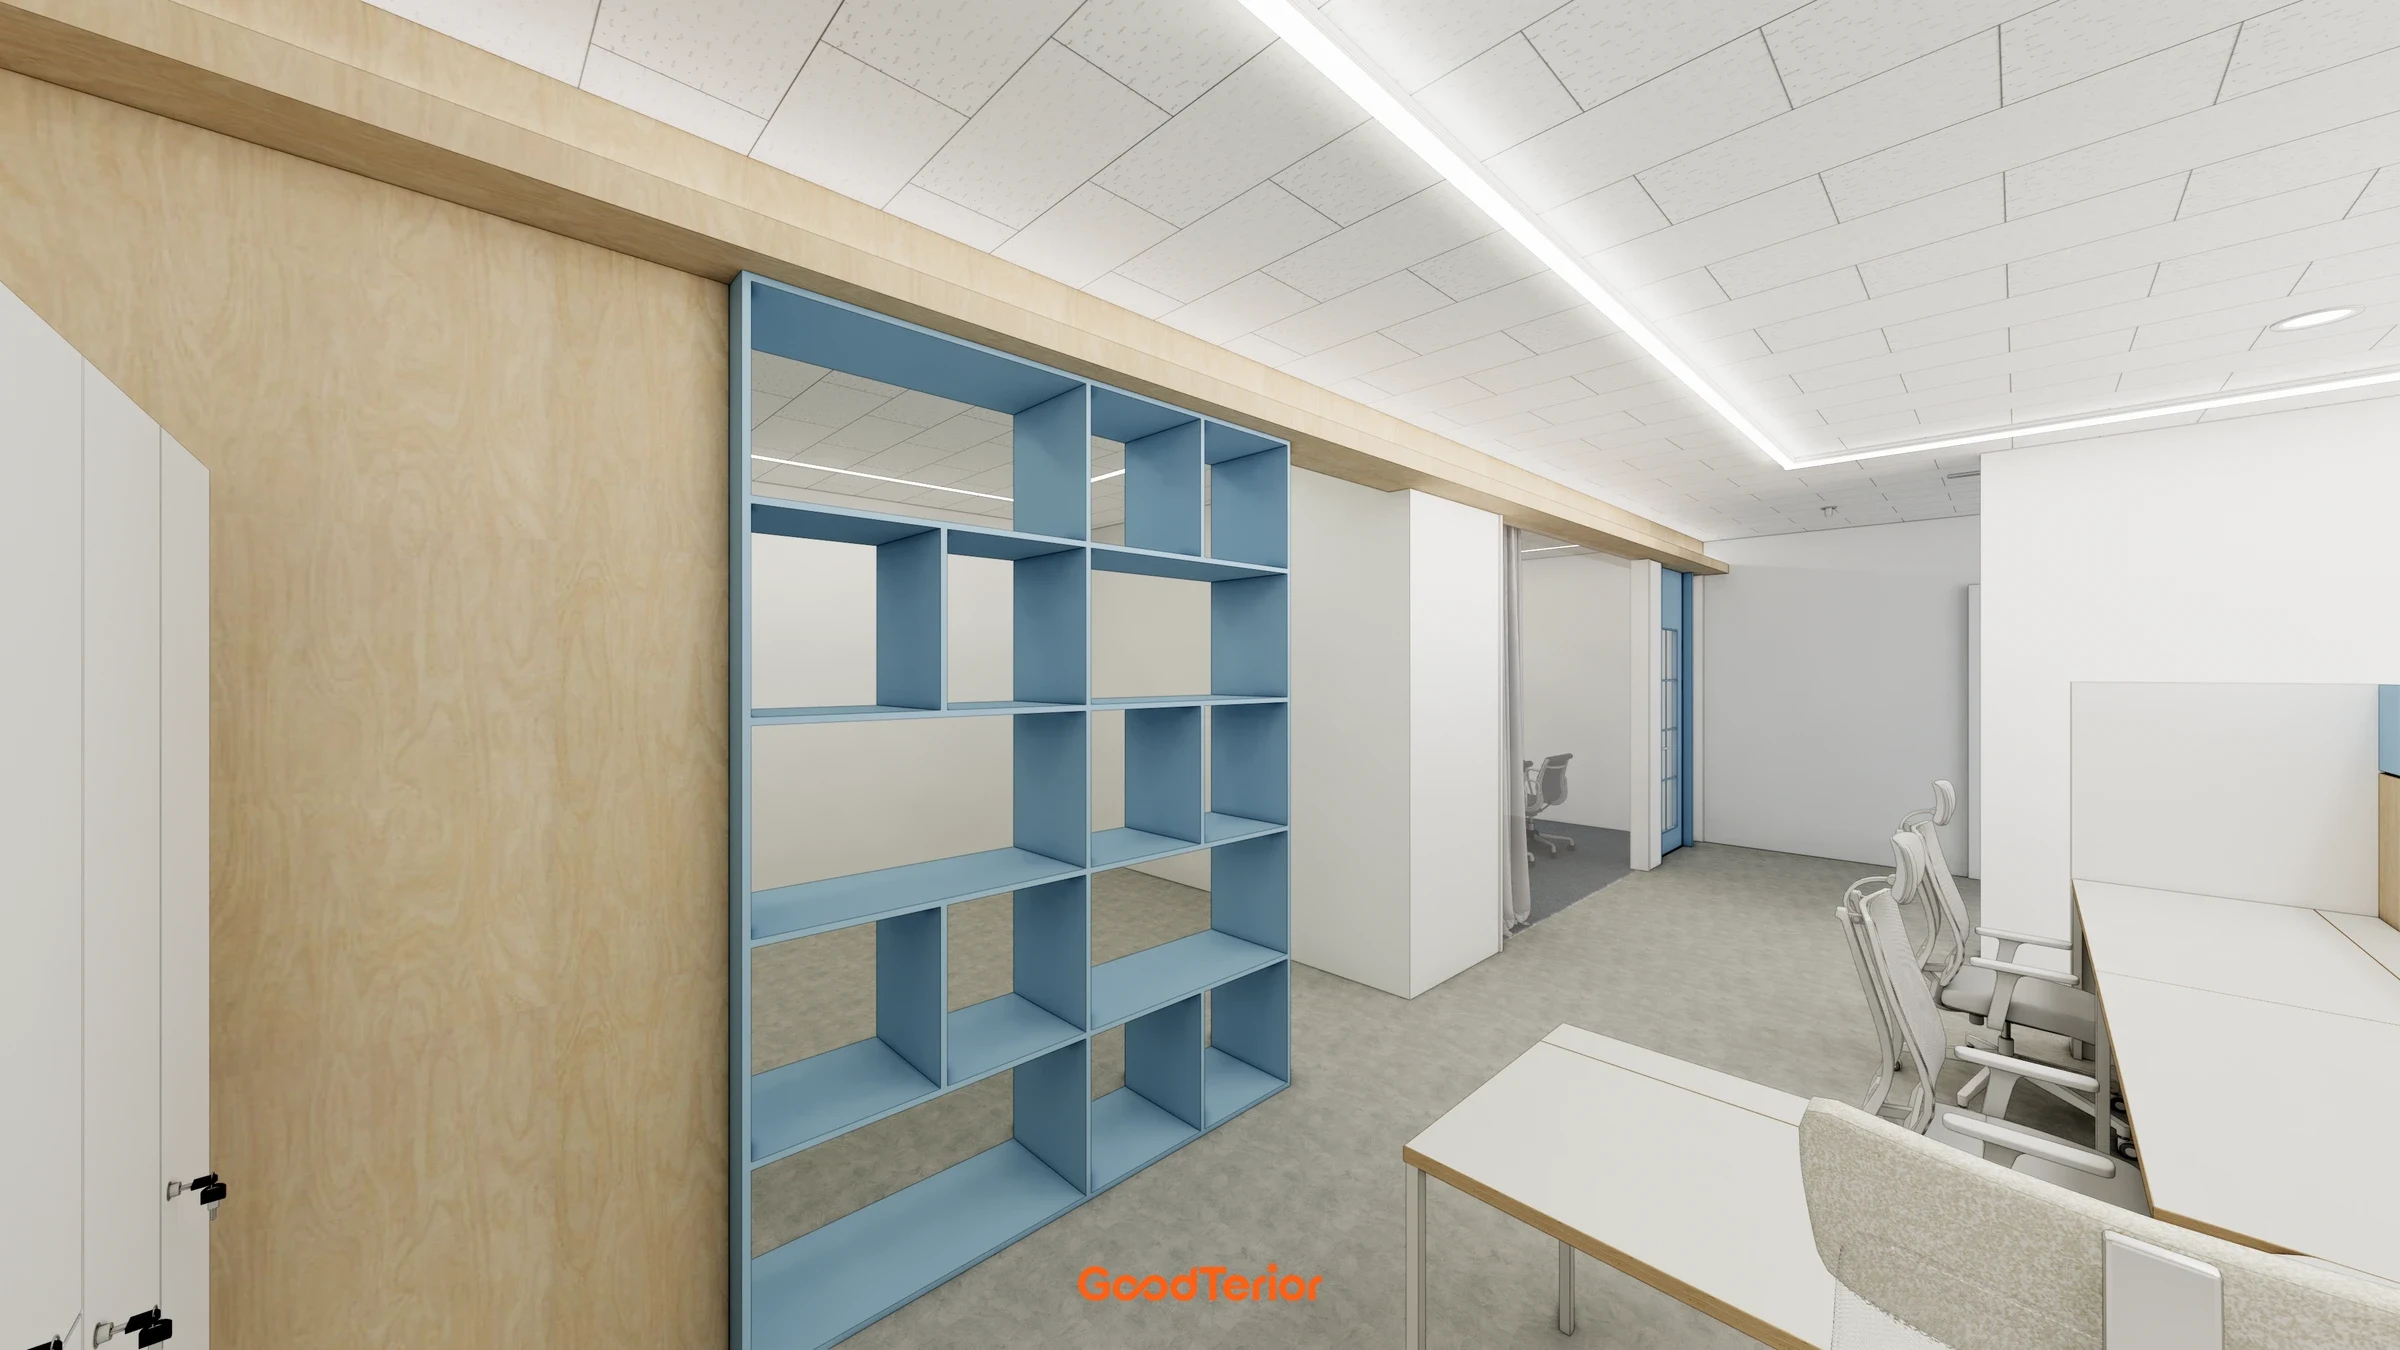
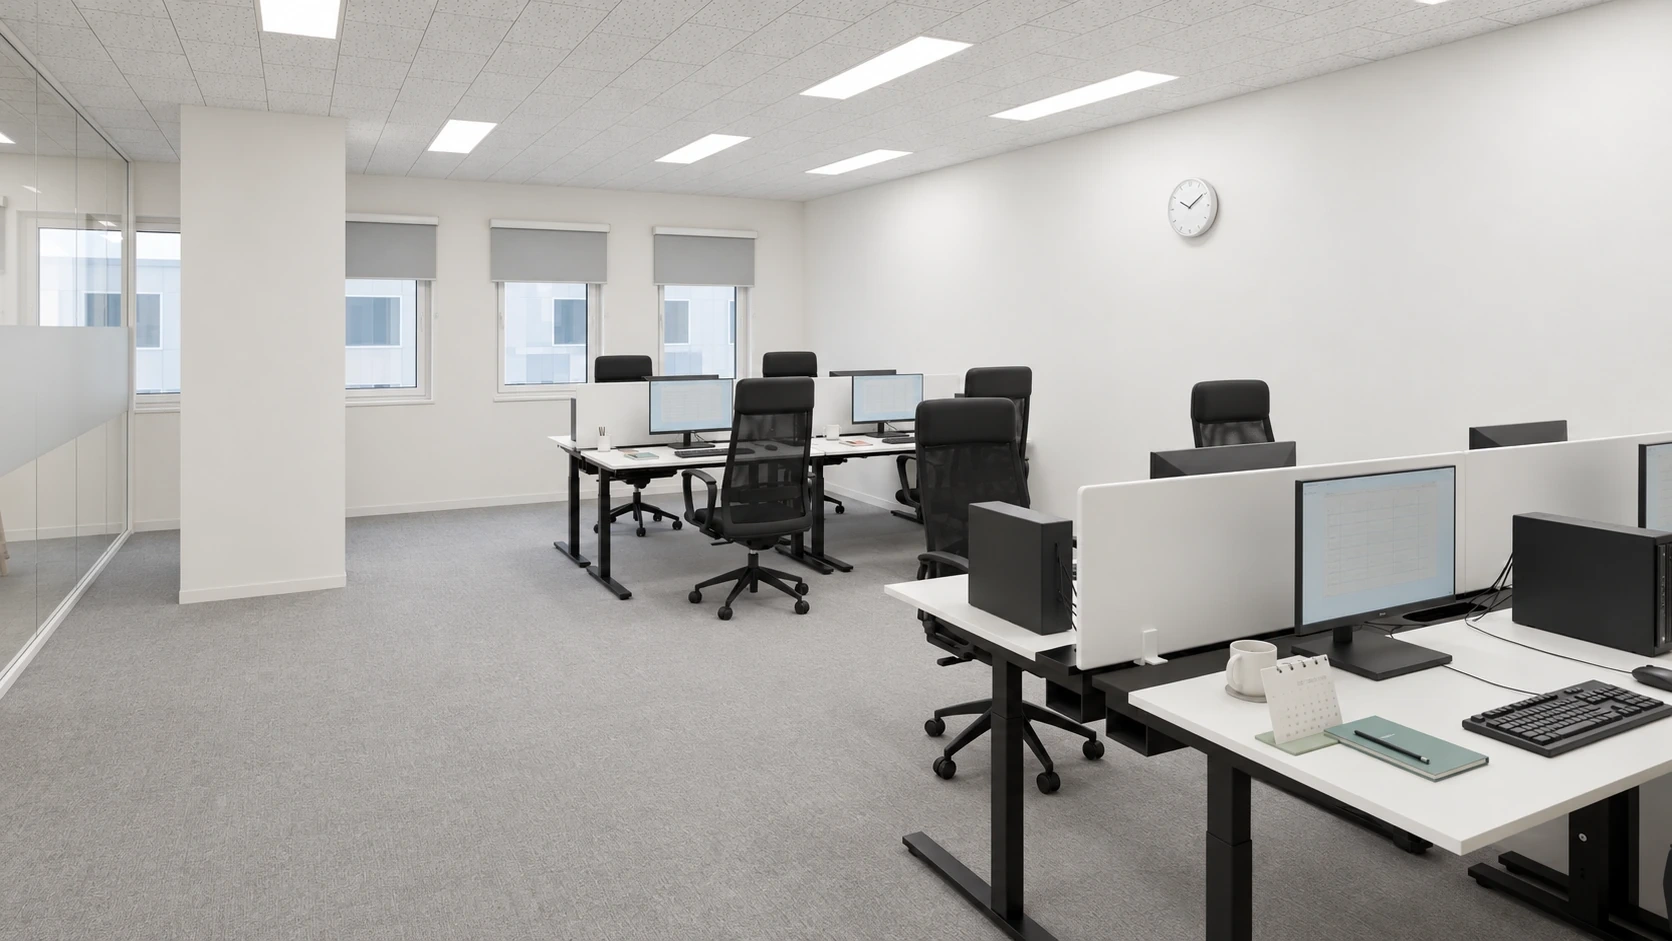
The cover places workstations, cabinets and routes over a grey floor. Check whether the proposed repair extends beneath desk legs and what appears when chairs are moved. The rendering illustrates access planning; it does not identify a flooring manufacturer, product code or adhesive condition.
Where desks occupy both walls and the room centre, mark access separately from the tiles being replaced. Include furniture, stored items and cable arrangements that need clearing and reinstatement. Agree whether the flooring contractor or office staff handles each task before pricing the work.
Do not infer removability from the carpet tile label alone. KCC Glass’s commercial carpet tile product information describes removal and relocation in the context of tackifier installation. This concerns its products and installation conditions. Ask the contractor to establish the actual removal and reinstatement scope from the existing product and substrate.
Compare cleaning and replacement as distinct scopes. Review use and cleaning history before removing tiles solely because their appearance differs. Confirm methods against the current product’s care instructions. Where lifting or substrate issues are suspected, separate investigation and underlying repair from replacing the visible finish.
Mark repairs by actual tile boundaries rather than loosely circling a stain. Compare replacement samples with retained flooring at visible locations. Where appropriate, price both an individual repair and a larger room zone on equivalent removal, substrate preparation and furniture reinstatement scope.
Match spare materials to the floor and hand over records

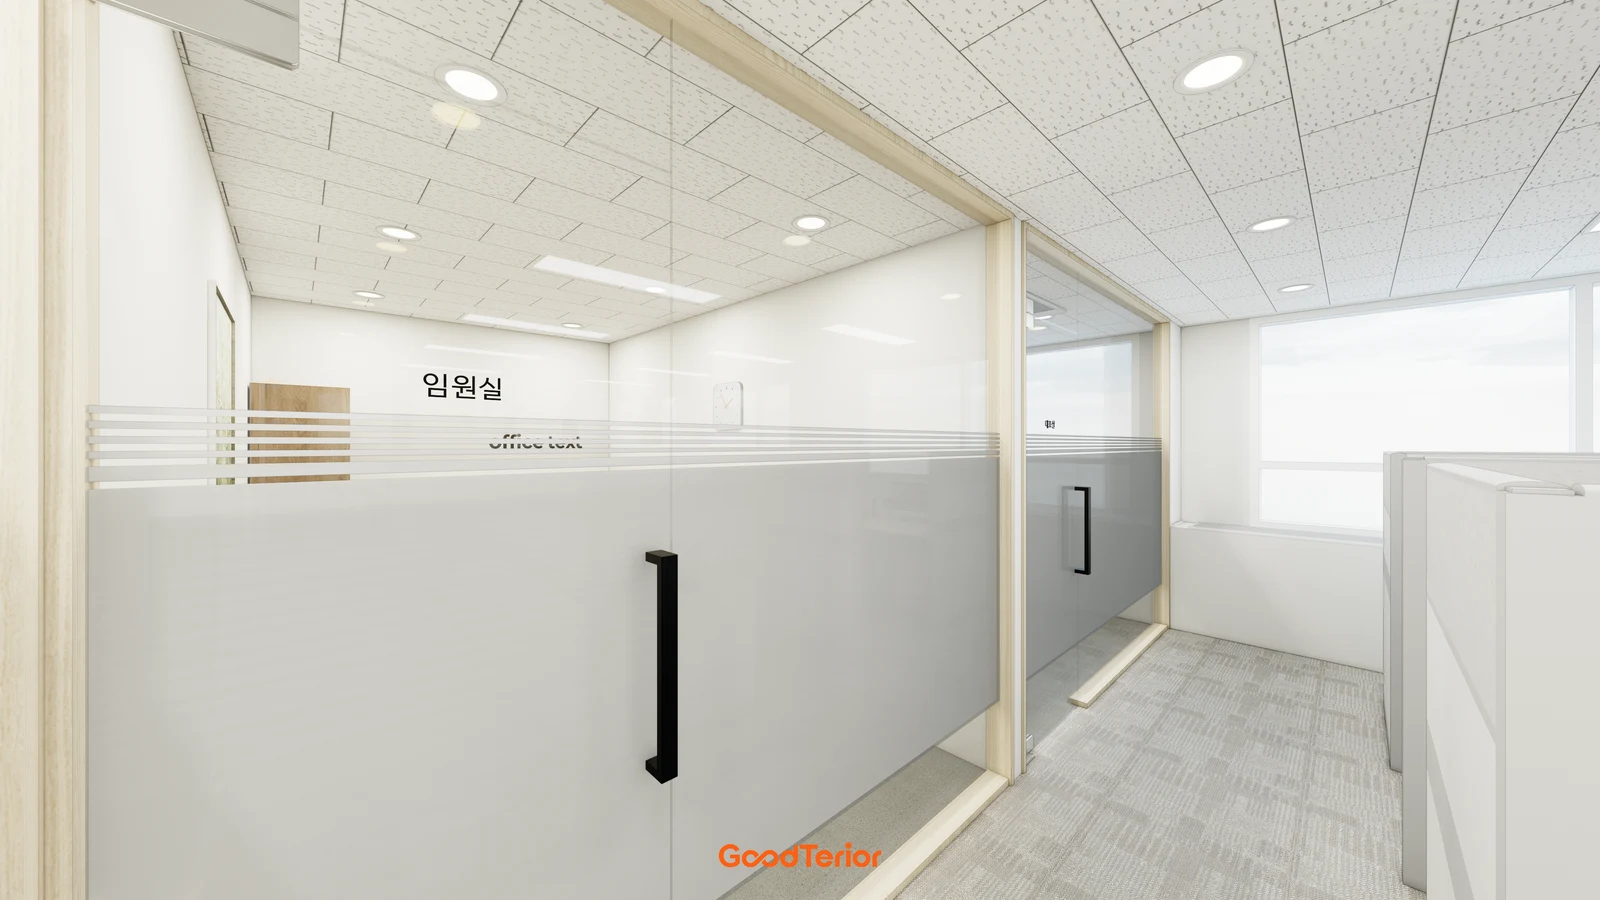
The second image shows flooring beneath a long table and behind chairs in a private office. Compare both occupied and cleared arrangements. Areas usually hidden beneath furniture may appear during cleaning or rearrangement, so define retained and replacement zones on the furniture plan rather than assuming furniture will conceal them.
Match stored tiles to product, colour, dimensions and production references, using packaging, backing marks and delivery records. Connect each spare batch to its installed room. Confirm current supply before ordering; do not plan on future availability without checking it.
Having spare stock does not establish an identical appearance beside used flooring. Compare it under daylight and room lighting. Check product instructions and the original direction rather than rotating tiles merely to make them look closer. Record sample references and orientation and agree the acceptable repair scope from actual comparisons.
Discuss spare quantities after defining storage and repair zones. Have the contractor explain actual cutting, supply units and repair planning instead of applying a fixed percentage. Follow product storage instructions and label stock by product, colour and installed area so similar grey materials are not confused.
Separate clearing time from return-to-use time. Review routes, available desks and meeting bookings during the work. Have the contractor confirm conditions for the product, adhesive and substrate repair rather than assuming every partial repair fits into an evening. Assign delivery, moving, repair, review and reinstatement tasks.
At handover, record repaired zones in plans and photographs and update spare usage. Reinstate furniture, inspect boundaries and door areas, and retain care instructions and contacts. Link remaining stock to installed zones so the next repair can start from usable records rather than a new product search.
Ask us about your interior project
We can discuss a quote and design suited to the space you are planning.
Request a free consultation