Café Wall Tiles: Comparing Brick Patterns and Square Grids
Compare more than colour when choosing café wall tiles. Red brick-pattern walls, a low square grid and white tiles behind a worktop illustrate how to decide the covered areas, finishing edges and grout conditions.

Before you begin
- Compare colour separately from the shape and arrangement of brick patterns and square grids.
- Overlay furniture on the wall elevations to decide which areas to tile and retain.
- Order against a sample and drawings that include corners, worktop junctions and grout.
How far should the brick pattern or square grid continue?
Do not turn one favourite photograph into the specification for every café wall. Separate the wall behind the order counter from surfaces seen by seated customers. Within one shop, compare a patterned feature area with quieter backgrounds for menus and furniture. Overlay full coverage and selected-area options on the same furniture layout.
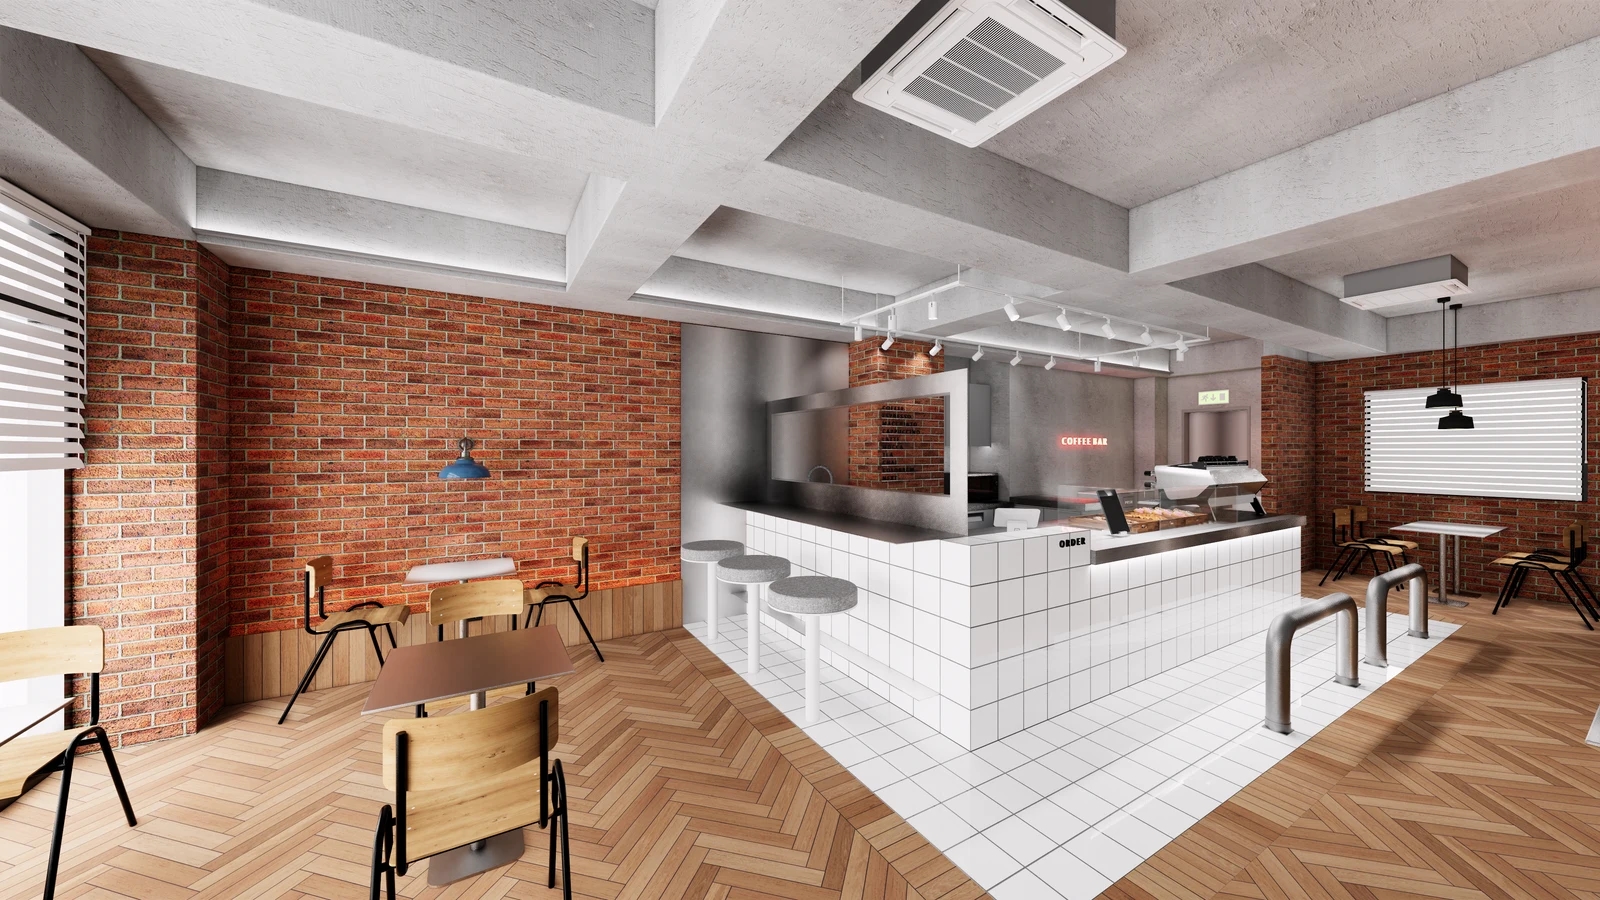
The cover design combines red brick-pattern walls, grey walls and a white square-grid counter. Look at where the red areas stop at windows, columns and the counter rather than extending one finish everywhere. The useful reference is the amount of brick-pattern surface and its relationship with neighbouring finishes. A render does not establish whether the material is full brick, thin tile or a particular installed product.
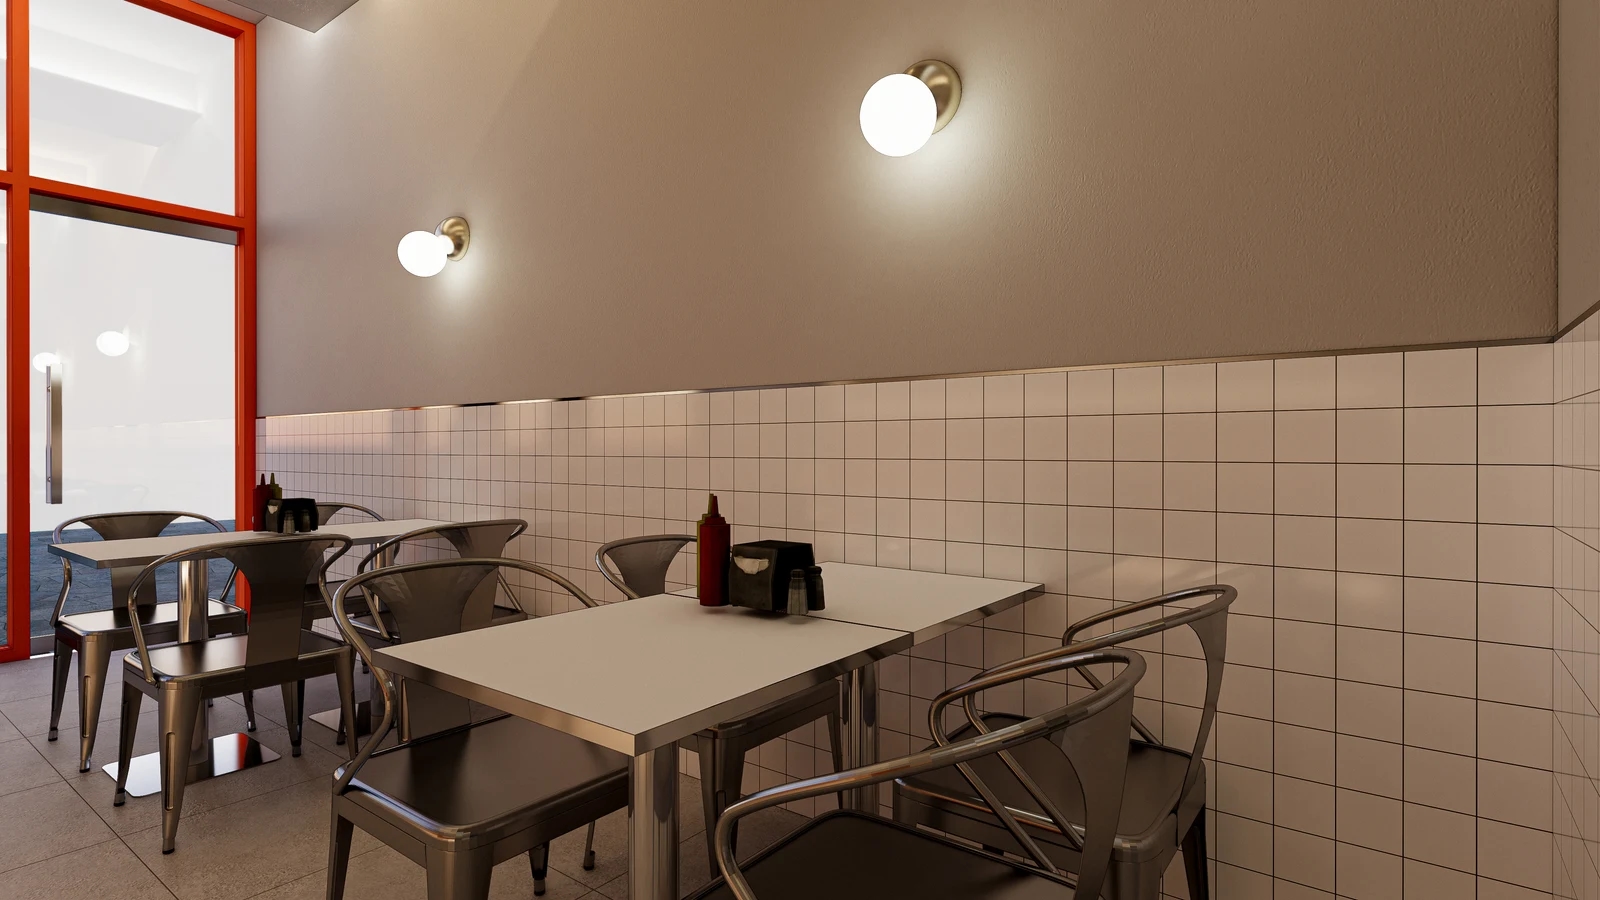
The restaurant in the first section image uses a light square grid on the lower wall, retaining grey surfaces and wall lights above. It offers a reference for comparing full-height tiling with a lower band around furniture. Include the tables and chairs when checking which rows remain visible. Review the arrangement on an empty wall separately from the view with customers seated.
Separate differences in colour from differences in shape when comparing red brick patterns and white square tiles. Staggering rows of long pieces differs from aligning horizontal and vertical grid lines. Including a white elongated arrangement like the second section image helps distinguish a preference for red from a preference for continuous horizontal lines. Samples need not all carry similar product names.
Do not assume a broad wall will look like one small piece held in your hand. Prepare several pieces with grout and stand the sample in the installation orientation. View even-surfaced and visibly textured candidates nearby, then from the seating area or entrance. Record the lines and shadows visible under daylight from the windows and the lighting planned for opening hours.
Place planned wall accessories beside the sample as well. Menus, logos, shelves and chairs change how much pattern remains visible. On a wall carrying detailed written information, consider reducing the pattern or retaining a separate information area. On a wall intended to stay bare, compare its beginning, end and exposed area above furniture in one elevation.
At this stage, settle the arrangement and designated walls alongside the product name. Mark starting points, finishing heights, retained surfaces and built-in furniture for each wall. Even when seeking a broader change in appearance, first compare an option limited to one wall. Distinguishing changes in product from changes in coverage makes subsequent quotation differences clearer.
Ordering drawings that include door edges, worktops and grout
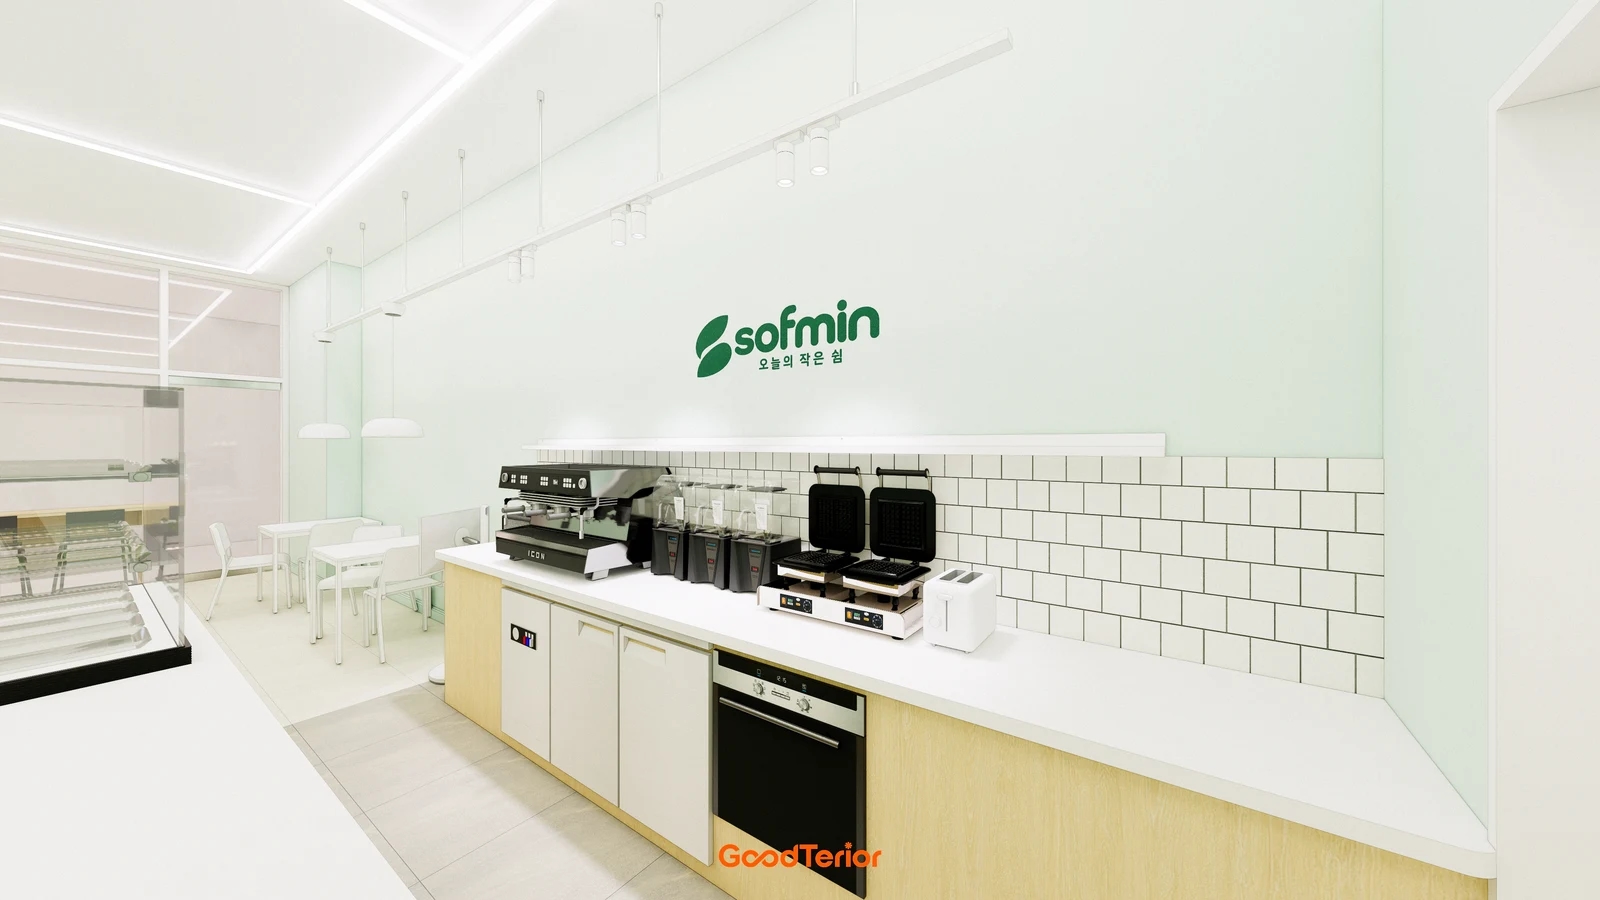
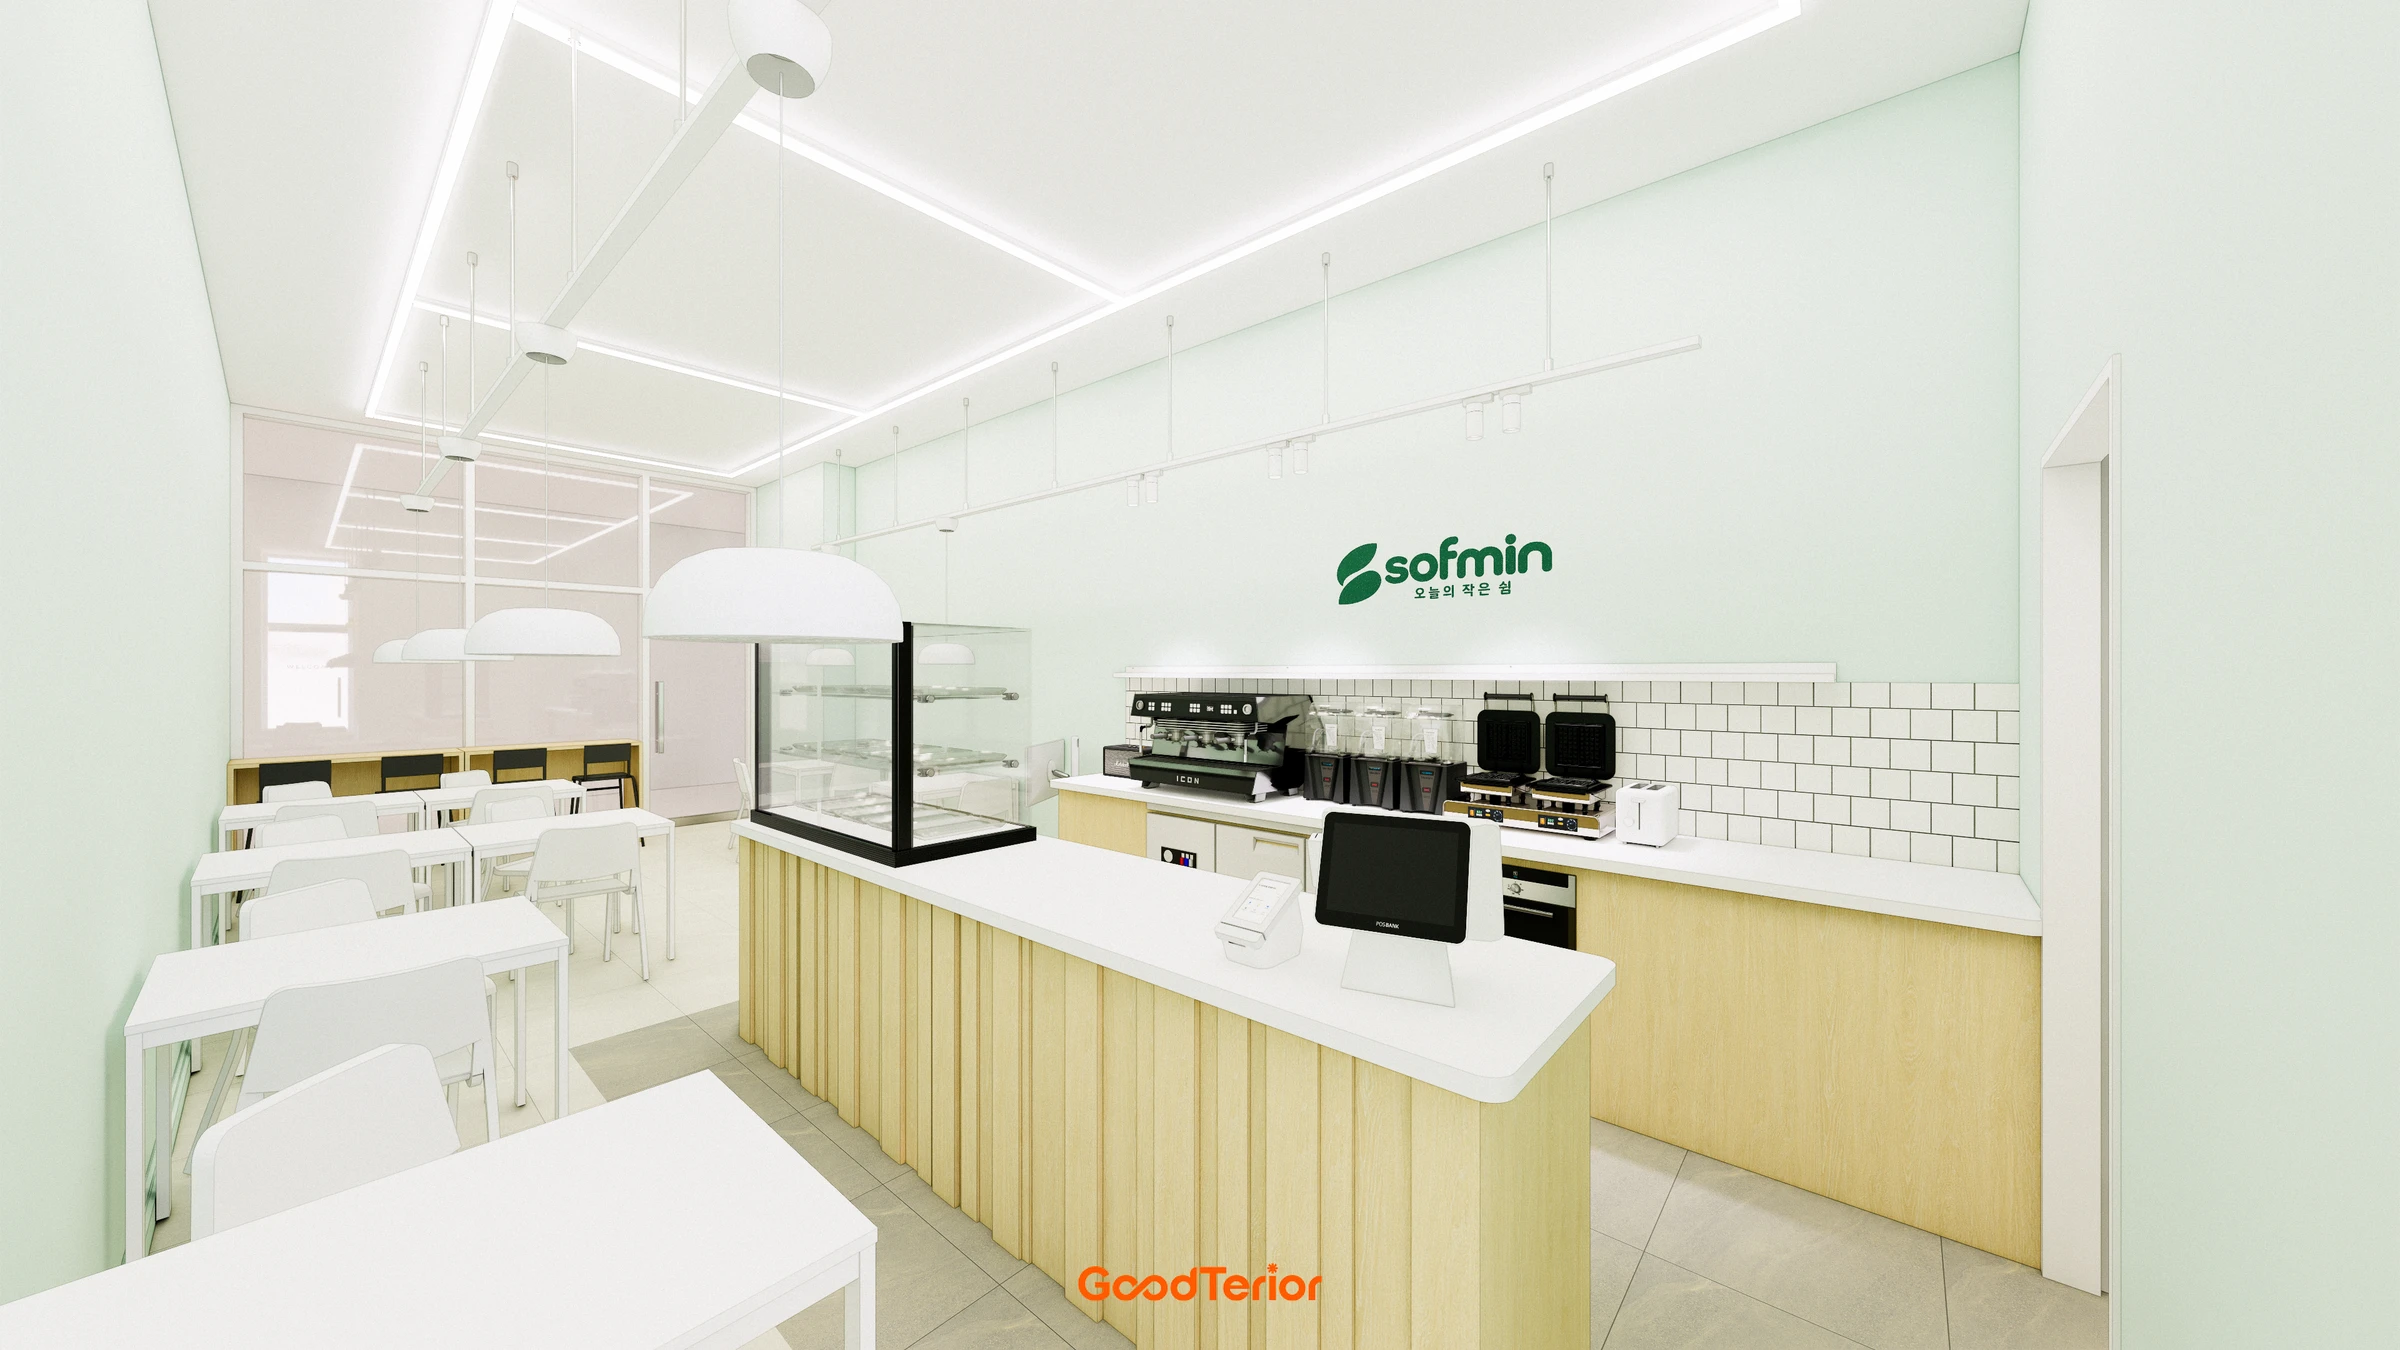
The second section design places an elongated white tile arrangement behind the worktop and retains mint-coloured walls above. It defines a worktop zone rather than covering the left seating area and right doorway with the same finish. When reviewing this option, mark the tile height still visible behind actual equipment, the upper edge and the termination beside the door. The image is not a specification for ordering its illustrated appliances or finishes.
Draw the cut pieces at wall ends before approving a staggered arrangement. For a square grid, compare starting from one side with setting out from a centre line. Ask the site team for wall elevations using the final product dimensions and grout width, and review areas beside doors and below shelves. Do not assume a spacing admired in a front-facing photograph transfers unchanged to the actual wall dimensions.
External corners and exposed tile ends require separate decisions. Confirm with the supplier and installer whether to use a corner piece, another finishing accessory or a return onto the adjoining wall. Review upper terminations and skirting on the same drawing. If corner materials and colours remain undecided after approving the front face, part of the finished appearance is still unresolved.
Mark the worktop junction, shelf fixings and outlet outlines over the arrangement. Where several appliances are planned, as in the image, distinguish covered areas from surfaces that can be reached. Share the decision to retain or relocate existing services with the finishing contractor. Coordinate wiring and service work with the responsible trades instead of leaving their positions to be reconciled after tiling.
For a textured candidate, inspect touchable corners and surfaces to be wiped on the sample. Confirm cleaning methods and permitted agents in the selected product guidance. Do not infer difficult maintenance from a rough-looking pattern or assume that an orderly surface will remain free of marks. Complete both the face and grout on the sample so the actual maintenance surface can be assessed.
Sika Korea’s SikaCeram CleanGrout product guide explains that consumption of this grout depends on tile size and joint width and depth. This illustrates why a quotation needs an actual arrangement and joint conditions alongside tiled area and a grout colour name. It is not a recommendation to use this product with every brick-pattern finish; have the supplier confirm the grout and application conditions suited to the selected wall finish.
Compare final quotes on the same basis: tile and grout, substrate inspection and repairs, corner accessories, and junctions with worktops and other finishes. To adjust the budget, compare retaining the product over fewer walls with covering the original area using a different product. After installation, check the arrangement and terminations against the approved sample and wall drawings. Record product names, application areas and retained spare material as a reference for future repairs.
Ask us about your interior project
We can discuss a quote and design suited to the space you are planning.
Request a free consultation