Office Glass Partitions: Choosing Frame Colours and Divisions
Office glass partitions involve more than choosing clear panels. Three designs with dark outlines and wood-tone surroundings illustrate frame colours, boundaries between doors and fixed panels, ceiling junctions, and information to retain for fabrication approval and quotations.

Before you begin
- Compare frames with adjacent walls, handles and ceilings rather than as isolated colour chips.
- Mark doors, fixed glazing, columns and finish boundaries separately in elevations.
- Distinguish visible line widths from component construction and retain samples and fabrication approvals.
Dark outlines and surrounding wall colours
Treat the lines around office glazing as a finish in their own right. With the same room layout, a dark outline and a wall-matching surround draw attention to different elements. Fix rooms and door positions before comparing colours, so a reference image does not inadvertently dictate a different layout.
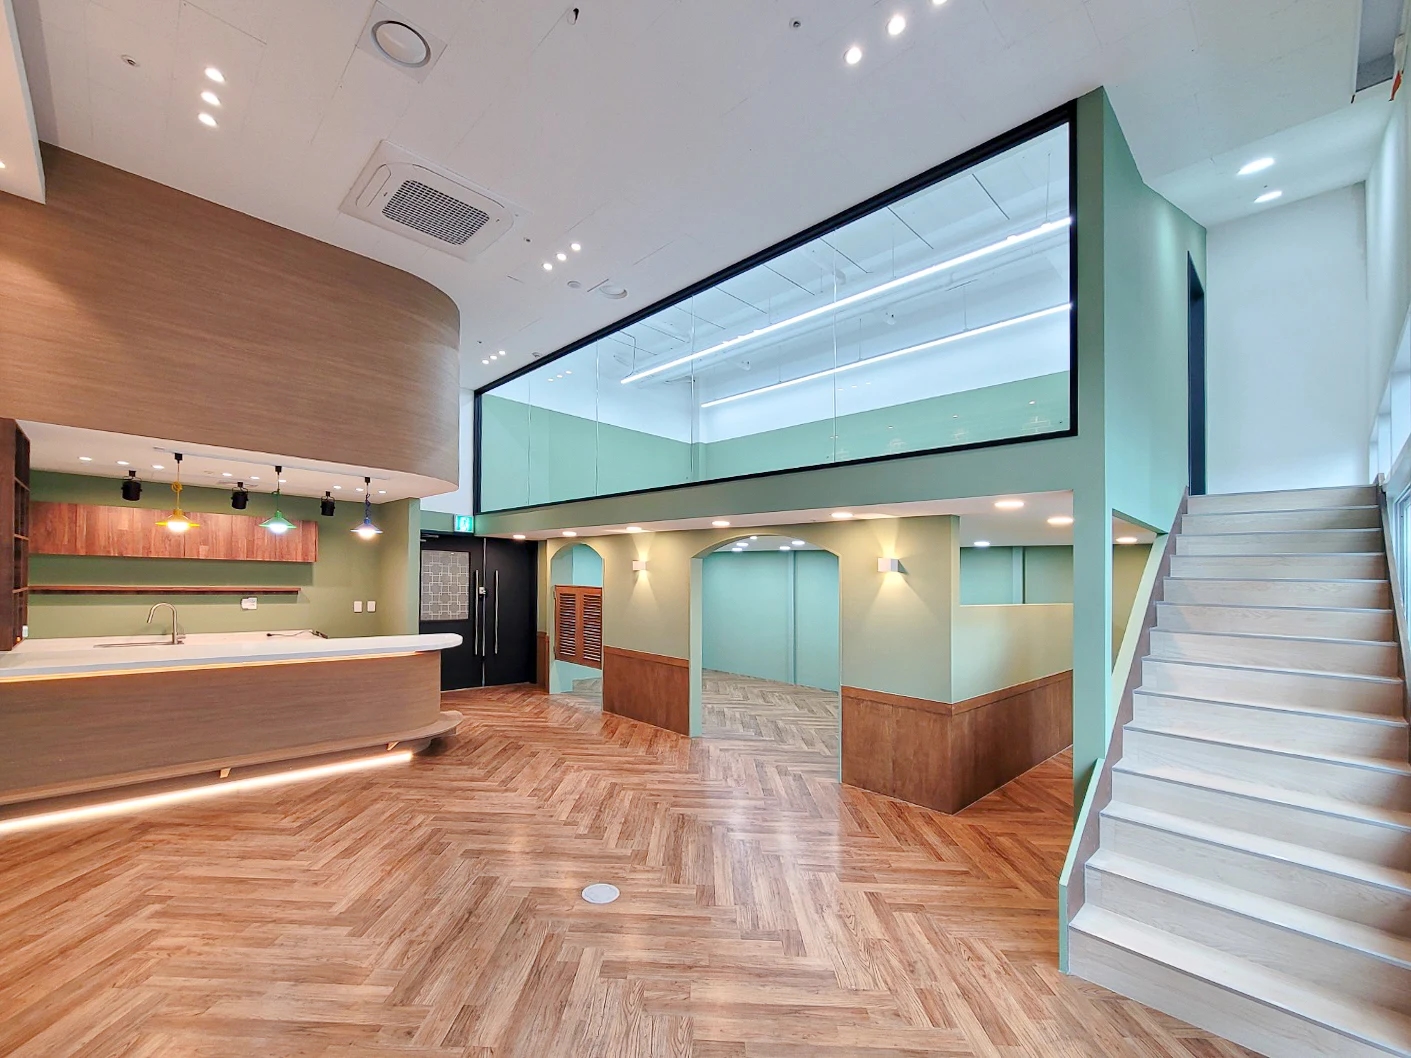
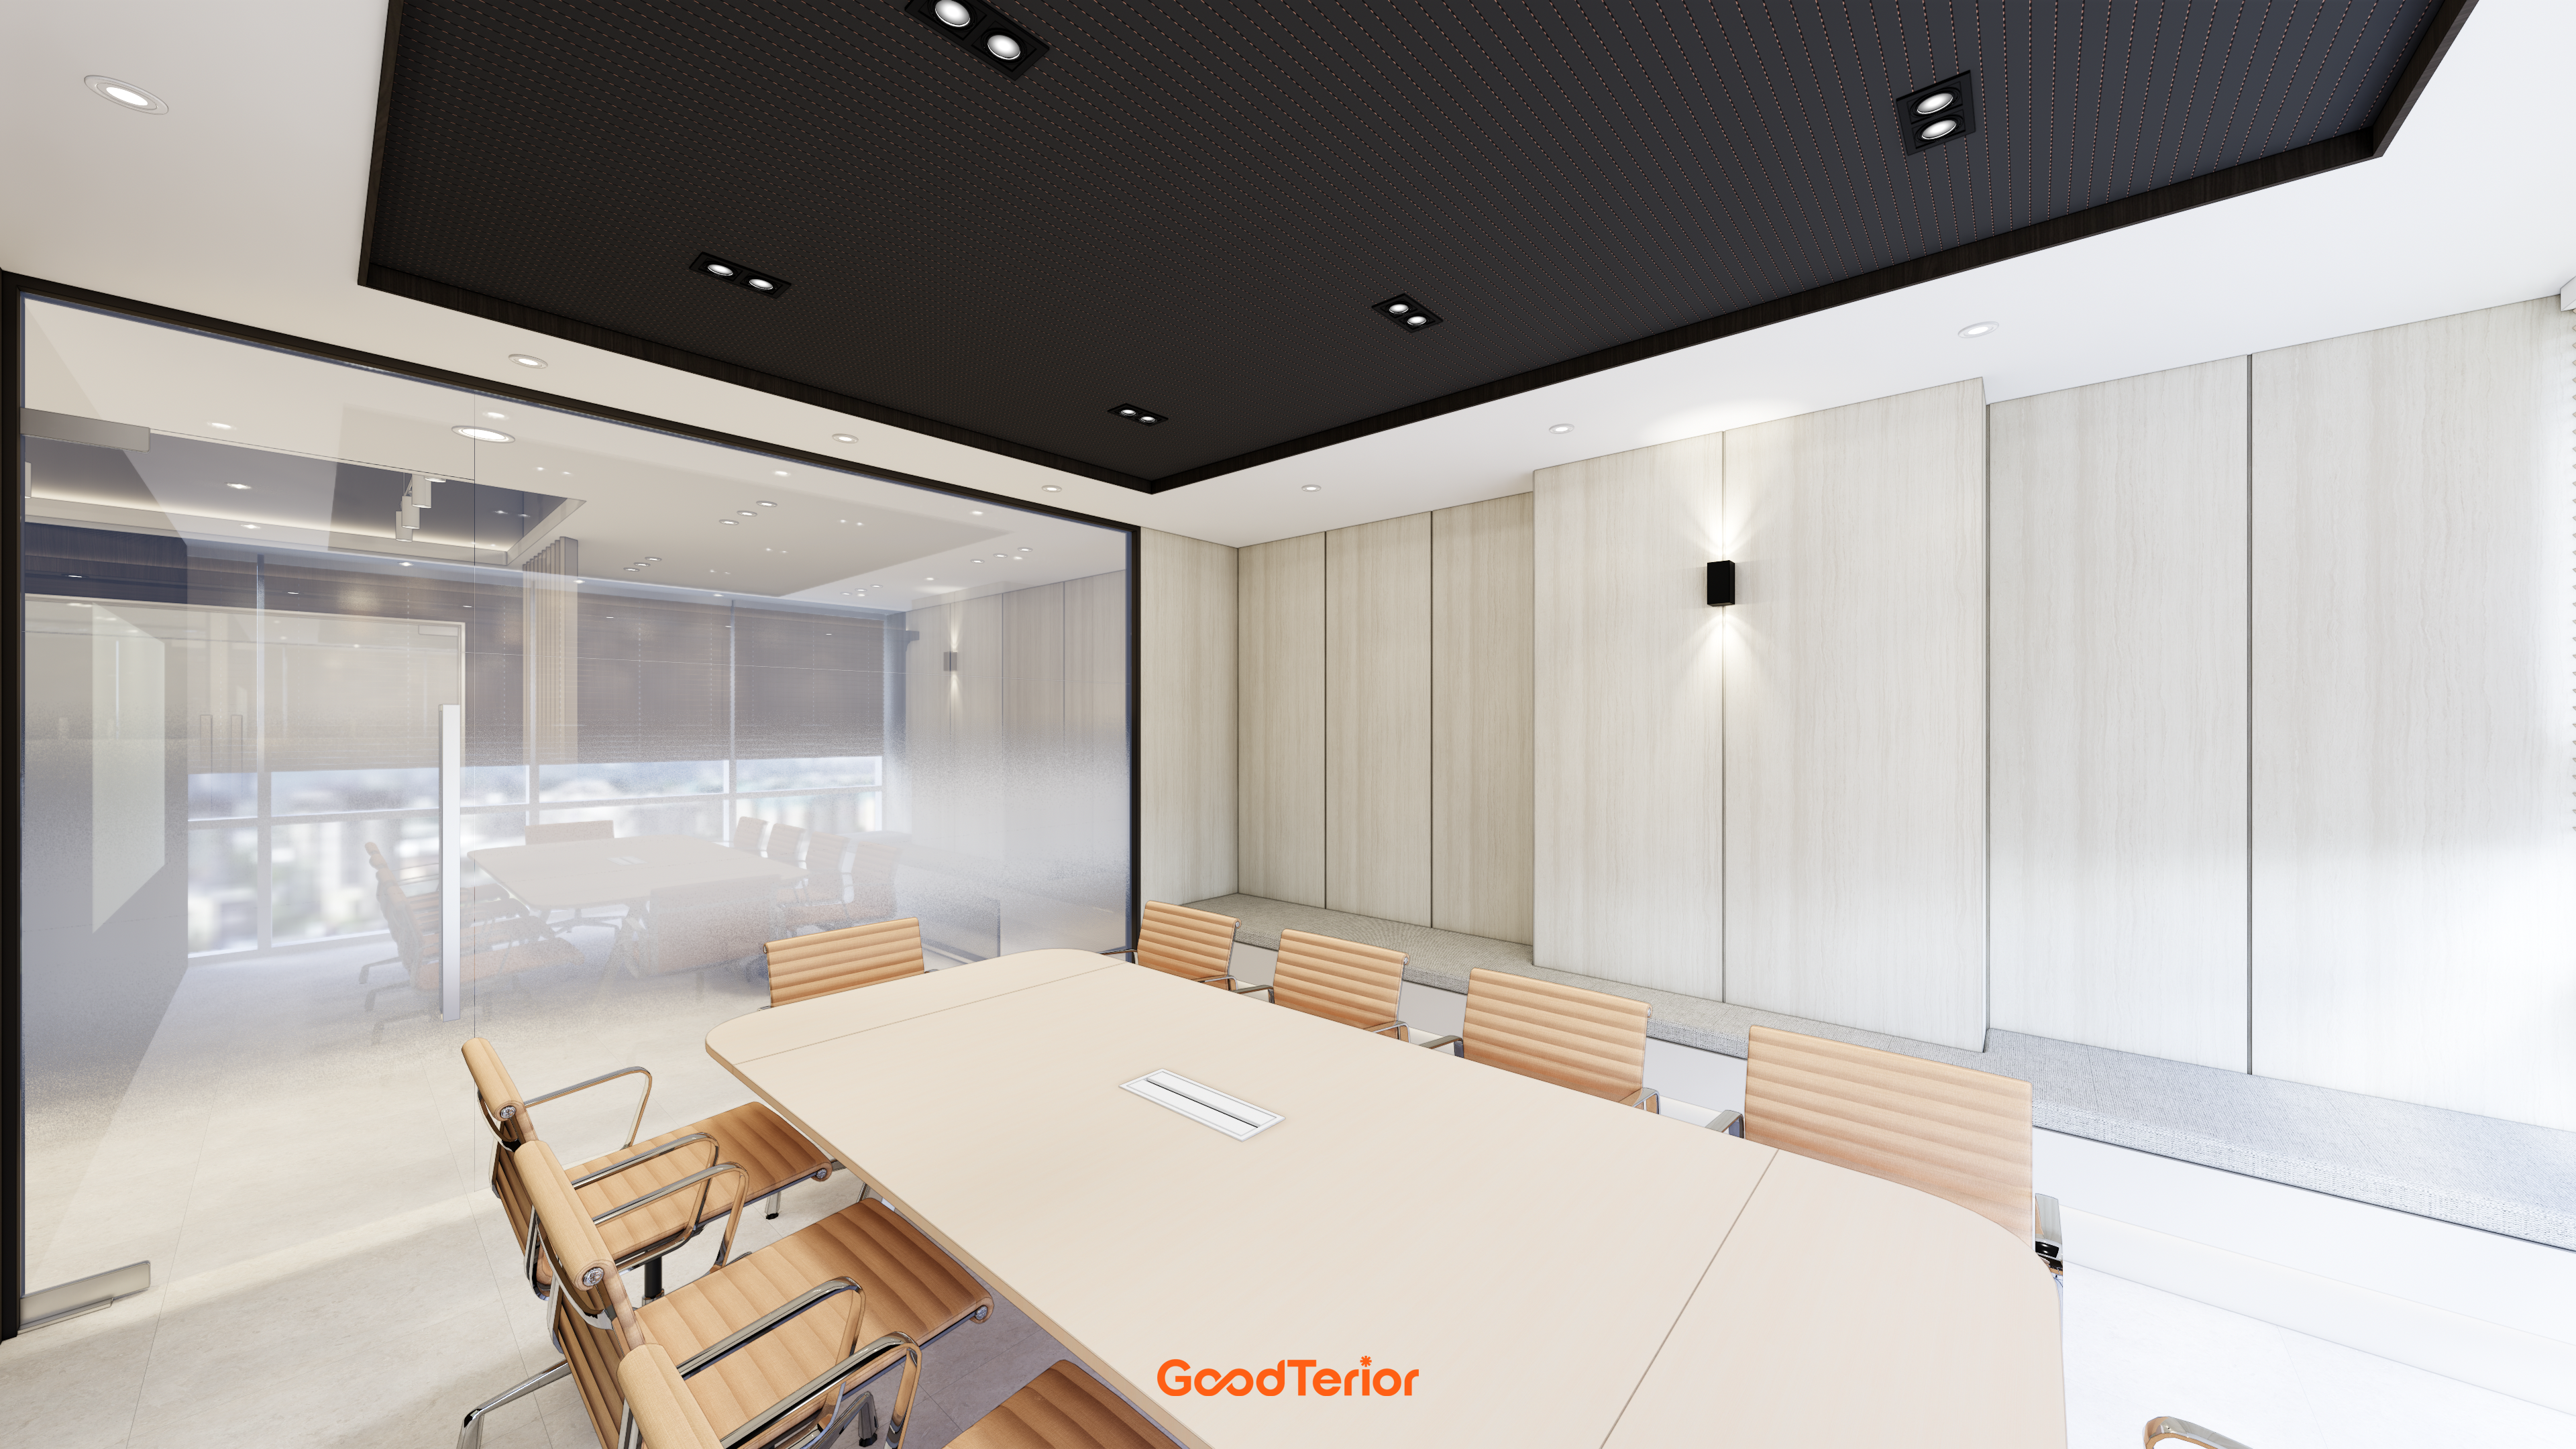
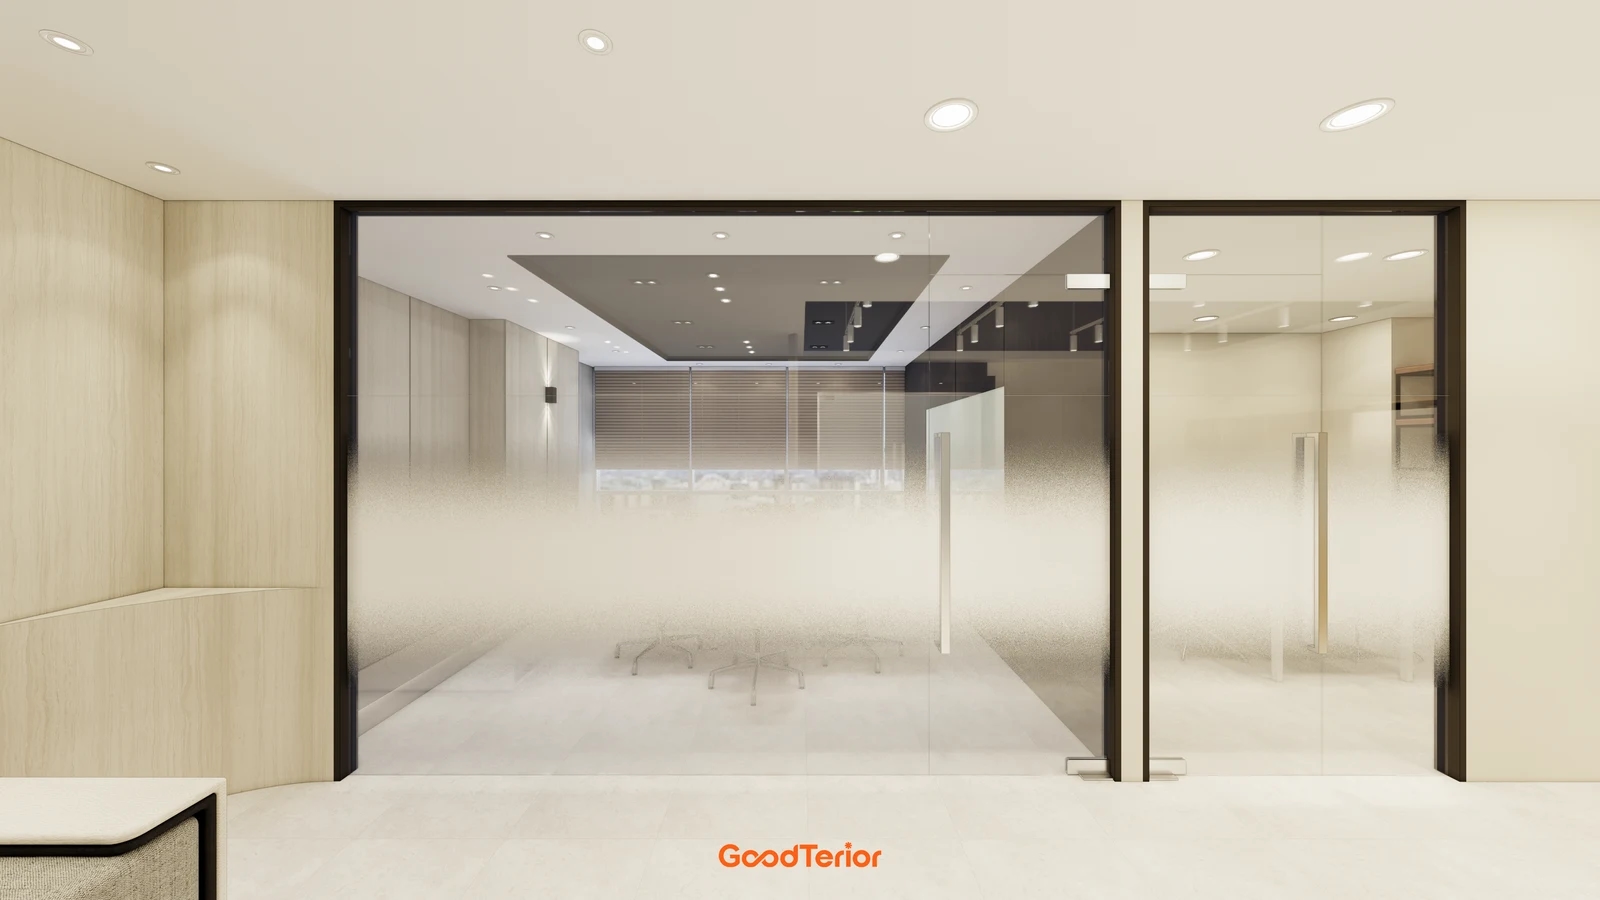
The Guro Artis Forum design on the cover places dark outlines between light wood-tone walls. The broad glazed area and right-hand door are visibly divided, while the room ceiling and furnishings remain visible through the glazing. Compare external walls, internal ceilings and windows together rather than selecting from an isolated frontage crop.
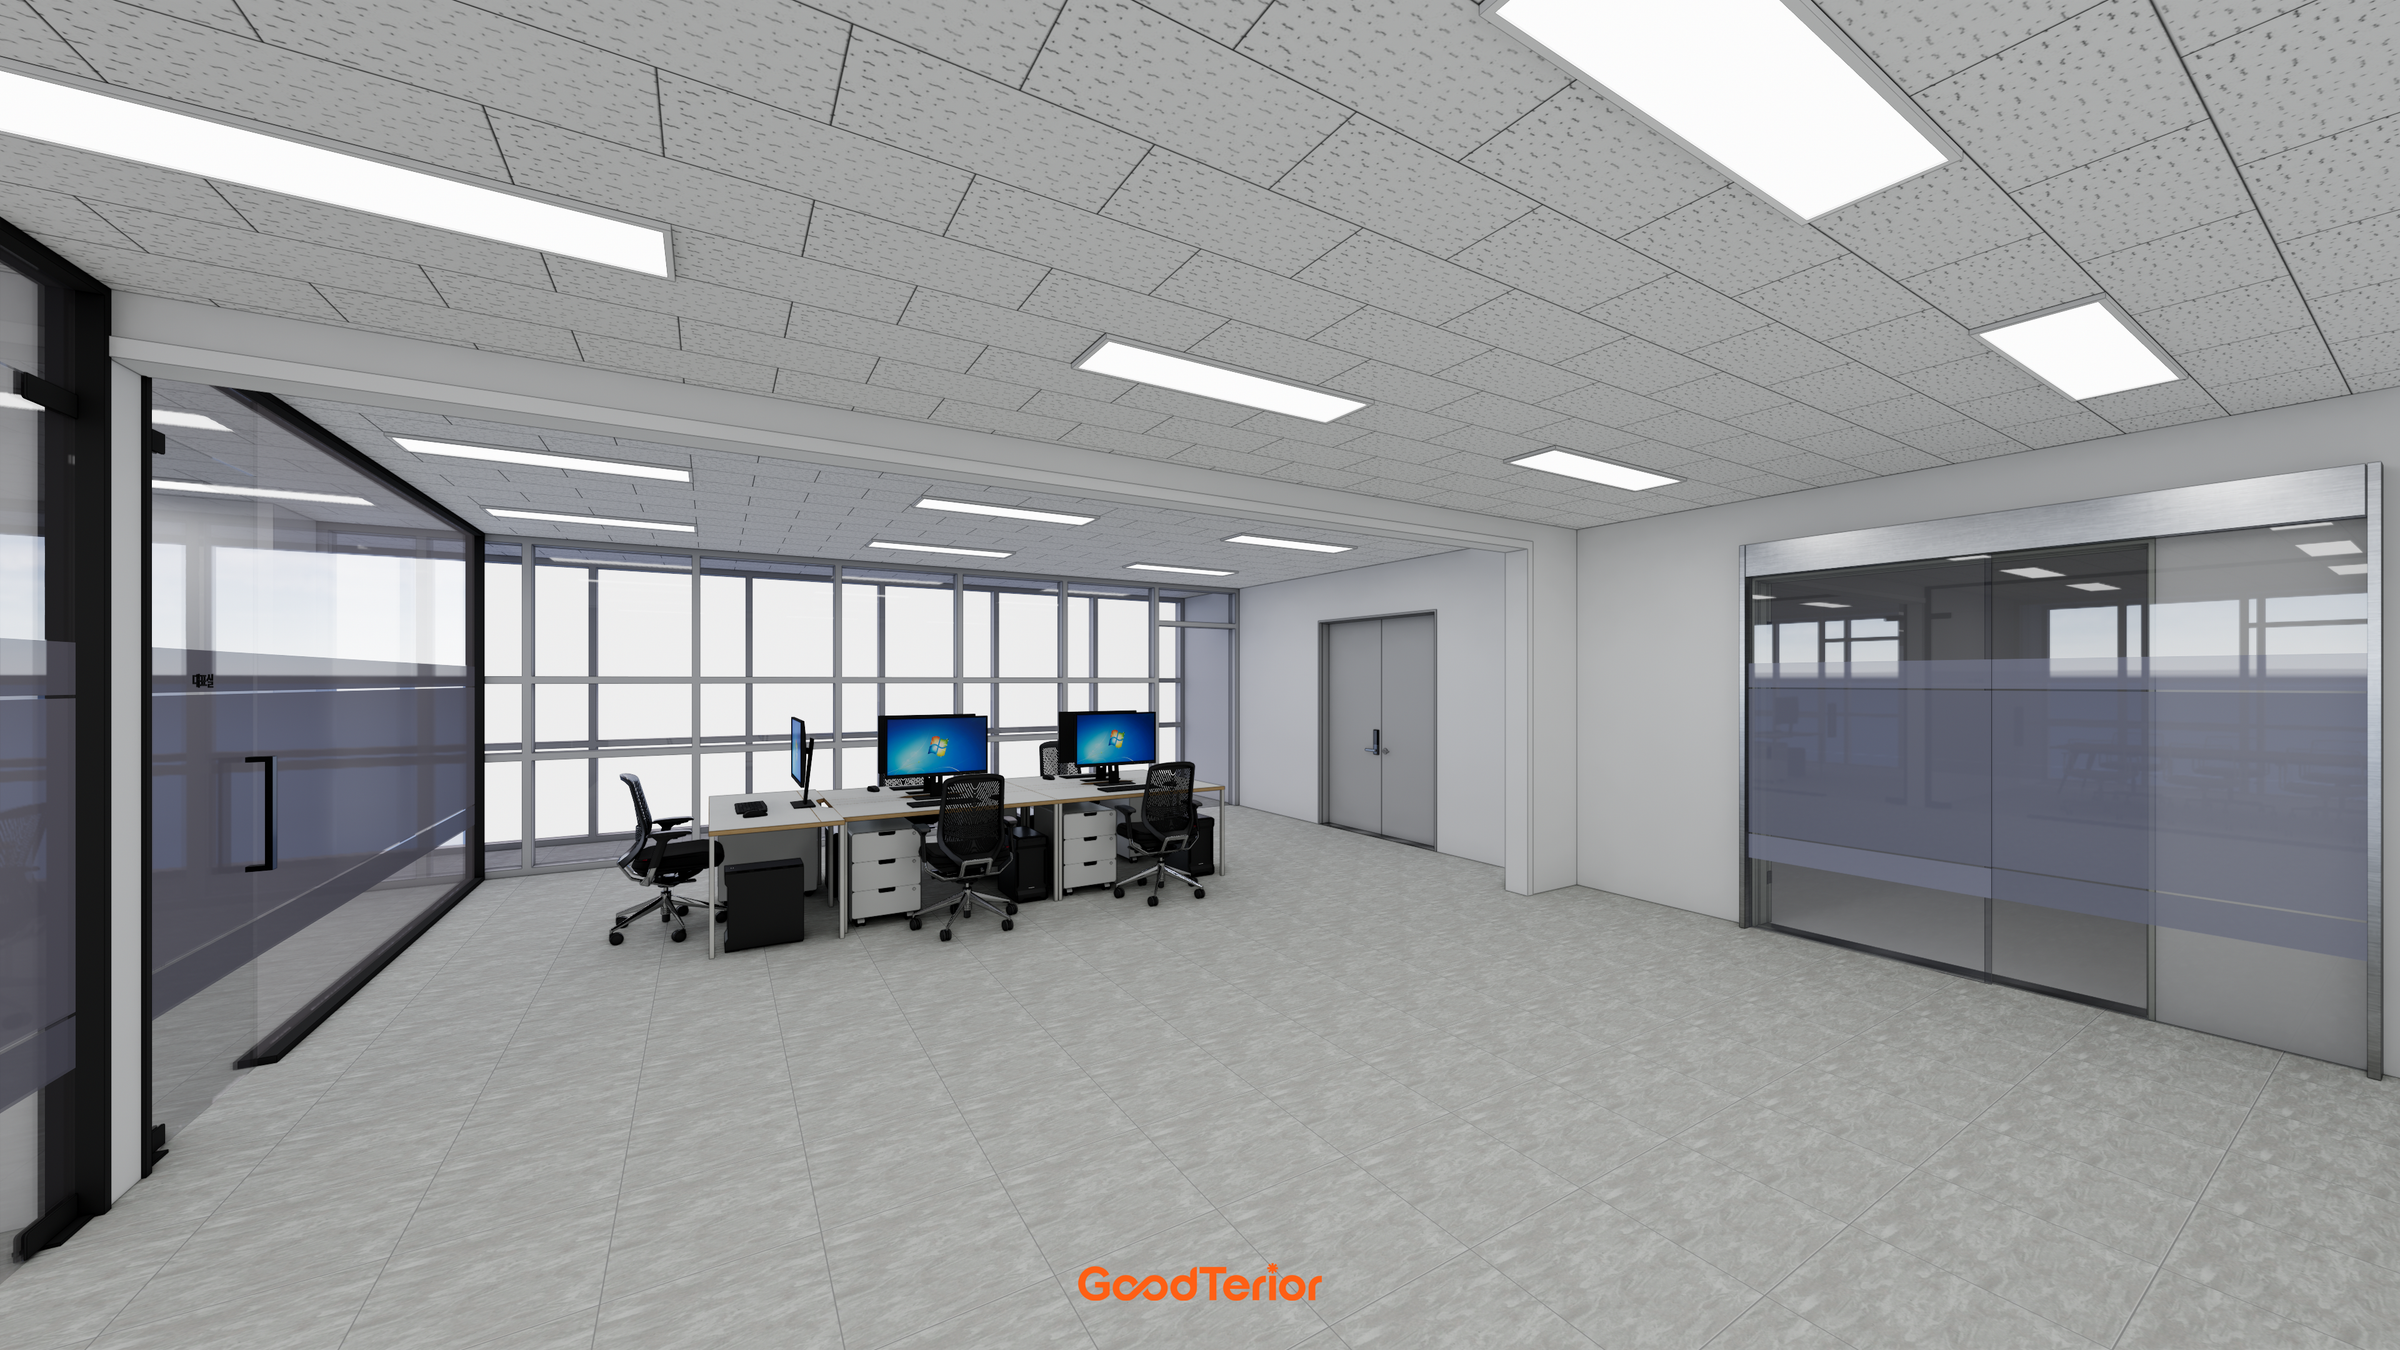
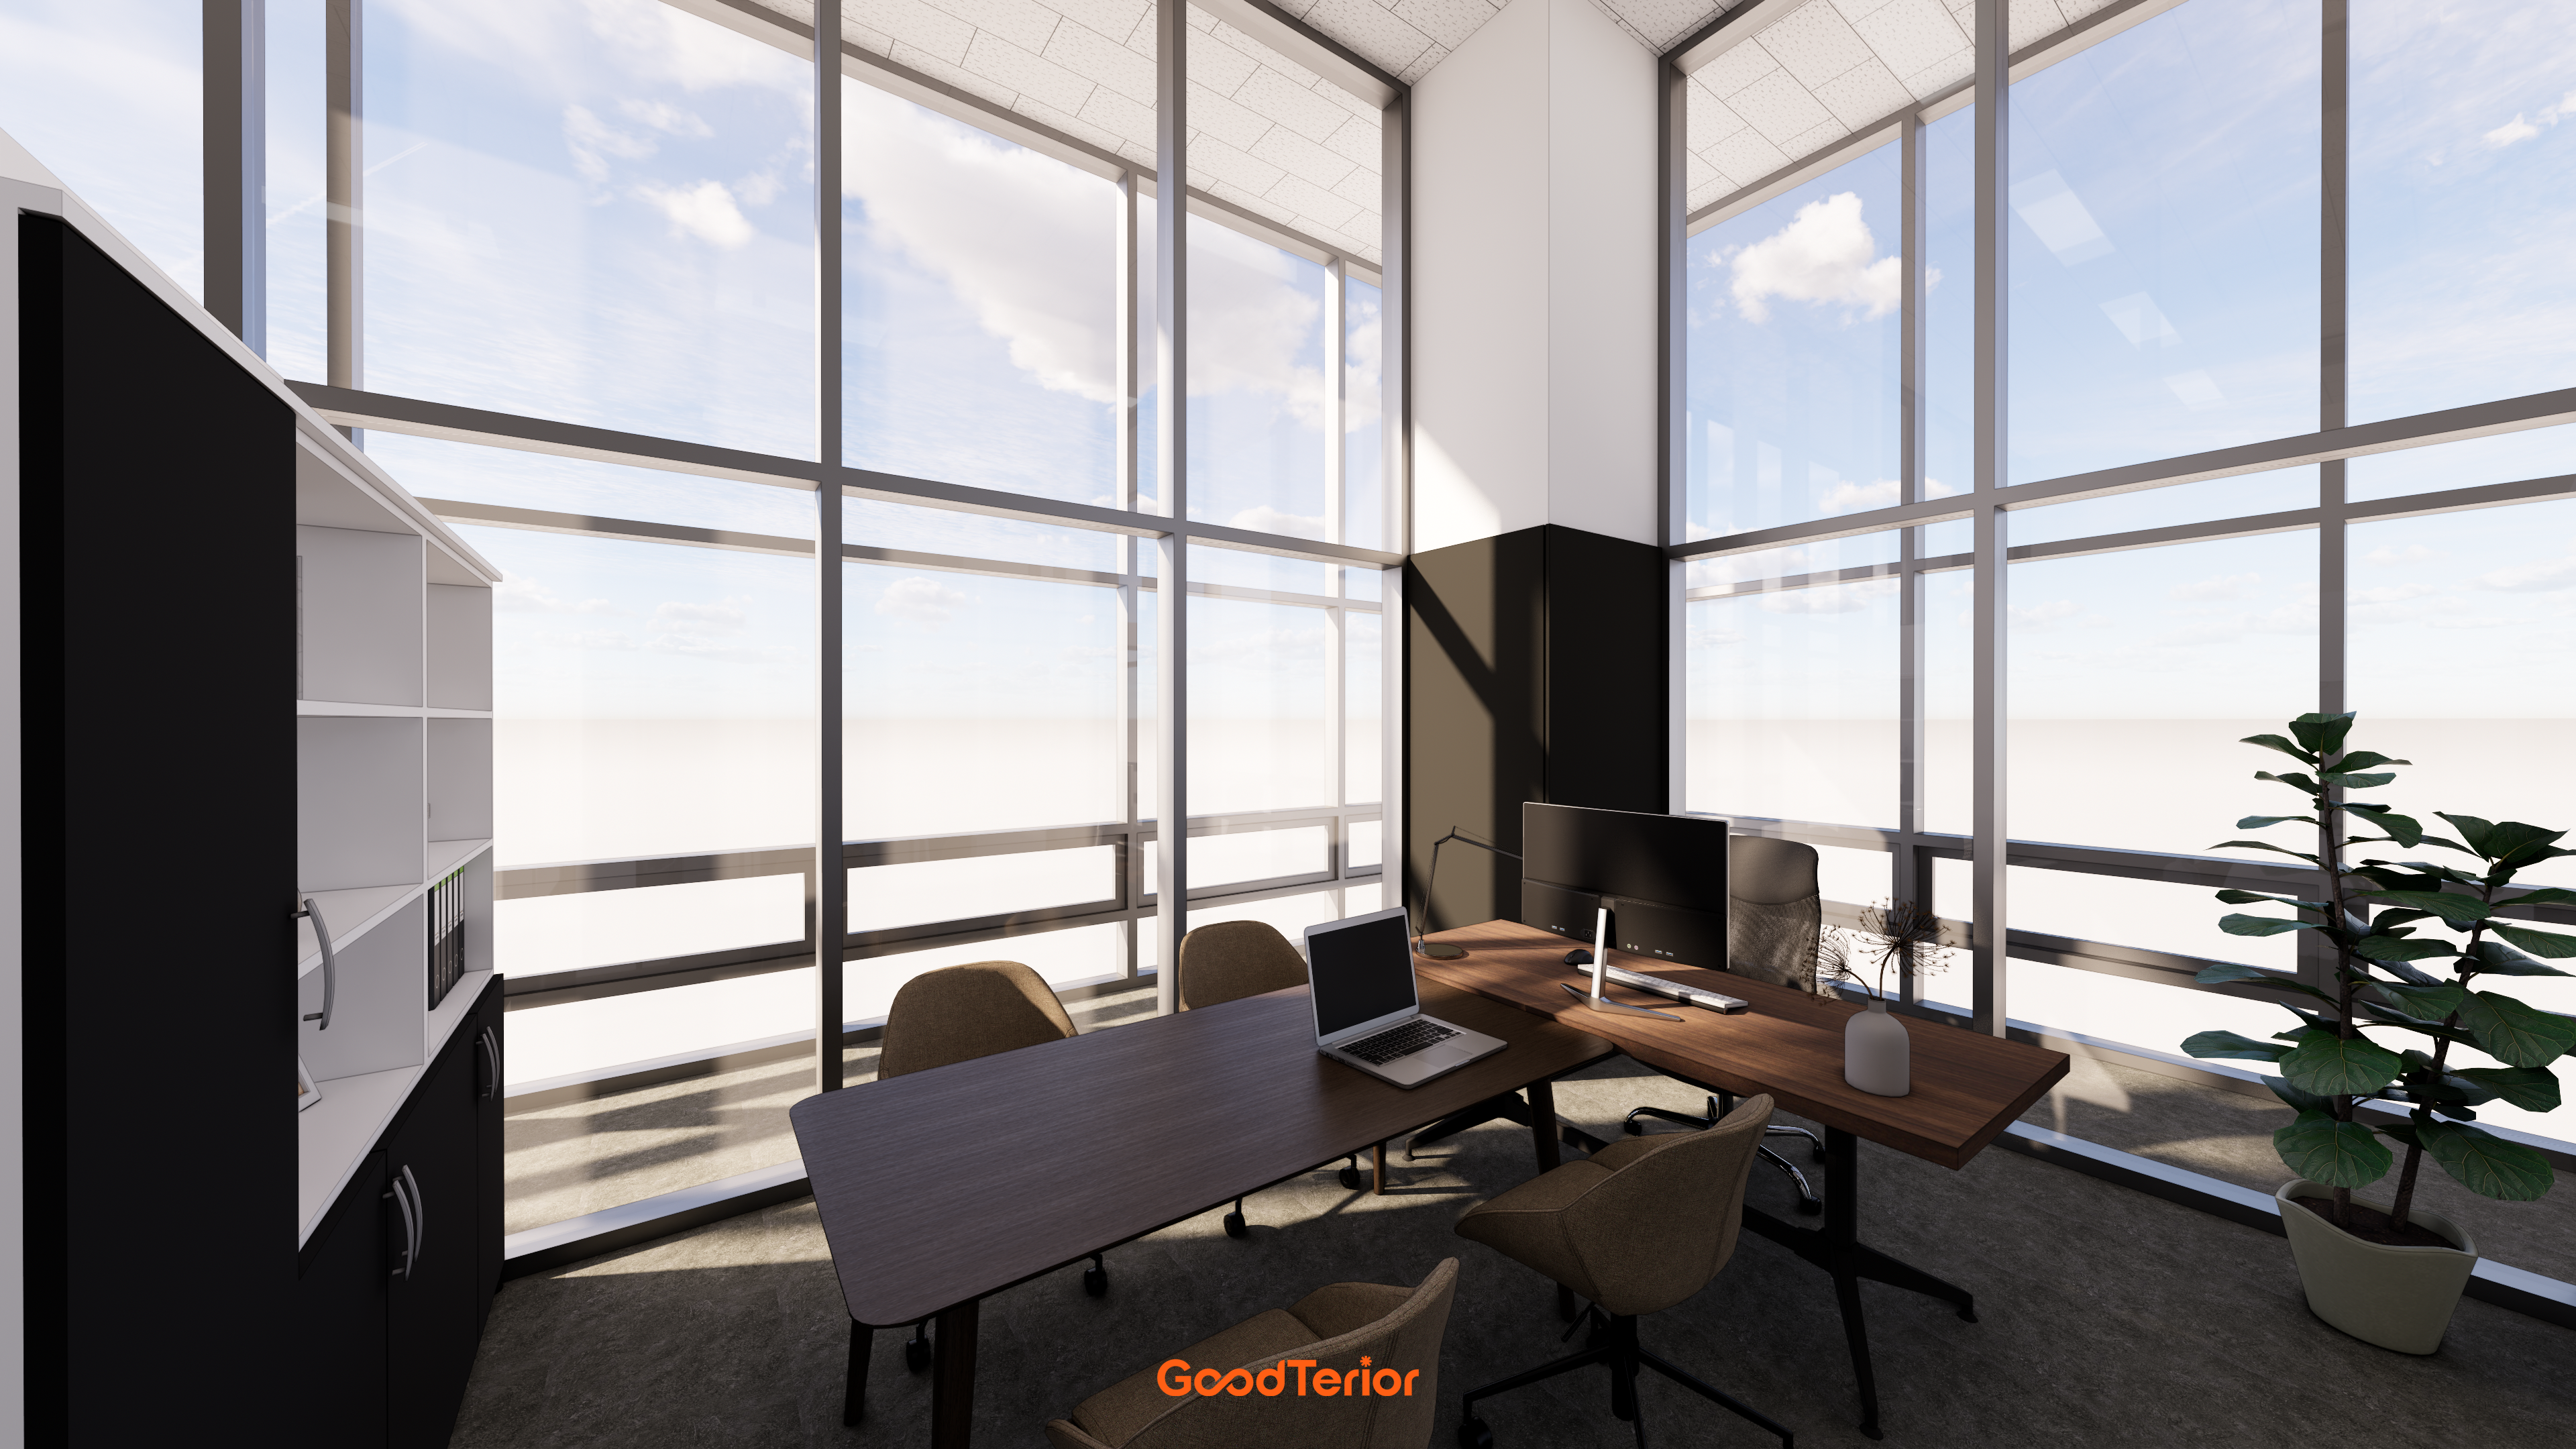
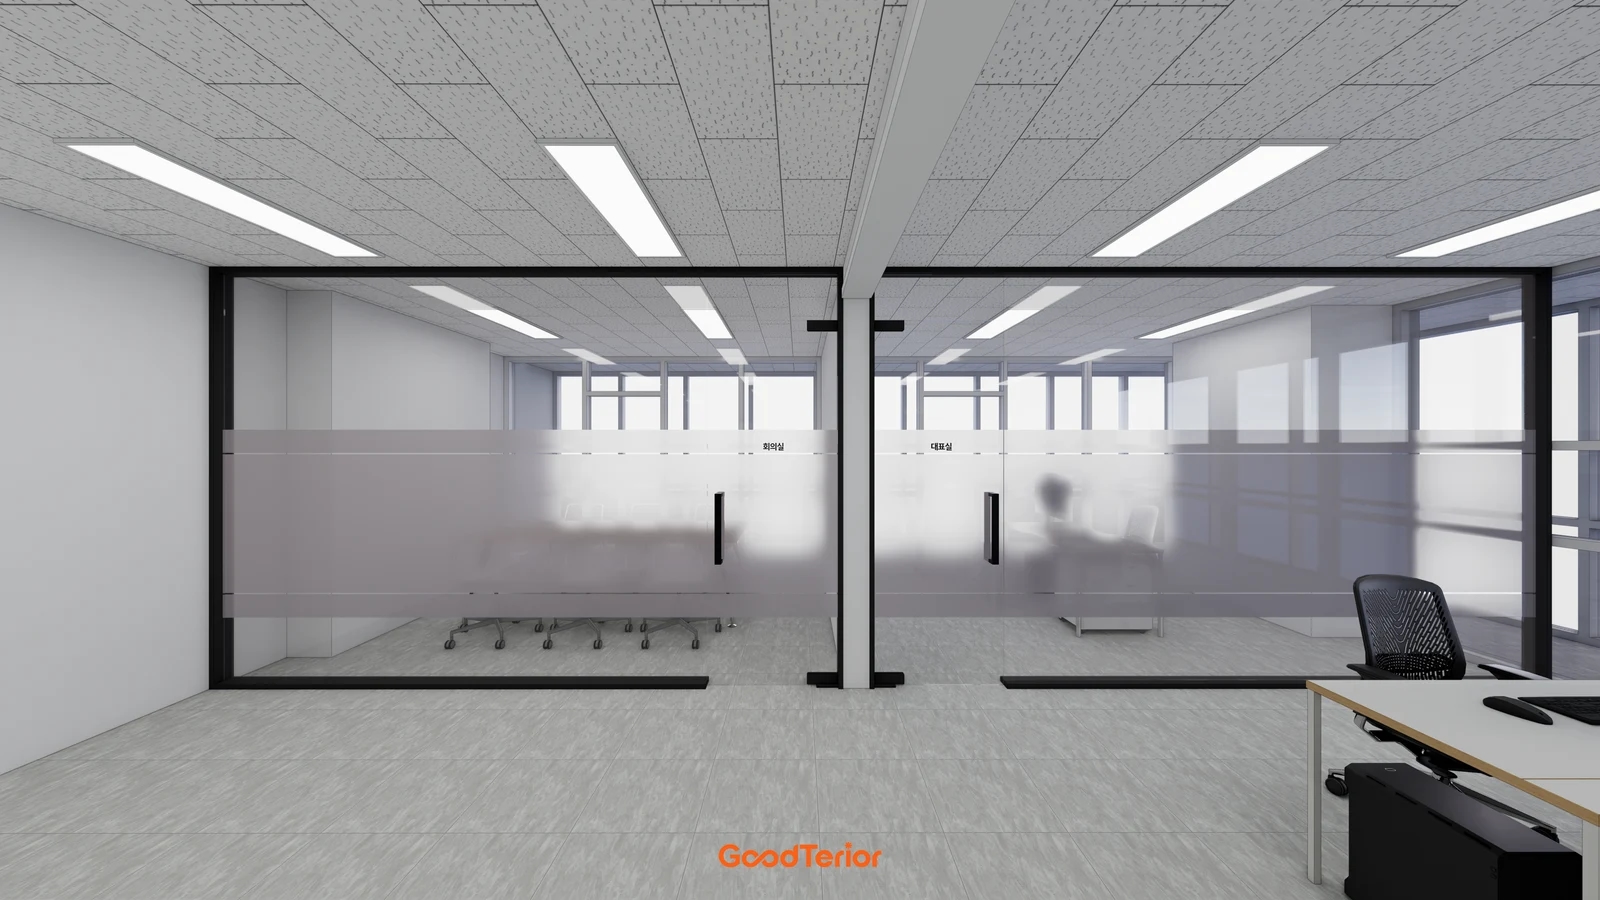
In the Ansan design, black outlines cross a setting of white walls and ceiling and a grey floor. Handles are also black, while the central column remains light. Compare a uniform component colour with a background-coloured existing column. Before extending a dark finish onto the column, review its width, returns and appearance from adjacent rooms.
Separate on-screen colour comparisons from physical sample approval. A photograph does not establish whether frame faces, returns, handles and door surrounds use the same material. Obtain samples and fabrication descriptions for sheen and corner transitions. Retain sample identifiers and the exact surfaces receiving each finish, rather than a colour name alone.
Try an elevation showing the outlines without privacy patterns or background furnishings. Identify room boundaries, door surrounds and columns, then restore graphics, room names and handles to review visual congestion. A cleaner-looking drawing alone is not a reason to omit components required by the selected system.
A strong black outline and an easily identified doorway are separate checks. Where fixed glazing has similar lines, review the completed doorway with handles and room labels. Address privacy bands and door markings separately; frame colour alone does not settle privacy or wayfinding.
Door and fixed-panel divisions to record before fabrication
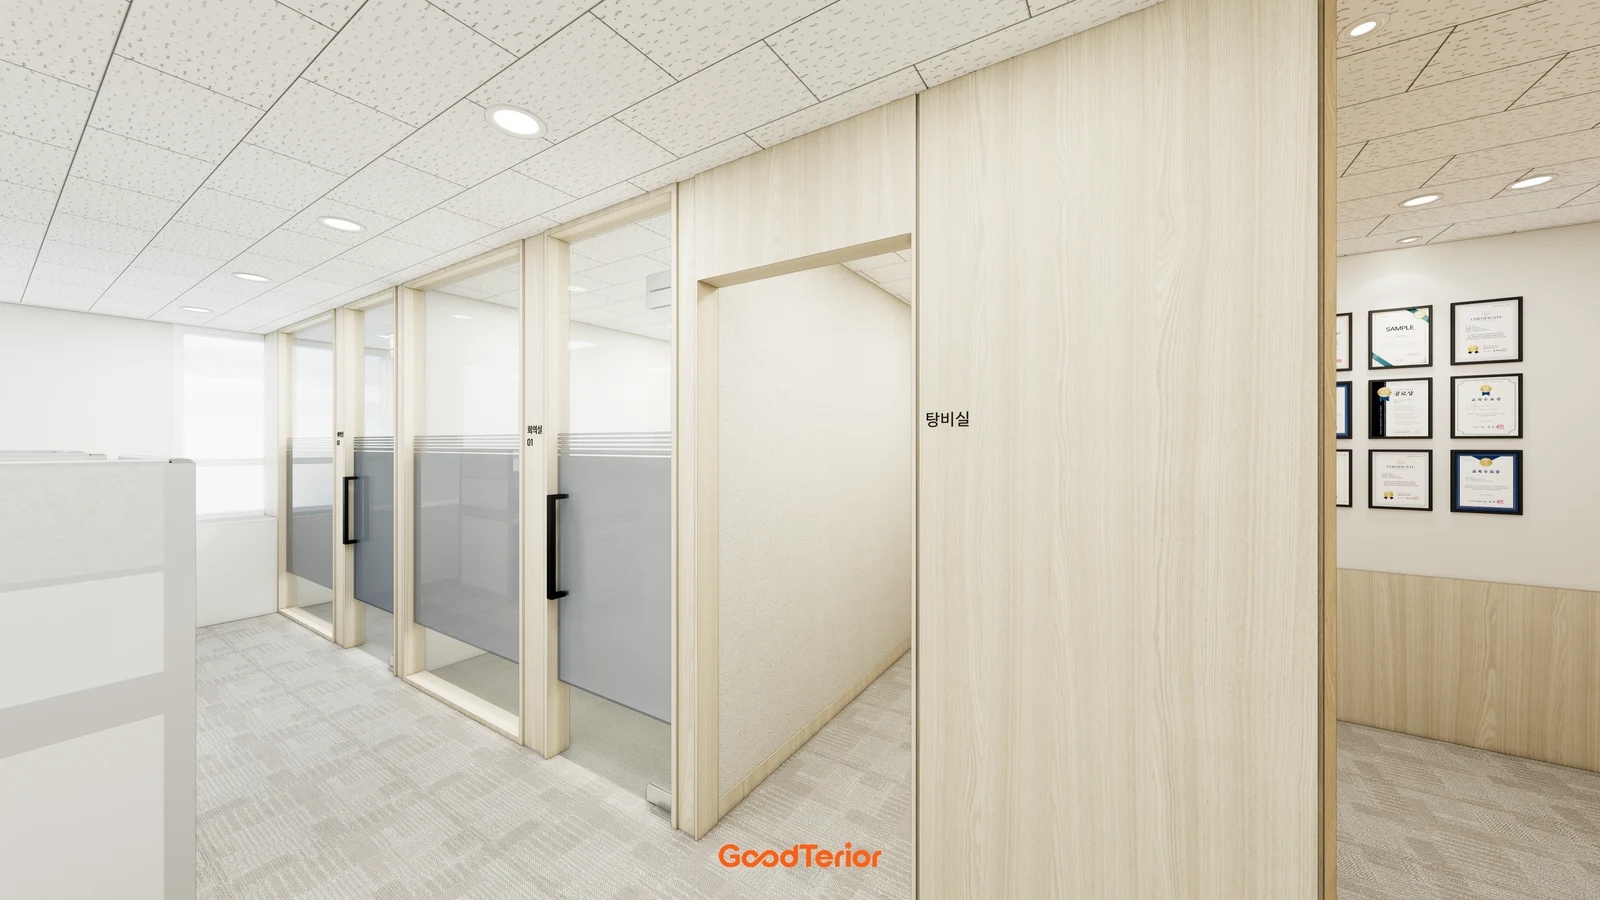
The Guro Saenggak Gongjang design connects light wood-tone door surrounds to adjacent walls. Its material cannot be inferred to match the earlier black outlines, but it illustrates a wall-related colour alternative. With an open pantry entrance beside glazed doors, an elevation can compare where each top and vertical boundary terminates.
Do not start by dividing the full frontage into equal decorative intervals. Mark moving doors, fixed glazing, existing columns and wall ends, then record each span. If a doorway produces a narrow adjacent panel, compare the complete elevation with the open-door layout. Reconcile access requirements and the selected partition system with the installer’s confirmed information.
Draw the top boundary through its ceiling junction. A lowered ceiling element, as in the Ansan design, can interrupt what appears to be a continuous outline. Measure ceiling levels and projections and establish whether the partition sits in front of or behind them. Approve measured fabrication drawings rather than copying dimensions from a rendering.
The number of visible lines is not automatically the quotation’s panel count. Ask drawings to distinguish glass joints, actual frames and decorative strips. Compare face widths, wall returns and floor and ceiling terminations against the quoted scope. Assess any saving only after receiving quotations with comparable specifications and responsibilities.
For a retained partition, document existing outline widths, colours, handles and top levels as well as the new elevation. Enlarge the junction and compare samples beside existing finishes instead of relying on matching colour names. Separate removal, retention and wall and floor making-good in the scope.
Retain plans, room elevations, finish samples, door and fixed-panel distinctions and handle orientations together. Mark affected components and finish faces on one coordinated revision for quotation and fabrication. At installation, inspect the distant frontage, close corner details and door operation separately, retaining both visual approvals and the installed-condition checks.
Ask us about your interior project
We can discuss a quote and design suited to the space you are planning.
Request a free consultation