Learning Centre Storage: Choosing Open Shelves and Cabinets with Doors
Learning centre storage planning starts with the objects and users rather than filling an empty wall with identical doors. Compare visible bookshelves and closed cabinets in design studies, then review access, door movement, internal arrangements and fabrication scope.

Before you begin
- Separate student-selected books from staff-managed papers and define why each compartment needs a door.
- Check opening and retrieval space, chairs and entrances separately from the closed front view.
- Link shelves, doors, handles and any locks to compartment drawings and quotation items.
Separate visible items from staff-managed contents
Start by separating items students retrieve themselves from those managed by staff. Books selected during class, materials distributed beforehand, spare stationery and papers follow different use sequences. Record who takes and returns them before deciding on doors. This turns a request for another bookcase into a storage arrangement suited to the operation.
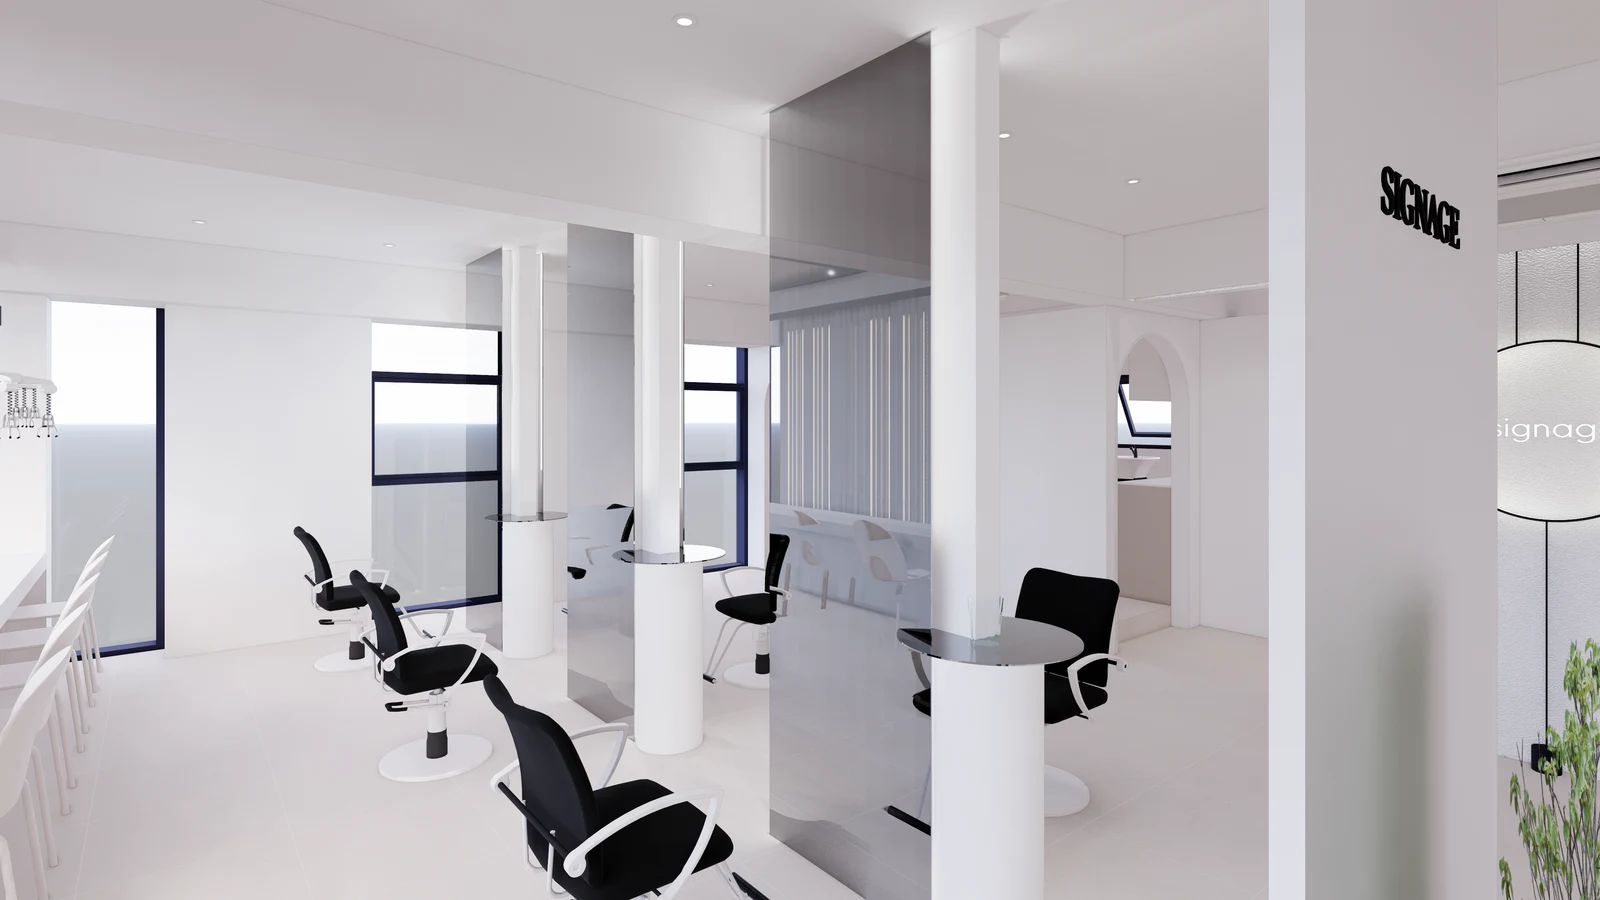
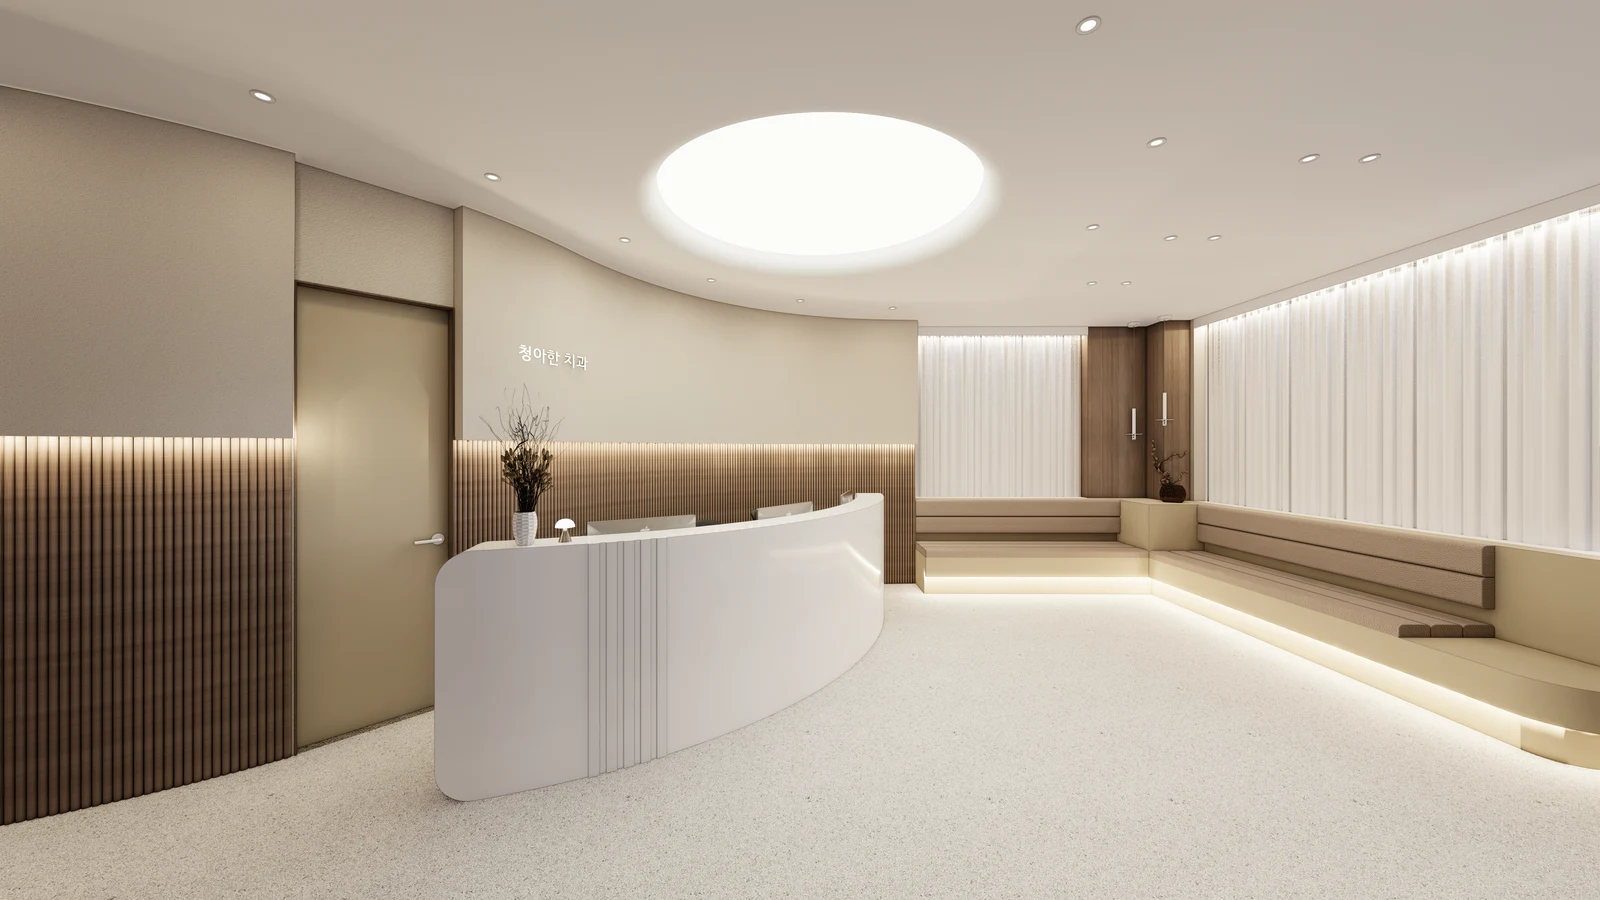
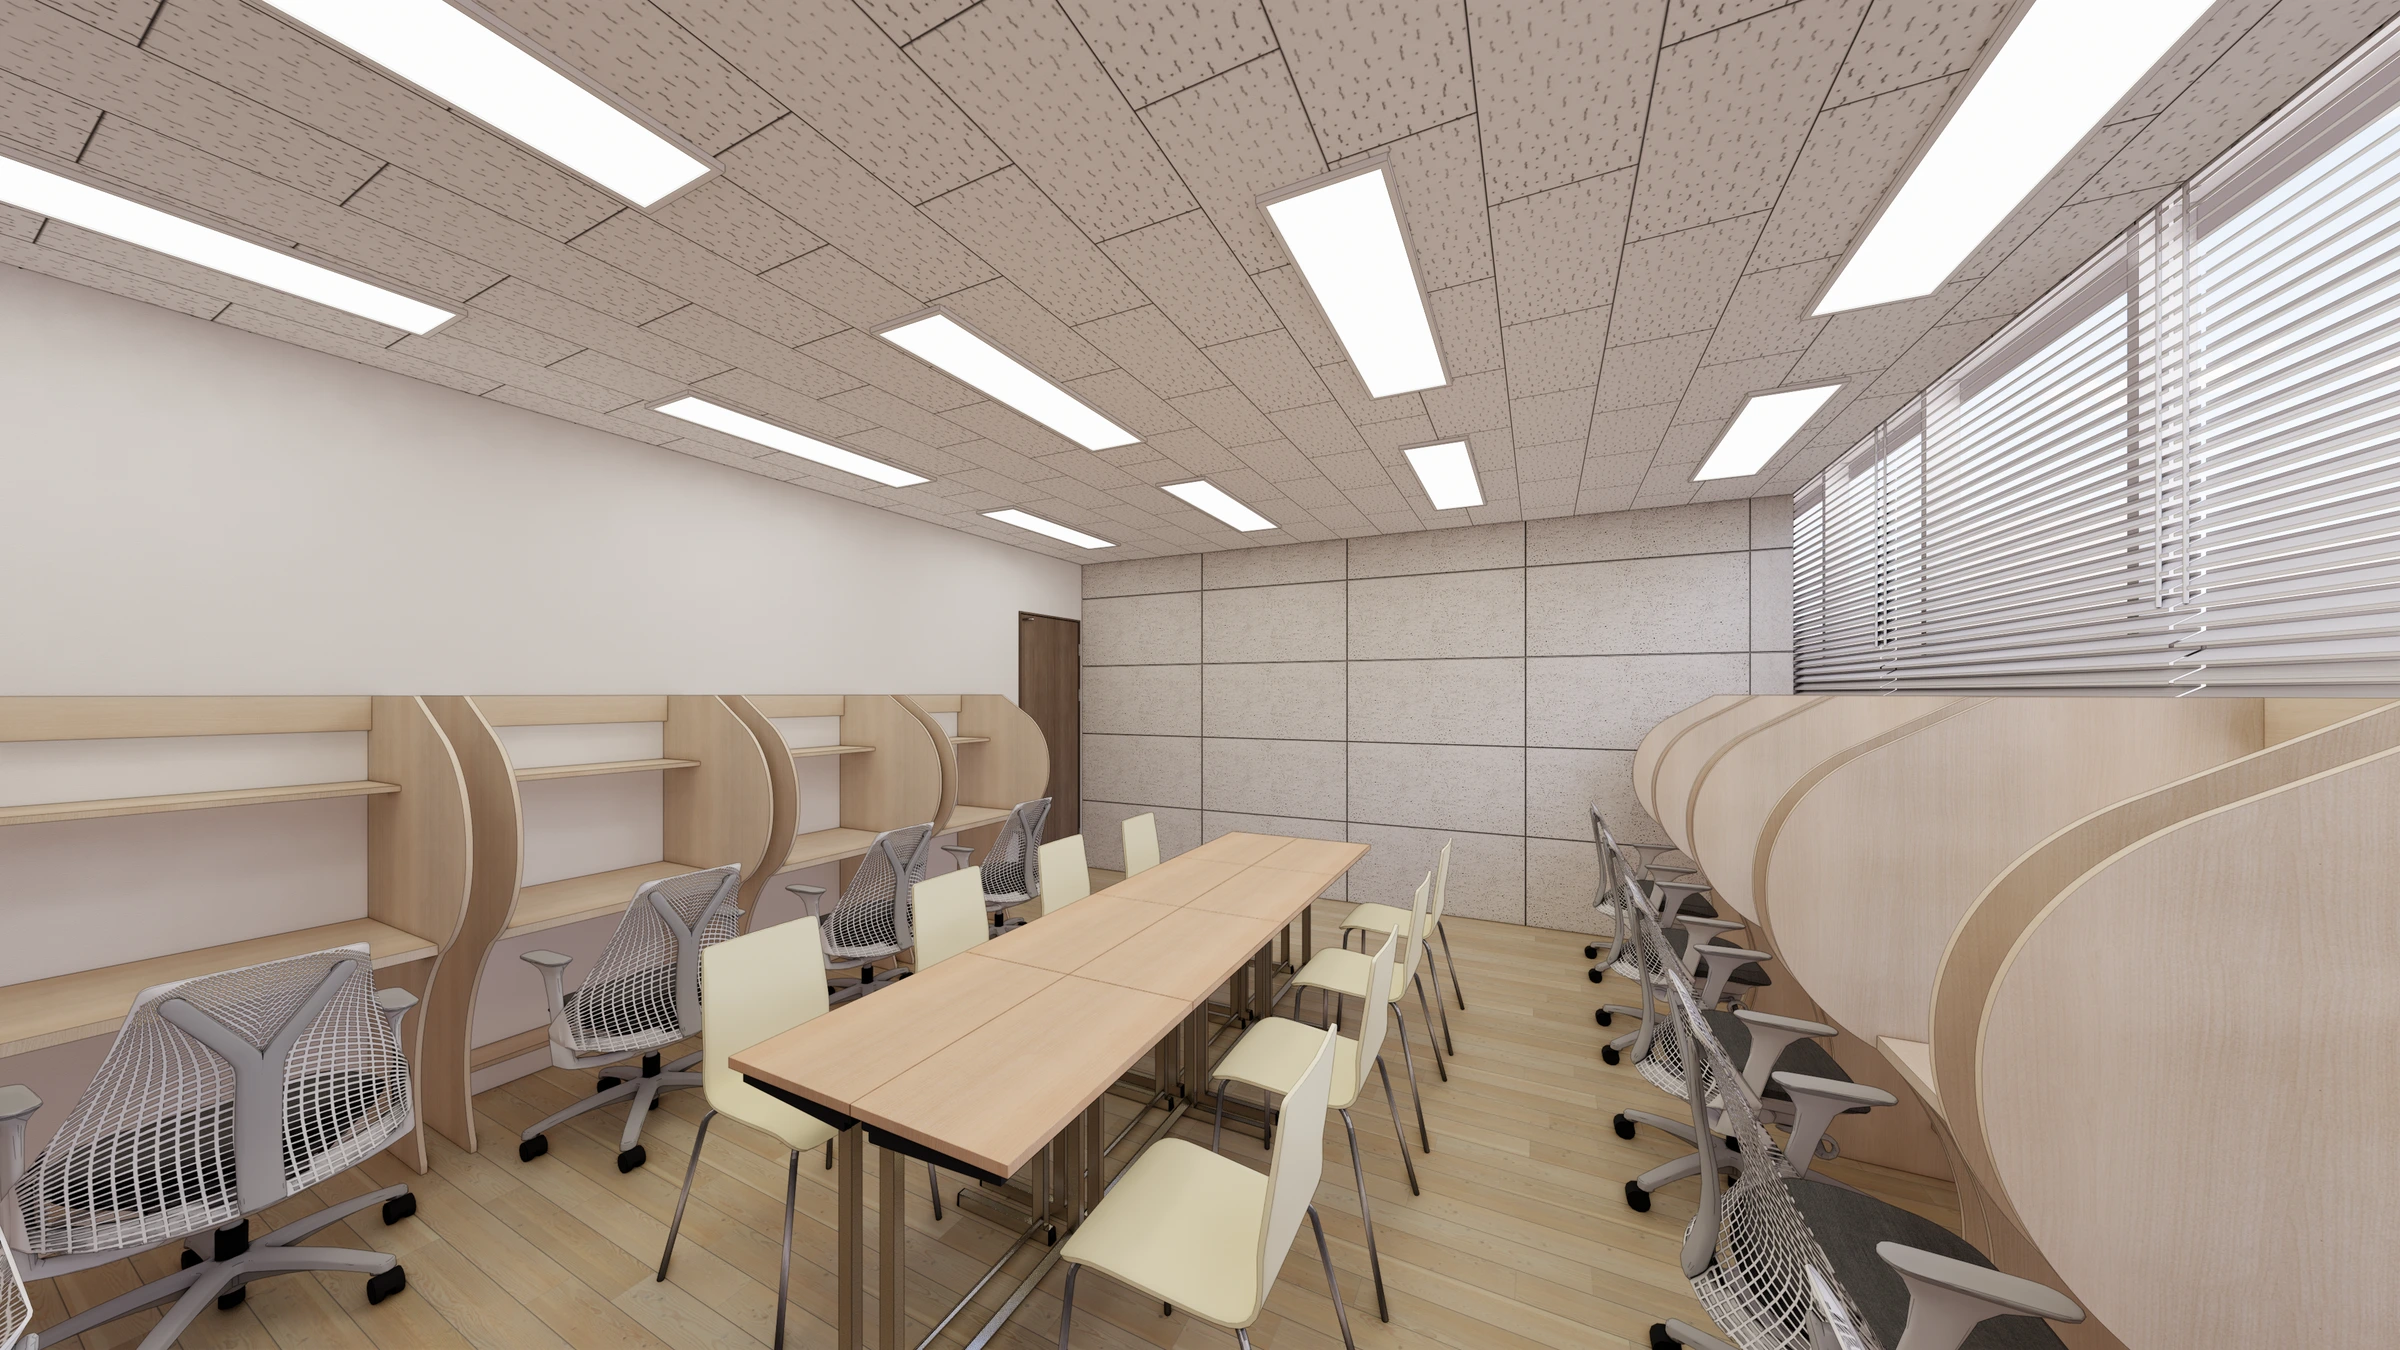
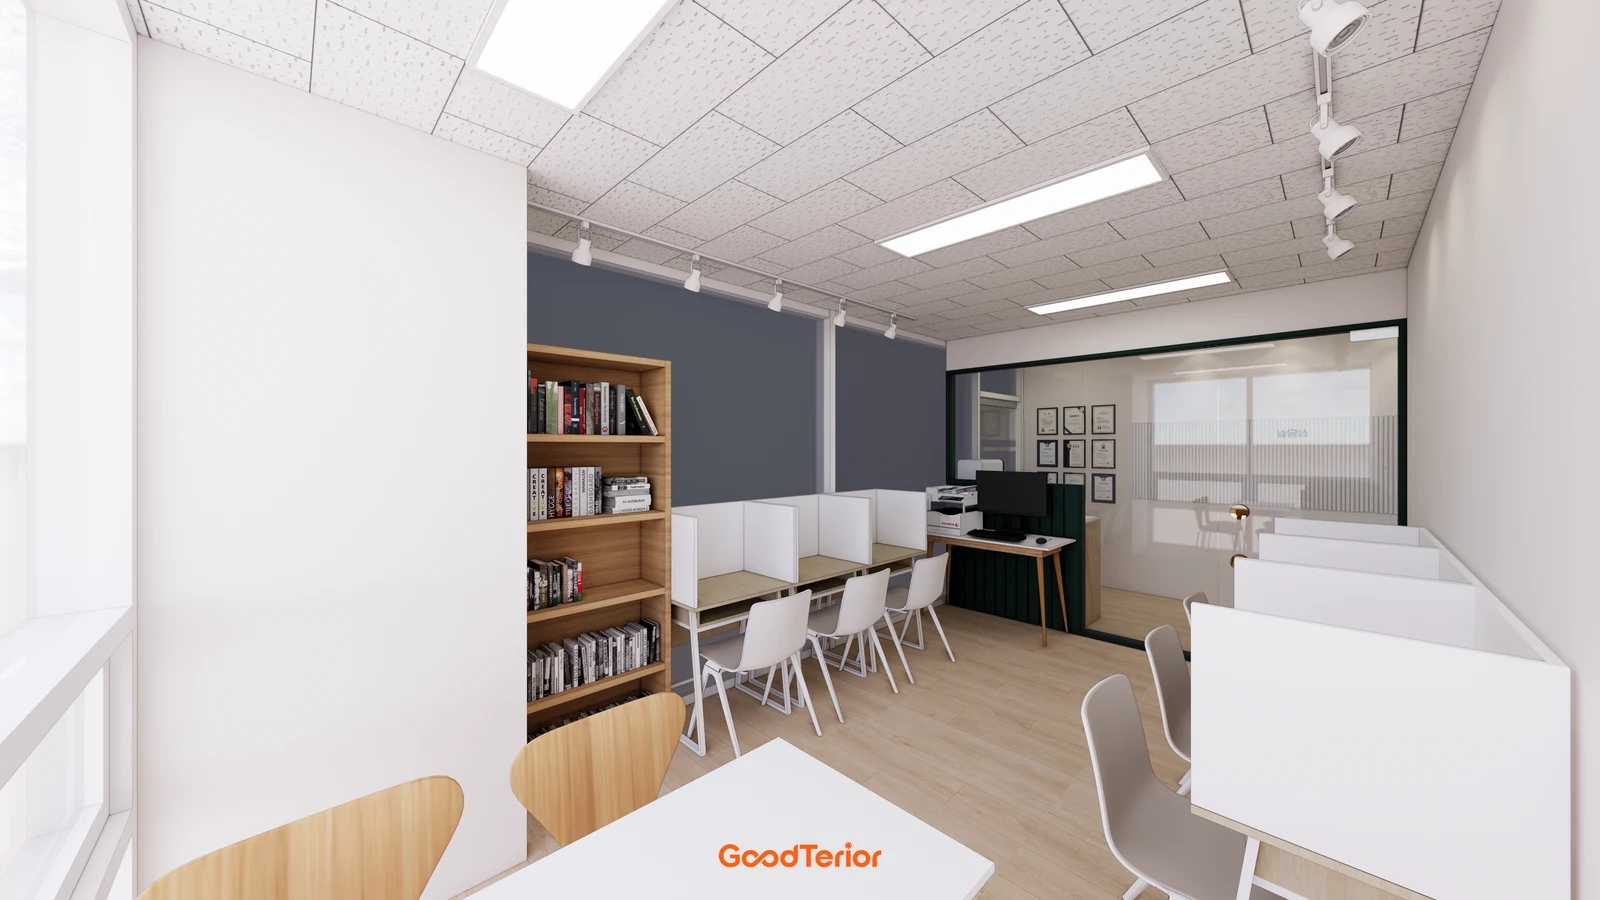
The cover places an open wood-toned bookcase beside partitioned study seats. Check whether visible book spines are needed and who selects and organizes the books. Review the plan for retrieval routes behind occupied chairs. Compare the actual teaching routine rather than copying the illustrated quantity of books or shelf arrangement.
Open shelving need not display every item. Separate materials students select from stock replenished by staff and decide how shelf contents will be identified. Discuss whether empty spaces after retrieval are acceptable. Assuming books always remain evenly arranged as in a rendering can lead to approving furniture that does not match post-class use.
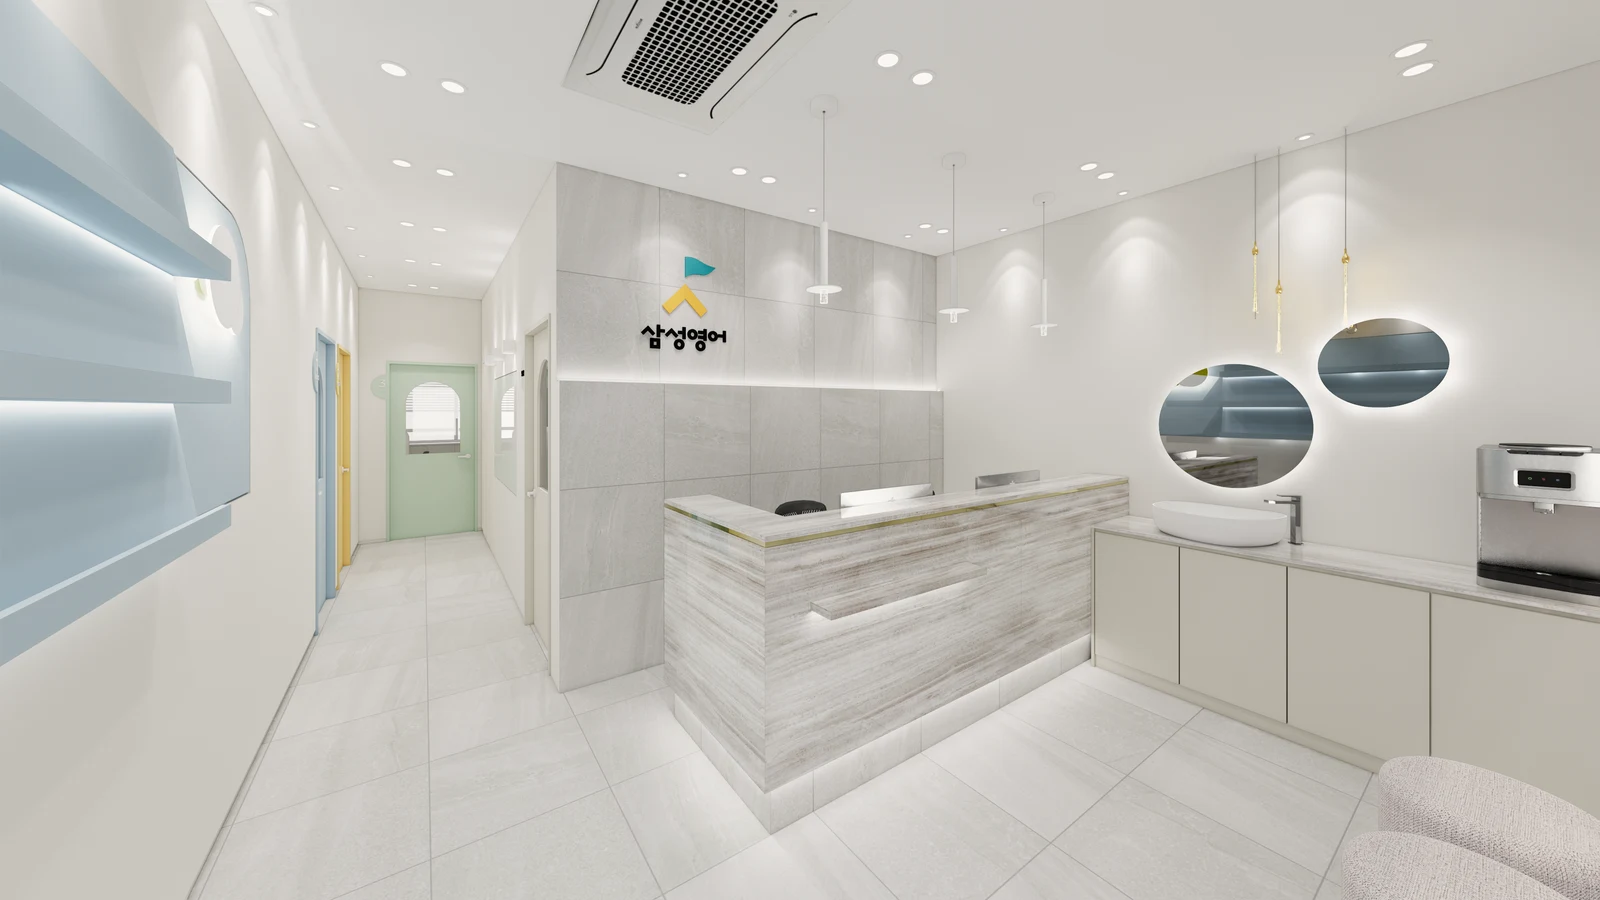
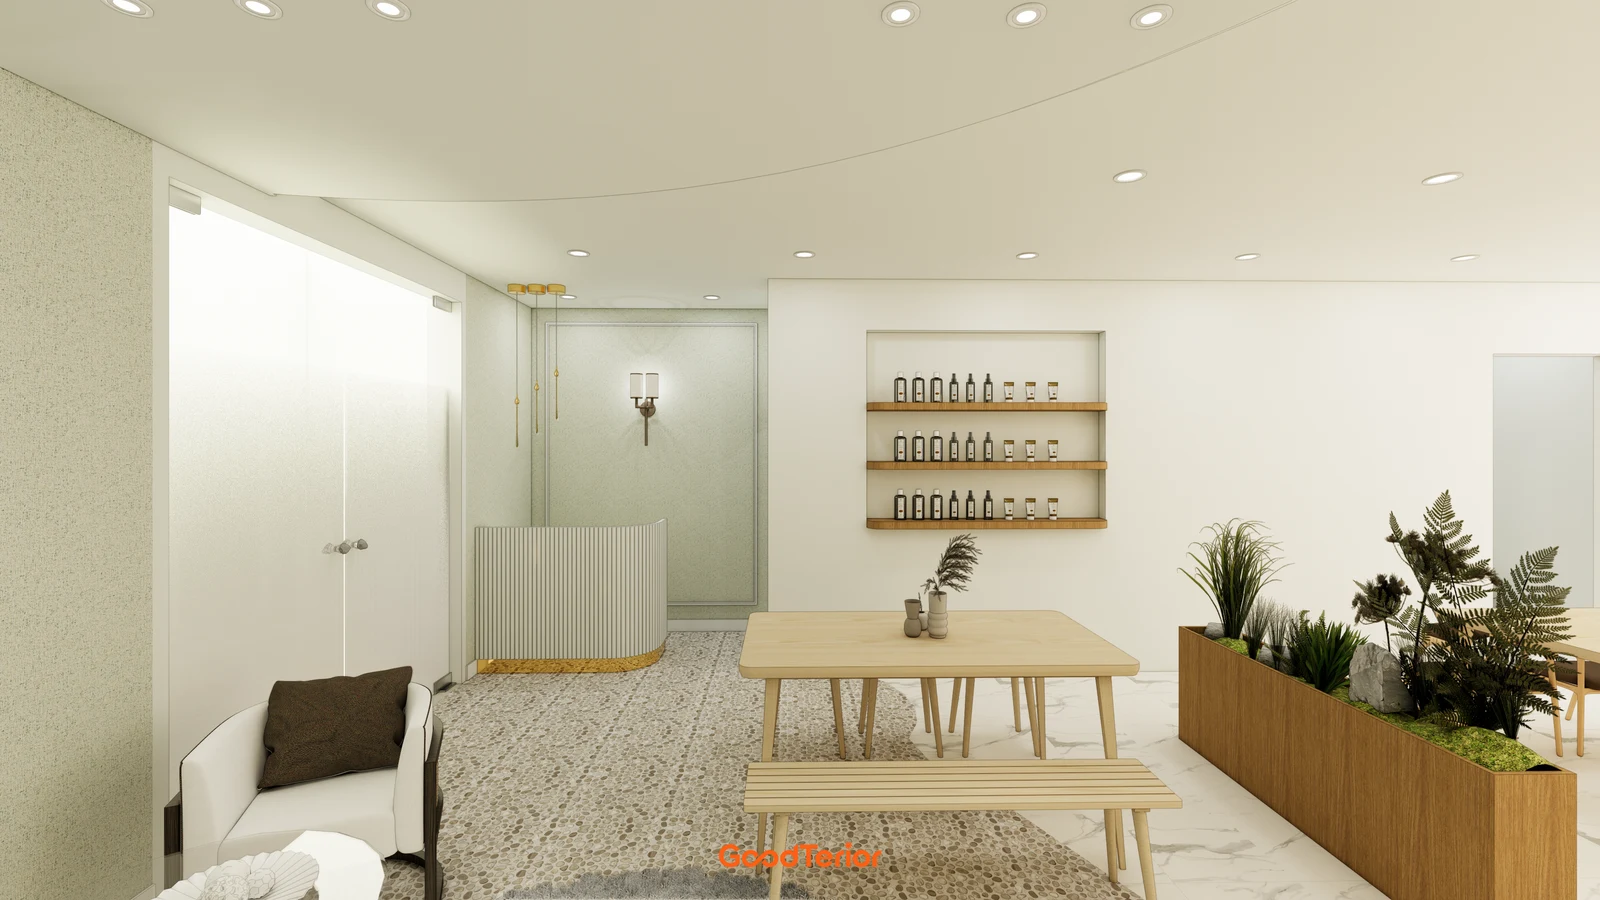
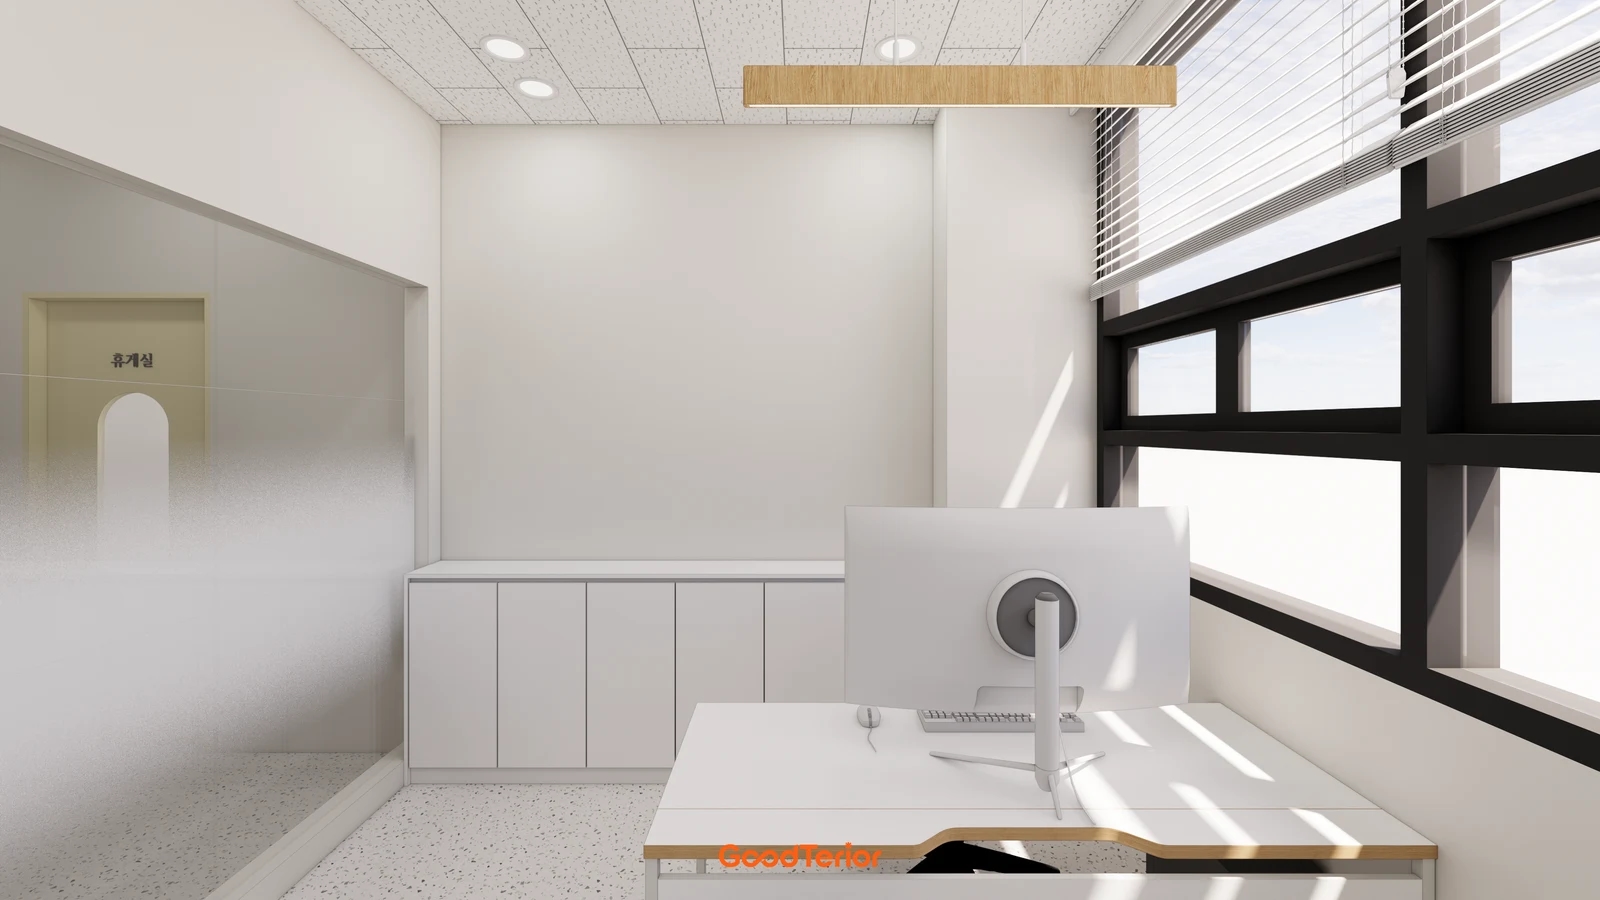
The first body image shows low cabinets behind a staff desk. Closed fronts are an option for papers and supplies that students do not select themselves. Distinguish concealment from the required storage controls. For items needing a lock, assign the compartment and responsible staff rather than treating an opaque door as the complete solution.
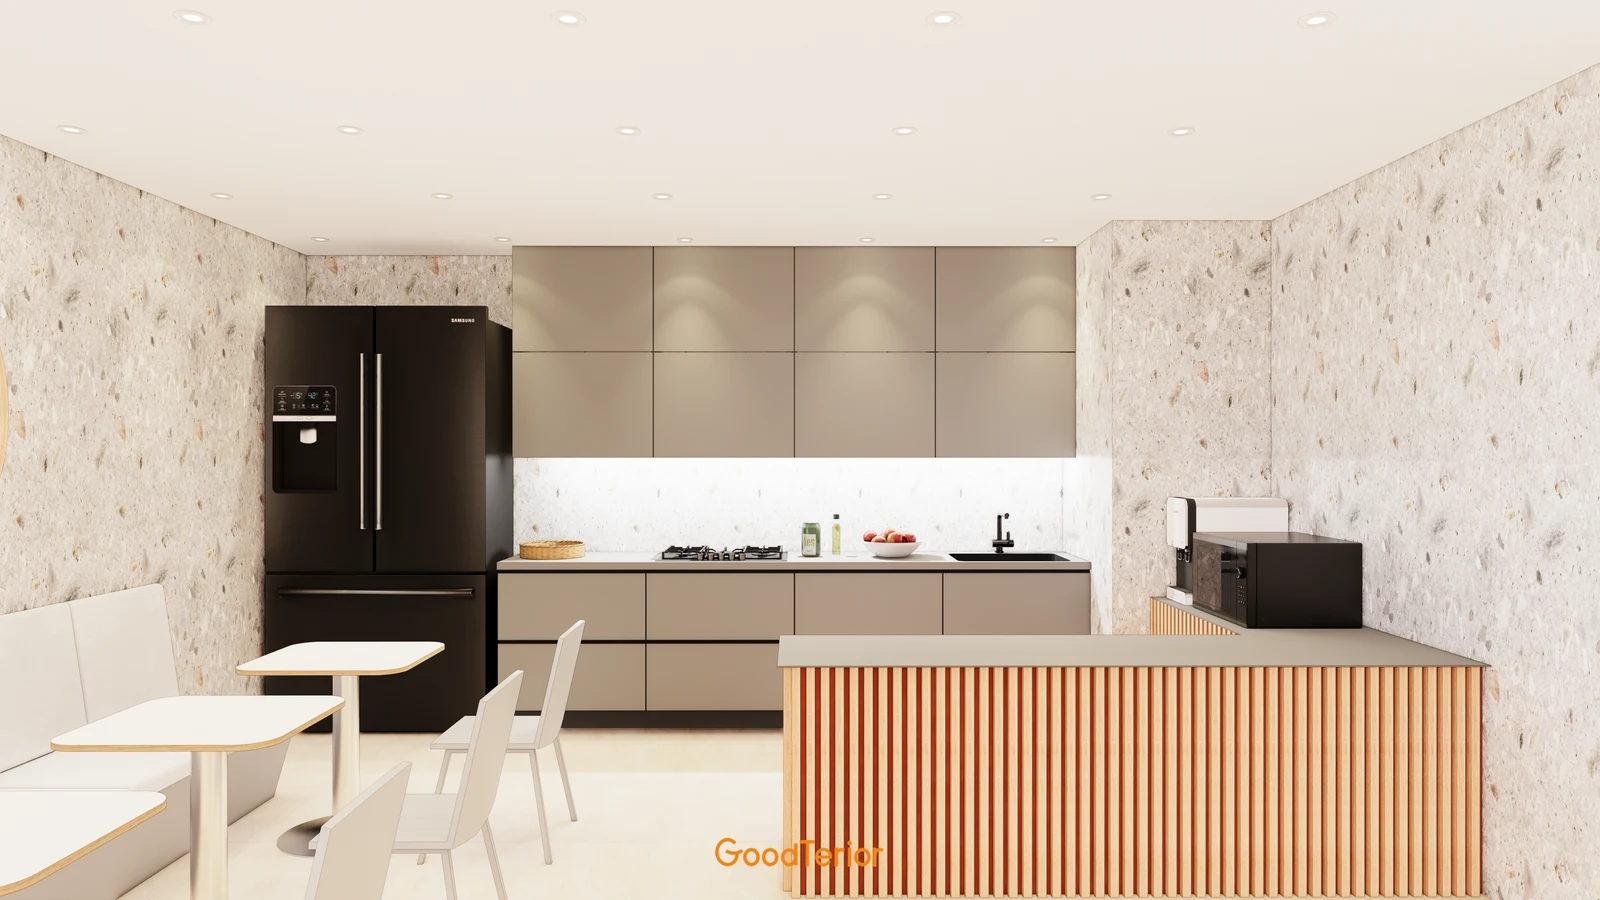
A single unit can combine open upper shelves and closed lower compartments. Choose door locations from retrieval frequency and object size, not colour alone. Distinguish internal dimensions for books and boxes. Even with an unchanged outside width, review usable space after partitions, doors and fittings are included.
Compare ready-made units and fitted cabinetry against the same contents list. Check the actual dimensions and interiors of ready-made products and document compartments and changeable details for custom work. In both cases, fixing requirements need product instructions and installer assessment. The renderings do not establish stability, load capacity or suitability for children.
Review the design with doors open and contents being retrieved
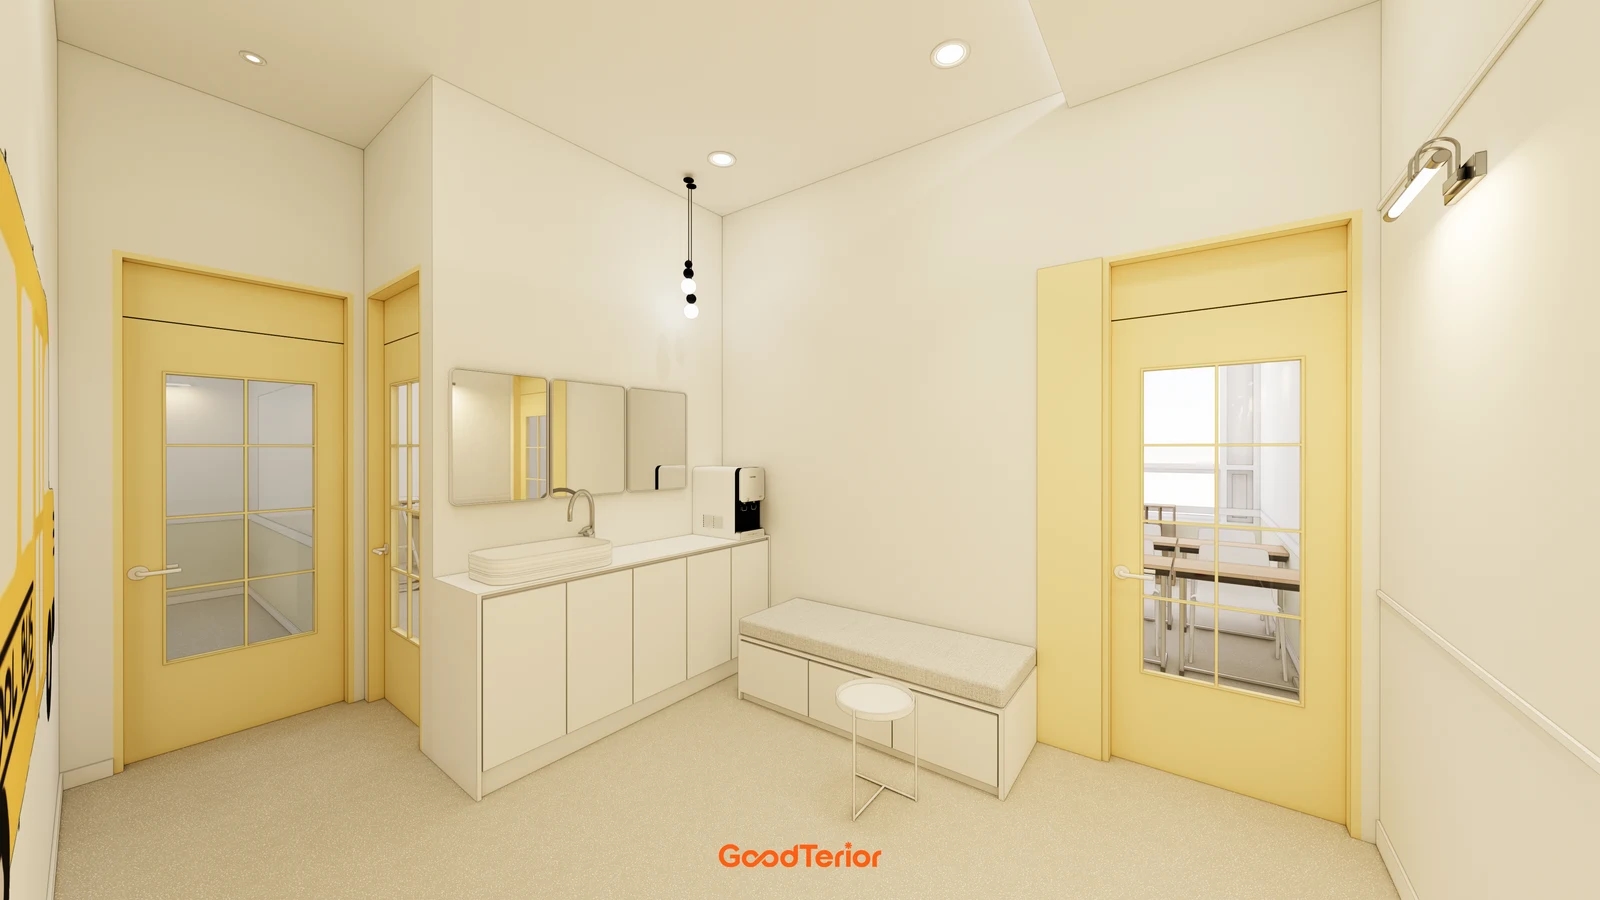
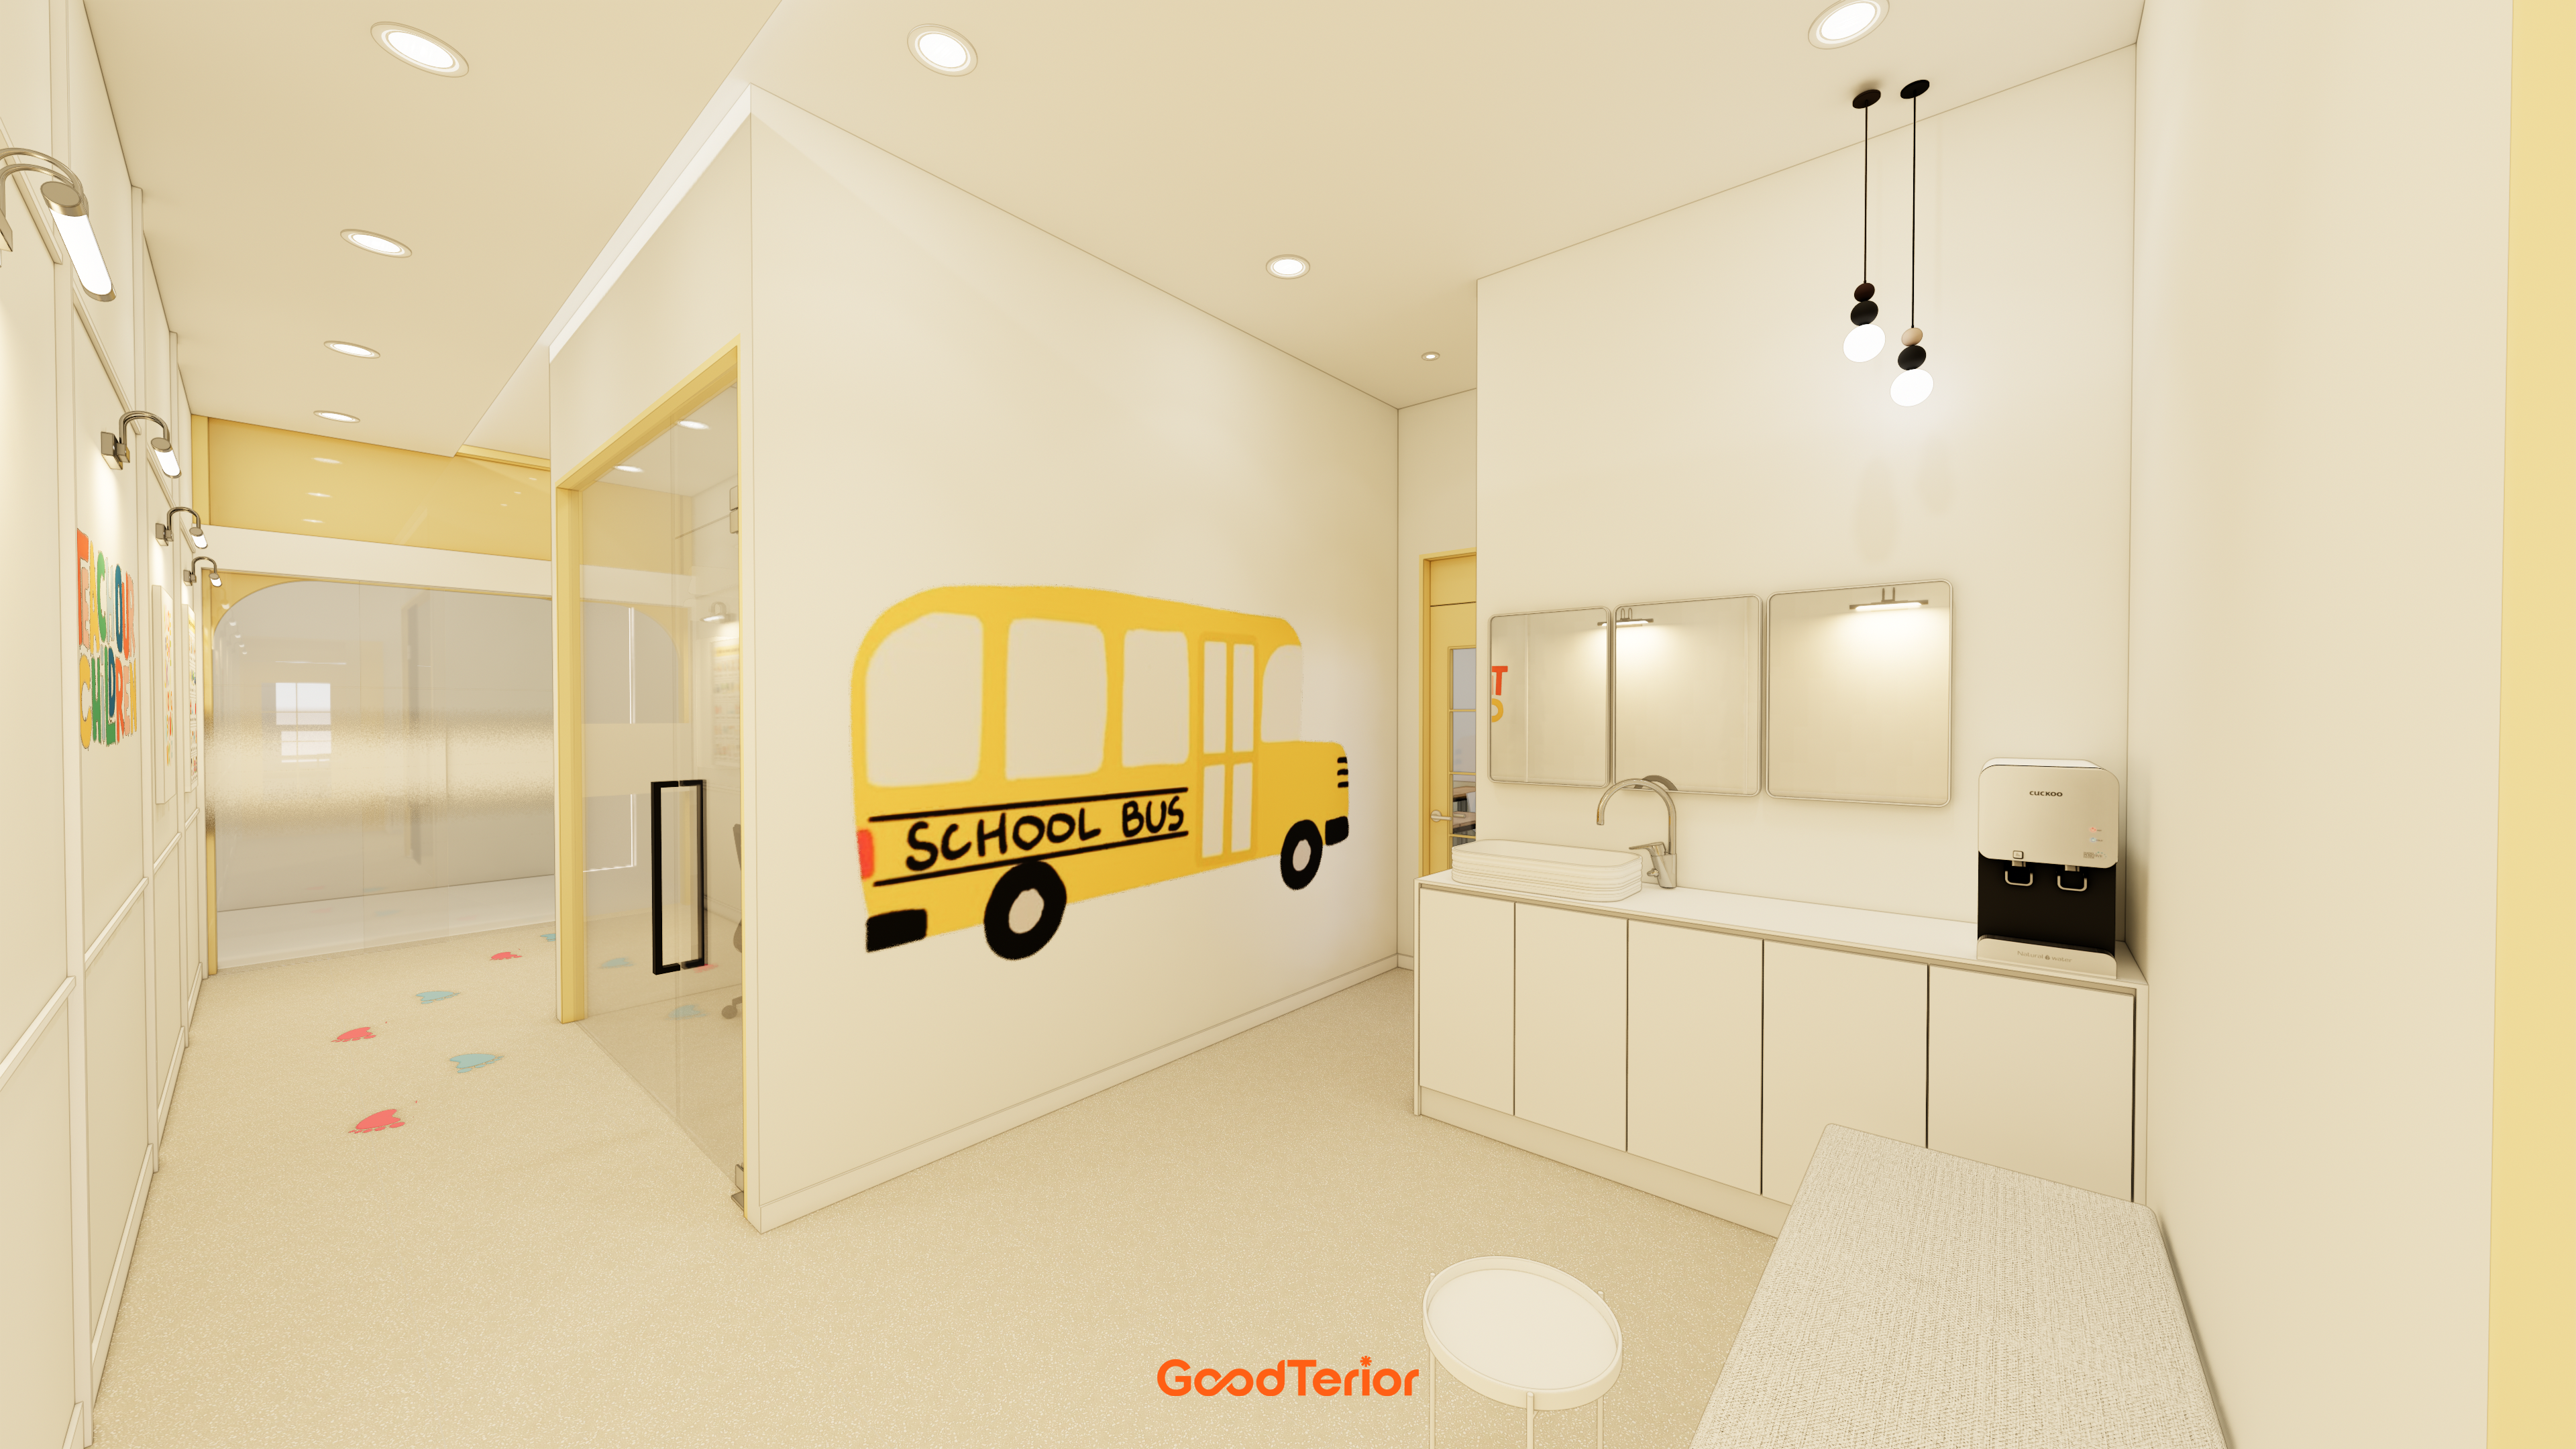
The second image combines basin cabinets, closed fronts beneath a bench and nearby classroom doors. Closed cabinetry may sit outside a route, while retrieval requires someone to stand in front. Define which compartments function as storage, then mark their opening direction and user position on the plan. The image does not establish how every bench panel opens.
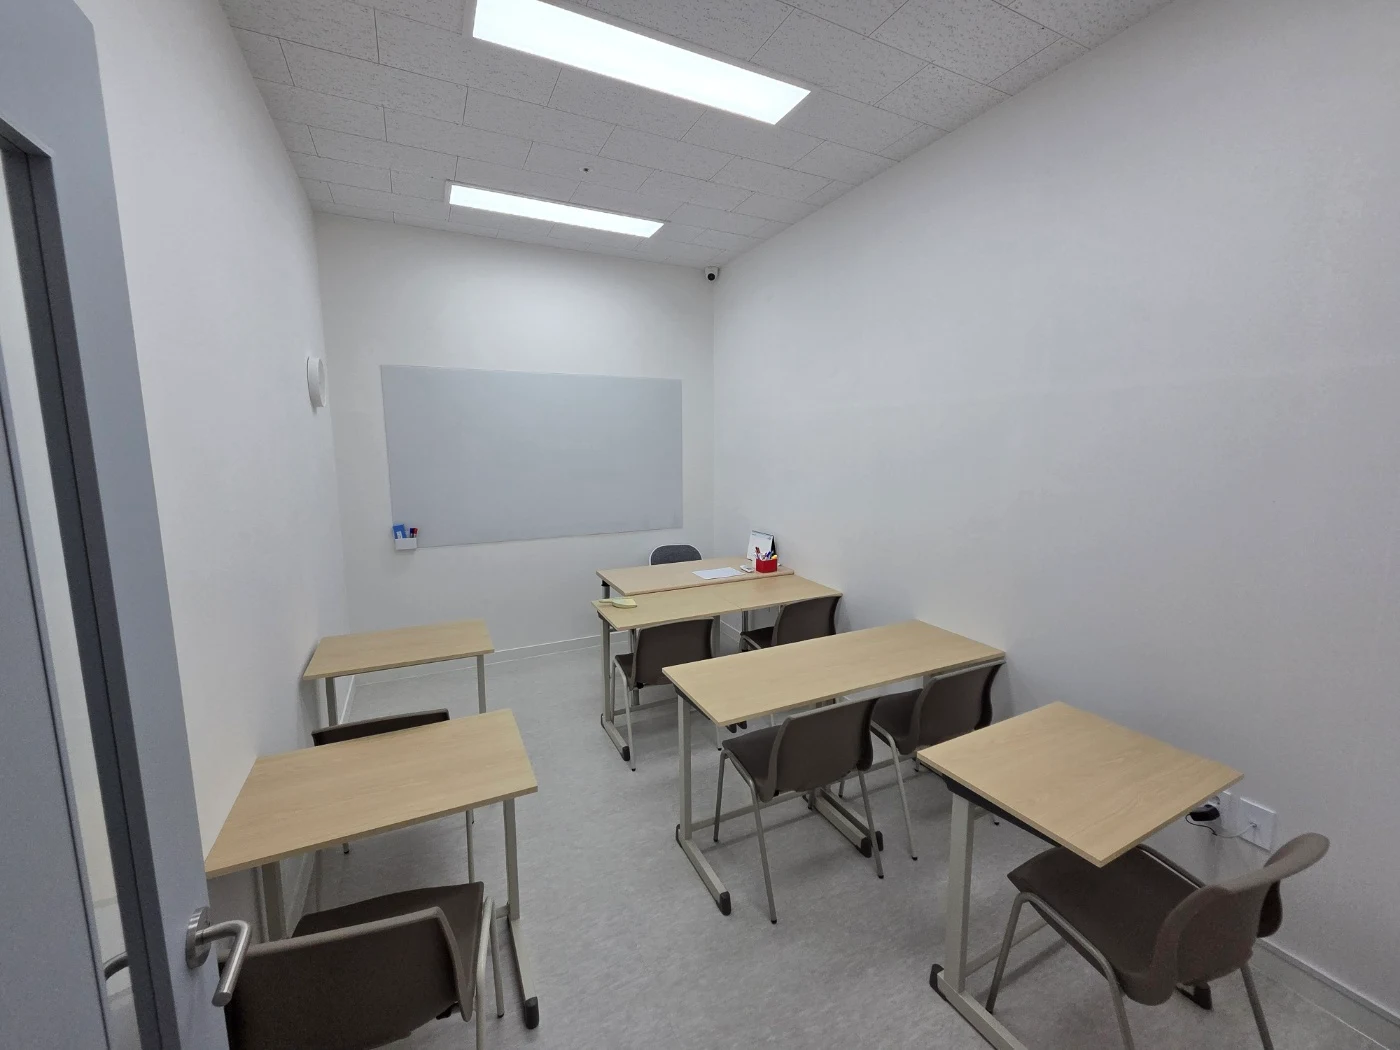
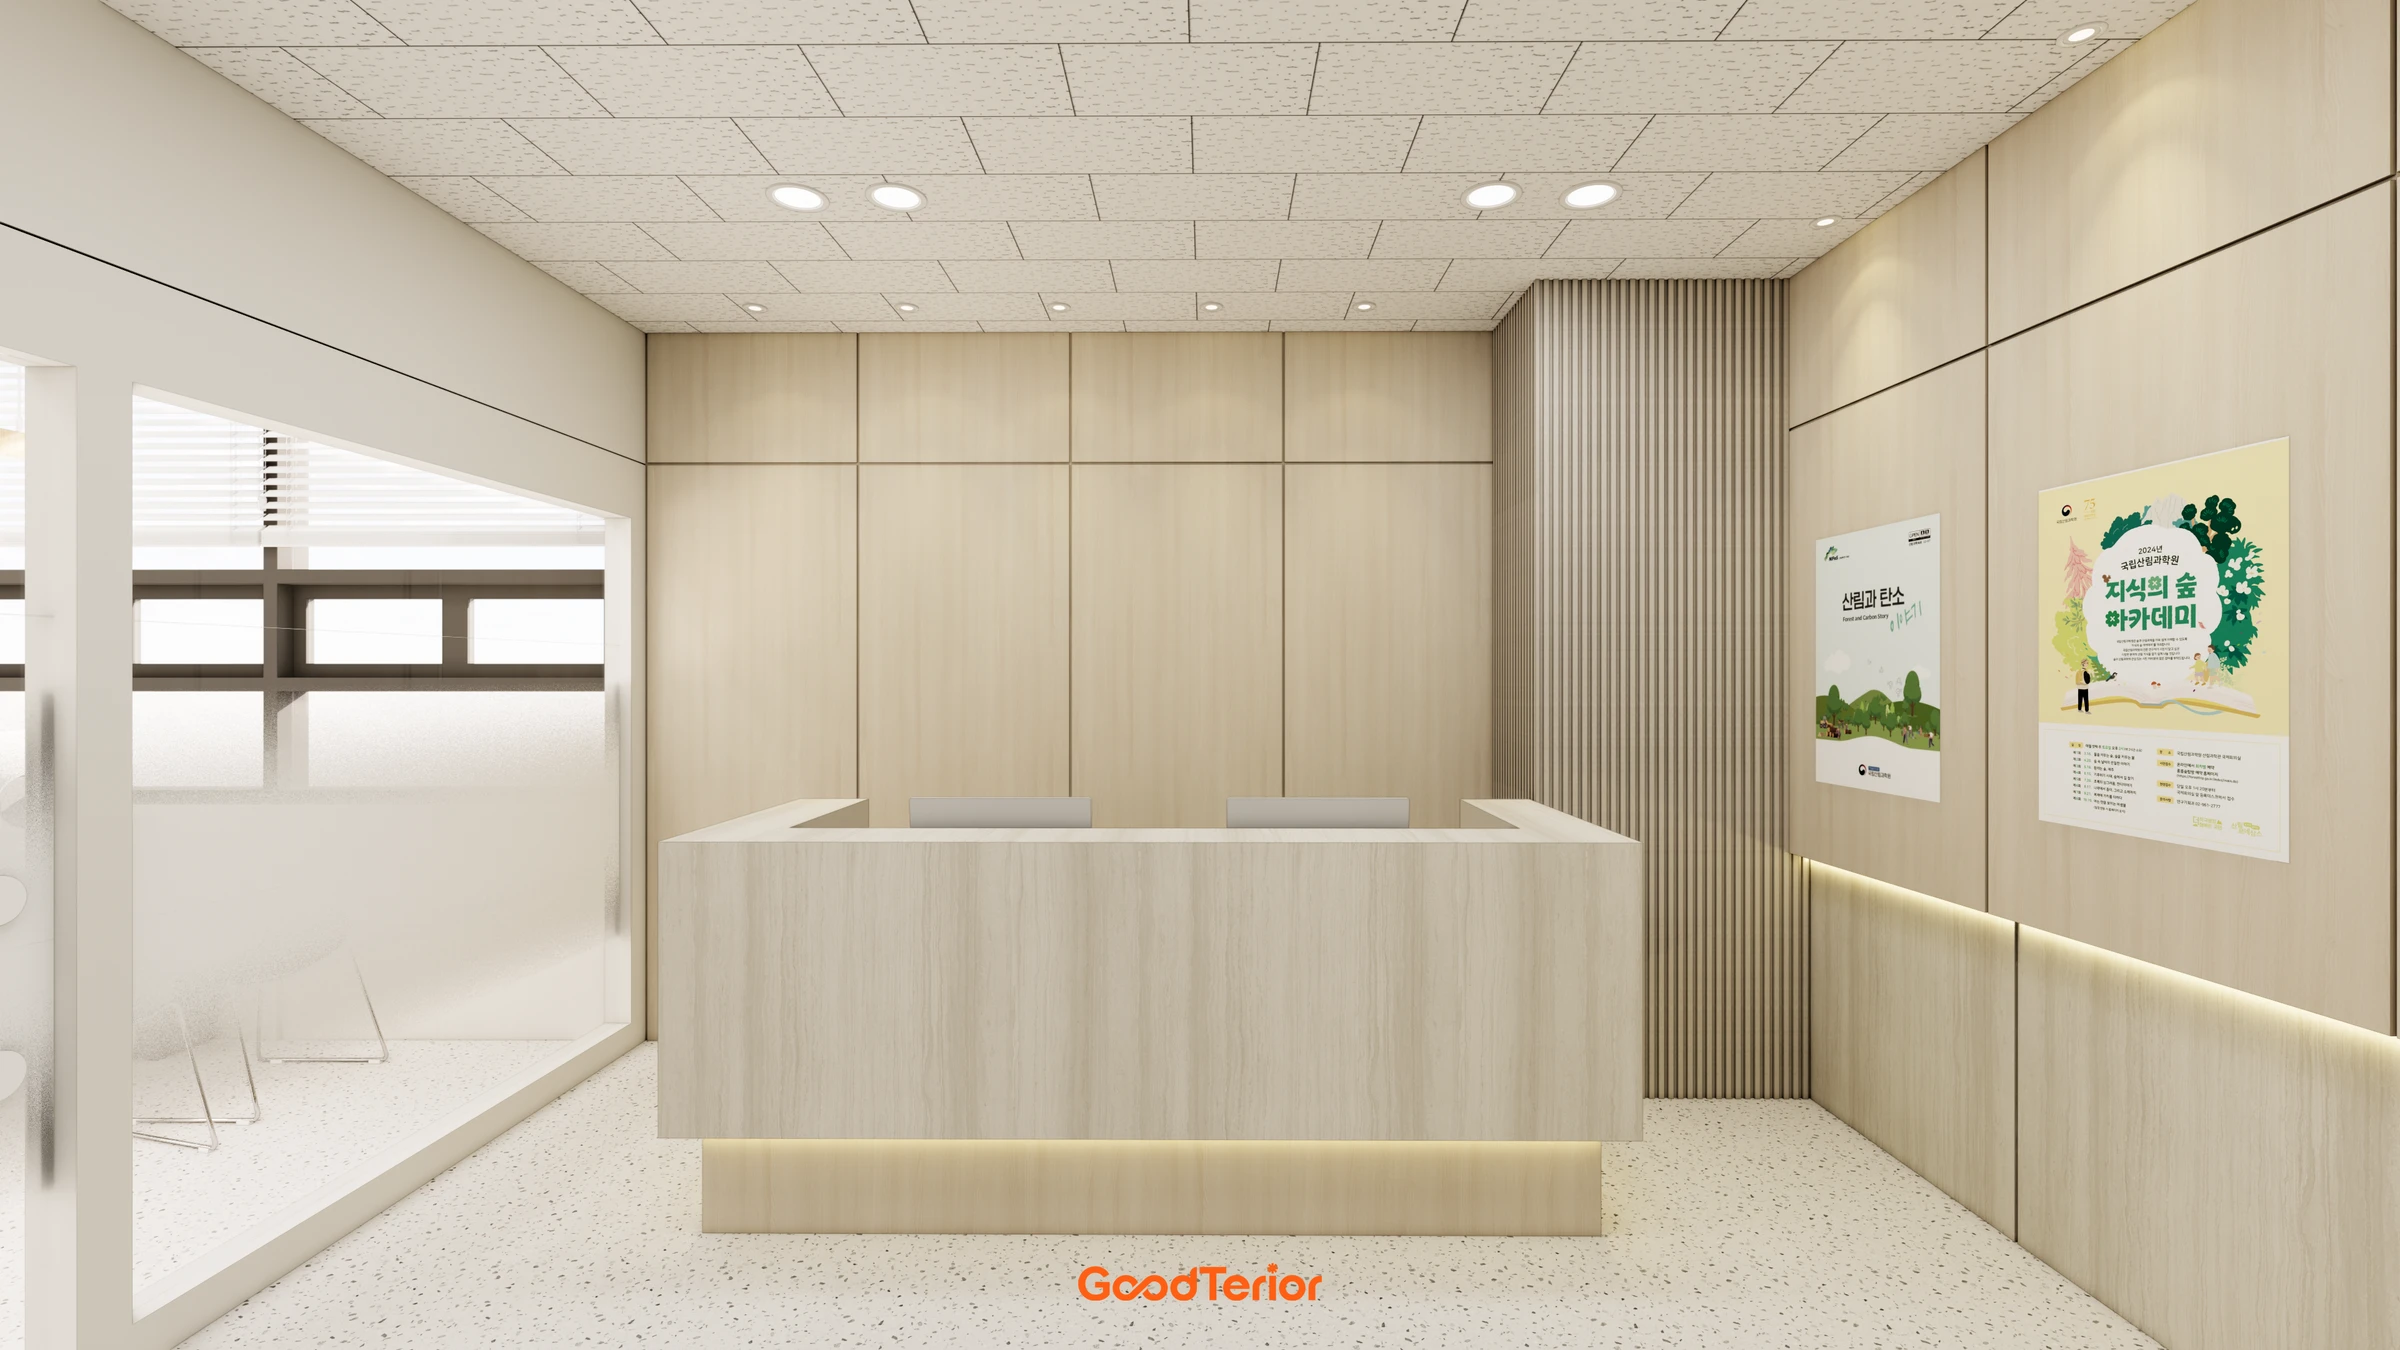
For cabinets behind a staff desk, compare an opened door with a pulled-back chair. In classrooms, identify who retrieves contents while students remain seated; in common areas, compare tidying with class-change movements. Include the user as well as the door swing. Mark boundaries with paper or tape and test arrangements with the intended chairs and boxes before fabrication.
Where opening doors is awkward, compare retaining some open compartments instead of repeating identical hinged doors. If another door arrangement is proposed, compare closed coverage with the compartments accessible when open. Check access for both hands and boxes rather than assuming a narrow gap is sufficient. The fabricator must confirm suitable fittings and feasibility.
Do not leave handles and shelves as afterthoughts once door colours are selected. Connect the intended users and contents to the drawing. Distinguish adjustable and fixed shelves, lockable compartments and those left accessible to compare quotation scope. Approve the front elevation alongside the internal arrangement.
Do not assume that simply reducing door numbers preserves the same operation. Compare open shelving for immediate teaching access with the closed compartments staff actually need. Distinguish new cabinetry from retained furniture and assign transport, installation and adjacent wall finishes. Recalculate after revising the contents list and furniture arrangement.
At handover, place the intended books and boxes inside, retrieve them and close the doors rather than inspecting empty cabinetry alone. Include adjacent chairs, entrances and waiting positions. Record adjustments by room, compartment and photograph, separating user organization from fabrication corrections. Finish the choice by checking actual retrieval and return routines.
Ask us about your interior project
We can discuss a quote and design suited to the space you are planning.
Request a free consultation