Gypsum-Board Ceiling Work: Comparing Flat Ceilings and Bulkhead Quotations
Compare flat gypsum-board ceilings and dropped sections by geometry, height, materials and finishing scope. Lobby and meeting-room designs illustrate quotation boundaries, trade coordination and checks before closing the ceiling.

Before you begin
- Compare flat and dropped ceiling levels on a coordinated drawing.
- Identify undersides, vertical returns, closing ends and material boundaries.
- Align the scope from board installation through painting, services and handover.
Defining flat planes and dropped ceiling levels
When requesting a gypsum-board ceiling quotation, agree on the ceiling geometry before supplying only the shop area and colour. A continuous flat ceiling and selected dropped sections need different surfaces identified on the drawings. Mark the underside, exposed vertical faces where levels change, closing ends and junctions with other materials so the scope can be discussed clearly.
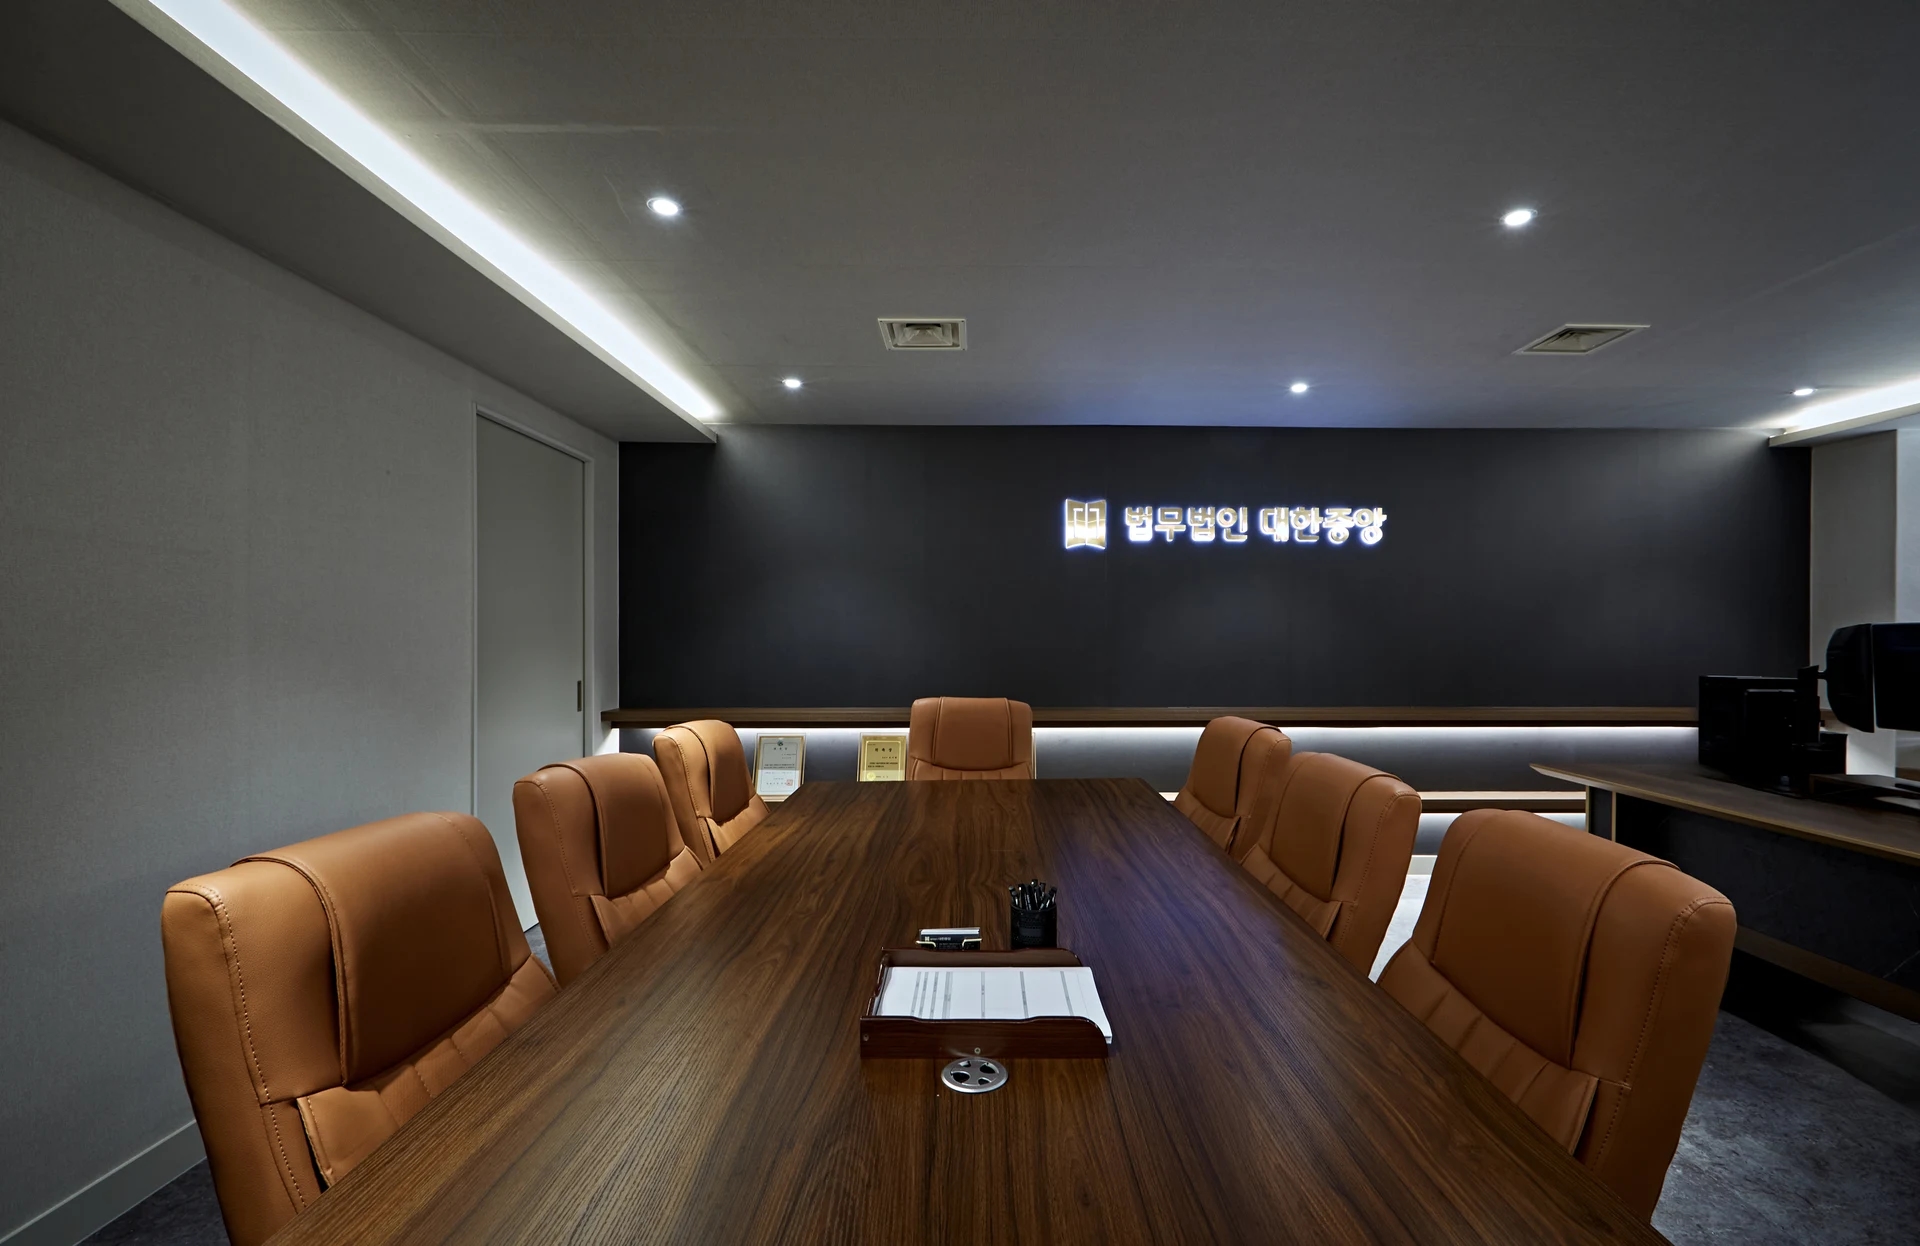
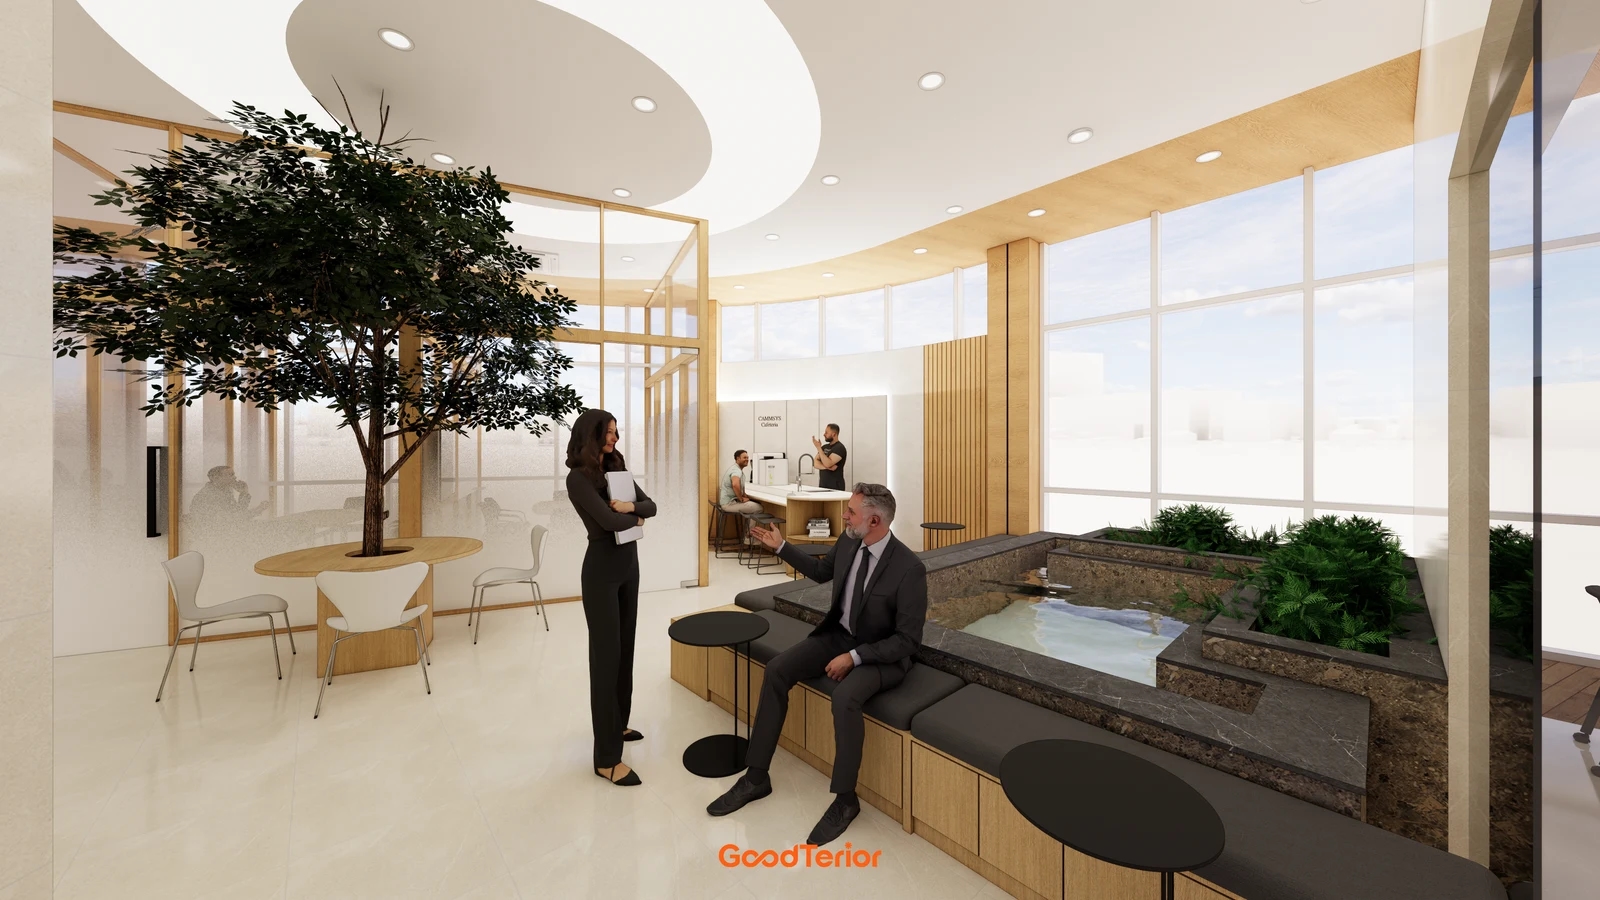
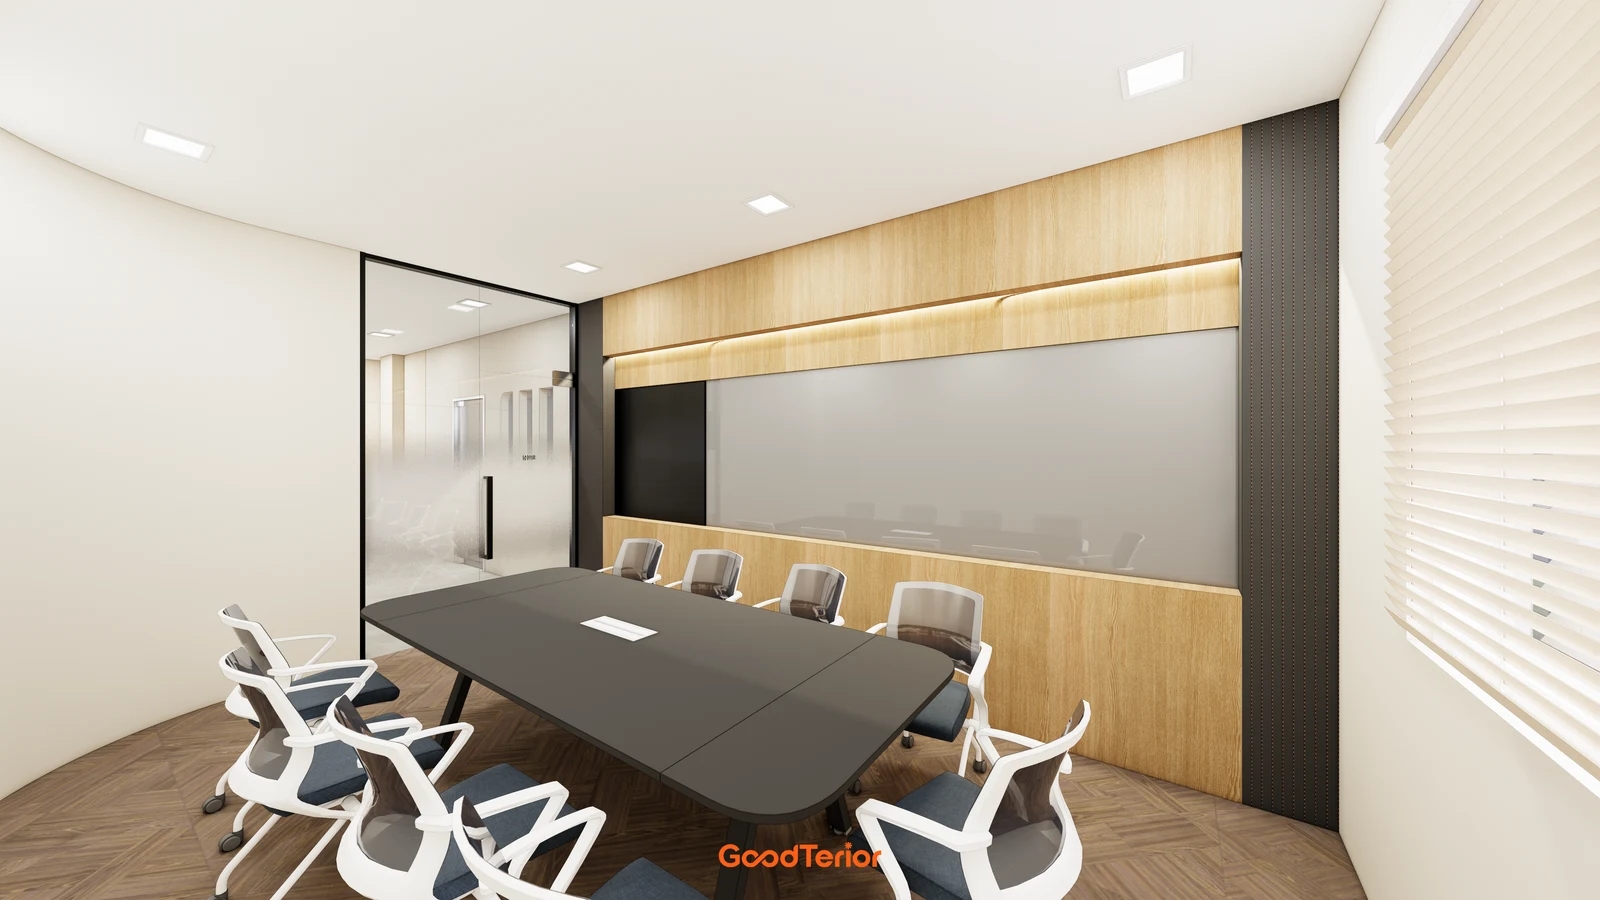
The cover lobby design shows a rounded band within a white ceiling and a timber-coloured surface following the windows. The first section image shows a meeting room with square lights in a broad white plane. Use these designs to compare ceiling lines and surfaces. A rendering cannot establish the board product, supporting framework or built height; keep visual references separate from procurement specifications.
For a flat ceiling, first mark the finished ceiling level in section. Ask the relevant contractors to check how services beneath the existing structure and the selected luminaires fit around that level. Compare a single level throughout with lowering only the service-heavy areas to understand where height is being given up. Do not infer the remaining height from a spacious-looking image.
Colour the proposed dropped areas, such as the entrance, corridor or perimeter, on the reflected ceiling plan. Record their width, length, drop and termination in sections as well. Compare a continuous long band with short sections only where needed. Resolve how each line ends beside a column or glazed partition so the small return faces can be included in the scope discussion.
Do not assume that two quotations specify the same material simply because both say gypsum board. Knauf Korea’s gypsum-board product list lists regular, moisture-resistant and sound-insulation boards as separate products. Request the actual product name, thickness, number of layers and supporting ceiling framework. Product categories alone do not establish the water, acoustic or fire performance of the complete ceiling; have the responsible designer or contractor confirm the assembly for the required conditions.
Consider retaining existing ceilings on an area-by-area basis. Mark the surfaces to remain, to be removed and to be joined, then clarify the extent of repairs and painting at their boundaries. Repainting an existing surface and rebuilding from the board stage are difficult to compare under a single ceiling-work heading. Leave the existing condition and suitability for reuse subject to site inspection.
If the business will remain open during work, include arrangements for goods, furniture and circulation below the work area in the quotation conditions. Decide what must be cleared or protected and who handles waste removal and cleaning. Even a small dropped section can involve surrounding finishes and services, so ask about these associated tasks rather than omitting preparation and reinstatement because the visible area is small.
Quotation boundaries, finishing and checks before closure
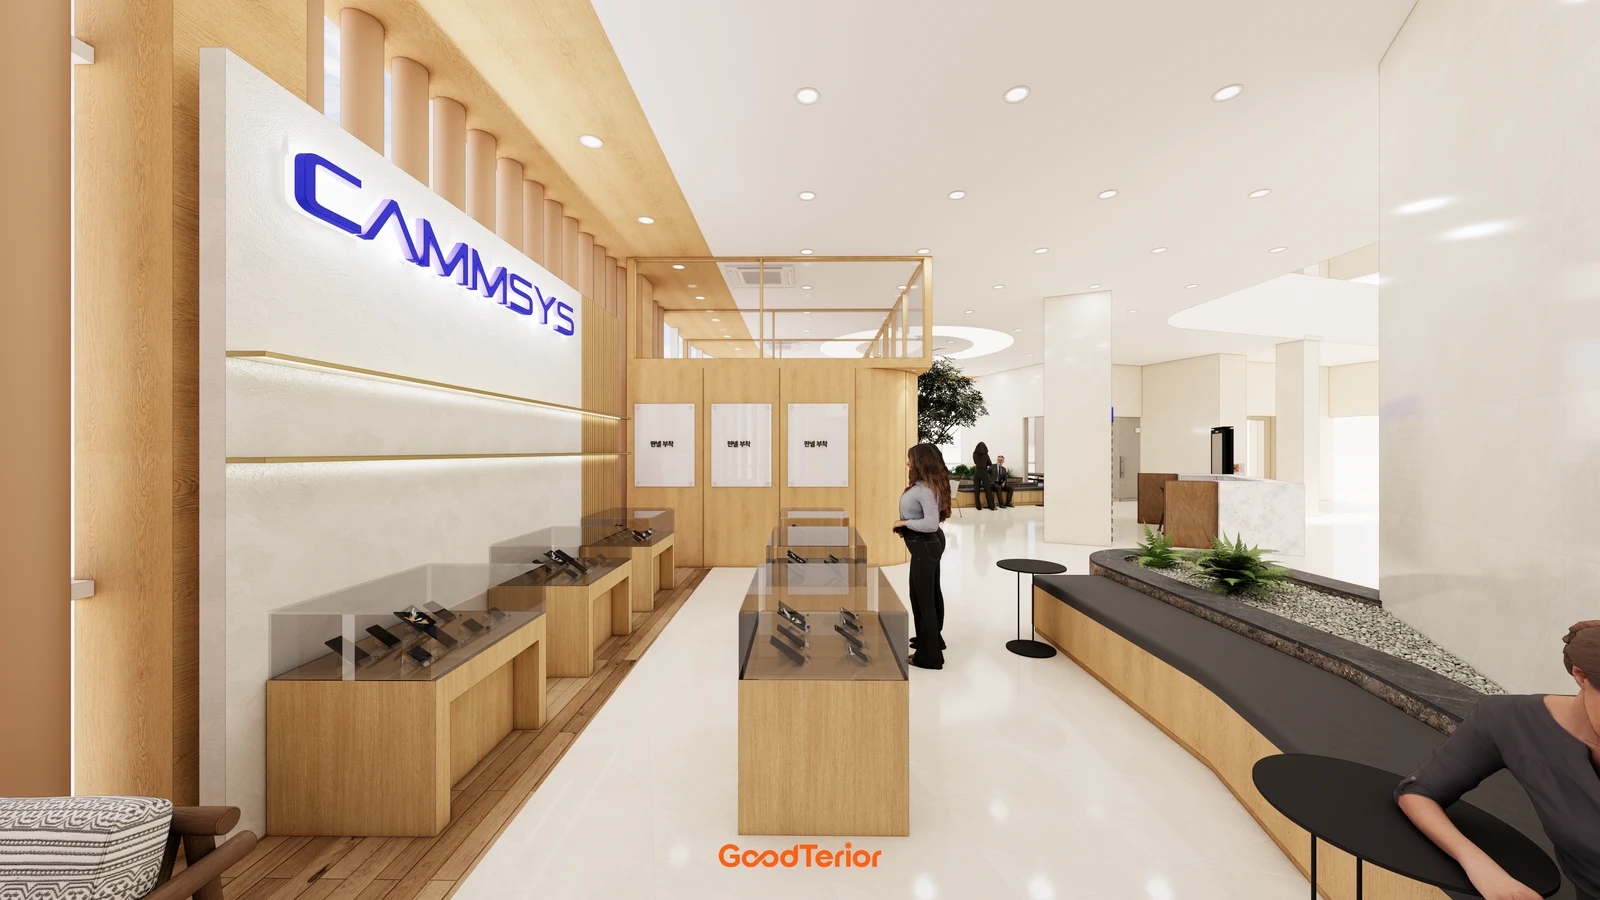
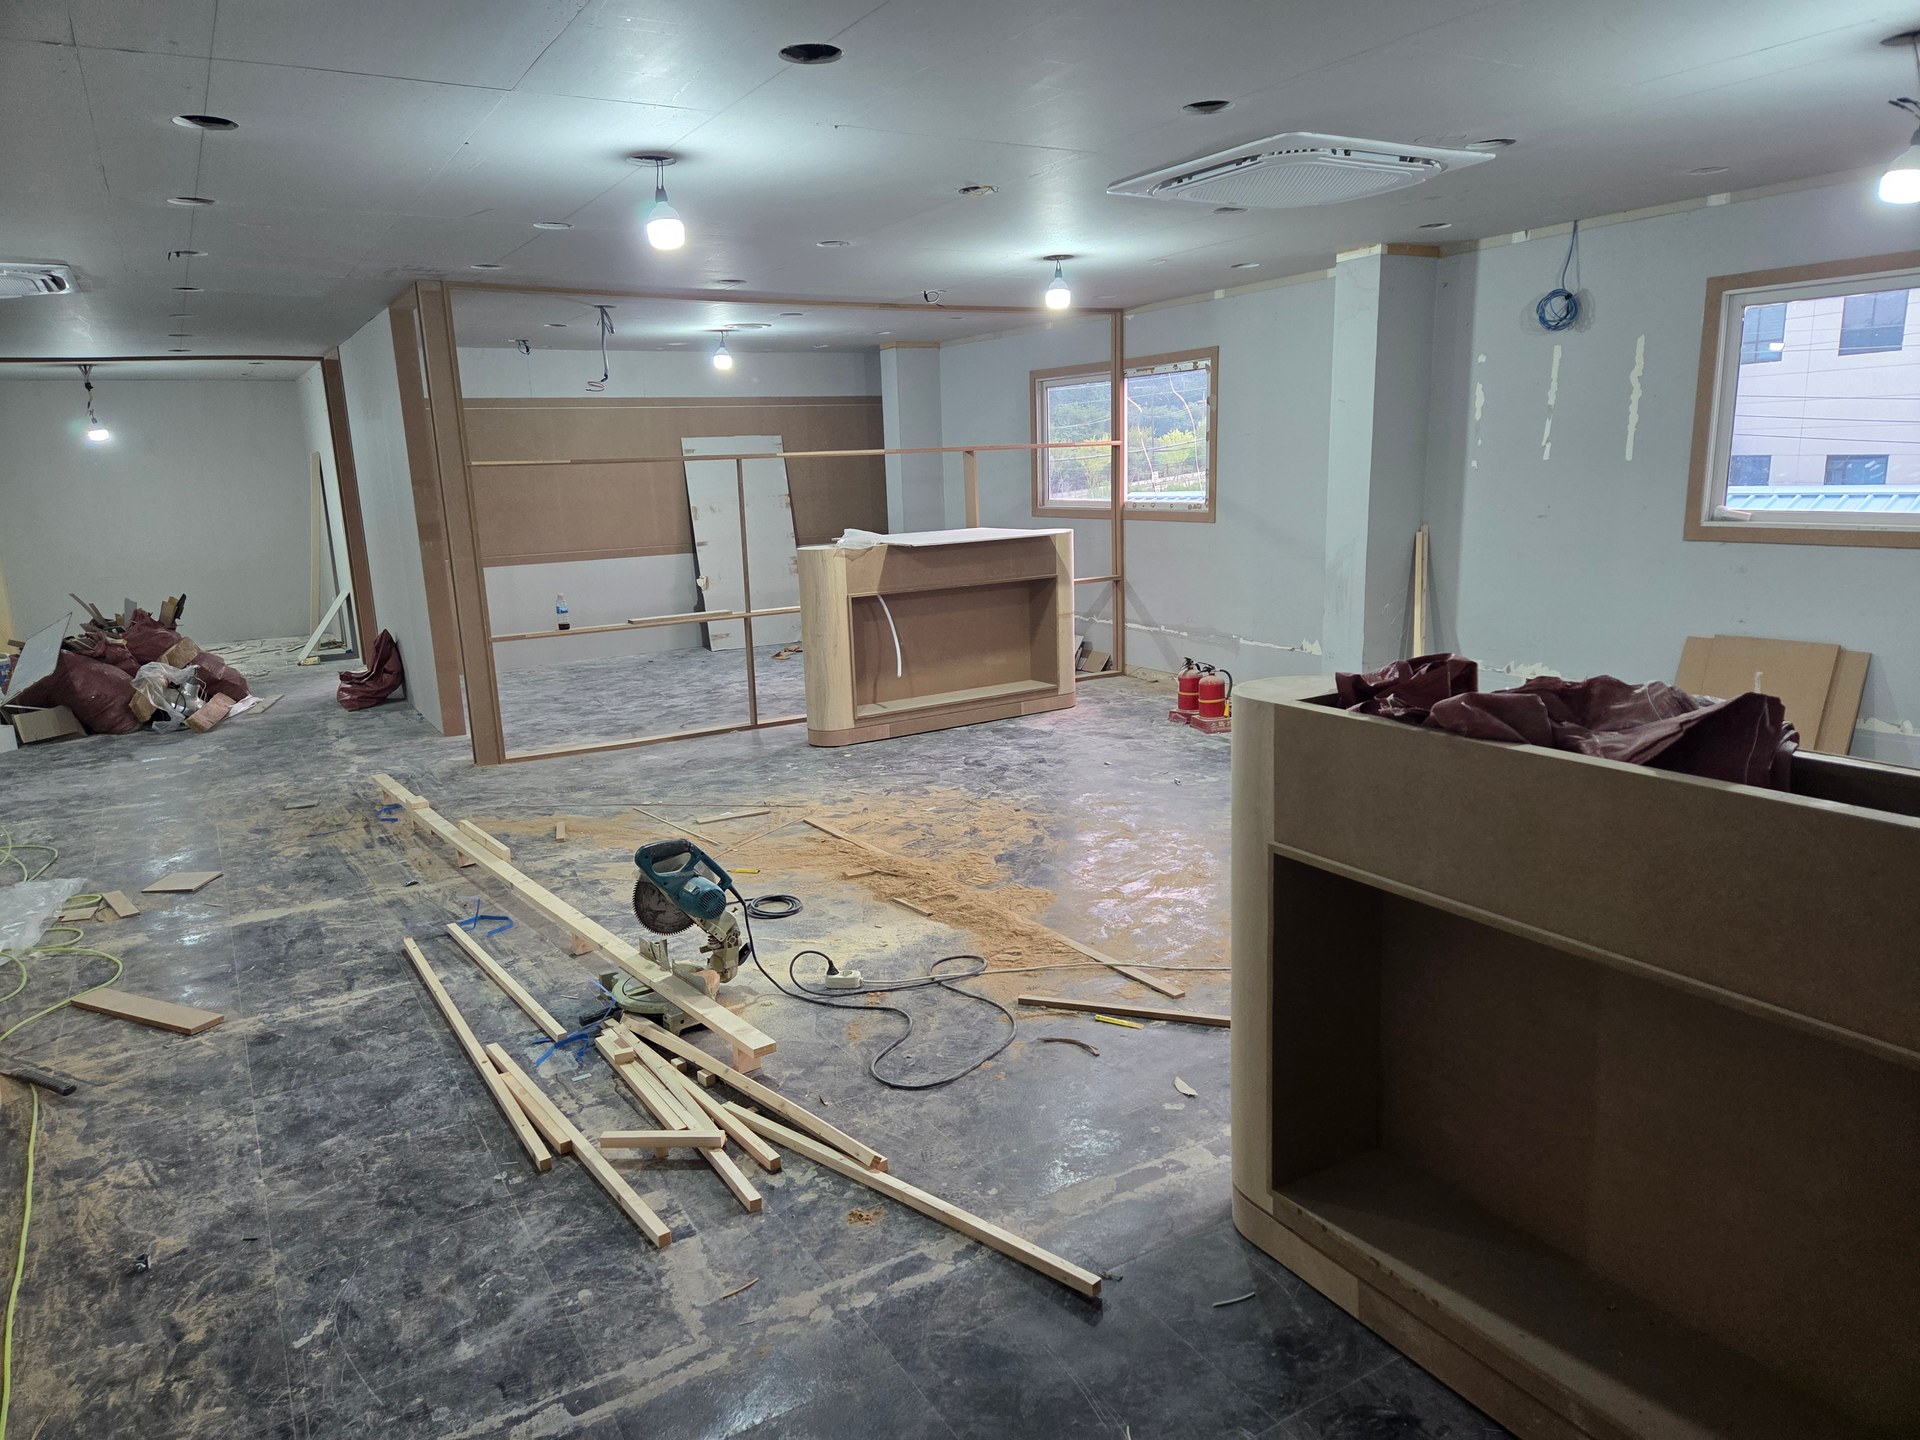
The second section image views the display lobby from another direction. A broad white plane crosses the display area, with a curved edge on the right and a timber-coloured band on the left. Mark changes of colour and material and the start and end of curves rather than requesting only a total white ceiling area. Do not automatically include a timber-coloured surface within the same gypsum-board painting item.
Separate flat undersides, bulkhead faces and ends, curves and decorative elements in the quotation comparison. Request quantities, units and the drawings used for the take-off. If a price is based on floor area, clarify whether vertical faces and treatment around openings are included. Align the included scope before comparing amounts calculated by different methods.
Read the finishing scope beyond the framework and board installation. Record where joint and corner treatment, preparation for painting and final paint finish begin and end. A board-installation-only offer cannot be compared directly with one including painting. Agree on a colour and surface reference sample and connect excluded work to the party responsible for the following stage.
Coordinate lights, air-conditioning units, ventilation grilles and access panels on the same ceiling drawing. Have each trade confirm actual dimensions and installation and servicing conditions, then mark conflicts with ceiling lines. Distinguish equipment relocation, wiring or pipework, board openings and finish reinstatement between quotations. A drawn opening does not demonstrate that service relocation and connections are included.
Before ordering, issue the reflected ceiling plan, key sections, material specification and work-area markings at the same revision. To adjust the budget, compare shorter dropped sections, straight alternatives to curves or retaining selected existing areas rather than removing necessary specifications arbitrarily. Revise lighting and wall-head junctions when geometry changes. Keep revised drawings and quantities aligned.
Coordinate work inside the ceiling with the point at which finishes close it. Arrange for the relevant trades to check service positions, access needs and the planned framework and board assembly before closure. Link changes to locations and photographs on the drawings. Ask the installer to set subsequent work timing for the products, substrate treatment and site conditions rather than applying a universal waiting period or programme.
At handover, compare the start and end of dropped areas, wall junctions, colours and surfaces against approved drawings and samples. Inspect the lit ceiling and confirm with the responsible contractor that access panels can actually open. Record outstanding repairs and responsibility, and give the operator the final ceiling drawing and product information. Whichever form is selected, retain the geometry, concealed assembly and finishing scope as a shared basis for future work.
Ask us about your interior project
We can discuss a quote and design suited to the space you are planning.
Request a free consultation