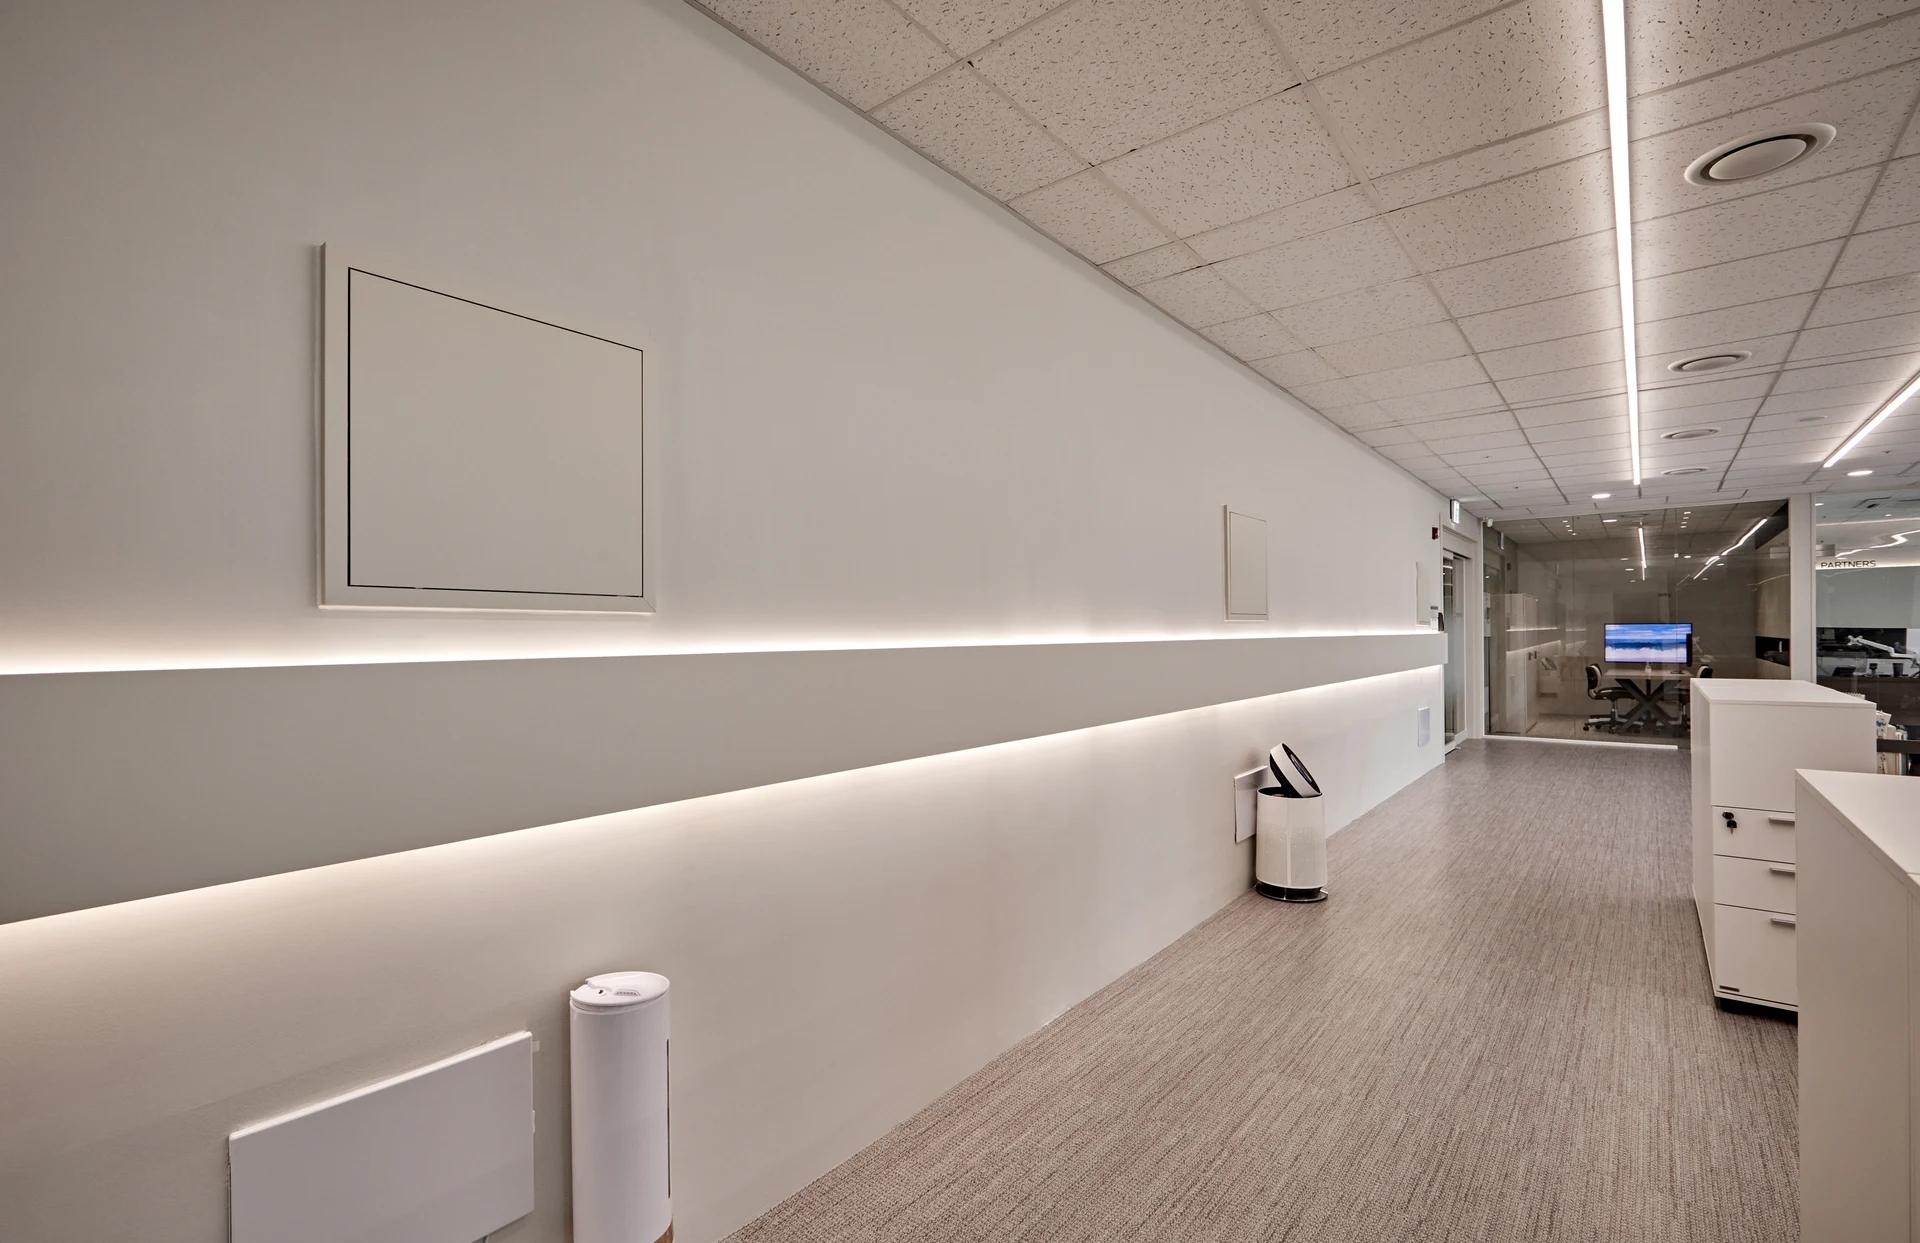
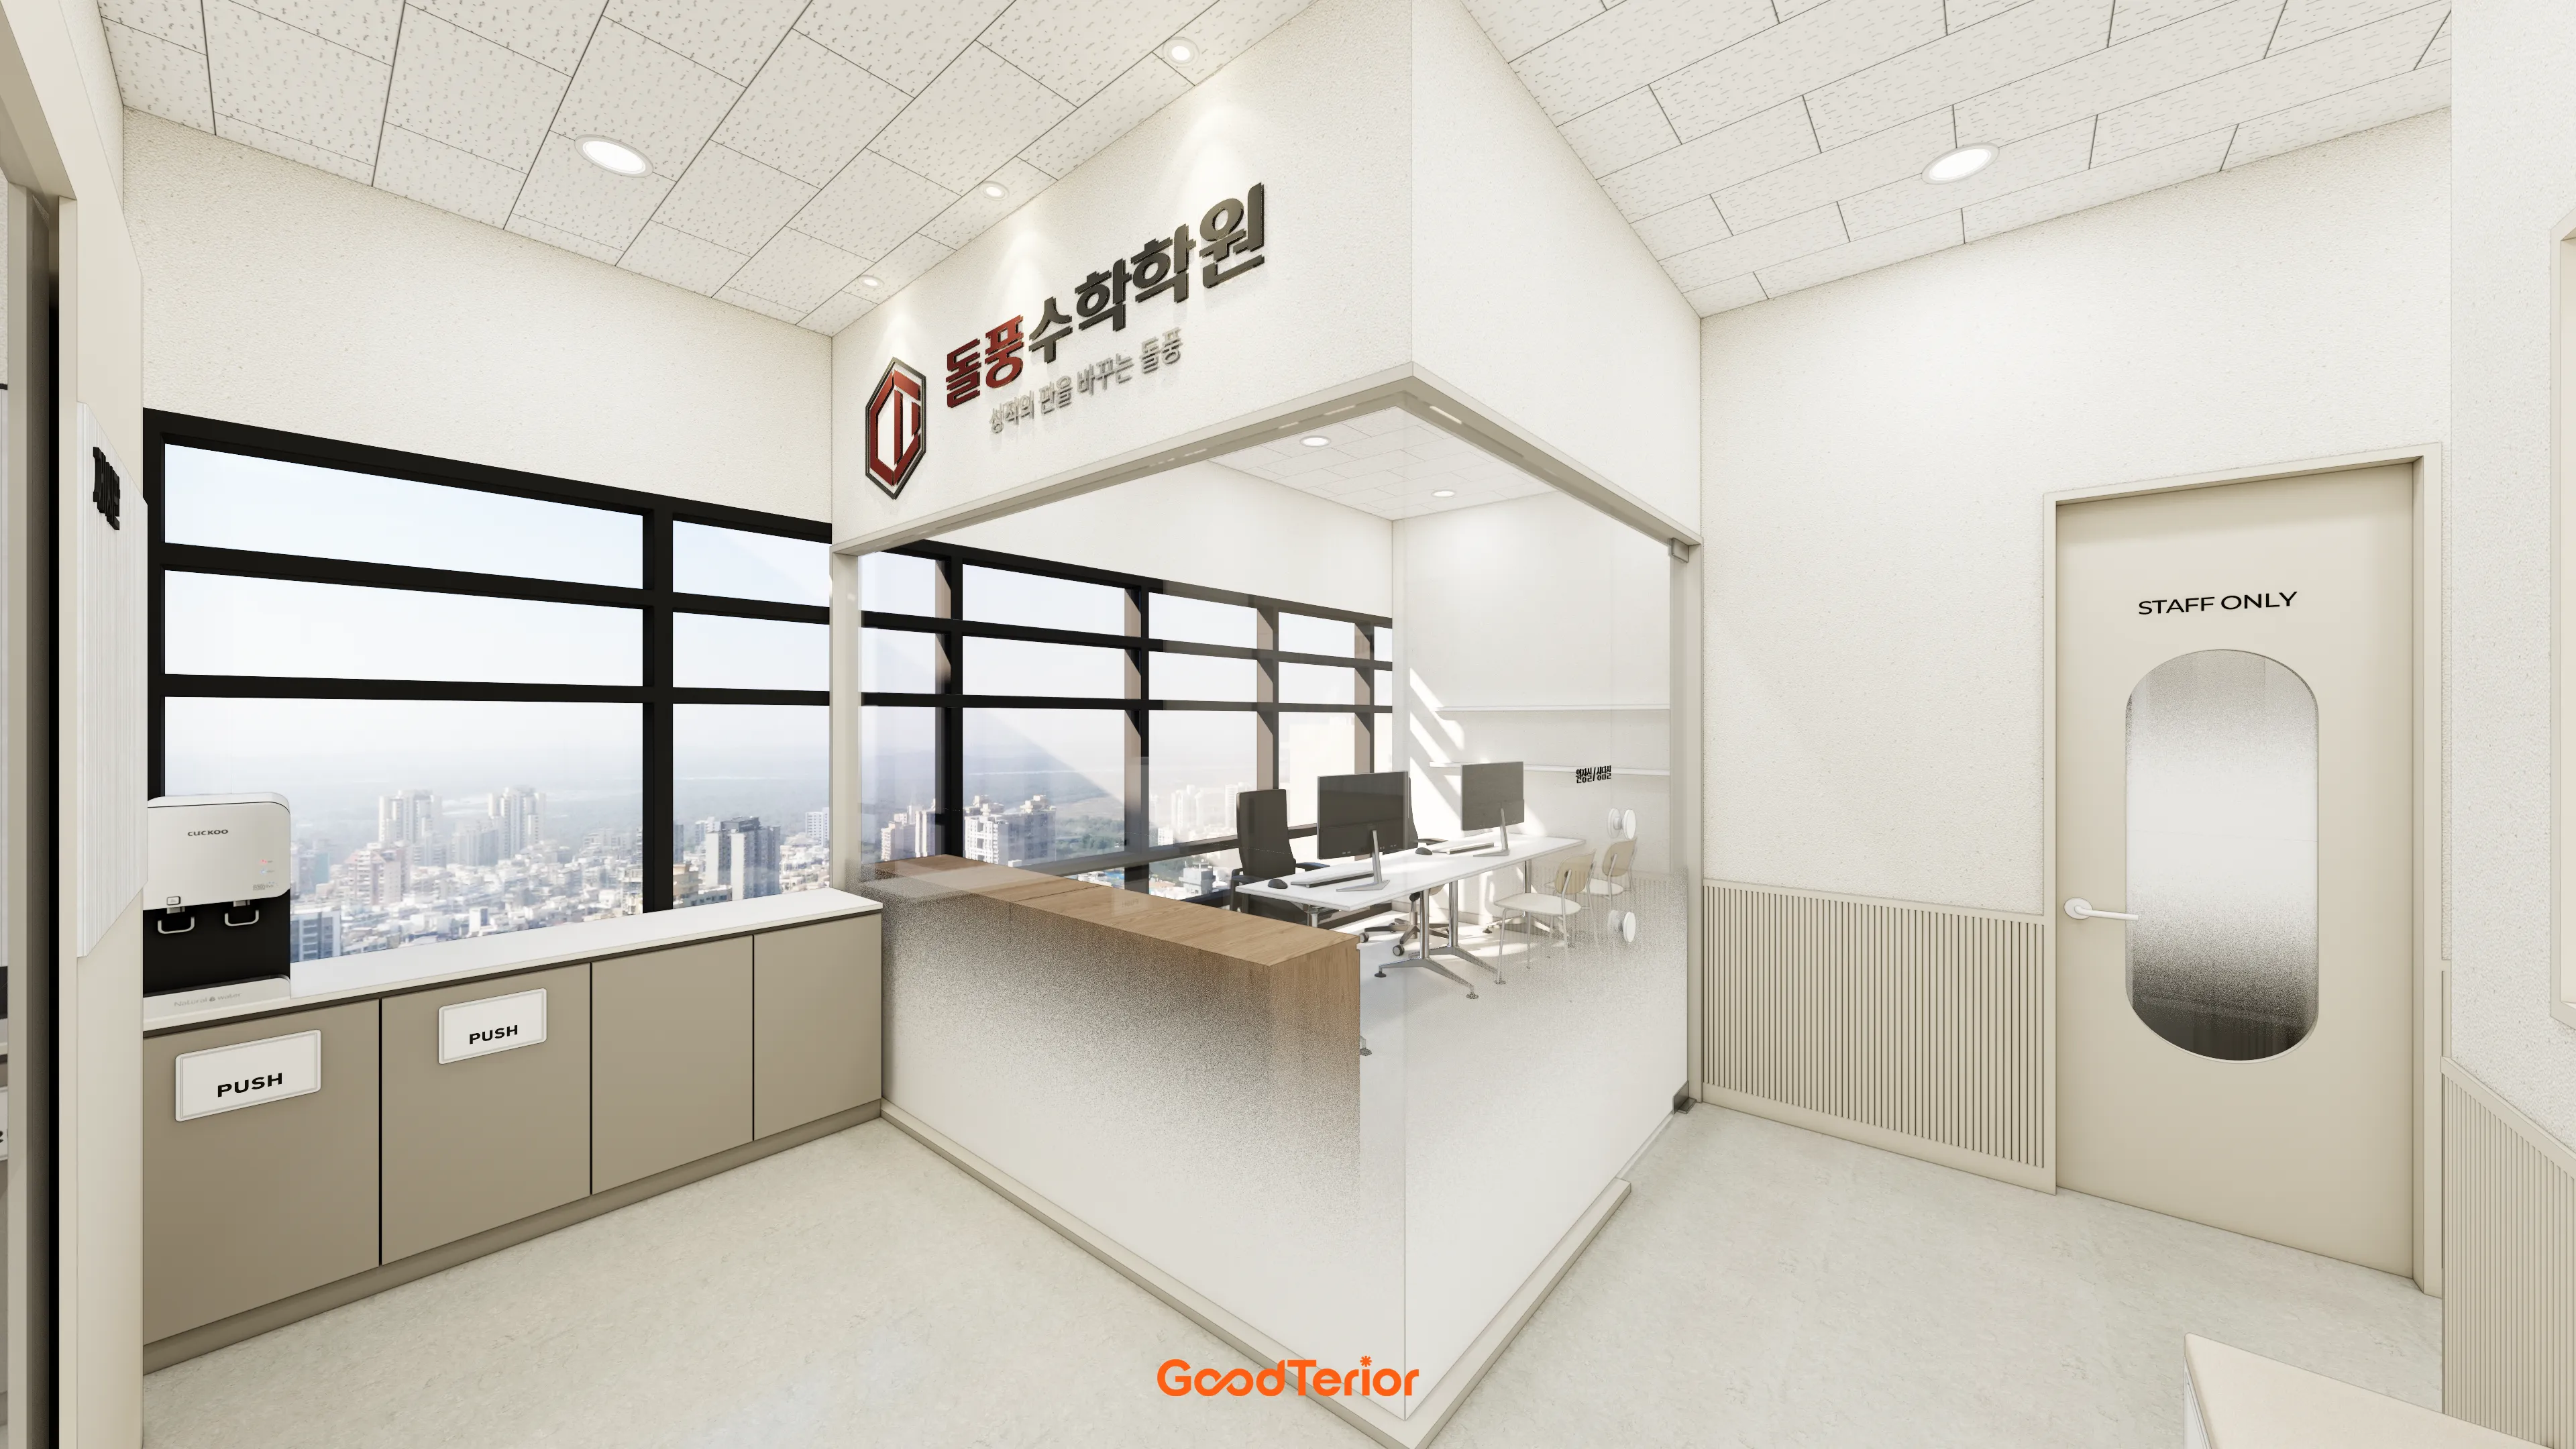
Commercial Cove Lighting: Ceiling Details and Replacement Access
Plan commercial cove lighting beyond the length of the illuminated line. Academy design images help examine ceiling and wall junctions, concealed fixture positions and replacement access, then coordinate joinery, finishes and electrical work.

Before you begin
- Distinguish the visible light line from the fixture position in a section detail.
- Confirm removal access for the fixture and its required components before closing the finishes.
- Compare cove construction, internal finishes, wiring and access under a shared quotation scope.
A section detail for the light line and concealed space
After selecting a reference image, identify the exact light line you want: a continuous wall edge or an accent at the entrance. Define the illuminated surface and viewing positions before treating the line length as the full construction scope.
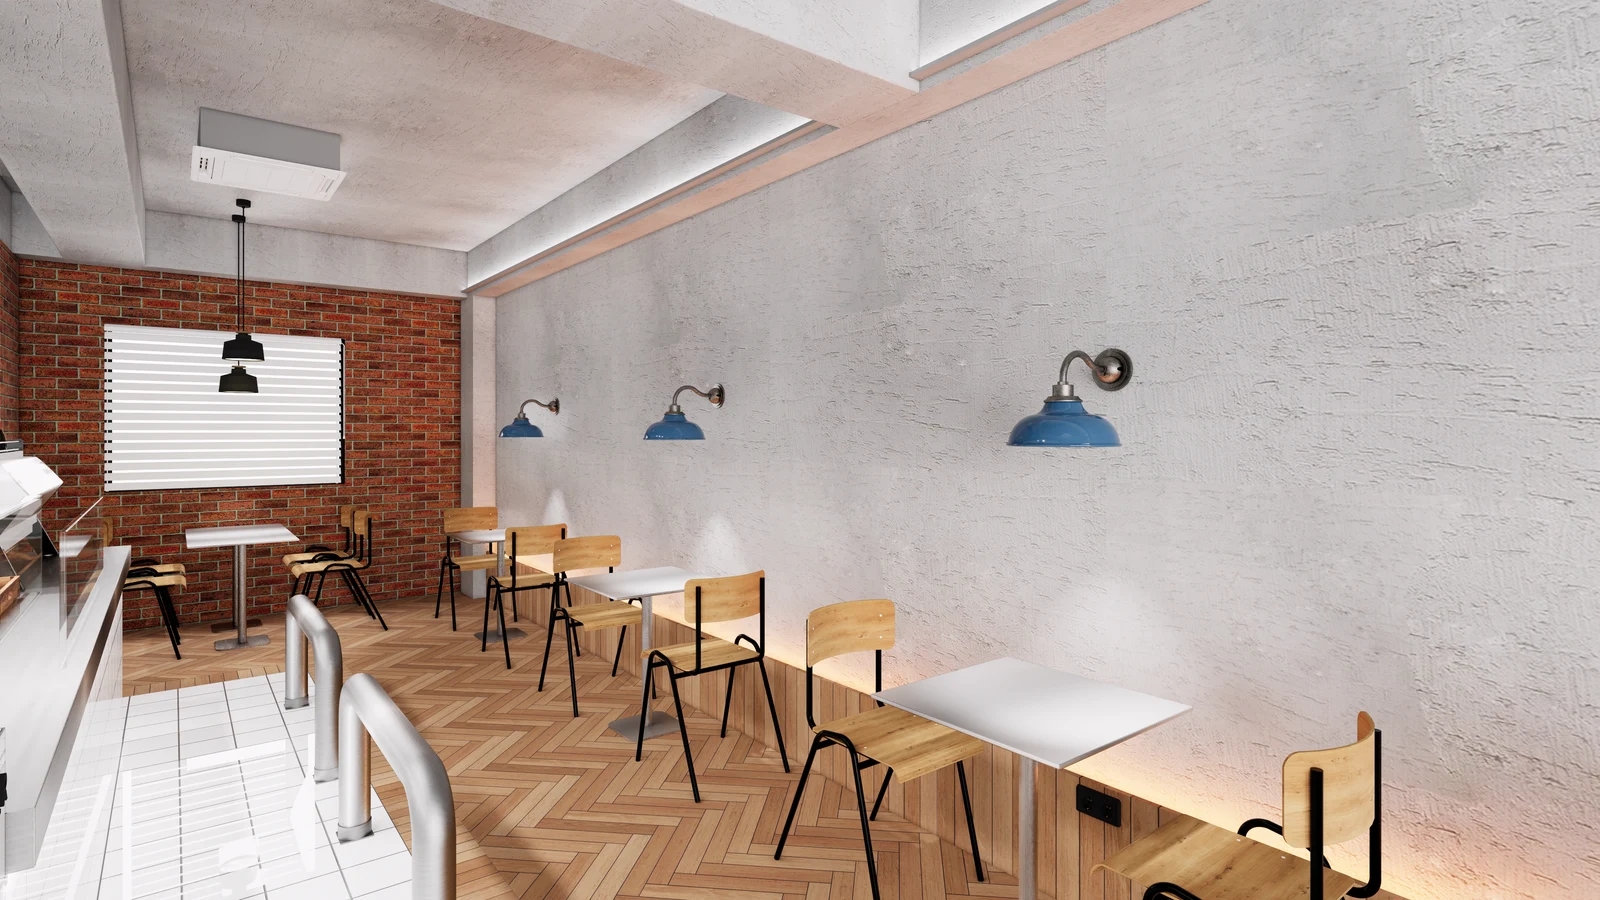
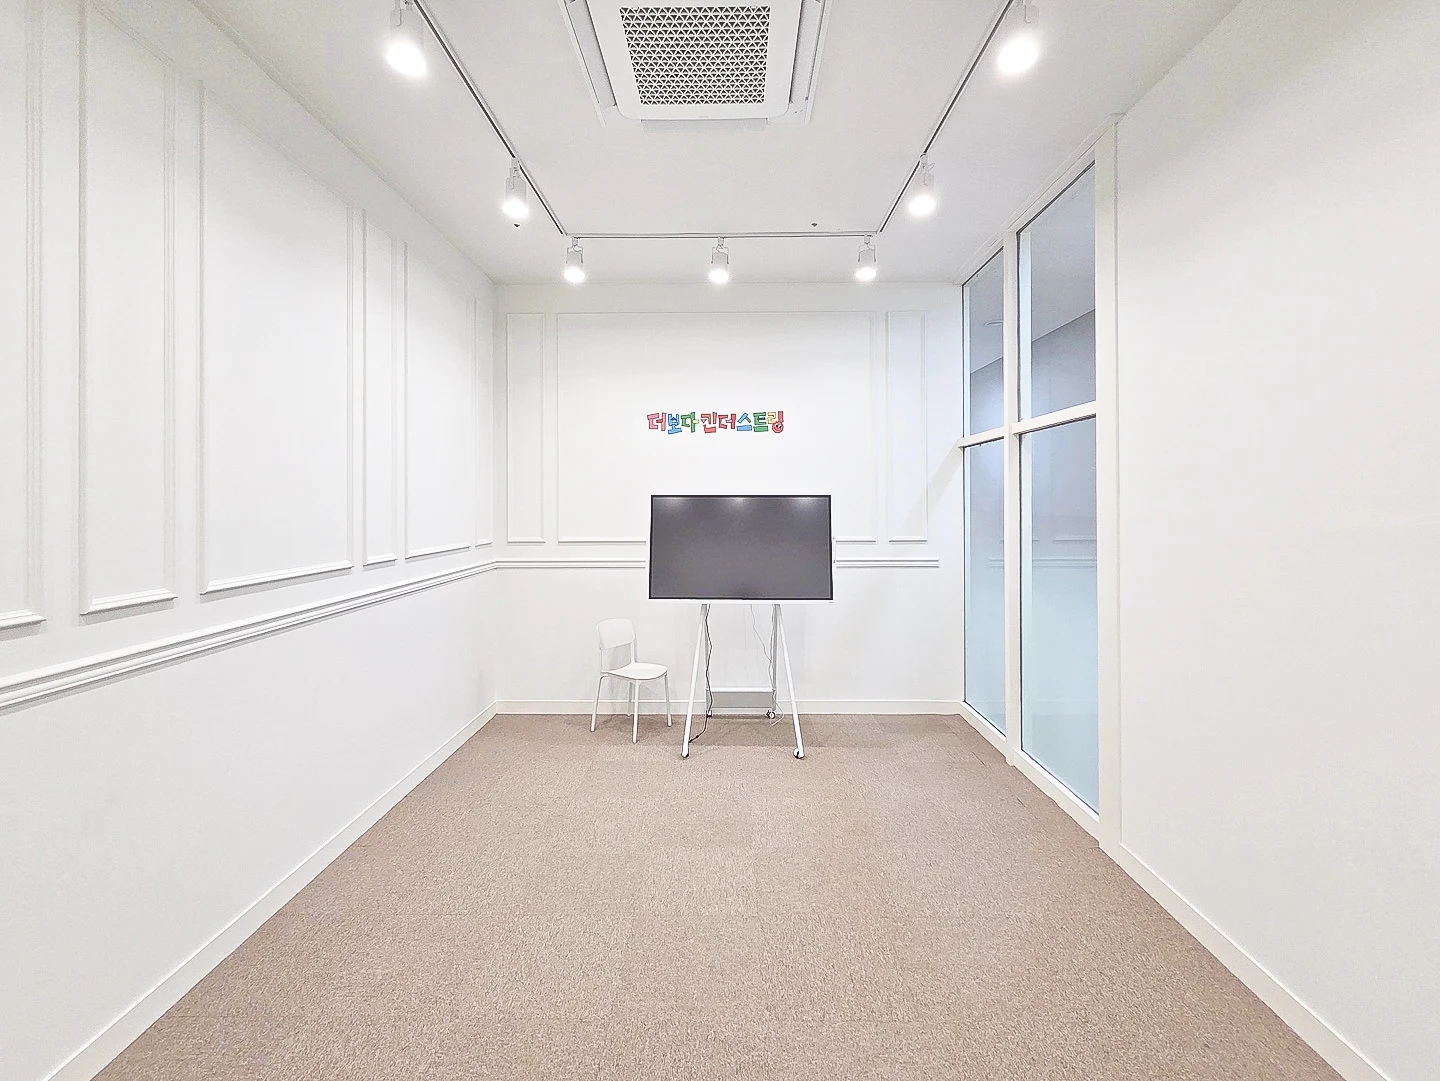
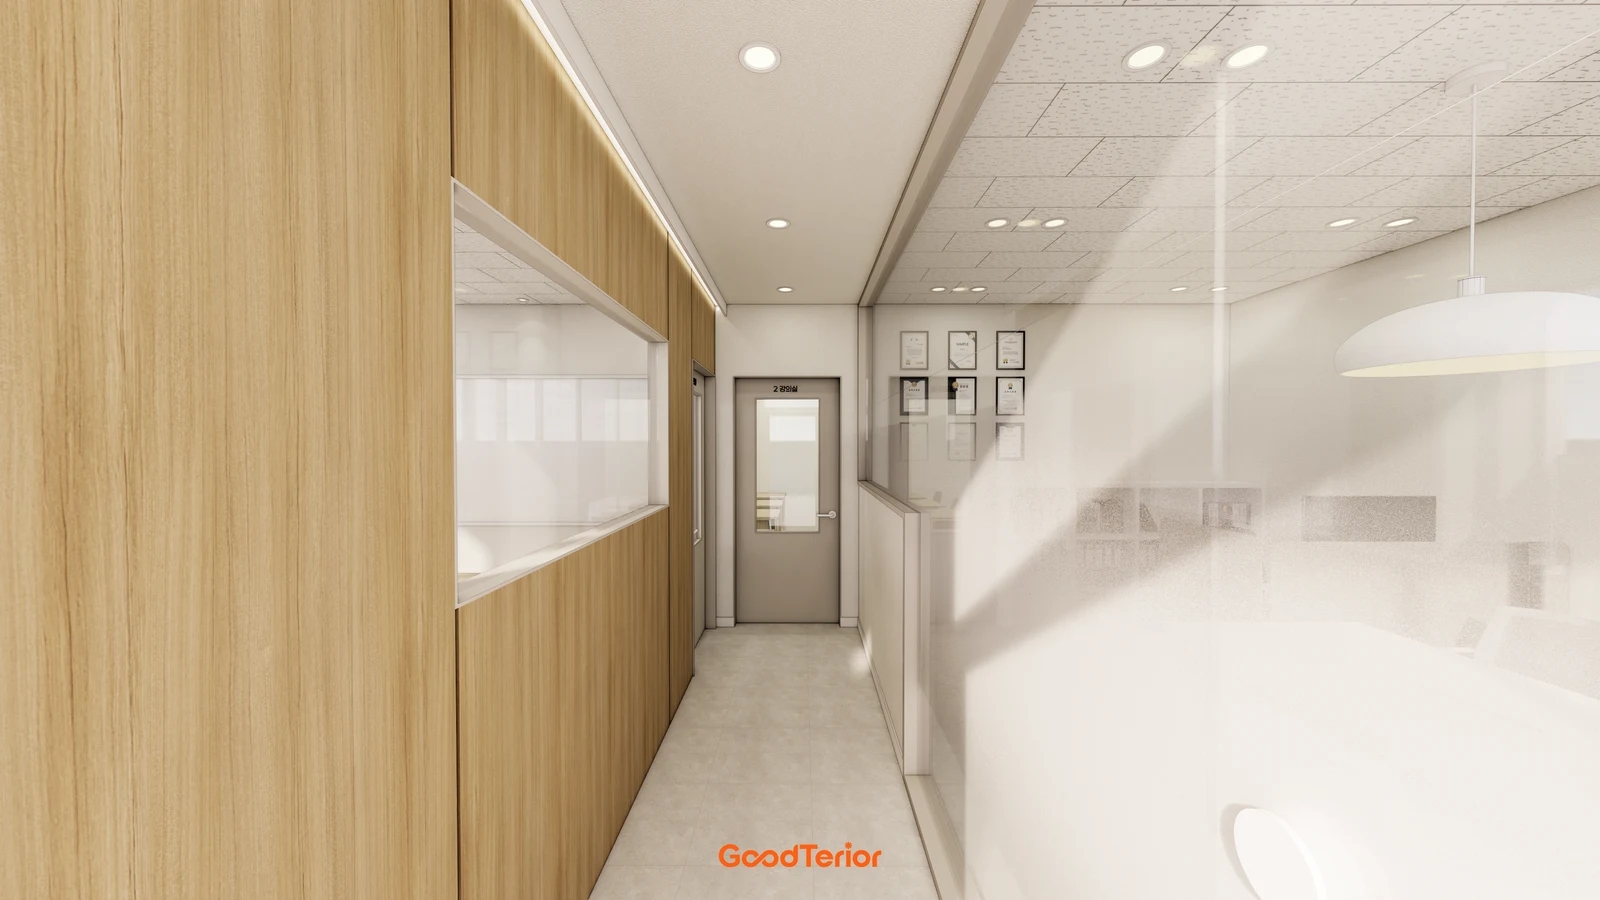
The cover combines light above a wood-look wall, a lowered corridor ceiling and a glazed classroom. It shows the visible junction, not a product or fixing detail. Ask the lighting and finishes teams for a section through that same location.
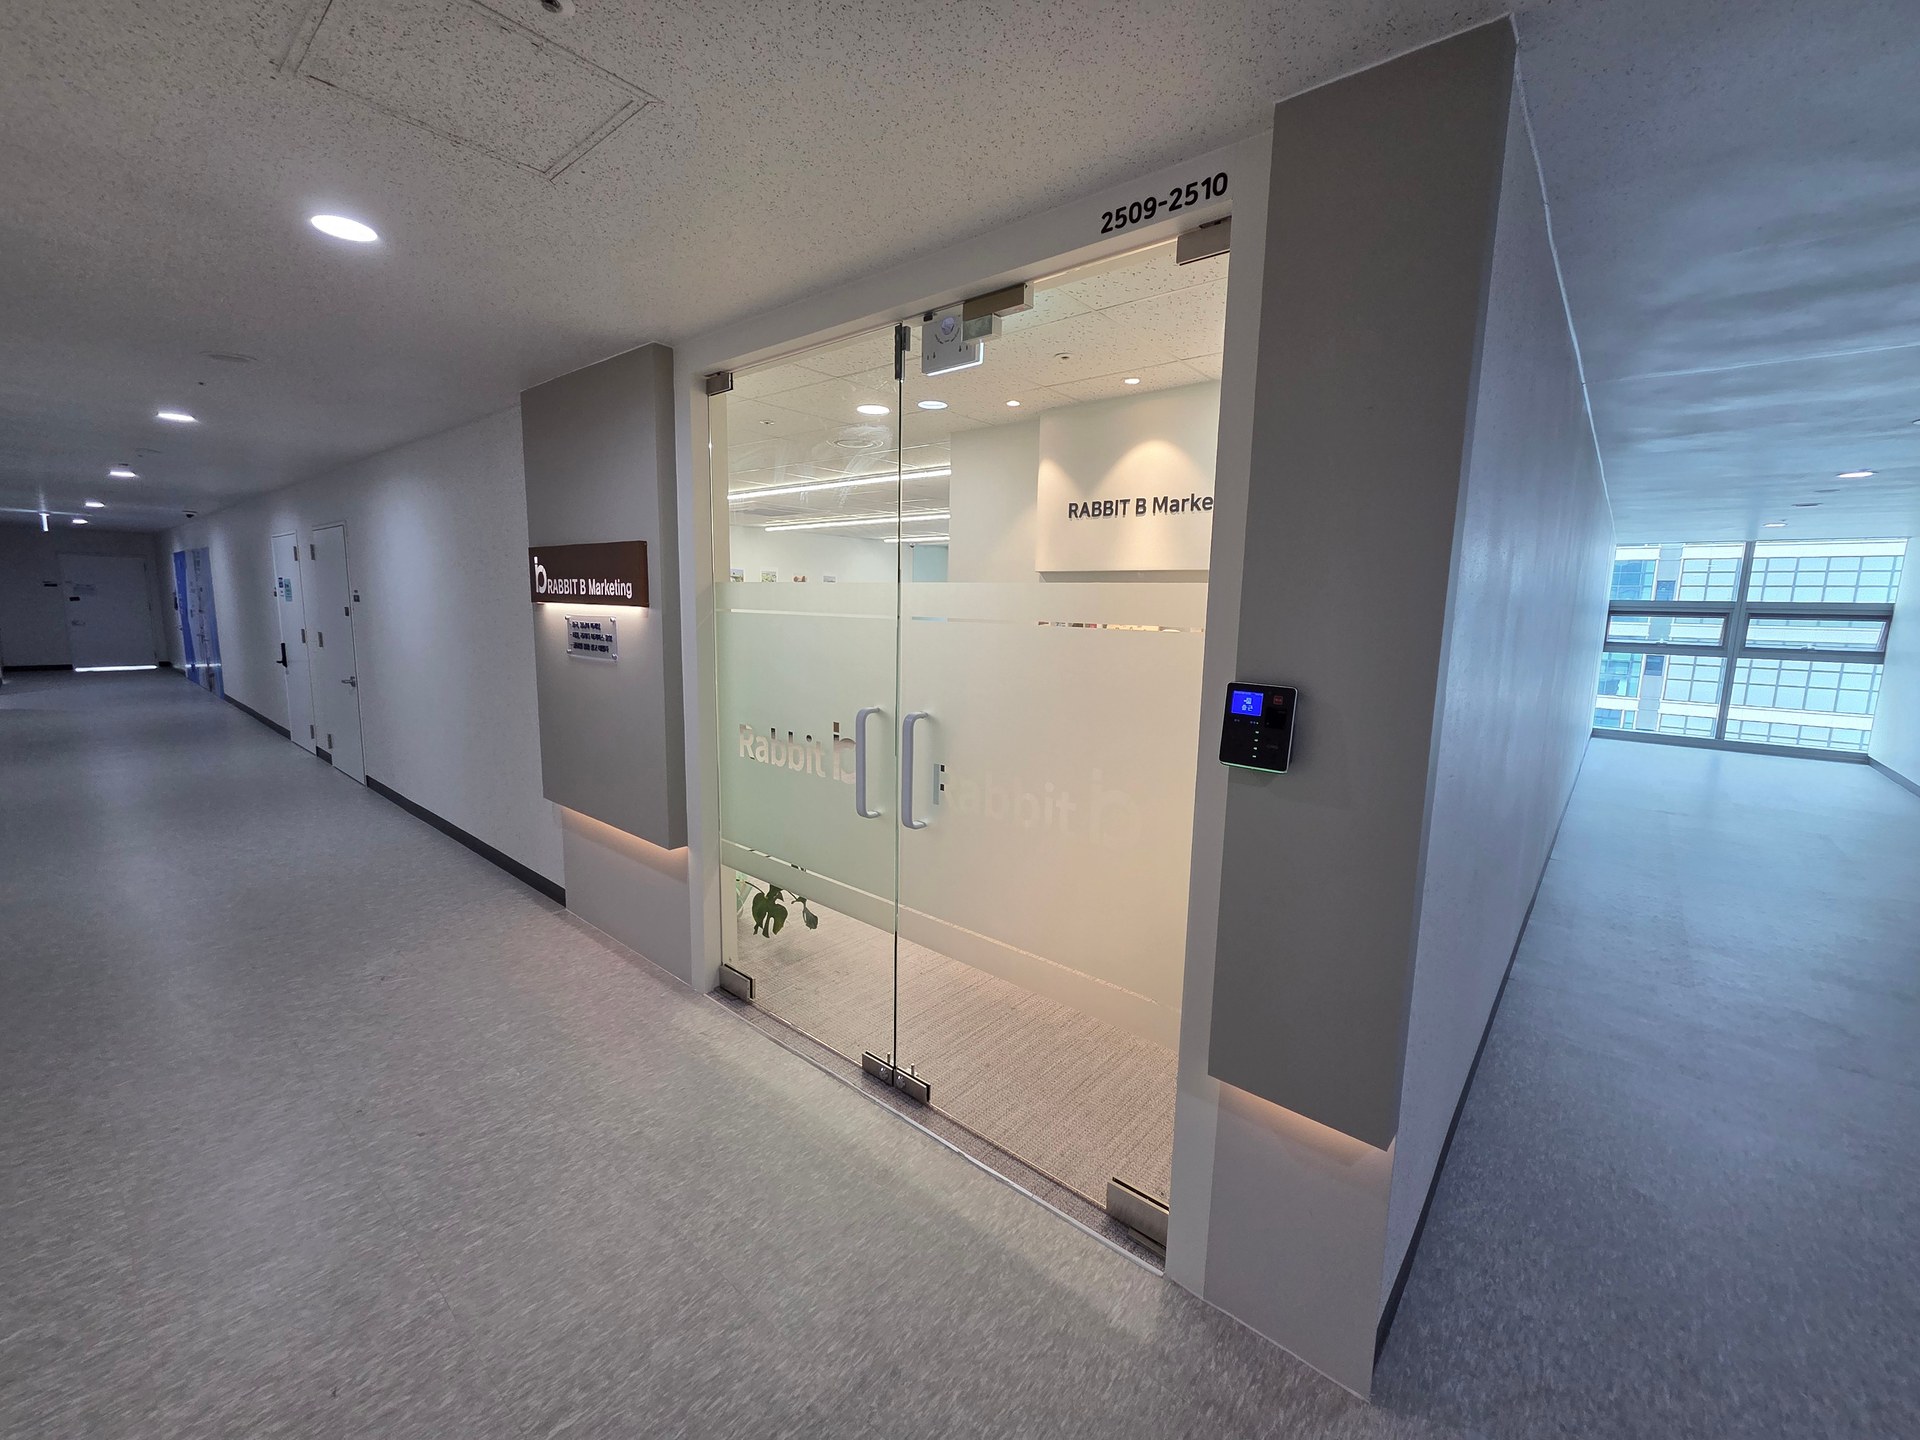
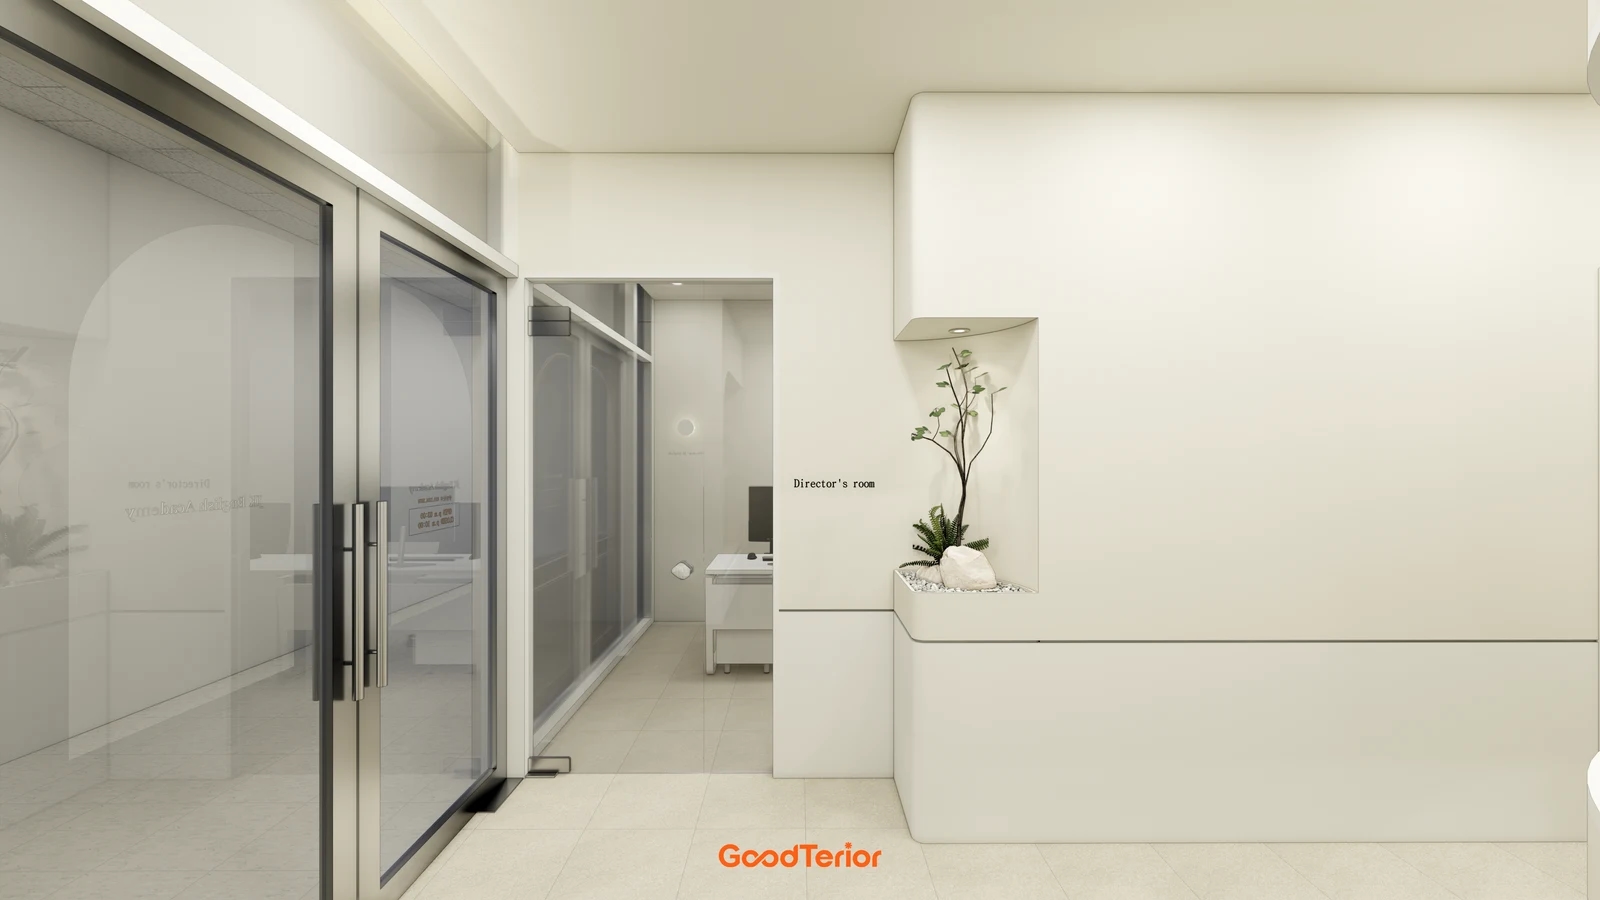
The entrance image offers a different junction above glass doors. Decide whether a continuous corridor edge and a short door-head accent share the same detail. Align them deliberately with the glazing or ceiling and document how each end terminates in elevation and section.
Mark the lowered edge, fixture space and light opening separately. A visually narrow slot still requires a product-specific installation and access assessment. Have the responsible team determine dimensions from the selected system and existing junctions rather than copying another project’s measurements.
Include visible internal and end surfaces in the finish brief. Compare the actual finish samples under the intended light rather than assuming the rendered wood-look and white walls will produce identical results. Check standing and seated views with the responsible team before construction.
Overlay existing access panels, lights and building services on the ceiling plan. Ask the relevant specialists to resolve overlaps and access requirements. A design photograph does not establish whether another device can be covered or moved.
Removal access and the full construction scope
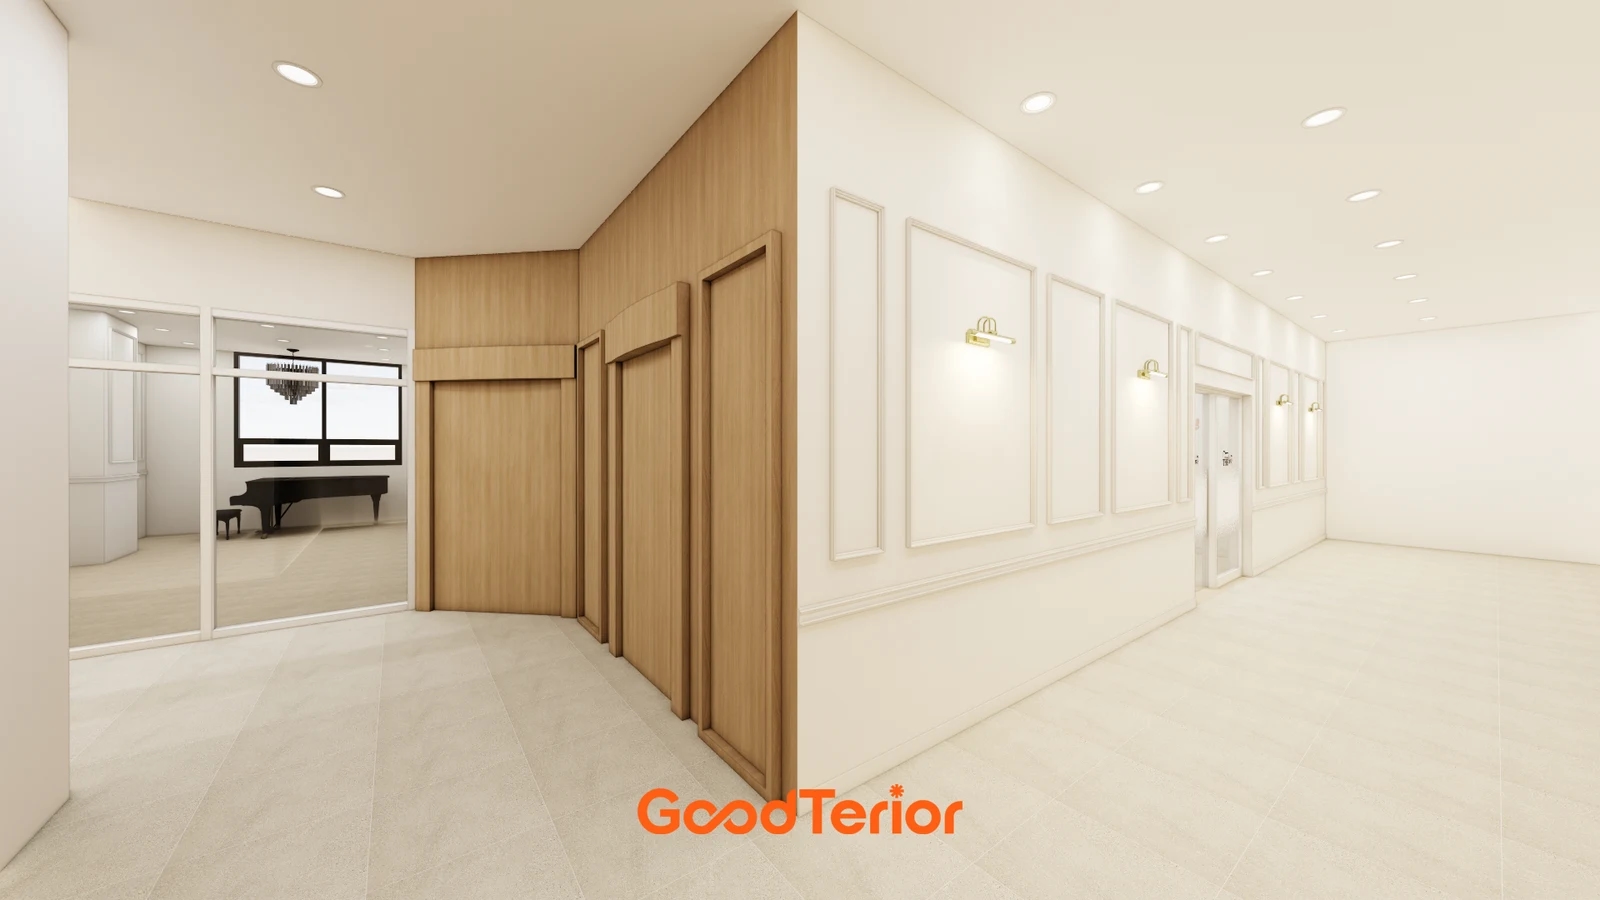
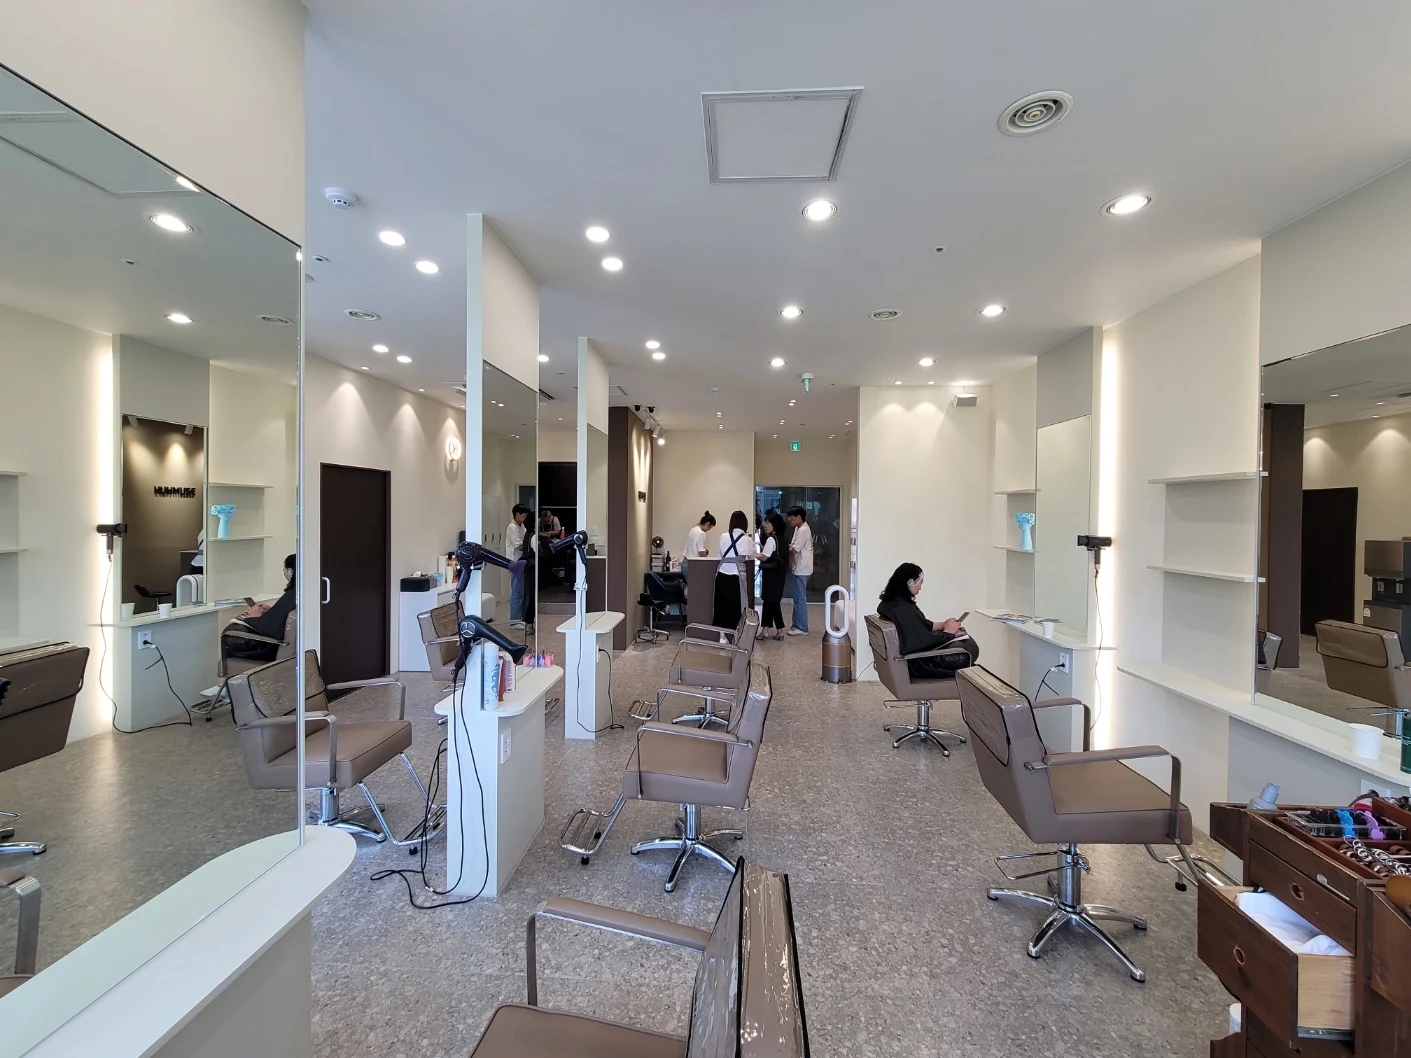
The second corridor uses visible wall lights and downlights, offering an alternative to a concealed continuous line. Compare the actual products, mounting and access details and finish scope before claiming either option is easier to replace or less expensive.
For a concealed system, establish whether removal uses the light opening or a separate cover or access face. Mark fixture divisions and removal directions. Reaching a component is different from extracting it, so have the responsible team check the actual product and connections.
Ask which power or control components the selected system actually needs, where they go and how the installer will access them. Do not assume every product shares the same components. Obtain location photographs, drawings and a service contact before the finishes close, rather than planning operator wiring work.
Compare the fixture and wiring separately from cove construction, internal and end finishes and reinstatement. Use one drawing identifying retained and removed lights and new finish surfaces, so quotes of equal length also cover equivalent work and access provisions.
Where budget or ceiling conditions limit the full run, compare a shorter accent with retained or alternative lighting elsewhere. Check whether the saving changes only product length or also construction and finishes. Have the lighting designer assess task illumination and controls independently of the decorative effect.
At handover, test the agreed lighting zones and inspect terminations and visible finishes from normal routes. Check that furniture and signs do not block access. Retain product and component information, locations, access instructions and service contacts alongside the finished lighting detail.
Ask us about your interior project
We can discuss a quote and design suited to the space you are planning.
Request a free consultation