Office Ceiling Tile Replacement: Defining Panel and Frame Work
Before ordering replacement ceiling panels, identify the existing material and fixing method. Compare local and zoned replacement, conditions for retaining the frame, junctions with lighting and partitions, and the scope of surveys and quotations.

Before you begin
- Check the product, fixing method and supporting frame as well as panel size and pattern.
- Compare local and zoned replacement using actual samples and defined boundaries.
- Separate material identification, required surveys, service work and adjacent finishes in the quote.
Panel replacement and frame repair are separate items
When replacing office ceiling tiles, counting stained or broken panels is only a starting point. Separate the visible panels from their supporting members and connections above. Establish whether panels alone can be replaced or whether the frame and adjacent finishes need work. Similar faces do not establish identical products or fixings.
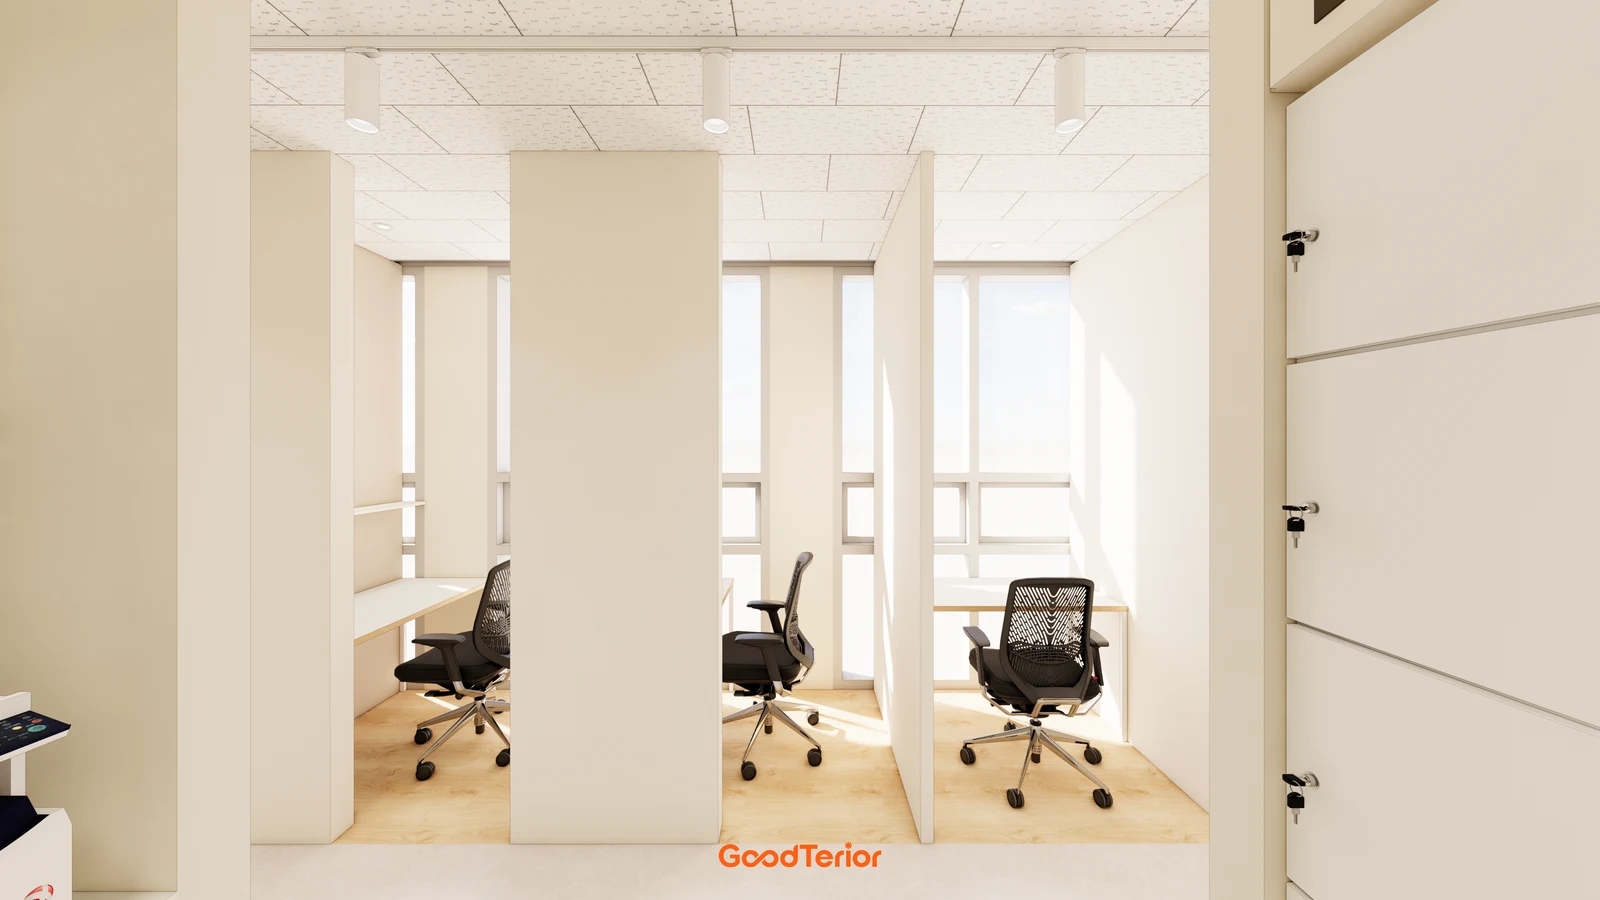
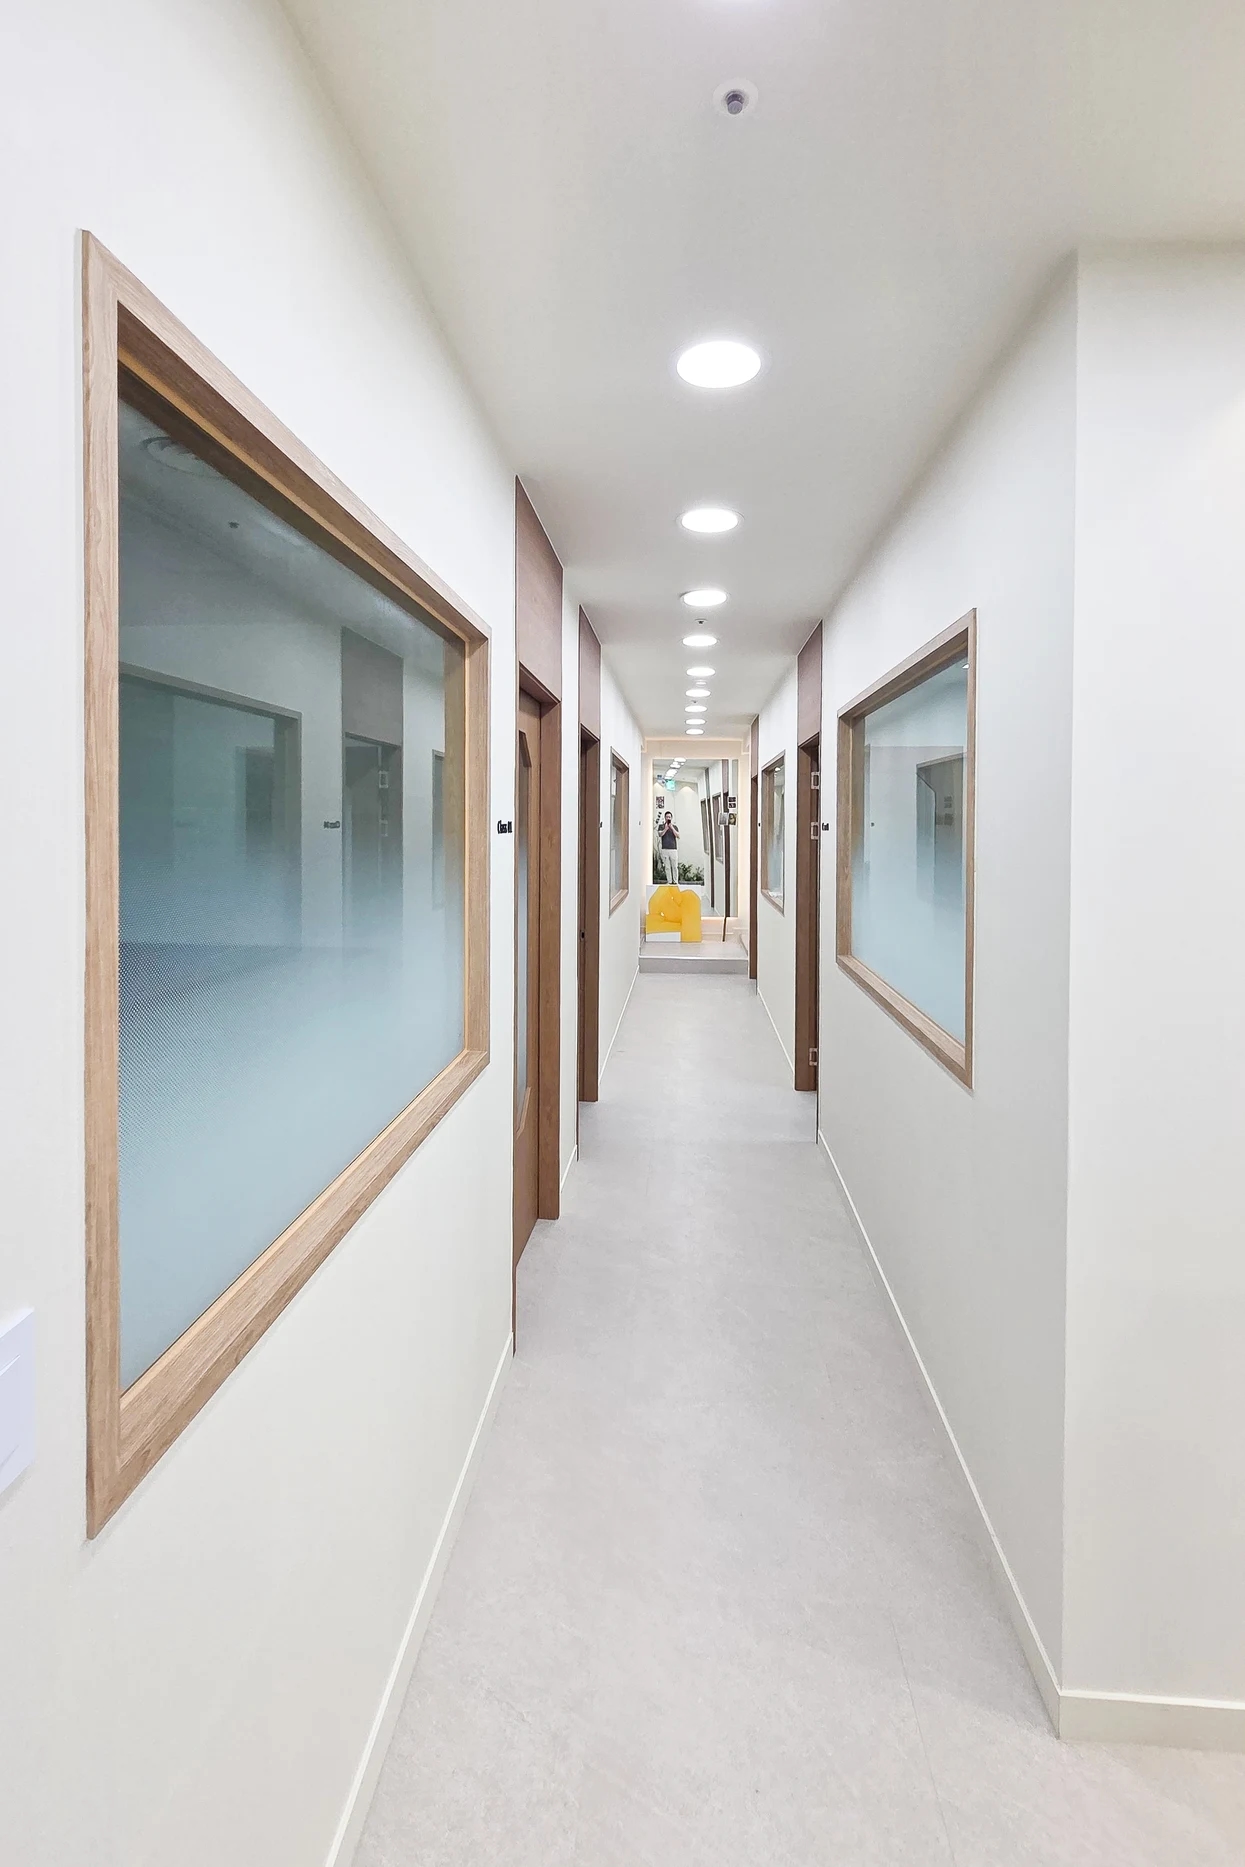
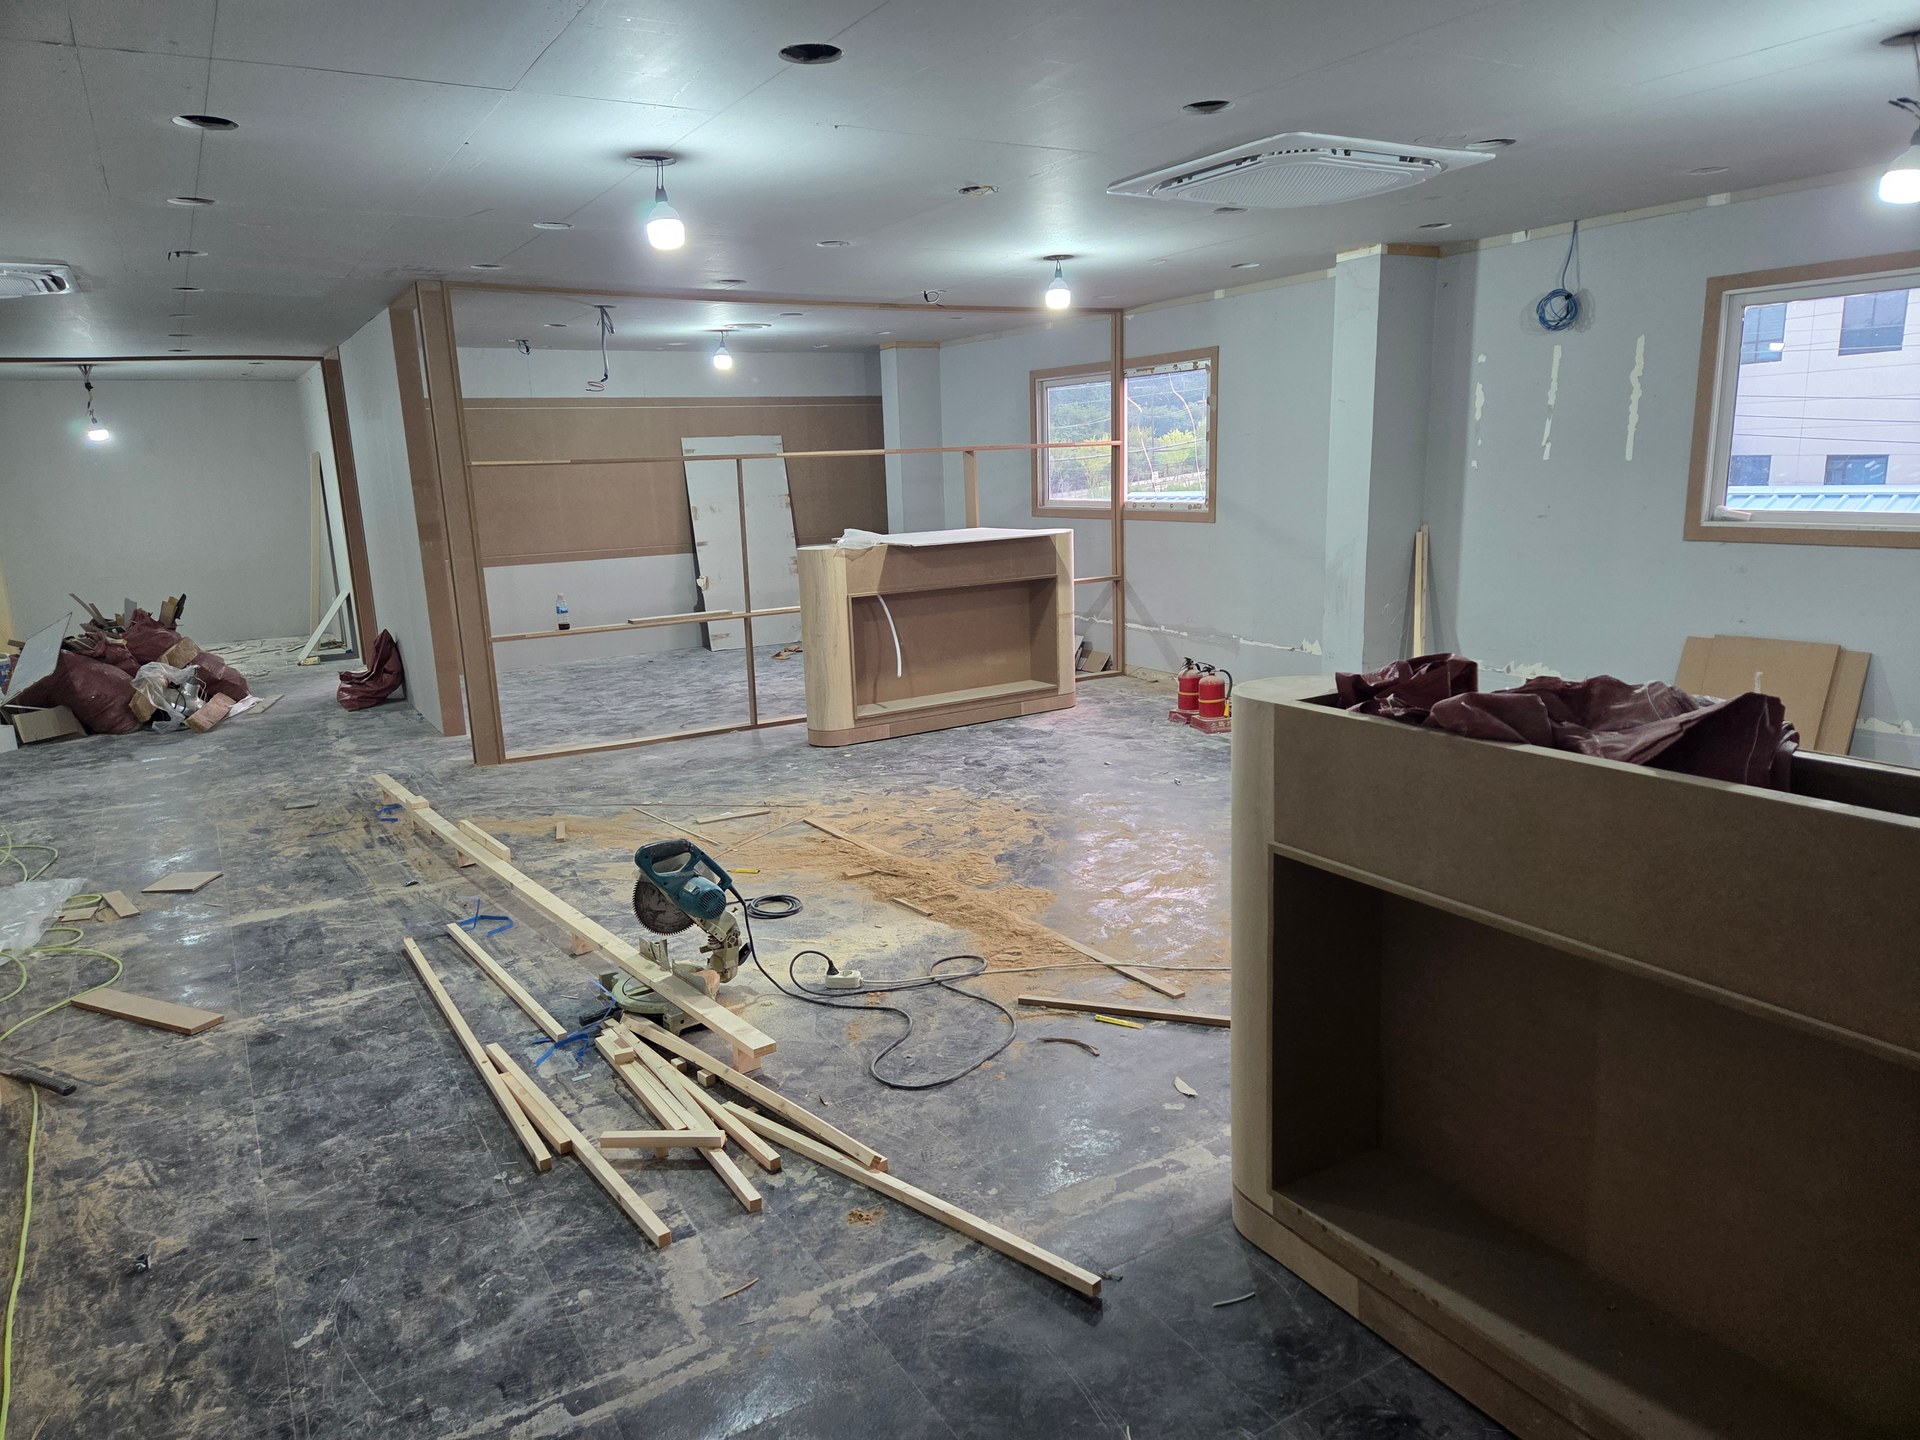
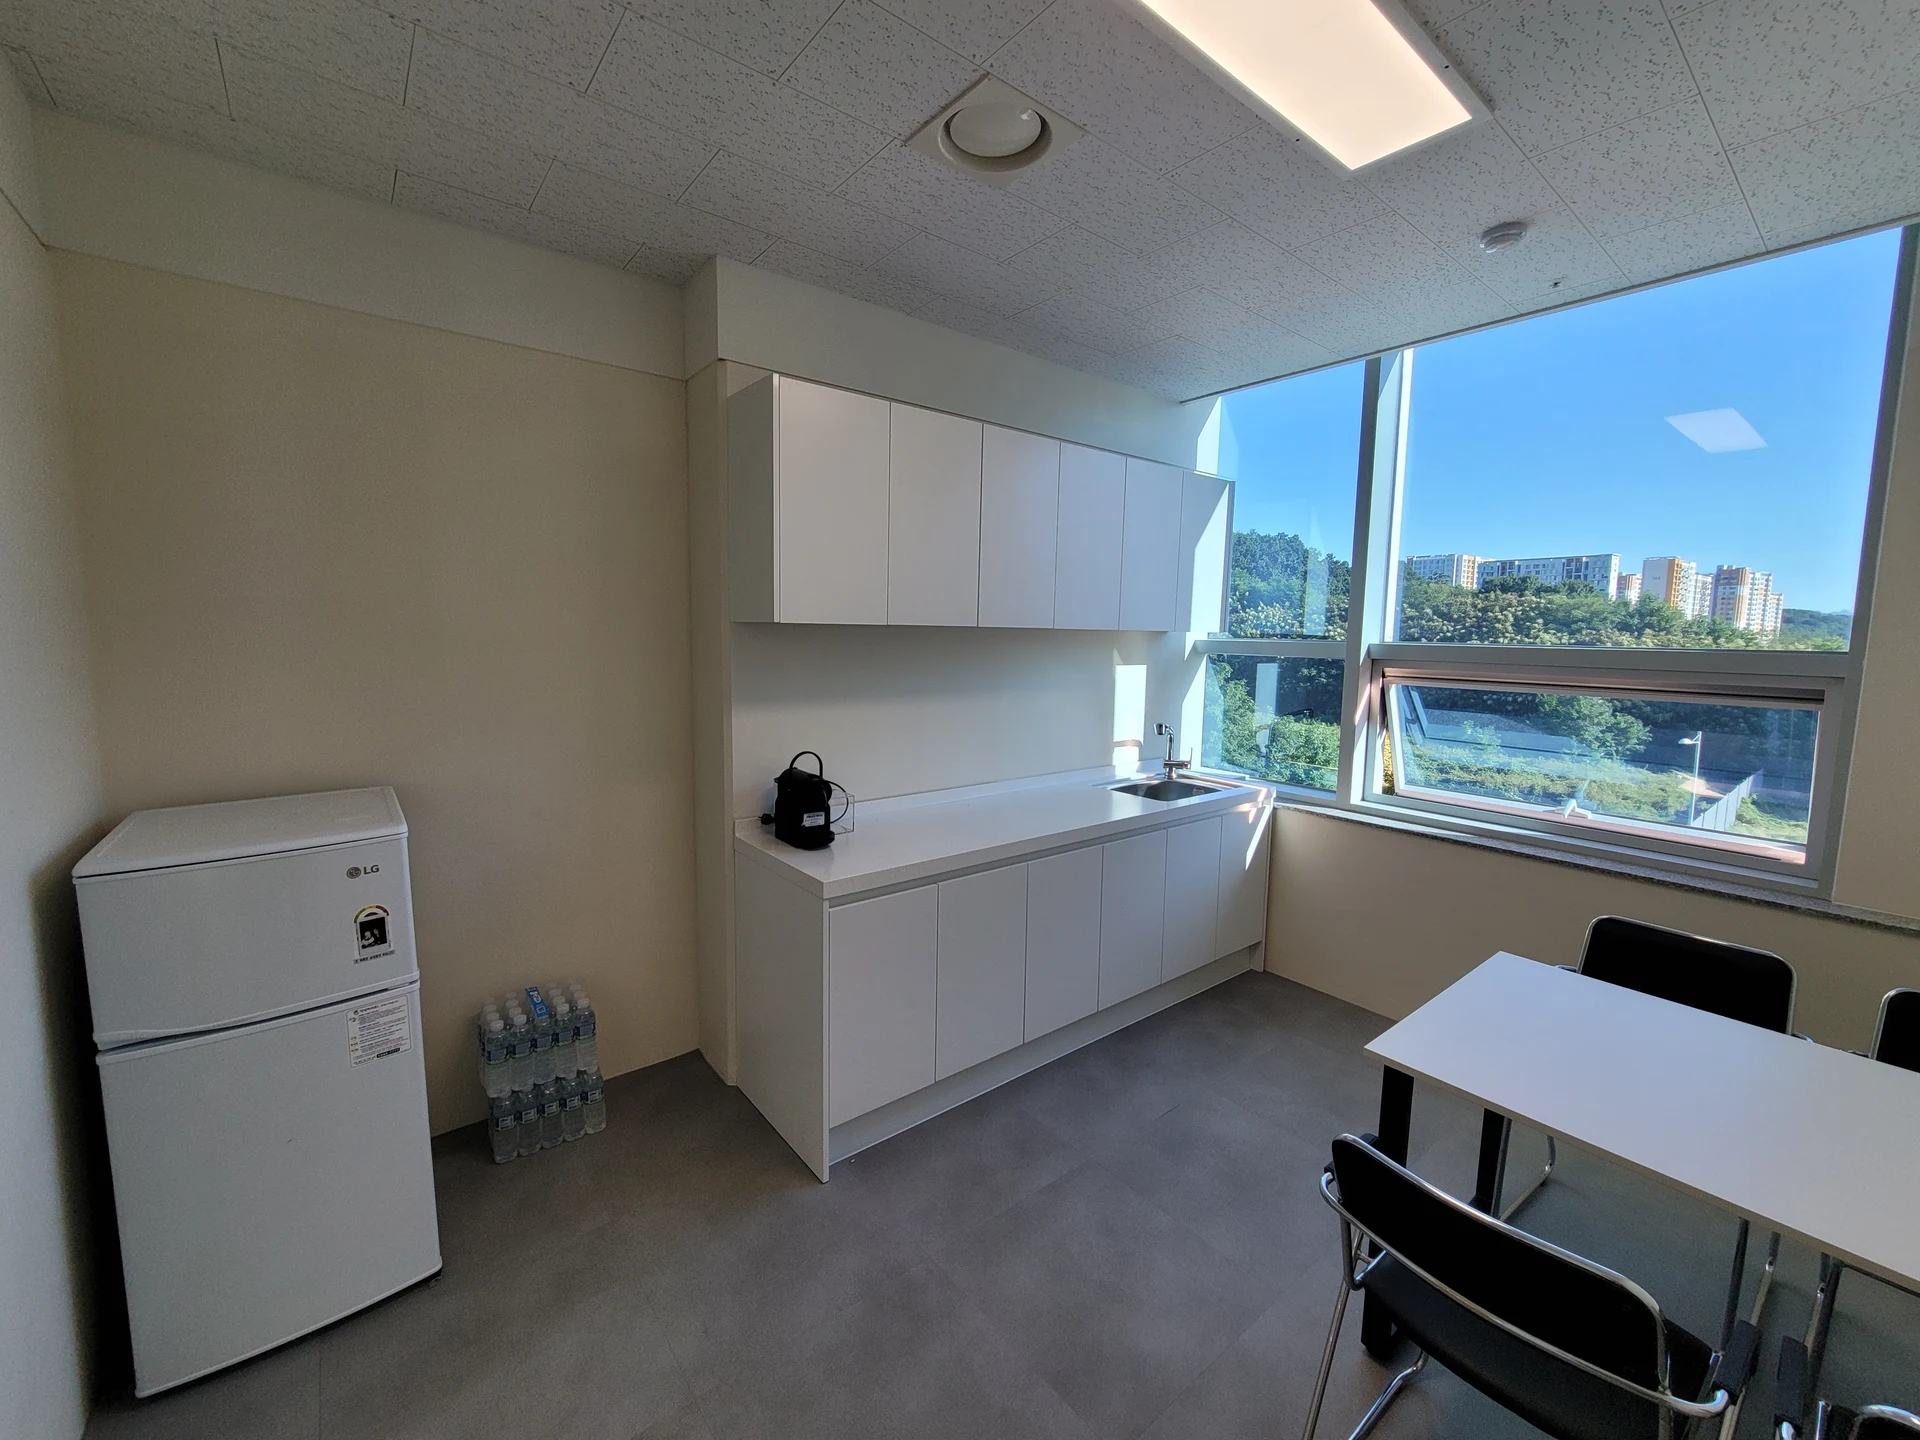
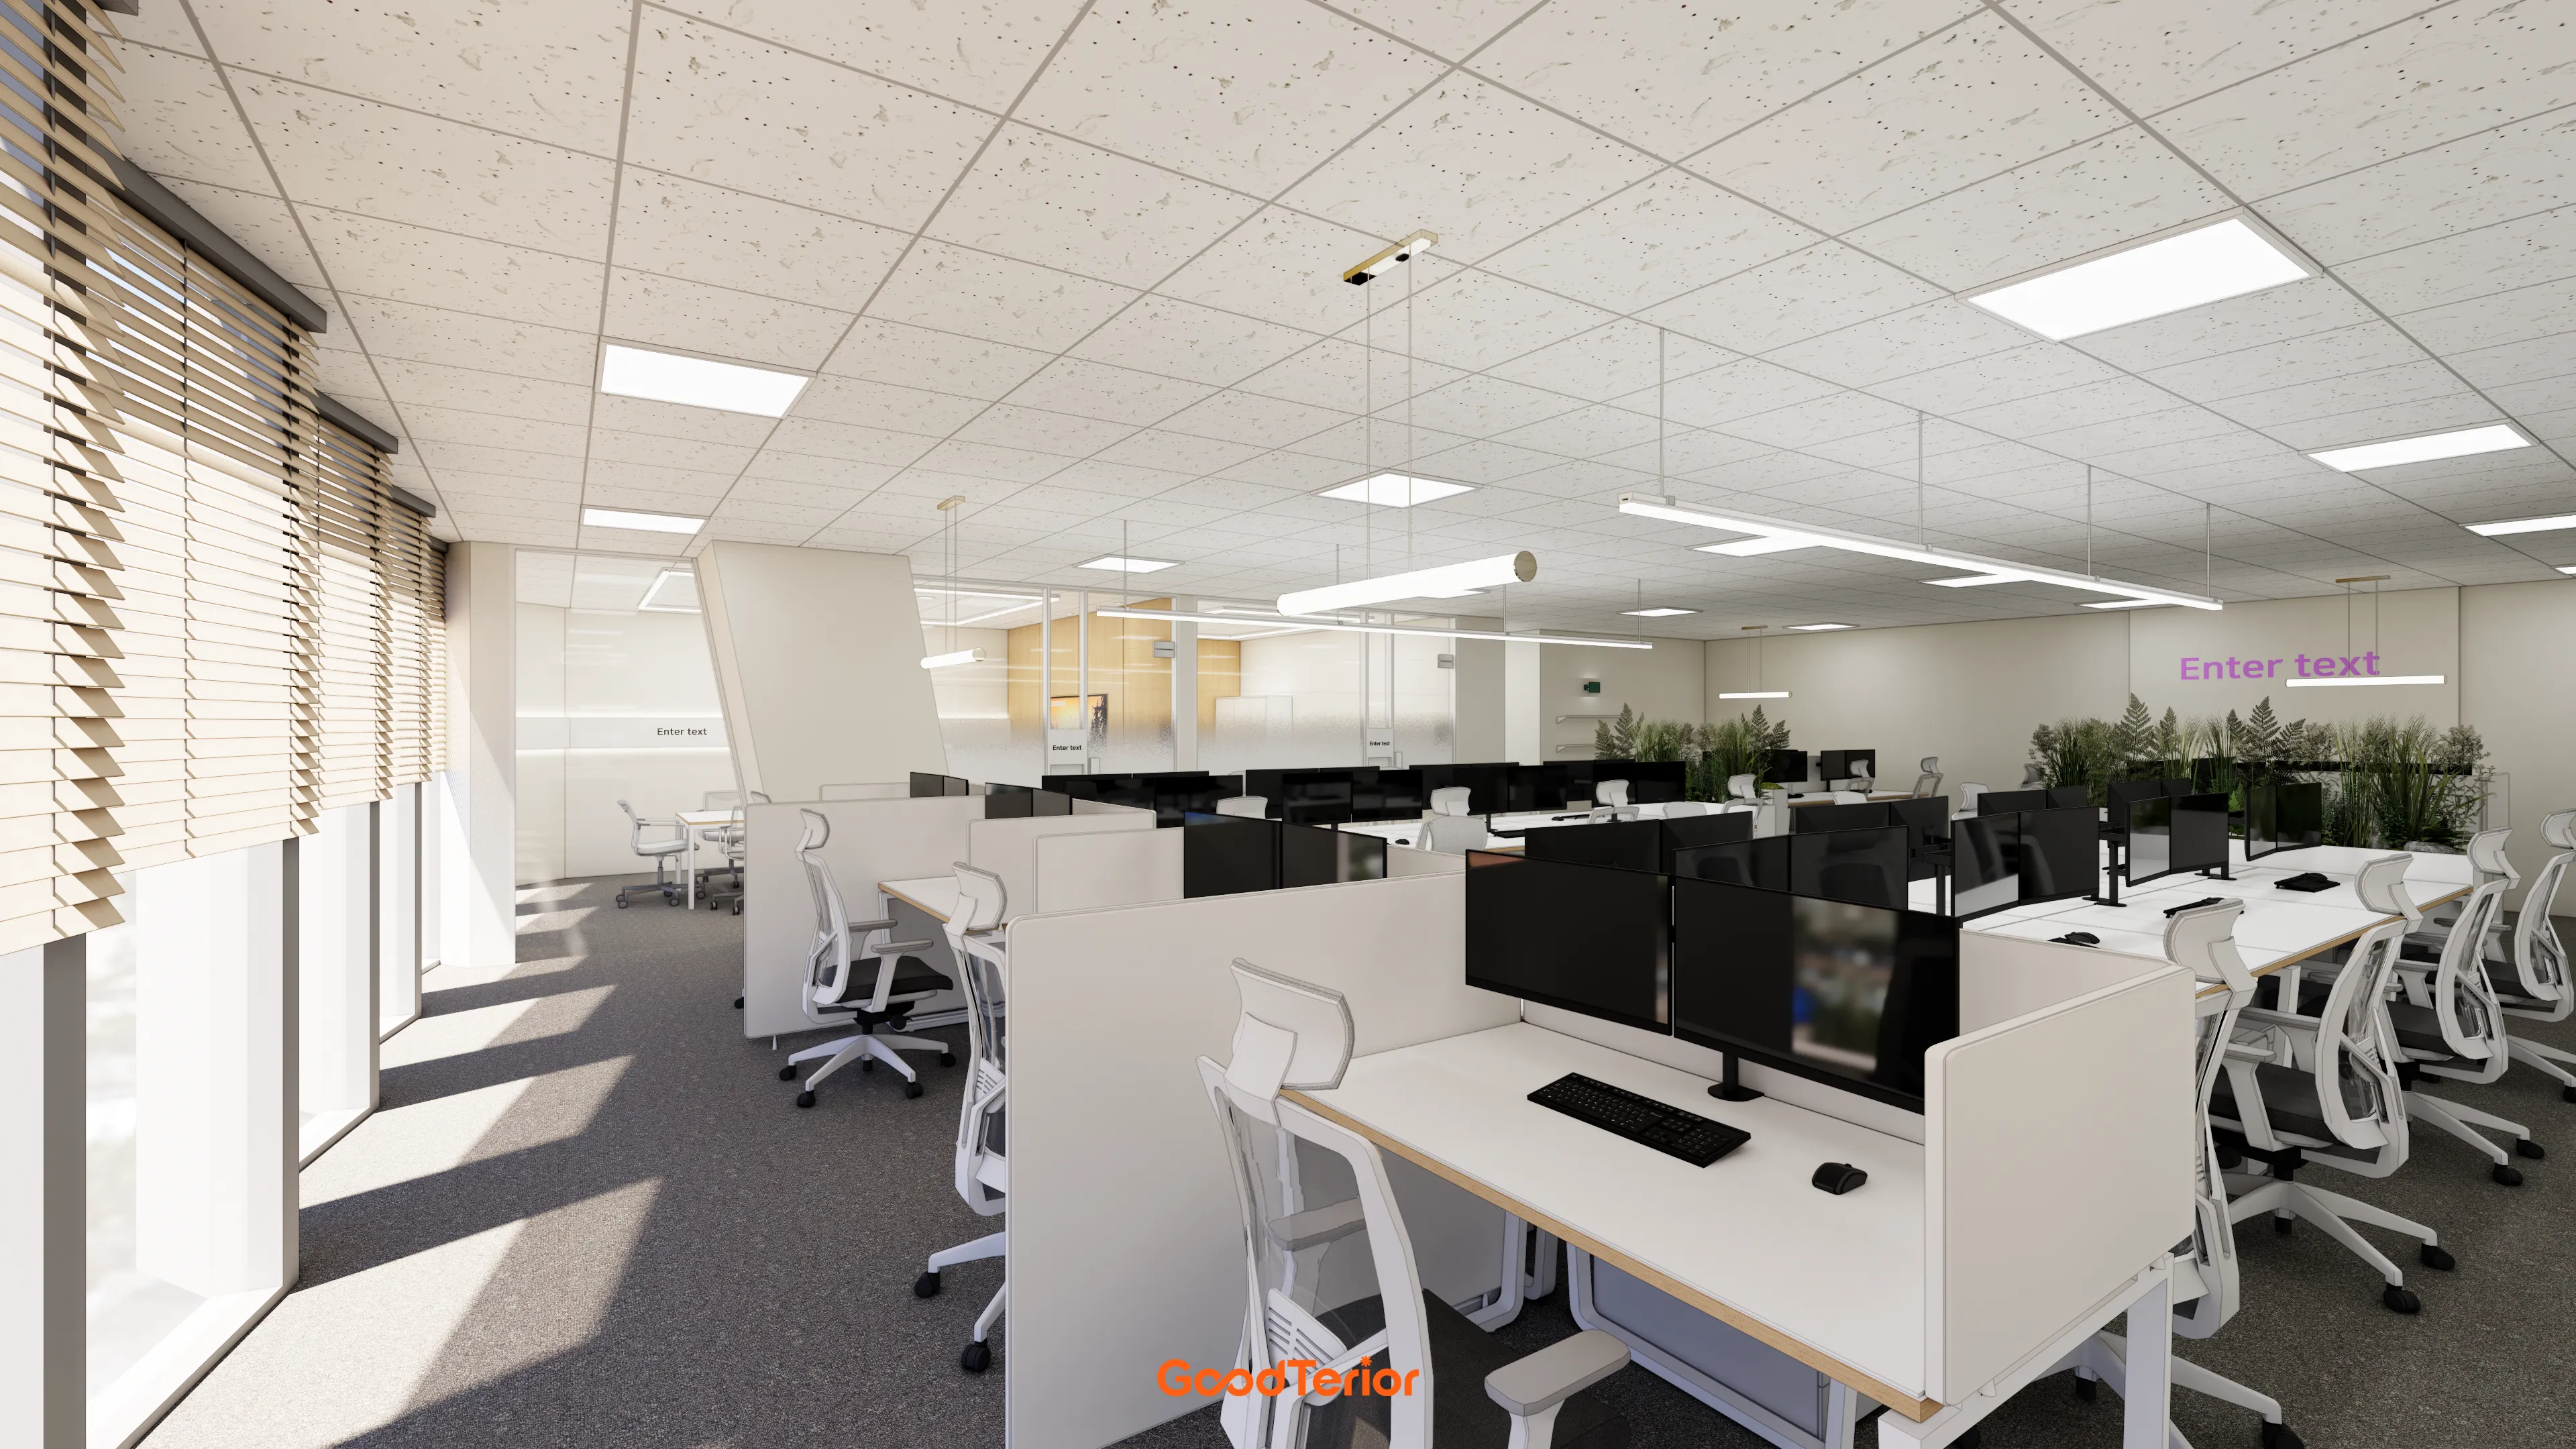
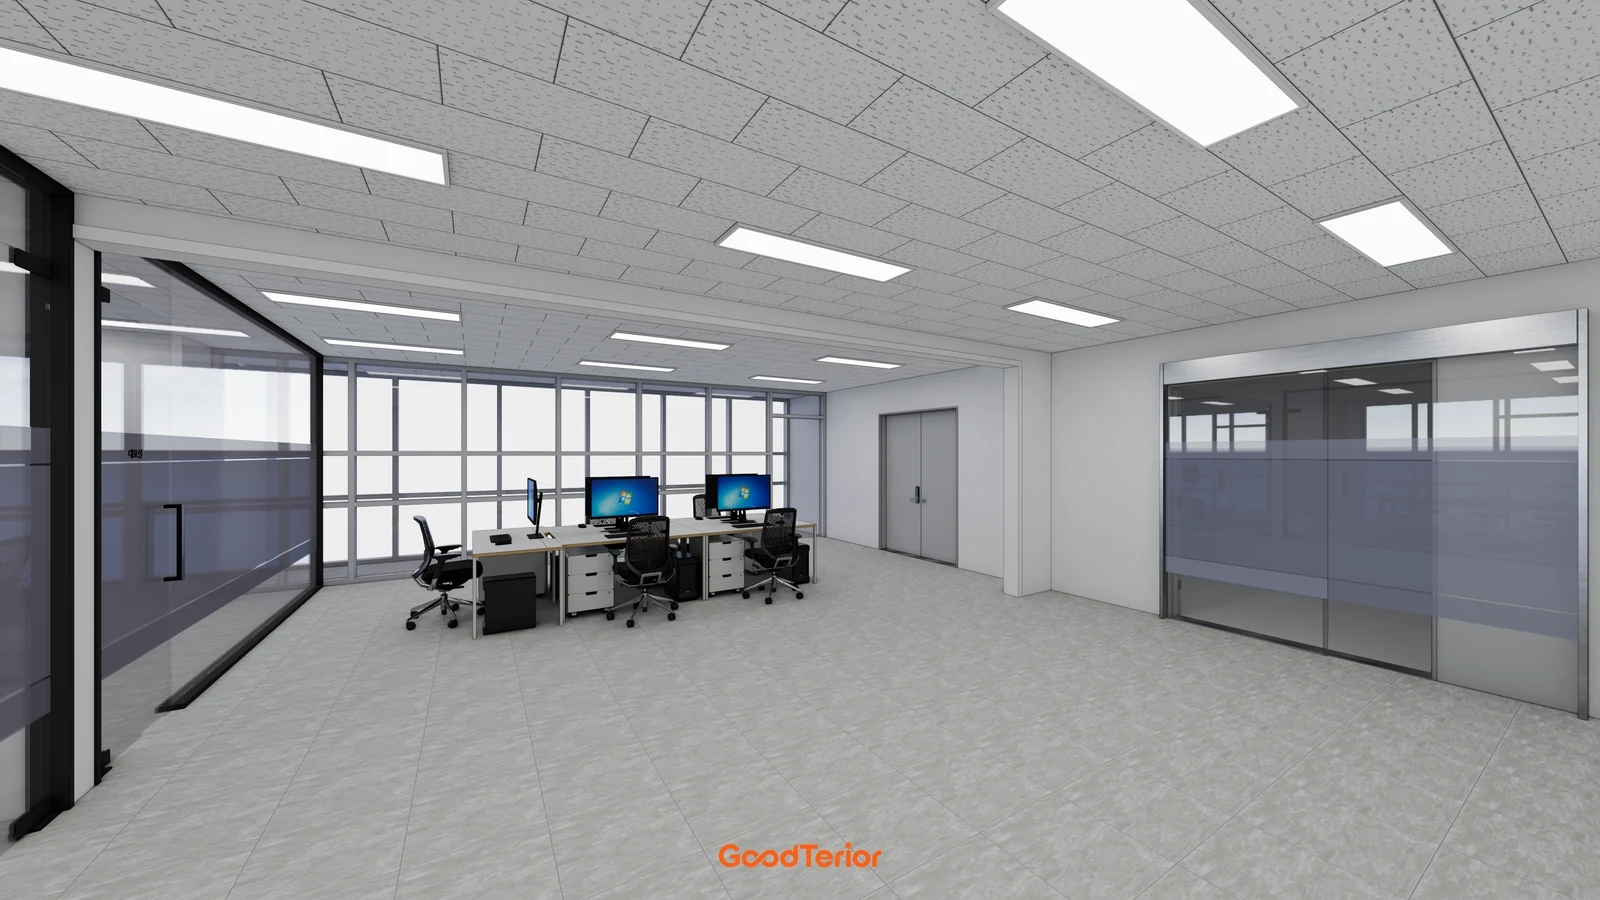
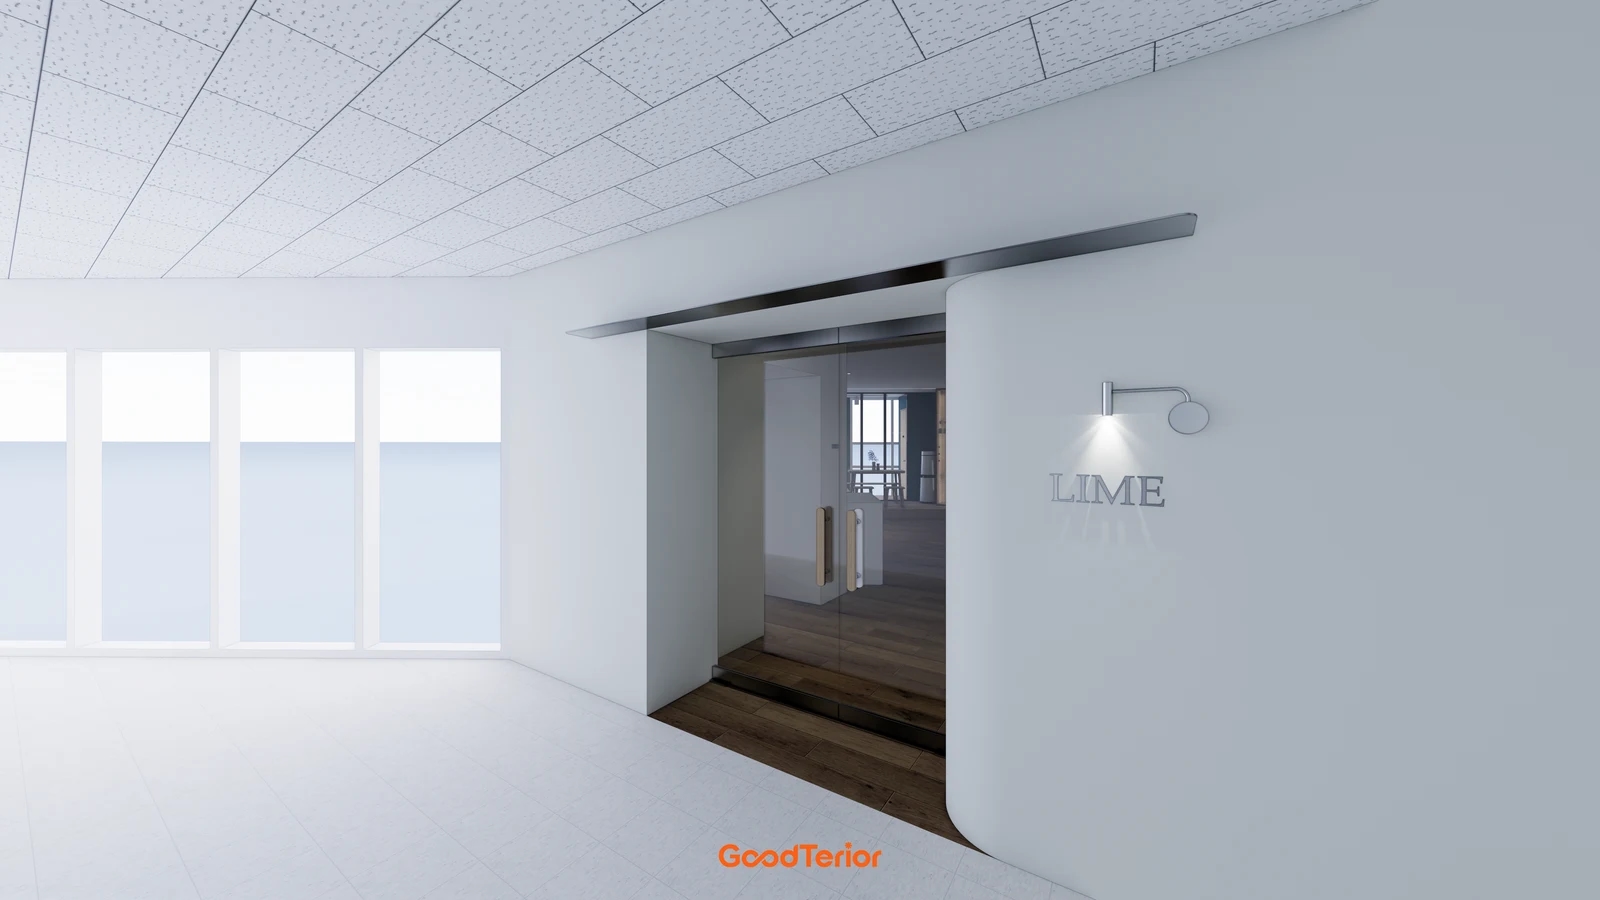
The cover shows long panel rows, rectangular lights and glass partitions, while the first body image shows the entrance ceiling pattern and joints. These are design comparisons, not records of damage or replacement. Visible panel edges do not establish the concealed supports, screw locations or product. Combine existing records with site findings on a plan.
Rectangular panel divisions do not mean every panel lifts out. For example, Byucksan’s Bio Astex catalogue describes screw fixing in that product’s M-Bar system. This identifies neither the products in these images nor their fixing. Have the installer compare the actual product information and existing construction before planning removal and reinstatement.
Where the existing material is unidentified, resolve that before removal. Korea Environment Corporation’s asbestos management guidance describes records review, site investigation, sampling, analysis and reporting. Do not infer asbestos content from a photographed pattern or transfer new-product information to old panels. Obtain building records and previous survey results and have qualified parties confirm applicable investigation and handling requirements; do not break panels to investigate them yourself.
Include the status of the underlying cause when replacing a stained panel. Coordinate any leak or service investigation with ceiling reinstatement. Record whether sagging or open joints call for panel work or investigation of supports and connections. Visible damage proves neither a whole-ceiling failure nor a problem that new panels alone will resolve; separate confirmed repairs from outstanding investigation.
Compare actual thickness, edges, pattern direction, color and fixing requirements as well as dimensions. Place samples beside retained panels under normal lighting. Compare individual-panel replacement with replacing a defined room or corridor zone on the same plan. Approve a retained-frame option only after compatibility with the proposed panels is confirmed.
Replacement boundaries at lights and partitions
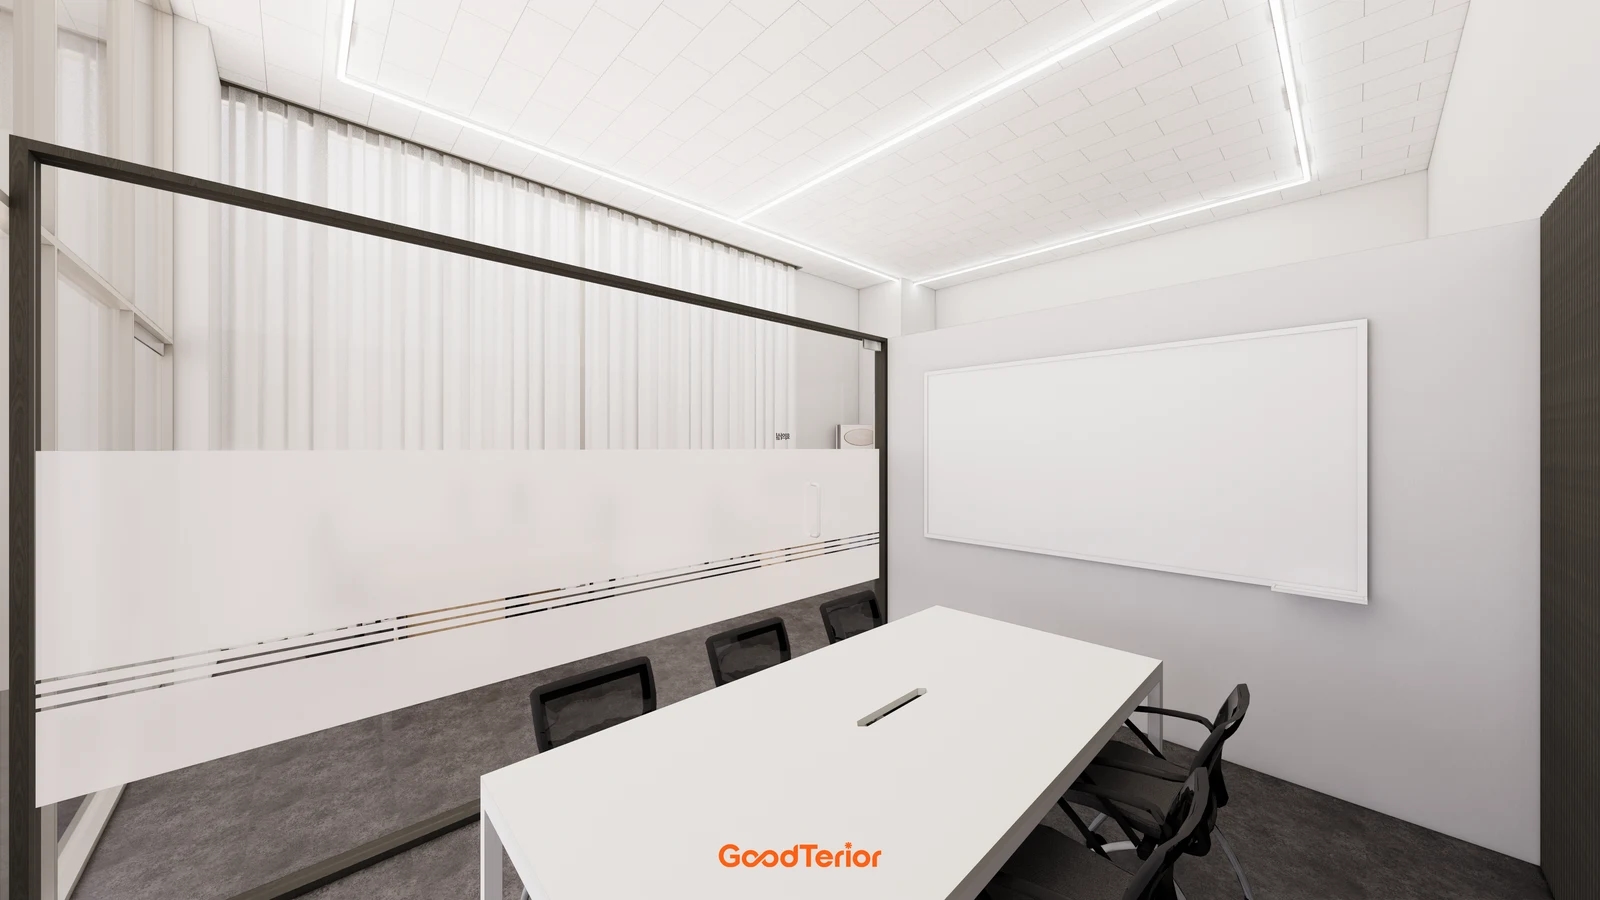
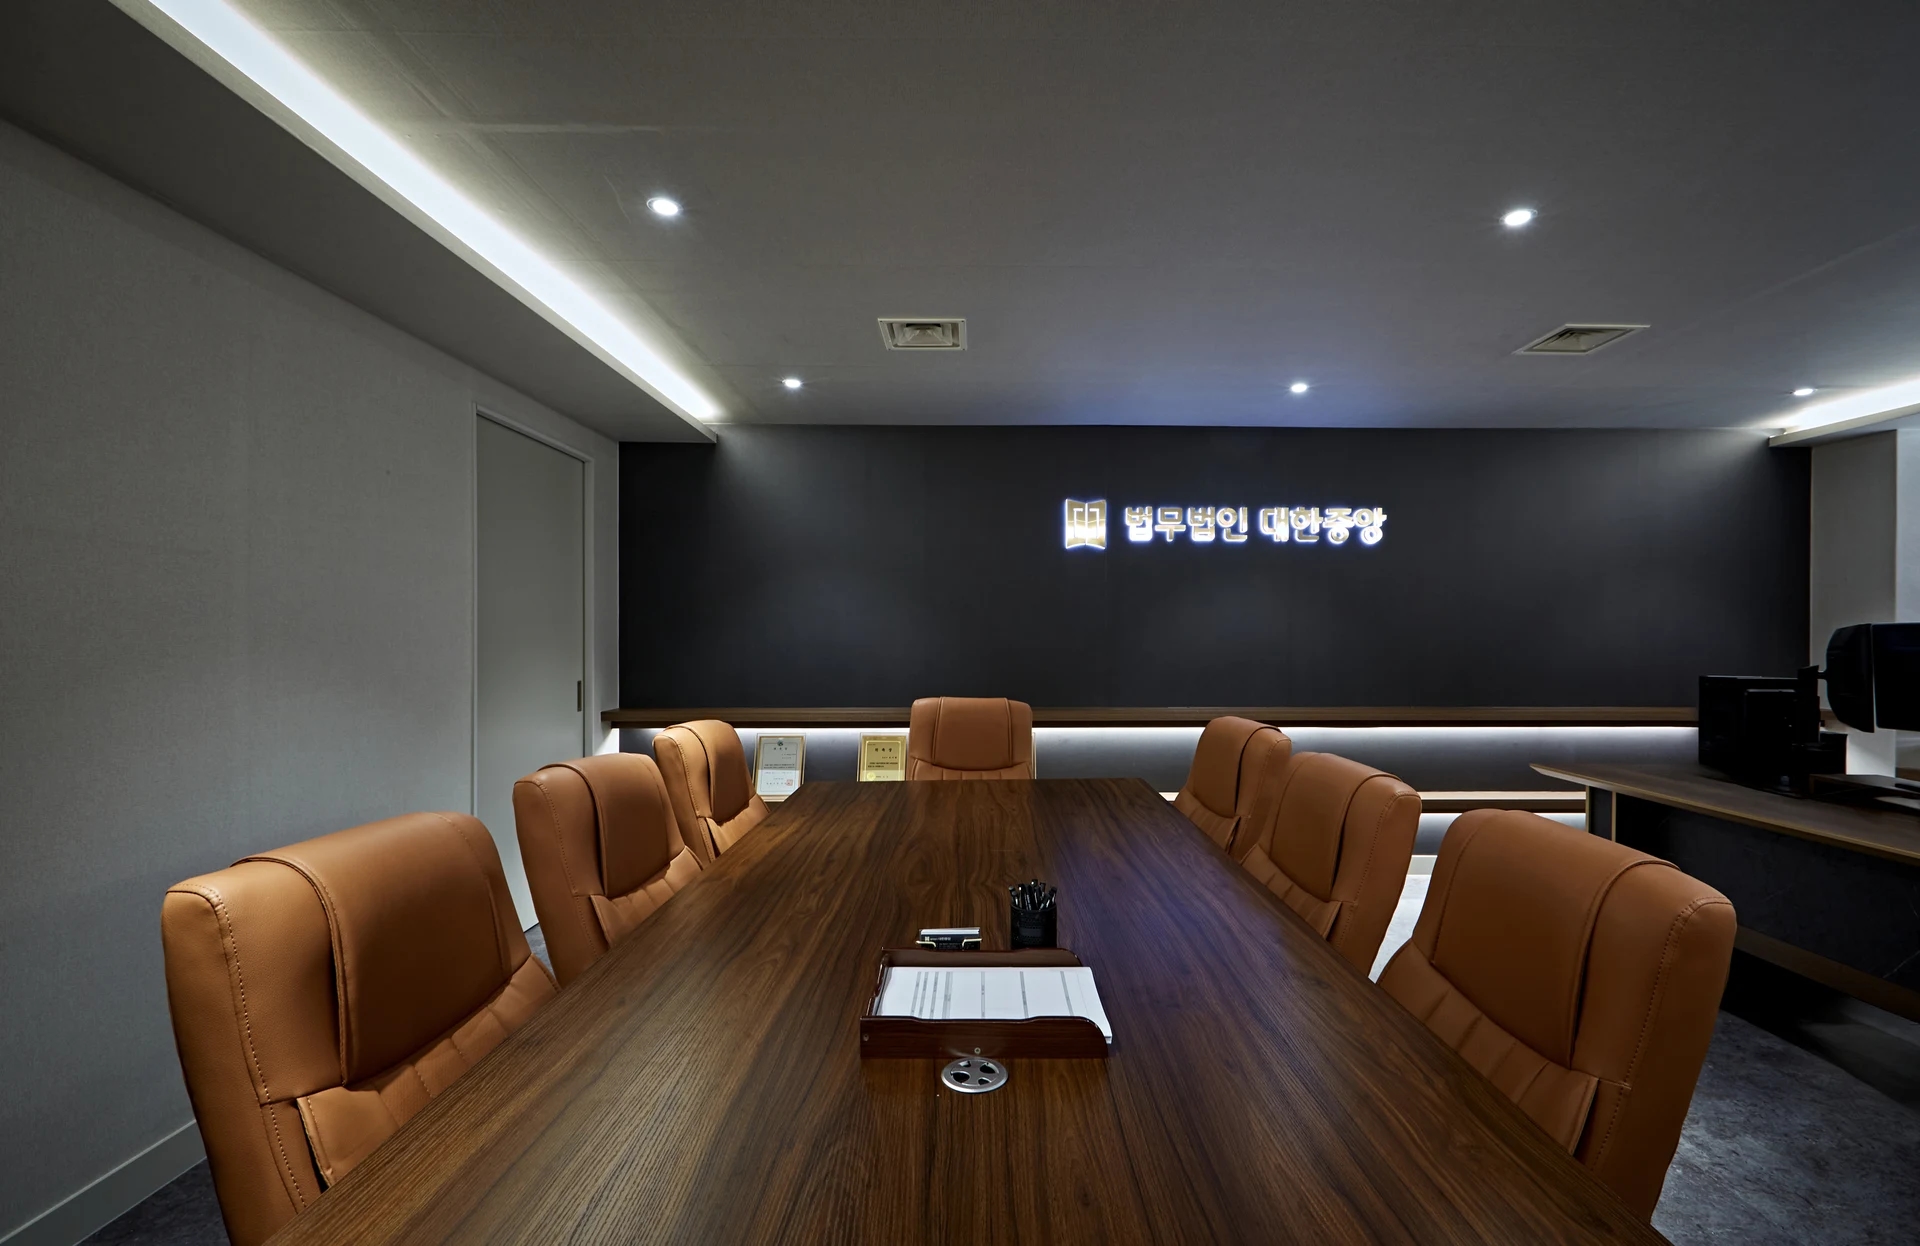
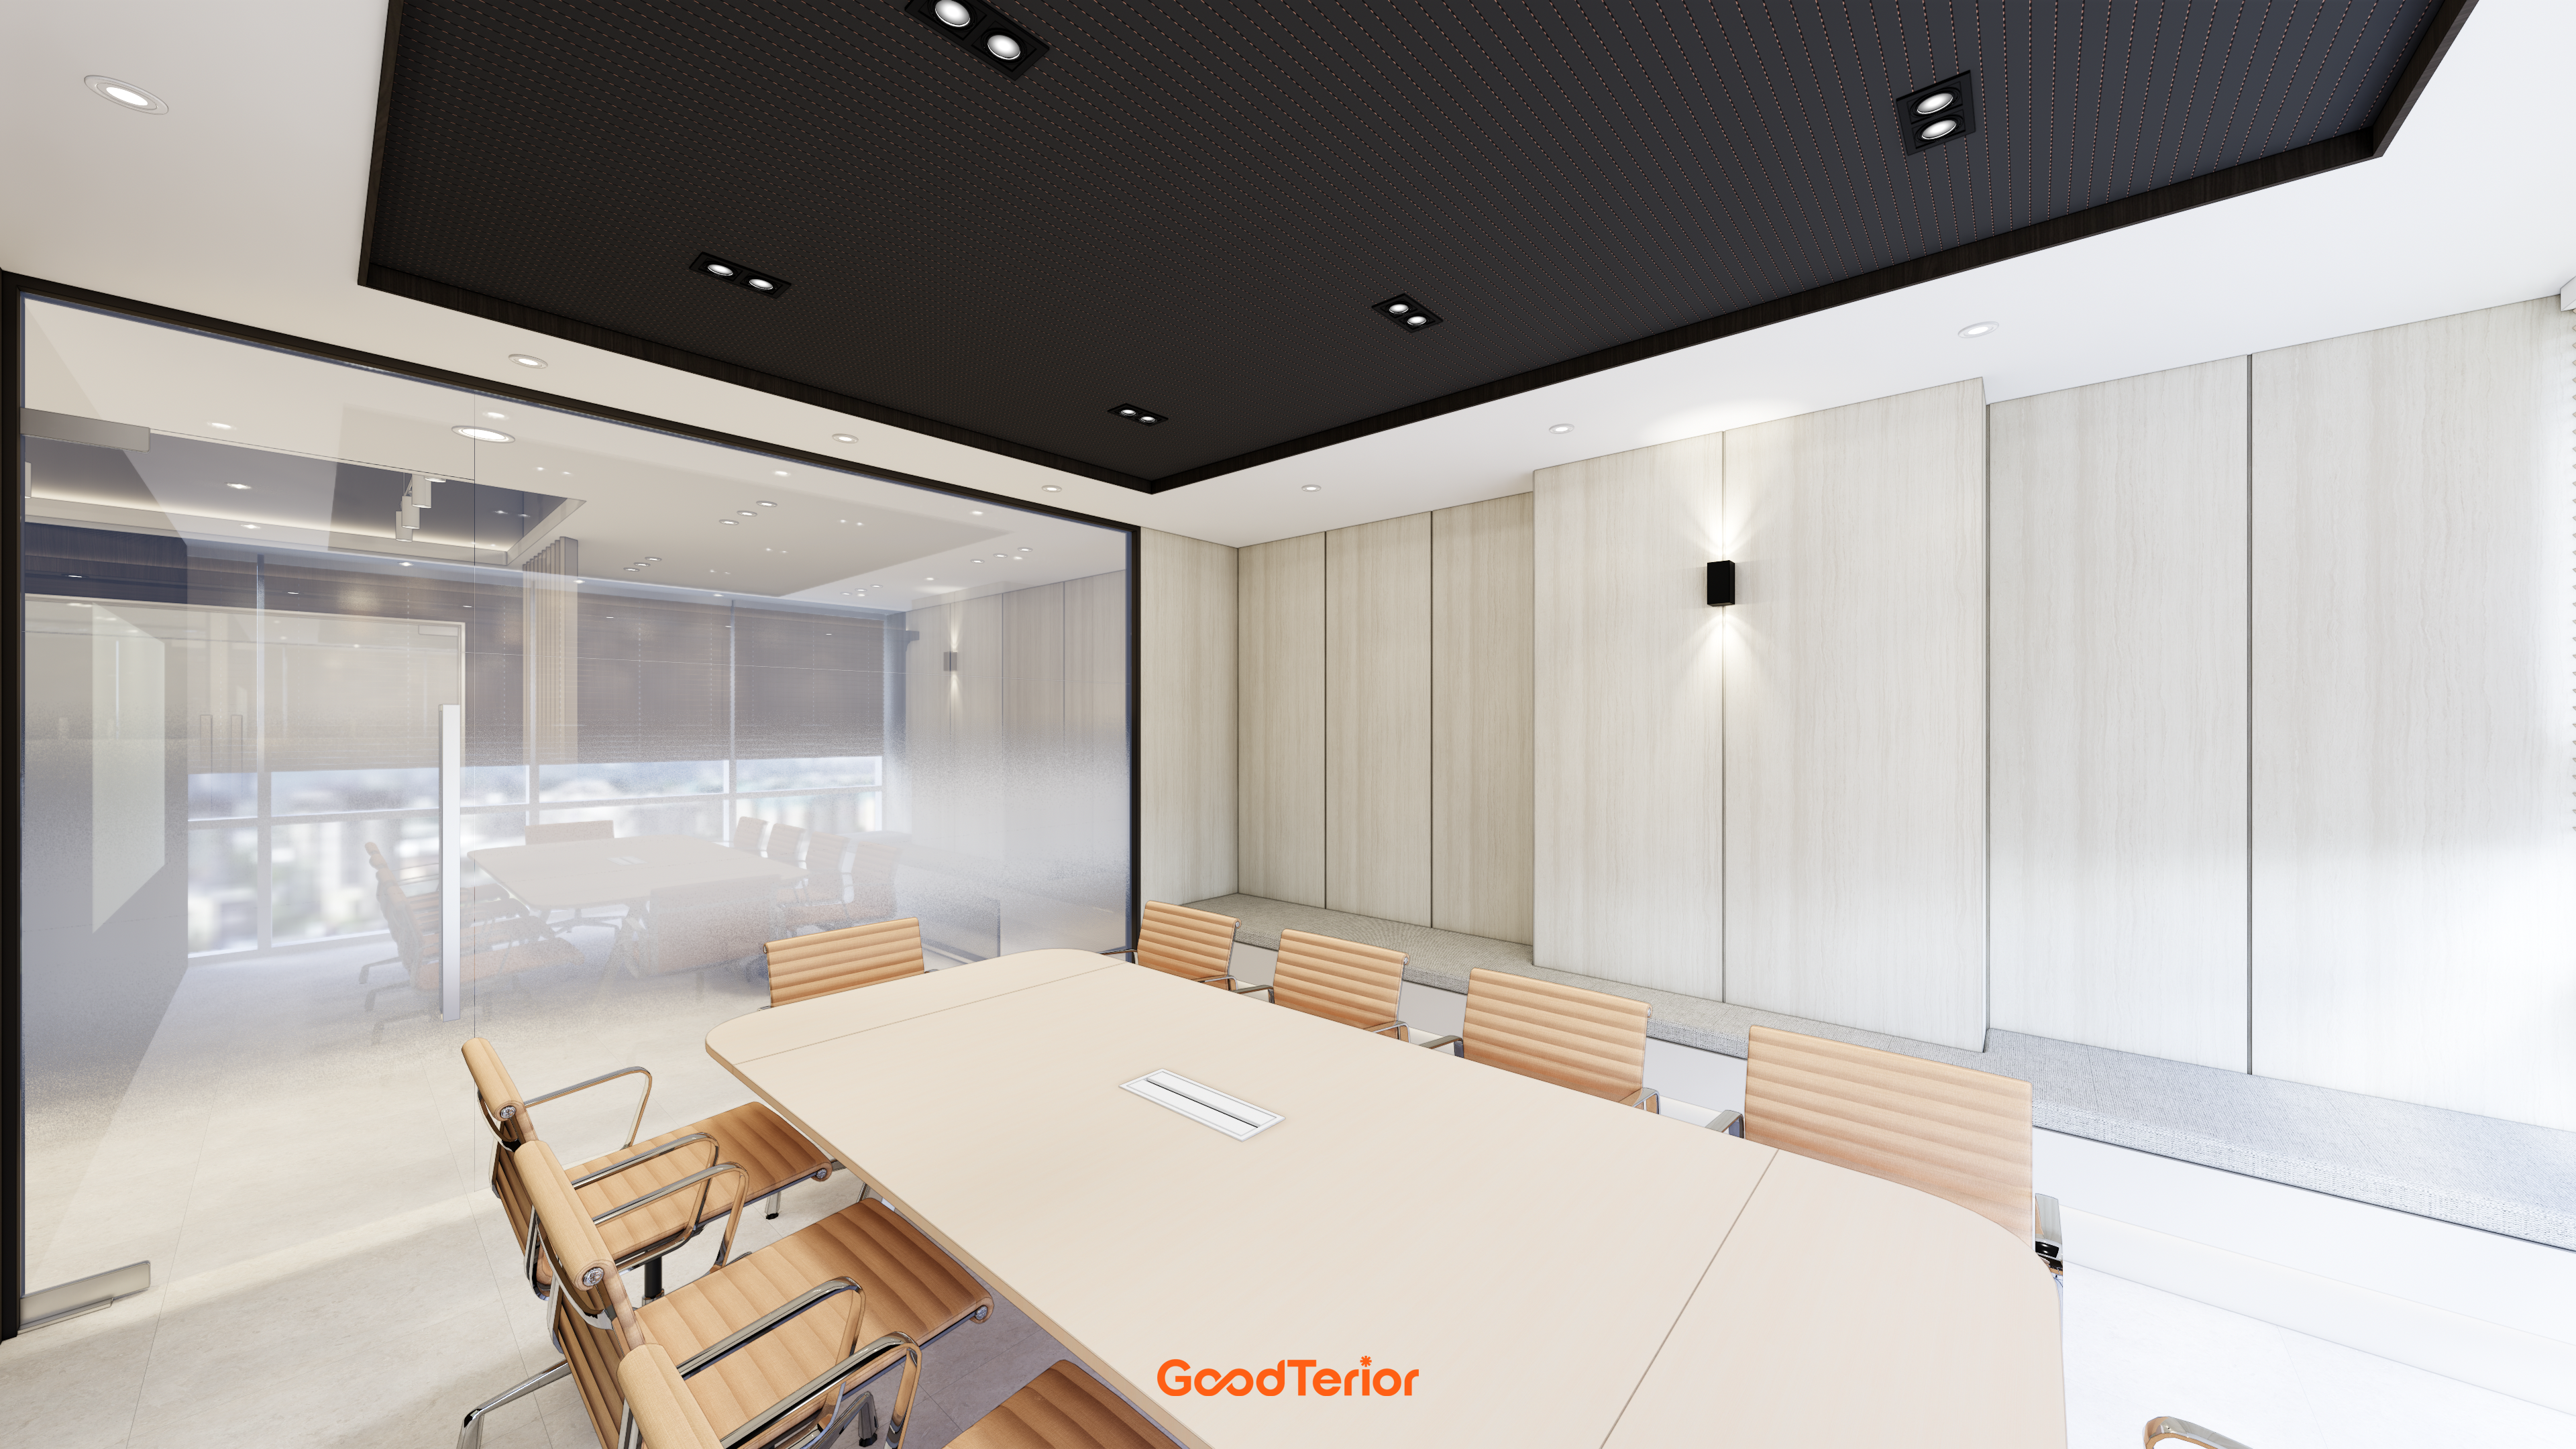
The second image brings together meeting-room panels, perimeter lighting and a glass partition. A scope described only as “inside the meeting room” can leave narrow strips and partition junctions unresolved. Mark retained and replaced areas and their actual boundaries, separating central and perimeter faces where appropriate. This illustrates scope definition, not a replacement performed on the depicted ceiling.
Assign responsibility for work around retained lights and air-conditioning items, including panel cutting, adjacent finishes and any required reinstatement. Treat service relocation as a separate scope for the appropriate specialists. The image does not establish that equipment can move or be reinstalled unchanged; mark retained and changed items on a ceiling plan.
Coordinate moved or removed partitions on the same drawing. Check the existing wall line and proposed new wall junction on site, including any ceiling surface exposed after removal. A later wall change can alter cutting positions and quantities, so distinguish zones with and without partition changes before approving panel orders.
Separate identification and required surveys, removal and disposal, new panel supply and installation. Specify whether the frame is retained, locally repaired or replaced, with unresolved conditions recorded separately. Include protection, clearing work areas, related service work and wall or trim reinstatement. Compare the same boundaries and inclusions rather than floor area multiplied by one rate.
For an occupied office, agree how desks and equipment below the work are cleared or protected, along with material storage and removal routes. Distinguish ceiling completion, service reinstatement, cleaning and return to work. Survey findings can change the scope; confirm the sequence for the assessed zones rather than promise a universal duration.
At handover, compare the approved pattern, layout, boundaries and retained faces, as well as service junctions, wall edges and agreed frame repairs. Record remaining adjustments by location and photo, and retain product details, installed zones and care instructions. Distinguishing visible panels, concealed construction and related work makes quotations comparable.
Ask us about your interior project
We can discuss a quote and design suited to the space you are planning.
Request a free consultation