Cafe POS Installation: Countertop and Cable Space Checks
Before installing a cafe POS, review the complete equipment set, customer and staff countertop use, receipt paper replacement and cable access alongside the counter design.

Before you begin
- Confirm the complete POS, payment device, printer and accessory set first.
- Review equipment footprint, reach and cover-opening space separately.
- Confirm cable routes, cabinet access and installation responsibilities before fabricating the counter.
Lay out the actual equipment set on the counter
Before cutting a cafe counter for a POS, list the actual terminal, customer payment device, receipt printer and any cash drawer. Establish which items sit above or below the counter, who supplies them and which decisions remain open.
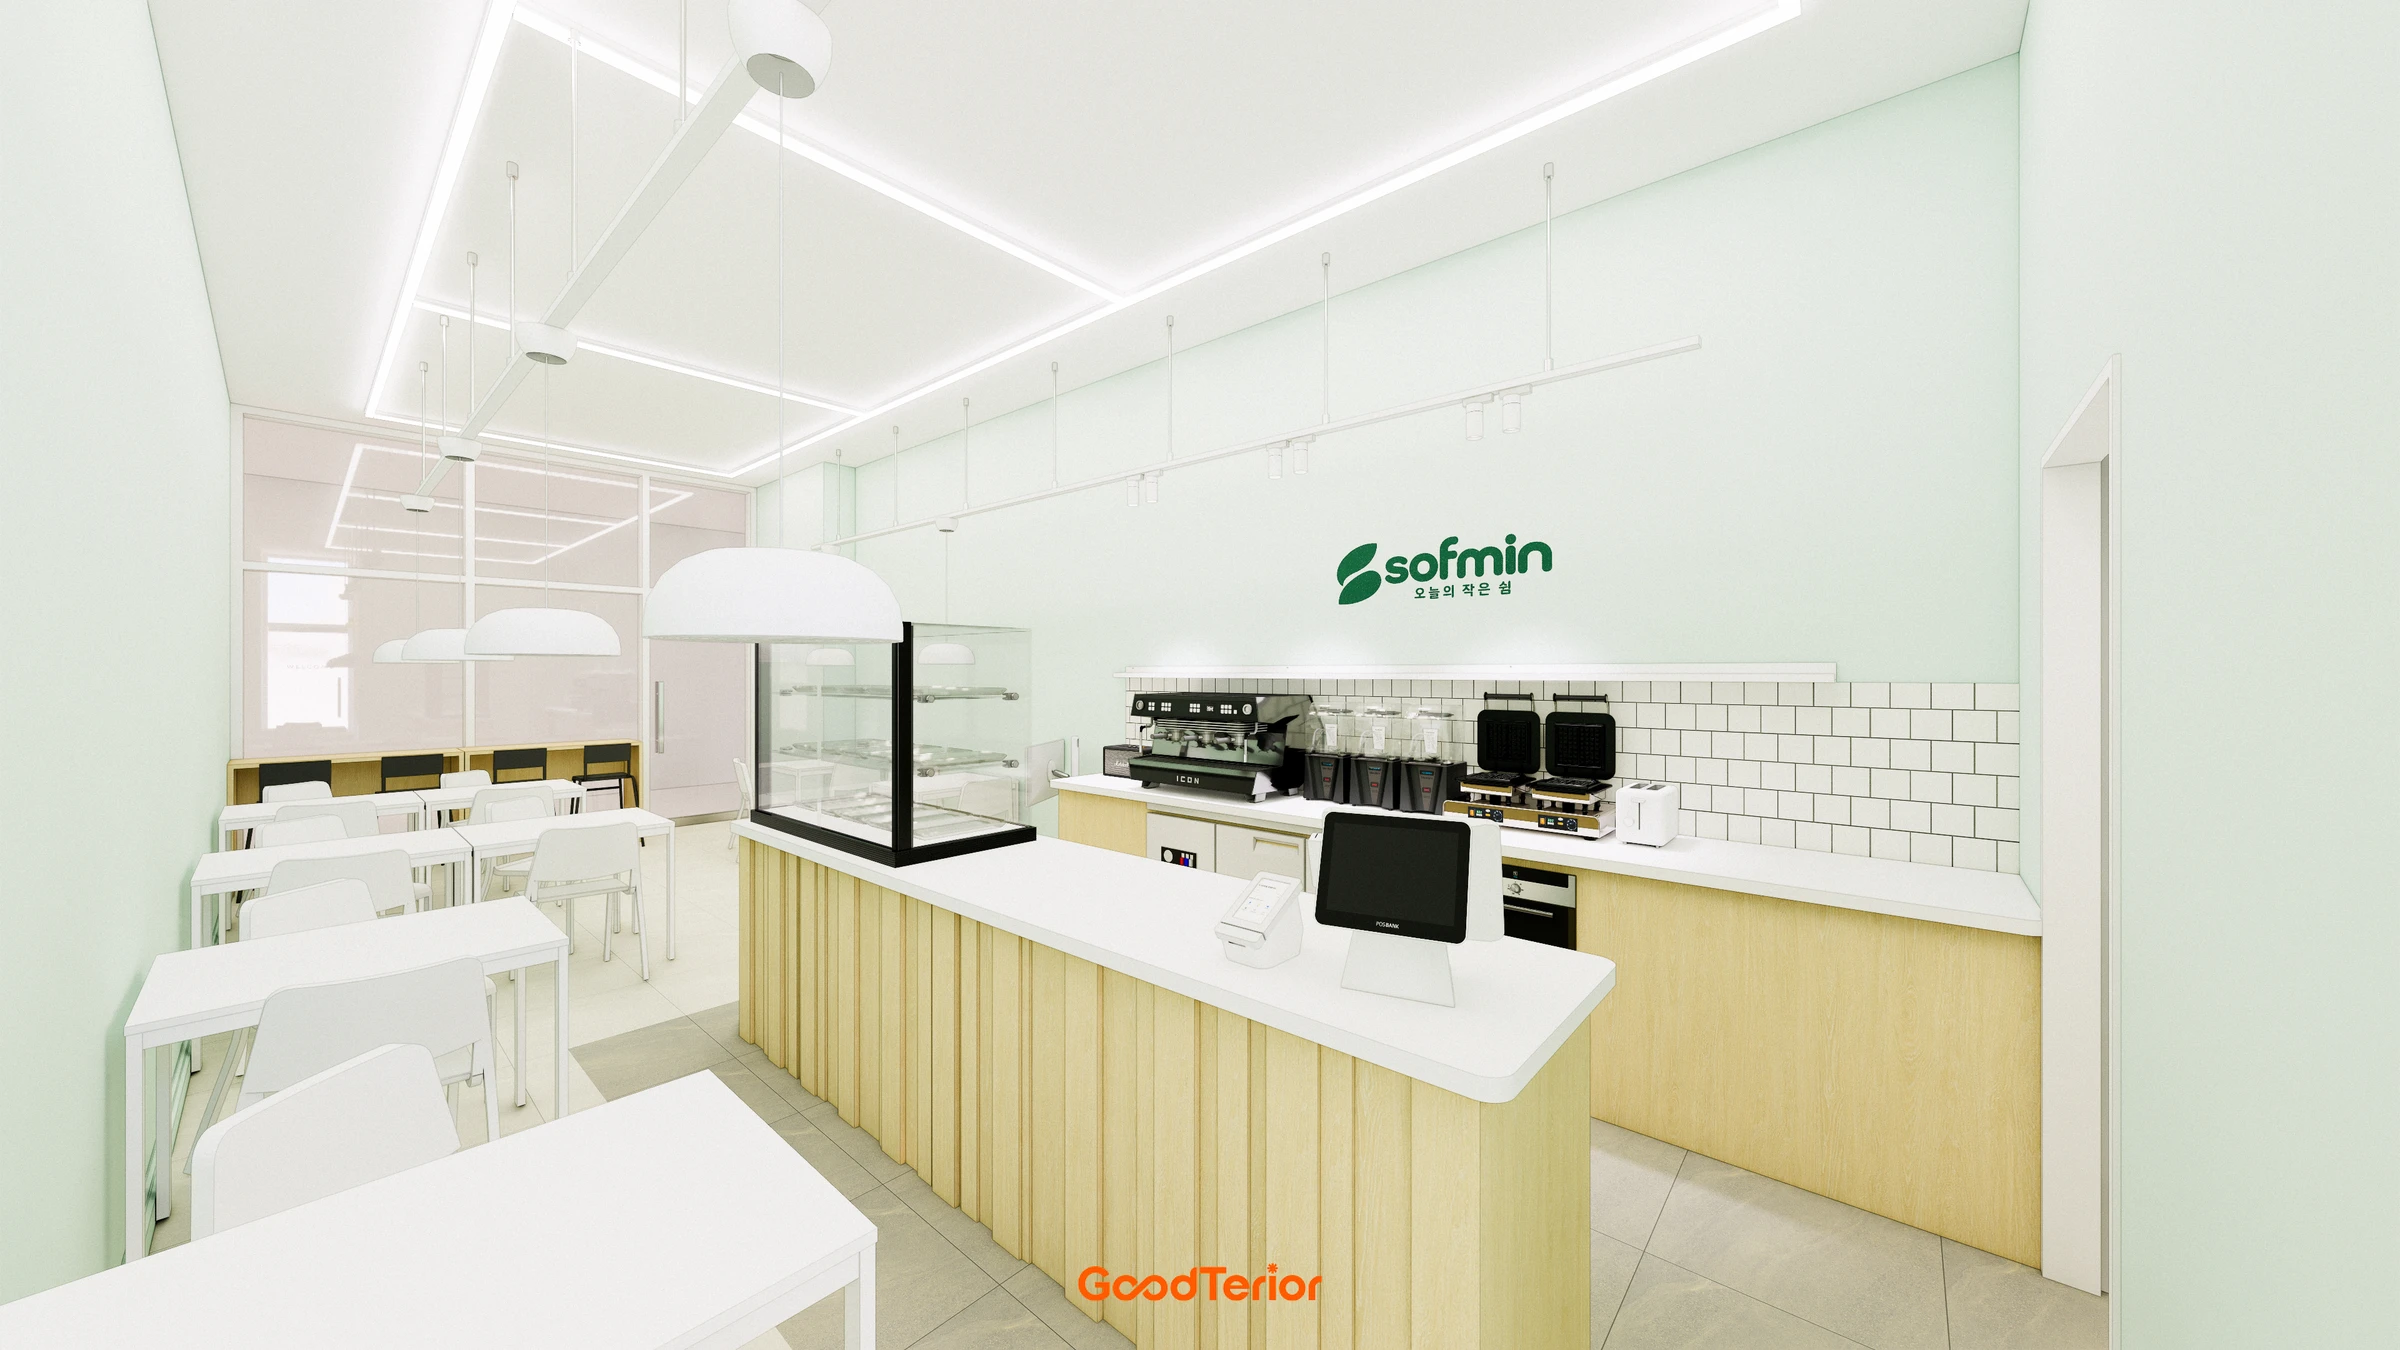
The cover shows a POS on a white counter with work equipment behind it. Mark the staff operating position, customer payment side and space for handing over receipts or items. The rendering does not establish equipment dimensions or connections.
Ask the installer for dimensions, base shape and connection directions. Draw the base and rear connections as well as the screen width. Review operating posture and cable exit space at walls and counter edges using the selected equipment rather than assumed clearances.
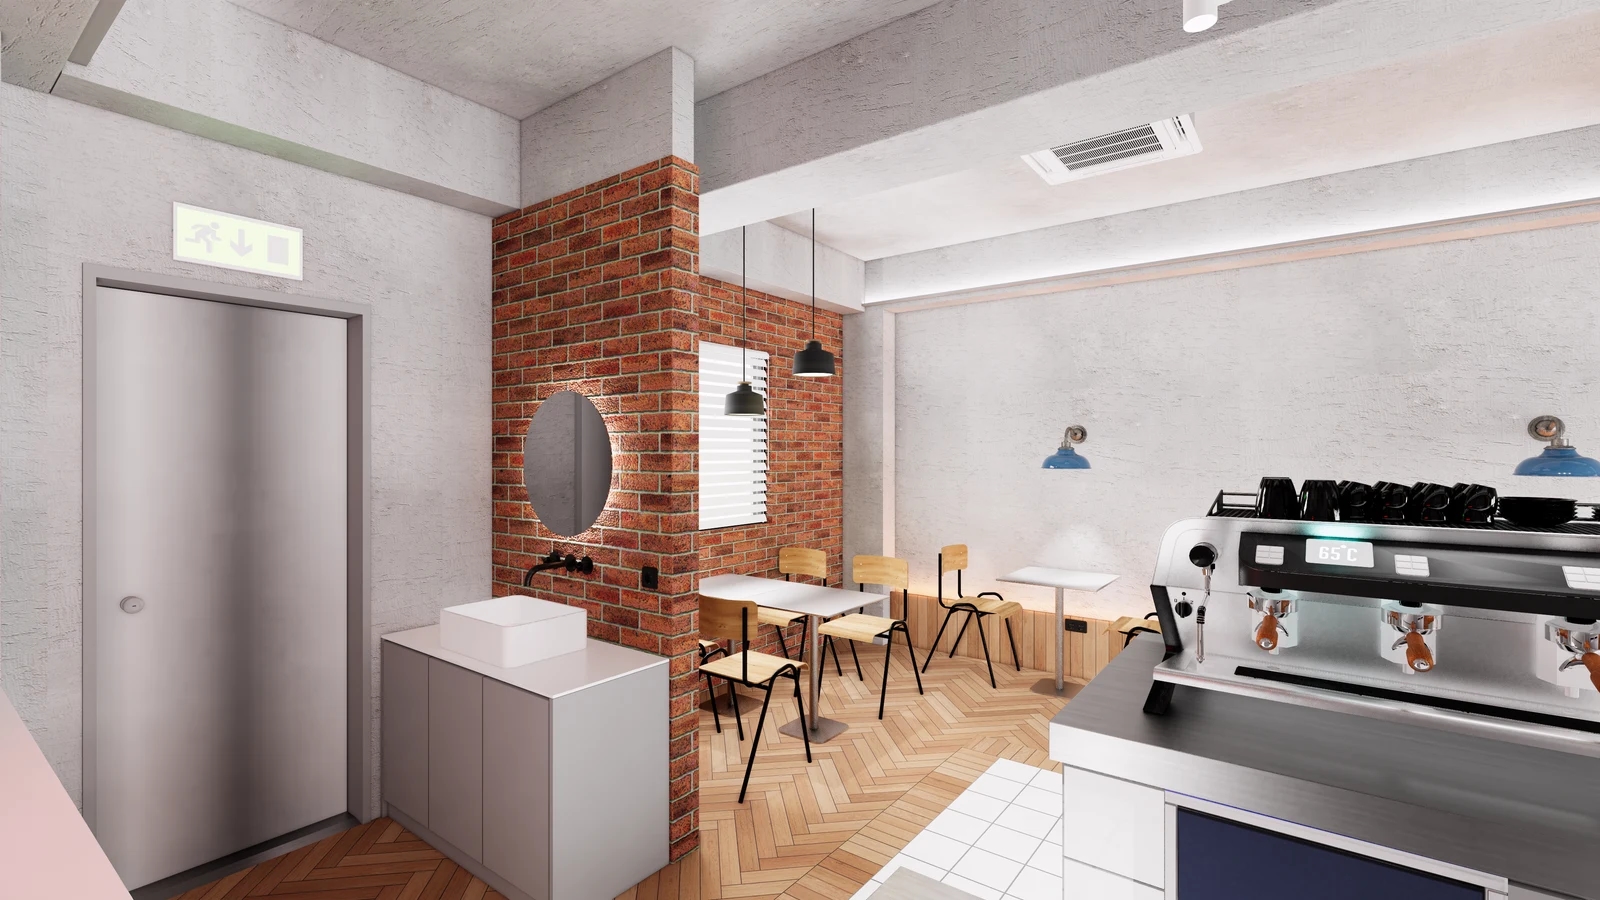
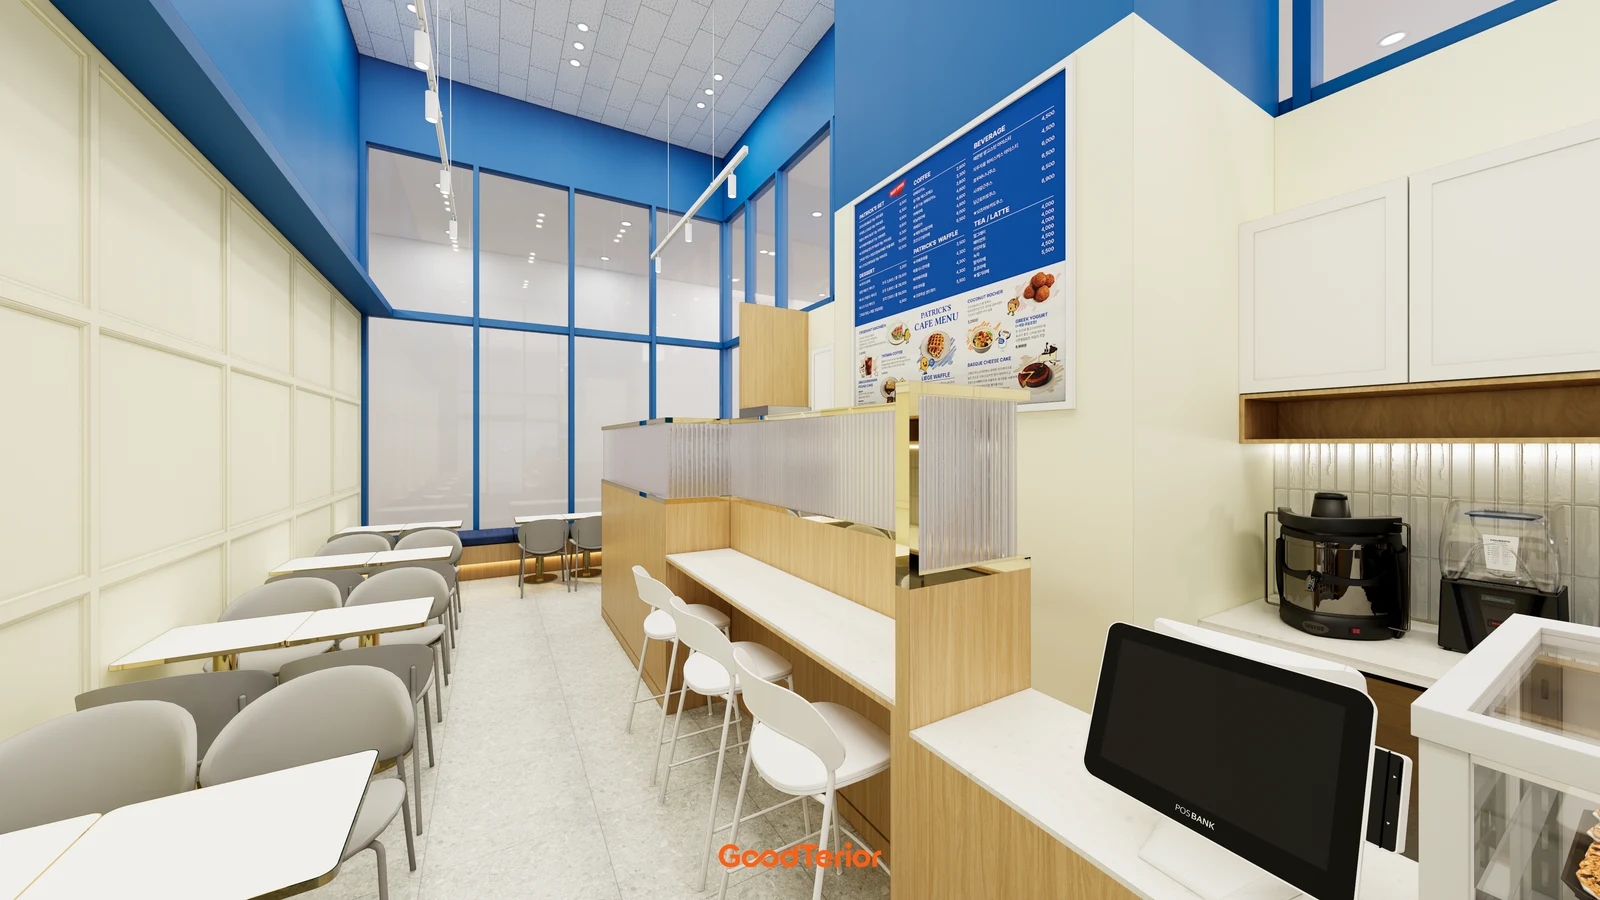
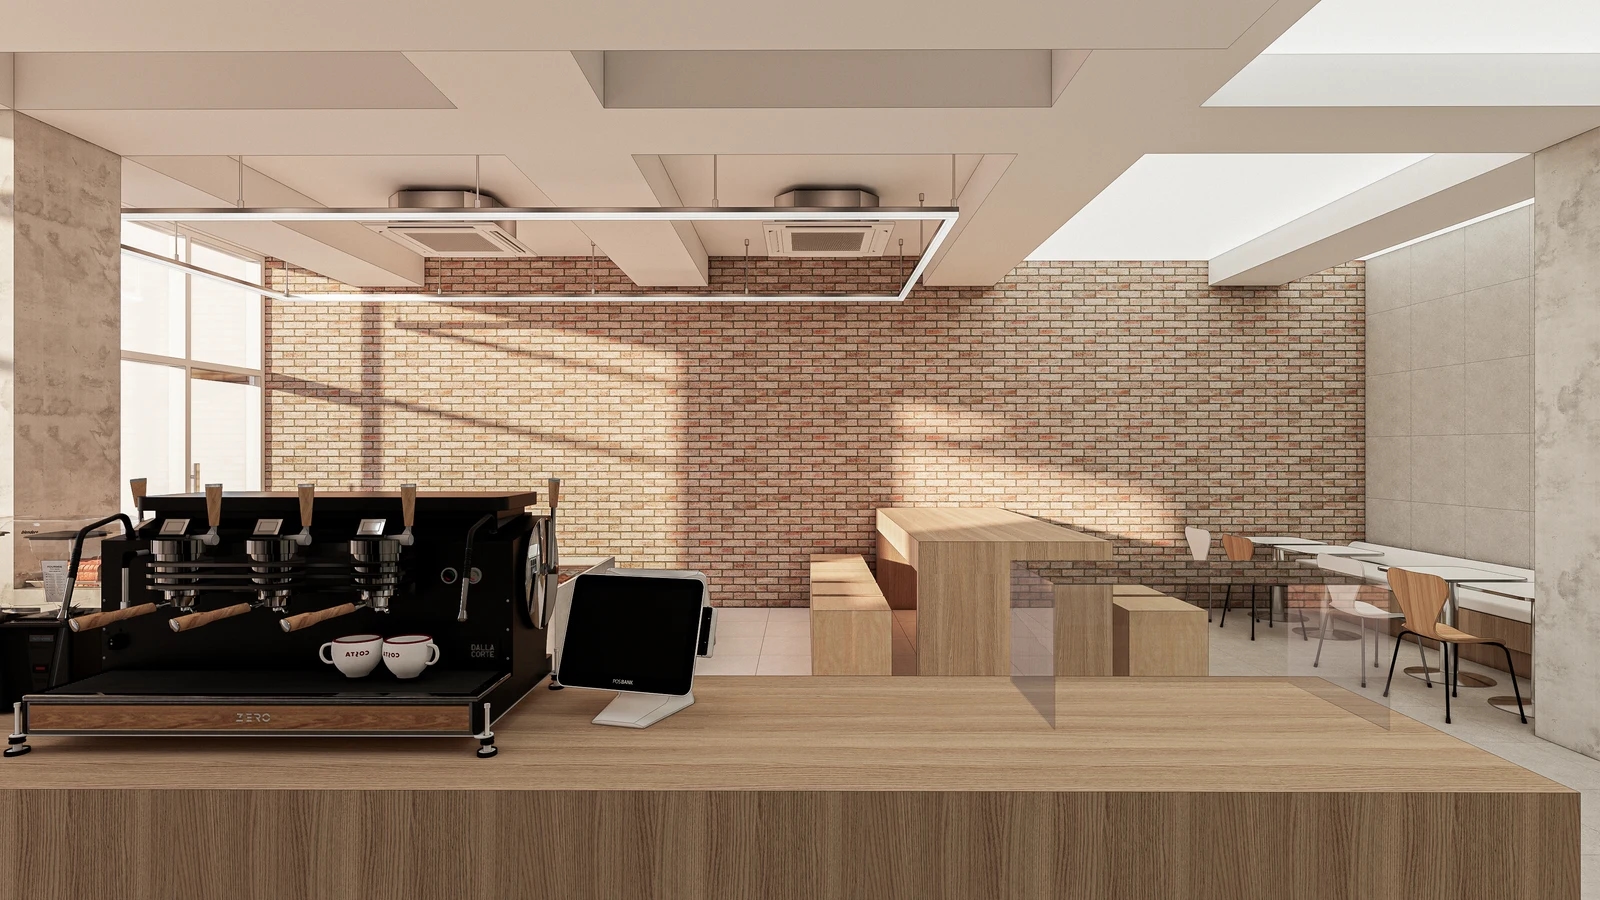
The first body image shows the operator side of a POS beside an espresso machine and a wood worktop. Trace the staff member’s next movement after entering an order and another worker’s access to cups or ingredients. Assign actual tasks before filling apparently empty counter space with equipment.
If a separate customer payment device is used, review the transition from ordering to payment. Mark payment, receipt handover and drink collection points to identify conflicts around the equipment without redesigning the entire customer route.
If space is limited, compare a lower printer shelf with a revised equipment set. Check receipt visibility, retrieval and paper replacement access. Apply the same criteria to retaining an existing counter, separating furniture fabrication from equipment repositioning in quotations.
Allow access for paper replacement and cable checks
The Toss Place Printer User Guide describes opening the door cover, loading paper and closing it. This is a product-specific example. Check the chosen model’s cover direction and loading procedure rather than assuming all printers match; the pictured POS is not identified as a Toss product.
Review removal and paper loading separately for a printer shelf. Establish model-specific access above or in front, and plan where spare paper and supplies will be stored. Concealment alone is insufficient if routine loading requires clearing surrounding items.
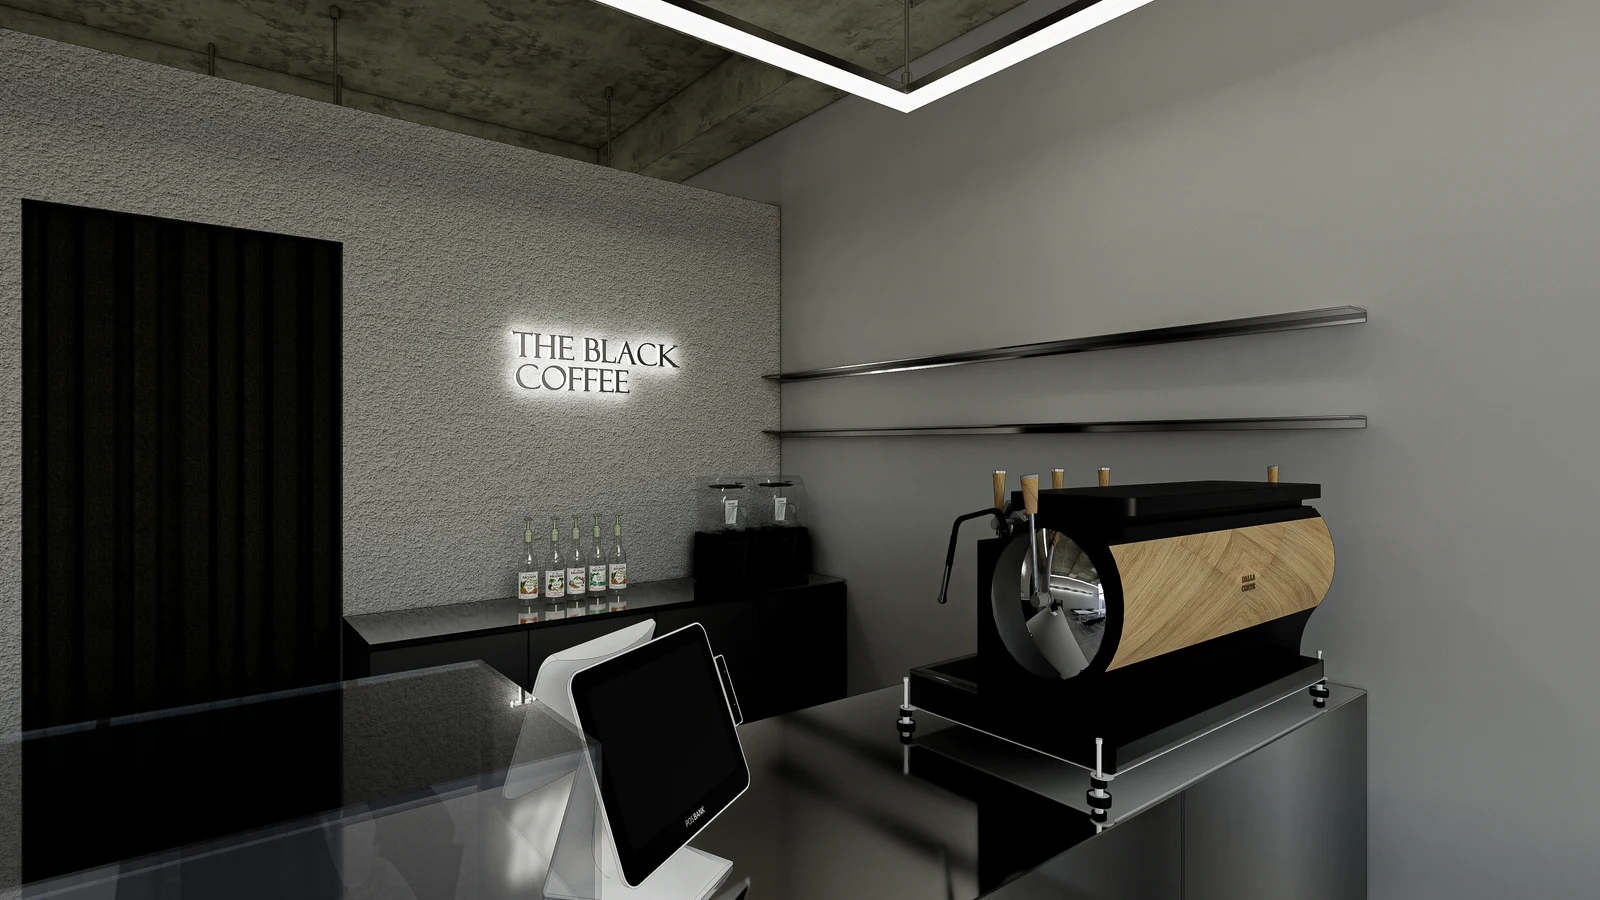
The second image shows countertop space between a POS and an espresso machine but does not reveal cables or lower cabinetry. Have the installer mark cable routes and connection points, then check them against drawer and door movement with the furniture fabricator.
Set openings using the connected equipment rather than the screen centre alone. Agree access for cleaning and service. Leave power and communications decisions to the responsible installer and distinguish cutting, finishing, cable management and equipment connection in the scope.
Confirm the equipment list, actual footprints, user interaction, paper loading and cabinet movement before approving openings. If equipment is unavailable, use exact model documentation provisionally and record the later approval point and responsible person.
At handover, review actual order and receipt handling with the installer and practise paper loading. Check cabinet movement and cleaning access, retain model and supplier contacts, and update the recorded cable routes. Completion includes routine use and maintenance as well as positioning the equipment.
Ask us about your interior project
We can discuss a quote and design suited to the space you are planning.
Request a free consultation