Office Floor Overlays: Checking Existing Floors and Door Clearances
Can an office floor receive a new finish without removal? Survey photographs illustrate checks of existing conditions, overlay and removal options, door clearances, shared-corridor junctions and quotation scope.

Before you begin
- Check overlay suitability against both the selected product and actual existing conditions.
- Compare finished floor levels and the full door movement rather than measuring one gap.
- Compare substrate preparation, junction work and furniture moving in removal and overlay quotations.
What to check before covering the existing floor
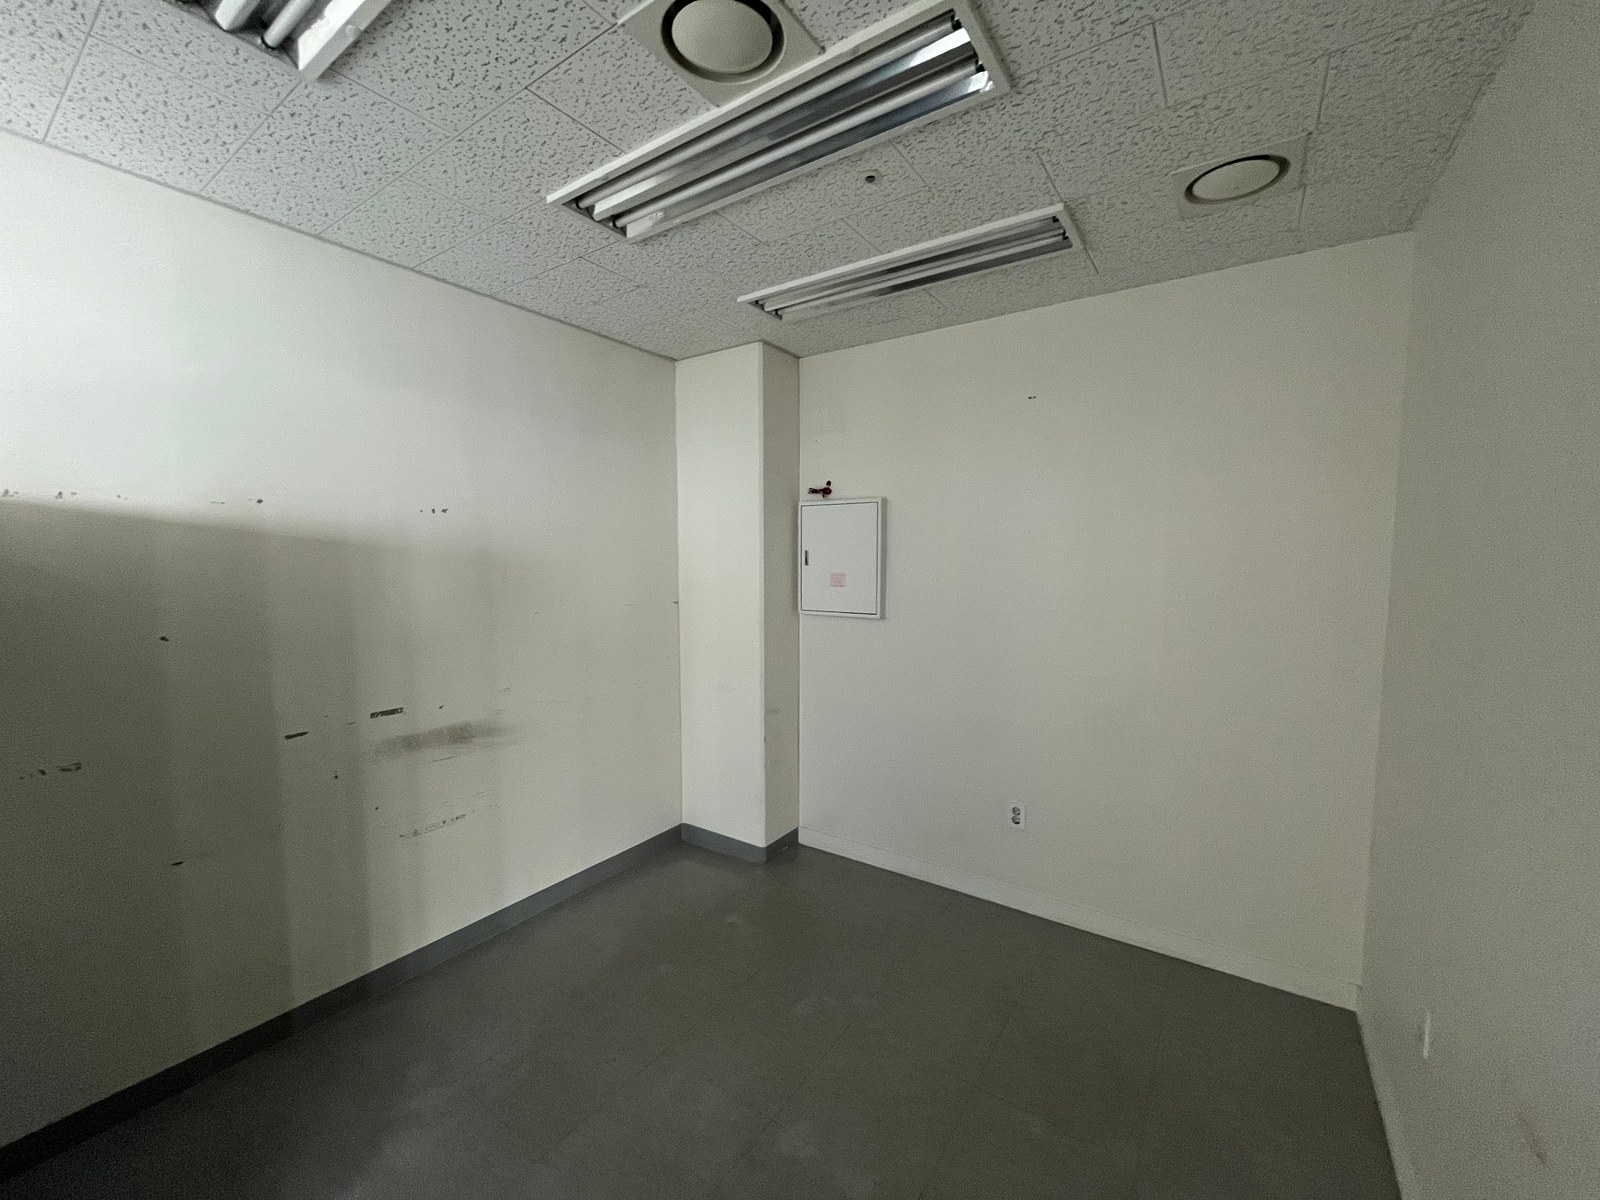
An office floor overlay retains the existing finish beneath a new one. It can be considered as an option that reduces removal, but choosing a colour and establishing installation suitability are separate tasks. Identify the existing floor and the substrates permitted for the selected new product before comparing options. A photograph alone cannot approve an overlay.
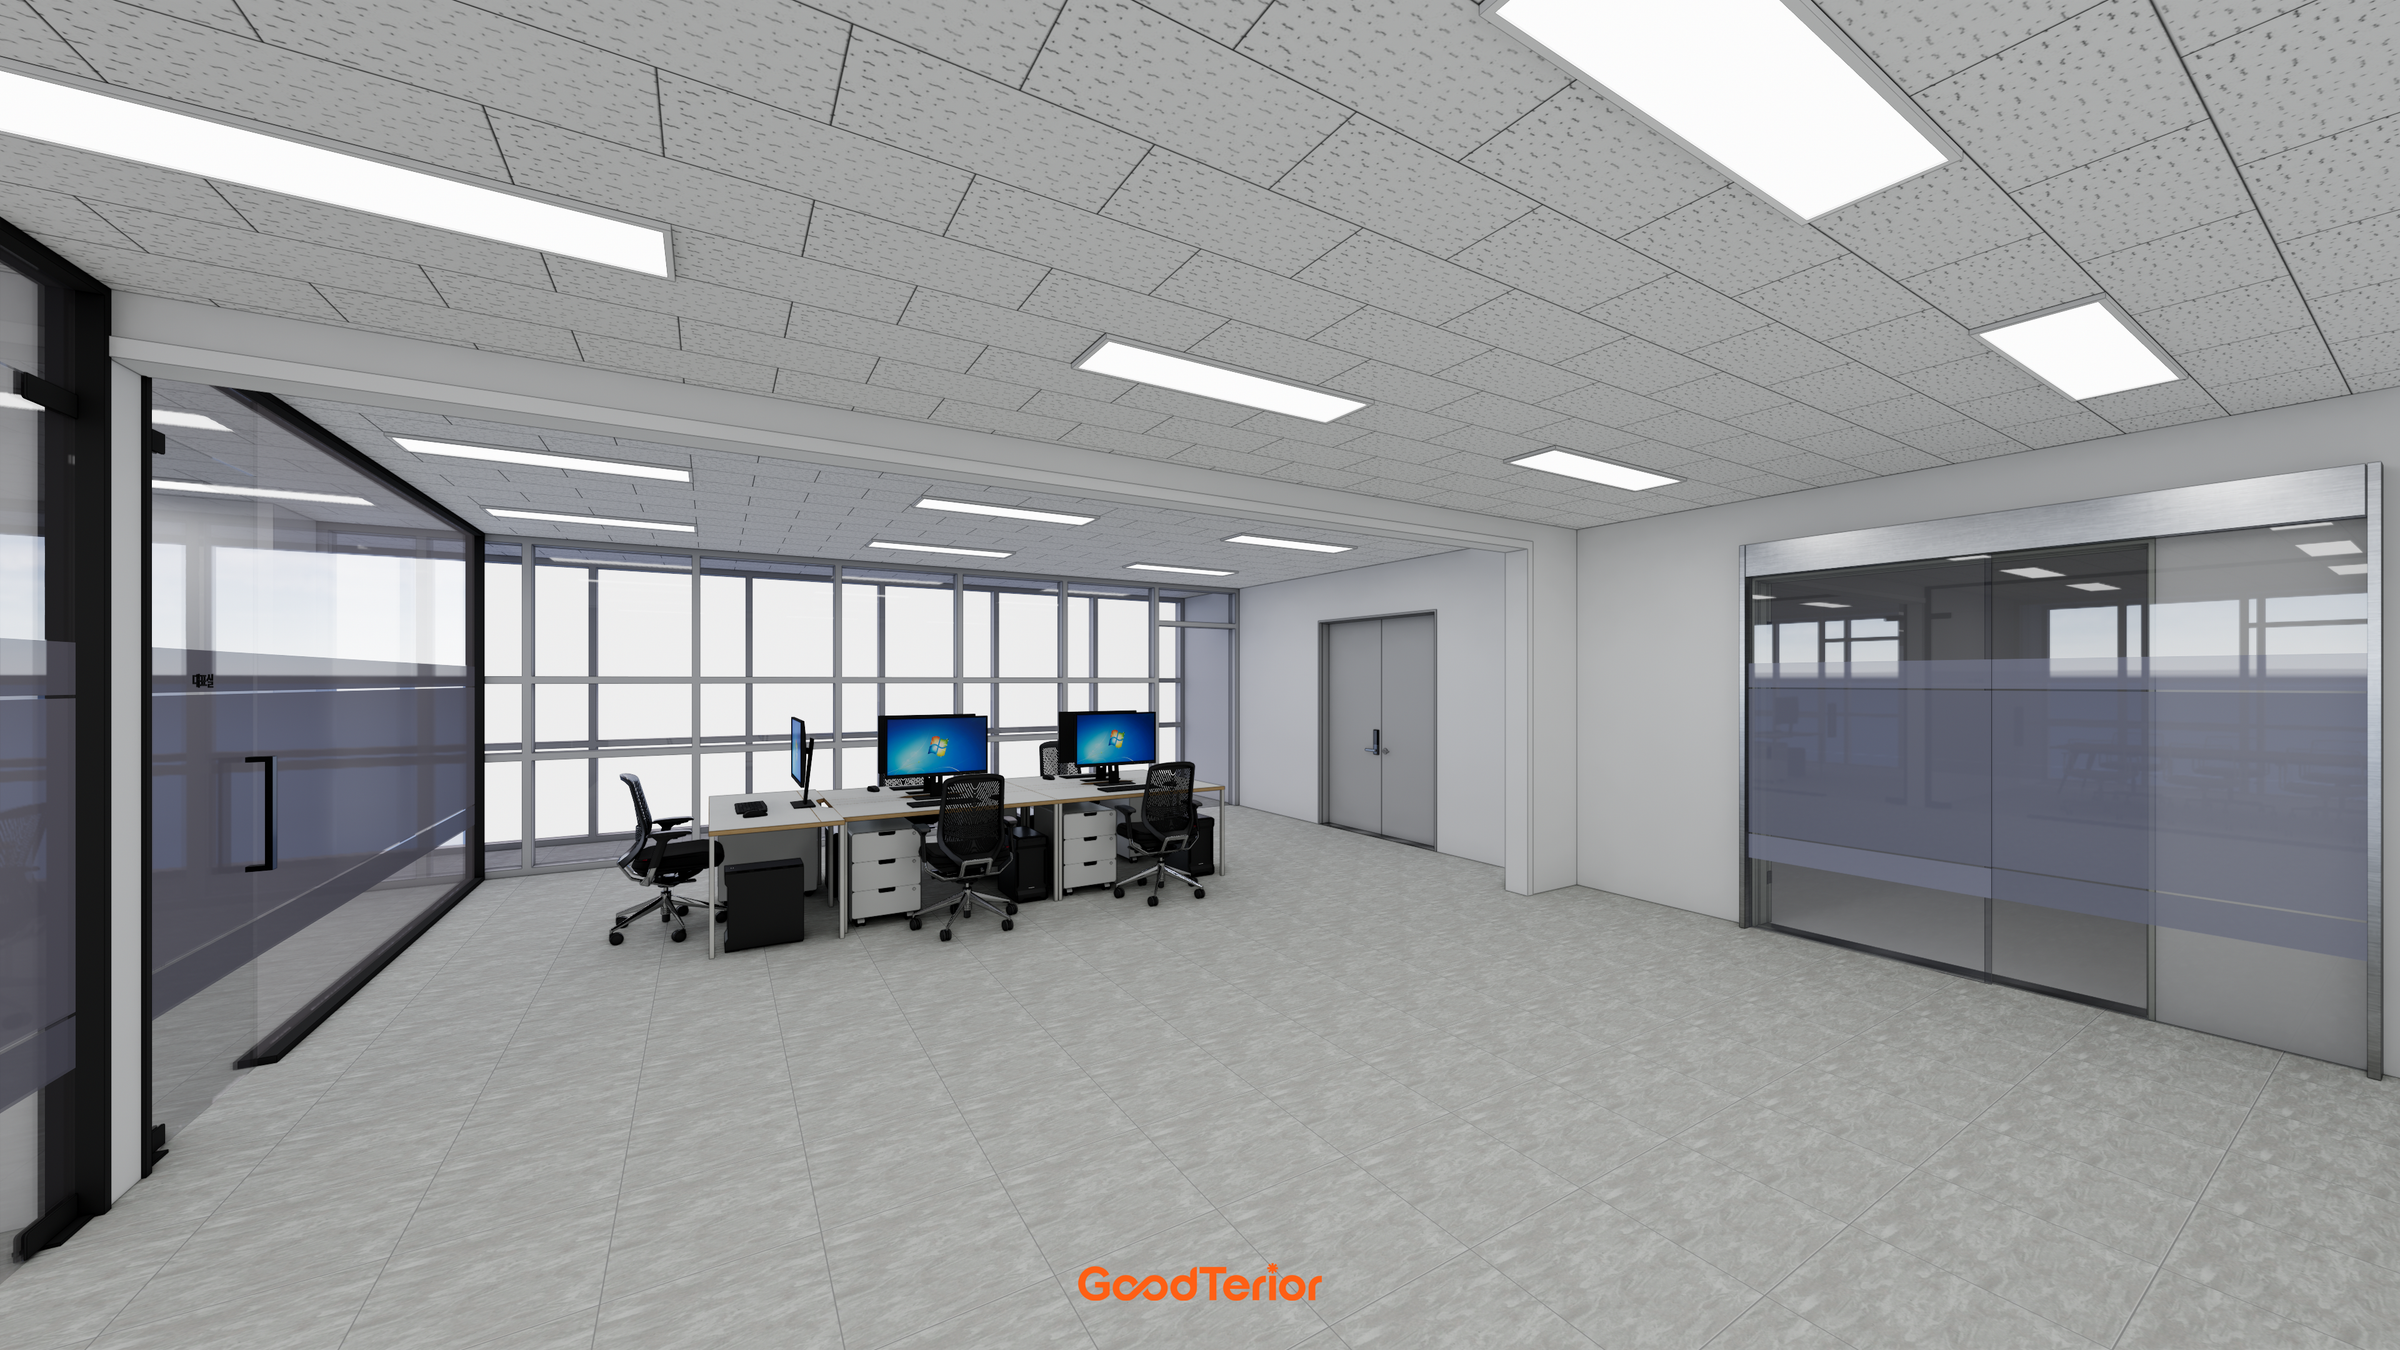
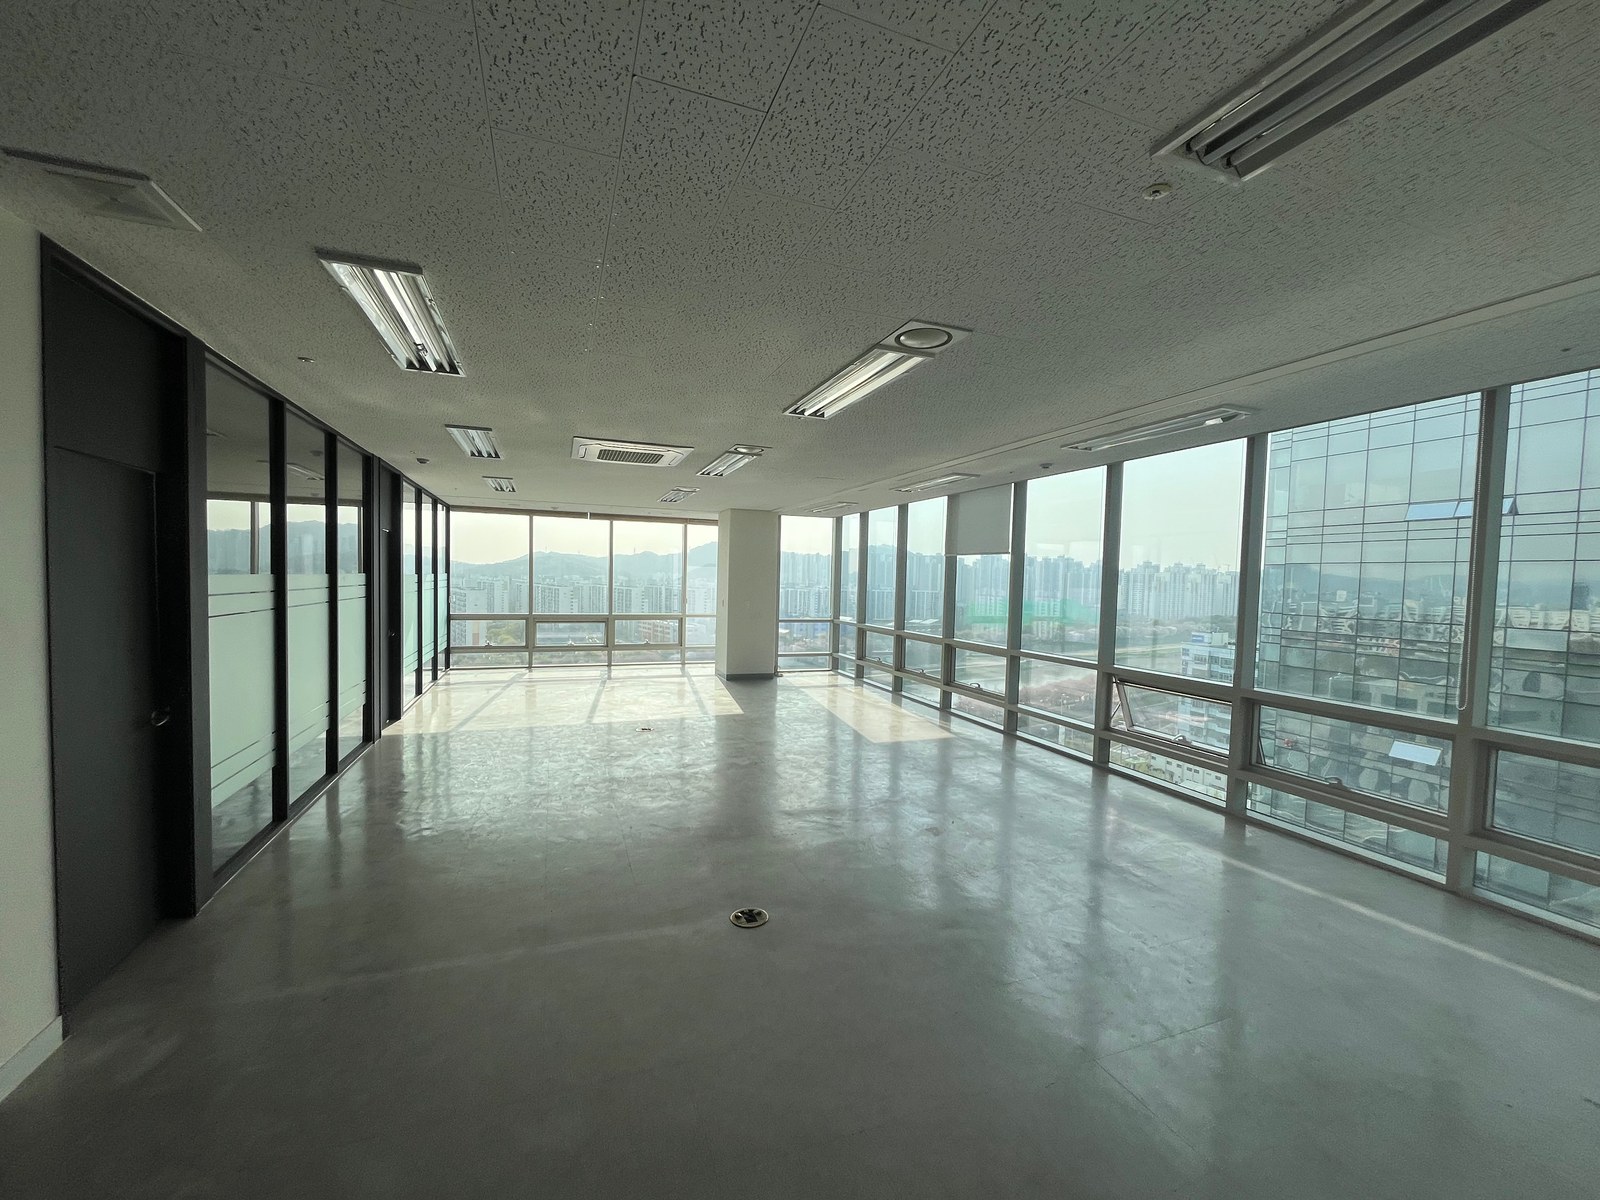
The cover is a pre-construction survey photograph of the Doksan office. A grey floor runs from the windows to the glass partitions, with round fittings visible. It records the extent of the finish and service locations, but reflection and an unobstructed view do not establish adhesion or flatness. Use photographs to share inspection locations and assess the substrate on site.
For example, LX Hausys’ “Deco Tiles at a Glance” describes overlaying Z:IN Gia Maru Style where existing wood flooring has no decay or swelling. That discussion concerns a residential product and does not approve overlays on every office floor. Establish suitability using the selected commercial product’s specifications and the actual substrate.
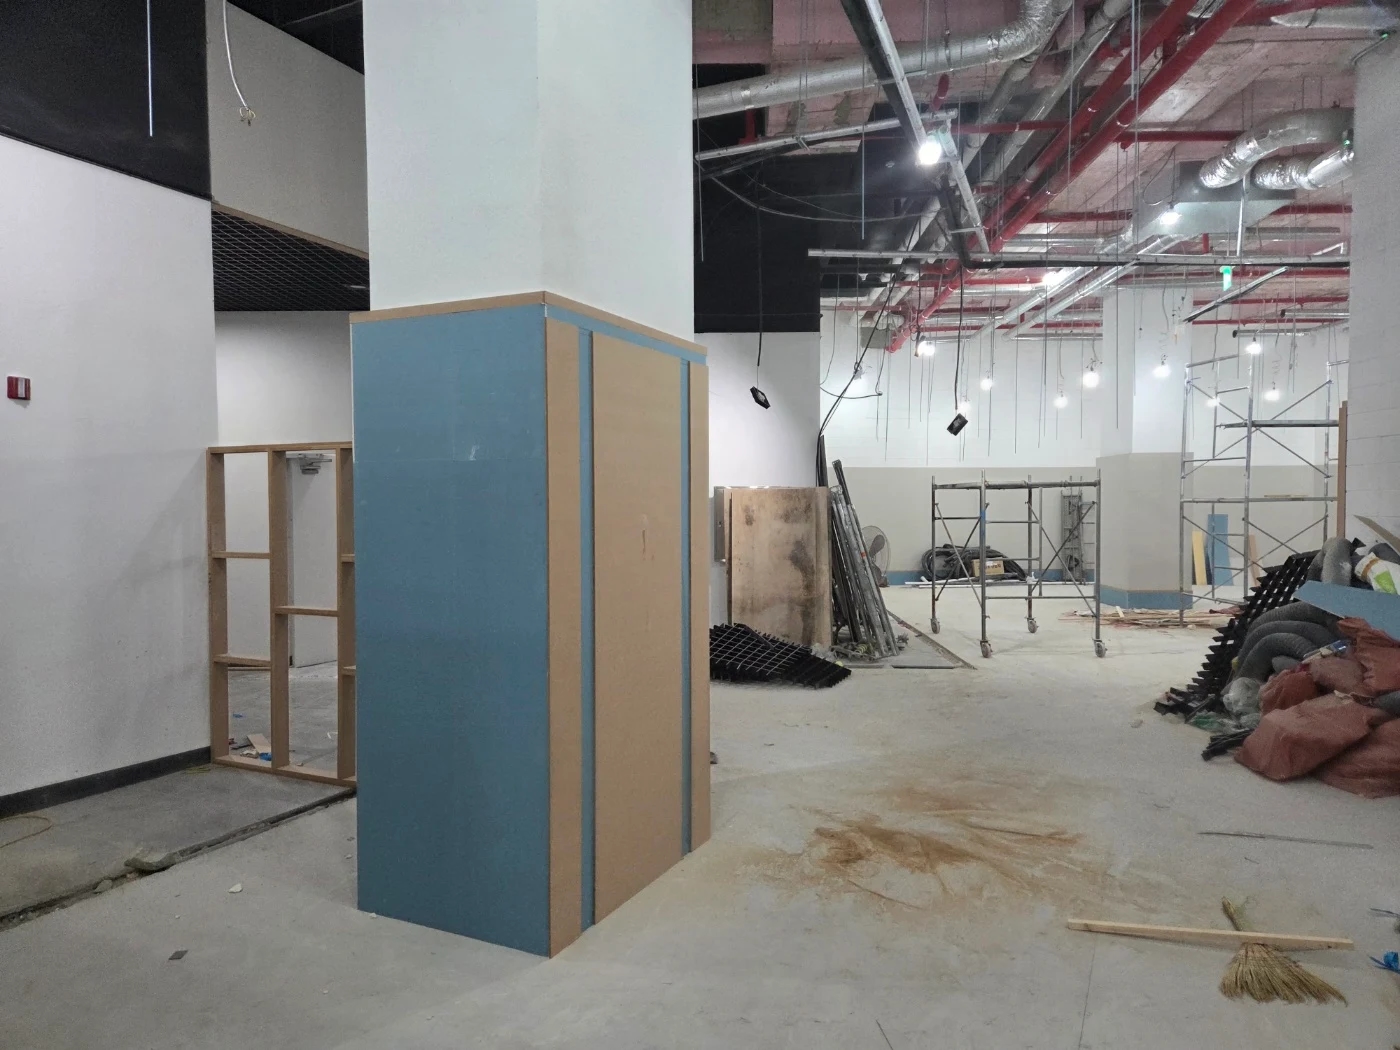
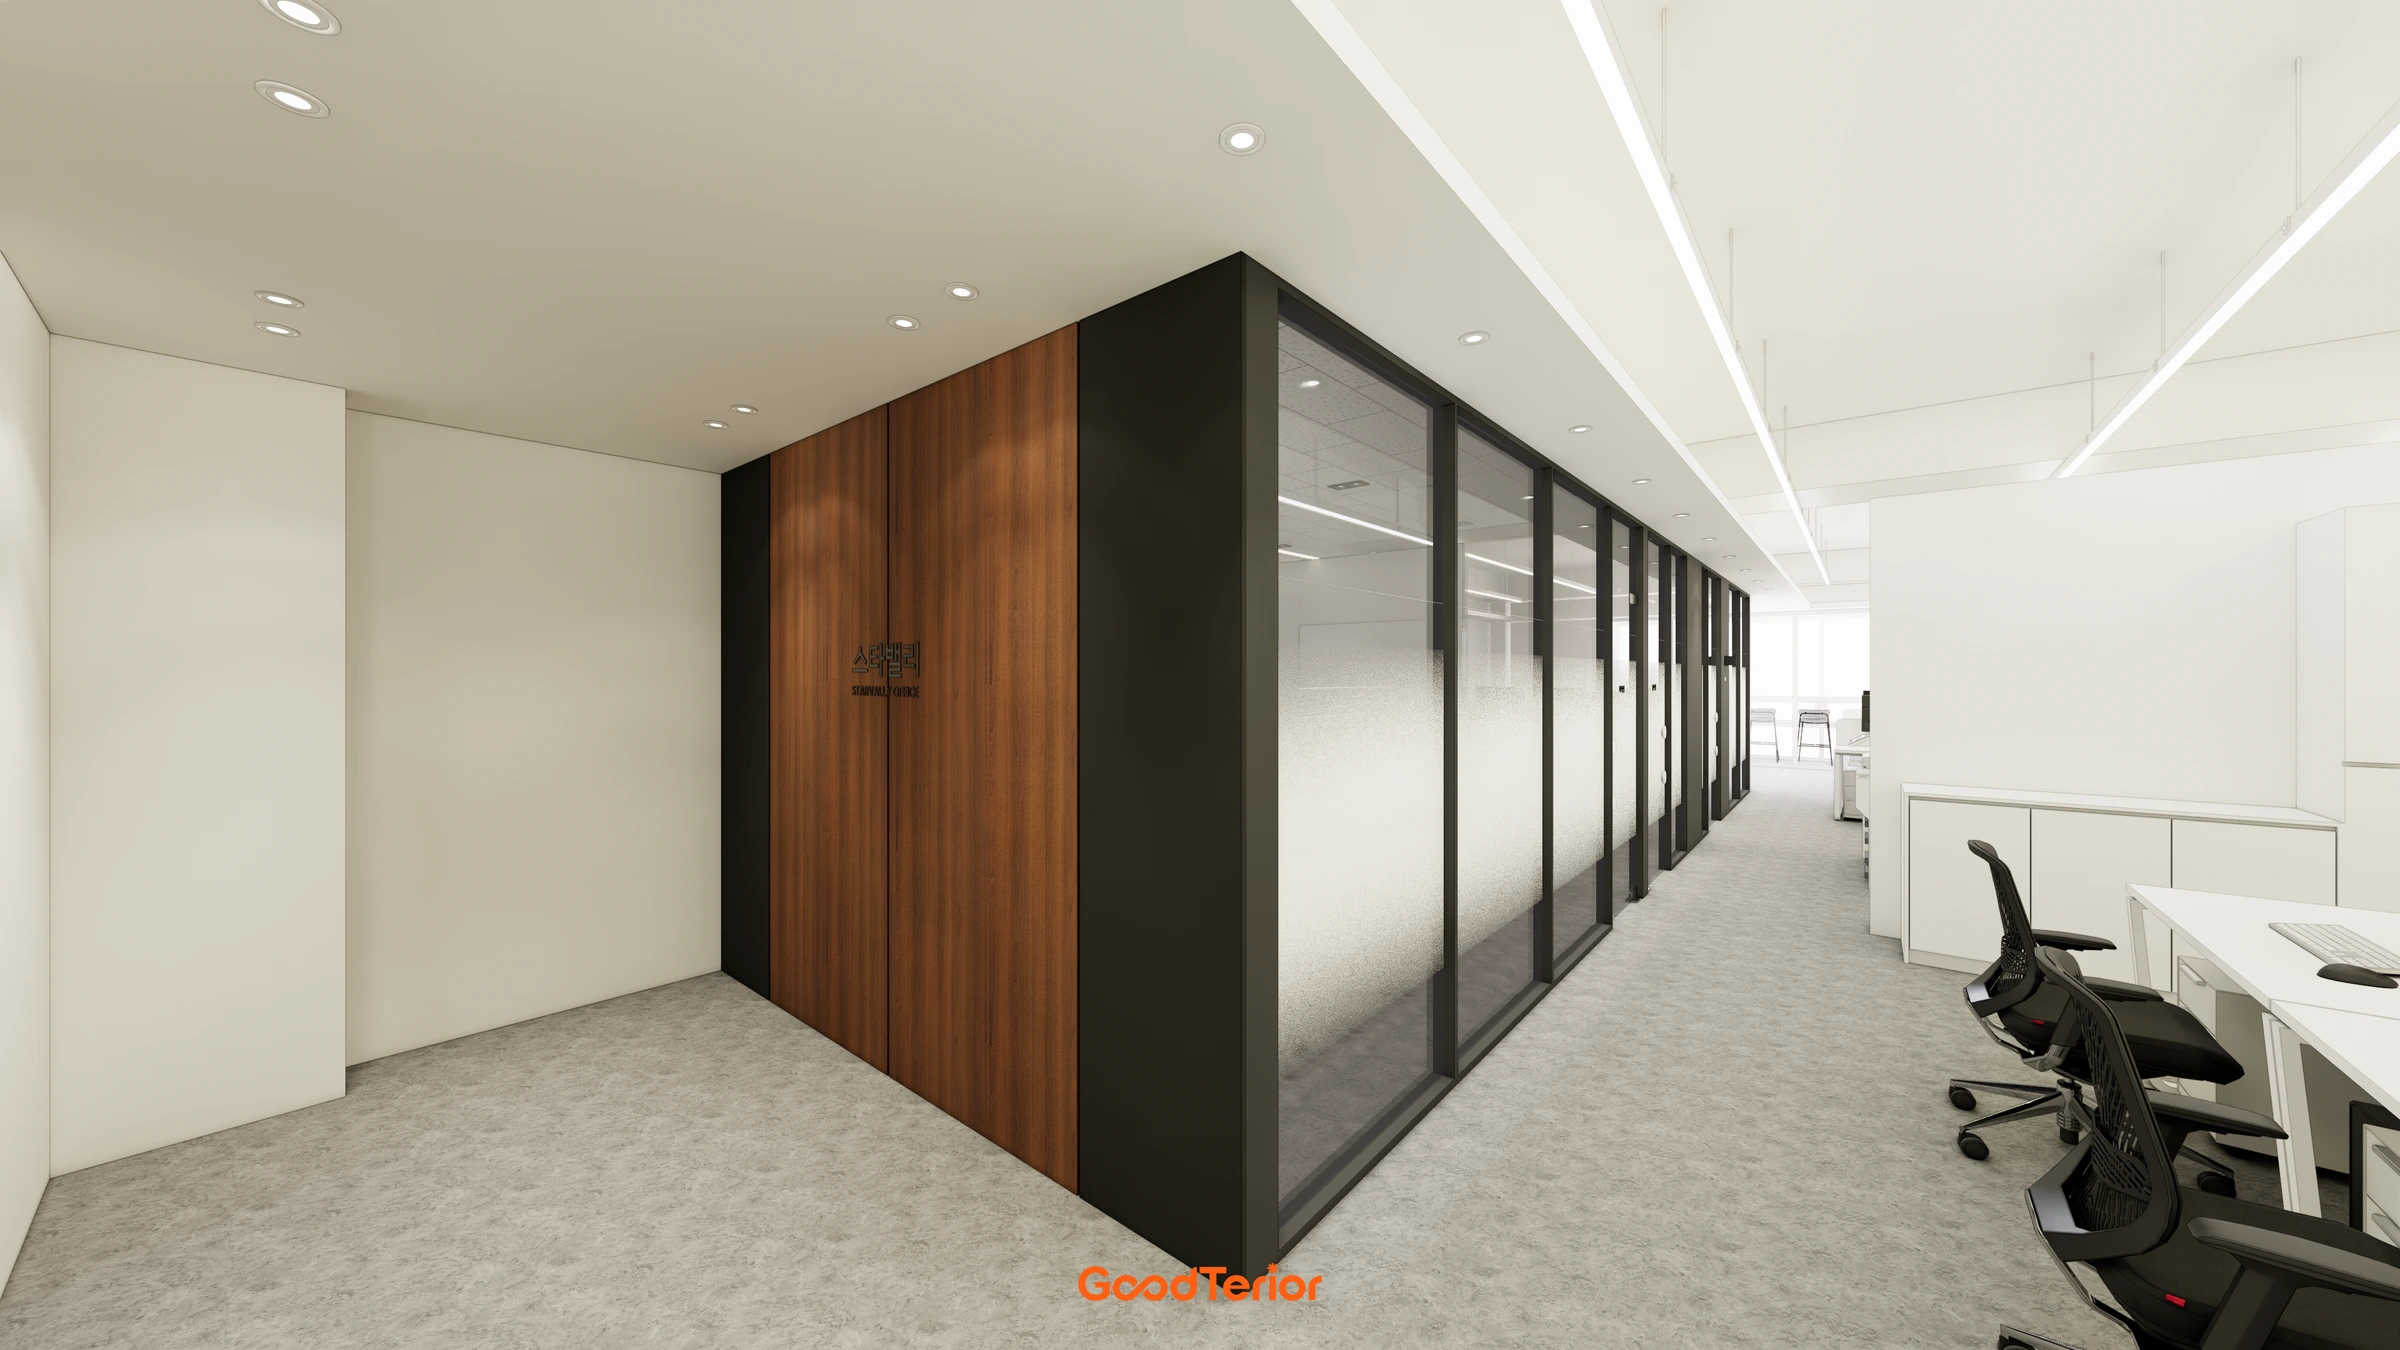
Mark lifting, open joints, moisture traces and damage locations on a plan for specialist assessment. Do not immediately include unexplained marks in an area to be covered. Record column and wall bases as in the first photograph and decide whether to retain or replace skirtings. Distinguish observed conditions on site without labelling photographed marks or shadows as leaks or damage.
Draw retained and removed areas on the same plan. Define the rooms, treatment below fixed cabinets and locations where existing layers need investigation. Obtain separate items for substrate preparation and level adjustments. Do not assume an overlay always costs less or that retaining a finish removes preparation work. Compare equivalent scopes before choosing.
If work continues during renovation, plan temporary places for desks, documents and IT equipment. Define work zones and temporary office areas, including who moves and reinstalls equipment. Schedule reoccupation using the selected product and installation requirements rather than assuming a drying time or immediate access.
Coordinating finished levels through the entrance
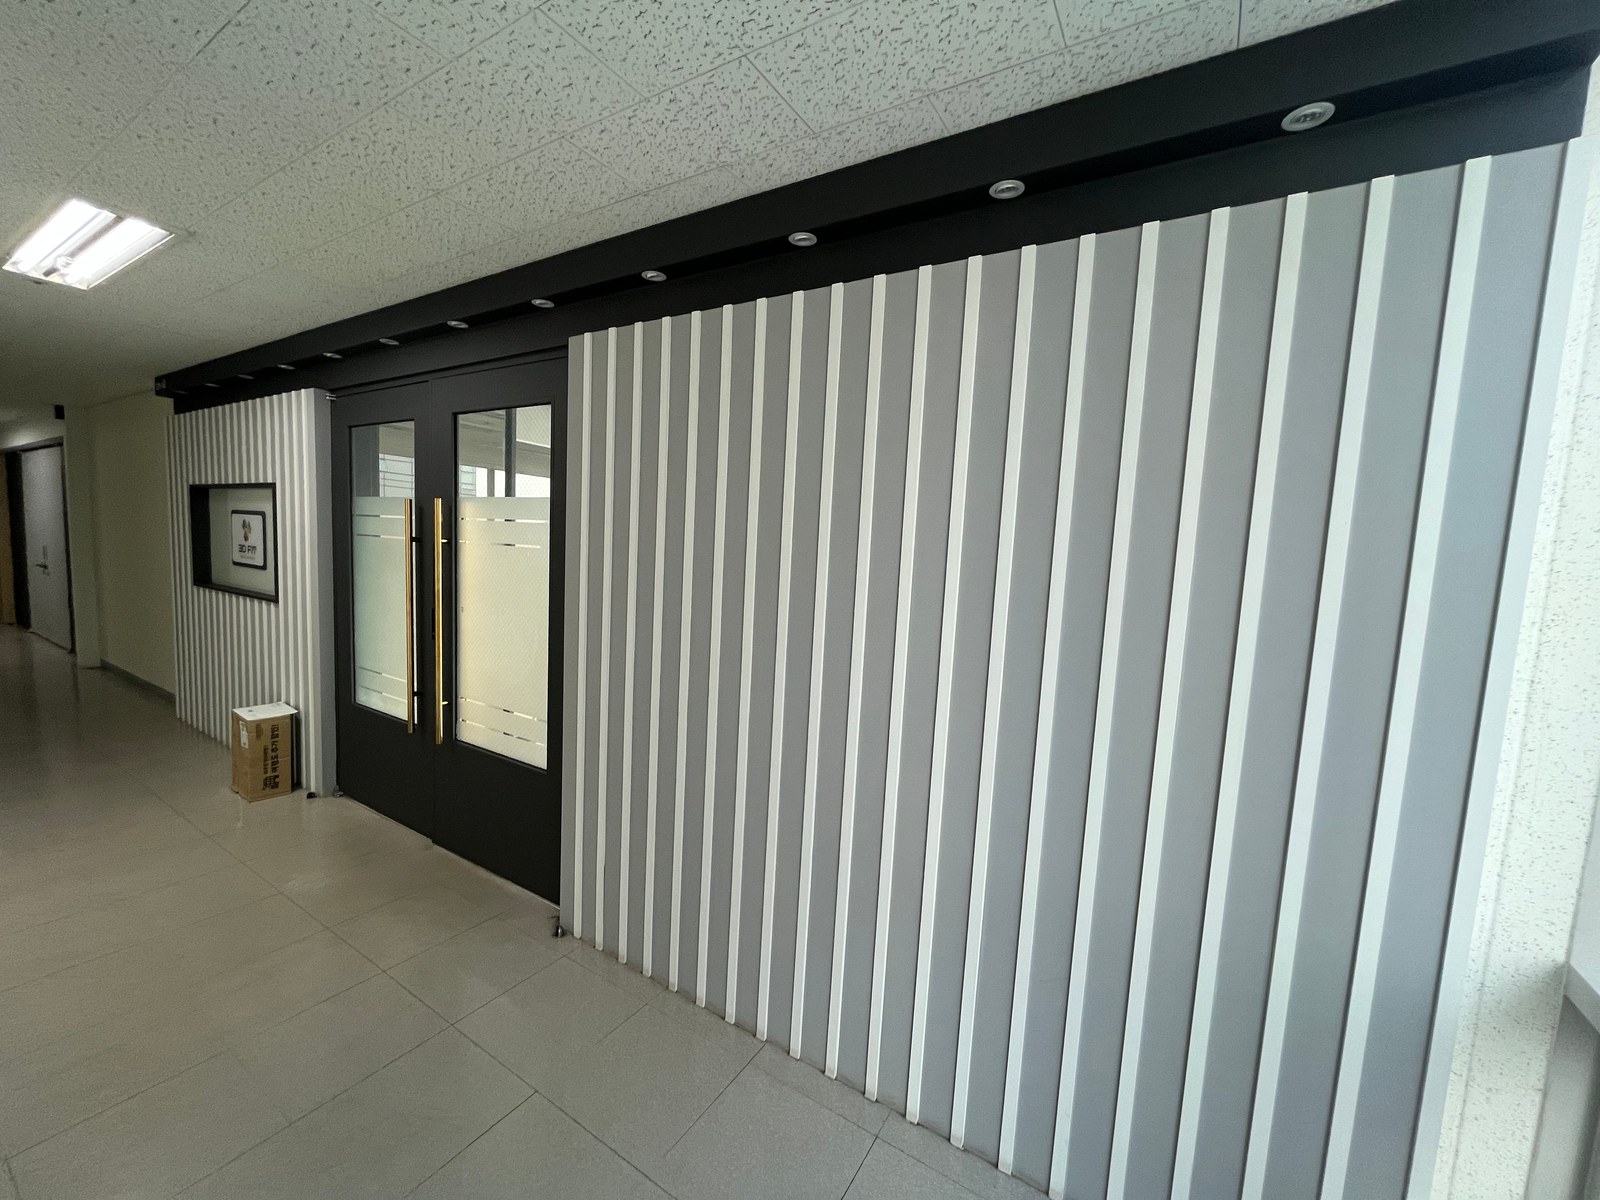
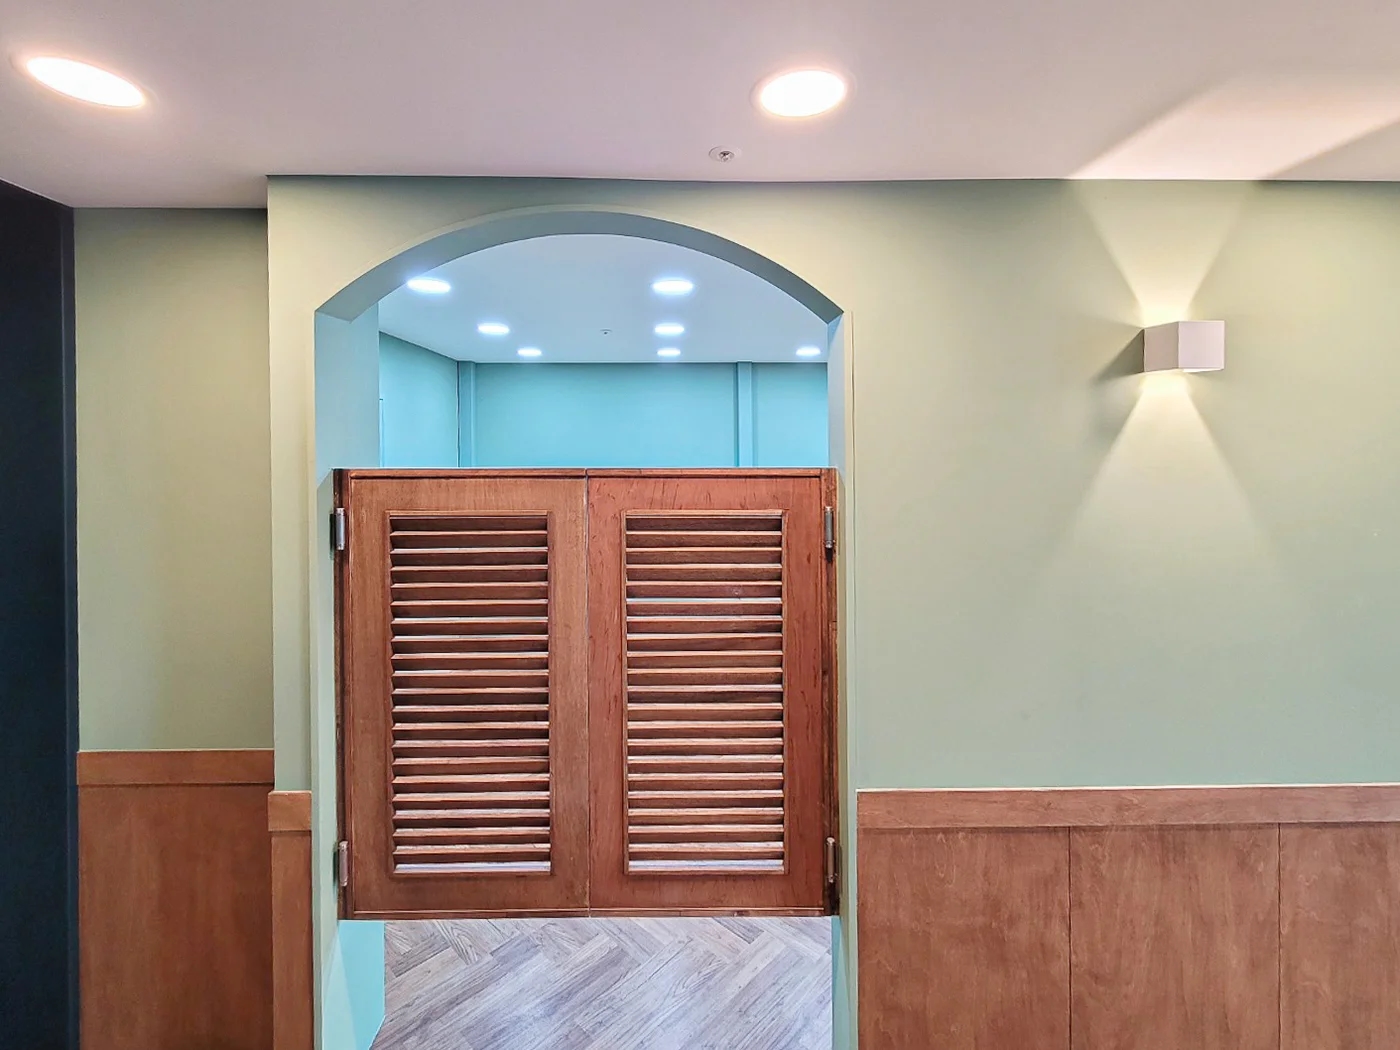
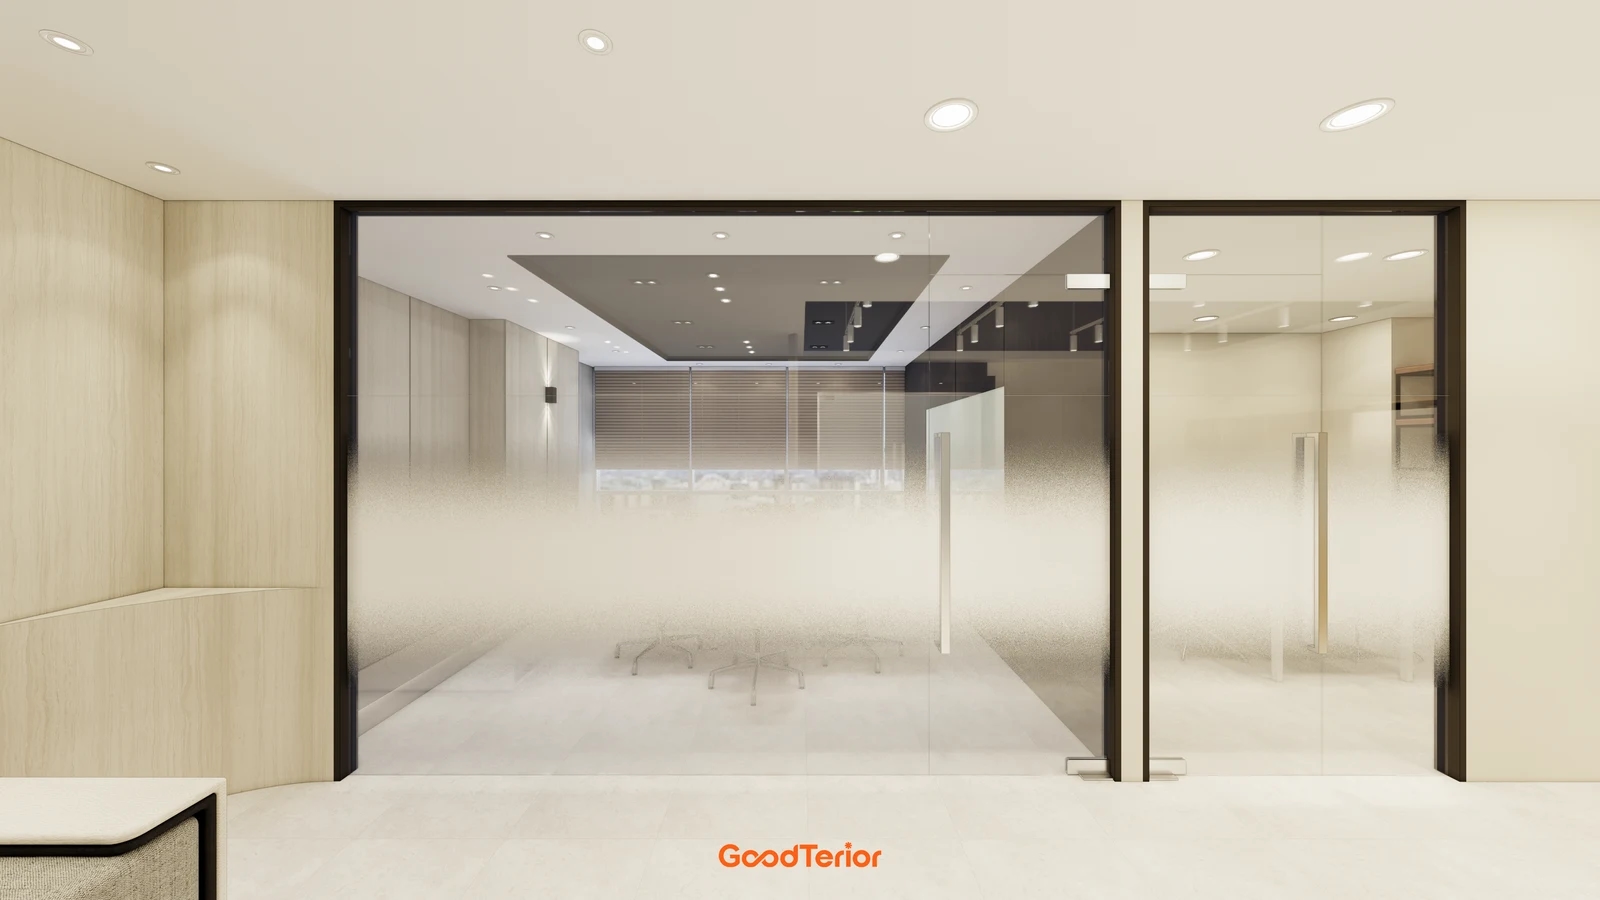
The second photograph shows the shared corridor and office entrance. If only the interior receives a new finish, the entrance becomes the junction with the retained corridor. The photograph cannot establish levels or door clearances, but it illustrates why flooring and door specialists should inspect the same location. These photographs do not document an installed overlay system.
Record corridor and interior levels against one reference. Add the proposed finish and required installation layers, then compare the completed level with the door swing. Check the entire movement rather than one gap when closed. Ask the door specialist to review any lower door components or floor hardware against their product and operating requirements.
Do not immediately specify cutting a door because it appears likely to catch. Establish retained door and hardware specifications, adjustment limits and replacement needs first. Compare changing the flooring approach with work at the door. Until suitability is confirmed, record provisional door work with its investigation condition and responsible party.
Draw junction colours alongside levels, the meeting line and the surfaces visible with the door closed. Review any proposed threshold or ramp against walking and cart movement, with applicable requirements checked by the responsible specialist. Separate shared-corridor work from tenant-area work and record required management coordination. Do not assume the photographed corridor can be refinished.
Separate substrate assessment and preparation, removal, skirtings, junctions, door work and furniture moving from flooring quantities and product names. Record conditions for items requiring further investigation. Update finished levels, door drawings and the programme together when the option changes. Altering product thickness alone can leave documents describing incompatible conditions.
Before ordering, confirm product and substrate suitability, finished levels and door operation, junctions and shared-area agreements, then moving and reoccupation arrangements. At handover, compare levels and junctions with approved drawings and operate doors fully with the responsible specialists. The decision extends beyond omitting removal to an arrangement that works with surrounding doors and spaces.
Ask us about your interior project
We can discuss a quote and design suited to the space you are planning.
Request a free consultation