Gym mirror layouts: consider exercise areas and circulation together
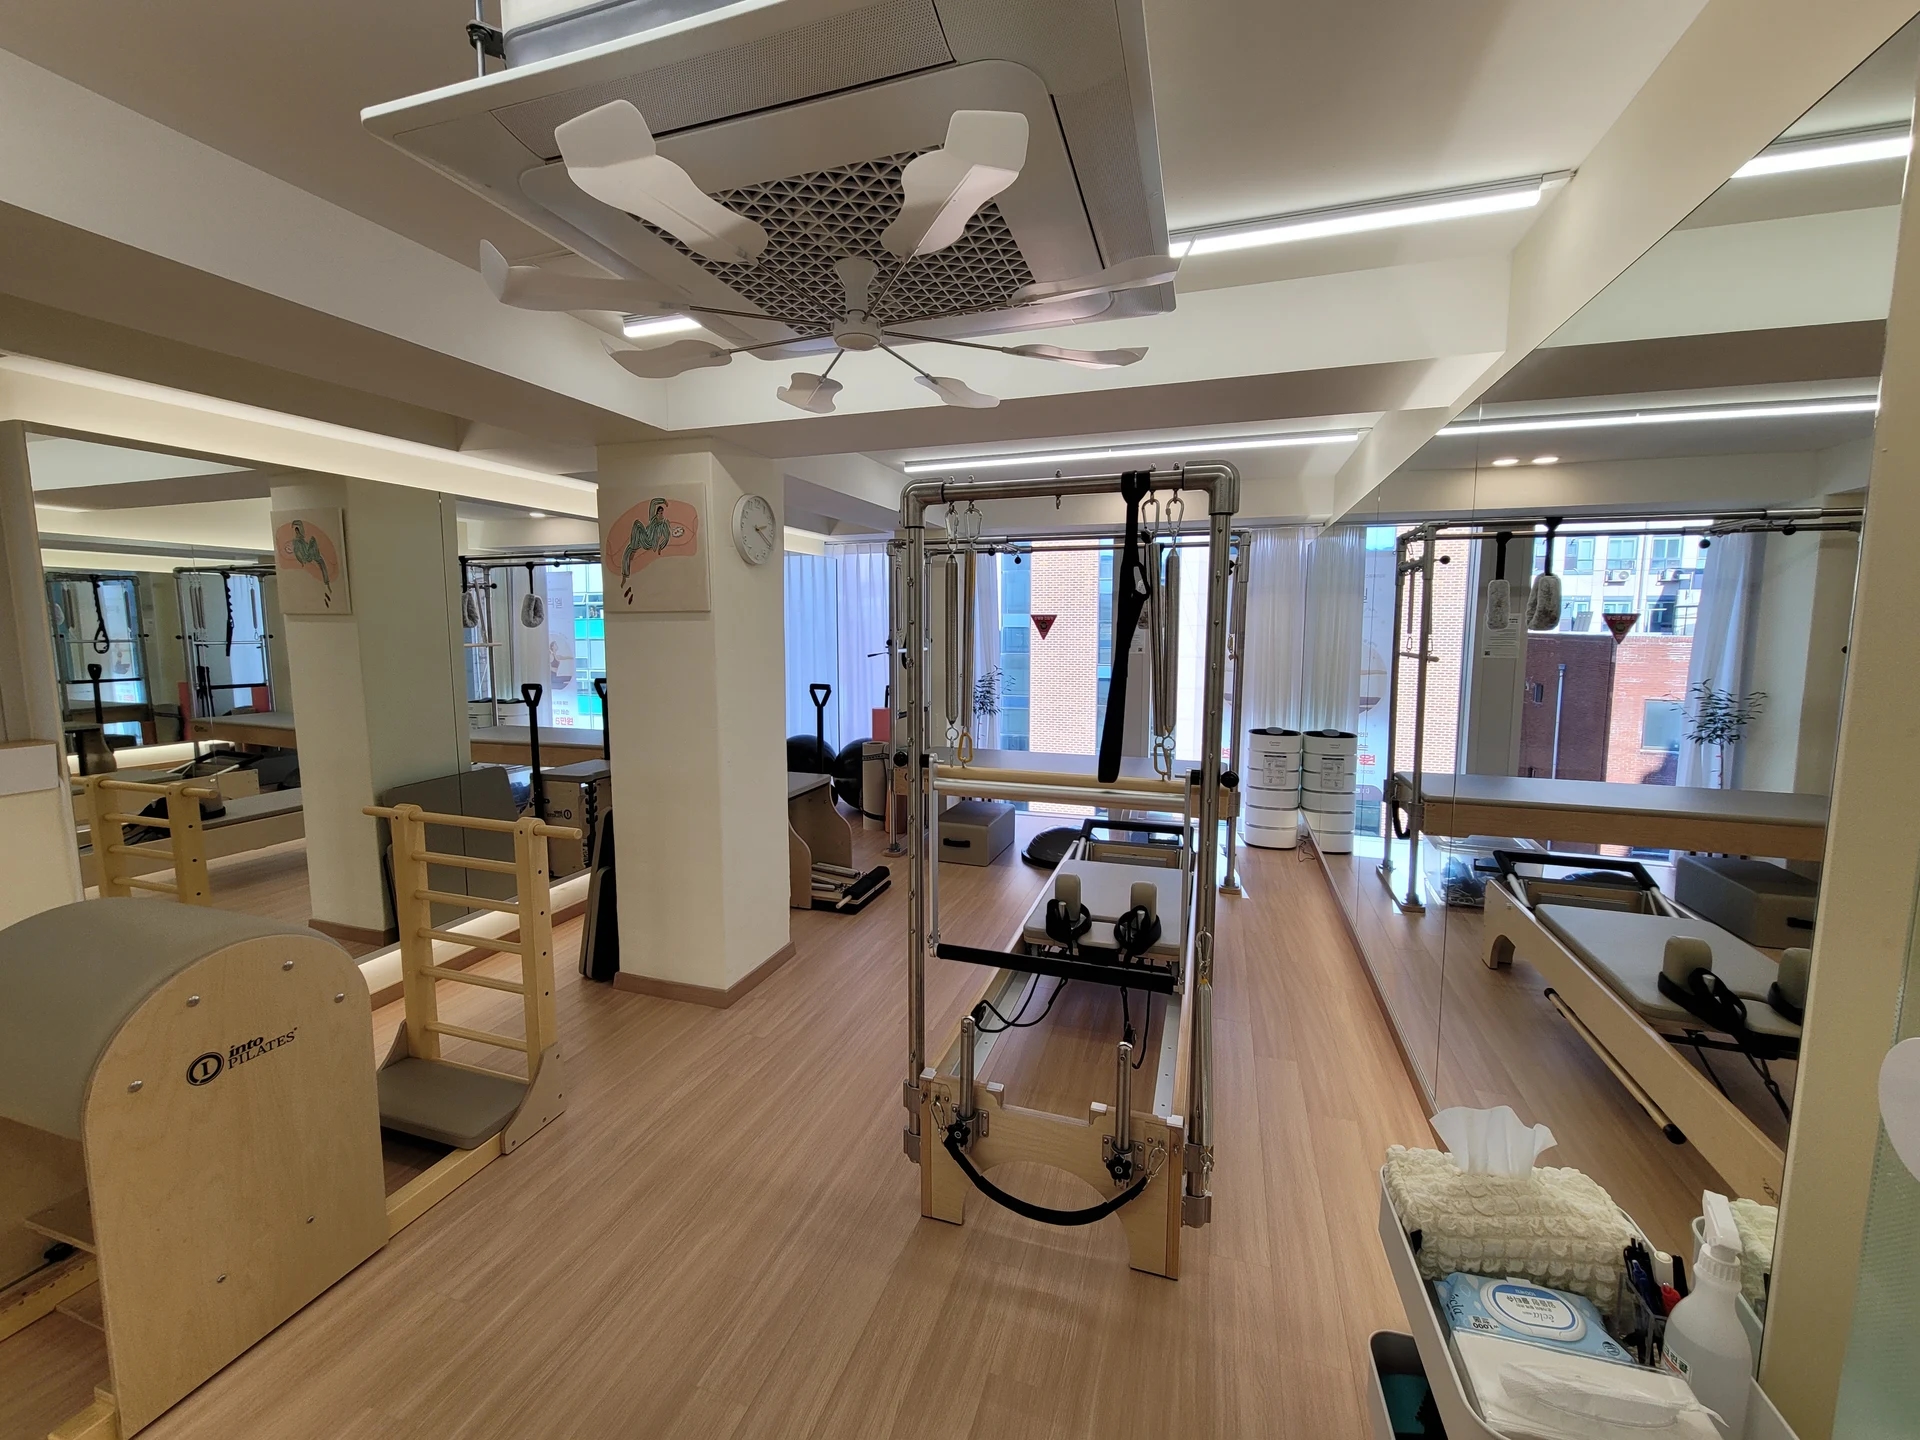
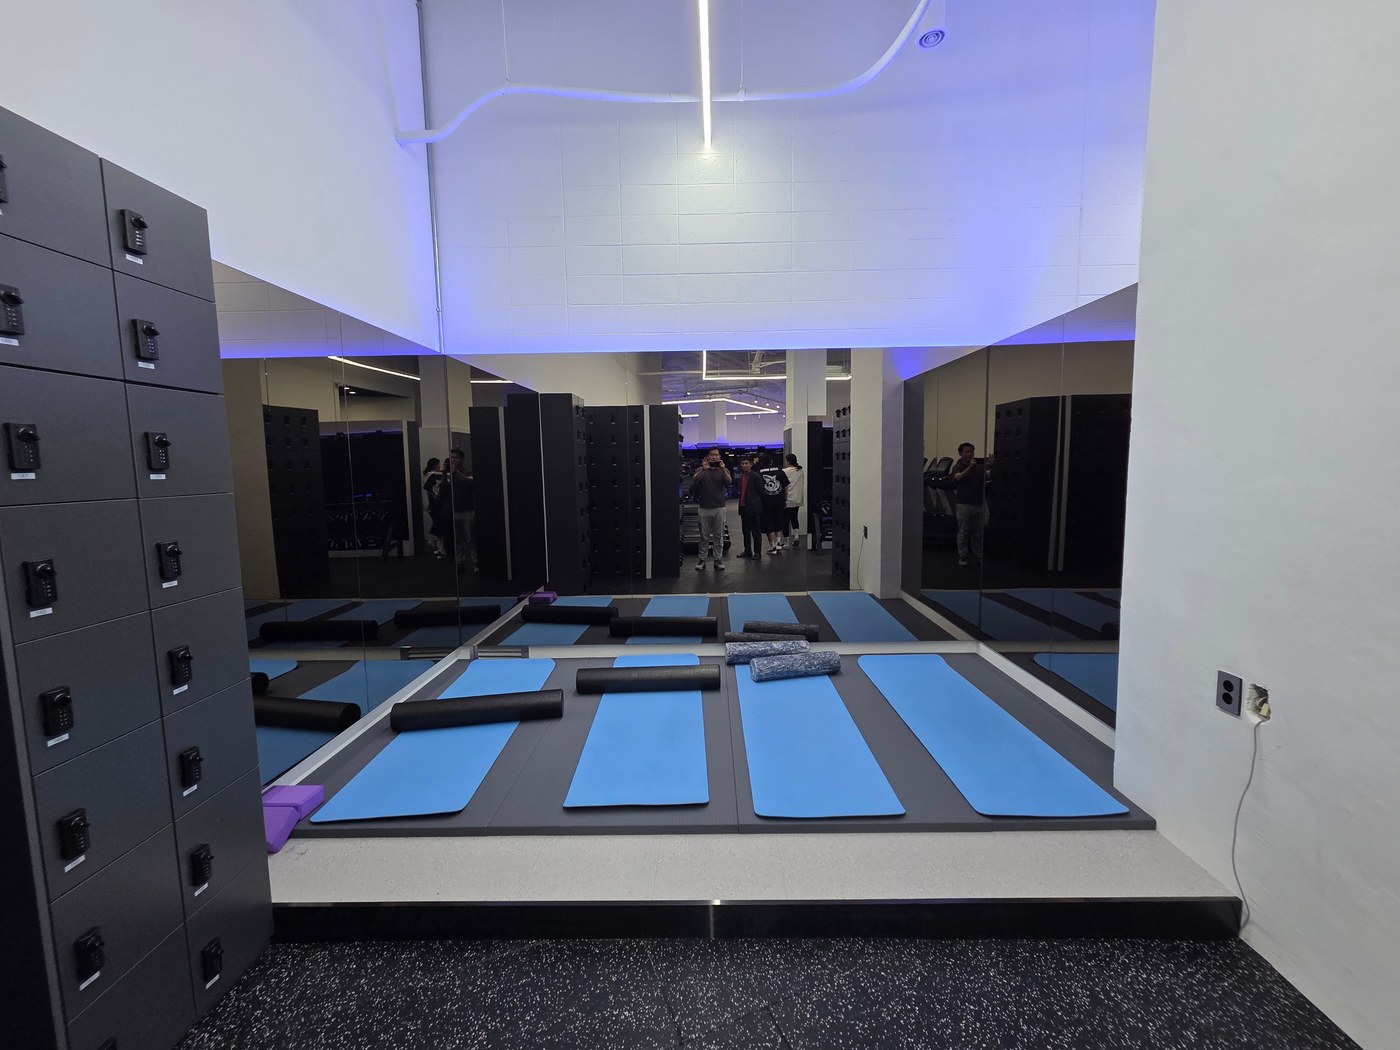
Gym mirrors do more than decorate empty walls. Check views from machines and floor-exercise positions, separately considering sightlines shared with moving users.

Before you begin
- Distinguish exercise positions from circulation first.
- Check mirror areas obscured after equipment installation.
- Review mirror sizes and fixing methods against site conditions.
Which exercises need mirrors?
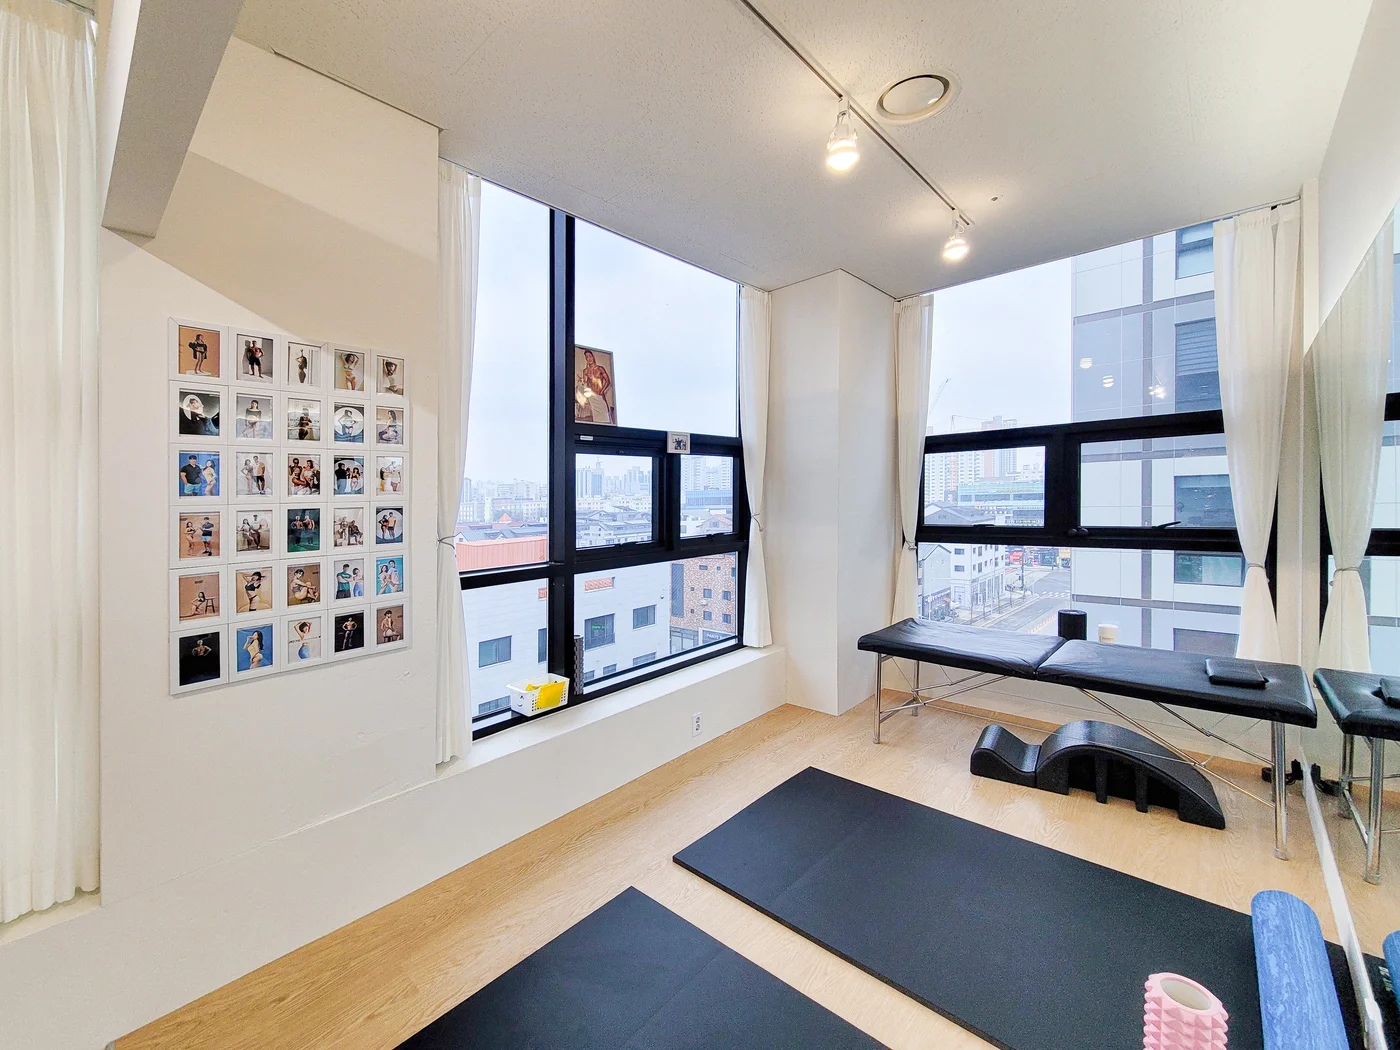
Before mirroring every wall, identify movements to check from each position. Seated machines, standing exercise, and mat work have different eye levels. Mark use scenarios by zone on the plan because even the same wall serves different views.
An empty finished room looking spacious differs from good visibility during exercise. Draw equipment and storage obscuring mirrors. Compare whether slight equipment relocation can provide necessary views instead of enlarging mirrors.
Clearance before mirrors for moving equipment
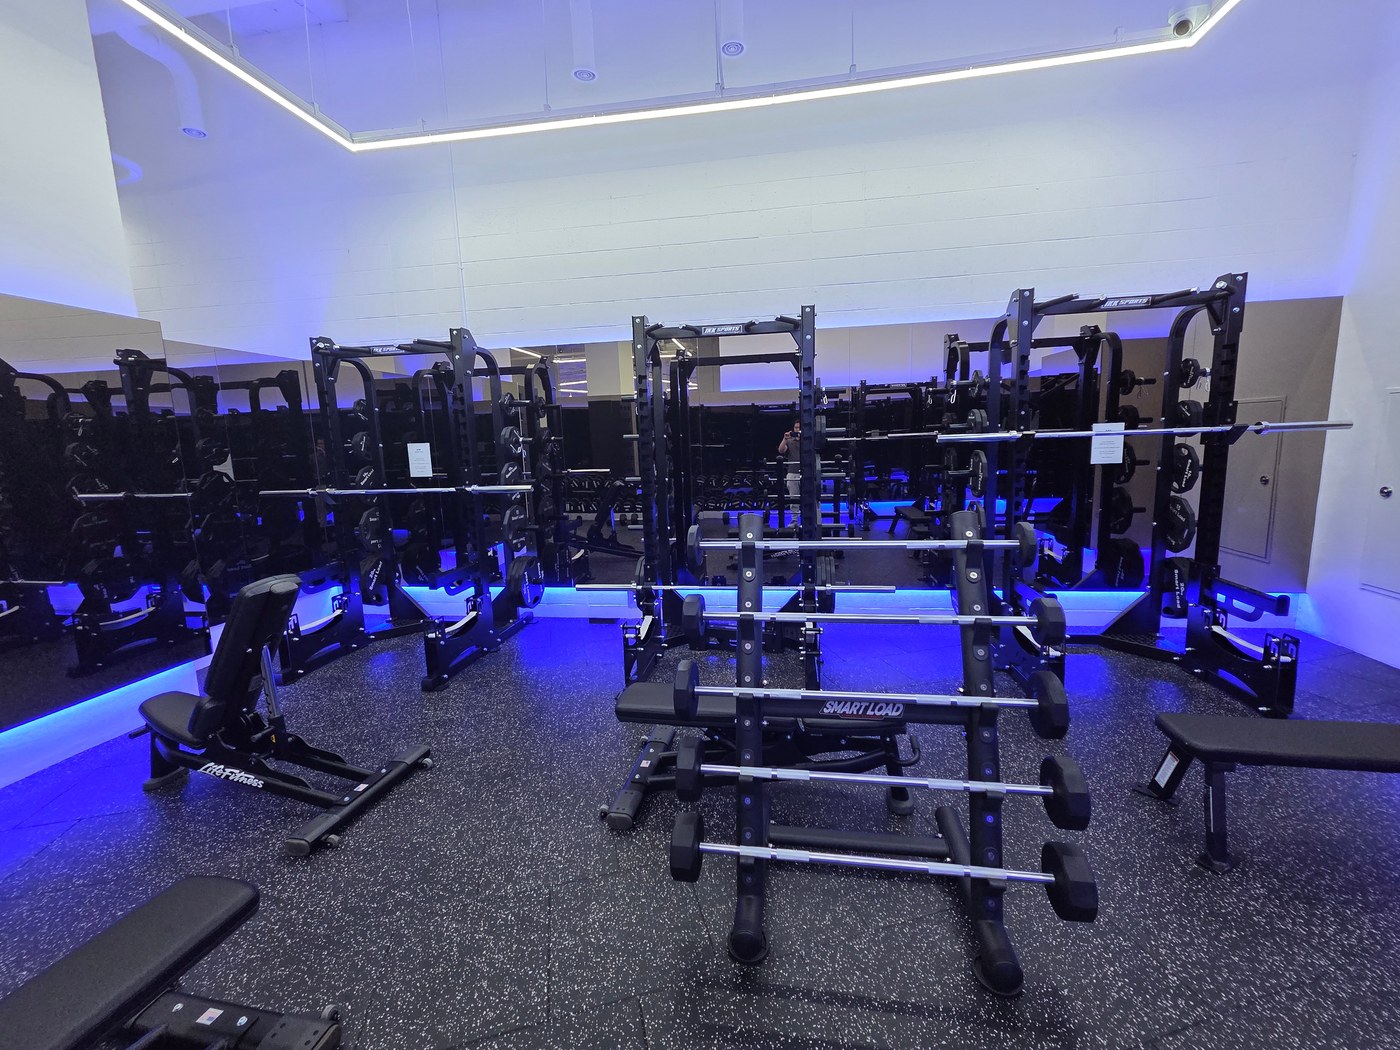
Machines occupy more than their floor-contact footprint. Mounting, dismounting, handles, and attachments move, so consult layout data for actual models. Life Fitness's Gym Planner places real models to review circulation and spacing. Final site conditions still need separate verification.
Check whether stepping back to see a mirror puts users in an aisle. If exercisers and passersby constantly avoid each other, review equipment count or orientation. Judge real clear space rather than reflections that merely make routes appear wider.
Windows, lights, and other users reflected in mirrors
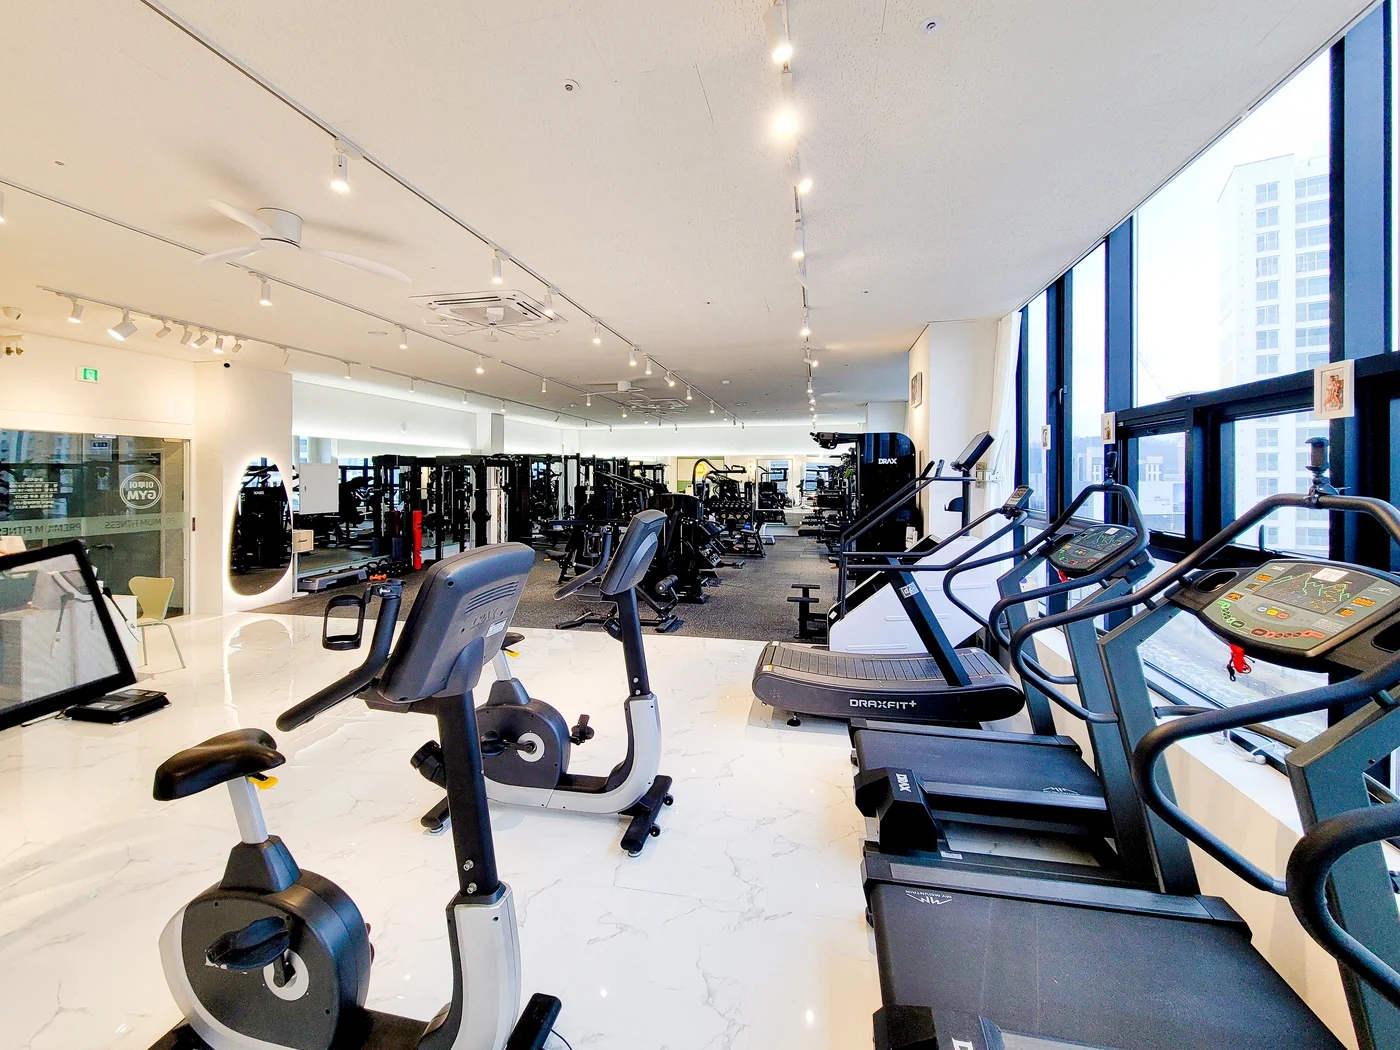
Mirrors reflect windows, lights, and opposite equipment alongside exercisers. Change positions to check strong light and confusing overlapping reflections. Near entrances, assess whether actual and reflected opening doors are easy to distinguish.
Check floor-exercise areas from low eye levels too. Lighting invisible in standing photographs may appear while seated or lying down. Use actual heights where possible and record adjustments to window screening and light direction.
Large-mirror joints and fixing methods
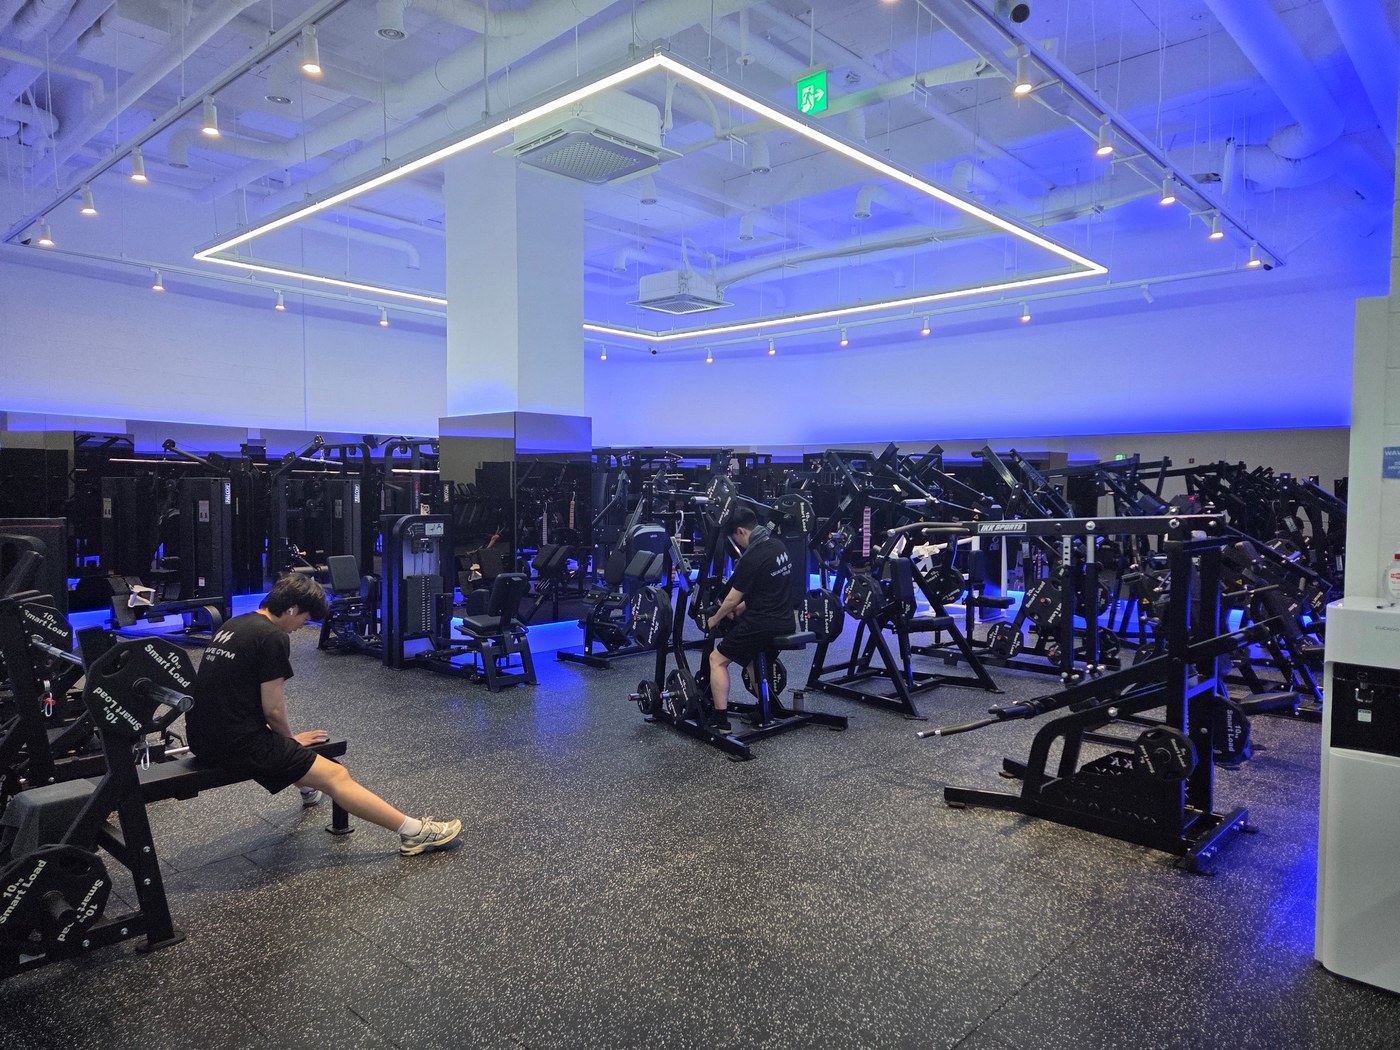
Beyond panel counts and sizes, review wall conditions, corners, joints, and fixing. Explain where equipment or transported items could strike mirrors and confirm site-specific construction with the responsible person. Do not apply a single thickness or adhesive method to every wall.
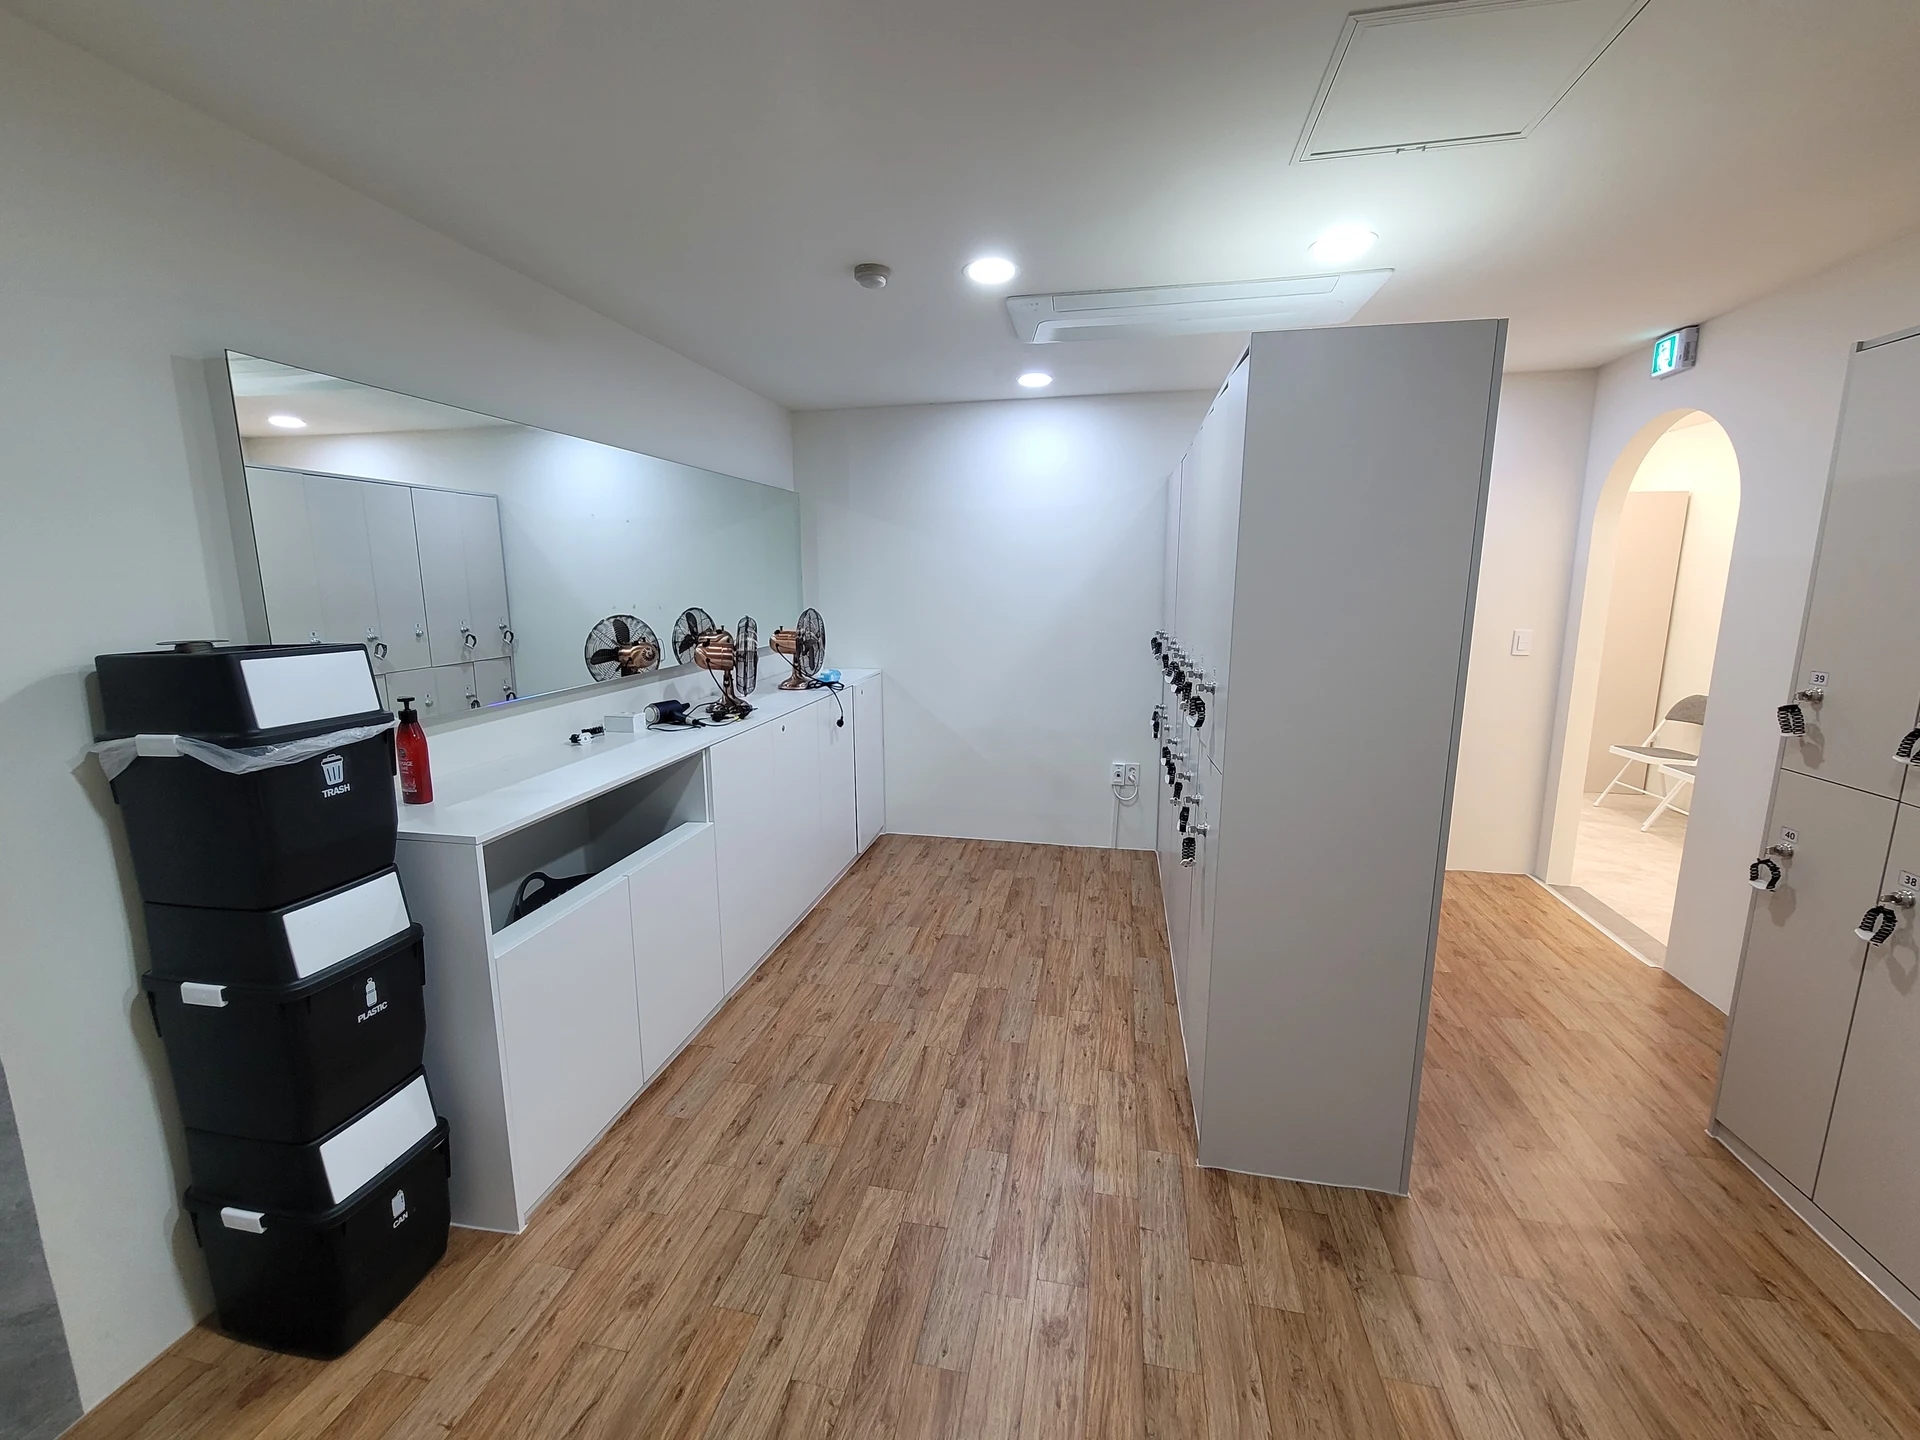
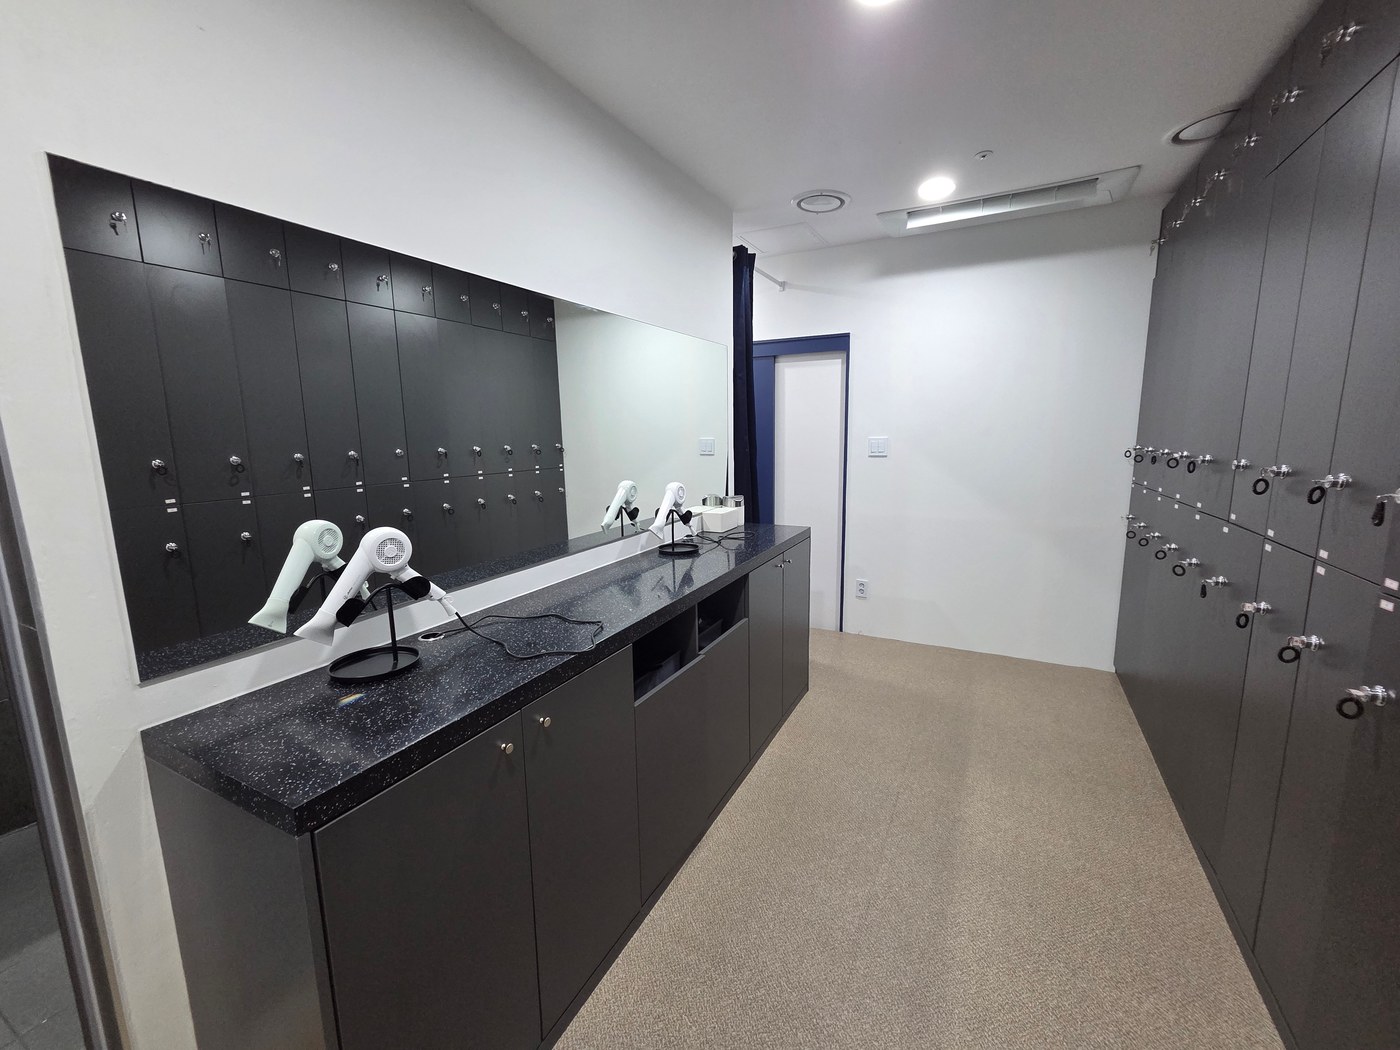
Provide storage so temporary belongings do not accumulate before mirrors during operations. Plan cleaning access and contacts for faults. Final placement should let users comfortably see necessary movements rather than simply fill the most wall area.
Ask us about your interior project
We can discuss a quote and design suited to the space you are planning.
Request a free consultation