Dental Clinic Toothbrushing Areas: Corridor Access and Supply Storage
A patient toothbrushing area needs more than a basin that fits. Plan where someone stands, how others pass, where cups and supplies go, and how the cabinet opens for plumbing access.

Before you begin
- Draw the occupied basin area separately from the route to treatment rooms.
- Check cups, toothbrushing supplies and temporary bag storage using actual item sizes.
- Coordinate basin installation drawings and pipe locations before fixing cabinet storage and access.
Someone stops at the basin while others use the corridor
Start a dental clinic toothbrushing area by deciding when patients will use it. A stop after reception and a stop on the way to a treatment room call for different relationships between spaces. Agree on the intended sequence with the clinical team, and distinguish patient use from staff handwashing or instrument-cleaning functions. An empty stretch of wall is not enough to determine the basin location.
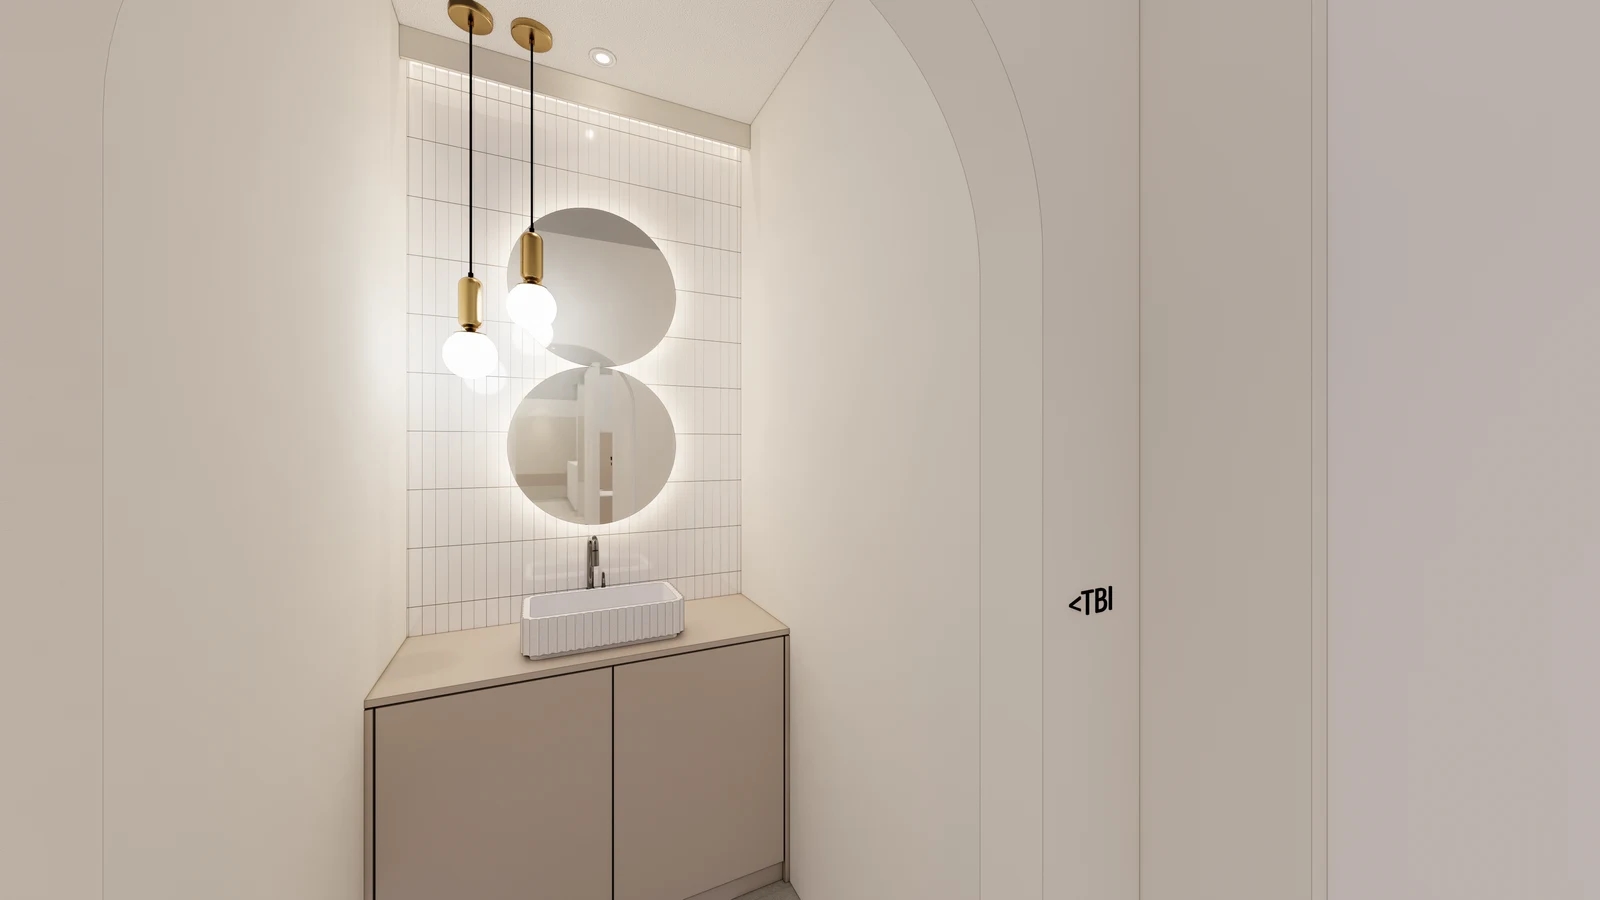
The cover design shows a rectangular basin and cabinet recessed between walls, with circular mirrors arranged vertically. If considering this configuration for patient toothbrushing, look beyond the recessed furniture and draw where the user stands. Mark how another person passes while the user leans forward or steps back. This is a design rendering, not an operating record confirming the actual function or user numbers.
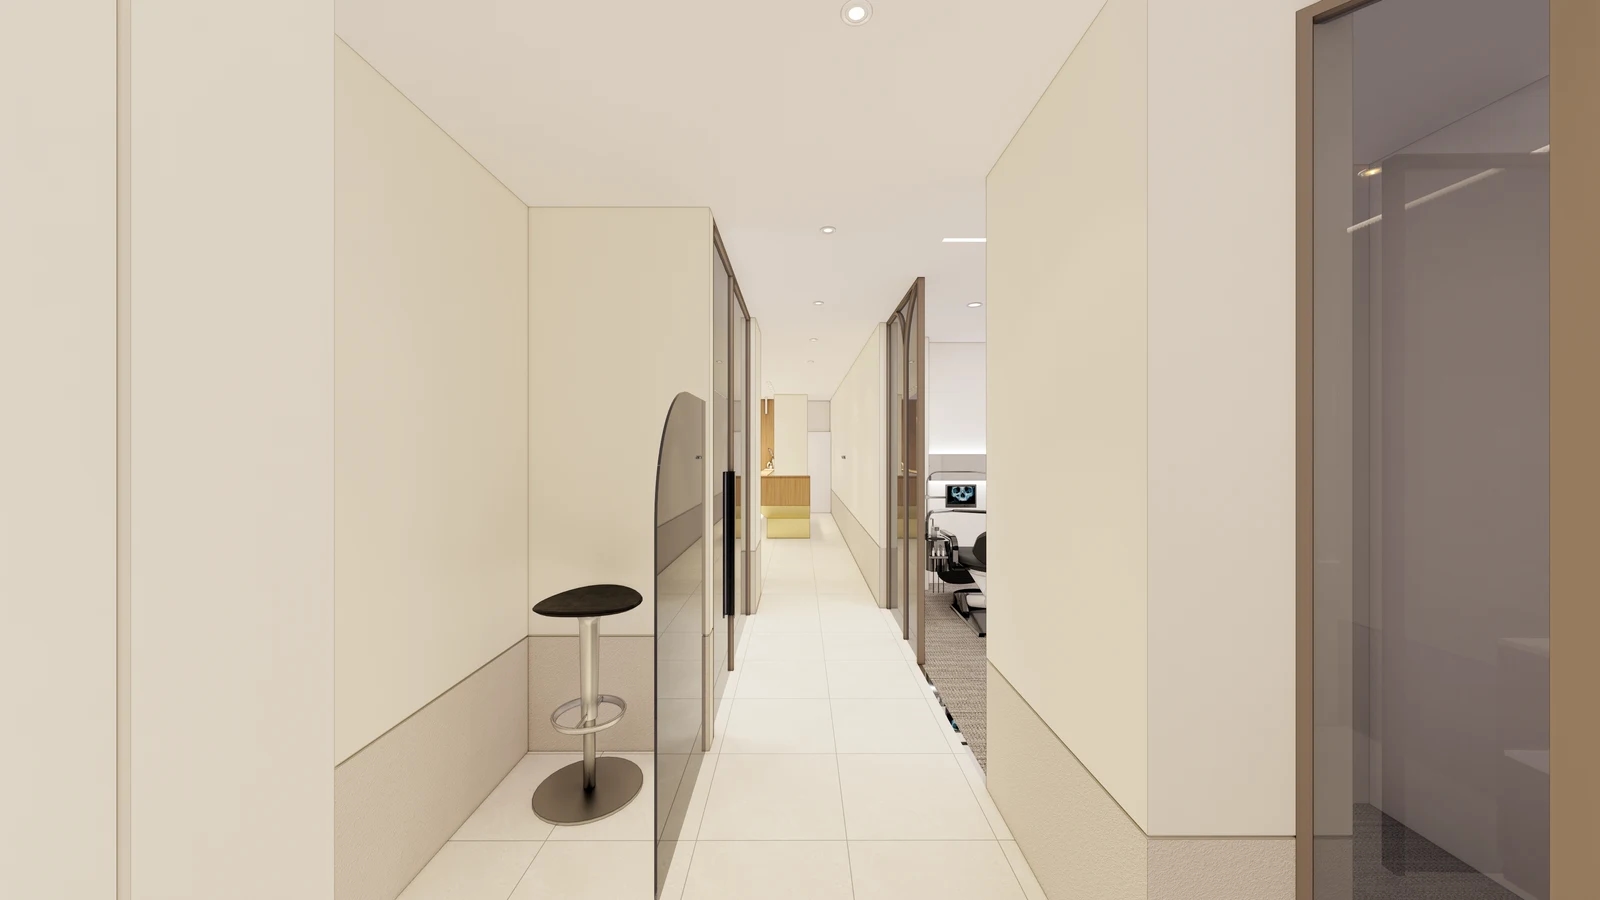
The corridor design has treatment-room entrances and glass partitions along its sides. When adding a toothbrushing area to such a route, distinguish the empty corridor from the passage remaining during use. Draw a user in front of the basin outline and overlay the opening direction of any adjacent door. If a parent is expected to stand beside a child, add that situation separately. Review required dimensions with the designer against the actual users and conditions.
An area open to the corridor may be easy to find, but also check what seated patients and people in treatment rooms can see. Mark entrances and seats on the plan and draw sightlines toward the basin. Compare recessing the area further with adding a short screening panel. A longer panel also changes entry and staff access for tidying, so do not decide solely by increasing the amount of screening.
Putting the basin in a separate space lets you consider users apart from people pausing in the corridor, but requires room to enter and turn inside. If sharing an existing restroom basin, trace the detour before or after treatment and decide where someone waits when restroom use overlaps. Compare a new basin and existing facilities using the same sequence of activities to clarify why additional space might be justified.
Before fixing the layout, mark the furniture depth and occupied area with tape or paper on site. Have someone stand at the basin while another walks toward a treatment room, including the moment a nearby door opens. Continue through taking a cup, tidying used items and leaving. This can reveal conflicts that standing still misses. Coordinate decorative mirrors and lighting after establishing this area.
Plan countertop supplies separately from the cabinet interior
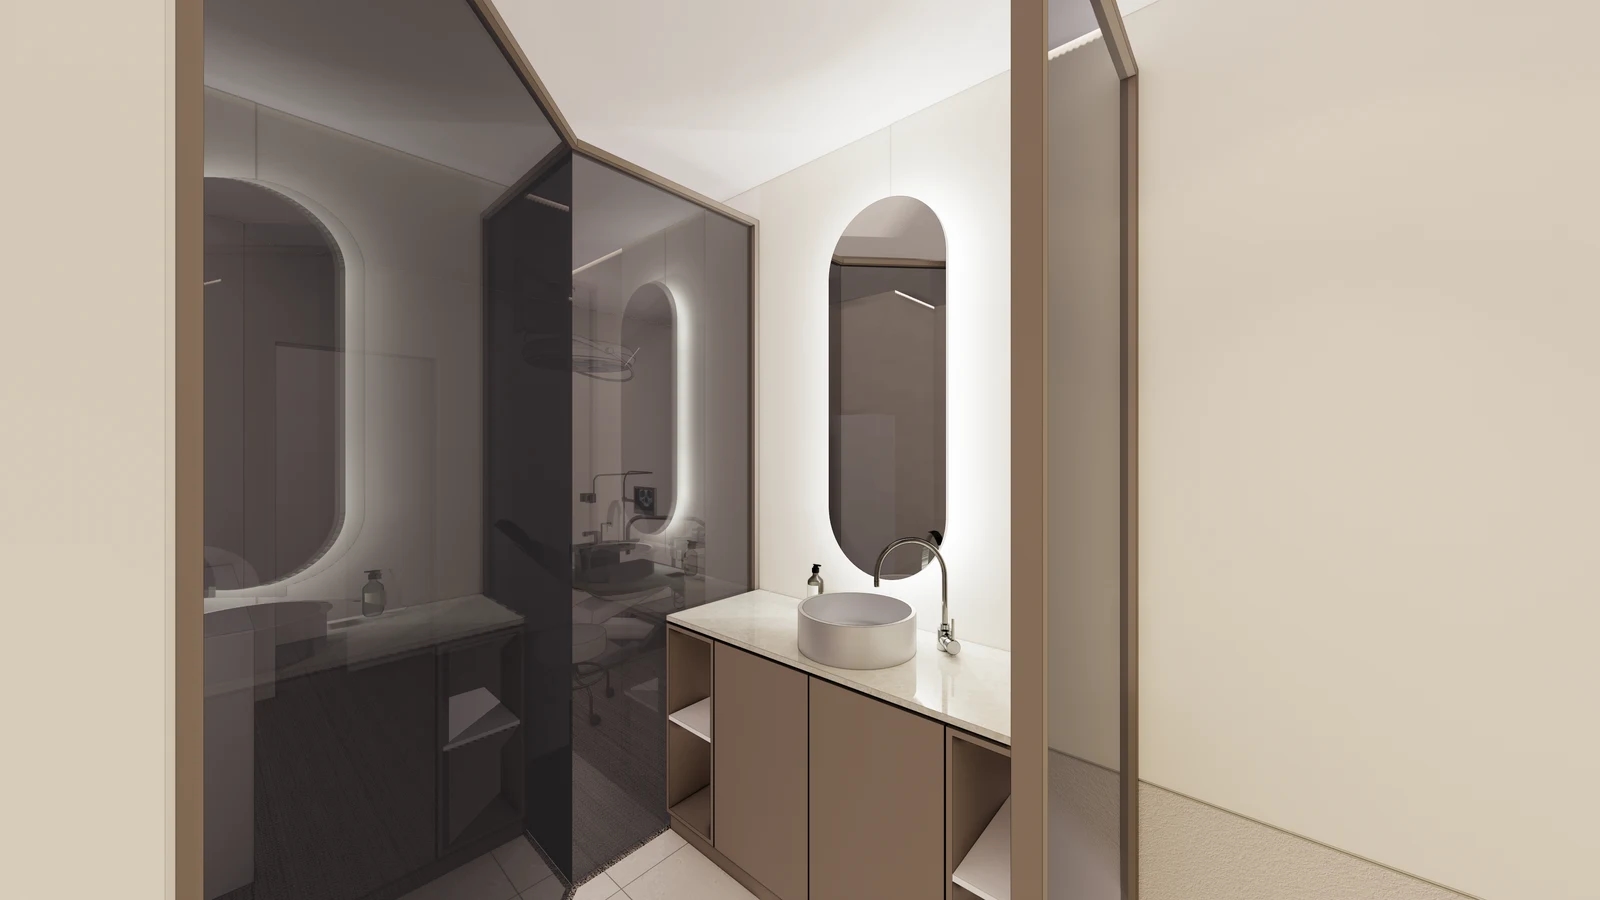
The second design shows a raised round basin, tall mirror, closed cabinet doors and open compartments. A tidy facade still needs a separate check with the intended items in place. The operator should list where patient cups and toothbrushing supplies will go and how used items will be cleared. The image does not establish how this basin was used in practice.
Do not fill the countertop plan with only the basin and faucet. Place the intended supplies at their actual sizes. Check whether taking a cup overlaps with reaching for the faucet, or requires reaching across the bowl. Consider a separate spot away from water use for a bag or phone temporarily put down. If there is no suitable space, compare a small nearby wall shelf or another way of accommodating belongings.
Open compartments show what can be taken, but need not expose every spare package. Separate items ready for use from reserves that staff replenish. Even when referring to the pictured compartments, decide which holds cups or supplies only after checking reach and whether the user must bend down. If adding a bin, draw its opening, any door movement and the space needed to remove its liner.
Choose mirrors by more than shape and lighting. If dividing the mirror as in the cover design, check where faces appear from different eye heights. Coordinate the basin, countertop, mirror lower edge and faucet reach in a single elevation. A low mirror in an image alone does not establish usability for children. Ask the designer to propose a basin configuration and approach suited to the intended users.
Review the cabinet as both a pipe enclosure and a storage unit. Before drawing storage across the entire space beneath the basin, give the cabinet maker the selected basin and faucet installation drawings and the actual supply and drain locations. Check how many belongings must be removed to open a door or work on a connection. Have the responsible trades review the pipe plan and cabinet interior together so fixed divisions do not block necessary access.
With a defined budget, request separate scopes for retaining existing supply and drain locations and moving to a new position. Identify what includes the basin and faucet, countertop fabrication and cabinet, pipe connections, and surrounding wall and floor finishes. Include electrical preparation if adding mirror lighting. Compare included work for layouts that support the same sequence of use, without assuming in advance which will cost less or by how much.
Before ordering, alternate between the patient sequence of entering, taking supplies, using the basin and leaving, and the staff sequence of replenishing supplies and checking inside. Use these activities to decide whether a wider countertop or fewer open compartments is more useful. Show the occupied area, circulation route, supply locations and cabinet access on the final drawings. Even a small toothbrushing area needs space for both its users and the people maintaining it.
Ask us about your interior project
We can discuss a quote and design suited to the space you are planning.
Request a free consultation