Gym Treadmill Layout: Window Orientation and Rear Circulation
Should treadmills face the windows or a wall? Compare the view, access for window care and routes behind the machines, then align the equipment plan with the electrical scope.

Before you begin
- Compare the view during exercise and access for window care when considering a window-side layout.
- Mark the equipment footprint, manufacturer-required installation space and member routes separately on the plan.
- Add power connection locations and trade responsibilities to a layout with confirmed models and quantities.
Compare the view and access for window care
When planning gym treadmills, it is tempting to reserve the windows first and fit in the intended quantity. Compare facing the windows with placing them to one side while facing into the room. Even within the same window-side zone, the view during exercise and the route to other equipment will differ. Sketch the operator’s intended view and circulation before deciding orientation, rather than letting proximity to glazing determine the whole layout.
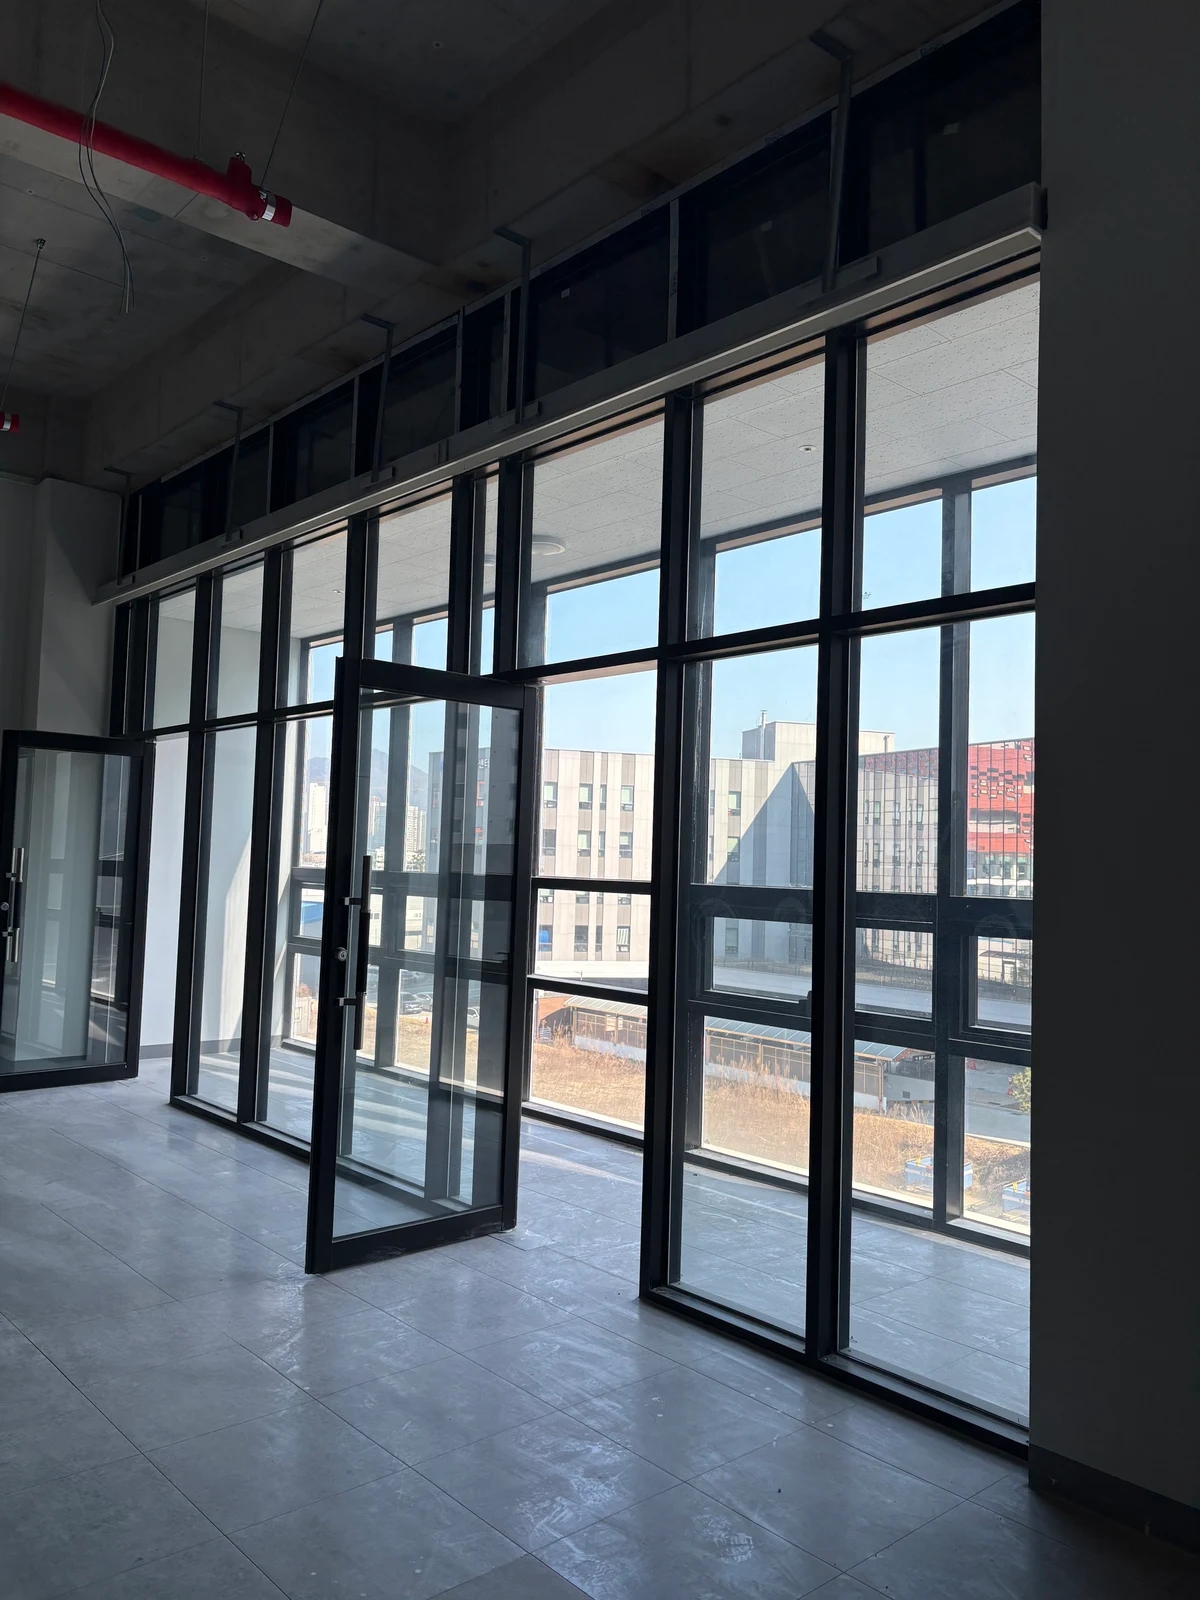
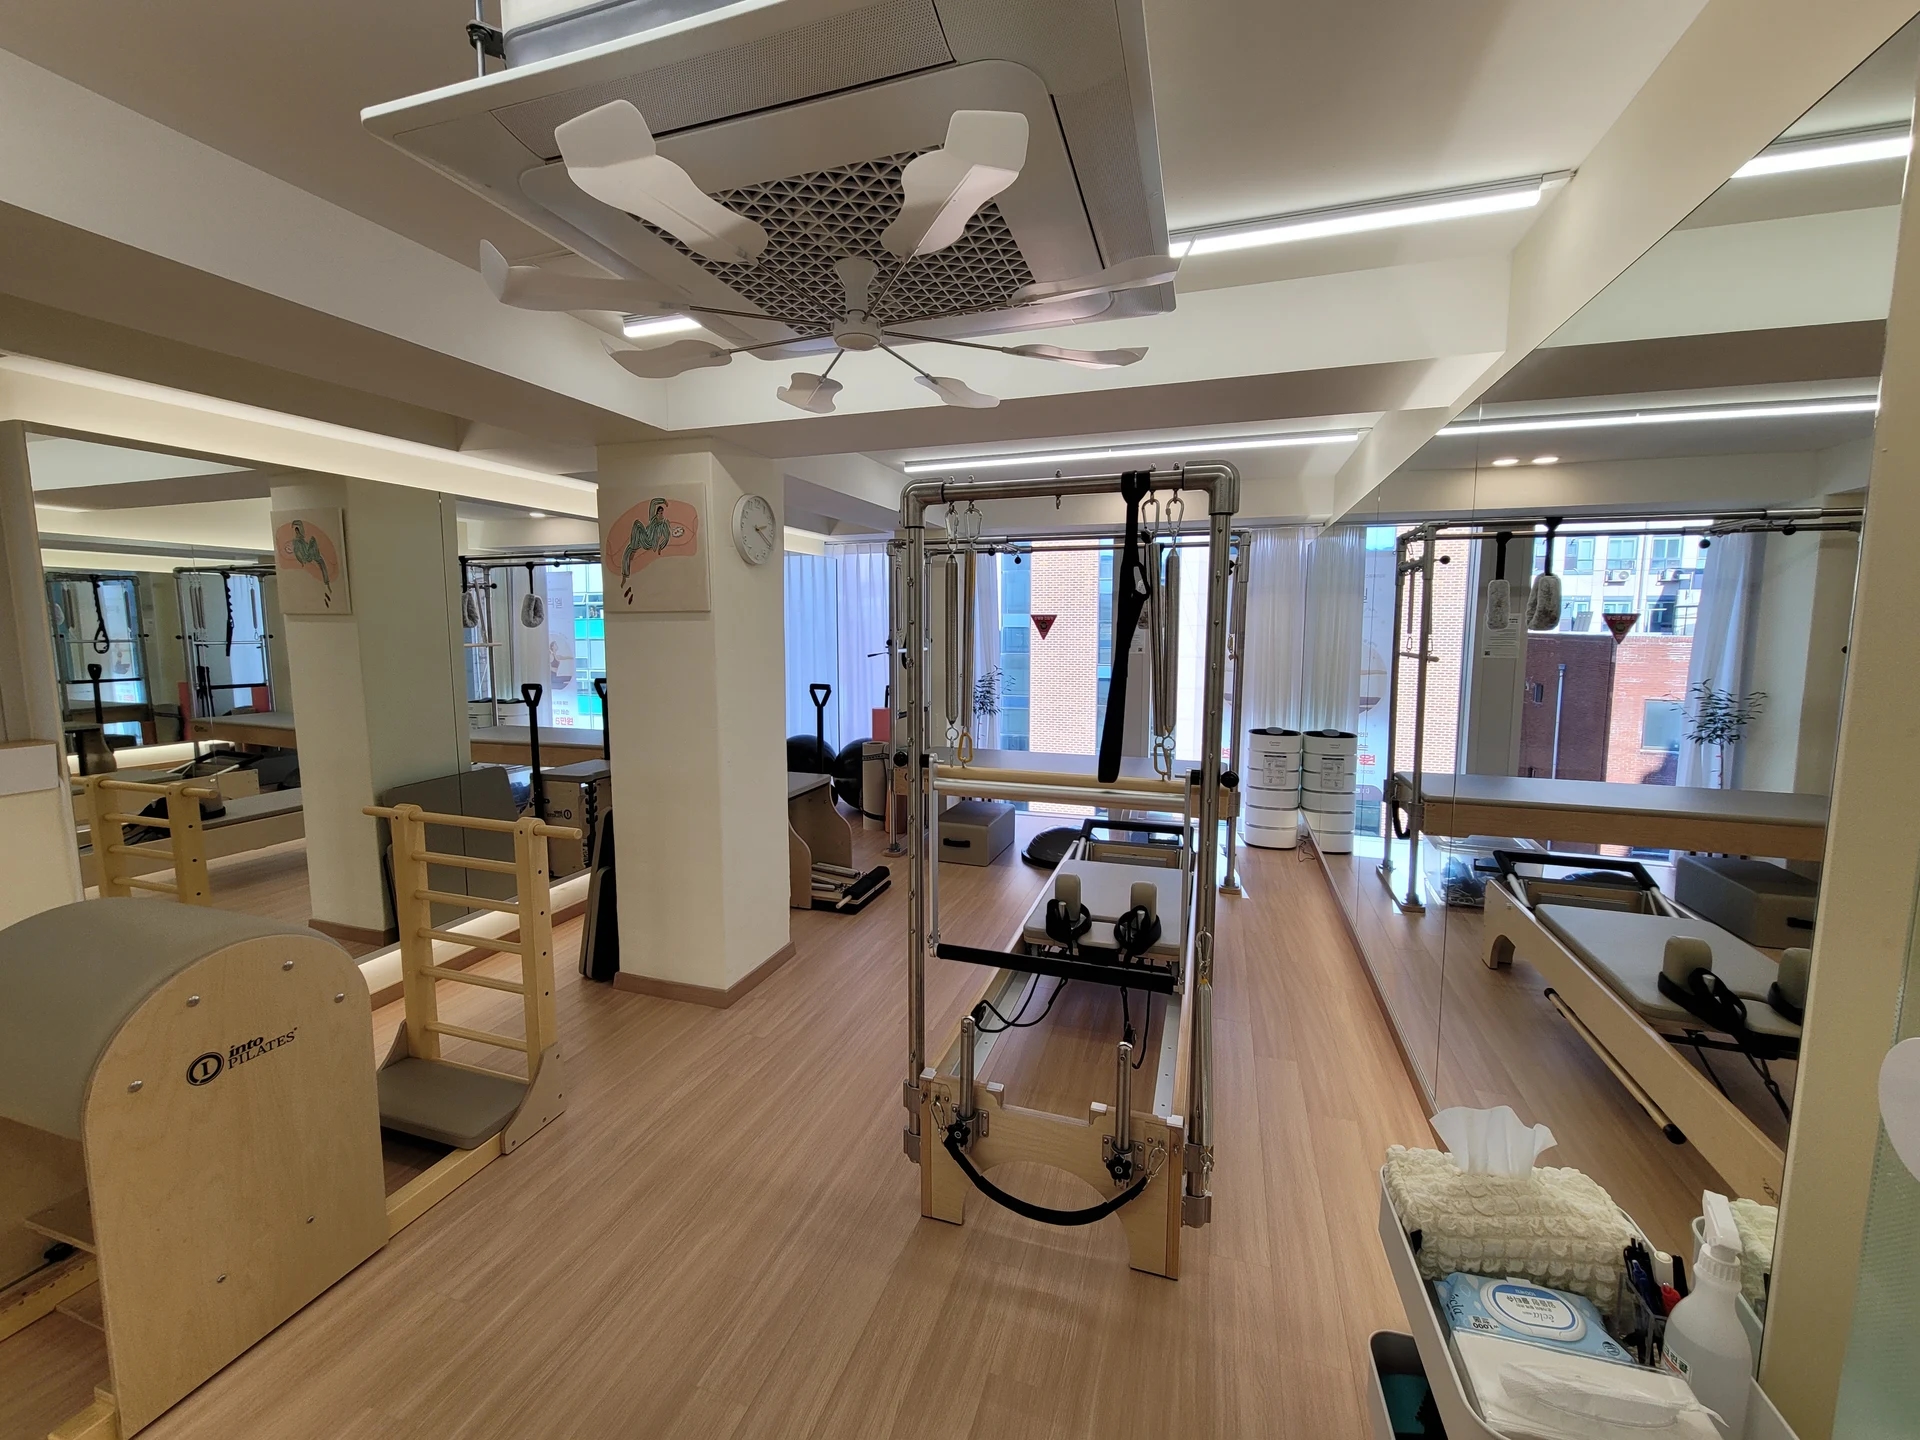
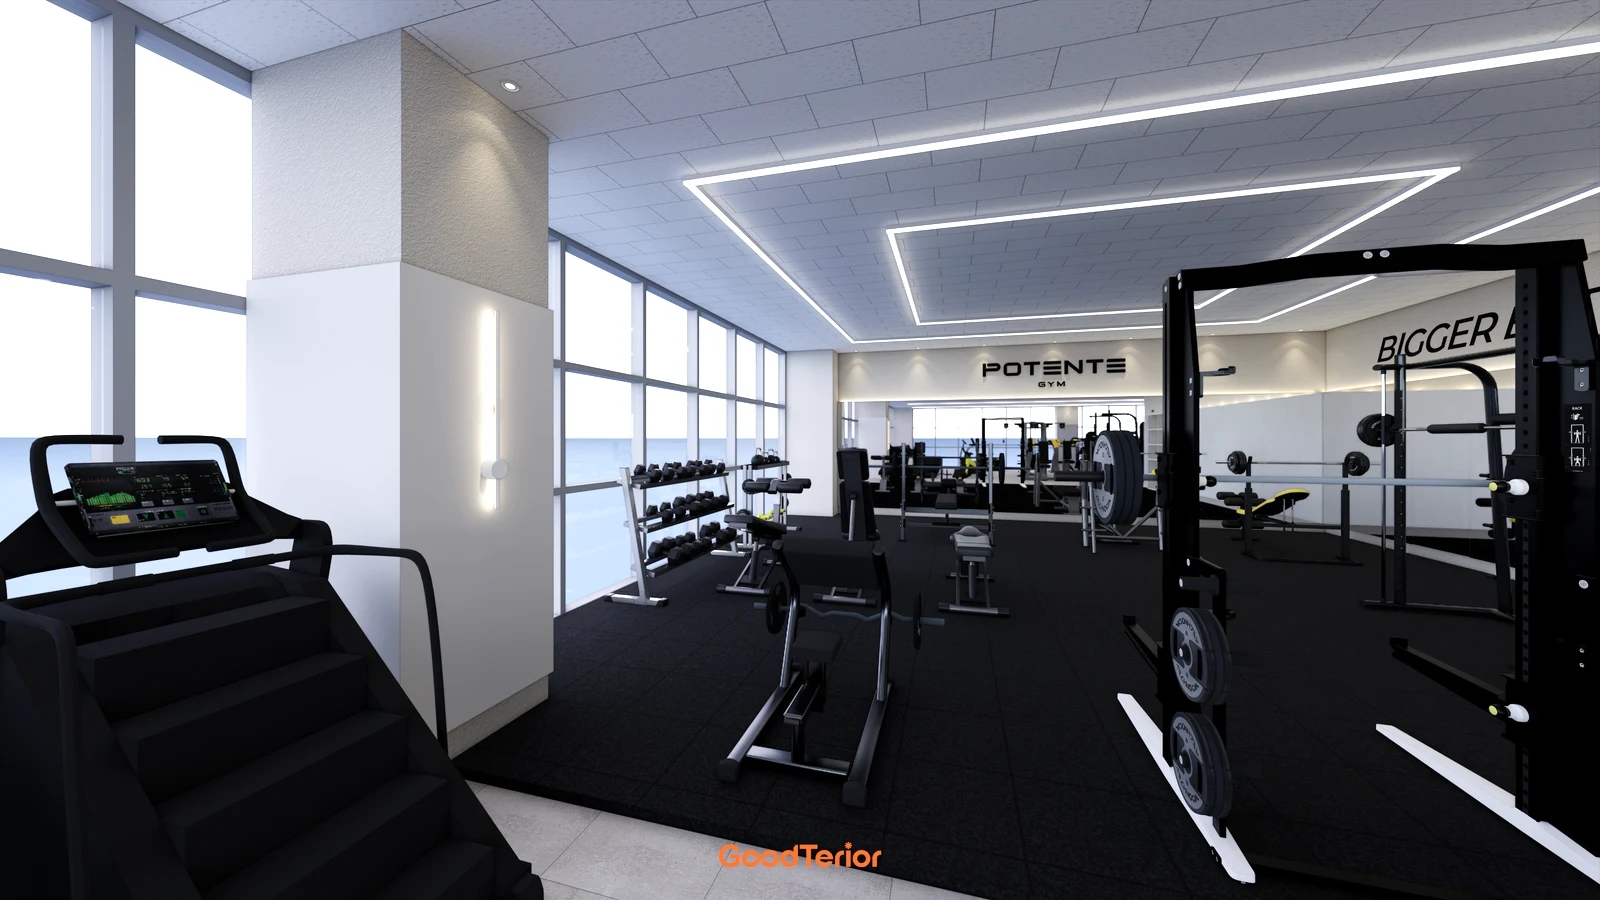
The first design places a treadmill near a large window and column, with dumbbells and racks further inside. Being close to a window does not establish a clear outside view or a readable console. The rendered machine illustrates spatial relationships. Check the selected model’s screen and handle heights and the part of the window visible from the exercise position. When dividing a row around a column, use a plan and eye-level site photographs to check whether the console will fall behind it.
Facing the glazing is one option when an outside view is a priority. Visit during planned opening hours and ask the supplier to review how the actual product’s screen will be viewed. Look for reflections from glazing and room lighting and check what remains visible with blinds lowered. A single rendering cannot predict glare or indoor temperature. If window shading is added, record its mounting position and the route used to reach its controls in the same option.
Also compare facing a wall with the windows to one side. If a separate display is planned ahead, establish whether it overlaps visually with the console and where it should be fixed relative to the exercise position. Mark the visible area before finalising the wall decoration. Moving the treadmill row inward and leaving some window-side floor clear is another option to assess for maintenance access. Draw how it changes the space remaining for other exercise zones as well.
Include cleaning and window care in the layout. Ask the operator whether handles must be reached and from where blinds and frames will be accessed. Assuming equipment can be moved every time an inaccessible corner needs attention leaves an unclear operating plan. Separate places reachable with equipment in position from tasks requiring specialist access, and review any plan to open windows against building management conditions.
Compare orientations using the same models and quantities. Drawing more machines at the windows and fewer at the wall mixes the effect of orientation with quantity. First compare the view, window access and routes to other exercise areas under equal conditions, then add a reduced-quantity option if the necessary space cannot be provided. Record the agreed models and orientation on the plan before electrical work begins.
Align rear circulation with installation conditions
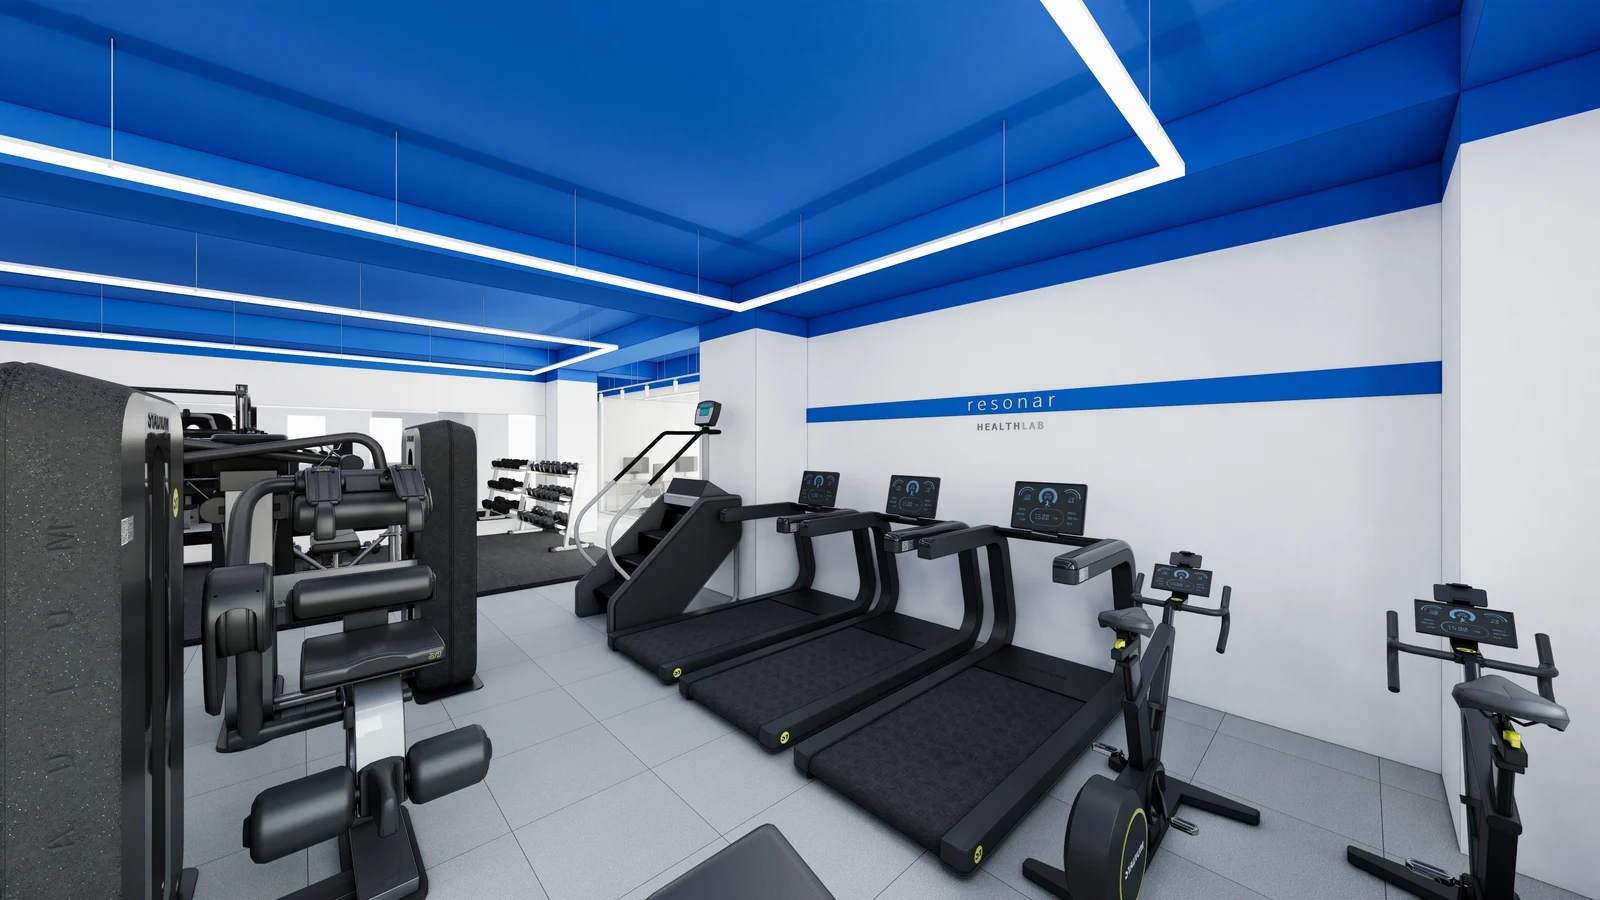
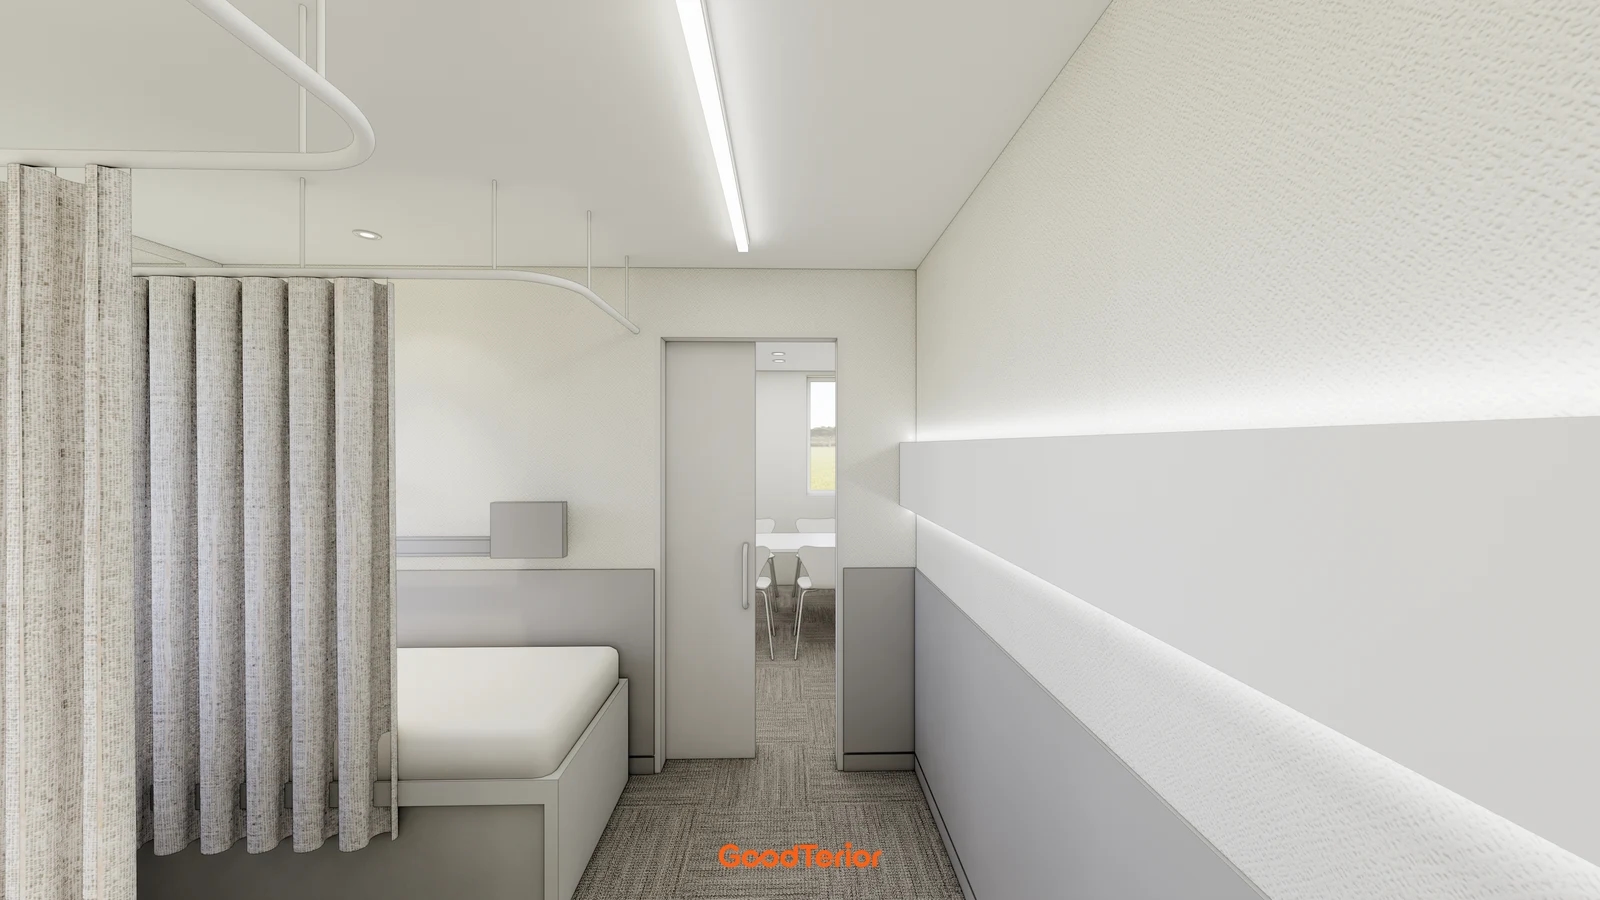
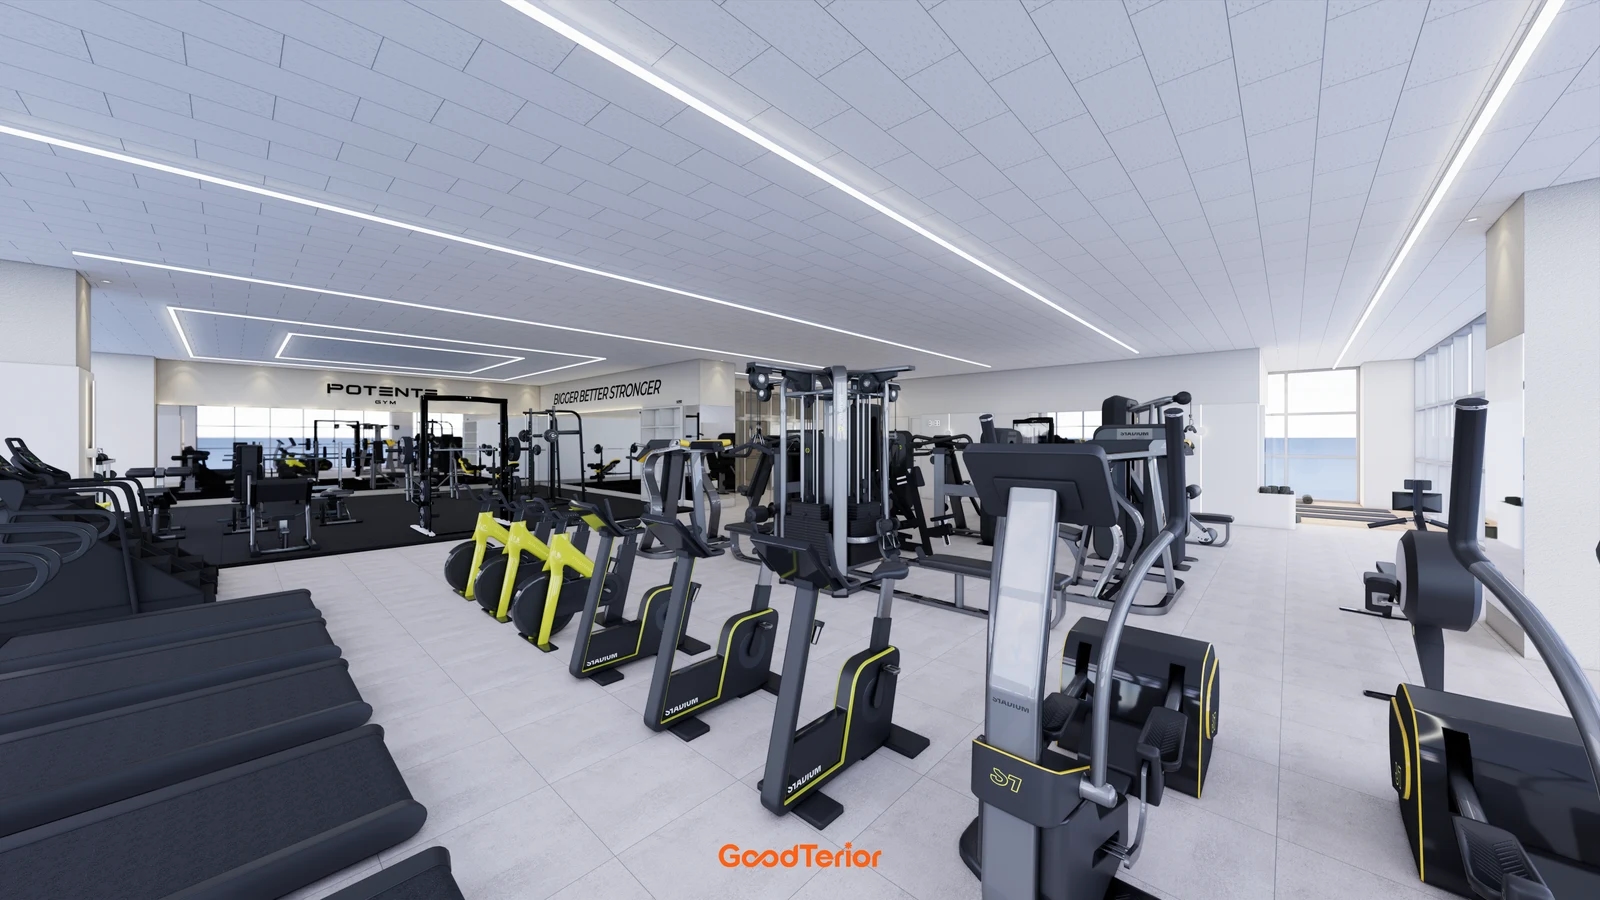
The second design places treadmills facing a white wall, with bikes and weight machines nearby. Use it to consider the direction a person takes after stepping away from the rear of a treadmill. An apparently clear patch of floor in a rendering does not establish adequate installation space. Obtain the actual equipment dimensions and conditions for the selected model and transfer them to the plan before assessing the layout.
Use separate markings for different purposes: the product footprint, surrounding space confirmed from the manufacturer’s instructions and installer’s review, and member routes to other areas. If the rear safety area overlaps everyday circulation, ask the supplier to review the layout before it is fixed. Do not select a uniform gap by eye or carry dimensions over from a different model.
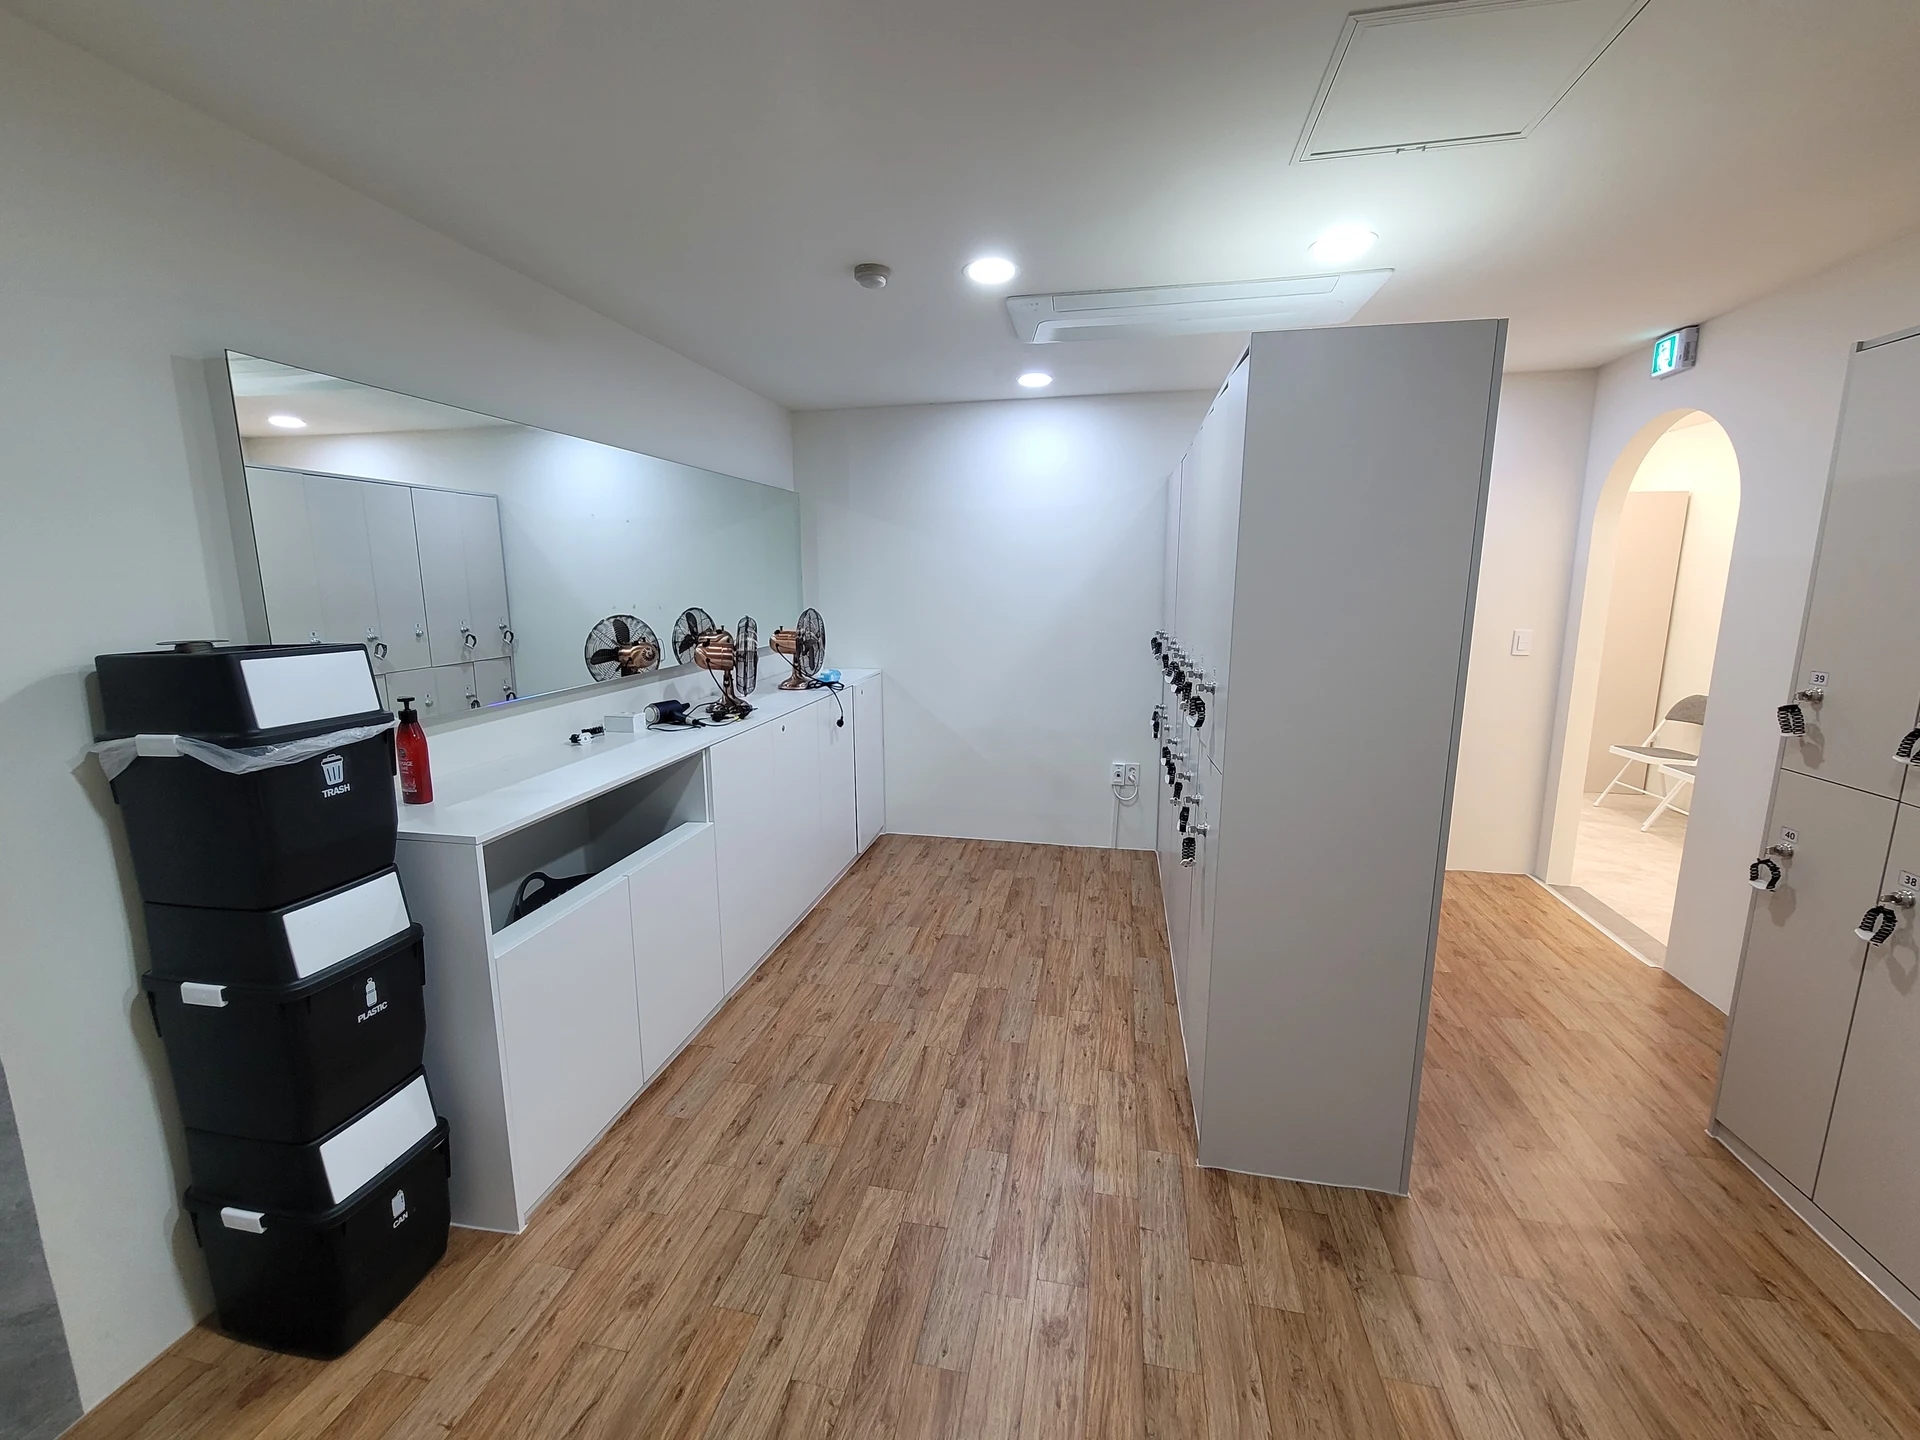
Tracing only the route from the entrance to the treadmill is insufficient. Follow the route after use as a member steps away, puts away a towel and moves to another exercise zone. Mark whether people going to water or towel storage must repeatedly pass behind the row, or meet someone carrying dumbbells. This identifies places where equipment use and passing traffic meet. Compare alternatives that change storage locations or equipment orientation where routes conflict.
Ask separately about cleaning and service access. The supplier of the chosen model should establish which side opens for maintenance, whether the equipment must move and whether it may stand close to a wall. Even a generous-looking everyday route needs another review if a column or furniture blocks the service face. Compare fewer machines or split cardio rows alongside the quote instead of shrinking the required installation area to fit a target quantity.
Discuss electrical work using the agreed equipment layout. Give the site electrician the model names, quantities and supplier’s connection requirements, then have the supply locations and cable routes checked. Establish on the drawing whether cables would cross walking routes. Obtain the connection arrangement for multiple machines and the necessary scope from the responsible specialist’s assessment of product requirements and existing services.
Where existing flooring will remain, ask whether moving power includes removing and reinstating the finish. Record whether the equipment supplier makes the final connections, where the interior contractor must provide power and who checks the final position. Compare quotes against a drawing showing machine identifiers and connection points, rather than an outlet count alone. Coordinate the equipment installation date with completion of the building work.
Finally, mark the agreed orientation on site and trace access to doors, windows and storage again. Match these markings to a layout checked by the installer for the model’s required space before fixing power and finish positions. The useful outcome is a documented layout that reconciles the view and circulation with installation requirements. Keep that drawing and the product records as the starting point for future changes.
Ask us about your interior project
We can discuss a quote and design suited to the space you are planning.
Request a free consultation