Commercial Wall Niches: Choosing Recessed Displays or Wall Shelves
Plan wall niches from their contents and required depth before choosing a front view. Compare recessed displays, long shelves and projecting wall shelves in clinic and nail salon design studies, then review finishes, lighting and quotation scope.

Before you begin
- Define the displayed objects and users, then review internal dimensions and the space in front.
- Distinguish altering an existing wall, adding a new wall face and using projecting shelves.
- Compare shelves, internal finishes, lighting and service access within the same fabrication scope.
Define the contents before deciding wall depth
A wall niche creates a display area that appears recessed into a wall face. Start with the contents: a few decorative objects, rows of products or items retrieved by staff. Share the objects and use sequence so the operator and fabricator do not interpret the same reference photograph as different cabinet depths.
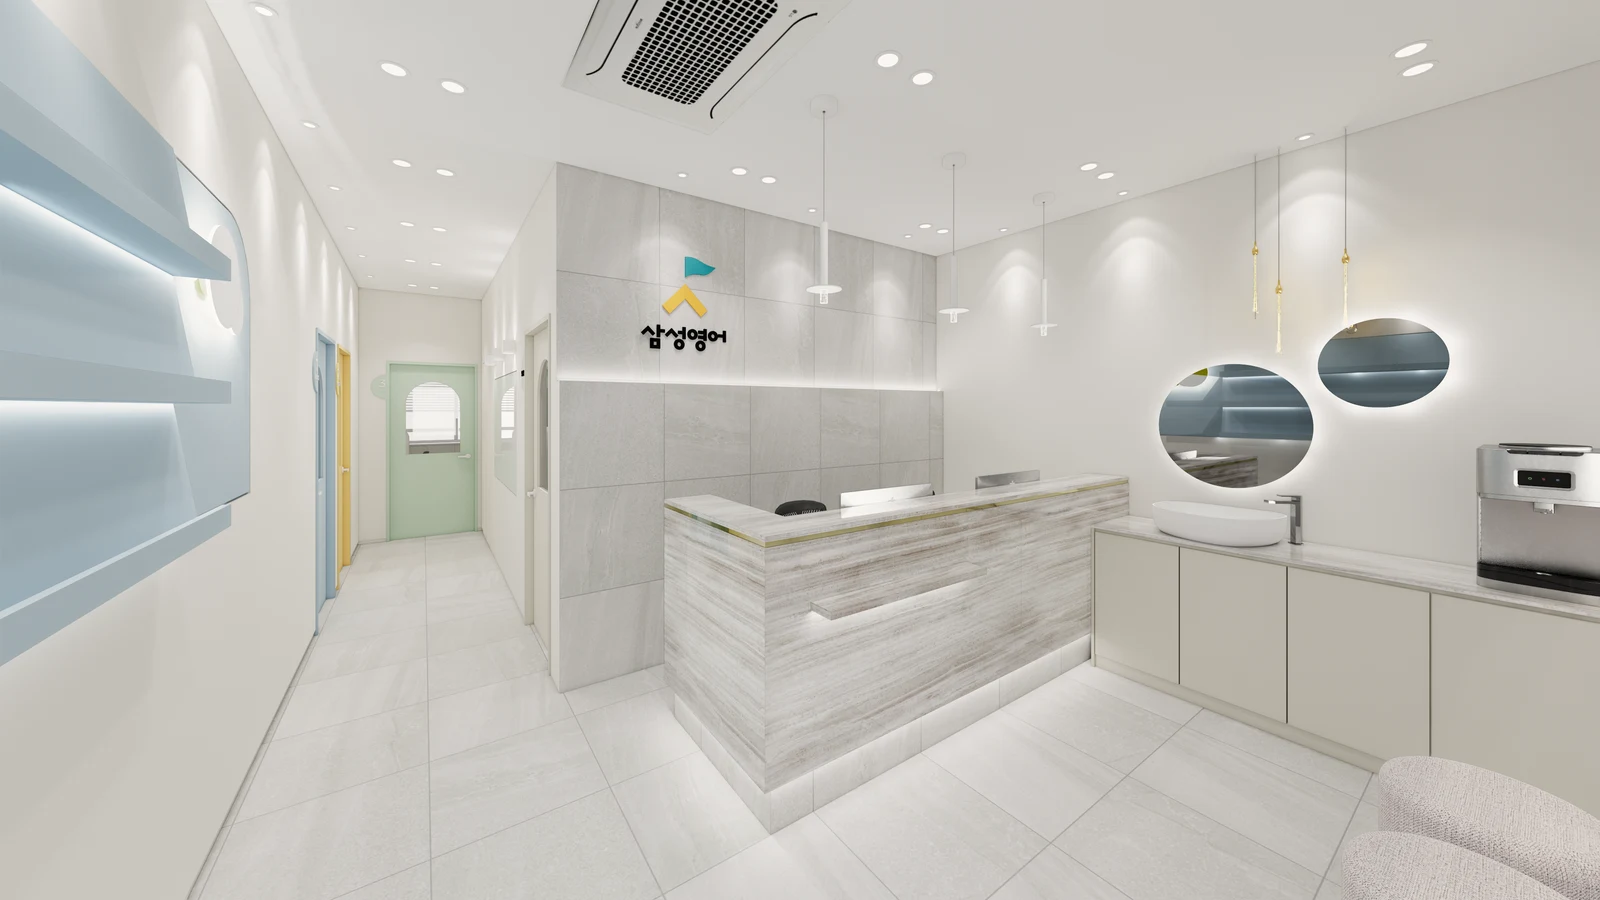
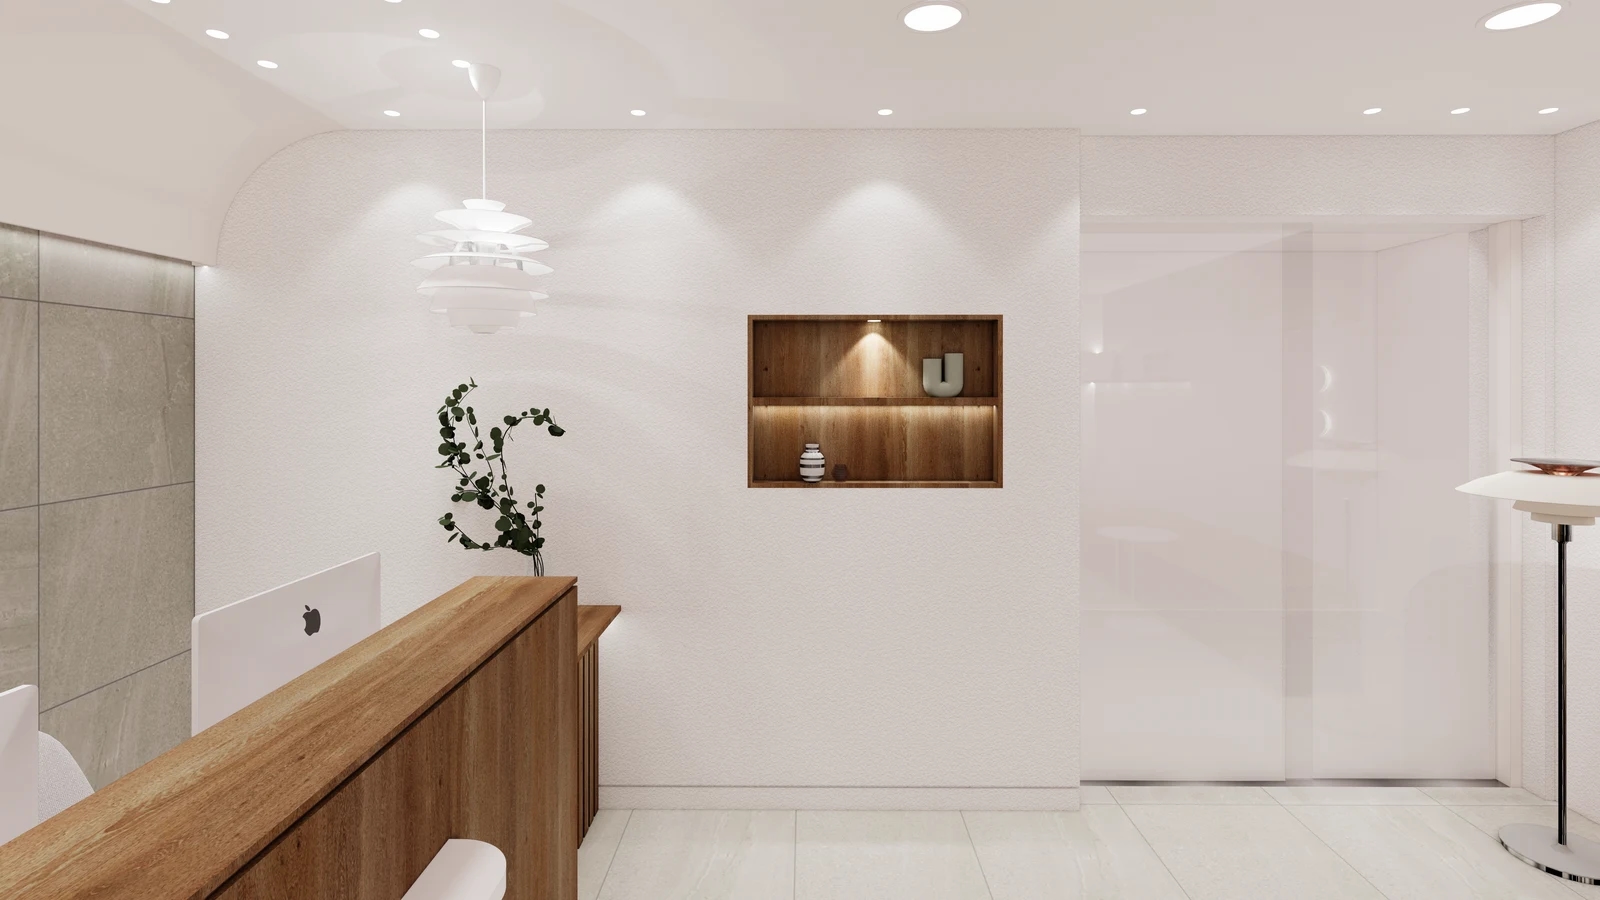
The cover shows a timber-lined rectangular niche beside reception, with a small number of objects and visible inner surfaces. Compare both filled and empty arrangements. Approve the internal finish rather than relying on objects to conceal it, and do not assume the spacing shown in the rendering will remain unchanged in operation.
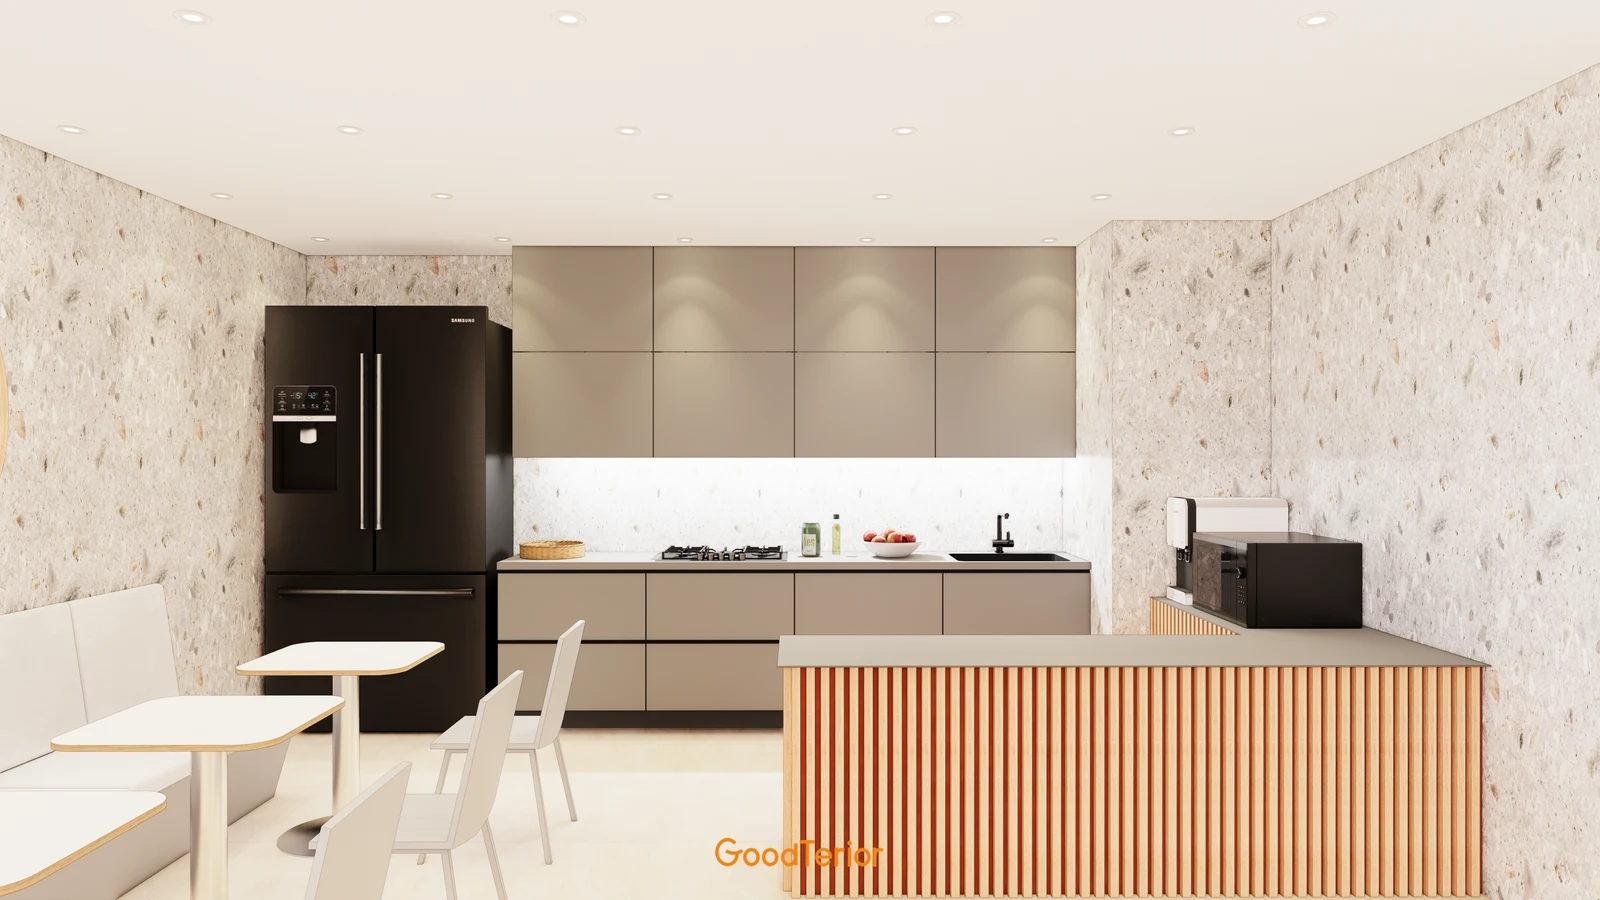
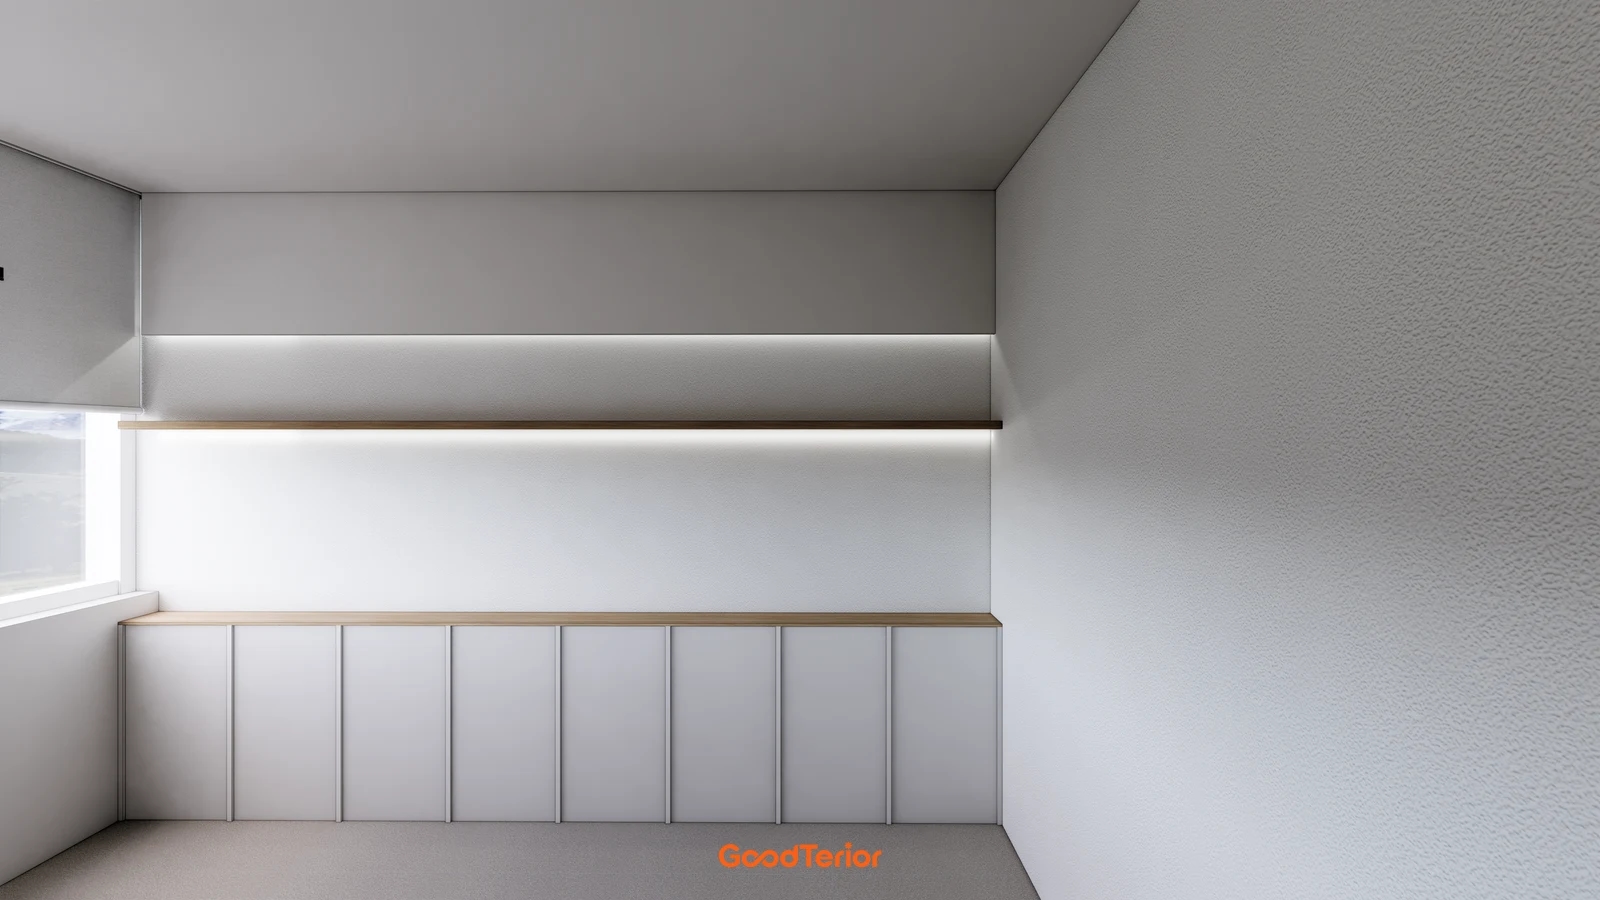
The first body image combines a long shelf with low cabinets instead of repeating small display boxes. Compare this alternative for longer objects or changing displays. The empty rendering does not establish additional shelf capacity or permissible loads. Review usable surfaces and retrieval positions before increasing length or compartment numbers.
Request separate dimensions for the outer frame and usable interior after shelves and finishes. Check access for hands and lifting as well as whether an object fits. Compare drawings with a box matching a representative object, and confirm whether stated dimensions describe the finished opening.
A recessed appearance does not establish that an existing wall was cut away. Have the fabricator assess the wall and distinguish a new forward wall face from fitted cabinetry. Do not infer concealed services or structure from photographs. Once depth is established, redraw reception, chairs and routes to review any change in the space in front.
Review displays from both the viewer’s and the user’s positions. Check visibility from the customer side and retrieval by staff, including a pulled-back chair where relevant. Distinguish customer-selected products from staff-managed objects rather than assigning every compartment the same access arrangement.
Compare wall-shelf alternatives and finishing scope
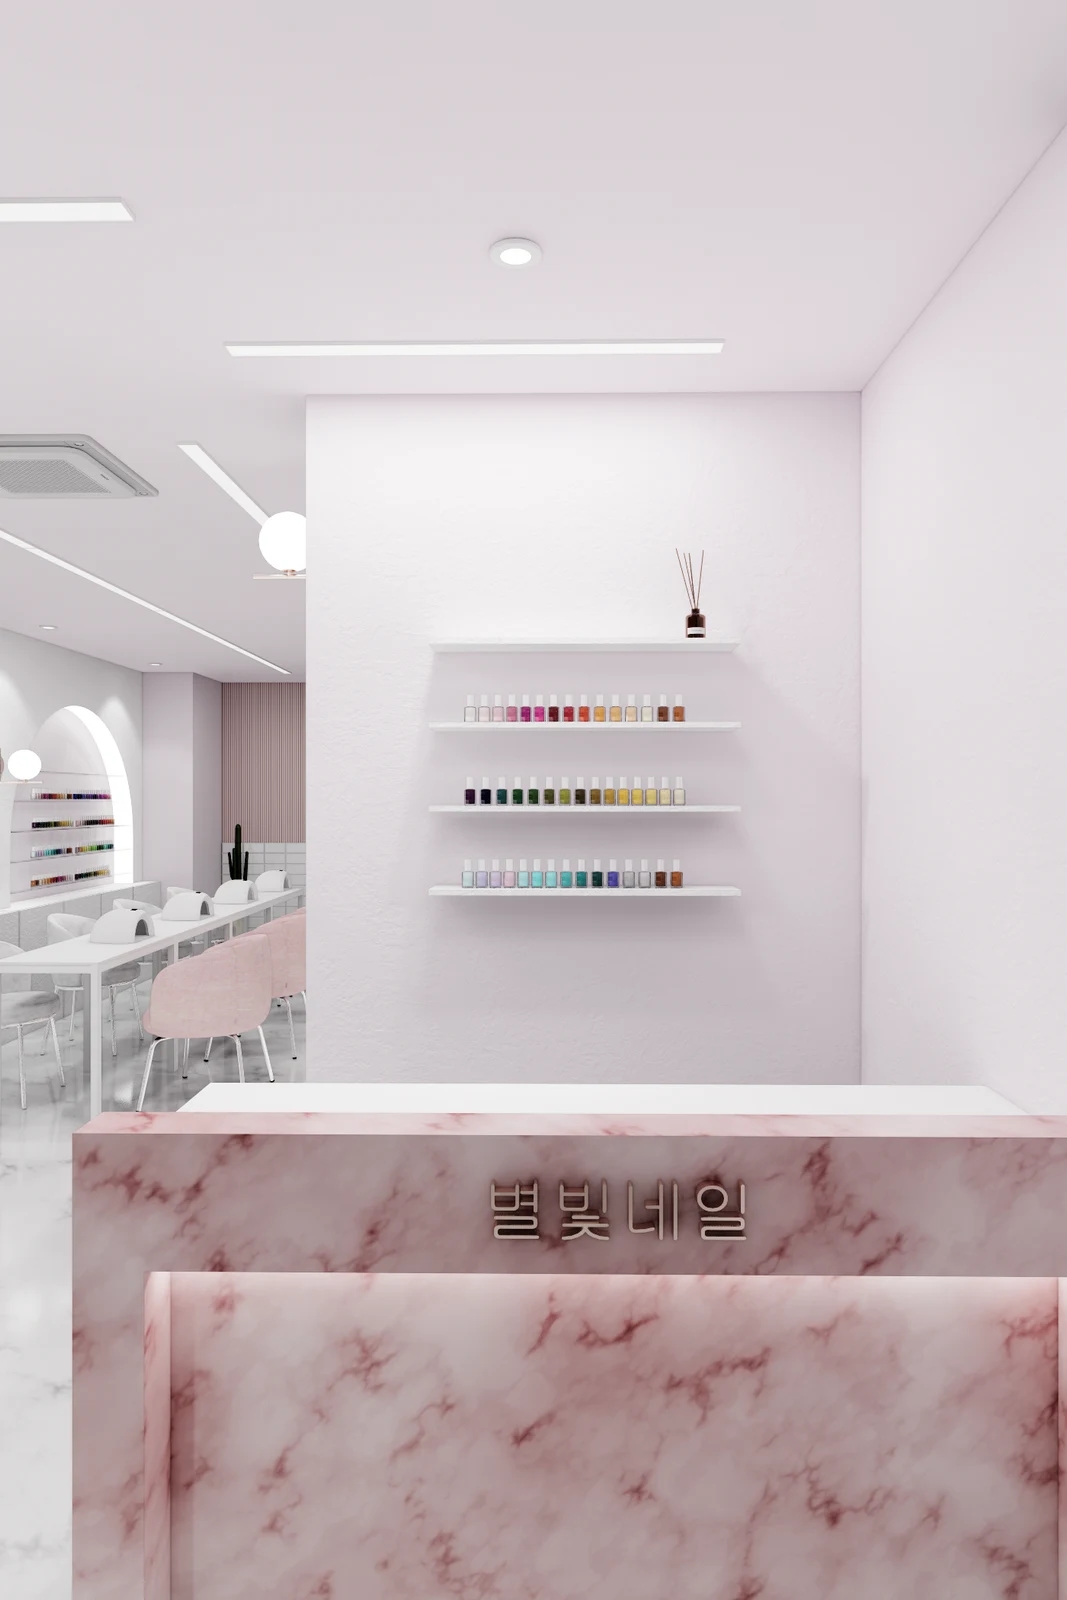
In the second image, slim white shelves project from the pink wall behind reception. Compare them as a wall-shelf alternative rather than calling them recessed niches. For a single row of small bottles, reconsider whether a deep box display is required. The rendering does not establish fixings; the fabricator must assess the actual contents and wall.
For a recessed display, identify internal tops, bottoms, sides and shelf edges as well as the front. Connect colour choices to those surfaces. A wood-toned rendering does not specify the material: obtain product references and samples, enlarge wall-to-cabinet junctions and record the approved details.
Do not approve integrated lighting from an illuminated front view alone. A small object display and a long shelf need different reviews. Test the chosen fitting with samples and contents, checking visible hardware and the appearance of labels and colours. Rendered brightness does not establish actual performance or colour rendering.
Ask where power components and wiring will sit and how the fitting can be removed. Mark service openings and replacement steps, including clearing objects or removing shelves. The responsible specialist must assess electrical connections; align compartment references so furniture and lighting teams work from the same locations.
Compare new wall construction, shelves, internal finishes, lighting and adjacent repairs instead of a single niche item. For budget revisions, assess fewer compartments, longer shelves or omitted lighting against the same contents list. Recalculate the revised scope and identify any later intervention in completed finishes.
At handover, place and retrieve the intended objects and inspect the empty internal finishes. Include customer and staff viewpoints and adjacent chairs. Retain contents, care, finish and lighting records, documenting corrections by compartment and photograph. Complete the choice through practical use and maintenance rather than apparent depth alone.
Ask us about your interior project
We can discuss a quote and design suited to the space you are planning.
Request a free consultation