Clothing Store Racks: Planning Garment Length and Display Depth
Plan clothing racks around more than rail length. A store design with hanging garments and shoes below illustrates hanger depth, long hems, accessory displays and checks before fabrication.

Before you begin
- Distinguish rail dimensions from the space occupied by hangers and garments.
- Check the relationship between long hems and lower shelves using the garments to be sold.
- Plan separate surfaces for shoes, bags and accessories, recording fixing and adjustment requirements for fabrication.
Draw the space occupied by clothing, not just the rail
Start with representative garments and the hangers actually intended for use. Jackets, dresses and bulky outerwear occupy different spaces on the same rail. Empty hangers alone do not represent the filled display. Decide which garments to show and their orientation before setting rack dimensions.
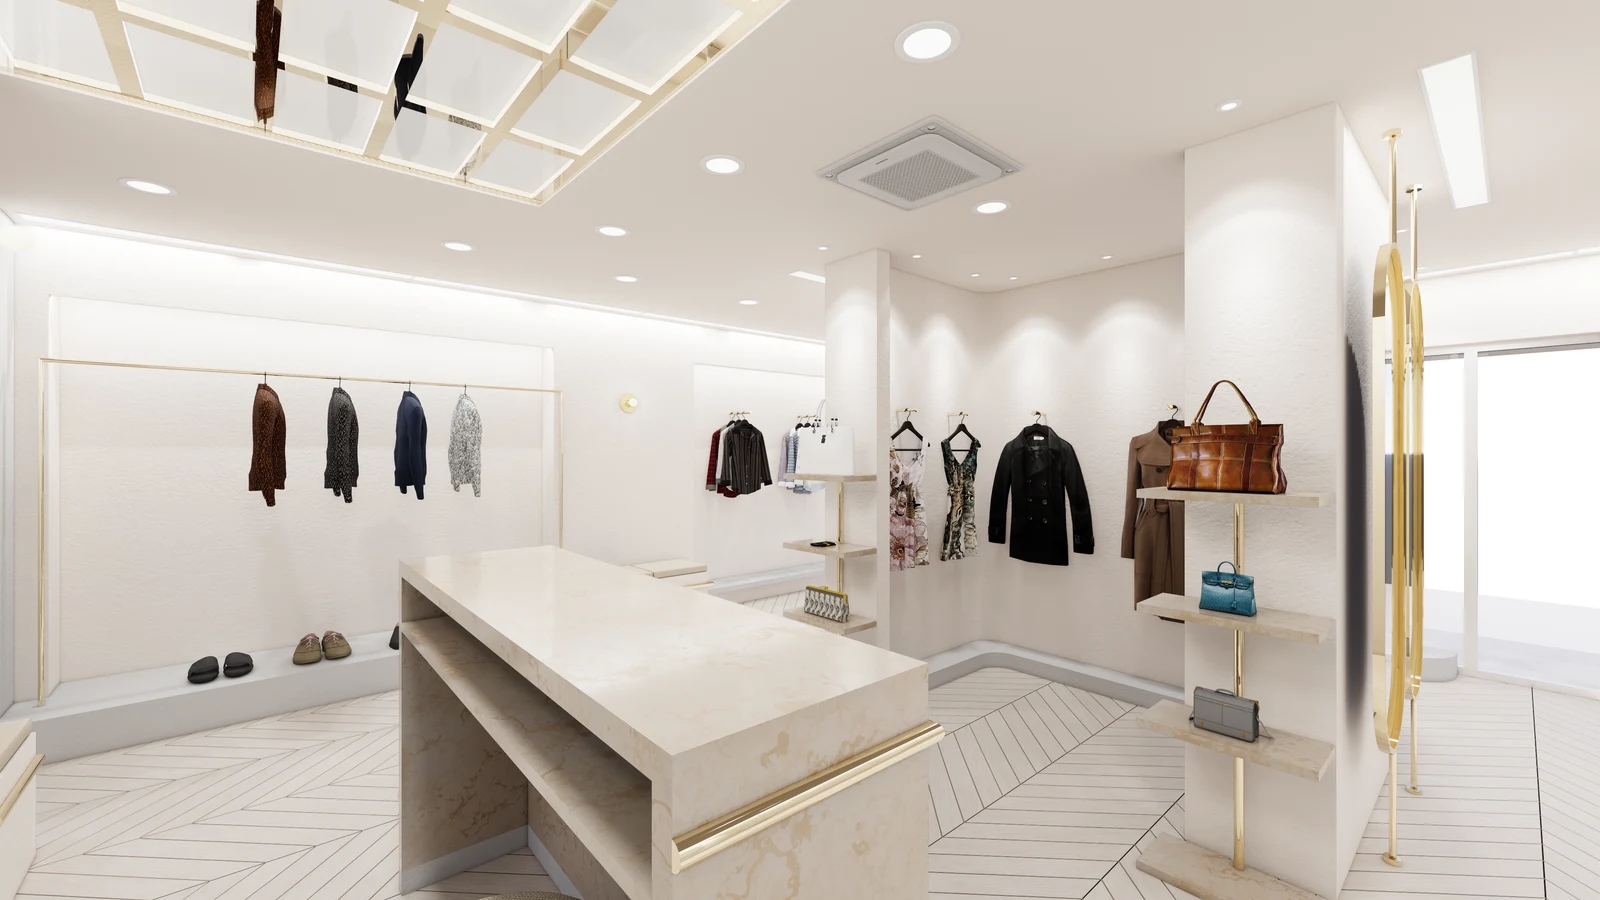
The cover shows clothing along the walls, a central counter and separate bag shelves beside a column. A wall-based arrangement alone does not establish access to each garment. On plan, draw the filled display and the space where a shopper stands, rather than representing the rack only as a thin line.
For rails parallel to a wall, check both hanger ends and garment shoulders against the wall and aisle. Rail offset is not the entire display depth. For short outward-projecting rails that show garments face-on, include the rail end and front garment outline. The two arrangements occupy different depths and present different surfaces.
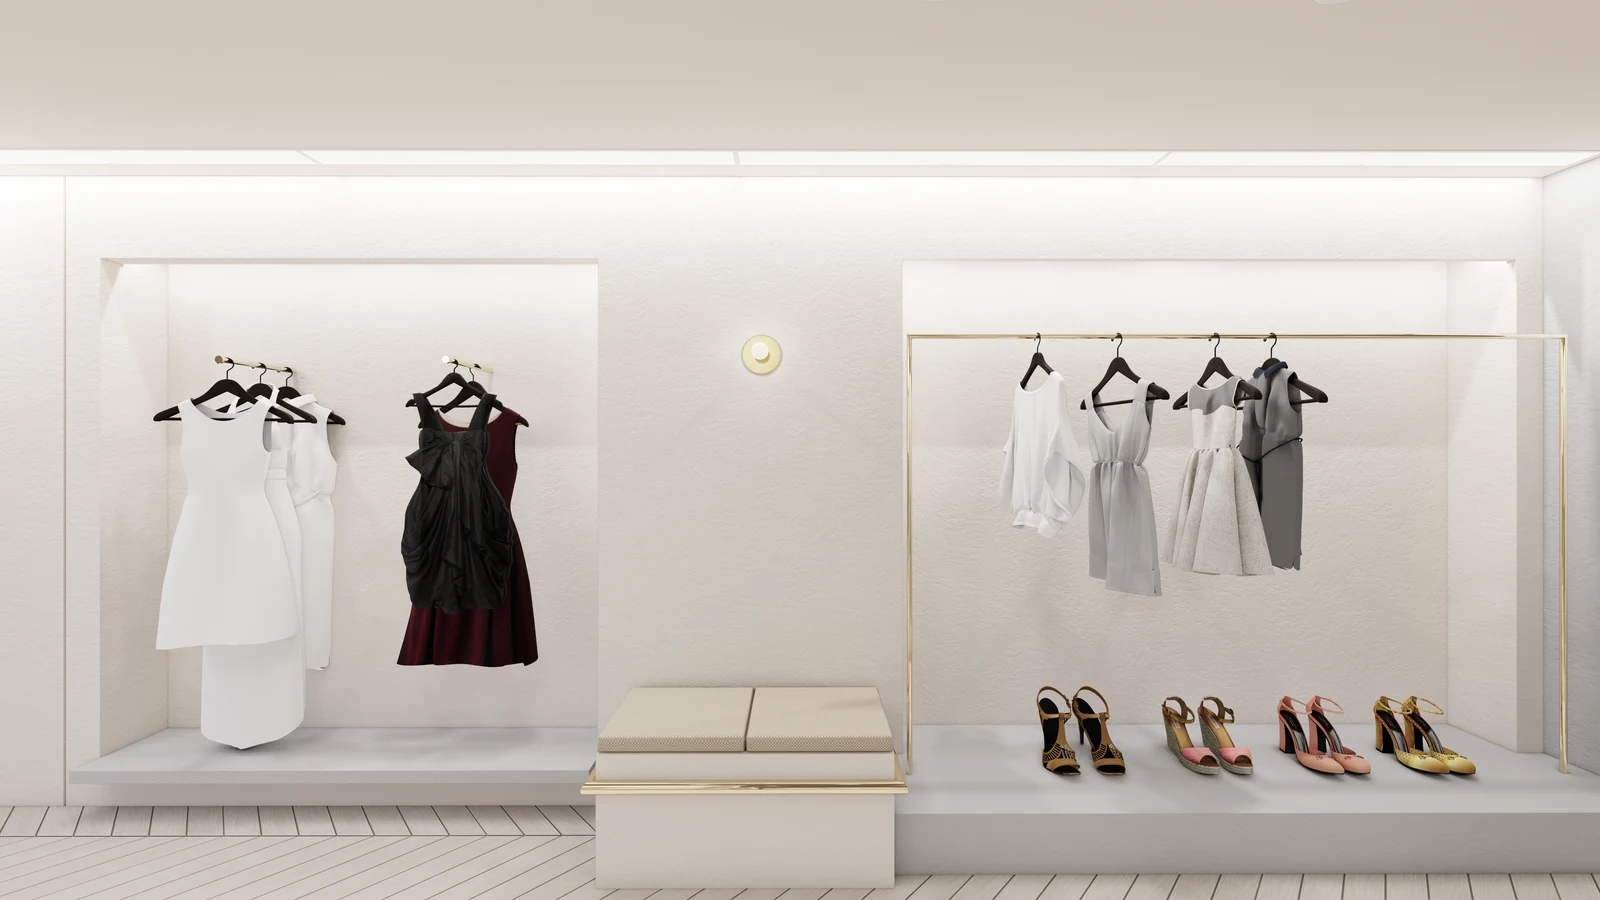
The first section image pairs longer dresses on the left with shorter garments and shoes below on the right. A bay planned only for short tops may place a long hem against the lower shelf. Hang an actual long garment and compare the distance from rail to hem with the display below. Do not derive measurements or universal heights from the rendering.
Do not set display quantity simply by dividing rail length by hanger width. Try taking out one garment and moving adjacent garments aside. Showing colour variants together differs from presenting a single sample. Separate display stock from stored stock rather than filling the sales area to accommodate everything.
Compare additional racks and a smaller central counter with the same merchandise. Check staff passing behind a shopper and the relationship between garments and furniture corners. If more display width removes room to take garments out and return them, consider another wall or a smaller displayed selection.
Plan lower shelves and accessory displays separately
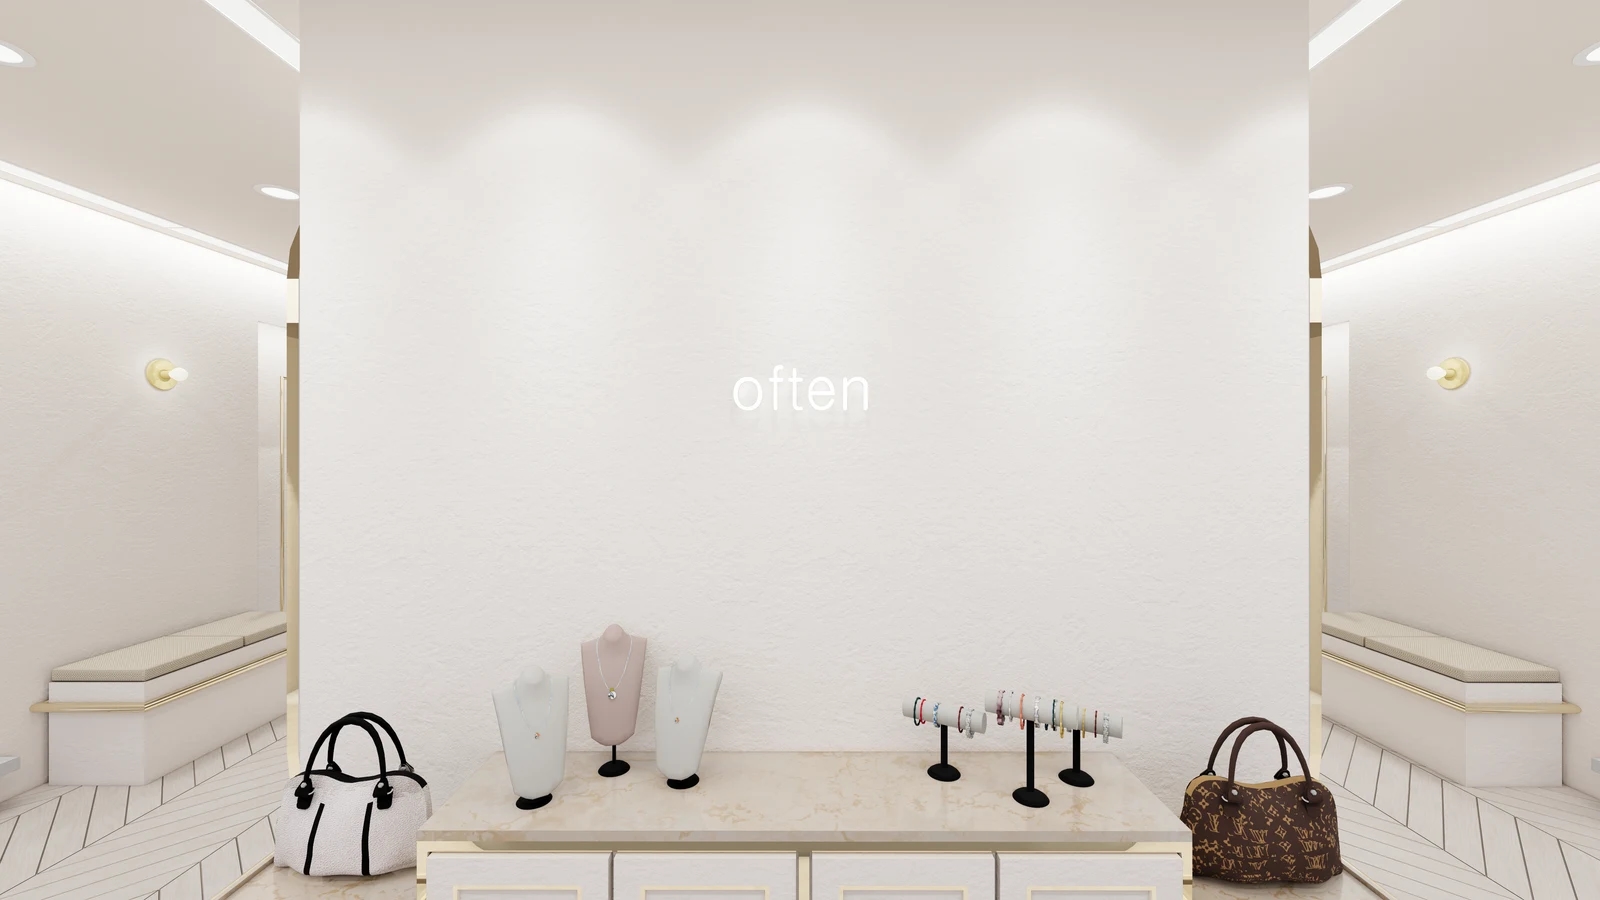
The second section shows bags, necklace busts and bracelet stands on a separate counter. Rail length does not describe the surface they need. Include bag handles, accessory stands and price information in a physical arrangement. Treat display tools as part of the merchandise layout when choosing between shared wall bays and separate counters.
A lower ledge does not establish space for every shoe type. Test trainers, heels and boots in their intended positions. Check whether someone must reach beneath a long garment and where shoes or packaging remain during selection. Leaving some lower bays empty is another way to display clothing.
If the seasonal mix of long and short garments changes, ask about adjustment before fabrication. A slim metal frame in a rendering proves neither adjustability nor load capacity. Confirm the chosen product’s conditions with its supplier; for custom work, agree fixing details after assessing the actual wall and floor. Record the approved assembly rather than permitting substitution by colour or rail thickness alone.
List rails, frames, shelves, finishes, fixings and installation in the quotation. Clarify wall reinforcement and restoration of removed fittings. Compare ready-made and custom options over delivery, assembly and substrate work as well as furniture price. Where budget is limited, separate essential long-garment bays from areas that can be added later.
Before approval, mark rail height and offset, long-garment bays and accessory counters on elevations. Test retrieval and return with the selected hangers, representative garments, shoes and stands, then retain the approved drawing. After installation, compare the filled display rather than photographing only empty rails. Record which parts can change as new merchandise arrives.
Ask us about your interior project
We can discuss a quote and design suited to the space you are planning.
Request a free consultation