Solid Surface Countertop Fabrication: Café Counter Edges and Joints
Length and colour alone can leave counter edges and joints undefined. Review the profile, pattern, sink and equipment openings when specifying a solid surface countertop for a café.

Before you begin
- Distinguish the sheet thickness from the finished front-edge height when agreeing the fabrication.
- Review joint samples in the selected product and pattern before agreeing joint locations.
- Include sink, tap and equipment drawings and installation responsibilities in the countertop order.
White countertops can differ in edge profile and pattern
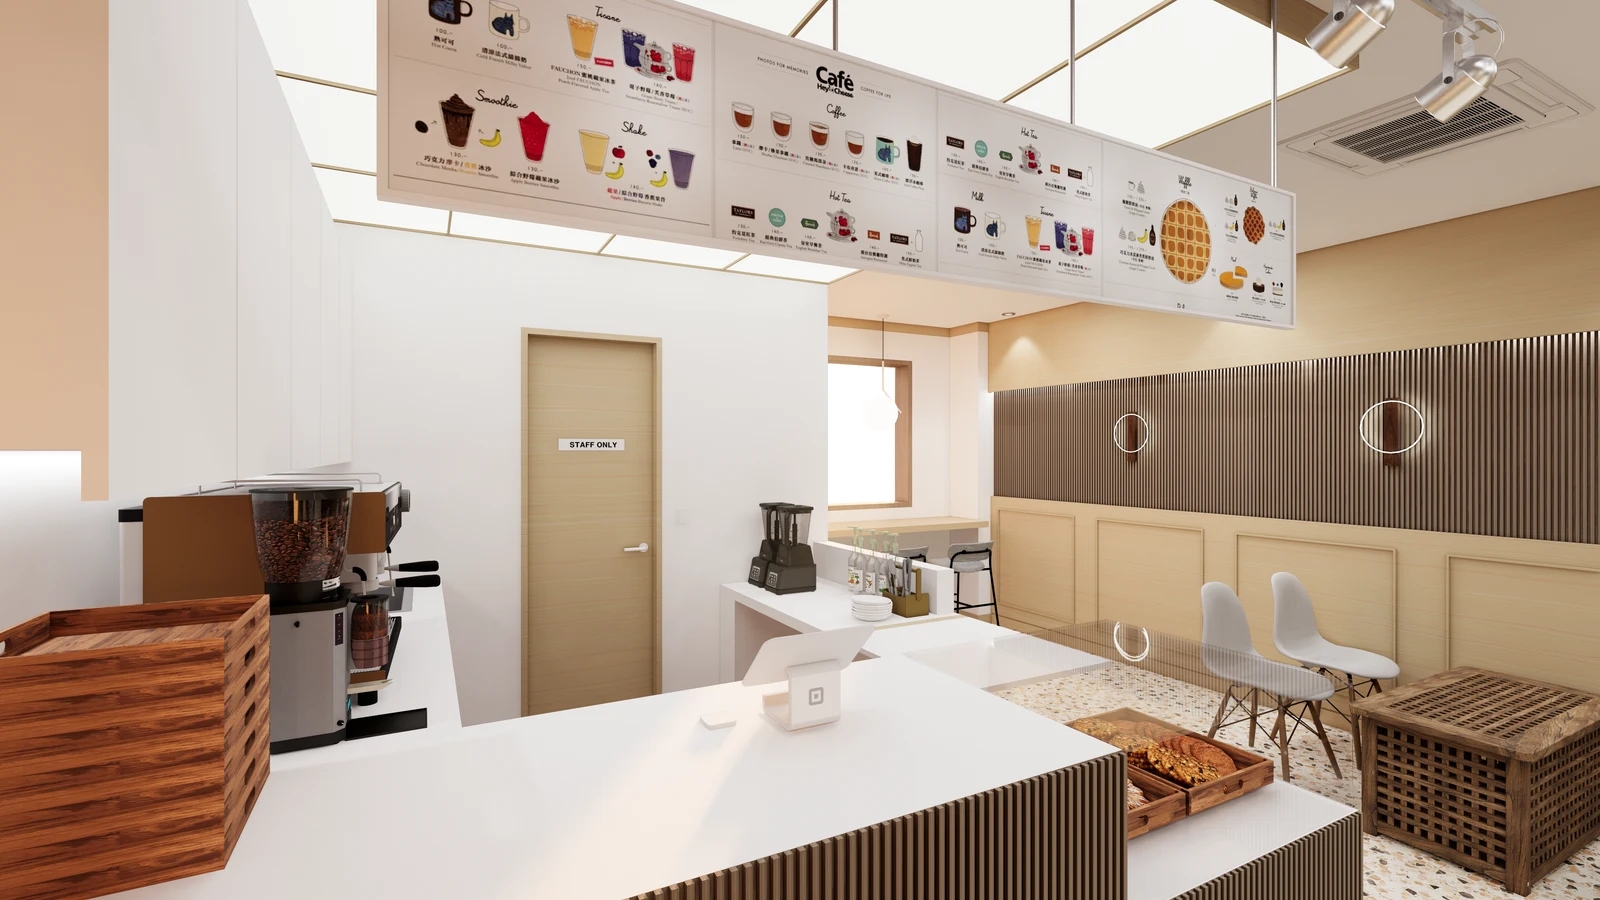
Imagine requesting a café countertop using a photograph of a long counter, a colour name and the overall length. Will the fabricator picture the same edge detail as the operator? Separate the customer-facing front, staff work surface and rear wall junction to make the brief specific. Start by marking where the order counter meets the drinks worktop and where heights change on a photograph or plan.
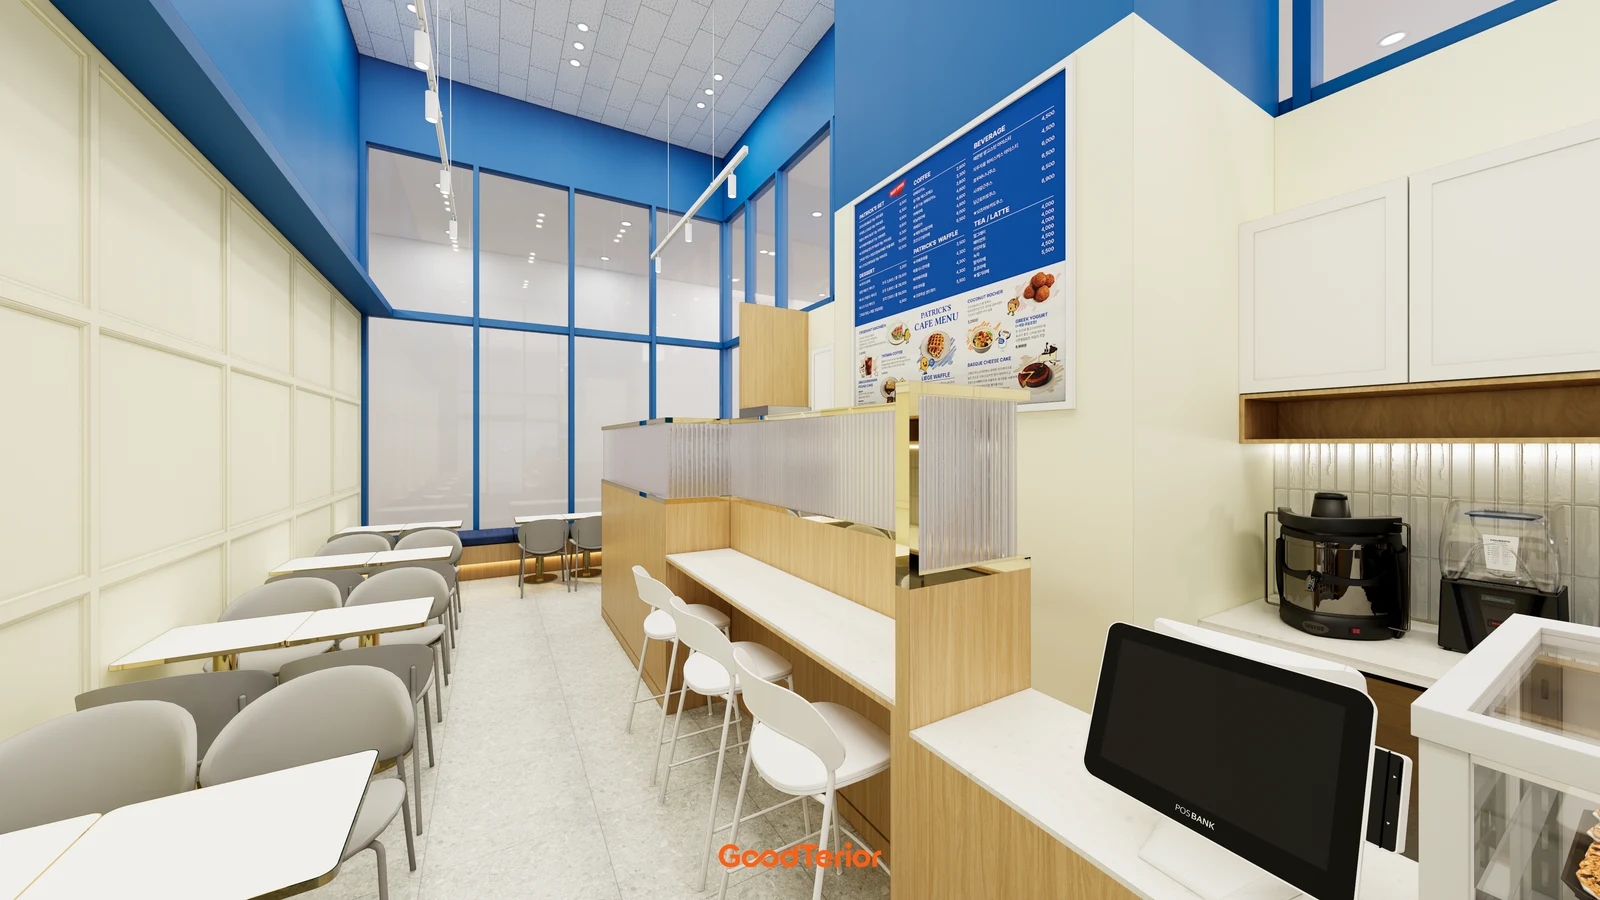
The first design has a light worktop turning a corner, a vertically detailed counter front and a lower pastry display. Use it to consider how the worktop edge, front panel and display meet. The rendering does not establish the actual product, sheet thickness or joining method. If solid surface is selected, ask the fabricator which product and section would produce the intended shape. It does not identify the pictured worktop as the manufacturer’s product discussed below.
Specify the sheet thickness separately from the finished front-edge height. To create a light-looking line beneath the top, compare a profile with a shallower visible edge; to continue the material down the front, compare a profile with a descending face. Decide whether it continues around the sides, and review where that front face meets cabinet doors or drawers.
Show length and depth on the plan, and the relationship between the front and base units in a section drawing. Have the fabricator assess the construction and support for the selected product and cabinetry. A thick-looking front is not evidence of structural or load-bearing performance. Treat the choice of appearance and confirmation of fabrication requirements as separate decisions.
When reviewing samples, distinguish plain colours, small-particle patterns and longer flowing designs. Liking one small sample is different from choosing how a pattern runs along a long counter. Record the actual product code and review a larger sheet view and the direction at turns with the fabricator. Mark any required pattern direction on the plan and decide whether the front face will use the same material.
In its HIMACS Gravilla launch information, published on March 9, 2023, LX Hausys explains that the Korean-market acrylic solid surface uses short repeating patterns designed with cutting and joint finishing in mind. This is the manufacturer’s description of that particular design. Use it as a reason to review joints in the colour and pattern selected, rather than assuming the same result for another solid surface product.
Discuss joint positions using the fabricator’s proposed division drawing. Review where a long top will join and how patterns meet at corners and beside the display. Where available, request a joint sample or verifiable fabrication photographs in the same product and finish. Compare the edge seen close up separately from the joint seen by a standing customer, instead of agreeing the outcome from a promotional photograph that appears to show one continuous piece.
When adjusting the quote, keep more than the product name and overall length comparable. Ask for specific options with a simpler edge, a shorter run of wrapped side cladding or a different pattern. Establish feasibility and changed fabrication items before comparing prices. Defining the finish scope within the broad label of a solid surface countertop makes it easier to retain the details that matter and choose where to make changes.
Sink and equipment openings define the fabrication scope
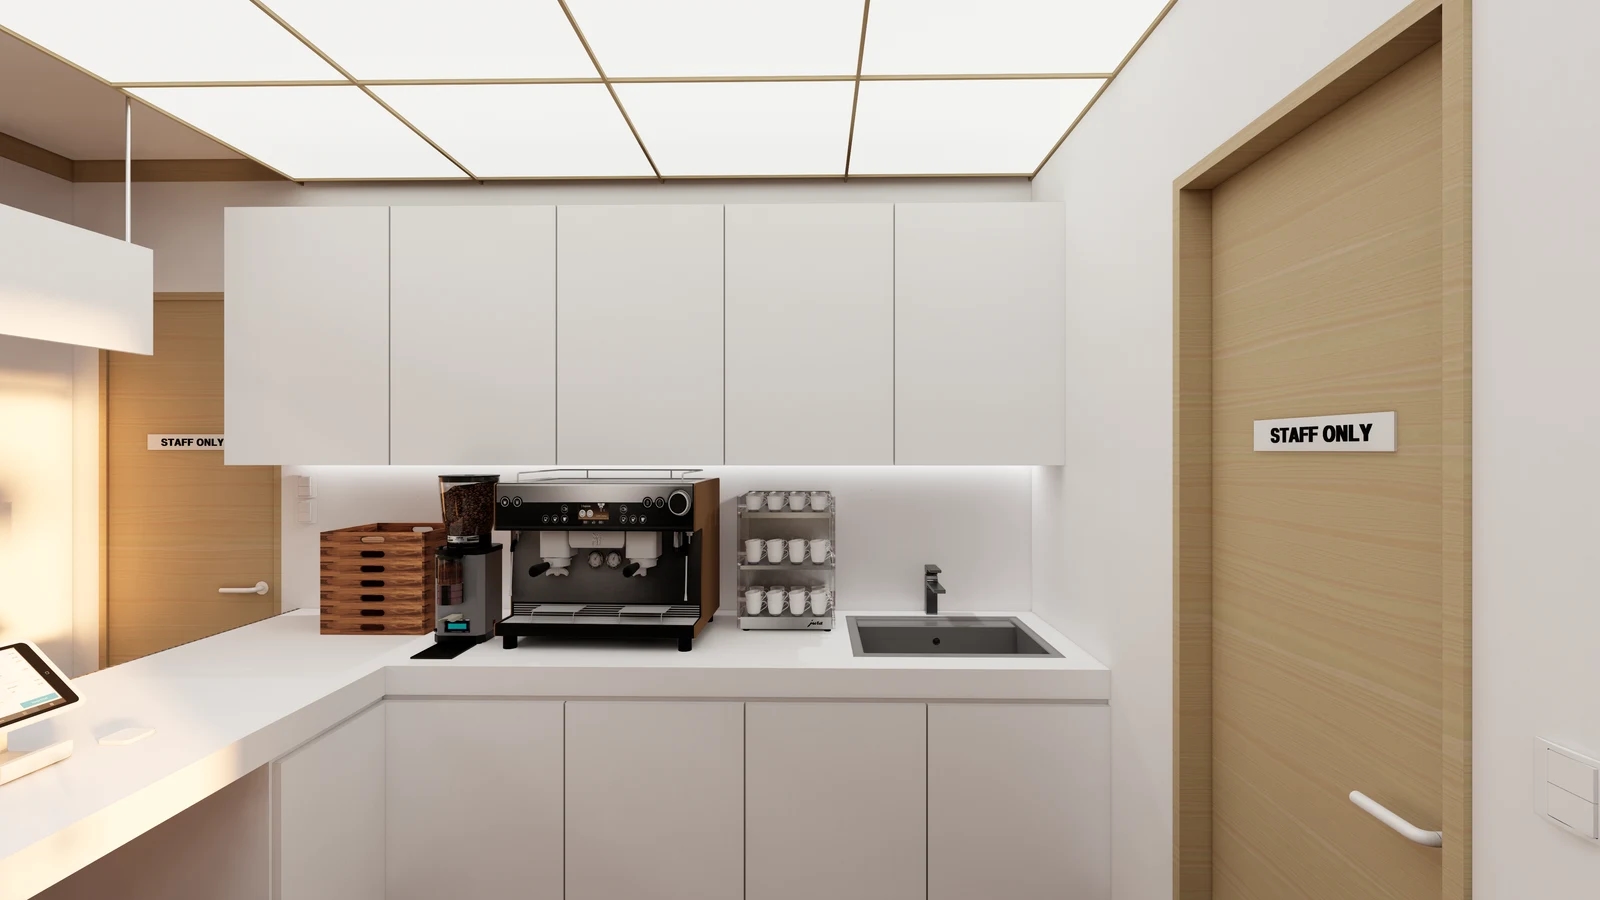
The second design places a cup shelf and sink beside the coffee machine. This worktop requires both an agreed outer shape and coordination with equipment and wet-use positions. Fabricating before a sink position is settled, or marking holes before equipment connections are known, leaves decisions unresolved. Confirm the equipment list and ensure suppliers and the fabricator use the same drawing.
Send the manufacturer’s installation drawing with the sink model and overall dimensions. Review how its rim meets the top, the required opening shape and whether the tap mounts through the top or elsewhere. Do not trace the rectangle visible in a photograph as a cutting template. Obtain the final opening drawing from the fabricator after checking the sink and surface product requirements, and assign responsibility for securing the sink and connecting the plumbing.
Review the space below against the same equipment arrangement. Check for drawers or cabinet divisions beneath the sink, and for doors that provide access to plumbing and equipment connections. Decide how the wall junction finishes and whether existing wall finishes remain or need work. The responsible contractors should assess support and adjacent finishes against the surface product’s requirements. The operator can identify conflicts between desired storage and parts needing inspection.
Label each equipment opening by purpose, including coffee-machine connections, cable routes and tap locations, and confirm connection directions with the actual equipment supplier. Lay out all countertop equipment and check that space remains for cups and wiping. Ask whether openings are made in the workshop or on site and when position changes can still be agreed. Do not substitute a universal opening size or spacing for the product-specific requirements.
Ask for the quotation to identify the sheet and colour, edge and side finishes, joints, sink and tap openings, transport and site installation. Establish whether it includes the sink and tap themselves, removal of an existing top, base-unit alterations, plumbing connections and wall reinstatement. Where contractors cover different scopes, assign any remaining work separately. Similar totals can still describe different levels of readiness for use.
For a new café, coordinate the sequence for cabinetry, wall finishes, final measurement, fabrication and equipment installation across contractors. For a replacement, also identify temporary storage for equipment and crockery, the period of interrupted trading and who checks reconnections. Ask how the top will be divided for the actual delivery route. If site conditions change the division or joint positions, revisit the relevant parts of the sample approval as well.
After completion, review the selected section and pattern alignment, then the sink surround, equipment openings and wall junctions. Have each responsible contractor check installation and connections, and ask staff to place cups and wipe the surfaces to identify inaccessible areas. Retain the final product code, fabrication drawing and care instructions for later repairs. A café countertop order should define both its visible form and the preparation needed to use the equipment.
Ask us about your interior project
We can discuss a quote and design suited to the space you are planning.
Request a free consultation